Articles / Guidesupdated for DaVinci Resolve 21.0.3 (July 2026)
How to Export Audio Only as a WAV File From a DaVinci Resolve Timeline
Quick answer
To export audio only as a WAV file from a DaVinci Resolve timeline, open the Deliver page, uncheck Export Video, and keep Export Audio checked. The Format dropdown switches to Wave, AIFF, MP3, or AAC. Choose Wave, set Codec to Linear PCM, Sample Rate to your project's rate (usually 48kHz), and Bit Depth to 24, then render.
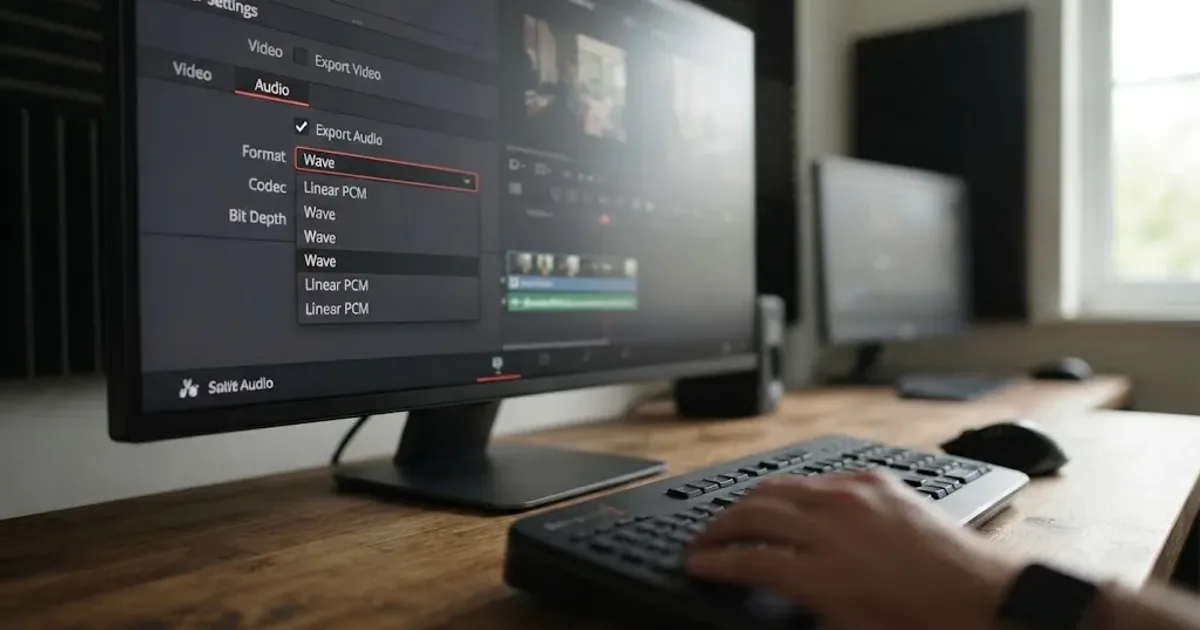
I've bounced enough dialogue stems and podcast masters out of DaVinci Resolve to know the one mistake that wastes the most time: rendering a full video file when all anyone asked for was the audio. It happens because the Deliver page hides the audio-only options behind a checkbox most editors never touch. Uncheck it once and the whole workflow opens up.
This guide covers the exact settings for a clean WAV export as of DaVinci Resolve 21.0.3 (July 2026): format, codec, sample rate, bit depth, mono versus stereo, exporting a single track instead of a full mix, and the handful of things that make a "silent" or "video came out instead" export happen in the first place.
How do you export audio only as a WAV file from a DaVinci Resolve timeline?
Open the Deliver page, uncheck Export Video, and DaVinci Resolve replaces the video Format list with audio-only containers: Wave, AIFF, MP3, and AAC. Pick Wave, confirm the Codec reads Linear PCM, set Sample Rate and Bit Depth, then queue and render.
That's the whole mechanic. Everything past this point in the guide is about getting the details right once you're in there, because the Deliver page gives you six or seven decisions inside that one screen and most of them have a wrong answer that only shows up later. A file with the wrong sample rate imports fine and then drifts out of sync in a DAW. A file bounced from Bus 1 when you meant to send an isolated dialogue track hands your mixer a stereo mush instead of the stem they asked for. None of these mistakes throw an error. They just quietly become someone else's problem an hour after you've moved on.
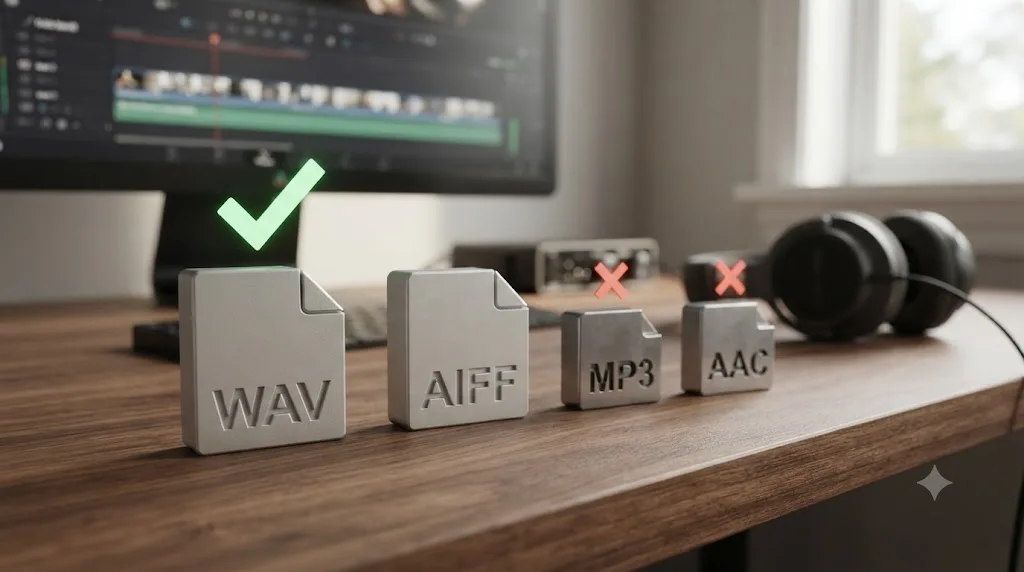
Why WAV specifically, and not AIFF, MP3, or AAC? Wave is the only export format on the Deliver page that stores audio exactly as it sat on your timeline, with nothing re-encoded and nothing thrown away. AIFF does the same thing in a different container, mostly relevant if you're handing the file to an older Mac-only workflow that expects it. MP3 and AAC both compress, which means both permanently discard some of the signal to shrink the file, a trade that makes sense for a podcast RSS feed or a rough reference and makes no sense at all for a client master or a stem going to a mixing engineer. The rest of this guide assumes WAV is your target format, since that's what "export audio only" almost always means when the destination is anything other than a listener's phone.
Where are the Export Video and Export Audio checkboxes on the Deliver page?
They sit at the top of the Render Settings panel, above the preset strip, as two independent checkboxes labeled Export Video and Export Audio. Toggling Export Video off is what switches the Format dropdown from video containers to audio-only ones.
Both checkboxes are on by default whenever you load a video preset like YouTube, ProRes Master, or H.264 Master, because those presets assume you want a video file with a synced audio track riding along. That's exactly the setting you want for a finished deliverable and exactly the setting that trips people up when all they need is the audio. Uncheck Export Video, and the Format dropdown, which a second ago showed you QuickTime, MP4, and MXF, now shows Wave, AIFF, MP3, and AAC instead. Blackmagic's own manual on the Deliver page's render settings describes this directly: disabling Export Video "disables all video controls" and reveals the audio format options that were hidden underneath.
If you don't see the audio-only formats after unchecking Export Video, you're probably looking at a leftover custom preset that saved its own Format value alongside the checkbox states. Presets in Resolve remember exactly what was selected when you saved them, checkboxes included, so an old preset built around a video export can reintroduce Export Video the moment you load it, even after you'd unchecked it in a previous session. Check the checkbox state fresh every time you start an audio-only render rather than trusting a saved preset to have kept it off.
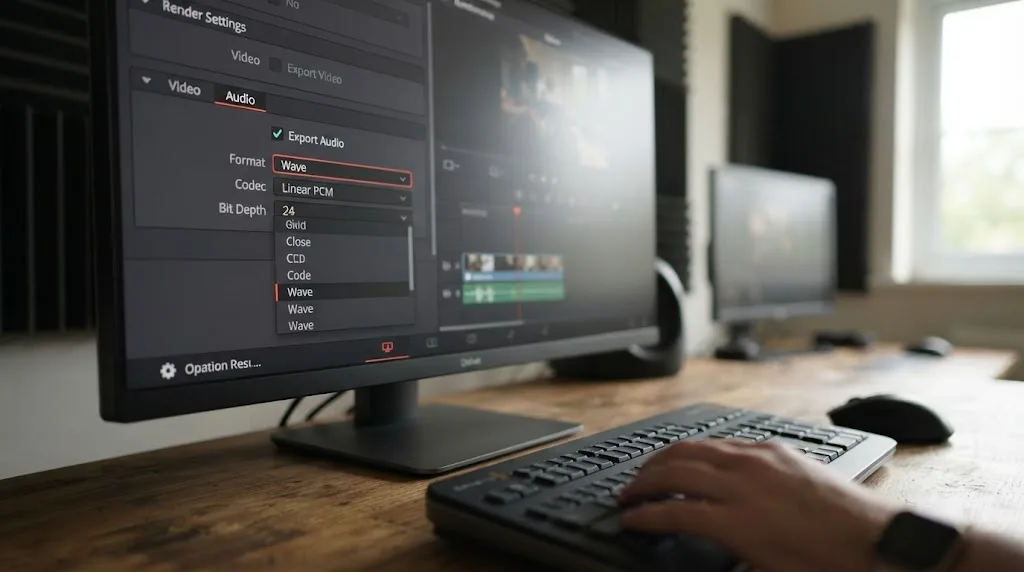
What's the difference between Wave, AIFF, MP3, and AAC for an audio-only export?
Wave and AIFF are both uncompressed, lossless containers built around Linear PCM audio, the same raw audio data your timeline already holds. MP3 and AAC are both lossy, meaning they permanently discard part of the signal to make the file smaller. Pick based on what happens to the file next, not personal preference.
| Format | Compression | Typical codec | Best for | Worst for |
|---|---|---|---|---|
| Wave (WAV) | None (lossless) | Linear PCM | Client masters, stems, DAW handoffs, archives | Long-term storage where file size is a hard constraint |
| AIFF | None (lossless) | Linear PCM | Older Mac-centric audio workflows expecting AIFF specifically | Cross-platform handoffs where WAV is the universal default |
| MP3 | Lossy | MP3 | Direct listener distribution: podcast RSS feeds, rough reference mixes | Any file you'll re-edit, remix, or archive |
| AAC (M4A) | Lossy | AAC-LC | Apple-ecosystem audio distribution | Anything needing a clean, editable master |
The practical difference between Wave and AIFF is close to zero technically, both are uncompressed PCM in a different wrapper, and Resolve's Audio Panel documentation lists the codec options the same way regardless of which container you pick: Linear PCM, AAC, IEEE Float, or MP3, depending on the format you selected first. Choose Wave unless a specific downstream tool or collaborator has told you they need AIFF. It's the format every DAW, every re-recording mixer, and every audio engineer expects by default.
MP3 and AAC earn their place for one reason: file size, at the direct cost of quality you can never recover. A checked Export Video box is the single most common reason an audio-only render comes out as a video file, but a close second is picking MP3 out of habit for a file that's actually going to get edited again later. If there's any chance the audio comes back into an editing timeline, a DAW, or another round of processing, that decision should already have ruled out MP3 and AAC before you open the Format dropdown.
What sample rate and bit depth should you choose for a WAV export?
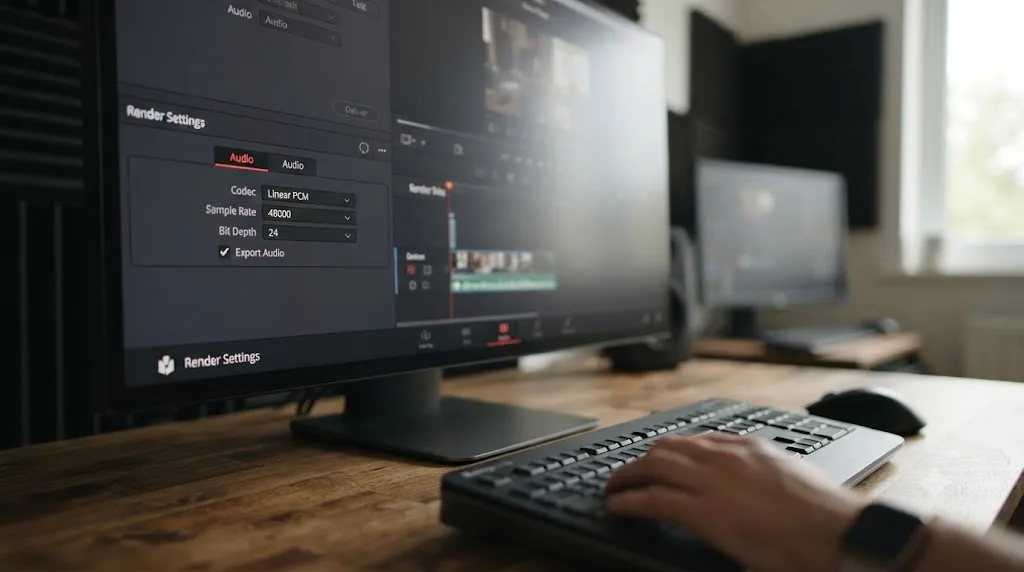
Match Sample Rate to whatever your project already uses, almost always 48kHz for anything shot on video, and set Bit Depth to 24. That single combination covers client handoffs, DAW imports, and archival masters without a second decision needed.
DaVinci Resolve's own manual describes the Sample Rate field on the Deliver page's Audio Panel plainly: it "lets you set the sample rate, in Hz, of the output of the audio." It's a real, user-facing choice, not something locked to a fixed value, and Resolve's supported input sample rates run from 32kHz up through 192kHz according to the same manual's list of compatible audio formats. In practice, almost every video project sits at 48kHz because that's the broadcast and streaming standard, and matching your export to that same rate avoids any resampling on the way out.
Allan Tépper, who covers podcast production workflows for ProVideo Coalition, put the bit-depth recommendation directly:
"Since all of my shows and all of my clients' are 48 kHz, for all of those cases I recommend exporting the WAV at 48 kHz and 24-bit, just to get best quality AAC."
That advice holds even when the WAV itself is the final deliverable rather than an intermediate step before AAC conversion. 24-bit gives you real headroom over 16-bit, the old CD-audio standard, without ballooning file size the way 32-bit float does for a finished mix that's already been leveled. Audio engineer Michele Ong documented exactly what goes wrong at lower bit depths in a direct comparison: "When the Bit depth is lower than 24, I get the flat compression issues. 24 clears that up." That's a specific, reproducible artifact, not a vague preference, and it's the reason 24-bit shows up as the default recommendation across nearly every export guide covering Resolve's Deliver page.
24-bit at your project's native sample rate is the export setting that never needs a second guess. Reach for 32-bit float only in one specific case: you're handing an unmixed or unfinished stem to another engineer who explicitly wants the extra ceiling for further processing, since 32-bit float can't clip no matter how hot a later gain stage pushes it. For a finished, leveled export, that extra headroom does nothing useful and just makes the file bigger.
What happens if your export sample rate doesn't match your timeline?
Resolve resamples on the fly rather than failing the render, but that resampling is one more processing step your audio didn't need. If your project's timeline sample rate is 48kHz and you set the export's Sample Rate field to something else, say 44.1kHz because an old preset assumed music delivery, the render still completes and still plays back at the correct speed and pitch. What you've added is an unnecessary conversion pass, and while modern resampling algorithms are good, "good" is still worse than "not needed at all." Check your project's Timeline Sample Rate in Project Settings, under Master Settings, before you set the Deliver page's Sample Rate field, and make the two match unless a specific destination has asked you for something different.
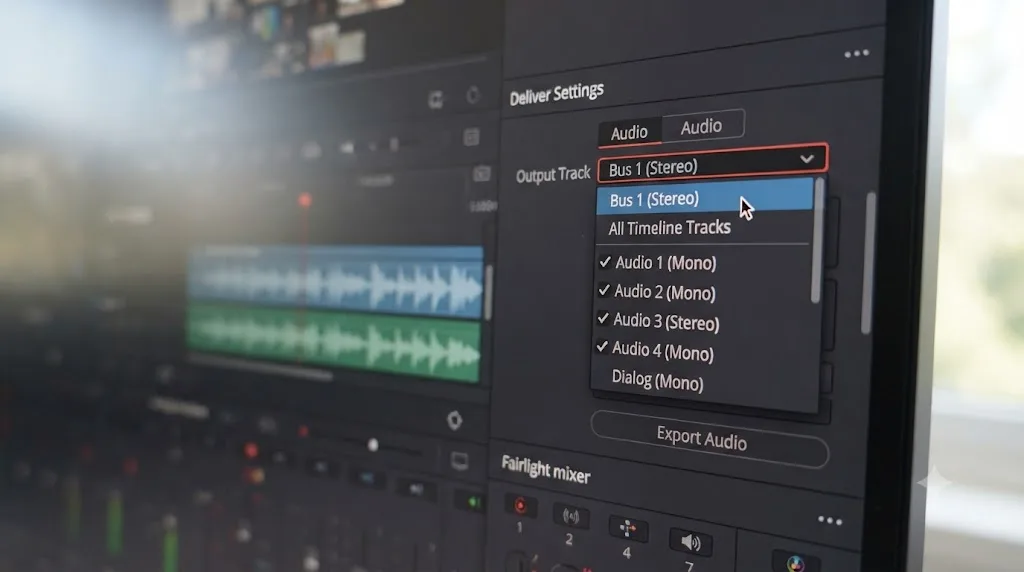
Should the output be Bus 1 (Stereo) or a specific Timeline Track?
Bus 1 (Stereo) exports everything routed into your Main bus as one mixed-down stereo file. Timeline Track exports a single, specific track by itself, untouched by whatever else is happening on the rest of the timeline. Choose based on whether you want the finished mix or an isolated piece of it.
| Output Track setting | What it exports | Use it for |
|---|---|---|
| Bus 1 (Stereo) | Every track routed to the Main bus, combined into one stereo file | The finished mix: a podcast master, a narration-plus-music bounce, a client's final audio |
| All Timeline Tracks | Every audio track on the timeline, each as its own separate file, in one render pass | Bulk stem export when you need every track separated at once |
| Timeline Track (specific number) | Only the one track you pick, on its own | An isolated dialogue stem, a music-only bed, a single interview mic |
That dropdown lives in the Audio tab of Render Settings, and Resolve's manual describes it as letting you "choose which Main or Submix bus you want to output," with the option to select individual timeline tracks instead. Bus 1 collapses every track on your timeline into one file; Timeline Track keeps one track separate. Get this backwards and you'll hand a re-recording mixer a pre-mixed stereo file when they asked for an isolated dialogue stem, or worse, hand a client a single lonely music track when they were expecting the finished narration-plus-music mix.
A concrete example: say you've cut a documentary interview with three audio tracks on the timeline, a lav mic, a boom mic, and a music bed, all routed through separate Fairlight channel strips into the Main bus. If a sound editor wants to remix the piece in Pro Tools, they need each of those three tracks as its own file, meaning you either export All Timeline Tracks in one pass, or duplicate the render job three times with Output Track set to a different specific track each time. If instead you're handing off the finished cut to a client who just wants the audio file to go with their video, Bus 1 (Stereo) is correct, since it's the one file that already reflects every fader move, EQ pass, and ducking decision you made in the mix.
How do you export a mono WAV file instead of stereo?
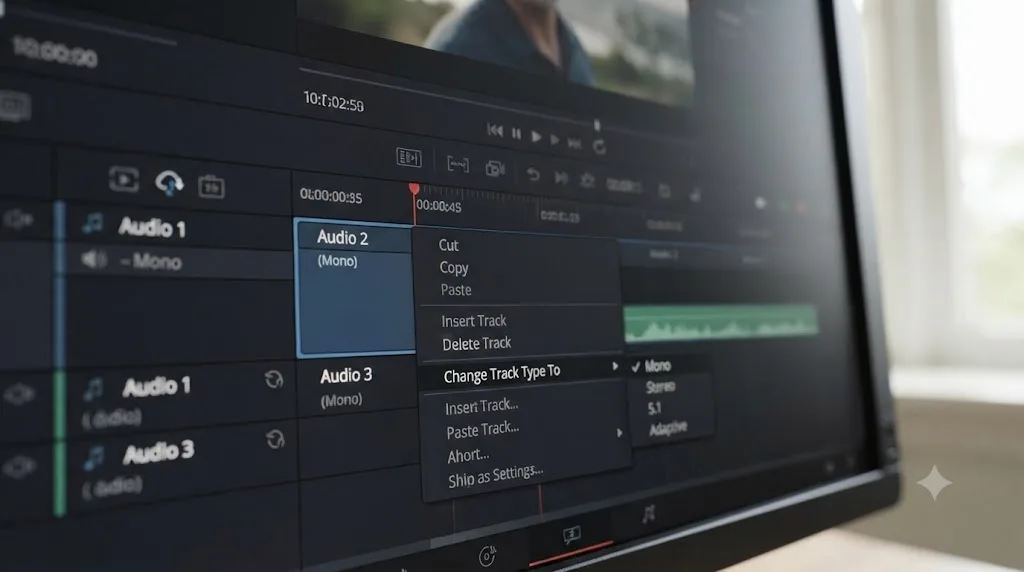
Set the source track itself to mono before you export, not the export settings. Right-click the track's channel number in the track header, on the Edit or Fairlight page, and choose Change Track Type To Mono, then export with Output Track set to that specific track rather than Bus 1.
This is the part of audio-only export that trips people up, because the mono decision doesn't live in the Deliver page at all. The Main bus in a typical Resolve project defaults to stereo, and Bus 1 (Stereo) stays stereo no matter what Format you pick on the Deliver page, since the bus itself is what determines channel count. To get a genuinely mono file, you need the source feeding that export to be mono in the first place. On the track header, the small number next to each track tells you its current type: a 1 means mono, a 2 means stereo, as covered in a detailed walkthrough of individual track exports. Right-click that number and choose Change Track Type To Mono, and the track carries only one channel from that point forward.
Once the track itself is mono, export it with Output Track set to that specific Timeline Track number rather than Bus 1, since Bus 1 would still fold it back into a stereo container even if the source were mono. This matters most for spoken-word content headed somewhere that expects mono by convention: an interview transcript service, a podcast host that recommends mono for single-voice shows, or a voice memo you're handing to a client for approval. Mono halves your file size and matches what a phone speaker or a single earbud actually plays back, which is most of the audience for a voice-only file regardless of how it was recorded.
If your actual goal is a mono downmix of a full stereo mix, meaning you want both channels of a finished stereo master collapsed into one, that's a different job that needs a mono Submix or Main bus built specifically for it in Fairlight's bus routing, not a track-type change. For a single dialogue or narration track that was mono to begin with, the track-type approach above is the direct path.
How do you export separate WAV stems, one file per track?
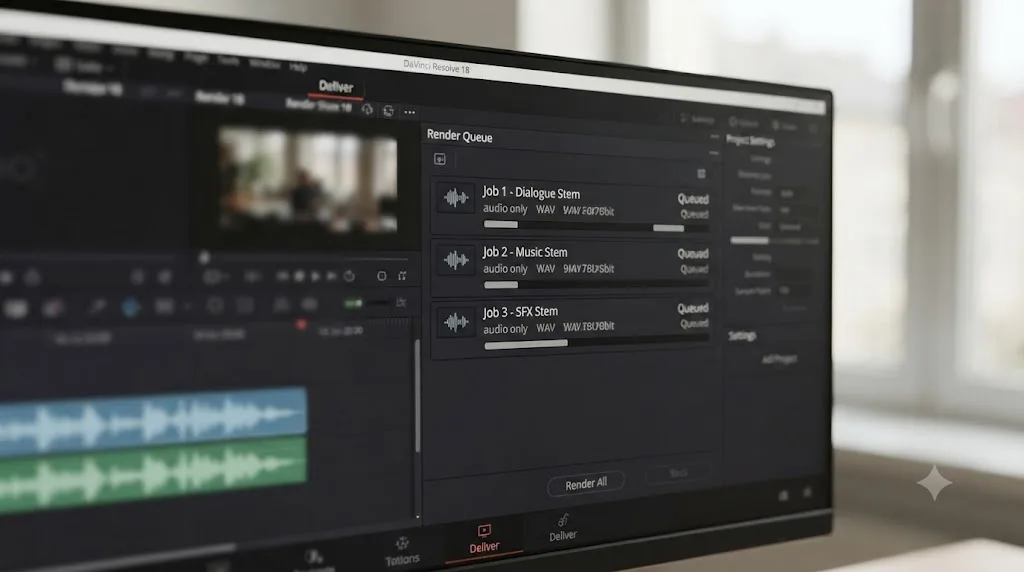
Set Output Track to All Timeline Tracks for a single render pass that produces every track as its own file, or duplicate the render job once per track and set each duplicate's Output Track to a different specific track. Both approaches skip the Main bus mix entirely and give you the tracks in isolation.
All Timeline Tracks is the faster route when you need every track separated and don't care about picking and choosing: it renders the whole set in one queue entry. The duplicate-job approach gives you more control, since you can rename each file meaningfully, Dialogue, Music, SFX, as you set up each duplicate's Output Track, rather than sorting through a batch of generically-numbered files afterward. Right-click an existing render job in the queue, choose Duplicate, then change only the Output Track and filename on the copy. Repeat per stem.
This is the workflow a re-recording mixer or a sound editor almost always wants instead of a finished mix, since a stereo bounce hides every individual fader and EQ decision behind a single waveform they can't undo. Stems keep those decisions separable. If your project already routes tracks into logical Fairlight buses, Dialogue, Music, Effects, rather than every track hitting the Main bus directly, as covered in our guide to mixing audio in DaVinci Resolve using Fairlight, exporting stems gets even simpler: point Output Track at each Submix bus instead of individual tracks, and you get a clean Dialogue stem, Music stem, and Effects stem without hunting through dozens of raw timeline tracks one at a time.
Why does DaVinci Resolve export a video file when you only wanted audio?
Export Video is still checked. It's the default state on every video preset, and the audio-only Format options only appear once you turn it off yourself, which is why this is the single most common report from anyone new to exporting audio from Resolve.
Walk through the failure in order. You start from a YouTube or H.264 Master preset because it's already set up close to what you need, or because it's the preset you always use and you forgot the Deliver page remembers checkbox states per preset. That preset ships with both Export Video and Export Audio checked, since it's built for a finished video deliverable. You go straight to the Audio tab, set your codec and bitrate, hit render, and get exactly what you asked for technically: a video file with an audio track, when what you actually wanted was audio only. Nothing in that sequence throws an error, because you didn't do anything wrong from Resolve's point of view. You just never told it to drop the video.
The fix is the same one-click move covered earlier in this guide: uncheck Export Video in the Render Settings panel before you touch anything else. Do this first, before setting codec, sample rate, or bit depth, since unchecking it changes which Format options are even available. If you're duplicating an existing video render job specifically to produce an audio-only companion file, a workflow covered in more detail in our guide to podcast video export settings, duplicate the job, then immediately uncheck Export Video on the copy before adjusting anything else on it.
Why is your audio-only export completely silent?
Check three things in order: whether a track feeding your Output Track selection is muted, whether the Output Track dropdown actually points at something with audio routed into it, and whether Export Audio itself got unchecked somewhere along the way. A silent render traces back to one of these almost every time.
A render that finishes without an error can still be the wrong file if the Export Video box was never unchecked, and the same logic applies here in reverse: a render can finish successfully and still contain nothing audible, because "successful" only means Resolve produced a file, not that the file has content you can hear. Work through the checklist below in order, since each step rules out a specific, common cause.
- Confirm Export Audio is checked. It's easy to accidentally toggle both checkboxes off together, especially right after unchecking Export Video, if you clicked slightly wrong.
- Check for a muted or soloed track on the Fairlight page. A track muted during editing, perhaps to isolate a different mic while cutting dialogue, stays muted through export unless you un-mute it first. Soloing a different track has the same silencing effect on everything else.
- Verify your Output Track selection actually has audio routed into it. If you set Output Track to a specific Timeline Track number and that track is empty or was renumbered after you added or deleted a track earlier in the edit, you'll get a technically valid, completely silent file.
- Check the Main bus fader on Fairlight isn't pulled all the way down. It happens more than anyone admits, usually from an accidental drag while reaching for something else on the mixer.
- Confirm the timeline itself has audio in the range you're rendering. If you set In and Out points for a partial render, make sure that range actually contains the audio clip you expect, not a silent gap between clips.
Play the exported file back before you send or archive it, every time, not just when something feels off. A thirty-second listen catches a silent export instantly; discovering it after a client has already opened the file does not.
Why does your exported WAV sound louder or quieter than it did on the timeline?
It almost never does, technically, since a WAV export is an exact, unprocessed copy of what left your Main bus. What actually changes is the listening context: headphones versus speakers, a different room, or a different device's volume normalization applied on playback, none of which touch the file itself.
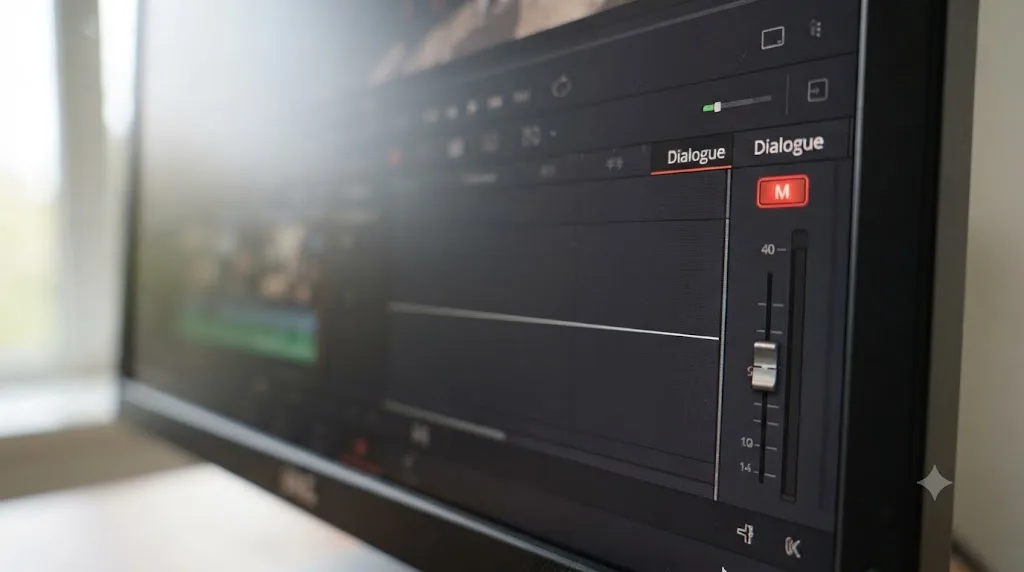
If the difference is more than a perceptual shift, meaning the file is genuinely peaking differently or clipping when the timeline never did, the cause is almost always a level you changed on the Fairlight mixer after your last confident listen, not something the export process introduced. Linear PCM in a Wave container carries no loudness processing of its own; the render is a direct capture of your Main bus output at the sample rate and bit depth you set. Retrace your session: did a fader get bumped, did a limiter get added or removed from the Main bus, did you solo a track for editing and forget to un-solo it before the final render. The WAV format itself isn't the variable here. Your mix state at render time is.
Where loudness genuinely matters is not "does it match the timeline" but "does it match what the destination expects," which is a separate question the next section covers directly.
Should you check loudness before exporting the WAV master?
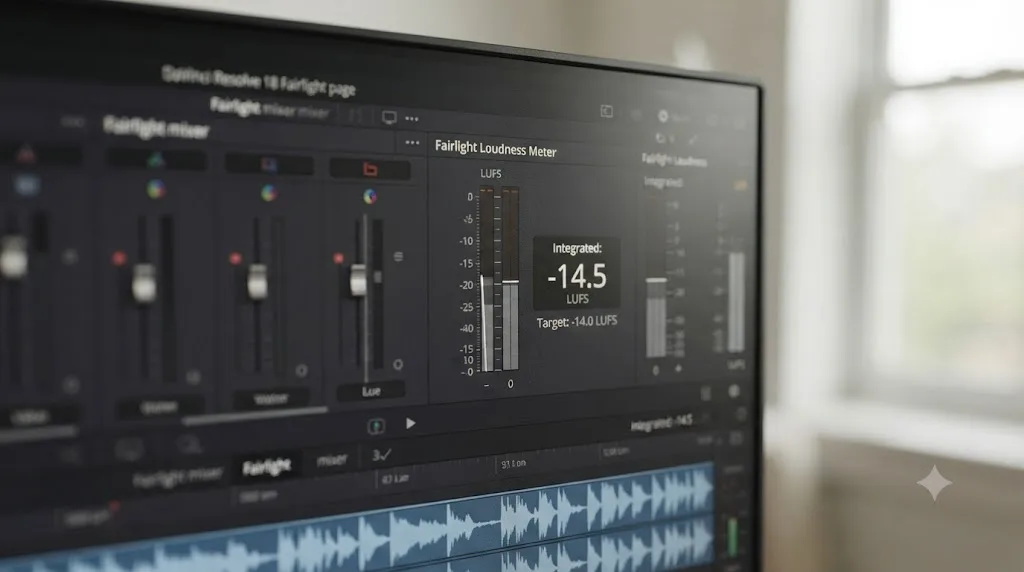
Yes, every time, using the Integrated reading on the Fairlight Loudness Meter after a full playthrough, not a quick glance mid-timeline. Different destinations expect different LUFS targets, and a WAV export carries whatever loudness your mix actually hit, with nothing adjusted automatically on the way out.
| Destination | LUFS target | True peak ceiling |
|---|---|---|
| YouTube, Spotify (video/music) | -14 LUFS integrated | -1 dBTP |
| Podcast (Apple Podcasts) | -16 LUFS integrated | -1 dBFS |
| European broadcast (EBU R128) | -23 LUFS integrated | -1 dBTP |
| US broadcast (ATSC A/85) | -24 LKFS integrated | -2 dBTP |
| Netflix delivery | -27 LKFS dialogue-gated | -2 dBTP |
Apple's own creator documentation states its podcast target directly: -16 LUFS integrated with true peak under -1 dBFS. Set your Target Loudness Level in Project Settings, then Fairlight, to whatever number matches your file's destination, play the full timeline once start to finish, and read the Integrated value, not Momentary or Short-term, since only Integrated reflects the whole mix's average perceived loudness. Our full loudness normalization guide covers the difference between that meter and the right-click Normalize Audio Levels command in more depth, along with what to do when your reading and your target don't match.
Skipping this step doesn't make your WAV wrong technically, a file at -8 LUFS is still a perfectly valid WAV file. It just means whatever platform, editor, or engineer receives it either has to fix your levels themselves or, worse, doesn't and delivers something too loud or too quiet to the actual audience. Five minutes with the Loudness Meter before you hit render avoids that entirely.
What if you need to hand the timeline's audio to another editor or a DAW instead of a flat WAV file?
A single WAV, even a set of stem WAVs, flattens every clip into continuous audio with no edit points, fades, or clip-level automation preserved as separate objects. If the receiving editor needs to keep working with your original clips, fades, and gain envelopes intact, an AAF or OMF export from File, Export, preserves that structure in a way a rendered WAV cannot.
This is a genuinely different job from what the rest of this guide covers, and it's worth knowing the line between them before you pick one. A WAV export is a finished, frozen recording: perfect for a client master, a podcast upload, or a stem going into a mix that doesn't need to touch your original edit decisions. An AAF or OMF export is closer to handing over the project itself in a portable form: individual clips, their trim points, their volume automation, and their track layout travel into Pro Tools or another DAW as editable objects, not as one continuous waveform.
Pick the WAV route covered throughout this guide when the audio work in Resolve is essentially done and someone just needs the result. Pick AAF or OMF when the next step is genuinely more editing, not just listening or light processing. If you're not sure which the person receiving the file actually needs, ask directly before you spend render time on the wrong one. A stem set built the Timeline Track way earlier in this guide already covers most real-world handoff needs without the added complexity of an AAF session.
Does exporting audio-only from a multicam or nested timeline work differently?
No, not in any way that changes the settings covered above. Resolve renders whatever audio is actually playing on the timeline at render time, whether that audio came from a multicam clip's currently selected angle or from clips nested several timelines deep.
A multicam clip only ever contributes the audio from whichever angle is active at each point on the timeline, exactly as it plays back, so an audio-only export captures that same active-angle audio without any extra configuration. If your multicam setup routes each camera's audio to a separate track rather than following the switched angle, and you specifically want that raw multi-mic audio instead of the switched result, export those individual tracks with Output Track set to Timeline Track per track, the same stem-export approach covered earlier, rather than Bus 1.
Nested timelines and compound clips behave the same way: what you hear on playback is what renders, since Resolve resolves every layer of nesting down to the same audio stream your Main bus receives regardless of how many timelines deep the original clips sit. The one thing worth double-checking on a heavily nested project is that no track inside a nested timeline got accidentally muted at some point during editing, since a mute buried three timelines deep is easy to miss and behaves exactly like the silent-export causes covered earlier in this guide.
Does the Individual Clips toggle affect an audio-only export?
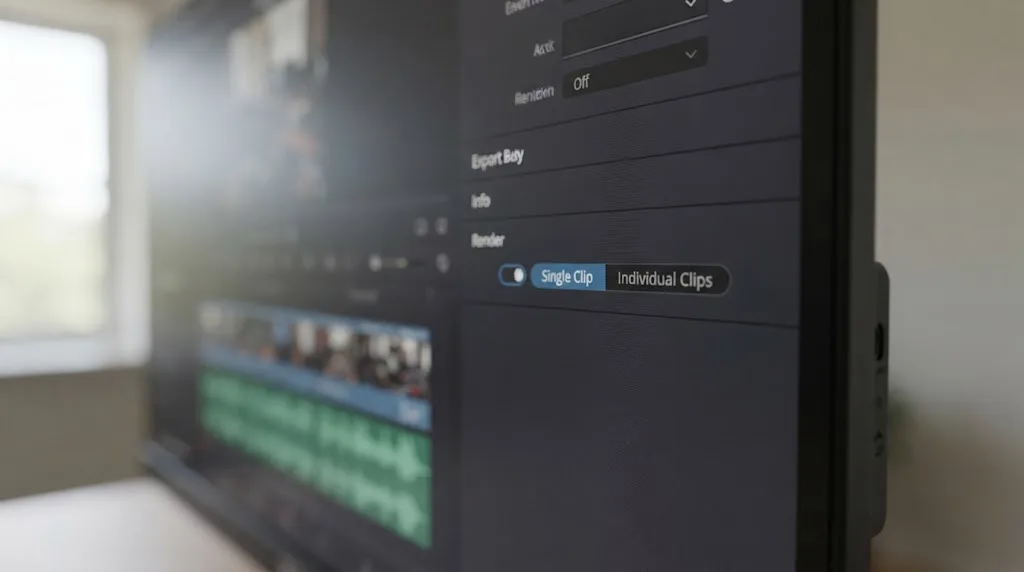
Yes, significantly. Single Clip renders your entire audio selection as one continuous file, which is what nearly every audio-only export in this guide assumes. Individual Clips instead renders every separate clip on the timeline as its own file, producing as many audio files as there are clips in your selected range.
This toggle sits above the Video and Audio tabs on the Deliver page and applies to both video and audio-only renders the same way. For a finished WAV master or a stem export, you want Single Clip, since that's what produces one continuous file matching the whole timeline or the whole track you selected. Individual Clips exists for a narrower, specific use: round-trip and dailies workflows where you genuinely want each source clip broken back out into its own separate audio file, unmixed and untouched by whatever effects live on the timeline around it.
If your audio-only render has unexpectedly produced a folder full of small files instead of one WAV, this toggle, not a Format or Codec setting, is almost always the cause. Switch it back to Single Clip and re-render.
Does the free version of DaVinci Resolve support audio-only WAV exports?
Yes, completely, with nothing in this guide gated behind Studio. The Deliver page's audio format options, the Linear PCM codec, sample rate and bit depth fields, Bus versus Timeline Track routing, and the Fairlight Loudness Meter are all part of the standard toolset that ships in the free version.
CineD's detailed comparison of the free and Studio versions confirms this pattern holds across Resolve's audio tools broadly: Fairlight's mixing, EQ, dynamics, and loudness tools ship complete without a Studio license, with Studio-gated features concentrated instead in AI-driven repair tools like Voice Isolation, and in higher-tier video specs like resolutions above 4K, frame rates above 60fps, and 10-bit output at those higher specs. None of that touches an audio-only WAV export, which involves no video encoding at all and no AI processing unless you specifically add an AI-driven Fairlight FX plugin to your mix before rendering.
The one place a free-version limitation could theoretically intersect this workflow is if your source footage itself needed Studio-only decoding or a Studio-only noise reduction pass before you got to the export stage. The WAV export step itself has no license gate.
What changed in DaVinci Resolve 21 for audio export?
Nothing about the core audio-only export mechanic changed with the version 21 line: Export Video, Export Audio, Format, Codec, Sample Rate, Bit Depth, and Output Track all work exactly as described in this guide across Resolve 21's point releases. Version-to-version changes in this cycle focused on video decoding, HDR delivery, and stability rather than the Deliver page's audio settings.
As of July 2026, DaVinci Resolve 21.0.3 is the current point release, following 21.0.2 and 21.0.1 earlier in the same cycle. Blackmagic's What's New page and its point-release notes track improvements to RAW decoding, playback stability, and HDR delivery through this cycle, none of which alter the audio-only export path this guide walks through. If you're troubleshooting an export issue that genuinely seems tied to a bug rather than a setting, confirming you're on the current point release costs nothing and occasionally resolves something that looked like a workflow problem but was actually a fixed defect.
One nuance worth flagging for anyone bouncing audio specifically for podcast or AAC distribution: Allan Tépper documented a real, specific limitation in Resolve's AAC audio-only export that has nothing to do with WAV. He found the software writes AAC files with the wrong system file extension: "the exported file comes out wrong. For example, if the desired example is CFM-98.m4a it comes out as CFM-98m4a.mp4." He also noted "there is currently no way to add a thumbnail or other metadata to the exported AAC file," and that Resolve "always uses AAC-LC instead of AAC-HE" even at very low bitrates meant for speech-only content. None of these three issues touch a WAV export, since Wave is a simpler, metadata-free container to begin with, but they're a real reason to bounce your master as WAV first and handle any AAC conversion in a dedicated audio tool if podcast distribution is the end goal.
What are the most common mistakes when exporting audio only from a DaVinci Resolve timeline?
Nearly every audio-only export problem traces back to one of five specific setting mismatches, not a bug or a corrupted file. Work through this list before you assume something is broken.
- Export Video left checked. Covered in full earlier in this guide, and still the single most common cause of "I asked for audio and got a video file."
- A saved preset reintroducing old checkbox states. Presets remember exactly what was checked when saved, so loading an old video-export preset can silently re-enable Export Video even in a session where you'd already turned it off.
- Output Track pointed at the wrong bus or track. Bus 1 when you meant a specific stem, or a specific track number that got renumbered after an edit added or removed a track earlier in the timeline.
- Individual Clips selected instead of Single Clip. Produces a folder of small per-clip files instead of the one continuous WAV you expected.
- A muted or soloed track left over from editing. Silences the export without any error, since Resolve renders exactly what you'd hear on playback, mute included.
Add a sixth for anyone handing files to a specific destination: not checking loudness against that destination's target before calling the export final. It won't break the file, but it means someone downstream inherits a level problem you could have caught in five minutes with the Fairlight Loudness Meter.
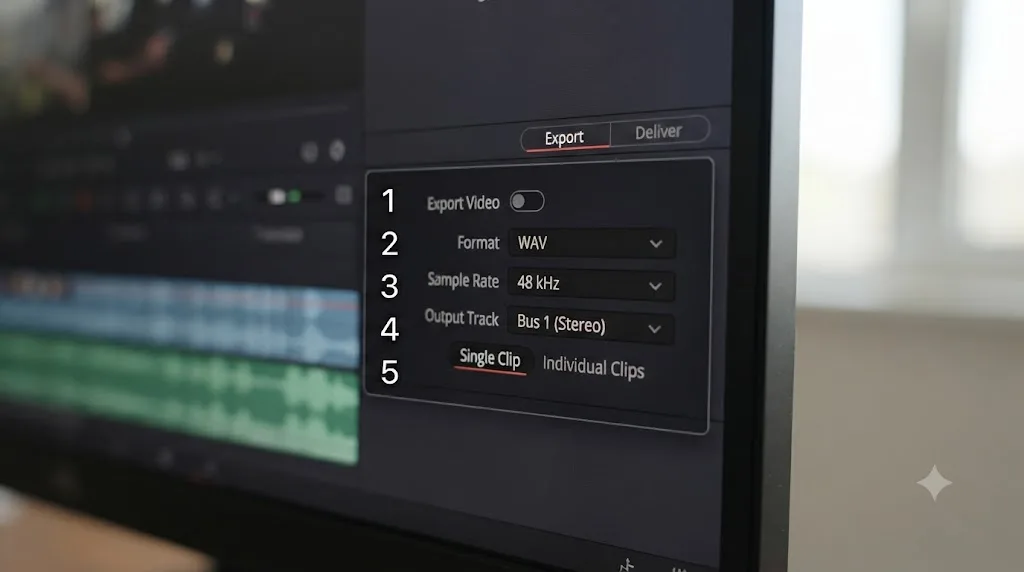
Build a habit around the order of operations instead of memorizing every individual setting: uncheck Export Video first, set Format and Codec second, confirm Sample Rate and Bit Depth third, pick your Output Track fourth, confirm Single Clip is selected fifth, and listen to the whole file back after rendering, every time, as the last step rather than an optional one. That sequence catches every mistake on this list before it reaches whoever's waiting on the file.
What's the verdict?
Exporting audio only as a WAV file from a DaVinci Resolve timeline is one checkbox, one format choice, and two numbers, Sample Rate and Bit Depth, and the entire process takes less time to run than it took to read this guide. After seven-plus years of cutting commercial work professionally and running a 100,000+ member video-editing community, this is one of the recurring questions members bring us: a task that feels like it should be obvious once you know it, and genuinely isn't until someone shows you where the Export Video checkbox lives.
Uncheck Export Video, keep Export Audio on, choose Wave, set Linear PCM, match your project's sample rate, set Bit Depth to 24, pick the right Output Track for what you actually need, and listen to the result before you call it done. That's the whole workflow, covered in the detail above for every branch where it can go wrong.
TryUncle is the on-screen assistant for DaVinci Resolve on macOS. Ask in plain words and Uncle points at the exact control on your screen, which beats hunting through a Deliver page you've barely opened while a deadline sits on the other side of that render. Check TryUncle for its current founder pricing if this is one of several Deliver page settings that keep costing you time.
Frequently asked questions
- How do I export audio only from a DaVinci Resolve timeline?
- Open the Deliver page, uncheck Export Video in the Render Settings panel, and leave Export Audio checked. The Format dropdown changes to audio-only containers: Wave, AIFF, MP3, or AAC. Pick Wave, confirm Codec is Linear PCM, set your Sample Rate and Bit Depth, then click Add to Render Queue and Render All.
- What's the best file format for an audio-only export, WAV or MP3?
- WAV for anything you'll edit, mix, or archive again, since it's uncompressed Linear PCM with no generation loss. MP3 only for a file you're distributing directly to a listener who won't ever re-edit it, since MP3 throws away data permanently and can't be un-compressed later. There's no case where MP3 is technically better, only smaller.
- Why does my audio-only export come out as a video file?
- Export Video is still checked. It's the single most common cause, especially if you started from a video preset like YouTube or ProRes Master, since those presets leave Export Video on by default and the audio-only Format options only appear once you uncheck it yourself.
- Why is my audio-only export completely silent?
- Check three things in order: whether the track feeding your chosen Output Track is muted or soloed differently on Fairlight, whether the Output Track dropdown points at a bus or track that actually has audio routed into it, and whether Export Audio itself somehow got unchecked along with Export Video. A silent render almost always traces back to one of those three.
- Can I export just one audio track instead of my whole mix?
- Yes. On the Deliver page's Audio tab, change the Output Track dropdown from Bus 1 (Stereo) to Timeline Track, then pick the track number you want in isolation. Repeat with a duplicated render job for each additional track if you need several separated stems from the same timeline.
- What sample rate and bit depth should I use for a WAV export?
- Match your timeline's sample rate, almost always 48kHz for video work, and set Bit Depth to 24. That combination is the professional standard for handoffs and archives: enough headroom to avoid the flat, compressed sound low bit depth can cause, without the unnecessarily large file size of 32-bit float for a finished mix.
- Does the free version of DaVinci Resolve support audio-only WAV exports?
- Yes, completely. Every setting in this guide, the Deliver page's audio format options, Linear PCM codec, sample rate and bit depth fields, Bus versus Timeline Track routing, is part of the standard Fairlight and Deliver toolset that ships free. Nothing about exporting audio only requires DaVinci Resolve Studio.
- How do I export a mono WAV file instead of stereo?
- Set the source track itself to mono first: right-click the track's channel number in the track header on the Edit or Fairlight page and choose Change Track Type To Mono. Then export with Output Track set to that specific Timeline Track rather than Bus 1, since the Main bus stays stereo unless you rebuild your bus routing around a mono Main.
Sources
- DaVinci Resolve Manual - Compatible Audio Formats (Blackmagic Design)
- DaVinci Resolve Manual - Audio Panel, Deliver Page (Blackmagic Design)
- DaVinci Resolve Manual - All Other Render Settings for Output (Blackmagic Design)
- DaVinci Resolve Manual - Target Loudness Level (Blackmagic Design)
- Audio podcasting with DaVinci Resolve, How to (Allan Tépper, ProVideo Coalition)
- Improve DaVinci Resolve Audio Export Quality (Michele Ong)
- How to Export Individual Tracks in DaVinci Resolve (ifilmthings)
- Apple Podcasts for Creators: Audio requirements
- DaVinci Resolve, an in-depth comparison between the free and Studio version (CineD)
- DaVinci Resolve - Tech Specs (Blackmagic Design)
- DaVinci Resolve - What's New (Blackmagic Design)
- Newsshooter: DaVinci Resolve 21.0.3 Update
Keep reading
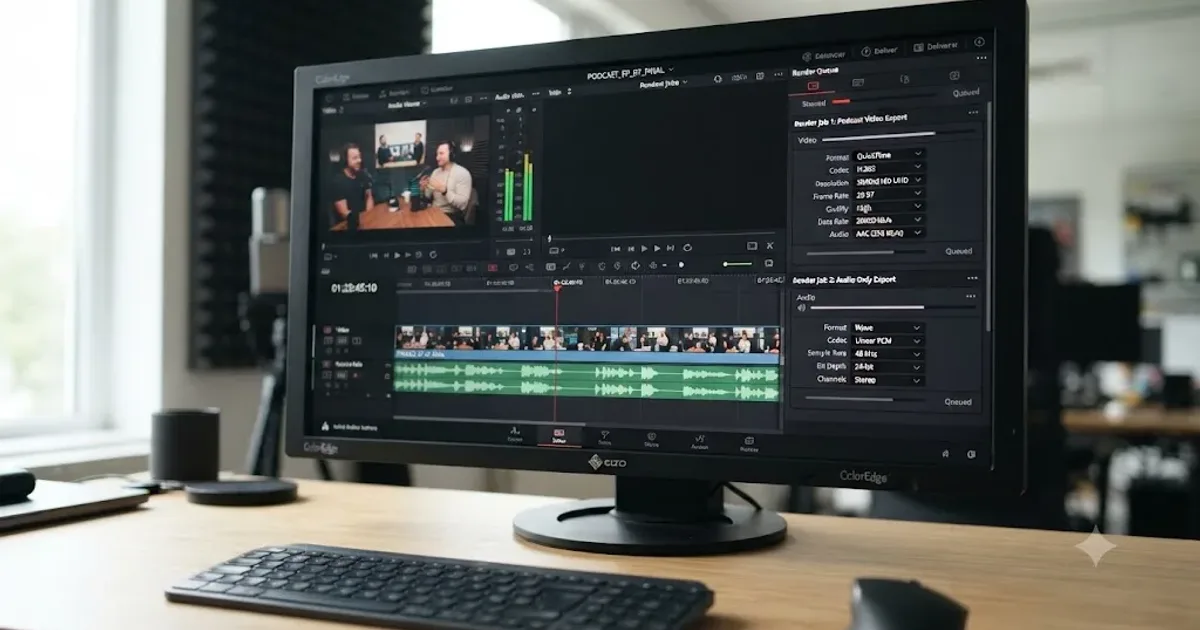
Guides · Jul 13, 2026 · 33 min
DaVinci Resolve Podcast Video Export Settings That Actually Work
The exact DaVinci Resolve export settings for podcast video: YouTube, Spotify, and Apple Podcasts specs, plus mono audio-only WAV export for RSS feeds.
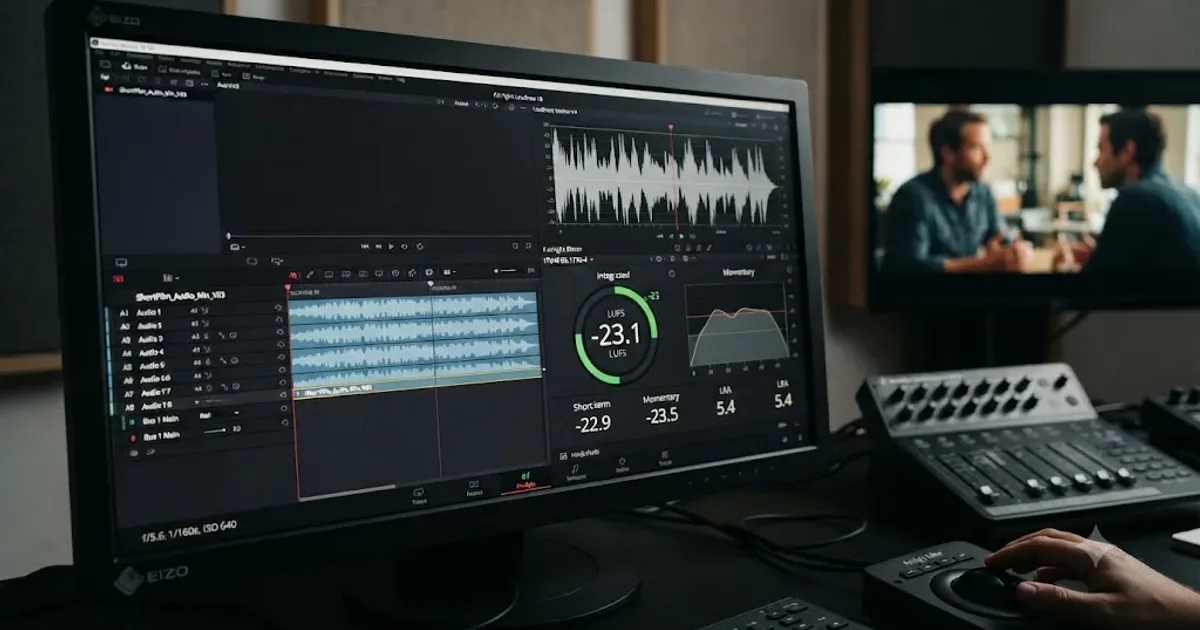
Guides · Jul 8, 2026 · 33 min
DaVinci Resolve Loudness Normalization: The Right LUFS Target
The exact LUFS target for every platform in DaVinci Resolve: -14 for YouTube and Spotify, -16 for podcasts, -23 EBU R128 broadcast. Plus how to set and hit it.
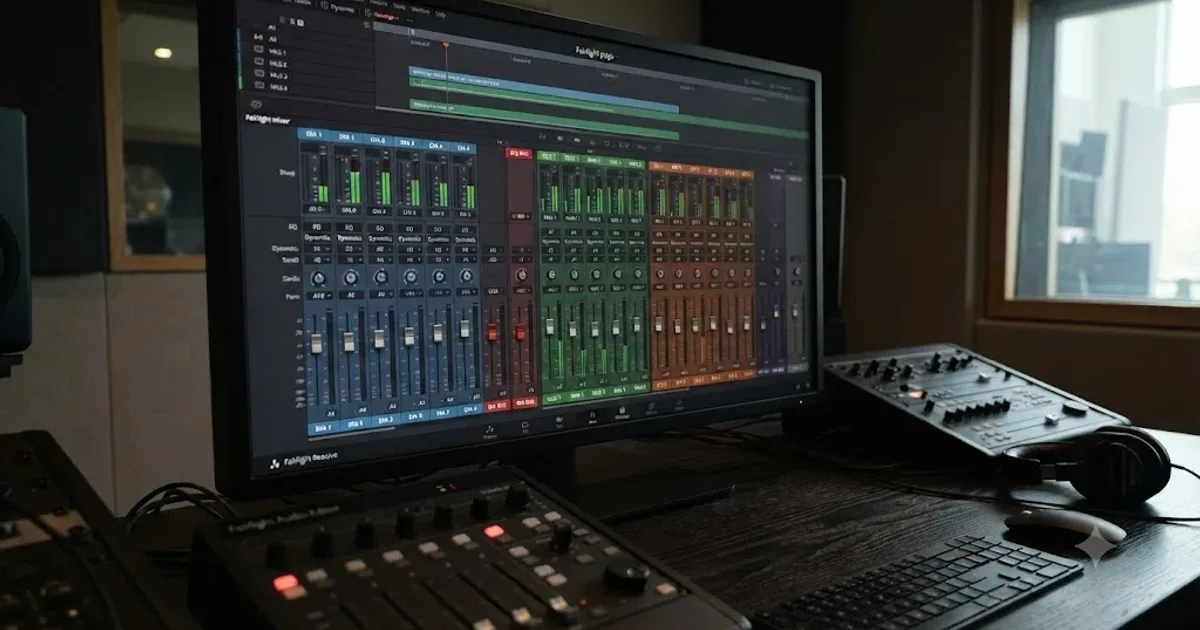
Guides · Jul 11, 2026 · 31 min
How to Mix Audio in DaVinci Resolve Using Fairlight
Mix audio in DaVinci Resolve's Fairlight page: build a dialogue/music/effects bus structure, gain-stage your clips, EQ and compress dialogue, then duck music under it.