Articles / Guidesupdated for DaVinci Resolve 21.0.2 (July 2026)
How to Mix Audio in DaVinci Resolve Using Fairlight
Quick answer
Mix audio in DaVinci Resolve by building separate buses for dialogue, music, and effects on the Fairlight page, gain-staging each clip before touching any processing, then EQing and compressing dialogue for clarity, EQ-carving music to make room for it, and adding a ducker so music drops automatically under speech. Check the final mix against a LUFS target before export.
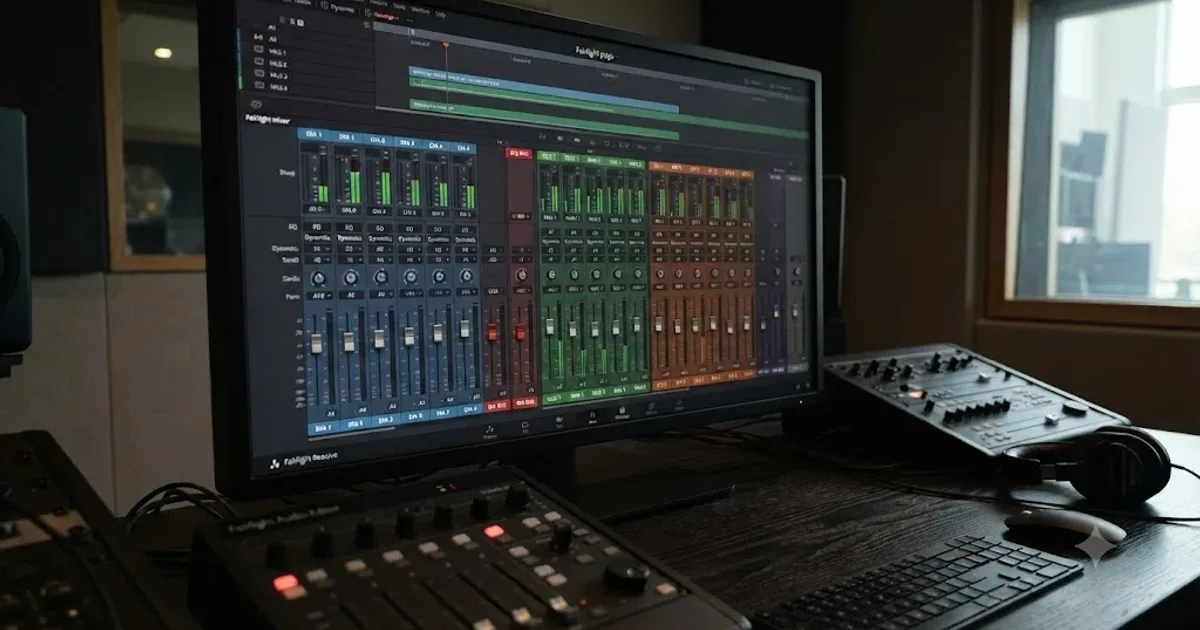
Two tracks of dialogue, a music bed, and a folder of sound effects don't become a mix just because they're all sitting on the same timeline. A mix is a decision about which sound gets to be loudest at every moment, and DaVinci Resolve's Fairlight page gives you exactly the tools professional audio consoles use to make that decision: buses, EQ, compression, sends, and automation. None of it requires Studio. Most of it takes longer to explain than to actually do.
This guide walks through building that structure from nothing: routing tracks into buses, gain-staging before you touch a single plugin, EQing and compressing dialogue, carving music out of dialogue's way, ducking music automatically, and checking the result before you export. If your dialogue itself is noisy or hummy before any of this starts, our background noise removal guide covers that separate repair step first. This one assumes clean sources and focuses entirely on balance.
What does it actually mean to "mix" audio in DaVinci Resolve?
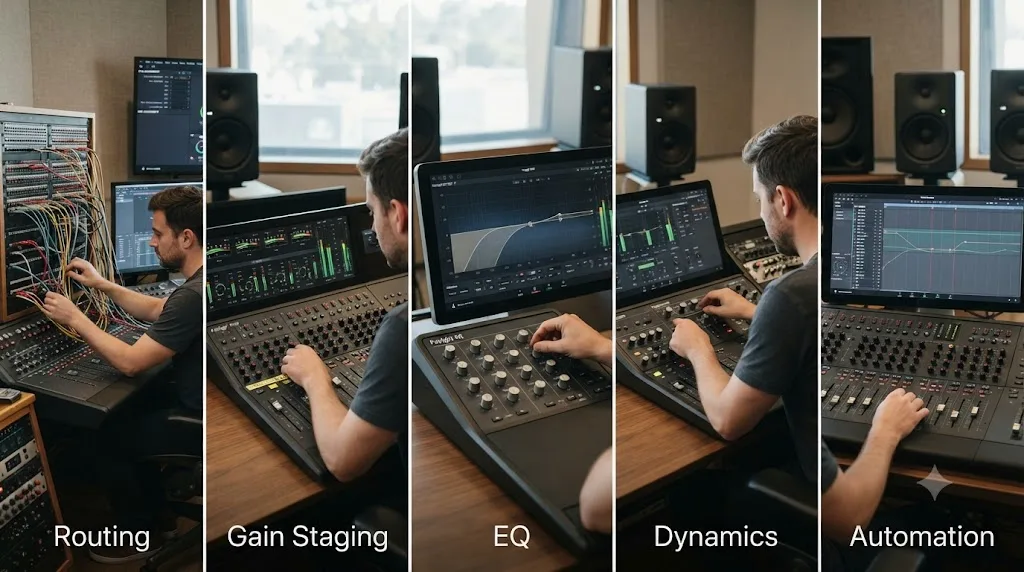
Mixing is five separate jobs wearing one name, and Fairlight has a dedicated tool for each.
Routing decides which tracks feed which destinations, using buses. Gain staging sets a workable starting level on every clip before anything else touches it. EQ shapes tone, cutting or boosting specific frequencies so sounds stop competing for the same sonic space. Dynamics (a compressor, limiter, expander, or gate) controls how loud and how consistent a signal is over time. Automation records how any of those controls change across the length of your timeline, so a fader move at 2:14 happens the same way on every playback.
| Mixing task | Where it lives in Fairlight |
|---|---|
| Routing tracks into groups | Buses, via Fairlight menu then Bus Format and Bus Assign |
| Setting a workable starting level | Clip gain and track fader, before other processing |
| Shaping tone | The 6-band EQ on each channel strip |
| Controlling dynamics | The Dynamics window: expander/gate, compressor, limiter |
| Auto-lowering one track based on another | The Ducker, a Track FX plugin |
| Parallel processing without moving the source | Bus Sends |
| Repeating fader or plugin moves exactly | Automation, in Read, Write, Latch, Touch, or Trim mode |
None of the tools in this list require DaVinci Resolve Studio. The 6-band EQ, the full Dynamics section, buses, sends, and automation are standard parts of the Fairlight page, and Fairlight ships complete in the free version of Resolve, according to Blackmagic's own Fairlight product page. Keep that in mind through the rest of this guide: nothing covered here is behind a paywall.
Where do EQ and Dynamics actually live on the Fairlight channel strip?
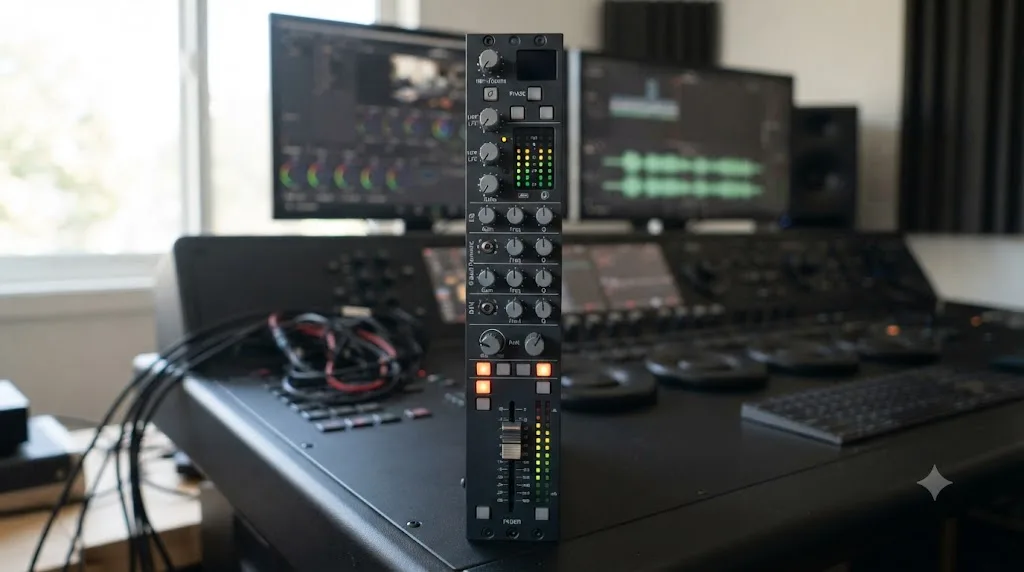
Open the Fairlight page and look at the Mixer. Every track gets its own vertical channel strip, and every channel strip processes audio in a fixed order, whether you touch every stage or none of them.
Per Blackmagic's manual entry on the Fairlight Mixer Signal Path, the signal moves through these stages in this exact sequence: the audio source itself, Path Settings for input-level adjustments, built-in Track FX, up to six Effect Inserts for FairlightFX or third-party VST and AU plugins, the Dynamics section (expander/gate, compressor, limiter), the EQ section, output routing and panning, and finally the main fader.
Fairlight processes dynamics before EQ, the reverse order of many analog consoles that put EQ first. That ordering matters in practice. A compressor reacting to a signal's raw, un-EQ'd level behaves differently than one reacting to a signal you've already brightened or darkened, because boosting a frequency band before compression changes how hard that band triggers the compressor's threshold. If your dialogue sounds like the compressor is pumping unpredictably after you added an EQ boost, this signal order is often why.
Double-click the EQ or Dynamics display on any channel strip to open its full editing window. Both sections are collapsed by default into a small graphic view on the strip itself, useful for a glance, not for dialing in exact numbers.
| Stage | What it does | Where it sits in the signal path |
|---|---|---|
| Path Settings | Adjusts input signal level and phase | First |
| Track FX | Built-in effects like Dialogue Leveler, Voice Isolation (Studio) | Second |
| Effect Inserts | Up to 6 FairlightFX, VST, or AU plugins | Third |
| Dynamics | Expander/gate, compressor, limiter | Fourth |
| EQ | 6-band parametric with Bell, Shelf, and Notch filter types | Fifth |
| Output Routing | Pan and bus assignment | Sixth |
| Main Fader | Overall channel output level | Last |
How do you route tracks to buses and build a submix?
By default, every track in a new Resolve project feeds a single main stereo bus, labeled Bus 1, that sums everything into one combined output, per Blackmagic's manual entry on Tracks and Busses. That works fine for a two-track voiceover. It falls apart the moment you have six dialogue tracks, three music cues, and a folder of sound effects, because adjusting "the mix" means hunting down every individual track instead of moving one fader.
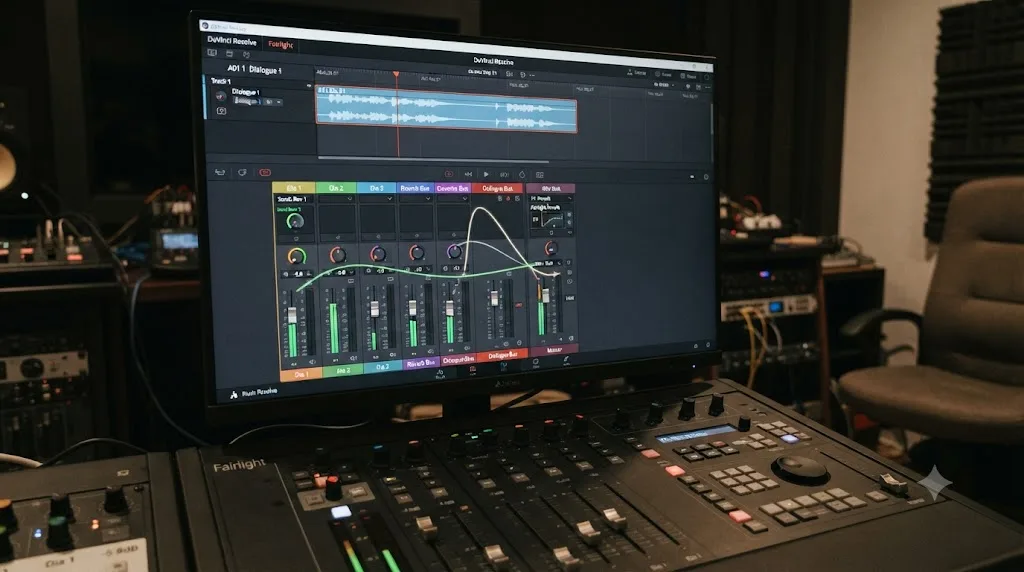
A bus solves that by acting as a destination other tracks route into. A bus is not an audio effect. It's a channel strip that receives other channel strips and lets you control, process, and export them as one signal. Once you create an additional bus, the Fairlight Mixer splits into two sets of channel strips: your original tracks on the left, and your buses on the right, as the same manual entry describes.
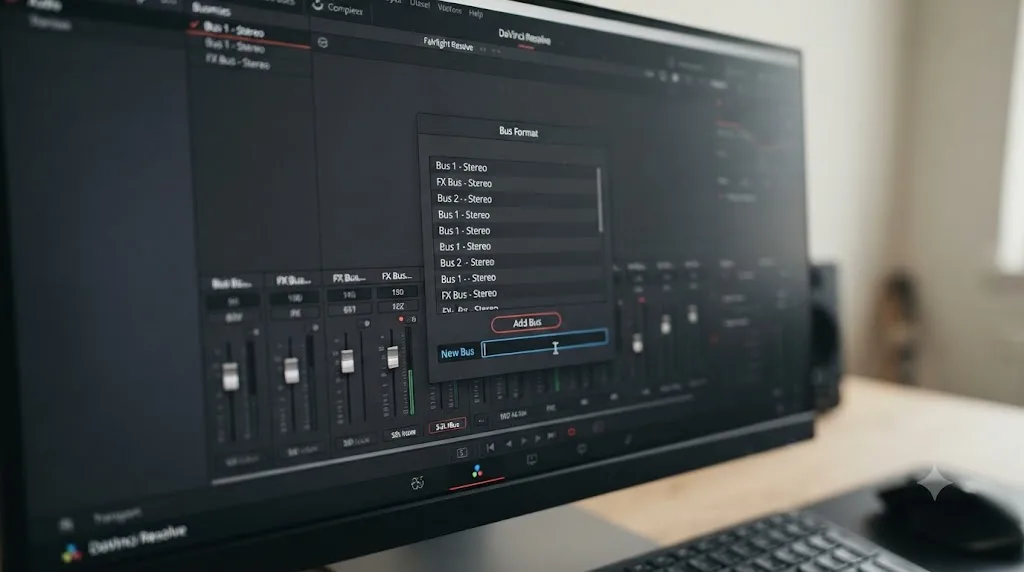
Building one takes four steps:
- Open the Fairlight menu at the top of the app and choose Bus Format.
- Click Add Bus in the list that opens, and rename it to something you'll recognize later, like "Dialogue" or "Music."
- Choose a Format for the bus (Stereo covers most projects; 5.1 or immersive formats exist for surround delivery) and optionally assign it a color so it's easy to spot on the mixer.
- Click OK, then open Fairlight, then Bus Assign, and check each track into the bus you want it feeding.
Justin Robinson, writing a bussing walkthrough for JayAreTV, frames the payoff plainly: "A single bus channel strip gives you mastery over the combined level, processing, and effects applied to all the signals routed through it," in his guide to DaVinci Resolve Fairlight bussing. That's the entire argument for buses in one sentence. Instead of six separate EQ and compressor instances on six separate dialogue tracks, one instance on the Dialogue bus processes all six at once, consistently.
Resolve's bus engine is called FlexBus, and it's built for more routing complexity than most projects will ever need: each track can send to as many as 20 sets of buses, with each set containing up to three buses, for a total of 60 possible destinations from a single track, according to Blackmagic's Fairlight product page. Buses themselves can feed other buses up to six layers deep, per the manual's FlexBus Routing and Mixing entry, which is how a professional mix builds dialogue, music, and effects buses that then all feed a single Main bus, which itself could feed a stereo delivery bus and a separate stems bus simultaneously.
You will not need 60 destinations. You will, on almost every real project, need three or four.
How do you build a Dialogue, Music, and Effects bus structure for a real mix?
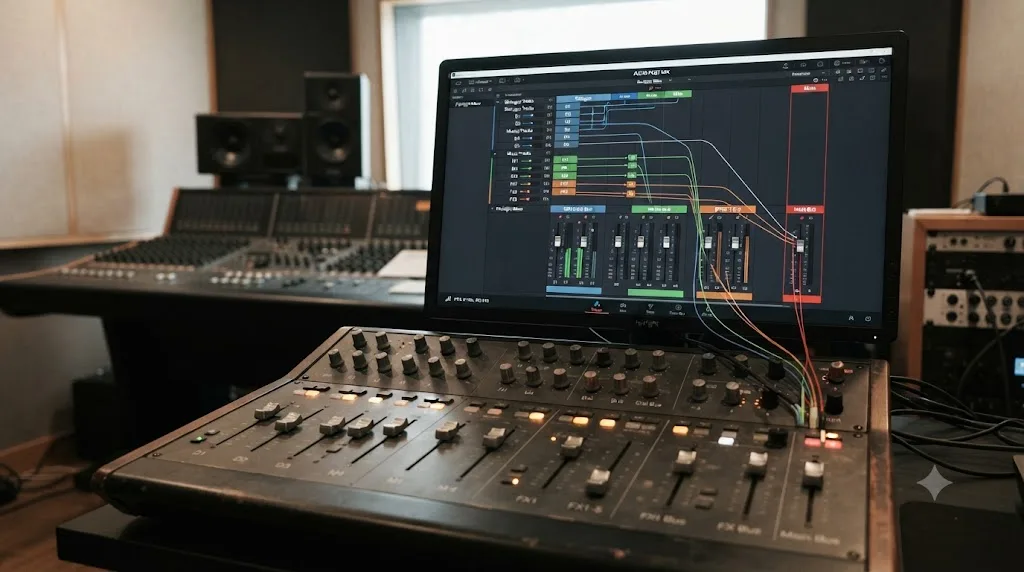
Three buses, sometimes four, cover the overwhelming majority of projects: a Dialogue bus, a Music bus, an Effects bus, and, if you're delivering to broadcast or building alternate versions, a Main bus that all three feed into.
This is a genuinely standard structure in professional audio post, often called DME (Dialogue, Music, Effects). Sam Lowe, teaching a professional Fairlight bus and track layout workflow for Mixing Light, builds exactly this pattern and explains why it matters beyond a single project: "This template lets us output a professional delivery, including a full 5.1 mix, stereo downmix, and stems for dialogue, music, and effects. It's a great way to streamline your workflow and ensure your mixes meet distributor requirements with ease," in his tutorial on professional Fairlight bus routing. Lowe's approach also keeps reverb and delay sends separate per category, dialogue, music, and effects each get their own, specifically to prevent one category's ambience from bleeding into another and to keep stems genuinely separable if a distributor asks for them later.
You don't need a distributor asking for stems to benefit from this structure. Even a single YouTube video with a narrator, a music bed, and a handful of sound effects gets easier to mix the moment those three categories live on three separate buses, because every processing decision from here on applies to a category, not a scattered pile of individual clips.
| Bus | Feeds from | Typical processing |
|---|---|---|
| Dialogue | All voice, narration, and interview tracks | EQ, compressor, sometimes a limiter |
| Music | All music bed and score tracks | EQ carving, a Ducker sidechained to Dialogue |
| Effects | All sound effects and Foley tracks | Light EQ, occasional compression on impacts |
| Main | Dialogue bus, Music bus, Effects bus | Final loudness check, limiter if needed |
Worked example: a 15-minute interview-style YouTube video has two lav mic tracks (the host and the guest), a music bed under the intro and outro, and six sound effect stings placed at cuts. Route both lav tracks to a Dialogue bus. Route the music bed to a Music bus. Route all six stings to an Effects bus. Route Dialogue, Music, and Effects to the Main bus. From here, every EQ, compression, and ducking decision in the rest of this guide happens on three channel strips, not nine.
How do you gain-stage your clips before touching EQ or compression?
Gain staging is the least glamorous step in this whole guide, and skipping it is the single most common reason a mix built with all the right tools still sounds wrong.
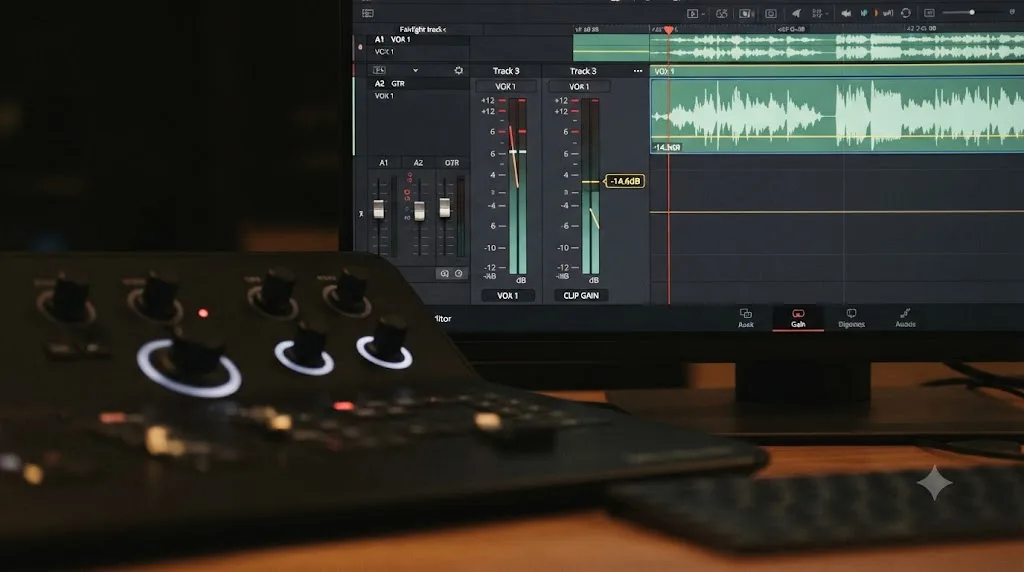
The idea is simple: get every clip playing at a reasonable, non-clipping level before you apply a single plugin. A compressor set up correctly for a clip peaking at -6dBFS behaves completely differently applied to the same clip peaking at -20dBFS, because compressor thresholds and EQ boosts are all relative to the level actually hitting them. Fix the loudest, quietest, and most inconsistent clips with plain clip gain first, and every processing decision downstream becomes predictable instead of a moving target.
Play through each bus solo and watch its meter. A lav mic track that jumps between -25dBFS and -6dBFS clip to clip needs its worst offenders pulled into line with clip gain before EQ or compression ever sees it. A music bed imported hot at -3dBFS needs pulling down before it becomes the loudest thing on your Main bus by default. Neither of these is a creative mixing decision. They're housekeeping, and they're the housekeeping every other step in this guide depends on.
Fix level problems with clip gain first. Fix tone problems with EQ. Fix consistency problems with a compressor. Using the wrong tool for the job is how a mix ends up needing twice the processing to solve half the problem. A compressor set to claw back 15dB of gain reduction on a clip that was simply recorded too hot will sound noticeably more squashed than the same clip, gain-staged correctly first, run through a gentle 2:1 ratio.
How do you EQ dialogue in Fairlight?
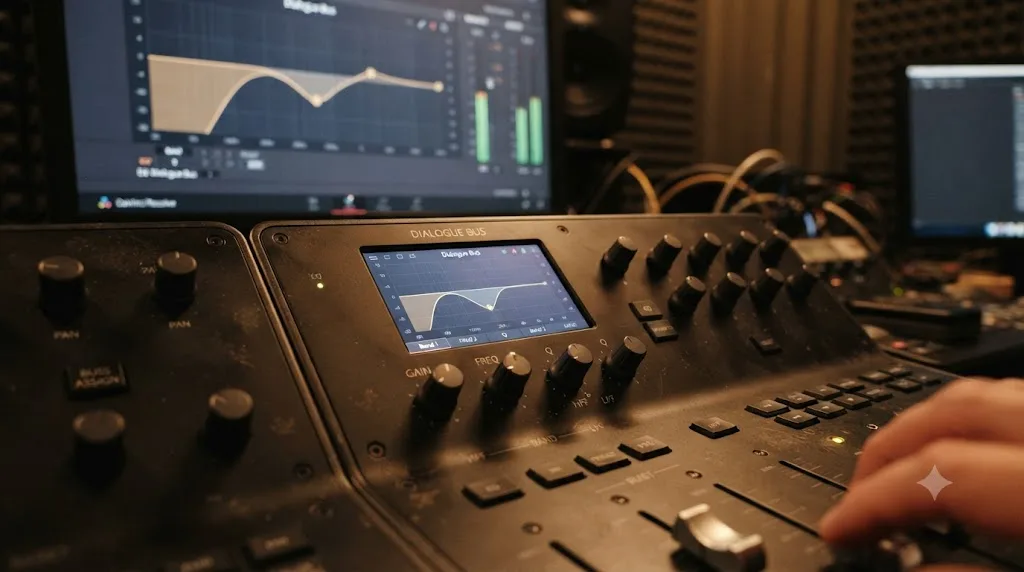
Open the Dynamics or EQ display on the Dialogue bus's channel strip and double-click to open the full window. Fairlight's channel EQ is a 6-band parametric equalizer, per Blackmagic's Fairlight product page, with each band offering a choice of filter type, Bell, Lo-Shelf, Hi-Shelf, or Notch, along with frequency, gain, and Q controls, per the manual's Mixer entry covering EQ and Dynamics. Resolve 21 brought the clip-level EQ up to the same 6-band capability, according to Blackmagic's own What's New page, so the same tonal control is now available whether you're shaping a single clip or an entire bus.
Dialogue EQ is almost always subtractive first, additive second. Three moves cover most raw dialogue:
High-pass filter around 80 to 100Hz. Human speech carries almost no useful energy down there, but HVAC rumble, handling noise, and a mic's proximity-boosted low end all live in that range. Cutting it clears mud without touching the voice.
A cut of a few dB around 250 to 400Hz. This is the classic "boxy" range, the sound of a voice recorded in a small, untreated room or too close to a hard surface. A gentle bell cut here, 2 to 4dB, opens the dialogue up noticeably.
A light cut around 3 to 5kHz, only if the take sounds harsh. This range carries sibilance and consonant edge. Too much energy here reads as fatiguing over a long runtime. Not every take needs this cut; add it by ear, not by default.
Resist the urge to boost presence frequencies (typically 2 to 4kHz) as a first move. A voice that sounds thin usually needs the muddy low-mids removed more than it needs the highs pushed up, and boosting before cutting tends to just make an already-unbalanced signal louder in its unbalanced places.
How do you EQ music so it stops fighting your dialogue?
Here's the mistake almost every new editor makes: dialogue is getting buried under music, so the instinct is to turn dialogue up. That works until the music gets louder in its own right (a chorus, a drop, a swell), and the whole cycle starts over, dialogue chasing music chasing dialogue, both climbing toward a mix that's exhausting to listen to.
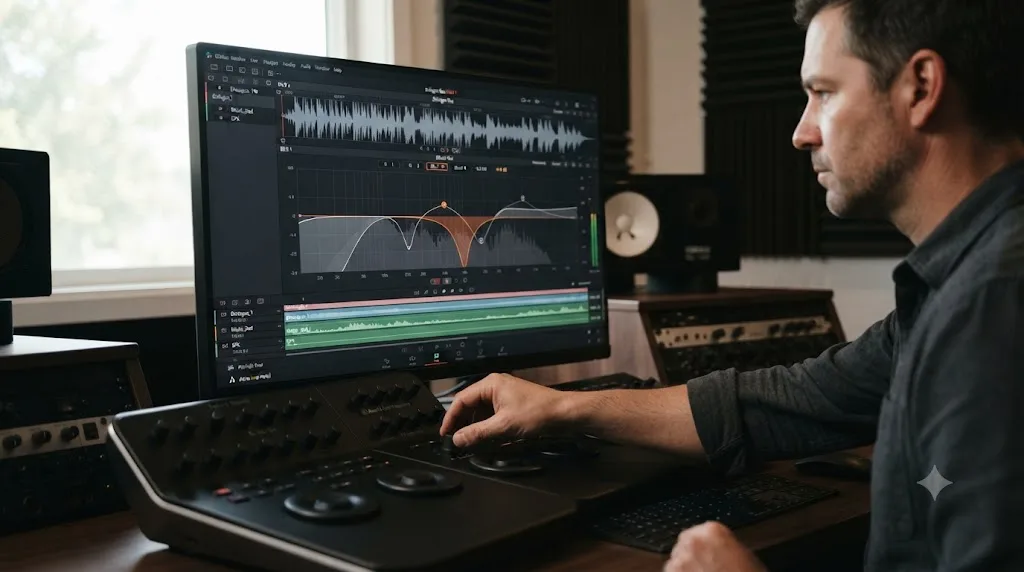
The actual fix runs the other direction. Cinematographer Shane Hurlbut, ASC, describes the underlying problem with a memorable comparison: "All things in this world require balance, room, air, peace. And like a Production Assistant trying to move an 18K, audio tracks work the best when they're not stepping on each other's toes," in his guide to mixing voices and music with Fairlight. His technique, EQ carving, doesn't touch dialogue level at all. It removes the specific frequencies in the music that overlap with dialogue's fundamental range, so both can sit at a comfortable, present level without competing for the same sonic space.
The method, applied on the music bus's EQ:
- Make sure dialogue is already balanced and processed first (EQ'd and compressed, covered above), since you're carving music around a finished reference, not a moving target.
- Double-click the music bus's EQ to open the full window, and select one of the middle bands, using a Bell filter type.
- Boost that band significantly, then sweep its frequency slowly while dialogue plays over the music.
- Listen for the point where dialogue gets noticeably harder to understand. That frequency is where the two sources are colliding.
- Instead of leaving the boost in place, flip it to a cut, typically 2 to 6dB, right at that same frequency.
- Repeat across two or three bands if the collision spans more than one range, which is common when the music has both a vocal element and low-end instrumentation competing with a voice.
Hurlbut's own worked example gets specific: he found the music's low end fighting the actor's vocal fundamental against a kick drum's frequency information, and cut 100Hz on the music track by 7dB to make room, a meaningfully aggressive cut that would sound wrong on the music soloed but disappears entirely once it's playing under dialogue again. If the music includes vocals or singing, he extends the same logic to the singer's frequency range specifically, since a sung melody and a spoken voice often occupy nearly identical territory.
EQ carving means cutting the frequencies competing with dialogue in your music, not boosting the dialogue louder to fight through them. That single reframe is the difference between a mix that gets louder and more tiring the longer it plays, and one where dialogue simply sits clearly on top of music without either sounding artificially quiet.
How do you compress dialogue so it doesn't jump around in volume?
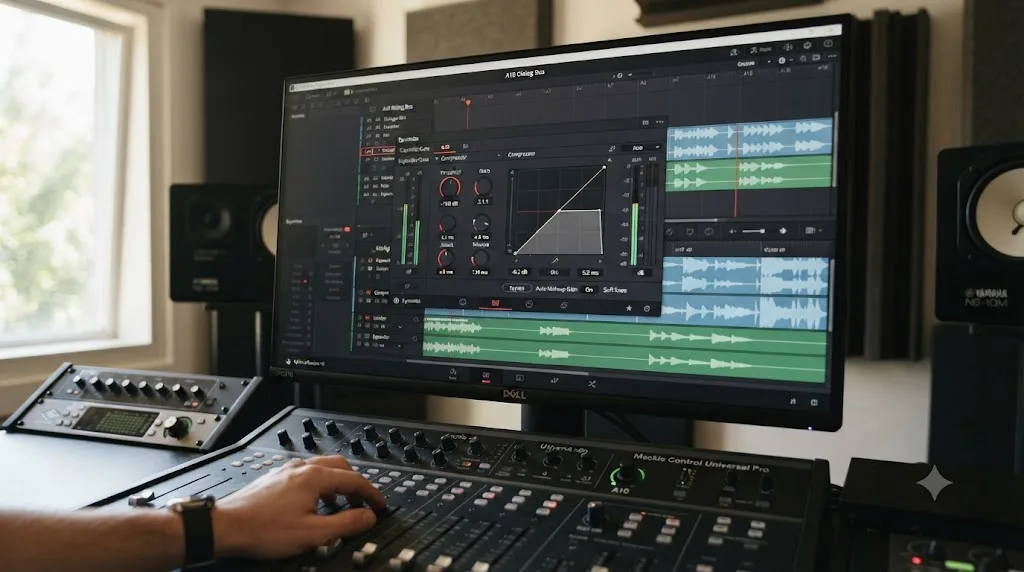
Open Dynamics on the Dialogue bus. The window contains three stages that work in sequence and can be used together or separately, per Blackmagic's manual entry on the Mixer: an Expander or Gate, a Compressor, and a Limiter.
The Compressor is the one doing the actual leveling work. Per Blackmagic's manual entry on the Compressor, its controls and defaults are:
| Control | What it does | Default | Range |
|---|---|---|---|
| Threshold | Signal level above which compression engages | -15dB | -50 to 0dB |
| Ratio | How much the signal is reduced past threshold | 2.0:1 | 1.0:1 to 10:1 |
| Attack | How fast compression engages once triggered | 1.4ms | 0 to 100ms |
| Hold | How long the initial reduction is held before release | 0ms | 0 to 4000ms |
| Release | How fast compression backs off once signal drops | 93ms | 50 to 4000ms |
With a 3:1 ratio, for every 3dB a signal rises above the threshold, only 1dB actually comes out the other side, as the manual explains it directly. For dialogue specifically, that default 2.0:1 ratio and -15dB threshold are reasonable places to start, and pushing toward 2.5:1 or 3:1 is common when a take's levels swing more than a gentle ratio can tame. André Bluteau, walking through Fairlight's compressor for beginners, lands on the same range from practical experience: "2:1 or 3:1 are good starting places for dialogue, and using too much will end up with your audio sounding artificially pushed down," in his Envato Tuts+ guide to compressing audio in Fairlight.
Attack time matters more on dialogue than most other material, because a compressor that clamps down too fast eats the consonant right at the start of a word, the very thing that makes speech intelligible. A short attack, in the 3 to 10 millisecond range, catches the loud part of a word without swallowing its leading edge entirely. The default 1.4ms is short enough to be aggressive; raising it slightly is a common dialogue adjustment if words start sounding clipped at their onset.
A compressor set to a 2:1 or 3:1 ratio on dialogue evens out volume swings without audibly squashing the performance. Push ratio much past 4:1 or 5:1 on dialogue specifically, and the leveling effect starts to announce itself, the mix equivalent of noticing the seams. Bluteau's closing advice on the tool is worth carrying into every session: "Remember to use your ears, they're your best friend and will give you just as much or more feedback as your graphs and meters."
How do you duck music under dialogue automatically?
EQ carving fixes a music bed that's masking dialogue tonally. It does nothing if the music is simply too loud in level while someone's talking. That's a different problem, and it needs a different tool: the Ducker.
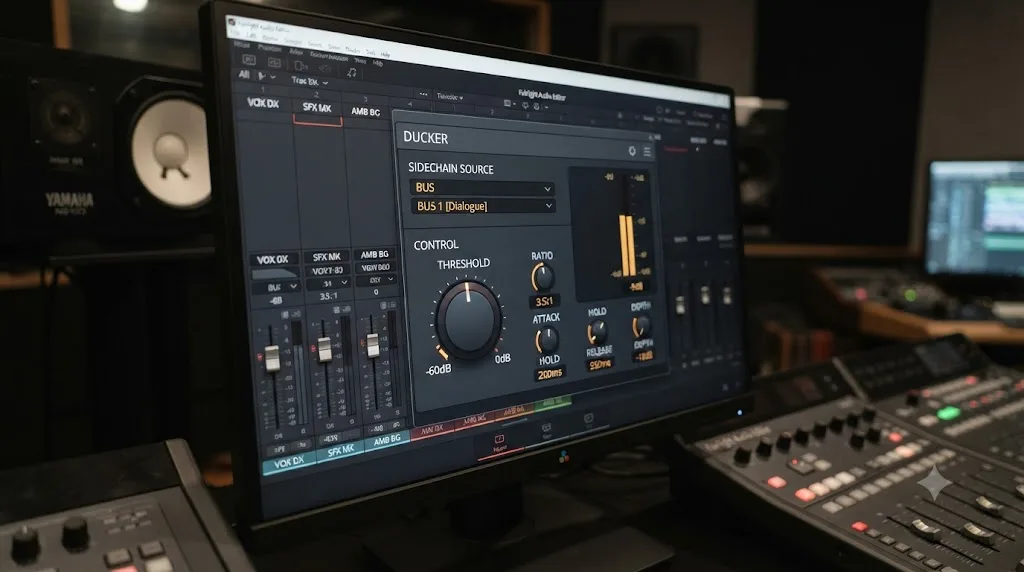
The Ducker is a specialized form of sidechain compression, a compressor whose trigger signal comes from a different track than the one it's processing. Set it up on the Music bus, and every time dialogue plays, the ducker pulls the music's level down automatically, then lets it back up once dialogue stops, per Blackmagic's own description of the track FX ducker plug-in, which "uses the signal from one or more dialogue tracks to automatically control volume reduction on a target track."
A ducker is a compressor triggered by a different track's audio, not by its own. That distinction is the entire mechanism: a normal compressor on the music bus reacts to the music itself getting loud, while a ducker on the music bus reacts to the dialogue bus getting loud, regardless of what the music is doing at that moment.
Setting it up, per Larry Jordan's walkthrough of the workflow:
- Switch to the Fairlight page (Shift+7).
- In the Mixer, double-click the Dynamics display on the Music bus's channel strip.
- From the presets menu in the top left of the Dynamics window, choose Music Pumper, a starting point tuned for exactly this job.
- In the lower section of the window, find Sidechain Source and set it to the Dialogue bus.
- Lower the Threshold to increase how aggressively the ducker engages, and adjust Ratio, commonly between 3:1 and 5:1, to control how far the music drops.
- If the volume change feels abrupt rather than musical, raise Knee slightly to smooth the transition.
Jordan describes the underlying technique clearly: "sidechaining" lets "the audio output from one track (dialog) automatically control effects applied to a different track (background music)," happening in real time without a single manual keyframe, in his article on ducking background music under dialogue in DaVinci Resolve. He also flags an important limit worth remembering: "If you have a dialog clip with a lot of noise in it, ducking is not the right technique." A ducker changes level, not tone or noise floor, so a dialogue track that's genuinely noisy still needs the repair tools covered in our background noise removal guide before ducking does anything useful.
Worked example: a tutorial video's music bed sits comfortably at -20 LUFS during instrumental sections but needs to drop to roughly -28 LUFS whenever the narrator speaks, so the voice reads clearly without the music disappearing entirely between lines. A ducker on the Music bus, sidechained to the Dialogue bus, with threshold pulled down until that 8 LU dip happens automatically on cue and a Recovery time slow enough that the music doesn't visibly "pump" back up between individual words, handles that dip on every line of the whole video without a single manual keyframe.
How do sends differ from buses, and when do you actually need one?
Buses and sends both move audio somewhere else, and that similarity is exactly what makes them easy to confuse.
A bus, covered earlier, is a destination: routing a track's main output to a bus moves its entire signal into that bus's combined channel strip. A send is different. It creates a parallel copy of a track's signal, feeding it to an additional bus while the original signal keeps traveling wherever it already goes. Buses route audio for control. Sends route audio for parallel processing, without removing the original signal from where it already goes.
The clearest use case is a shared reverb. Say three separate dialogue clips in a scene all need a touch of the same room reverb to sound like they belong in the same space. Adding a reverb plugin as an Effect Insert on each of the three clips individually means three separate reverb instances, three separate settings to keep in sync, and three times the processing cost. Instead, create a Reverb bus, add a single reverb plugin to that bus's channel strip, and add a send from each of the three dialogue clips to that Reverb bus. Now one reverb instance colors all three consistently, and adjusting the reverb's character in one place changes it everywhere it's used.
Fairlight's Bus Sends default to post-fader routing, meaning the send level follows the channel's main fader position rather than sitting fixed regardless of it. That matters practically: pull a clip's fader down because it's too loud in the direct mix, and its contribution to the reverb send drops proportionally too, instead of leaving a suddenly-oversized reverb tail on a track you just quieted.
Bus Sends only appear as an option once your project has at least two buses beyond the Main bus, since a send needs somewhere to send to that isn't already the destination the track's main output is headed. If the + icon for adding a send isn't showing anything useful yet, that's usually why: build the destination bus first.
How do you automate fader and plugin moves across a timeline?
Some mix decisions aren't a single setting. A narrator's level might need a small boost during one quiet aside and a pull-back during one loud outburst, three minutes apart, and neither should require riding the fader live on every playback.
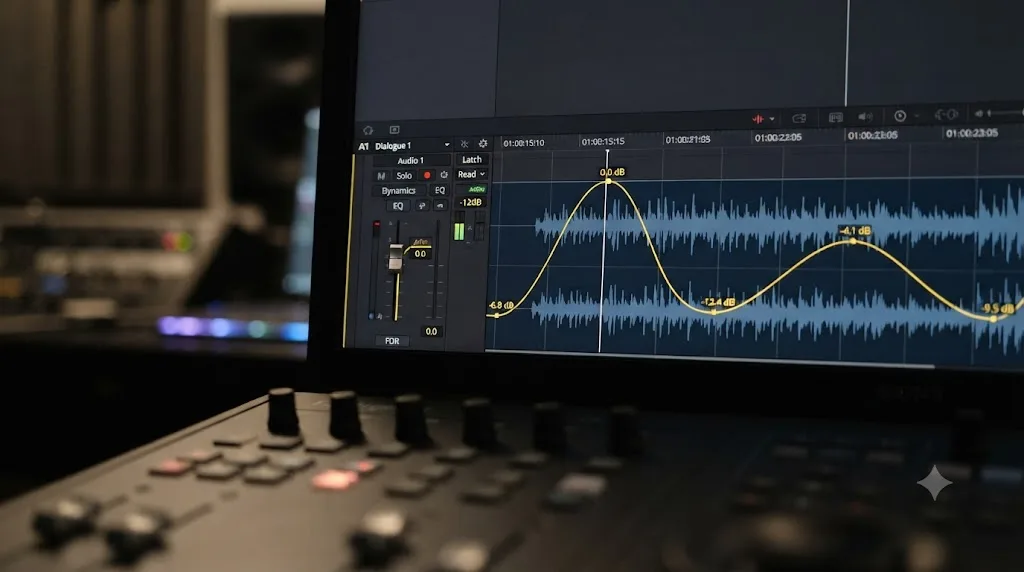
Automation records exactly this kind of change over time, and Fairlight supports several distinct modes for how it's captured. Per Blackmagic's manual entry on Automation Controls, Write "records absolute changes to a control's position, replacing any data that was there previously." Trim "records relative changes to a control's position, maintaining relative existing levels created over time, but increasing or reducing those levels overall," useful when you want to nudge an entire automated pass louder or quieter without rebuilding it. Latch captures automation "once a control is moved and continues recording after the control is released until the transport is stopped," meaning you grab the fader once and it keeps writing your held position until you stop playback. A Snap mode records a move and then "smoothly glides back to the pre-existing level at the point it was released, to create a seamless transition," useful for a single momentary nudge that shouldn't permanently alter the surrounding automation.
Alongside these, Fairlight also offers a Touch mode, which writes automation only while you're physically holding a control and reverts to whatever was already there the moment you let go, and a plain Read mode, which plays back existing automation without recording any new changes at all, the safe default state for reviewing a mix without accidentally altering it. Resolve 20 added per-channel automation mode assignment, letting you set one track to Latch while another stays in Read simultaneously, rather than forcing every channel into the same global mode at once.
Practical automation moves worth knowing:
- Riding a narrator's level through a section with inconsistent energy, in Latch mode, grabbing the fader at the loud parts and releasing once it settles.
- Fading music down manually at a specific story beat where a ducker's automatic response feels too mechanical for the moment.
- Automating an EQ boost during one line that needs extra clarity, then automatically returning to the bus's normal EQ curve after.
Automation curves display directly on the track header once recorded, as a graphical line you can select and edit like a keyframe curve elsewhere in Resolve, which makes correcting one bad automation pass a matter of grabbing and adjusting points rather than re-recording the whole thing.
What's new in DaVinci Resolve 21 for audio mixing?
Resolve 21 didn't rebuild Fairlight's core mixing tools, but it added real quality-of-life pieces that change how fast you get a mix from raw tracks to something finished.
Chain FX lets you bundle up to six plugins, in whatever combination and settings you've dialed in, into a single reusable, saveable preset, per Blackmagic's own What's New page. Build your go-to dialogue chain once, an EQ curve plus a compressor plus a de-esser tuned the way you like, and applying it to every new project becomes one click instead of rebuilding four plugin instances from memory.
Level Matcher targets a specific intercut problem: two clips of the same speaker, recorded at slightly different levels or in different rooms, cut together and suddenly sounding inconsistent. Level Matcher lets you capture a reference clip's loudness profile and apply it to other clips automatically, so a multi-camera interview or an intercut podcast stops swinging in level scene to scene.
A related EQ and Level Matcher goes a step further on tonal matching specifically, and the automation it applies isn't a one-time static adjustment. "EQ match is dynamic and is automatically automated across your clip to maintain a tonal match," per Blackmagic's description, meaning the correction tracks changes across a clip's length rather than applying one fixed EQ setting throughout.
Clip-level EQ was also brought up to full 6-band capability, matching the track and bus EQ described earlier in this guide, with settings that now copy and paste freely between the clip, track, and bus levels. And tracks can now be grouped into folders and collapsed into a single composite view on the timeline, which matters more than it sounds once a DME bus structure has six dialogue tracks, three music cues, and a dozen effects stings all stacked in the timeline at once.
None of these replace the fundamentals covered earlier in this guide. Buses, EQ, compression, ducking, and sends are still the actual mix. Resolve 21's additions make repeating that mix across many clips or many projects faster, which matters most once you've built a workflow you trust and want to stop rebuilding from scratch every session.
Do you need DaVinci Resolve Studio to mix audio like this?
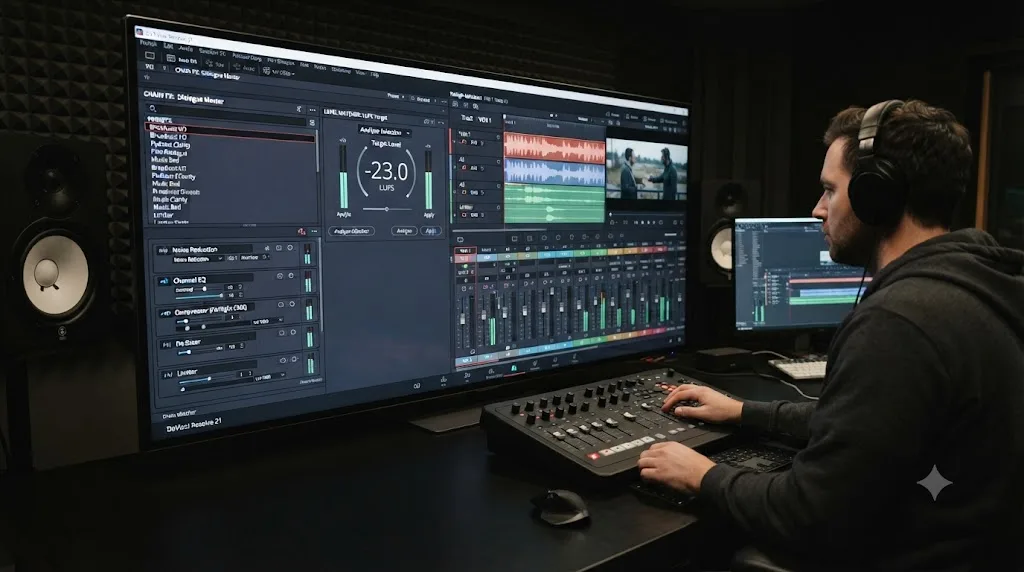
No. Every tool in this guide, buses, the 6-band EQ, the full Dynamics section with Compressor, Limiter, and Expander/Gate, the Ducker, Bus Sends, and every automation mode, is part of the standard Fairlight page, and Fairlight ships as a complete, full-featured audio page in the free version of Resolve, per Blackmagic's own Fairlight product page.
The one meaningful audio-side gate sits elsewhere entirely: Voice Isolation, an AI tool built on the DaVinci Neural Engine that rebuilds a voice from a noisy recording, is a Studio-exclusive feature, per Blackmagic's DaVinci Resolve Studio product page. That's a repair tool for chaotic location noise, not a mixing tool, and it lives outside the scope of this guide entirely. If you're chasing that specific problem, our background noise removal guide covers Voice Isolation alongside the free tools that solve most noise problems before it's ever needed.
Everything a professional post-production mix structure needs, DME buses, subtractive dialogue EQ, compression, ducking, and parallel sends, works identically whether you paid $295 for Resolve or downloaded it for free. If you're weighing the Studio upgrade for reasons beyond audio, our free vs. Studio breakdown covers the full list of what the license actually changes, and mixing isn't on it.
What does a full mix pass look like start to finish?
Here's the whole method applied in order, on a realistic 12-minute product review video: one host on a lav mic, a licensed music bed under the intro and outro, and four short sound effect stings marking cuts to B-roll.
Step one, buses. Create Dialogue, Music, and Effects buses. Route the host's track to Dialogue, the music bed to Music, and all four stings to Effects. Route all three category buses to the Main bus.
Step two, gain staging. Play through and check meters on each bus solo. The host's track peaks unevenly between -18dBFS and -8dBFS across the video, so the loudest section, a slightly excited rant about a product flaw, gets pulled down about 4dB with clip gain before anything else touches it. The music bed imported at -6dBFS gets pulled down to a more reasonable -14dBFS starting point.
Step three, dialogue EQ. On the Dialogue bus, high-pass at 90Hz to remove desk rumble picked up by the lav, cut 3dB around 300Hz to open up a slightly boxy recording space, no cut needed around 4kHz since the take doesn't sound harsh.
Step four, dialogue compression. On the same bus, Compressor at a 2.5:1 ratio, threshold at -16dB, attack left near the default so consonants stay intact, release around 100ms so the leveling doesn't audibly pump between sentences.
Step five, music EQ carving. With dialogue now processed and playing as reference, sweep a boosted band on the Music bus's EQ. The collision shows up around 200Hz, where the music's bass line sits right under the host's vocal fundamental. Cut that frequency on the Music bus by 5dB.
Step six, ducking. Load the Music Pumper preset on the Music bus's Dynamics, set Sidechain Source to the Dialogue bus, and dial threshold and ratio until the music drops audibly but not jarringly the instant the host starts talking, then climbs back during the pure-instrumental intro and outro sections where no one's speaking.
Step seven, final check. Play the whole video start to finish on the Main bus. Nothing clips. The host is clearly intelligible over both the music and every sound effect sting. Read Integrated loudness on the Main bus and compare it to your delivery target, covered in full in our loudness normalization and LUFS guide, before rendering.
Seven steps, and every one of them addressed exactly one problem: structure, then level, then dialogue tone, then dialogue consistency, then music tone, then music level relative to dialogue, then a final compliance check. Skip the order and do them out of sequence, EQ carving music before dialogue is actually processed, say, and you'll end up carving around a reference that keeps changing under you.
Which symptom points to which mixing problem?
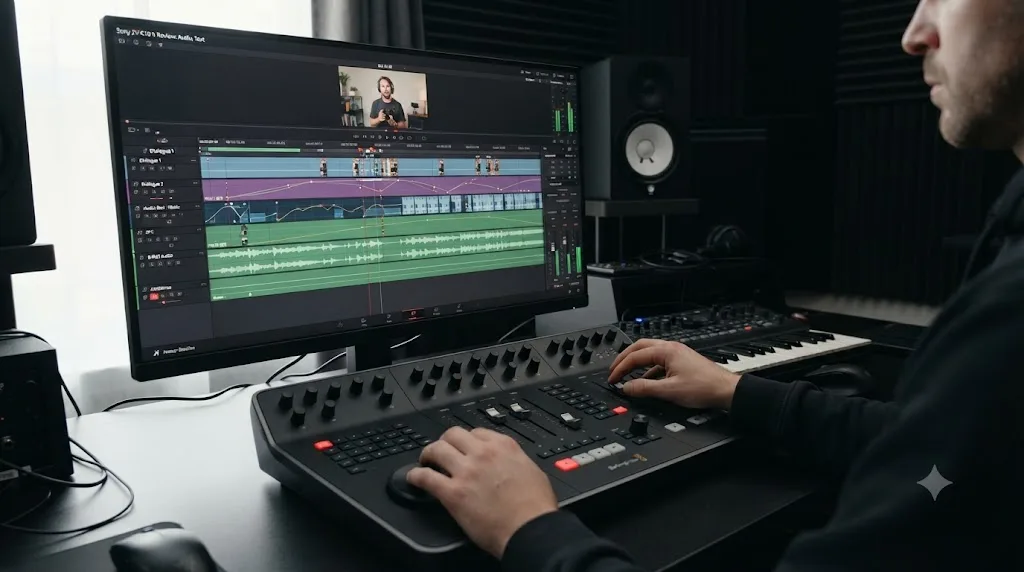
Match what you're actually hearing to the row below before opening a plugin panel at random.
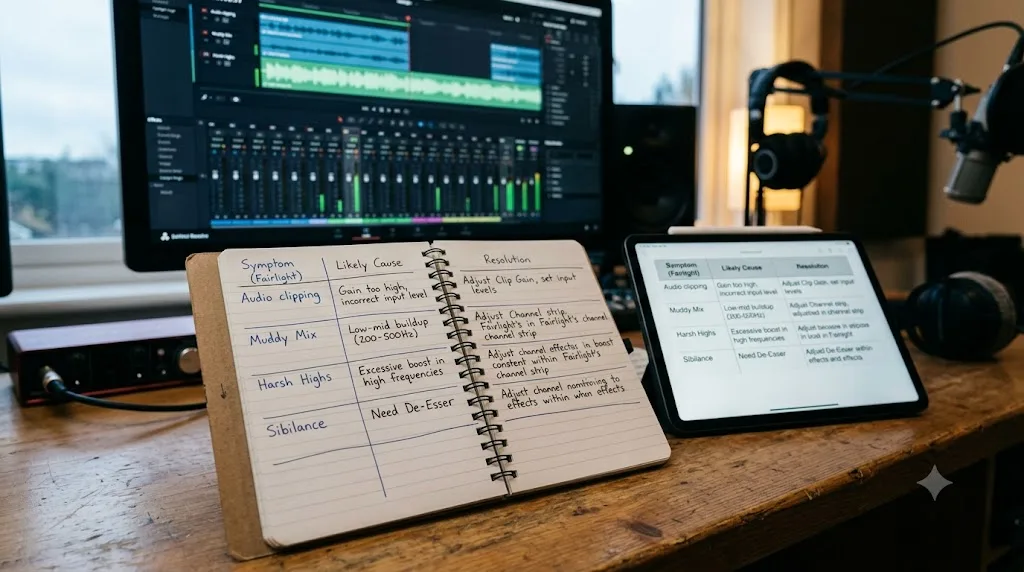
| Symptom | Most likely cause | Fix |
|---|---|---|
| Dialogue is quiet, music is loud, and turning dialogue up doesn't fully fix it | Frequency masking between dialogue and music | EQ carving on the music bus, not a level change |
| Dialogue is fine in quiet sections but buried the moment music swells | Ducker missing, or set too gentle | Add or strengthen a Ducker on the music bus, sidechained to dialogue |
| Dialogue sounds boxy or muffled | Untreated recording space, no EQ applied | Subtractive EQ around 250-400Hz on the Dialogue bus |
| Dialogue level jumps noticeably line to line | No compression, or a compressor set too gentle | Compressor on the Dialogue bus, ratio 2:1 to 3:1 |
| Compressor sounds like it's audibly pumping after adding EQ | Dynamics processes before EQ in Fairlight's signal path | Adjust compressor settings after finalizing EQ, not before |
| Reverb or an effect sounds inconsistent between similar clips | Separate plugin instances per clip instead of a shared bus | Route through a send to a shared effects bus instead |
| A fader move you made once needs to repeat identically on every playback | No automation recorded | Record the move in Write, Latch, or Touch automation mode |
| The whole mix feels loud and tiring after a few minutes | Dialogue and music both being pushed louder to compete | Carve music instead of raising dialogue further |
| A specific line needs a small level nudge that shouldn't affect the rest of the automated pass | Write mode would overwrite everything after it | Use Trim mode instead, or Snap for a single momentary adjustment |
| Final export sounds different from what you heard while mixing | Loudness never checked against a real target on the Main bus | Full playthrough, read Integrated LUFS, adjust before export |
What mistakes wreck a mix even when every individual setting looks reasonable?
A handful of habits account for most mixes that have all the right tools applied and still sound off.
Mixing before gain staging. EQ and compression settings tuned against an inconsistent starting level are tuned against a moving target. Fix levels first, every time, even when it feels like skippable busywork.
Reaching for a limiter to fix a level problem a compressor should have caught. A limiter is a safety net for the rare peak that slips past everything else, not a substitute for actual dynamics control earlier in the chain. Lean on it constantly and dialogue starts sounding flat and lifeless, all its natural variation clipped off at one hard ceiling.
Boosting dialogue EQ instead of cutting music EQ when the two collide. It's the more obvious-seeming move, and it's usually wrong. Two sounds fighting for the same frequency both losing energy from a cut sounds more natural than one sound gaining energy from a boost. Shane Hurlbut's carving method exists specifically because this instinct, reached for first by almost everyone, makes the actual problem worse over time.
Setting a ducker so aggressively that music audibly vanishes and reappears. A ducker that's too fast or too deep announces itself as an effect rather than disappearing into the mix. If you can hear the music pumping in and out mechanically, back off the ratio or slow the recovery time until the transition feels like a natural volume decision rather than a visible mechanism.
Never checking the mix on the Main bus, only on individual tracks soloed. A dialogue bus that sounds perfect in isolation can still be buried the moment music and effects join it. Every check in this guide that matters happens with everything playing together, not with the track you're currently working on isolated from everything else.
Forgetting that a track muted or soloed while mixing exports that way too. If a bus check involved soloing the Dialogue bus to focus on it, and that solo never got switched off, both your final playthrough and your actual export will reflect one isolated bus instead of the finished mix. Our no audio troubleshooting guide covers this exact trap and every other cause of a mix that sounds fine while editing and silent, or wrong, after render.
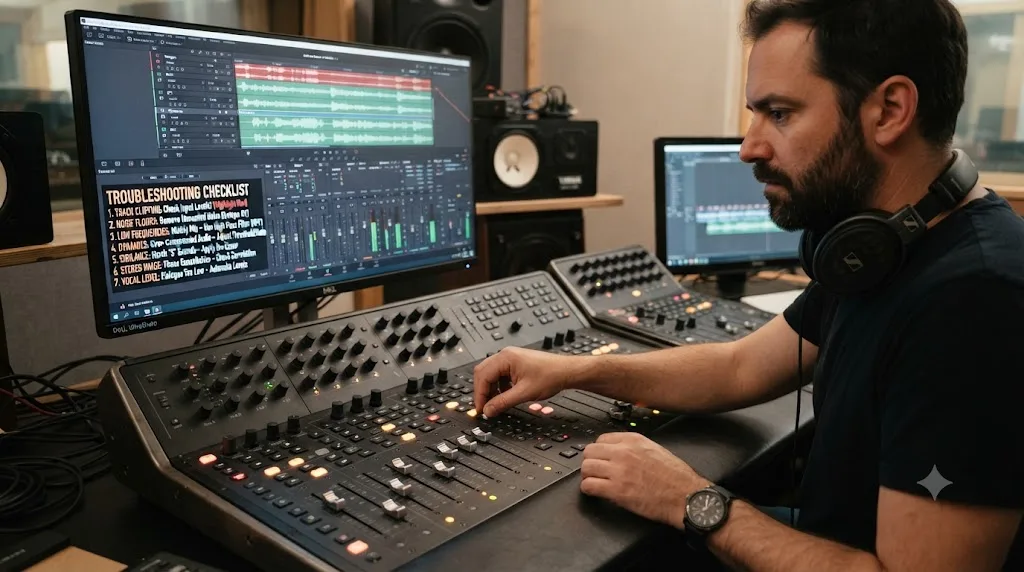
What's the fastest pre-mix checklist before you start?
Seven checks, worked in order, cover the structure every mix in this guide depends on.
- Buses exist. Dialogue, Music, and Effects at minimum, all routed to a Main bus.
- Every track is assigned to the right bus. Check Bus Assign, not just the track's visual position in the timeline.
- Levels are gain-staged. No clip is wildly hotter or quieter than the rest of its category before any processing starts.
- Dialogue is EQ'd and compressed. Subtractive EQ first, then a compressor in the 2:1 to 3:1 range.
- Music is carved, not just turned down. Sweep for frequency conflicts with dialogue before assuming a level fix alone will work.
- A ducker is active on the music bus. Sidechained to dialogue, set so the transition sounds natural, not mechanical.
- The Main bus gets a full playthrough before export. Nothing clips, nothing's muted or soloed by accident, and loudness sits close to your platform's target.
If keeping track of which bus needs which plugin, and where each control actually lives on the Fairlight page, is the part that eats your afternoon, that's the specific gap TryUncle is built for. It's an AI tutor that looks at your actual Resolve window and points at the exact control you're asking about, instead of sending you back through a guide like this one for a setting you needed twenty seconds ago.
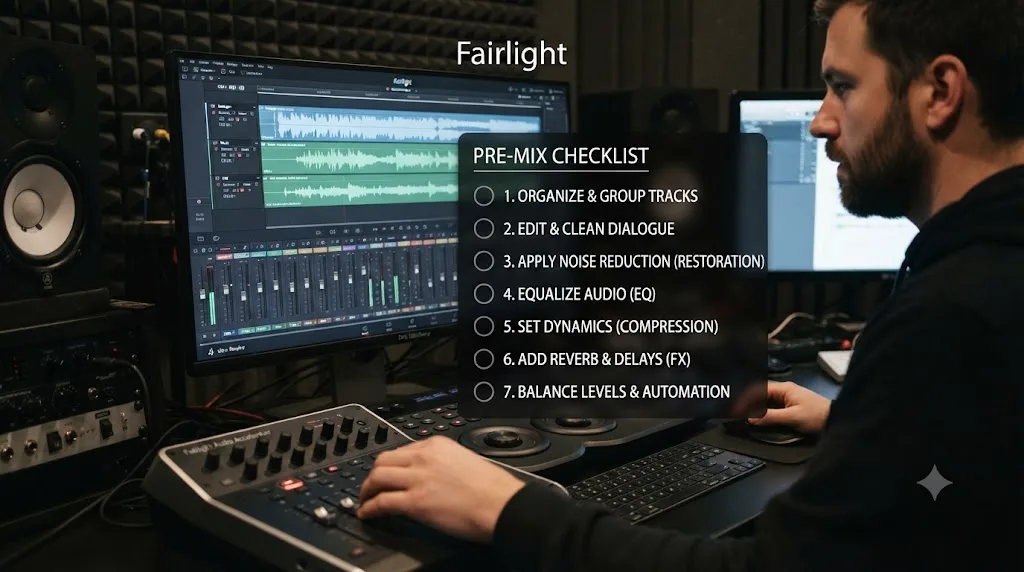
What should you actually remember from all of this?
Build the structure before you touch a single plugin: Dialogue, Music, and Effects buses, everything routed and gain-staged before EQ or compression enters the picture. EQ dialogue subtractively for clarity, compress it gently for consistency, then carve the frequencies out of your music that fight it rather than fighting back with more dialogue volume. Duck music under dialogue automatically instead of riding faders by hand through every line, and save automation for the moments a ducker's mechanical response genuinely can't handle.
None of it needs DaVinci Resolve Studio. The buses, the EQ, the Dynamics section, the Ducker, and every automation mode covered in this guide ship in the free version, exactly as capable as they are in the paid one. The gap between a mix that sounds amateur and one that sounds professional was never about the price of the software. It was about doing these steps, in this order, instead of turning one fader up and hoping the rest sorts itself out.
Frequently asked questions
- What's the fastest way to start mixing audio in DaVinci Resolve Fairlight?
- Build three buses first: Dialogue, Music, and Effects. Route every track into the matching bus, then route all three buses into the Main bus. Gain-stage each clip so nothing clips, EQ and compress the dialogue bus for clarity, EQ-carve the music bus so it stops fighting the dialogue, and add a ducker on the music bus with the dialogue as its sidechain source. That structure handles most mixes without any extra tools.
- What's the difference between a bus and a send in Fairlight?
- A bus is a destination: routing a track's output to a bus moves that track's signal into a combined channel strip you can process and control as one. A send is a parallel copy: it duplicates a track's signal to an additional bus, usually for a shared effect like reverb, while the original signal keeps going wherever it already goes. Bus sends in Fairlight default to post-fader, so the send level tracks the channel's fader position.
- What EQ and compressor settings should I use on dialogue in DaVinci Resolve?
- Start subtractive: a high-pass filter around 80 to 100Hz to remove rumble, a cut of a few dB around 250 to 400Hz to reduce boxiness, and a light cut around 3 to 5kHz only if the take sounds harsh. For compression, Fairlight's Compressor defaults to a 2.0:1 ratio and a -15dB threshold, and both are reasonable starting points for dialogue; push ratio to 3:1 if levels still swing, and keep attack short, in the 3 to 10 millisecond range, so consonants survive.
- How do I stop my music from covering up my dialogue?
- Two separate tools solve two separate problems. EQ carving removes the specific frequencies in your music that overlap with your dialogue's fundamental range, which fixes a music bed that's technically quiet but still masks speech. A ducker automatically pulls the music's overall level down whenever dialogue plays, which fixes a music bed that's simply too loud during lines. Most real mixes need both, not one instead of the other.
- Do I need DaVinci Resolve Studio to mix audio in Fairlight?
- No. The buses, the 6-band EQ, the full Dynamics section with compressor, limiter, and expander/gate, the Ducker, sends, and automation are all part of the standard Fairlight page, and Fairlight ships complete in the free version. The one audio tool gated behind the $295 Studio license is Voice Isolation, an AI tool for rescuing dialogue from chaotic noise, which is a repair task, not a mixing one.
- What order should I apply EQ, compression, and bus routing in?
- Route to buses first, since that's structural, not a processing decision. Gain-stage your raw clips second, so nothing you do afterward is correcting for a level problem instead of a tonal or dynamic one. EQ and compress each bus third. Add ducking and any sends fourth. Check the finished mix against your loudness target last, on the Main bus, after a full playthrough.
Sources
- DaVinci Resolve - Fairlight product page (Blackmagic Design)
- DaVinci Resolve - What's New (Blackmagic Design)
- DaVinci Resolve Manual - Tracks and Busses (Blackmagic Design)
- DaVinci Resolve Manual - FlexBus Routing and Mixing (Blackmagic Design)
- DaVinci Resolve Manual - Fairlight Mixer Signal Path (Blackmagic Design)
- DaVinci Resolve Manual - Mixer, EQ and Dynamics (Blackmagic Design)
- DaVinci Resolve Manual - Compressor (Blackmagic Design)
- DaVinci Resolve Manual - Automation Controls (Blackmagic Design)
- DaVinci Resolve Studio product page (Blackmagic Design)
- JayAreTV: DaVinci Resolve Fairlight Bussing (Justin Robinson)
- DVResolve.com: Audio Bus in Fairlight Explained
- Mixing Light: Unlocking the Secrets of Professional Post-Sound Bus Routing in Fairlight (Sam Lowe)
- Shane Hurlbut, ASC: DaVinci Resolve - The Secret to Mixing Voices and Music with Fairlight
- Larry Jordan: Automatically 'Duck' Background Music Under Dialog in DaVinci Resolve
- Larry Jordan: Optimizing Dialog for Quality and Levels in DaVinci Resolve
- Envato Tuts+: How to Compress Audio With DaVinci Resolve, Fairlight for Beginners (André Bluteau)
Put this guide to work with TryUncle.
Ask about the step you’re on. TryUncle sees your screen and points at the control you need, so you can keep learning in your own project.
Get TryUncle for Mac or WindowsKeep reading
Fixes · Jul 10, 2026 · 29 min
How to Remove Background Noise from Audio in DaVinci Resolve
Remove background noise from audio in DaVinci Resolve with the Fairlight Noise Reduction plugin, De-Hummer, Gate, or Voice Isolation. Exact settings, in order.
Guides · Jul 8, 2026 · 33 min
DaVinci Resolve Loudness Normalization: The Right LUFS Target
The exact LUFS target for every platform in DaVinci Resolve: -14 for YouTube and Spotify, -16 for podcasts, -23 EBU R128 broadcast. Plus how to set and hit it.
Fixes · Jul 7, 2026 · 26 min
DaVinci Resolve No Audio: Every Cause and How to Fix It
Timeline plays video but no sound? Check the mute and solo buttons, the I/O Engine setting, sample rate, and Export Audio, in that order. Full fix list.