Articles / Guidesupdated for DaVinci Resolve 21.0.2 (July 2026)
Blackmagic Cinema Camera 6K Color Grading in DaVinci Resolve
Quick answer
The Blackmagic Cinema Camera 6K shoots Blackmagic RAW with Gen 5 color science, so DaVinci Resolve reads its color metadata directly. Set Project Settings > Camera RAW to Decode Using Project, Color Science to Gen 5, and Color Space/Gamma to DaVinci Wide Gamut/DaVinci Intermediate. No manual Color Space Transform node is needed before you grade.
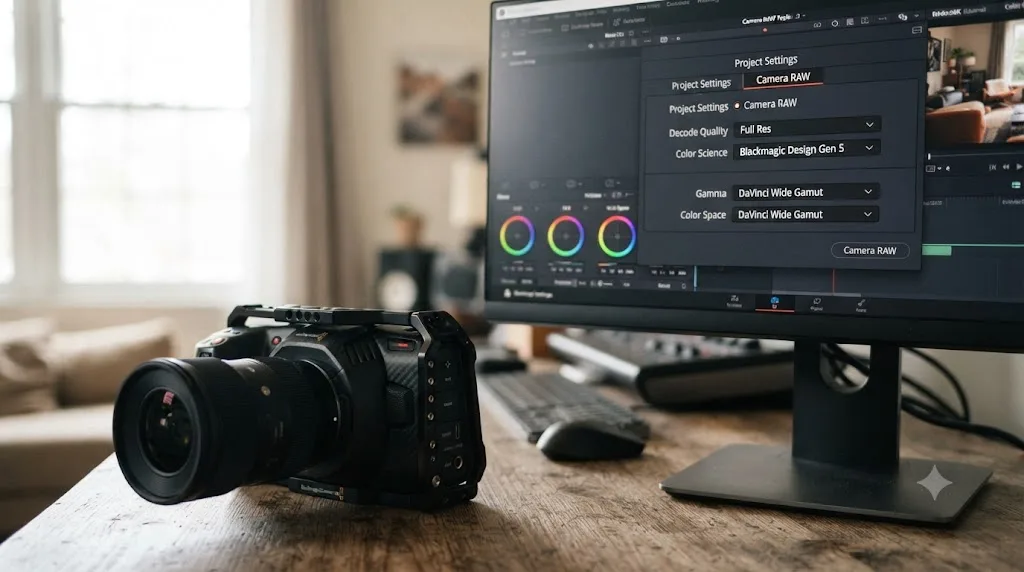
Your Blackmagic Cinema Camera 6K footage lands in DaVinci Resolve and it already looks close to right, not flat and grey like a Sony or Canon log clip does before conversion. That's not luck. It's because the camera and the software share a color pipeline, and as of July 2026, on DaVinci Resolve 21.0.2, that shared pipeline changes almost everything about how you set up the grade compared to a hybrid mirrorless body.
In seven years of professional commercial editing, including projects for Fortune 500 clients, we've built plenty of Color Space Transform chains for Sony, Canon, and Panasonic log footage. Blackmagic RAW doesn't ask for one, and knowing exactly why, and exactly when you still need a node anyway, is the difference between a five-minute setup and an afternoon of second-guessing your own scopes.
What color grading settings does the Blackmagic Cinema Camera 6K need in DaVinci Resolve?
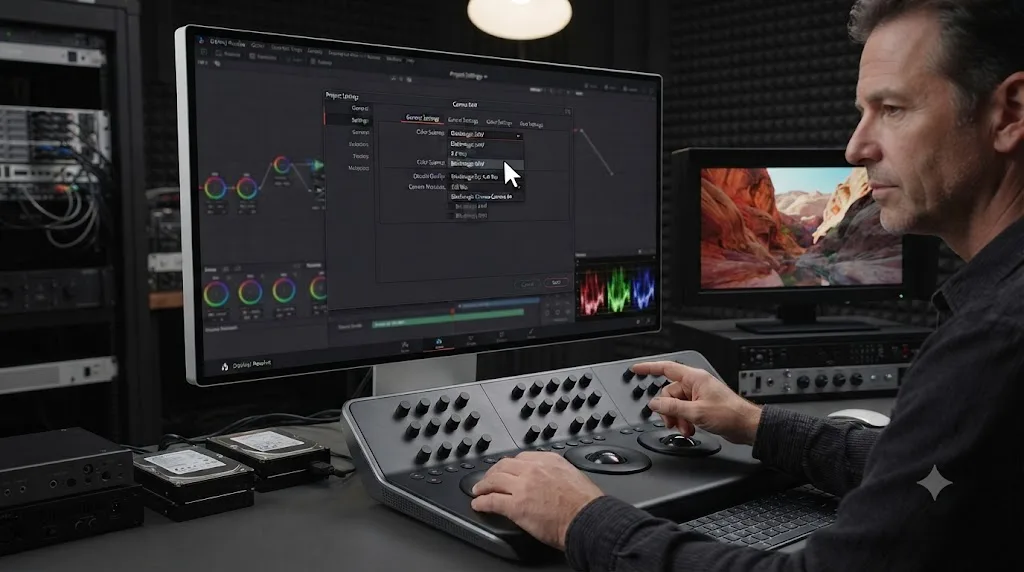
Here's the core answer, worth writing down once. Open Project Settings, go to the Camera RAW tab, and set Decode Using to Project. Set Color Science to Gen 5 to match the camera's sensor generation, and set Color Space and Gamma to DaVinci Wide Gamut and DaVinci Intermediate. That single panel is doing the job that a Sony or Canon workflow needs a manual Color Space Transform node for.
The Camera RAW tab exists specifically for this. According to the official Blackmagic manual documentation for using DaVinci Resolve with Blackmagic RAW footage, you enter the project settings menu, open the Camera RAW tab, select Blackmagic RAW as the RAW profile, set Decode Using to Project, pick a Color Science option, and set the color space and gamma from there, as described in Blackmagic's own manual for using DaVinci Resolve with the camera. Once that's set, every Blackmagic RAW clip in the project decodes the same way automatically. You don't touch it clip by clip.
Blackmagic RAW footage from the Cinema Camera 6K carries its own color science metadata into DaVinci Resolve, so the software already knows how to unpack it before you add a single node. Everything else in this guide is either fine-tuning that starting point for your specific footage, or handling the parts of the workflow color management doesn't touch: quality settings, ISO, playback performance, and monitoring.
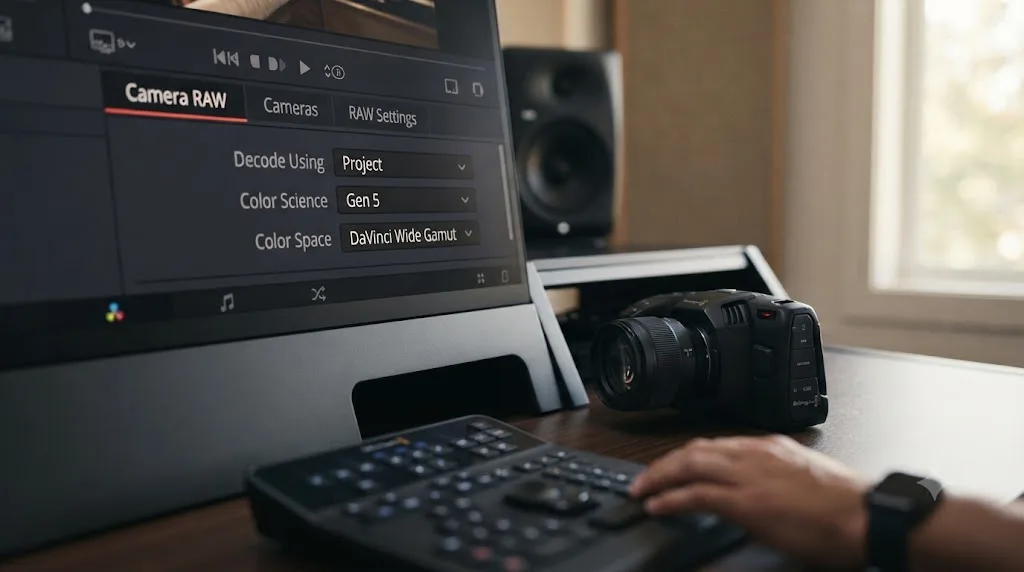
Why doesn't Blackmagic RAW need a Color Space Transform node the way Sony or Canon log footage does?
Blackmagic RAW is a camera-native format built by the same company that builds DaVinci Resolve, so the color science travels with the file as metadata instead of arriving as an unlabeled flat image that Resolve has to be told how to interpret.
When a Sony A7 IV shoots S-Log3, or a Canon body shoots C-Log3, the resulting file is a standard video codec, ProRes or XAVC or H.265, with no built-in awareness of Resolve's color pipeline. You have to tell Resolve, through a Color Space Transform node, exactly what gamut and gamma the footage was recorded in before the software can convert it into a usable working space. Miss a dropdown, and the conversion is wrong in ways that are hard to spot by eye.
Blackmagic RAW works differently by design. Blackmagic Design's own description of the format explains that BRAW moves "part of the RAW processing... out of software and into the camera, where it can be accelerated," which reduces "significantly reduced processing on your computer," according to Blackmagic's own Blackmagic RAW page for the Cinema Camera 6K. Color science, ISO, white balance, and dynamic range data ride along inside the file's metadata rather than being baked permanently into pixels, and Resolve's Camera RAW panel reads that metadata directly. The Color Space Transform step that a third-party log camera needs is functionally already done, once, at decode time, through the Camera RAW settings covered in the section above.
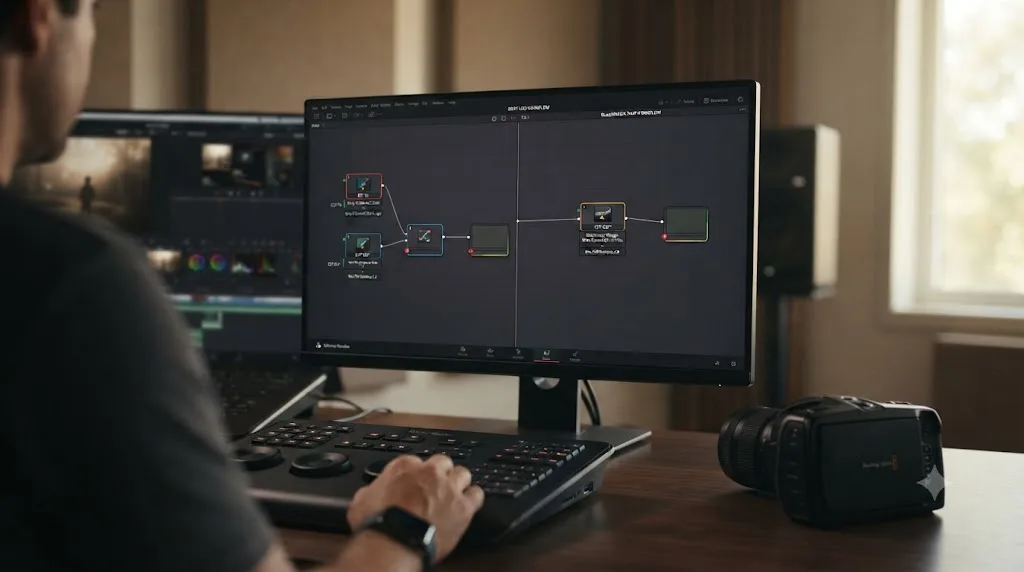
That doesn't mean Color Space Transform disappears from your node tree entirely. You still need one on your last node to convert from the working space, DaVinci Wide Gamut and DaVinci Intermediate, out to your actual delivery target, Rec.709 or an HDR space. The difference is you only add one CST node for a BMCC 6K project, on the output side, instead of the two-node in-and-out pair a Sony or Canon log workflow needs.
Two Color Space Transform nodes handle a Sony or Canon log conversion into a working space and back out; a Blackmagic RAW clip only needs the second one, because the Camera RAW panel already did the first job at decode time. This is one of the recurring points of confusion in our 100,000+ member video-editing community, since editors coming from a Sony or Canon workflow keep looking for an input CST node that a BMCC 6K project simply doesn't need.
Resolve Color Management or the Camera RAW project settings, which one fits a BMCC 6K project?
Both approaches get Blackmagic RAW footage into DaVinci Wide Gamut. Which one to reach for depends on whether your timeline is BMCC 6K footage only, or a mix of cameras.
The Camera RAW project settings covered above, Decode Using Project, Gen 5, DaVinci Wide Gamut and DaVinci Intermediate, apply globally to every Blackmagic RAW clip in the project the moment you set them. That's the fastest path for a timeline built entirely from Cinema Camera 6K footage shot the same way. It's a decode-level setting, not a node, so it doesn't show up in your node graph at all; it's simply how the clip arrives once it hits the timeline.
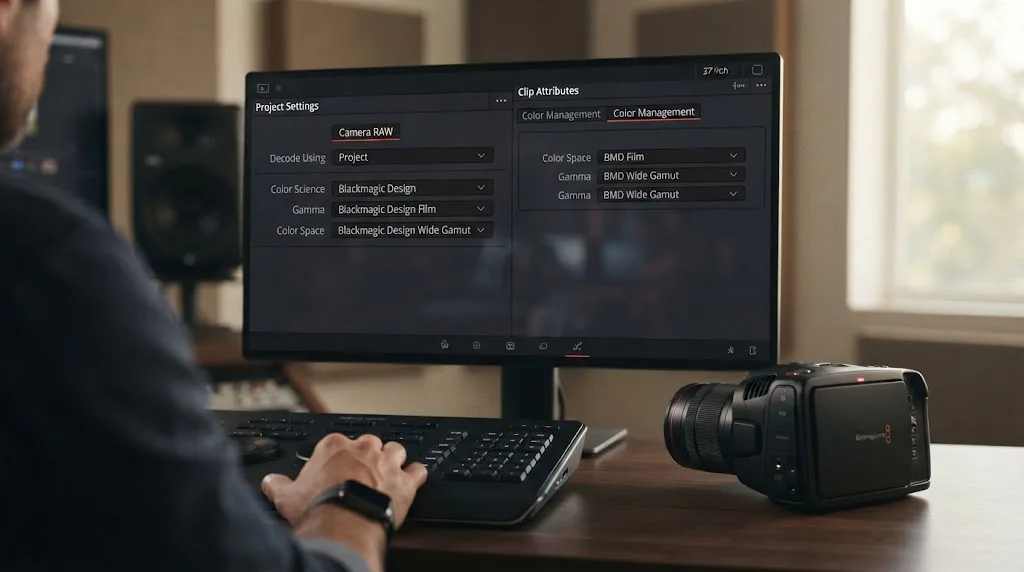
Resolve Color Management, set under Project Settings, Color Management, with Color Science set to DaVinci YRGB Color Managed, becomes more useful the moment you're intercutting BMCC 6K footage with a different camera brand in the same project. RCM lets you tag each camera's native input color space per clip through Clip Attributes, Blackmagic RAW footage on one setting, Sony or Canon log footage on another, all converging into the same DaVinci Wide Gamut working space before your shared creative grade goes on top. Our guide to matching color between different cameras in DaVinci Resolve covers that multi-camera normalization step in more depth if the BMCC 6K isn't your only source on a project.
| Situation | Better fit |
|---|---|
| Project is entirely BMCC 6K footage, consistent quality setting and ISO | Camera RAW project settings, Decode Using Project |
| Mixing BMCC 6K with another camera brand or codec | Resolve Color Management, per-clip Clip Attributes tagging |
| You want the fastest setup with the least manual work | Camera RAW project settings |
| You want per-clip override flexibility on a mixed shoot | Resolve Color Management |
What is Gen 5 Color Science and how does it change the grade?
Gen 5 is the color science generation Blackmagic Design built for the Cinema Camera 6K's sensor, and it's the same generation used in the company's flagship URSA Mini Pro 12K, not a scaled-down version built for a cheaper body.
Blackmagic Design's own product page states the Cinema Camera 6K "features the same generation 5 color science as the high-end URSA Mini Pro 12K, delivering even greater image quality with stunning, accurate skin tones and faithful color reproduction," and describes "a new dynamic 12-bit gamma curve" designed "to capture more color data in the highlights and shadows for better-looking images," per Blackmagic's official Cinema Camera 6K product page. That gamma curve is what your Camera RAW panel's Gen 5 setting decodes against, and it's the reason skin tones and saturated colors, like neon signage or tail lights in a high-contrast night shot, tend to hold together through a heavier grade instead of shifting hue as you push them.
Practically, choosing Gen 5 in the Camera RAW tab's Color Science dropdown matters because it has to match what the camera actually recorded. Earlier Blackmagic bodies, including the original Pocket Cinema Camera and early URSA models, used earlier color science generations, Gen 1 and Gen 4 among them, and mismatching that setting against footage recorded on a different generation produces a technically valid but visibly wrong decode, the same category of mistake as picking the wrong gamut on a Sony Color Space Transform. Every Cinema Camera 6K shipped since its September 2023 launch records Gen 5 natively, so this is largely a non-issue unless you're intercutting archival BRAW footage shot on an older Blackmagic body in the same project.
Gen 5 Color Science is the same color pipeline Blackmagic built for its flagship URSA Mini Pro 12K, running inside a camera that costs a small fraction of what that flagship body does. That's the practical upside of buying into Blackmagic's own camera ecosystem instead of a third-party brand: the color science your footage arrives with and the software you're grading it in were designed by the same team, at the same time, for each other.
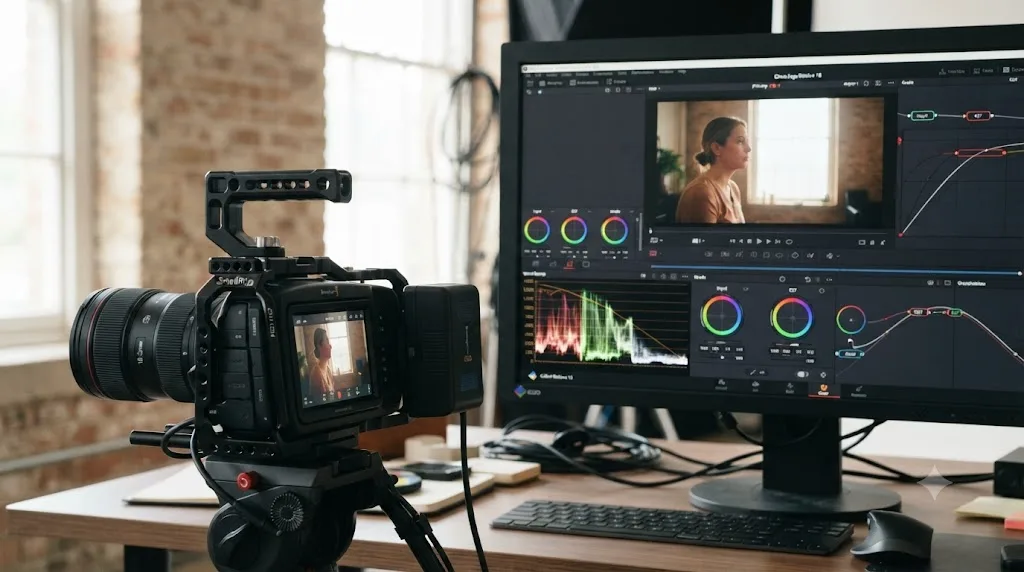
DaVinci Wide Gamut or Blackmagic Design Film, which working color space should you pick?
DaVinci Wide Gamut and DaVinci Intermediate is the right default for nearly every BMCC 6K project, and the reason is consistency rather than any weakness in the alternative.
The Camera RAW panel's Color Space and Gamma dropdowns give you a choice. DaVinci Wide Gamut, paired with DaVinci Intermediate gamma, decodes Blackmagic RAW into Resolve's own native working space, the same intermediate space this site's guides for Sony, Canon, and Panasonic footage all convert log footage into before grading. Picking it means a BMCC 6K clip and a Sony A7 IV clip, once both are decoded, sit in the exact same working space and respond to your primary correction tools identically.
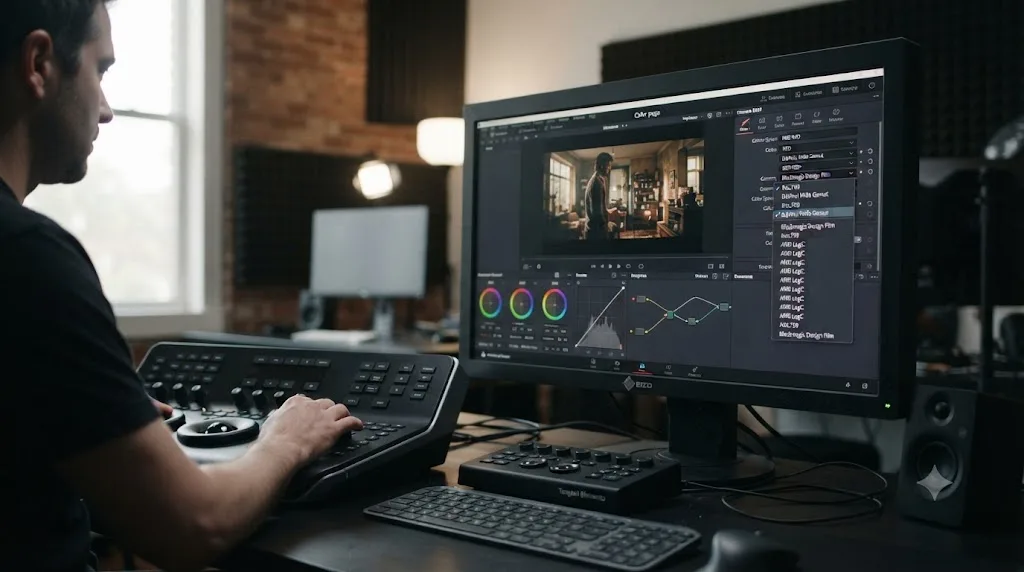
The alternative, Blackmagic Design as the Color Space with Blackmagic Design Film as the gamma, decodes the clip into Blackmagic's own log-encoded intermediate instead, described in Blackmagic's documentation as a format built "to fit the maximum amount of information from wide latitude BMD cameras into the data range" available, preserving "all the dynamic range from the source media into a signal that can be transcoded to other formats with no compromise." That's a legitimate choice if your downstream pipeline is built entirely around Blackmagic Design Film as a delivery-agnostic intermediate, common in some broadcast and VFX pipelines that need to hand off footage to other software before final grading.
For a project you're grading start to finish inside DaVinci Resolve, which covers most BMCC 6K work, DaVinci Wide Gamut is the simpler, more consistent choice, and it's what the rest of this guide assumes.
| Color Space / Gamma pairing | Best for |
|---|---|
| DaVinci Wide Gamut / DaVinci Intermediate | Grading entirely inside Resolve, mixed-camera projects, most BMCC 6K work |
| Blackmagic Design / Blackmagic Design Film | Handing off a log-encoded intermediate to another application before final grading |
Which Blackmagic RAW quality setting should you shoot for grading latitude?
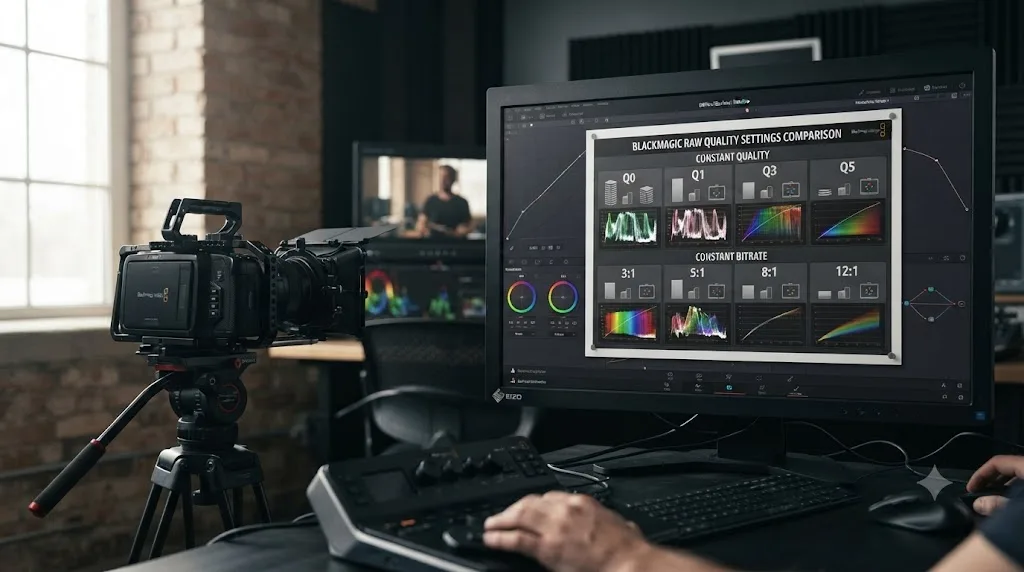
Blackmagic RAW gives you two encoding approaches, constant quality and constant bitrate, and the one you pick on set directly caps how far you can push the grade later without the footage falling apart.
Constant quality, Q0 through Q5, removes the upper data limit so complex, detail-heavy frames get encoded at a higher data rate automatically to preserve quality, rather than being capped to a fixed size. Per Blackmagic's own description, "Blackmagic RAW Q0 has minimum quantization and yields the highest possible quality, while Blackmagic RAW Q5 uses moderate quantization for more efficient encoding and a smaller file size," according to Blackmagic's Blackmagic RAW page for the Cinema Camera 6K.
Constant bitrate, 3:1, 5:1, 8:1, and 12:1, works closer to how most video codecs behave, capping the data rate at a fixed ratio relative to the sensor's uncompressed frame size, which gives you predictable file sizes at the cost of the adaptive quality boost constant quality offers on complex frames. Blackmagic frames the tradeoff directly for production use: "The pristine camera native quality of Blackmagic RAW Q0 or 3:1 is perfect for effects heavy feature film and commercial work," while "Q5 and 5:1 are extremely high quality making them great for episodic television and independent films," and 8:1 and 12:1 exist for "incredibly small files... suitable for all kinds of uses such as broadcast news, live sporting events, digital signage, A/V, corporate video, weddings and more."
None of these settings change your Camera RAW color space or gamma dropdowns. What they change is how much detail survives a heavy push in highlight recovery, shadow lift, or a color qualifier pulling a tight secondary. A lightly compressed 3:1 or Q0 clip holds together under aggressive grading; a 12:1 clip, fine for a talking-head interview cut with minimal color work, starts showing compression artifacts the moment you push it as hard.
| Quality setting | Compression level | Best for |
|---|---|---|
| Q0 / 3:1 | Lowest compression, largest files | Effects-heavy commercial or feature work, maximum push-pull latitude |
| Q1 / 5:1 | High quality, moderate file size | Episodic and independent narrative work, most general commercial jobs |
| Q3 / 8:1 | Smaller files, reduced latitude for heavy grading | B-roll, secondary coverage, lower-stakes footage |
| Q5 / 12:1 | Smallest files, least headroom for aggressive correction | Broadcast news, live events, corporate video, run-and-gun documentary |
A 12:1 Blackmagic RAW file will decode into the exact same DaVinci Wide Gamut working space as a 3:1 file shot on the same camera, but it won't survive the same amount of grading before you see it. Match your quality setting to how hard you actually plan to push the shot in post, not to whatever setting happened to be selected from the last project.
What ISO should you shoot the BMCC 6K at for the cleanest grade?
The Cinema Camera 6K uses a dual native ISO sensor, meaning it has two ISO points where the sensor's gain circuit resets and noise performance improves, rather than degrading smoothly across the entire range, and shooting near one of those two points matters more for a clean grade than shooting at whatever ISO feels close enough.
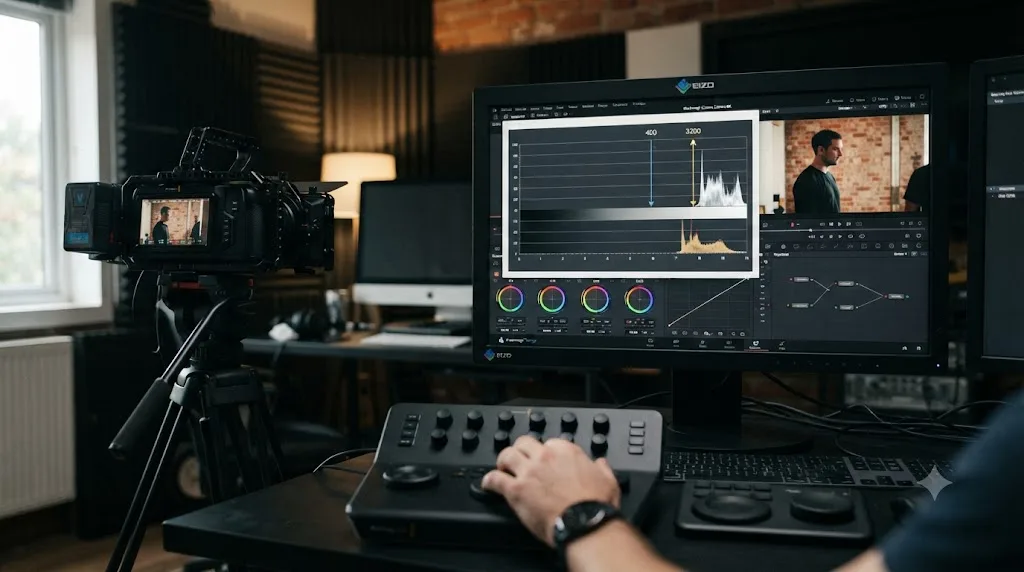
Per Blackmagic Design's own tech specifications for the camera, the Cinema Camera 6K has "13 stops" of dynamic range with "dual native ISO up to 25,600," and its two native ISO points are 400 and 3200, confirmed directly on Blackmagic's official Cinema Camera 6K Tech Specs page. ISO 400 is your default for daylight exteriors and well-lit interiors. ISO 3200 is the second clean point to jump to for low light, the same principle covered in Blackmagic's own dual-gain sensor design, rather than nudging gain up gradually through the noisier range between the two base points.
This mirrors the exposure discipline that applies across every dual-native-ISO camera this site covers, from Sony's A7 IV to Panasonic's S5 II. The mechanism differs slightly between brands, but the practical rule doesn't: pick one of the two clean points, don't sit between them out of convenience, and let the second base ISO do the low-light work instead of pushing gain incrementally.
| ISO for BMCC 6K | Behavior |
|---|---|
| Below 400 | Not a base ISO; narrows usable dynamic range without a noise benefit |
| 400 (first native ISO) | Default recommended base, cleanest noise floor at daylight sensitivity |
| Between 400 and 3200 | Gradually noisier, no dual-gain benefit |
| 3200 (second native ISO) | Second clean noise point, use for low light instead of pushing gain manually |
| Above 3200, up to 25,600 max | Noise increases again past the second base |
How much exposure latitude does the BMCC 6K actually give you in the grade?
Blackmagic's marketing figure of 13 stops of dynamic range is a real spec, but independent lab testing is where you find out what that number actually means for how far you can push a shot before it falls apart, and the two aren't quite the same thing.
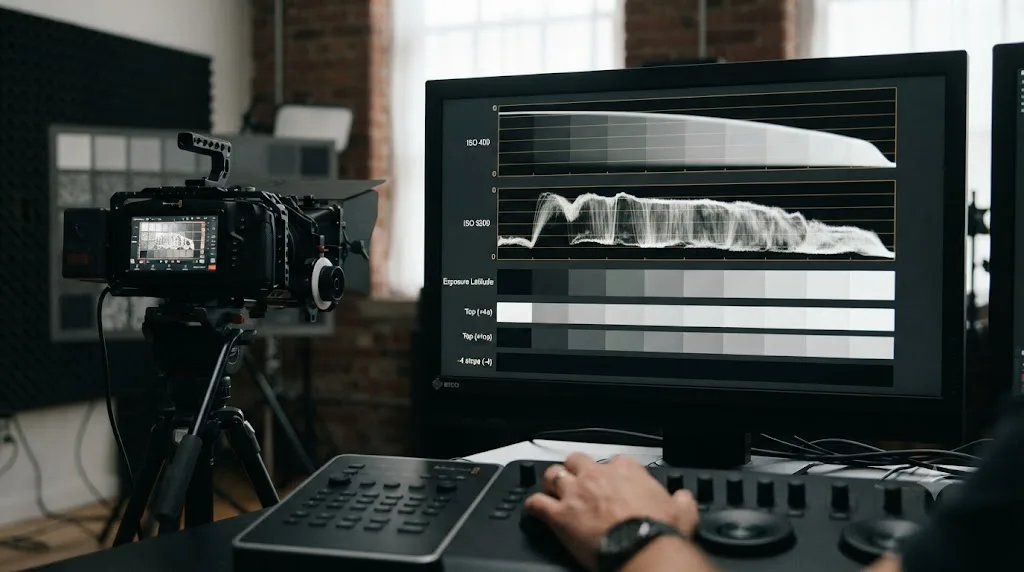
CineD's Gunther Machu ran the Cinema Camera 6K through IMATEST lab testing and found that at ISO 400, "IMATEST calculates 11.6 stops at a signal-to-noise ratio (SNR) of 2, and 12.9 stops at SNR = 1," a result that matched the Pocket Cinema Camera 6K and 6K Pro's own lab numbers, according to CineD's dedicated lab test of the Cinema Camera 6K. At ISO 3200, that same testing found "10.2 stops at SNR = 2 and 11.5 stops at SNR = 1," roughly a stop and a half of measured loss compared to the camera's first native ISO, and Machu noted the resulting noise at the higher ISO was "much more difficult to remove" than on the camera's earlier Pocket Cinema Camera siblings.
Machu's testing also measured practical exposure latitude directly, separate from the raw dynamic range figure: 8 stops total, split as 3 stops of headroom if you overexpose and 5 stops if you underexpose, which Machu describes as "almost the standard now for consumer full-frame cameras." Push past 5 stops under, and per the same test, "a green tint stays in the shadows" even after correction, a specific, named failure mode worth knowing before you rely on deep shadow recovery to save an underexposed take.
None of this makes the Cinema Camera 6K's 13-stop spec inaccurate. It reflects the camera's total dynamic range under ideal lab conditions, and CineD's own SNR=1 figure of 12.9 stops at ISO 400 lands close to that marketing number. The gap between 13 stops on the spec sheet and 8 stops of usable push-pull latitude is the difference between total captured range and how much of that range still grades cleanly, a distinction worth keeping in mind for any camera's dynamic range claim, not just this one.
Blackmagic's 13-stop dynamic range figure and CineD's independently measured 12.9 stops at SNR=1 land close enough together that the marketing spec holds up, but the camera's practical grading latitude of roughly 8 stops is the number that actually predicts how far you can push an exposure mistake before it shows. Treat the lab-measured latitude, not the headline dynamic range figure, as your real ceiling on set.
Cinema Camera 6K or Pocket Cinema Camera 6K, which one are you actually grading?
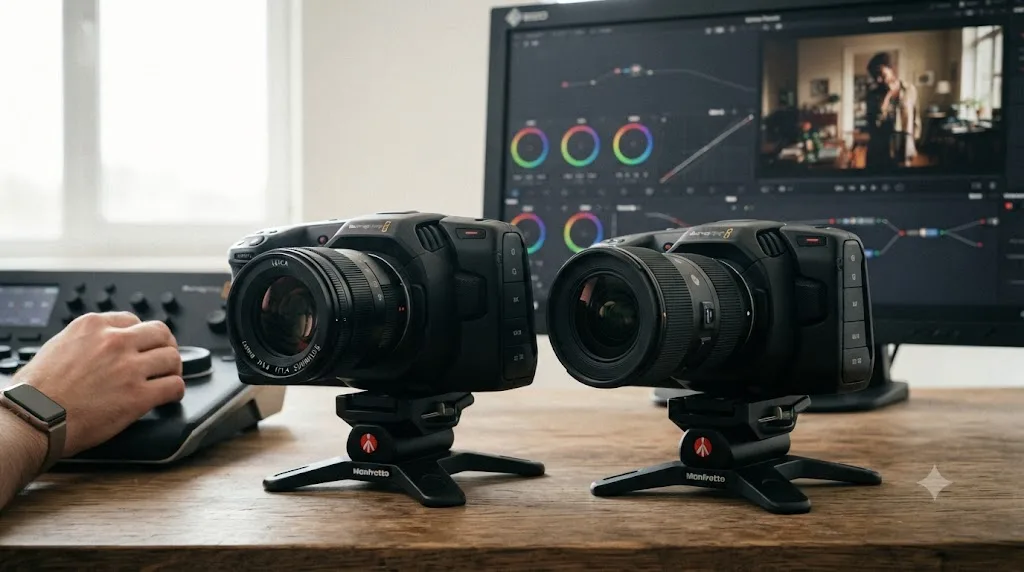
These are two different cameras with confusingly similar names, and knowing which one shot your footage matters before you trust any setting in this guide, since the numbers below diverge in ways that actually affect the grade.
The Blackmagic Cinema Camera 6K, the subject of this guide, has a full frame 36 x 24mm sensor and an L-Mount, announced by Blackmagic in September 2023 at a launch price of $2,595, confirmed by Film and Digital Times' coverage of the camera's specifications and pricing. The Blackmagic Pocket Cinema Camera 6K is an older, separate body with a smaller Super 35mm sensor and a Canon EF mount, released back in 2019, per PetaPixel's original coverage of the Pocket 6K's announcement. Both cameras record Blackmagic RAW and both decode through the same Camera RAW panel this guide covers, but their sensor size, crop factor, and lens compatibility are entirely different, which matters the moment you're intercutting footage between the two or trying to match a rented body against your own.
This mix-up shows up often enough in our 100,000+ member video-editing community that it's worth a direct answer: if your camera has an L-Mount and a full frame sensor, you're grading footage from the Cinema Camera 6K covered throughout this guide. If it has a Canon EF mount and a Super 35 sensor, you're working with the older Pocket Cinema Camera 6K or 6K Pro line, a related but distinct body from a different product generation.
The Cinema Camera 6K has also seen real price movement since its 2023 launch. Blackmagic ran a limited-time 40 percent discount down to $1,575 in May 2024, reported by Newsshooter at the time, before returning to a price closer to its original launch figure. That volatility is worth knowing if you're shopping used or comparing a listed price against what the camera has actually sold for over its lifetime; it's a fair reflection of this being a smaller, more niche body in Blackmagic's lineup than the more widely adopted Pocket Cinema line, not a sign the camera itself changed.
| Spec | Cinema Camera 6K | Pocket Cinema Camera 6K |
|---|---|---|
| Sensor | Full frame, 36 x 24mm | Super 35mm |
| Mount | L-Mount | Canon EF |
| Resolution | 6048 x 4032 | 6144 x 3456 |
| Launch year | 2023 | 2019 |
| Launch price | $2,595 | Originally $2,495 |
| Color science | Gen 5 | Varies by model generation (original, Pro, G2) |
| Recording format | Blackmagic RAW + H.264 proxy | Blackmagic RAW + ProRes |
How do you handle 6K open gate 3:2 footage on a 16:9 timeline?
The Cinema Camera 6K's headline recording mode is 6048 x 4032 at up to 36 fps in a 3:2 aspect ratio, taller and squarer than a standard 16:9 frame, and that extra vertical information is a reframing tool if you set your timeline up to use it rather than crop it away by accident.
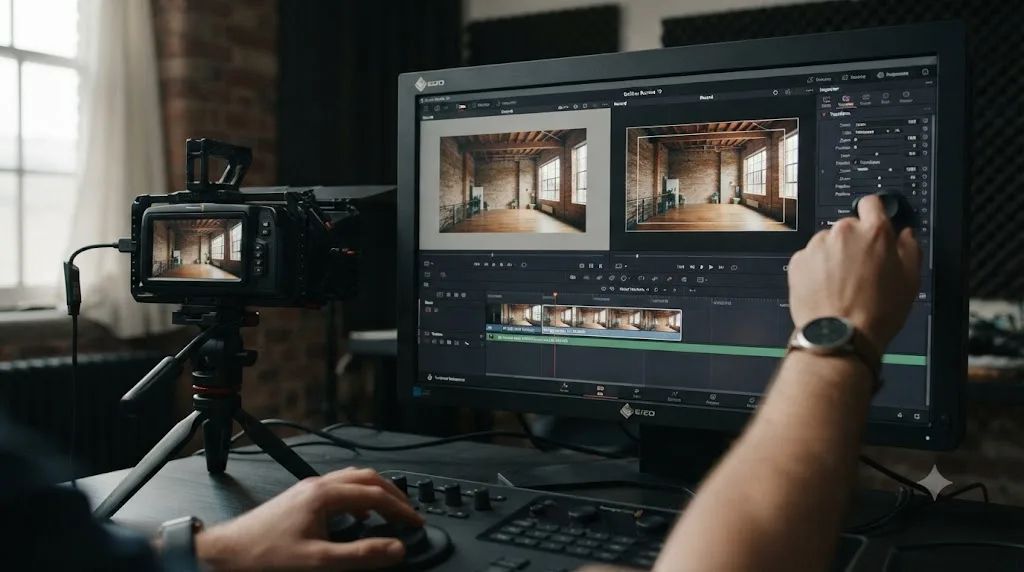
Per CineD's coverage of the camera's launch specifications, the BMCC 6K supports "3:2 open-gate recording mode for more flexibility in the post-production or for shooting with anamorphic lenses," alongside a 6:5 mode built specifically for anamorphic work, plus a narrower 6K 2.4:1 mode at up to 60 fps and a cropped 4096 x 2160 DCI 4K mode also at up to 60 fps, confirmed in CineD's original announcement coverage. If you're shooting spherical lenses for a standard 16:9 delivery, that open gate 3:2 frame gives you room to reposition the shot vertically in post, useful for correcting a horizon line or reframing a composition without losing resolution the way a straight crop from a 16:9 source would.
Set your project's timeline resolution to your actual delivery target, typically 3840 x 2160 or 1920 x 1080 for a standard 16:9 job, and use the Inspector's Zoom and Pan controls, or the Transform effect, to reposition each open-gate clip inside that frame rather than relying on Resolve's default centered crop. This is a compositional decision made shot by shot, not a global project setting, since different clips will want different amounts of headroom or footroom depending on framing.
If your project is anamorphic, the 6:5 mode exists specifically so a 2x anamorphic lens's horizontal squeeze combines with the sensor's own aspect ratio to produce a correctly proportioned widescreen image after desqueezing, a setup this guide won't cover in depth since it's a shooting-format decision made before the footage ever reaches Resolve, not a grading setting.
The Cinema Camera 6K's 3:2 open gate mode isn't wasted vertical resolution on a 16:9 delivery, it's reframing room you have to deliberately use with Transform or Zoom controls, since Resolve's default crop won't reposition it for you automatically. Decide your reframe intent shot by shot before you grade, since a color correction built around one crop position won't automatically hold up if you reposition the frame afterward.
Do you need DaVinci Resolve Studio to grade Blackmagic Cinema Camera 6K footage?
No, and this is one place where the BMCC 6K workflow is genuinely simpler than every other camera guide on this site, because the answer isn't really a question at all.
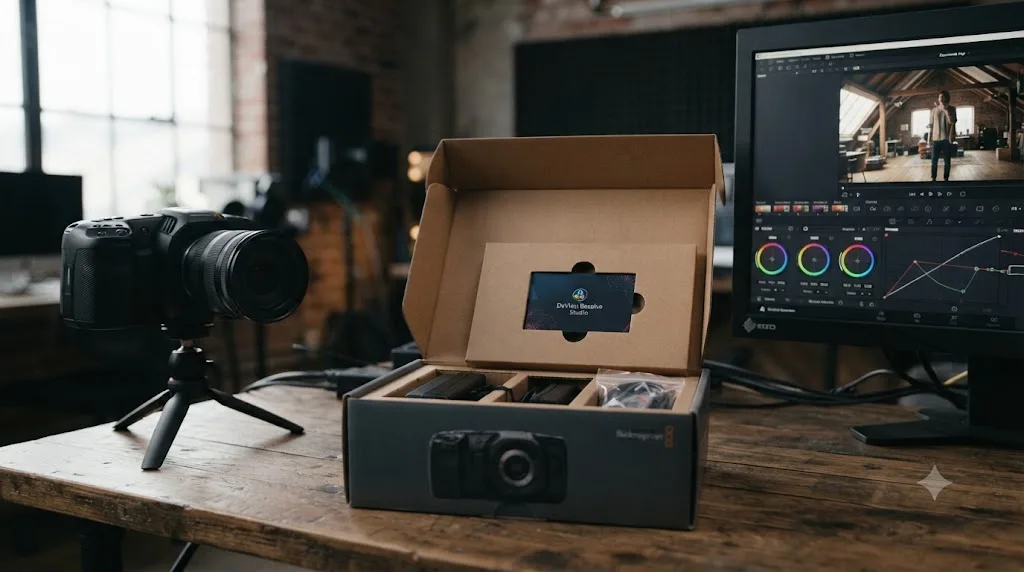
Every Blackmagic Cinema Camera 6K ships with a bundled DaVinci Resolve Studio license. Per Blackmagic Design's own product page, the camera "includes a full version of DaVinci Resolve Studio" as part of the purchase, with activation handled through the camera's included key, confirmed on Blackmagic's official Cinema Camera 6K product page. That's a meaningfully different situation than every third-party camera guide on this site, where the free-versus-Studio decision hinges on whether you need Noise Reduction, Dolby Vision delivery, or hardware-accelerated decoding badly enough to pay for it separately.
With a BMCC 6K, that decision is already made for you. You have Studio-only Noise Reduction, Temporal and the DaVinci Neural Engine-driven Spatial and UltraNR modes, available from the moment you activate the license, useful if you're shooting near ISO 3200 and want to clean up the noise CineD's lab testing described as "much more difficult to remove" at that ISO. You also have Dolby Vision and HDR10+ delivery tools if a client needs an HDR master, both listed among Studio's exclusive features on Blackmagic's own Studio product page.
The only reason to think about free-versus-Studio at all on a BMCC 6K project is if you're collaborating with an editor or colorist who's cutting the same project on a machine without the camera's bundled license installed. In that case, the free version's feature set still covers Color Space Transform, the RAW panel, and Resolve Color Management without restriction; it's specifically Noise Reduction, Dolby Vision, and a handful of other Studio-exclusive tools that would be missing on their end.
A camera that ships with the same paid color grading software used to grade it removes an entire category of guesswork every other camera on this site's guides has to work around. If you bought a BMCC 6K, register the included Studio key before your first project rather than assuming you're working in the free version by default.
Why does 6K BRAW playback stutter in Resolve, and how do you fix it?
If your Cinema Camera 6K footage drops frames or won't scrub smoothly, that's a decode performance problem separate from the color setup covered above, and it usually traces back to quality setting and GPU headroom rather than anything wrong with the color science.
Blackmagic RAW is genuinely lighter to decode than an equivalent RAW format from most competitors, since Blackmagic's own description of the format notes it's "highly optimized for AVX, AVX2 and SSE4.1 enabled processors" and GPU-accelerated through "Apple Metal, CUDA and OpenCL," per Blackmagic's Blackmagic RAW page. Lighter than a competing RAW format doesn't mean free, though, and a 6K frame at Q0 or 3:1 on a laptop-class integrated GPU, or an older discrete card, can still stutter during real-time playback, especially once you've stacked a Camera RAW decode, a Noise Reduction node, and a creative grade on the same clip.
Right-click the clip or bin in the Media Pool and choose Generate Optimized Media to build a local proxy at a lower resolution, Half or Quarter Resolution, set under Project Settings, Master Settings. Resolve automatically relinks to the full-resolution BRAW original for your final render regardless of what resolution you cut and graded with, so building optimized media doesn't compromise your delivered quality, only your working playback smoothness. Our proxy media setup guide for a slow laptop walks through the exact Project Settings panel and a decision tree for which resolution tier fits your specific hardware.
Two things to check before assuming your hardware simply isn't powerful enough: your GPU driver is current, since BRAW decode leans directly on GPU acceleration and a stale driver can bottleneck it noticeably, and your Camera RAW panel's Decode Quality setting, which lets you decode at a reduced resolution during editing and switch back to full resolution before final render, a separate lever from Optimized Media that some editors miss entirely.
6K BRAW playback stutter is a decode-performance problem with a decode-performance fix, and neither a different Color Space setting nor a different Gamma choice will resolve it, since color management and playback decode are two unrelated systems inside Resolve. If a clip stutters immediately after import, before you've touched a single node, check Optimized Media and Decode Quality before you spend time looking anywhere in the color page.
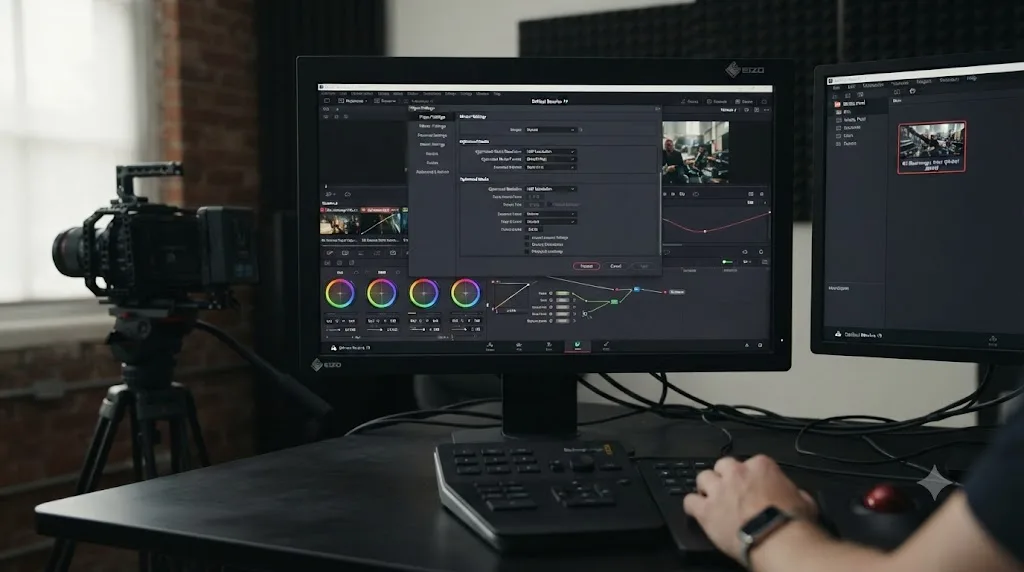
How do you monitor the grade with only 1080p60 HDMI output?
The Cinema Camera 6K's HDMI output caps out at 1080p60, not a full-resolution 6K or even 4K signal, which matters the moment you're trying to check focus or exposure on an external monitor while shooting, or route the camera's monitoring feed through a scopes-only setup in post.
That 1080p60 ceiling is a monitoring limitation specifically; it has no effect on what the camera actually records to its CFexpress card, which stays at full BRAW quality regardless of what the HDMI port outputs. Where it matters in a grading context is if your suite setup uses the camera itself, rather than a computer, as a live monitoring source, or if you're building a scopes-only second display setup to check your grade objectively rather than trusting a single graded monitor.
For the grading side of that workflow, most colorists route Resolve's own scopes, waveform, vectorscope, histogram, and parade, to a second physical display rather than relying on the camera's monitoring output at all, since scopes read the actual signal regardless of what resolution any single monitor happens to be running at. Our guide to setting up a second monitor for scopes-only viewing in DaVinci Resolve covers exactly that configuration, useful whether your source footage came from a BMCC 6K or any other camera, since scopes-only monitoring is a Resolve setup decision, not a camera-specific one.
A camera's HDMI output resolution and the resolution its files actually grade at in Resolve are two separate numbers, and the Cinema Camera 6K's 1080p60 HDMI cap affects only the first one. Don't let a 1080p monitoring feed on set make you think your 6K BRAW footage is somehow lower resolution than it actually recorded.
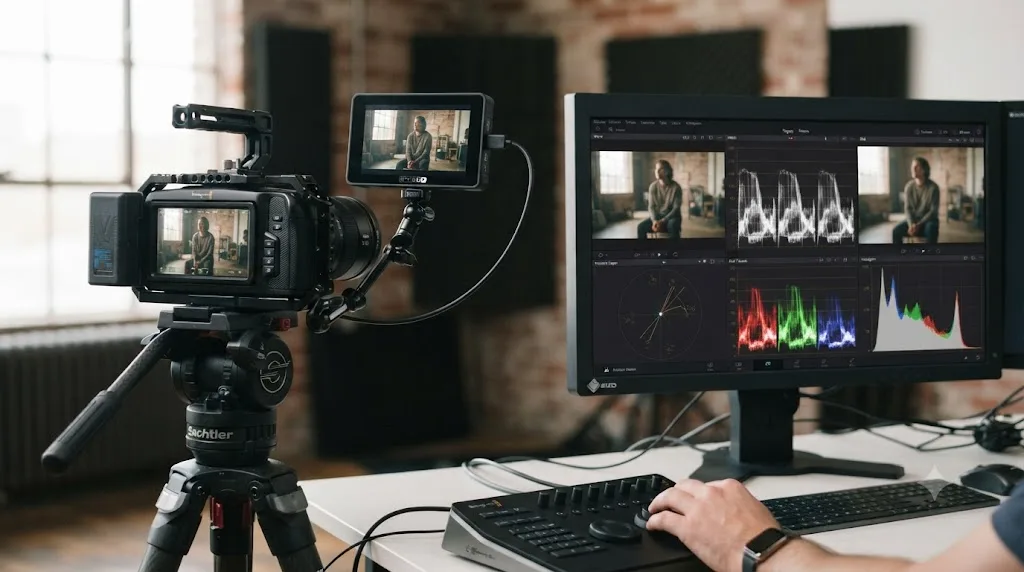
A step-by-step example: taking one BMCC 6K clip from BRAW to Rec.709
Here's the full sequence in order, from a fresh Cinema Camera 6K clip in the Media Pool to a delivered Rec.709 grade, with every setting from earlier in this guide placed where it actually happens in a real project.
- Confirm the source. Check the clip's recorded Blackmagic RAW quality setting, Q0 through Q5 or 3:1 through 12:1, and its ISO, ideally near the camera's native 400 or 3200, before you start grading.
- Set Camera RAW project settings. In Project Settings, Camera RAW tab, set Decode Using to Project, Color Science to Gen 5, Color Space to DaVinci Wide Gamut, and Gamma to DaVinci Intermediate. This applies to every Blackmagic RAW clip in the project at once.
- Build optimized media if playback stutters. If a 6K clip at a heavier quality setting like Q0 or 3:1 is dropping frames on scrub, generate Optimized Media at Half or Quarter Resolution before you touch color, so you're not diagnosing playback and grading decisions in the same pass.
- Node 1, primary correction. With the clip already decoded into DaVinci Wide Gamut through the Camera RAW panel, no input Color Space Transform node is needed here. Set white balance with an eyedropper on a neutral reference if you have one, then shape your black point and white point using the Lift and Gain wheels, watching your scopes rather than your eye alone.
- Node 2, Noise Reduction, if the shot needs it. If the clip was shot near ISO 3200 and shows the visible grain CineD's lab testing described as harder to remove at that ISO, add a Temporal or Spatial Noise Reduction node here, since Studio's noise tools are already included with the camera's bundled Resolve Studio license.
- Node 3, creative grade. Do your actual look here, contrast shaping, color balance, secondary qualifiers or power windows. Nothing about Blackmagic RAW changes how you grade once you're in DaVinci Wide Gamut.
- Node 4, output Color Space Transform. This is the one CST node this workflow does need. Set Input Color Space to DaVinci Wide Gamut, Input Gamma to DaVinci Intermediate, Output Color Space to Rec.709, Output Gamma to Rec.709 or Rec.709-A. Swap the output settings to Rec.2100 and ST 2084 or HLG on a duplicated timeline if you also need an HDR deliverable.
- Check the result against the troubleshooting table below before calling the grade final, particularly if this clip is intercut with footage from a different camera or a different Blackmagic RAW quality setting.
Four nodes handle the entire mechanism, one fewer than a typical Sony or Canon log workflow, since the input conversion this guide's sibling posts handle with a manual CST node is already done for you at decode time through the Camera RAW panel.
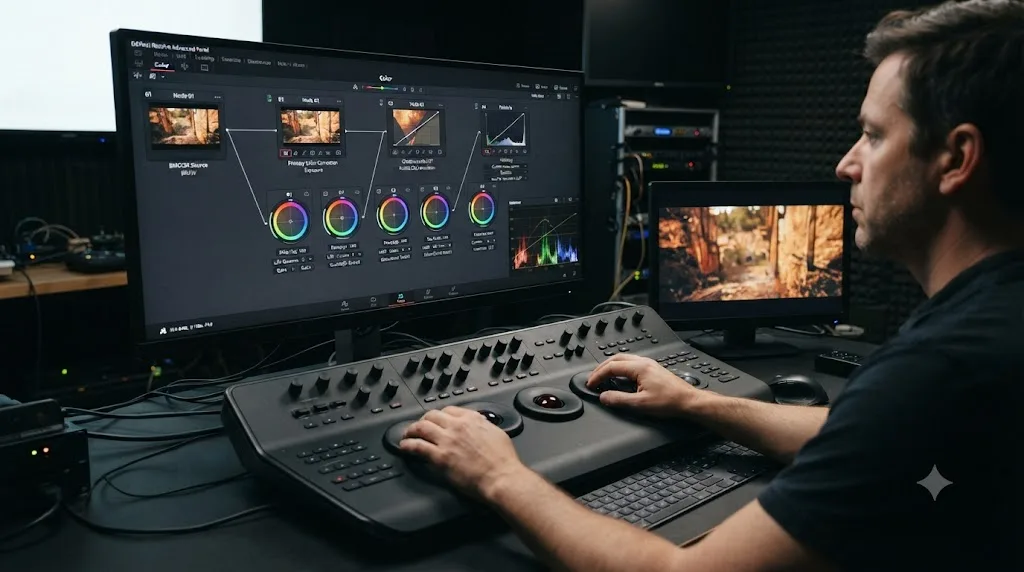
Why does BMCC 6K footage still look wrong after all this?
If you've followed every setting above and something still looks off, work through these in order before assuming the footage itself is bad.
First, a Gen 5 and Gen 4 mismatch. If you're intercutting Cinema Camera 6K footage with archival BRAW shot on an older Blackmagic body, confirm the Camera RAW panel's Color Science dropdown actually matches what each specific clip was recorded with, rather than applying one global setting across footage from two different color science generations.
Second, a Camera RAW and Color Space Transform conflict. If a clip looks oversaturated or double-processed, check whether you've accidentally added a manual input Color Space Transform node on top of a clip that's already been decoded into DaVinci Wide Gamut through the Camera RAW panel; that's applying the same conversion twice, the BRAW equivalent of the log-on-log mistake covered in this site's other camera color guides.
Third, timeline color space mismatch. If footage looks correct in the viewer but wrong on export or an external reference monitor, check that your project's overall Color Management settings actually match your delivery target, Rec.709 versus Rec.2100 being the most common version of this mistake.
Fourth, a quality-setting ceiling. If a heavily graded shot is showing compression artifacts under a hard push, especially in shadow recovery or a tight secondary qualifier, check whether that specific clip was recorded at a higher-compression setting like 8:1 or 12:1, which simply doesn't hold the same amount of push-pull latitude as 3:1 or Q0.
Fifth, and easy to miss because the symptom looks like a color problem: confirm the clip actually decoded at full resolution rather than a Decode Quality setting left on a reduced resolution from a previous editing session, which can make a shot look softer or less detailed than the source actually is without touching color at all.
| Symptom | Likely cause | Fix |
|---|---|---|
| Footage from an older Blackmagic camera looks subtly wrong when intercut with BMCC 6K clips | Gen 5 Color Science applied to footage recorded with an earlier color science generation | Check each clip's actual recording generation and match the Camera RAW Color Science dropdown per clip |
| Oversaturated or double-processed look that won't respond to normal grading | A manual Color Space Transform node stacked on top of the Camera RAW panel's own decode | Remove the extra CST node; the Camera RAW panel already handled the input conversion |
| Grade looks right in the viewer, wrong on export or an external monitor | Project color management doesn't match your actual delivery target | Check Project Settings, Color Management, against your delivery spec |
| Heavy grade shows compression artifacts under a hard shadow push | Clip recorded at a higher-compression quality setting like 8:1 or 12:1 | Reshoot at 3:1 or Q0 if possible; otherwise pull back the push and lean on secondary correction instead of a single hard move |
| Footage looks softer or less detailed than expected | Decode Quality set to a reduced resolution left over from editing | Set Decode Quality back to full resolution before final color and export |
| Noise at ISO 3200 won't clean up | Noise Reduction not applied, or applied after the creative grade instead of before it | Add Temporal or Spatial Noise Reduction right after your primary correction node, using your bundled Studio license |
When the menus alone don't get you there fast enough
Everything in this guide is a settings problem with a settings answer, but a BMCC 6K project still means bouncing between the Camera RAW tab, Clip Attributes, and the node graph, especially the first few times you're confirming exactly what a specific clip's quality setting and color science actually are before you touch its grade.
TryUncle is the on-screen assistant for DaVinci Resolve on macOS. Ask in plain words, and Uncle points at the exact control on your screen. If you're on a Mac and asking out loud "why doesn't my Blackmagic RAW footage need a Color Space Transform," that's a faster route back to the Camera RAW panel than re-reading this guide mid-session. It's a paid app, currently in founder pricing, and macOS only, so it won't help a Windows editor working through Resolve's menus. Check TryUncle for current pricing before deciding if it fits your workflow.
It's worth knowing the category has other tools built on a different premise. Sottocut, PremiereCopilot, heyeddie.ai, and cutagent.ai automate parts of an edit or answer chat questions about your footage, rather than watching your live screen and pointing at controls. If your goal is automating a cut, those solve a different problem. If your goal is finding the right Camera RAW setting faster while you're mid-grade on a BMCC 6K timeline, on-screen guidance aimed at your actual screen is the more direct tool for that specific job.
What's the full settings cheat sheet at a glance?
Before the table, here's the one-line version of everything above. Set Camera RAW's Decode Using to Project, Color Science to Gen 5, and Color Space and Gamma to DaVinci Wide Gamut and DaVinci Intermediate, and skip the input Color Space Transform node a Sony or Canon workflow needs, since the Camera RAW panel already did that job. Shoot near ISO 400 or ISO 3200, pick a quality setting that matches how hard you'll actually push the grade, build optimized media if 6K playback stutters, and remember your bundled Studio license already covers Noise Reduction and HDR delivery without a separate purchase.
| Setting | Value |
|---|---|
| Shooting ISO | 400 (first native ISO) or 3200 (second native ISO) |
| Camera RAW: Decode Using | Project |
| Camera RAW: Color Science | Gen 5 |
| Camera RAW: Color Space | DaVinci Wide Gamut |
| Camera RAW: Gamma | DaVinci Intermediate |
| Input Color Space Transform node needed | No, handled by the Camera RAW panel |
| Output Color Space Transform (SDR delivery) | DaVinci Wide Gamut / DaVinci Intermediate to Rec.709 |
| Output Color Space Transform (HDR delivery) | DaVinci Wide Gamut / DaVinci Intermediate to Rec.2100 |
| Best quality setting for heavy grading | Q0 or 3:1 |
| Best quality setting for most narrative/commercial work | Q1 or 5:1 |
| Best quality setting for lower-stakes footage | Q3/Q5 or 8:1/12:1 |
| Measured latitude (CineD lab test) | 8 stops total, 3 over, 5 under |
| DaVinci Resolve Studio required | No, included free with the camera |
| Studio-only tools you already have access to | Noise Reduction, Dolby Vision, HDR10+ delivery |
| HDMI monitoring output | Capped at 1080p60, does not affect recorded BRAW quality |
Set the Camera RAW panel once, per project, and every Blackmagic Cinema Camera 6K clip that follows decodes the same way without another dropdown to check. Shoot near ISO 400 or 3200, match your quality setting to how hard the shot needs to be pushed, and the single output Color Space Transform node on your last node is the only conversion this workflow actually needs. Most BMCC 6K footage that looks wrong in Resolve isn't a broken decode. It's a mismatched color science generation, a stacked CST node doing a job the Camera RAW panel already did, or a quality setting that was never built to survive the push you're asking of it, and now you know which one to check first.
Frequently asked questions
- What color space settings does Blackmagic RAW need in DaVinci Resolve?
- Open Project Settings, go to the Camera RAW tab, and set Decode Using to Project. Set Color Science to Gen 5 to match the Cinema Camera 6K's sensor, and set Color Space and Gamma to DaVinci Wide Gamut and DaVinci Intermediate so the clip unpacks straight into Resolve's working space. That's the entire color space setup; there's no separate node-based conversion step required before you start grading.
- Do I need a Color Space Transform node for Blackmagic Cinema Camera 6K footage?
- No, not to get the clip into a working color space. Blackmagic RAW carries Gen 5 color science metadata that Resolve reads natively through the Camera RAW panel, unlike third-party log formats that need a manual Color Space Transform node to convert into DaVinci Wide Gamut. You'll still want an output Color Space Transform on your last node to convert to Rec.709 or your HDR delivery target.
- Which Blackmagic RAW quality setting should I shoot for the best grading latitude?
- Blackmagic RAW 3:1 or Q0 for maximum latitude on a heavier grade or effects-heavy work, since both preserve the most data per frame. 5:1 or Q1 is a strong middle ground for most narrative and commercial work. 8:1 and 12:1 exist for smaller files on lower-stakes footage like b-roll or run-and-gun documentary work, where card space matters more than maximum push-pull room.
- What ISO should I shoot the Blackmagic Cinema Camera 6K at for the cleanest grade?
- Stay at the camera's first native ISO of 400 for daylight and well-lit interiors, and jump to its second native ISO of 3200 for low light rather than nudging gain up gradually in between. Those are the Cinema Camera 6K's dual native ISO points, where the sensor's gain circuit resets and noise performance improves, according to Blackmagic Design's own tech specifications for the camera.
- Do I need DaVinci Resolve Studio to grade Blackmagic Cinema Camera 6K footage?
- No, and you already own it. Every Cinema Camera 6K ships with a bundled DaVinci Resolve Studio activation key, per Blackmagic Design's official product page, so the usual free-versus-Studio question that applies to other cameras doesn't apply here. You have full access to Studio-only tools like Noise Reduction and Dolby Vision delivery from the moment you register the camera.
- Is the Blackmagic Cinema Camera 6K the same as the Pocket Cinema Camera 6K?
- No, they're different cameras despite the similar name. The Cinema Camera 6K has a full frame 36 x 24mm sensor and an L-Mount, announced in September 2023. The Pocket Cinema Camera 6K has a smaller Super 35mm sensor and a Canon EF mount, released in 2019. Both record Blackmagic RAW and both grade the same way in DaVinci Resolve, but they're separate bodies with separate specs.
- Why does my Blackmagic Cinema Camera 6K footage stutter on playback in DaVinci Resolve?
- 6K Blackmagic RAW is genuinely heavy to decode in real time, especially at higher quality settings like 3:1 or Q0 on a laptop-class GPU. Generate Optimized Media at Half or Quarter Resolution from the Media Pool before you start grading, and check that your GPU driver and Resolve build are current, since BRAW decode is GPU-accelerated and benefits directly from both.
Sources
- Blackmagic Design: Blackmagic Cinema Camera 6K product page
- Blackmagic Design: Blackmagic Cinema Camera 6K Tech Specs
- Blackmagic Design: Blackmagic RAW for the Cinema Camera 6K
- CineD: Blackmagic Cinema Camera 6K Announced, Full-Frame, L-Mount, 3:2 Open Gate for $2,595
- CineD: Blackmagic Cinema Camera 6K Lab Test, Rolling Shutter, Dynamic Range, and Latitude (Gunther Machu)
- Film and Digital Times: Blackmagic Full Frame L-Mount 6K Cine Camera
- Newsshooter: Blackmagic Cinema Camera 6K price drop to $1,575 USD
- PetaPixel: Blackmagic Pocket Cinema Camera 6K Uses Bigger Sensor and Canon EF Mount
- Digital Camera World: Blackmagic Cinema 6K autofocus firmware update
- Blackmagic Pocket Cinema Camera User Manual: Using DaVinci Resolve
- DaVinci Resolve product page (free version specs, Blackmagic Design)
- DaVinci Resolve Studio product page (Blackmagic Design)
- DaVinci Resolve - Color (Blackmagic Design)
Keep reading
Guides · Jul 12, 2026 · 39 min
How to Color Match Different Cameras in DaVinci Resolve
Match footage shot on different cameras in DaVinci Resolve with Color Space Transform, Color Match, and Shot Match, plus settings by camera brand.
Guides · Jul 8, 2026 · 29 min
DaVinci Resolve Noise Reduction Settings: Temporal and Spatial
The exact Temporal and Spatial Noise Reduction settings in DaVinci Resolve: frame count, threshold values, motion range, and when to use each.
Fixes · Jul 15, 2026 · 25 min
DaVinci Resolve Proxy Media Setup for a Slow Laptop
Set up proxy media in DaVinci Resolve on a slow laptop: resolution, codec, the Blackmagic Proxy Generator, and the exact settings that stop the stutter.