Articles / Comparisonsupdated for DaVinci Resolve 21.0.2 (July 2026)
Compound Clip vs Nested Timeline in DaVinci Resolve: Which One?
Quick answer
Use a compound clip when you want a self-contained, static bundle of clips you can grade and move as one unit. Use a nested timeline, a timeline dragged in as a source clip, when you want an alternate version whose content and grade stay linked to the original. Compound clips freeze at creation. Nested timelines keep updating.
You right-click a handful of clips, DaVinci Resolve offers you "New Compound Clip," and somewhere in the back of your head a half-remembered tutorial says "or you could just nest it." Nobody explained what the actual difference is, so you pick whichever one the last video you watched happened to use, and you move on.
That guess catches up with you later, usually at the worst possible moment: a client wants one small grade change reflected across four alternate versions, and only one of your two options was ever going to do that automatically. This guide exists so you stop guessing. It covers what each feature actually is, the one behavior that decides which one you need, and every edge case, versioning, audio buses, multicam, mixed frame rates, that changes the answer.
What's the quick verdict on compound clip vs nested timeline?
Read this table first. Everything below explains the reasoning and covers the branches it can't fit.
| Your situation | Use this | Why |
|---|---|---|
| You want a permanent, self-contained bundle to grade and move as one clip | Compound clip | It stops tracking its source clips the moment you create it, which is exactly what you want for a finished, unchanging unit |
| You want an alternate version that stays linked to the original edit | Nested timeline (timeline as source clip) | Content and grade changes in the source timeline flow through automatically |
| You're versioning a finished cut for multiple deliverables | Nested timeline | Per colorist Zeb Chadfield's workflow on Mixing Light, this is the exact problem the technique solves |
| You need a Fairlight submix with working Sub and Aux buses | Nested timeline | Documented bus routing behavior that compound clips don't carry the same way |
| You're applying one effect across a stack of clips once, no future syncing needed | Compound clip | Simpler object, no link to maintain, easy to decompose later if you change your mind |
| You're assembling scene or reel timelines into one final program | Nested timeline | Built for exactly this, per DaVinci Resolve's own reference manual |
| You imported a project from Final Cut Pro 7 or Final Cut Pro X | Neither, by default | Resolve imports both nested sequences and compound clips as compound clips, flattening the distinction on arrival |
| You need to convert the result into a multicam clip | Either | Resolve treats compound clips and timelines identically for this conversion |
A compound clip is a snapshot. A nested timeline is a window. If you remember only one sentence from this entire comparison, remember that one, because it resolves almost every specific question that follows.
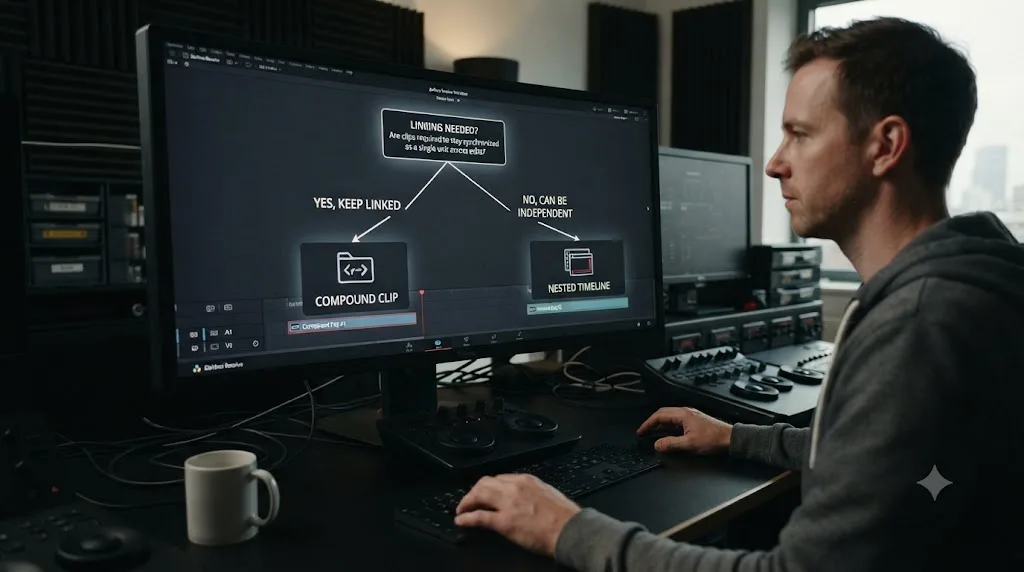
What exactly is a compound clip in DaVinci Resolve?
A compound clip is DaVinci Resolve's version of grouping: you select a run of clips on the timeline, tell Resolve to bundle them, and it hands you back one new object that behaves like a single clip everywhere else in the app.
Per Blackmagic's own reference manual, you build one of two ways. Select multiple clips in the Timeline, right-click one of them, and choose New Compound Clip, entering an optional timecode and name before you click Create. Or, if you only want part of a clip, set In and Out points on the Timeline first and choose Convert In and Out to Compound Clip instead, which grabs only that marked range. Either way, Resolve drops a new clip into your Media Pool and swaps it into the Timeline in place of what you selected.
From that point on, the compound clip is its own thing. It doesn't watch its source clips for changes, because by the time it exists, there's no meaningful concept of "the source clips" anymore from Resolve's point of view, only the compound clip itself and, separately, whatever original media still sits untouched in your Media Pool. You can rename it by double-clicking its name in the Media Pool, typing a new one, and pressing Return. You can decompose it back into its original constituent clips right in the Timeline whenever you want to undo the grouping.
Compound clips also support mixed content types. A newer capability, audio compound clips, lets you bundle multiple audio-only clips the same way, and per the manual, opening one on the Edit or Fairlight page shows breadcrumb controls beneath the Timeline specifically so you can navigate back out to the master Timeline, per the manual's Audio Compound Clips section.
A compound clip's whole purpose is to turn "several clips I keep having to select together" into "one clip I select once." That's the entire feature, and it's a genuinely useful one, right up until you need the bundle to keep changing after you've sealed it.
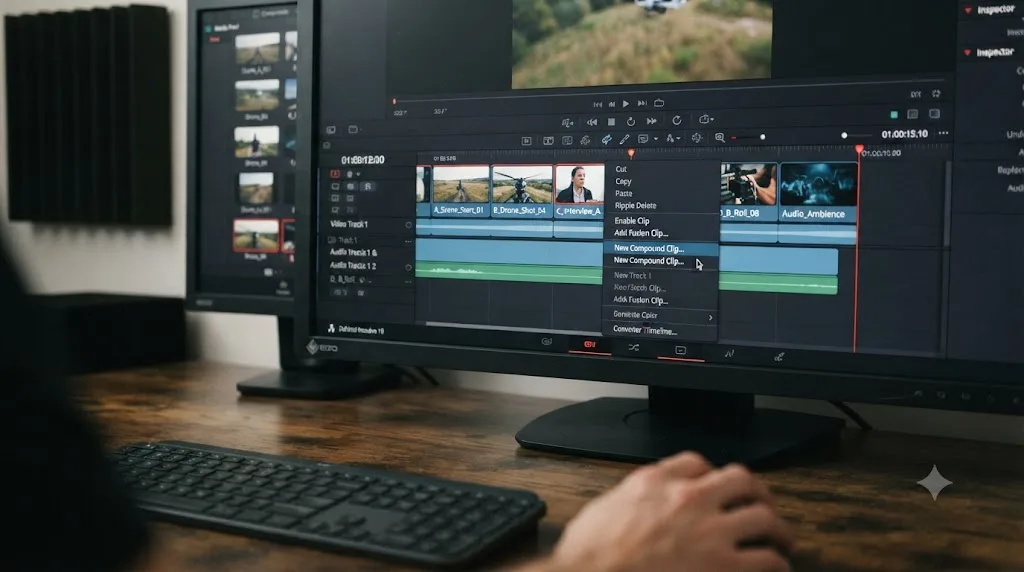
What exactly is a nested timeline in DaVinci Resolve?
A nested timeline isn't a separate feature you turn on. It's what happens when you drag an existing timeline into another timeline and let it sit there as a source clip, instead of decomposing it into its individual pieces first.
Per the manual's section on Nested Timelines, "timelines and sections of timelines can be edited inside other timelines, either partially or whole." The example given is a program cut into scenes or reels, each living in its own timeline, that you then assemble one after another into a single master timeline. Drag Scene 1's timeline onto the master timeline, then Scene 2's, and so on, and each one behaves as a single clip in the master, with a special badge appearing to its left so you can tell it's a nested timeline at a glance rather than an ordinary clip.
The mechanism that gives nested timelines their defining trait, the live link, is what a Blackmagic forum contributor and Creative COW poster named Michael Gissing calls using "a timeline as a source clip," distinct from making a compound clip. Responding to an editor's question about why their compound clips weren't updating the way Sony Vegas's nesting used to, Gissing explained it directly:
"You can use a timeline as a source clip which is different to making a compound clip and using that. Drag a timeline into a new timeline and it looks and behaves like a compound clip but changes made in the original timeline are reflected in the version edited in another timeline. I use this technique to do alternate versions so that grade changes made in the original are automatically reflected in all the alternate versions too."
That's from a Creative COW thread titled "Compound clip question", and it's the single clearest practitioner explanation of the whole comparison this guide is built around. The original poster, Mike Thomas, had assumed compound clips would behave the way nesting worked in Sony Vegas, discovered they didn't, and Gissing's answer was the fix: don't compound it, nest the timeline itself as a source clip.
A nested timeline is the same underlying timeline file, opened inside another timeline, not a copy of it. That's the mechanical reason the link holds. There's no synchronization step happening in the background, because there's nothing to synchronize. You're looking at the same data through a second window.

What's the real, practical difference between them?
Structurally, the two look almost identical at first glance. Per the manual's overview chapter, Take Selectors, Compound Clips, and Nested Timelines, both compound clips and nested timelines "organize multiple clips horizontally, so that you can manage long or short sequences of clips within an edit as a single clip, when convenient." Both drop into your Timeline as one clip. Both drop into your Media Pool as one bin item. Both can be graded and composited as a single unit, and both can be opened back up to reach their individual pieces when you need to.
The difference that actually matters lives entirely in what happens after you make a change.
| Behavior | Compound clip | Nested timeline |
|---|---|---|
| Created from | Selected clips on a timeline | An entire timeline, dragged in as a source clip |
| Tracks the source after creation | No, it becomes its own independent object | Yes, it's the same timeline data, viewed through a second window |
| Grade or edit change in the source propagates | No, not automatically | Yes, the next time you view or render the nested instance |
| Duration change in the source propagates | Not applicable, no live source relationship | No, trimmed or deleted content just leaves the nested area black |
| Appears in Fusion page as | Single MediaIn node | Single MediaIn node |
| Graded on Color page as | Single clip | Single clip |
| Access original pieces via | Open in Timeline | Open in Timeline, or open the timeline directly from the Media Pool |
| Path control panel on open | Appears | Doesn't appear, since you've simply opened the original timeline |
| Decompose option | Decompose in Place | Not applicable in the same sense, since it was never compounded |
That "path control panel" row is a small but telling detail from the manual's own wording. Reopening a nested timeline, per the manual's section on re-editing, shows "no path control... because you've simply opened the original timeline." A compound clip, by contrast, does show a path control breadcrumb when you open it, because you're navigating into a genuinely separate object nested inside your project structure, not just switching which timeline tab has focus.
The compound clip forgets where it came from on purpose. The nested timeline never forgot in the first place, because it never actually left. Everything else in this comparison, versioning, audio buses, render behavior, multicam, traces back to that single structural fact.
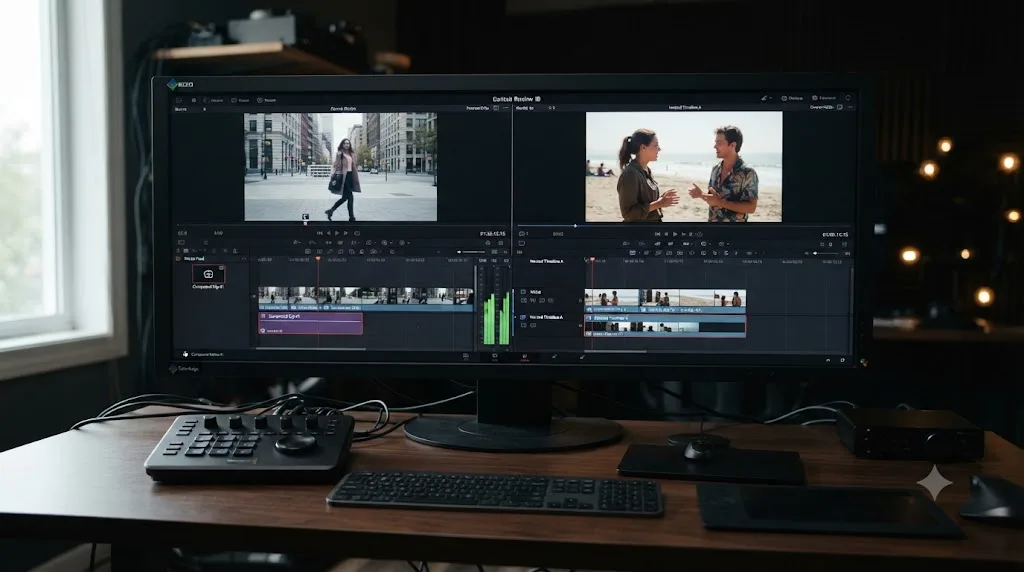
Does trimming or editing the original timeline actually update every nested copy?
Mostly yes, but with one specific exception that trips people up constantly, and it's the part most tutorials skip entirely.
Content changes propagate cleanly. If you tweak a Color page grade, replace a shot, adjust a Fusion effect, or retime a clip inside the original timeline, every nested instance of that timeline picks up the change automatically, because there's genuinely only one copy of the data being viewed from multiple places.
Duration changes don't work the same way, and the manual is explicit about it in its section on re-editing a nested timeline:
"Editing an original timeline does nothing to change the duration of nested instances of that timeline inside other timelines. If you trim or delete clips in the original timeline that appear in nested instances of that timeline, then those areas of the nested timeline simply go black."
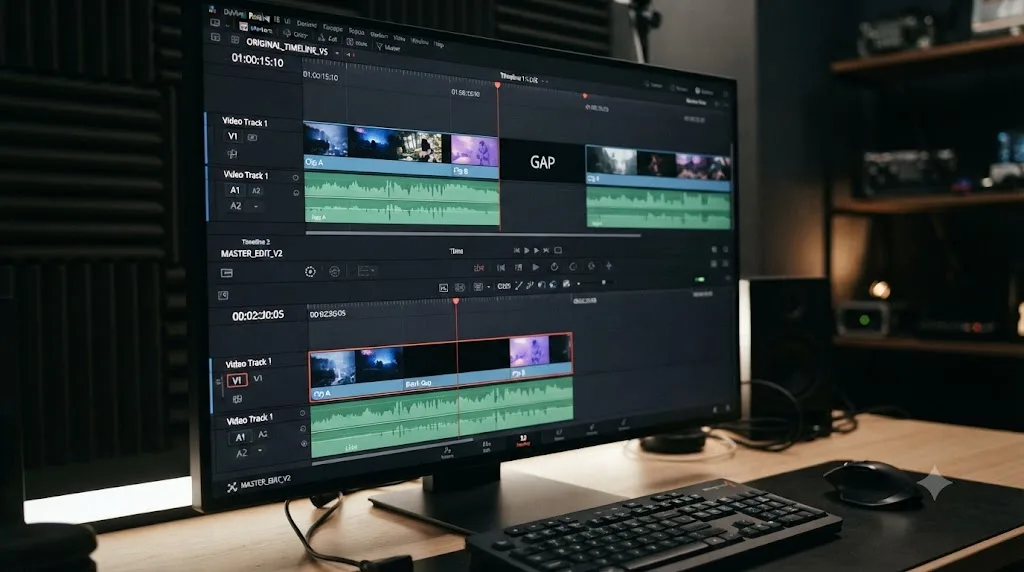
Read that twice, because it's the single most common source of "the nesting is broken" support tickets. Say you nest a two-minute scene timeline into your master timeline. Later, you go back to the original scene timeline and cut it down to ninety seconds because a note came in to trim a section. The nested instance inside your master timeline doesn't shrink to ninety seconds along with it. It stays at its original two-minute length, and the thirty seconds you deleted from the source now show up as black, dead air, inside every timeline where that section was nested.
A nested timeline's duration is locked in at the moment you drag it in, even though its content keeps updating live afterward. That's not a bug. It's the necessary consequence of the master timeline's overall length depending on decisions you made when you built it, decisions Resolve can't silently unmake just because the source got shorter somewhere else.
The practical fix, if you do need the nested instance to track a duration change: open the nested timeline itself (right-click it, choose Open in Timeline, or open the original from the Media Pool) and manually trim or extend it there to match. That's a deliberate action you take, not something Resolve does for you, and it's worth budgeting for on any project where scene timelines are still actively being trimmed after they've already been nested somewhere else.
Do compound clips and nested timelines behave differently on the Color and Fusion pages?
Barely, at the surface level, and that similarity is exactly what makes the underlying difference so easy to miss.
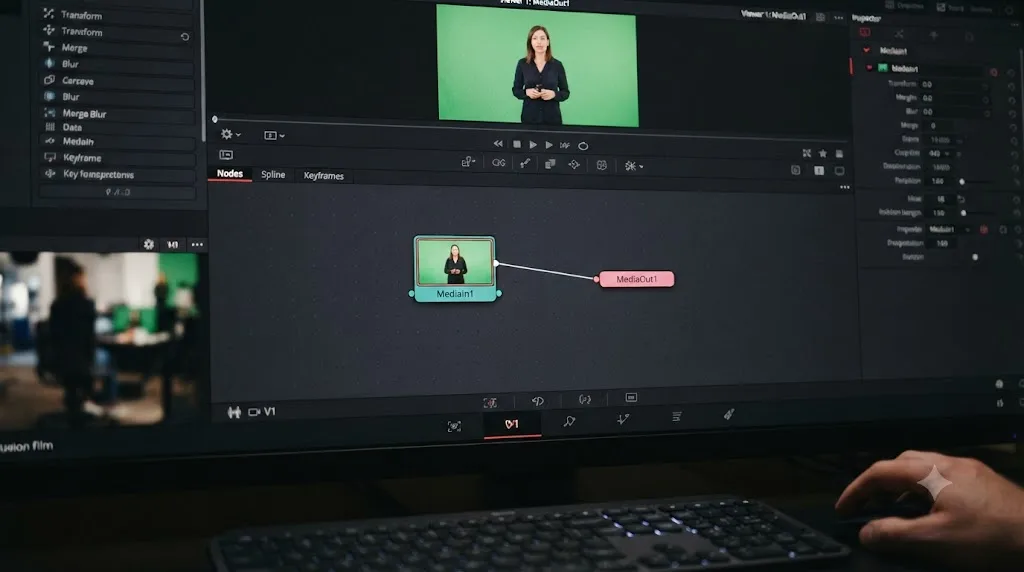
Per the manual's page on compositing with and grading compound clips, compound clips "act like a single clip in the Timeline, they appear as a single MediaIn node in the Fusion page, and you can grade them as a single clip in the Color page." The nested timeline equivalent, covered in its own manual section, uses almost identical language: nested timelines "act like a single clip in the Timeline; they appear as a single MediaIn node in the Fusion page for compositing, and you can grade them as a single clip in the Color page."
Both give you the same route to reach the individual pieces underneath, too. Use Open in Timeline on a compound clip, and per the manual, you'll find "each of the individual clips available for separate compositing or grading" once you enter the Fusion or Color page from inside it. Do the same on a nested timeline, either by opening it directly from the Media Pool or right-clicking it in the Timeline, and you get the identical access to its constituent clips for separate work.
Where it diverges is what happens to any grading or compositing work you do at that granular level. Grade an individual clip inside a compound clip's Open in Timeline view, and that grade belongs to the compound clip specifically, isolated from whatever else that same original clip might be doing elsewhere in your project, since the compound clip stopped tracking its sources the moment it was created. Grade an individual clip inside a nested timeline the same way, and you're grading the actual source timeline itself, which means that grade shows up in every other nested instance of it, and in the original timeline if you ever open that directly too.
Compound clips and nested timelines look identical from the Color and Fusion pages because Resolve genuinely treats them the same way there: one MediaIn node, one grade-able unit. The difference isn't in how these pages see them. It's in what a change made through either page actually touches once you save it. Our Fusion page tutorial for beginners covers the MediaIn and MediaOut node structure both features rely on in more depth, if you want the underlying mechanics of why a compound clip or nested timeline collapses to a single node in the first place.
Which one should you use for color grading and versioning?
Nested timelines, and this is the use case where the difference between the two features stops being academic and starts saving real hours.
Colorist Zeb Chadfield, writing for the colorist training site Mixing Light, opens his piece on exactly this problem with a question every editor and colorist has lived through:
"Have you ever created multiple versions of a single timeline to create multiple exports, each slightly different? If so, have you ever had the problem of making a change in the original timeline but missed making that change in one of the alternate versions of those timelines?"
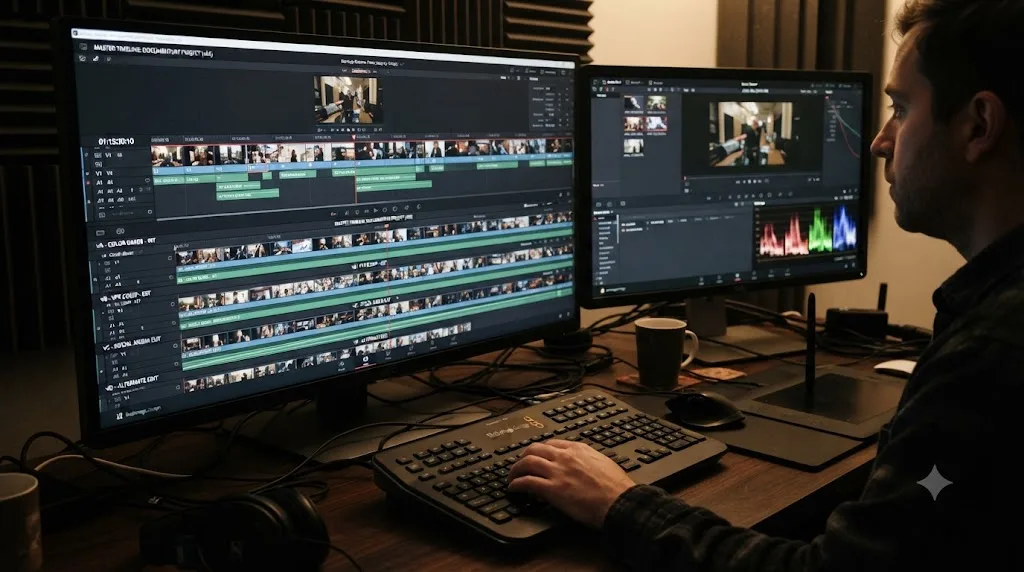
That's from Chadfield's article, "An Introduction To Versioning Efficiently Using Compound Timelines," on Mixing Light, and the fix he walks through is the same technique Michael Gissing described in the Creative COW thread above: treat your finished timeline as a source clip nested into separate versioning timelines, one for each deliverable variant, rather than duplicating the finished timeline into several independent copies. A client who wants a clean cut, a version with an extra title card, and a vertical crop for social all get their own timeline, but all three point back at the same underlying master edit and grade.
Make that structure once, and a late note, "the client wants the logo moved" or "fix the skin tone in shot 14," becomes a single edit in the original timeline instead of a checklist you have to run across every version by hand and hope you didn't miss one. That's precisely the failure mode Chadfield's opening question describes, and it's the failure mode a compound clip can't protect you from, because a compound clip never had a live connection back to anything to begin with.
Versioning with duplicated, disconnected timelines turns every late grade note into a manual checklist you're one missed item away from failing. Nesting the finished timeline as a shared source turns that same note into one edit that every version inherits automatically. If your delivery list runs more than two variants deep, that difference alone justifies learning the nested-timeline-as-source technique even if you never touch it for any other reason.
| Versioning approach | What happens when you fix something in the original |
|---|---|
| Duplicated, independent timelines | Nothing. You must find and re-fix each duplicate by hand |
| Compound clips built from the original | Nothing. Compound clips don't track their source after creation |
| Nested timeline (original used as a source clip) | Every nested instance picks up the fix automatically |
Which one works better for Fairlight audio mixing?
Nested timelines again, and specifically the moment your project starts using bus routing rather than just stacking tracks.
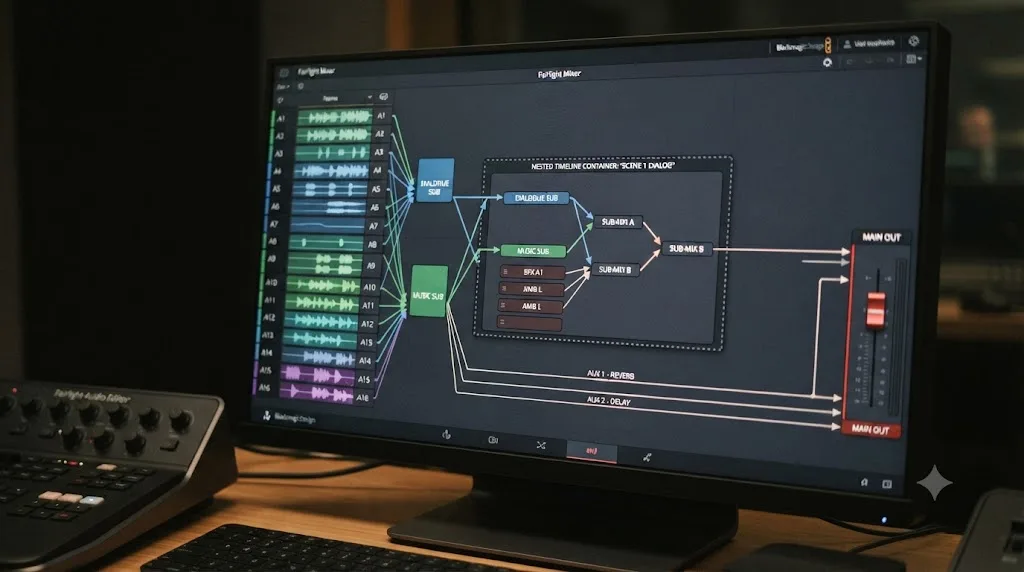
Per the manual's section on compositing and grading nested timelines, when you nest a timeline inside another one that has Fairlight mixing buses set up, "all Sub and Aux routings work as intended within the nested timeline, which exposes all channels of Main 1 in the enclosing timeline." The manual describes the practical effect directly: the nested timeline behaves like "a submix that outputs its resulting audio to the audio track it's edited onto."
That's a meaningfully different guarantee than what a compound clip offers on the audio side. Compound clips can absolutely contain audio, including the newer audio-specific compound clip type covered in the manual's Audio Compound Clips section, but they were designed as an editing-convenience grouping feature first. A nested timeline's documented Sub and Aux bus behavior exists specifically because it's the same timeline data, buses and all, viewed through a second window, the same mechanical reason its grade changes propagate.
Practically, that matters most on projects with a real mix structure: dialogue routed through one bus, music through another, sound effects through a third, all summing to a Main output with its own processing. Nest a scene's timeline into a longer episode timeline, and that scene's submix arrives intact, still routed the way you built it, rather than flattened down to whatever channels happened to be active when you compounded it. Our Fairlight audio mixing guide covers building that bus structure from scratch if you haven't set one up yet; this is the piece that determines whether your bus structure survives being nested into something bigger.
A nested timeline's audio behaves like a genuine submix because it genuinely is one, buses and all, not a flattened stand-in for one. If your Fairlight setup depends on Sub or Aux routing surviving the trip into a bigger timeline, that's reason enough on its own to nest rather than compound.
Which one should you use for organizing a long timeline into scenes or reels?
Nested timelines, and this is closer to the feature's original, textbook use case than any of the workflows covered above.
The manual's own framing example for nested timelines is exactly this scenario: "if you've edited a program in scenes or reels such that each reel is contained in a separate timeline, you can edit all of the timelines together, one after the other, into a single timeline to assemble them into a final program." Per the manual's section on re-editing a nested timeline, you can even select multiple timelines at once in the Media Pool, right-click them, and choose Create Timeline Using Selected Clips to assemble a whole group of scene timelines into one nested sequence in a single step, rather than dragging them in one at a time.
This is where the badge Resolve draws next to nested timeline clips earns its keep. On a genuinely long assembly, a feature film cut from thirty scene timelines or a documentary built from a dozen interview reels, that badge is how you tell at a glance which timeline clips are actually live windows into editable source timelines and which are ordinary footage, without opening each one to check.
Compound clips can technically do a version of this too, bundling a run of clips into one object for organizational tidiness, but they're solving a smaller problem: cleaning up a cluttered section of a single timeline you're already working in, not assembling separately-edited scene timelines into a master program. If your scenes were built and refined as their own timelines in the first place, likely by different editors or on different days, nesting them preserves that separation and keeps each scene independently editable at its source. Compounding a whole scene's worth of clips would bundle it into a static object instead, which fights against the very reason you kept scenes in separate timelines to begin with.
Nested timelines exist specifically for the case where your project's real structure is already a set of separate timelines, and compound clips exist for the case where it isn't. If you're asking "should I nest my reels or compound them," the question already answers itself: reels that live as separate timelines get nested, not compounded.

Which one should you use for multicam editing?
Either, because DaVinci Resolve treats compound clips and timelines identically the moment you convert them into a multicam clip, and this is one of the rare places in this entire comparison where the answer is genuinely "it doesn't matter which you picked."
Per the manual's section on converting compound clips or timelines to multicam clips, you right-click either object in the Media Pool and choose Convert Compound Clips (Timelines) to Multicam Clips, and the resulting multicam clip works the same regardless of which source type you started from. The manual also flags an important, easy-to-miss limitation that applies equally to both: this conversion is one-way. Once you convert, you can't turn a multicam clip back into its original timeline or compound clip form, so if you want to preserve the pre-conversion version, "duplicate it first, and then convert the copy."
This matters most for a workflow our multicam sync troubleshooting guide covers in detail: footage that doesn't share matching timecode, so you can't use Resolve's automatic multicam creation and instead have to manually sync each angle on its own timeline first. That manually-synced timeline, whether you built it as a compound clip or nested it as its own timeline, converts into a working multicam clip the same way either type would, once the sync is locked in.
Where the compound-versus-nested choice still quietly matters is before the conversion, not during it. If your manually synced angles live in a nested timeline and you later need to go back and adjust the sync on one camera, you can reopen that source timeline directly and the fix applies wherever it's used. If you compounded the angles instead, that compound clip is already its own frozen object by the time you're troubleshooting sync, so any correction happens inside the compound clip itself and doesn't reach back to anything else.
The multicam conversion step doesn't care which one you started with, but everything you do before that step still follows the same compound-versus-nested rules covered throughout this guide. Pick based on whether you'll need to keep adjusting the pre-multicam sync, not based on any difference in how the conversion itself behaves.

Do compound clips and nested timelines slow down your render times?
Sometimes, and the mechanism is more specific than "nesting is slow," which is the vague version of this warning that circulates in forum threads without much explanation attached.
Both features collapse down to a single MediaIn node on the Fusion page, as covered earlier, and that collapsing isn't free. Resolve still has to evaluate whatever sits behind that MediaIn node, every clip, effect, and grade inside the compound clip or nested timeline, before it can hand back the single flattened image the rest of your project sees. Nest a compound clip inside another nested timeline, which is itself nested inside your master timeline, and you've built a chain of evaluation steps Resolve has to walk through in order, every single time that section needs to be displayed or rendered.
Vagon's guide to rendering faster in DaVinci Resolve puts the general resource cost plainly, as part of its broader project-cleanup advice: "each active timeline increases memory usage, especially if it contains nested timelines, compound clips, or Fusion effects." That's not a claim specific to one feature being worse than the other. It's the same underlying cost, evaluation depth, showing up regardless of which of the two objects is doing the nesting.
This is exactly where DaVinci Resolve's render cache earns its keep, and it's worth understanding the interaction rather than treating cache and nesting as unrelated settings. Cache a heavy nested timeline or compound clip once its content is locked, and Resolve stops re-evaluating that whole chain on every scrub and re-render, handing back the pre-built cached result instead. Our render cache guide covers Smart versus User mode in full, and the practical takeaway for this specific situation is to flag heavy compound clips and nested timelines for caching manually in User mode, since Smart mode's automatic triggers are built around processor-intensive codecs and specific effects like Noise Reduction, not "this is a deeply nested structure" as its own category.
Nesting depth is a render cost you pay every time Resolve evaluates that chain, and render cache is the tool that stops you paying it more than once per edit. The fix for a genuinely slow nested or compounded section usually isn't "stop using nesting." It's "cache the nested section once it's locked, the same way you would any other effects-heavy clip."
| If you notice | Likely cause | What to try |
|---|---|---|
| One specific nested section or compound clip stutters | Deep evaluation chain, uncached | Flag it for Render Cache manually in User mode |
| The whole project feels sluggish, not one specific section | Too many active timelines open, or plain footage that hasn't been optimized | Check your Optimized Media and Proxy Media settings first |
| A nested or compounded section renders fine but the final export is slow | Cache built in a low-quality format, or not reused at export | Enable Use Render Cached Images on the Deliver page, with a high-quality cache format set |
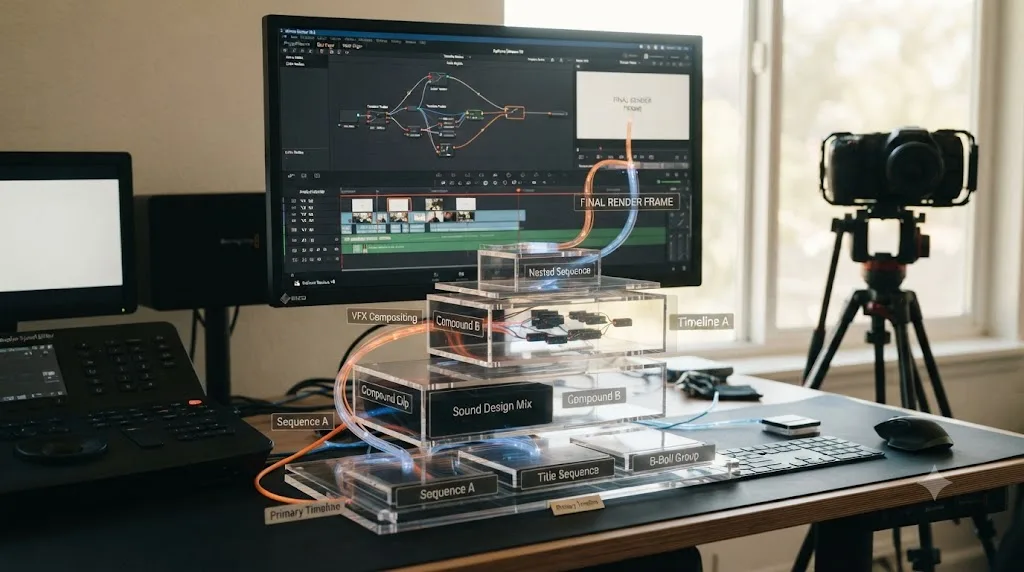
What happens if your source footage has mixed resolutions or frame rates?
This is where the two features genuinely diverge in reliability, and it's a real, documented edge case rather than a hypothetical one.
An editor named Neil Wieteska ran into exactly this on a project mixing a 1920x1080 timeline with a much higher-resolution 4500x3000 source. Nesting the high-resolution timeline into his 1080p project, he found that zooming out to see the whole 4500x3000 image inside the nest didn't work the way it did with the same footage un-nested: "when I try to reduce the nest (zoom out) to see the whole of that 4500 x 3000 image, the nest stays cropped." His project's input scaling was set to "centre crop with no resizing," a setting that behaved correctly on non-nested high-resolution clips but didn't carry through the same way once that resolution was wrapped inside a nested timeline.
Responding in the same Creative COW thread, Joseph Owens pointed toward the one workaround that actually reaches the setting causing the problem: opening the nested element independently to access its own Inspector settings, since "this is the only way I know of to drill down to the Inspector Settings for a nested element." That's a real limitation worth knowing about before you build a mixed-resolution nested structure and assume the scaling behavior you see on a plain clip will carry through unchanged once that clip is nested.
Compound clips carry a version of the same caution, since both features route mixed formats through a single evaluation step before the rest of your timeline ever sees the result. Per the manual's section on nested sequences and compound clips, Resolve does explicitly support compound clips built from mixed frame rates, including multi-cam and A/V synchronized clips imported from Final Cut Pro X, which are internally represented as compound clips regardless of their original frame rate variance. That's a documented capability, not a workaround, but it doesn't mean every scaling or resizing setting you'd expect on a plain clip necessarily reaches through the same way once it's wrapped inside either a compound clip or a nested timeline.
Mixed resolutions and frame rates work inside both compound clips and nested timelines, but the scaling and resizing settings that control how they look don't always reach through a single evaluation layer the way you'd expect from experience with plain, un-nested clips. If your project genuinely mixes formats, open the nested or compounded element on its own and check its Inspector settings directly rather than assuming inherited project defaults are being applied the way you'd want.
Can you decompose or convert one into the other?
Partly, and the two directions aren't symmetrical, which is worth knowing before you build a structure you expect to be able to reverse cleanly later.
Going from compound clip back to individual clips is a first-class, supported operation. Right-click any compound clip in the Timeline and choose Decompose in Place, per the manual's section on re-editing, and Resolve unpacks it back into its original constituent clips right where the compound clip was sitting. From there, if you actually wanted the linked, nested behavior instead, you'd need to build a separate timeline from those clips and then nest that timeline in, since decomposing doesn't automatically create a nested link, it just undoes the bundling.
There's also a project-wide toggle that changes what happens by default when you drag a timeline into another one: Edit > Decompose Compound Clips on Edit. Per the manual, turning this on means a timeline you drag or edit into another timeline gets immediately decomposed into its individual source clips instead of being nested as a single object, which is useful for assembling a "selects" timeline you plan to cut into a final program later rather than one you want to keep as a live-linked nest. Leave that toggle off, and dragging a timeline in defaults to the nested behavior covered throughout this guide.
Going the other direction, compound clip to nested timeline, doesn't have a dedicated one-click command in DaVinci Resolve 21. If you built something as a compound clip and later realize you actually needed the live-linking a nested timeline provides, the practical path is: decompose the compound clip back into its clips, assemble those clips into a fresh timeline, save that timeline, and then drag that new timeline in as a source clip wherever you need the nested, linked version. It's a few extra steps, not a converter, and it's worth doing early in a project rather than after you've built several dependent versions on top of the compound clip assumption.
Compound clips decompose in one click. Nested timelines don't compound in one click, because there's no command built for turning a live link into a frozen snapshot on purpose. If you're unsure which structure a project will need six months from now, defaulting to nested timelines costs you almost nothing today and keeps the door open, since a nested timeline can always be treated like a static clip if you never touch its source again, but a compound clip can't retroactively gain the live link it was never built with.
Does DaVinci Resolve treat Final Cut Pro imports the same way?
Not quite as neatly as you'd hope, and this is a real gotcha for anyone migrating a project from Apple's editors into Resolve.
Final Cut Pro 7, the older, legacy version of Apple's editor, used a feature called nested sequences, conceptually close to Resolve's own nested timelines. Final Cut Pro X, its successor, replaced that with compound clips, its own version of the grouping feature Resolve also calls compound clips. When you bring a project built in either one into DaVinci Resolve, per the manual's page on nested sequences and compound clips, the outcome is the same regardless of which Final Cut version you're coming from: "Both appear within DaVinci Resolve as compound clips, in both the Timeline and the Media Pool."
That's worth sitting with for a second, because it means the exact distinction this entire guide is built around, live-linked nested timeline versus frozen compound clip, gets flattened away on import. A Final Cut Pro 7 nested sequence that behaved like a live-linked structure in its original app arrives in Resolve as a plain compound clip instead, with none of the automatic re-linking behavior a genuine Resolve nested timeline would carry.
The manual also confirms Resolve's import handling covers mixed frame rates and multicam or A/V synchronized clips from Final Cut Pro X the same way, all landing as compound clips internally regardless of their original structure. So the migration isn't broken, exactly, everything imports and plays back, but if your Final Cut workflow depended on a nested sequence staying linked to its source the way Resolve's own nested timelines do, that link doesn't survive the trip.
If your editing workflow depends on live-linked nesting, and you're migrating a project from Final Cut Pro, expect to manually rebuild that linked structure inside DaVinci Resolve rather than assuming it carried over. Check any imported compound clip that used to be a live nested sequence before you build further work on top of an assumption about how it updates, because Resolve's importer already made the decision for you, and it decided in favor of the frozen version.
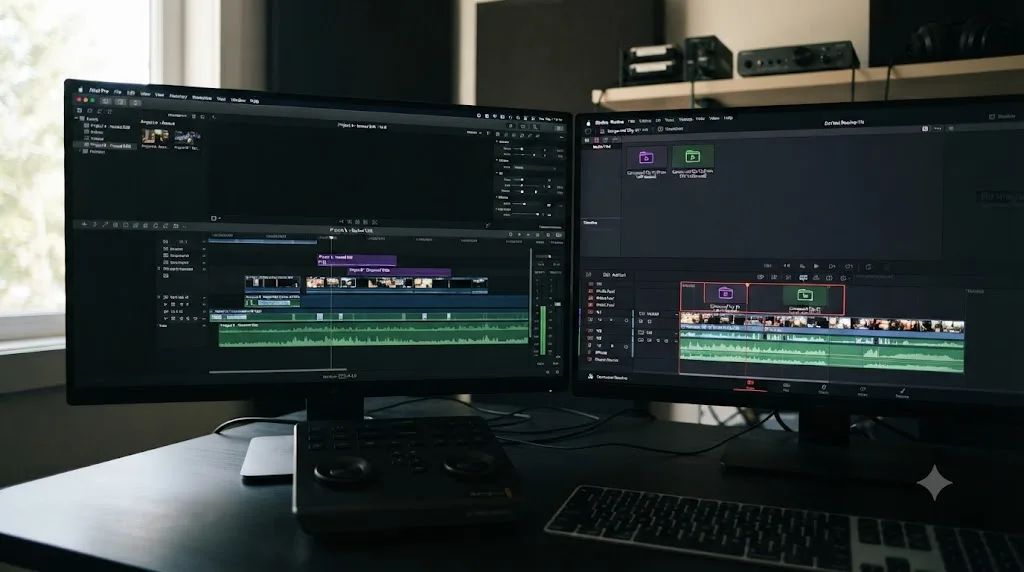
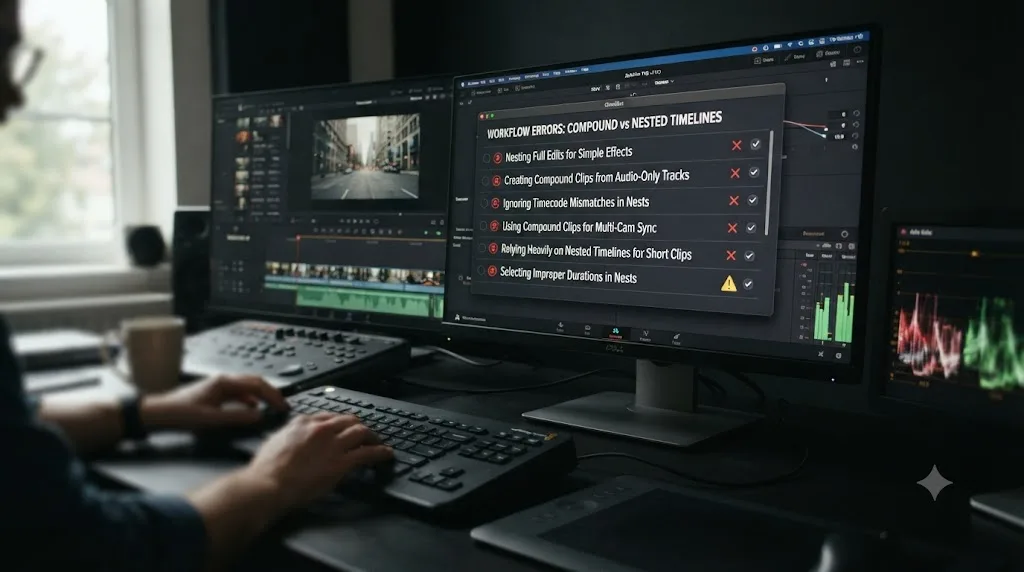
What are the most common mistakes editors make with these two features?
A handful of avoidable missteps account for most of the frustration that shows up in Blackmagic's own forums about this exact comparison, including a long-running thread specifically titled "Overhaul the 'Compound Clip' vs. Nested Timeline system," where editors have spent years asking Blackmagic to make the distinction between the two features clearer and more consistent.
Assuming a compound clip will update the way a nested timeline would. This is the single most common mistake, and it's the exact one Mike Thomas ran into on Creative COW before Michael Gissing pointed him toward using a timeline as a source clip instead. If you build a compound clip expecting later changes to the original footage to flow through automatically, you're going to be disappointed, because that's never how a compound clip has worked.
Nesting a scene timeline, trimming the original afterward, and expecting the nested instance to shrink too. Per the manual's own wording, it won't. That section just goes black instead. Budget time to manually re-trim any nested instance after you've cut down its source, or better, lock scene timelines before you start nesting them elsewhere.
Compounding a set of scene timelines that were meant to stay independently editable. If your project's real structure is separate scene or reel timelines, compounding them bundles that structure away. Nest them instead, and you keep each scene independently reachable and editable at its source.
Building a mixed-resolution nest and assuming Inspector scaling settings carry through automatically. As Neil Wieteska discovered, they don't always. Open the nested element directly and verify its own Inspector settings whenever your project mixes formats inside a nest.
Migrating a Final Cut Pro project and assuming a nested sequence's live link survived the import. It didn't. Resolve flattens both Final Cut Pro 7 nested sequences and Final Cut Pro X compound clips into plain compound clips on arrival, so rebuild any linked structure you actually need manually.
Stacking nested timelines and compound clips several layers deep without ever caching any of it. Each layer is a real evaluation cost, and Resolve doesn't automatically know to cache a deep nest just because it's deep. Flag it manually in Render Cache's User mode once that section's content is locked.
So which should you actually use?
Ask yourself one question before you right-click anything: do I ever want this to change again after I create it, without me manually rebuilding it?
If the honest answer is no, you're grouping a fixed set of clips to apply one effect once, tidy up a cluttered section, or hand off a sealed unit that nobody needs to keep updating, use a compound clip. It's the simpler object, it's easy to decompose later if you change your mind, and it carries none of the duration-edge-case surprises covered above because it never had a live source relationship to begin with.
If the answer is yes, you're versioning a cut for multiple deliverables, assembling scene timelines you or someone else is still actively refining, or building a Fairlight submix whose bus routing needs to survive being embedded in something bigger, nest the timeline instead. Drag it in as a source clip, let the badge remind you it's live, and remember the one real gotcha: content changes flow through automatically, duration changes don't, and any section you trim away in the source just goes black in the nest until you manually match it.
Neither feature is a permanent commitment, exactly, but the two directions aren't equally easy. A compound clip decomposes back to individual clips in one right-click. Getting a compound clip's live-linking retroactively means rebuilding it as a nested timeline from scratch. When you're not sure which one a project will need six months from now, that asymmetry is itself the tiebreaker: default to a nested timeline, and treat it as a static clip if you genuinely never touch its source again, rather than defaulting to a compound clip and discovering later that the link you needed was never there.
If you're staring at the right-click menu wondering which option you're even looking at, or you've built a nested structure and can't find the Inspector setting that's supposed to fix your scaling problem, that's a narrower question than this whole comparison, and it's exactly the gap TryUncle is built to close. TryUncle is an AI tutor for DaVinci Resolve on macOS. Ask in plain words and Uncle points at the exact control on your screen, instead of sending you back to a manual page to figure out which menu item does what.
Pick based on whether you need the link, not based on which one the last tutorial you watched happened to use. That's the whole decision, and everything above exists to make sure you're making it with the actual mechanics in view instead of a guess.
Frequently asked questions
- What's the main difference between a compound clip and a nested timeline in DaVinci Resolve?
- A compound clip bundles selected timeline clips into a new, separate object that stops tracking the clips it was built from. A nested timeline is a timeline dragged into another timeline as a source clip, and it keeps a live link back to the original: edit or grade the source timeline, and every nested instance of it updates too, as long as you don't change its overall duration.
- Does changing the original timeline update a nested timeline automatically?
- Content and grade changes do. If you adjust a grade, swap a shot, or retime a section inside the original timeline, every nested instance reflects that change the next time you view it. Duration changes don't propagate the same way: trimming or deleting clips in the original doesn't shrink or grow the nested instance, and any area you deleted just goes black inside the nest instead.
- Can I convert a compound clip into a nested timeline, or the other way around?
- Not directly as a one-click toggle, but you can get the same result. Right-click a compound clip and choose Decompose in Place to unpack it back into its original clips, then re-nest them as a timeline if you want the linked version instead. Going the other way, you'd rebuild the sequence as a compound clip from scratch, since there's no native nested-timeline-to-compound-clip converter in DaVinci Resolve 21.
- Which one should I use for color grading multiple versions of the same edit?
- Nested timelines, used as a source clip for each alternate version. Colorist Zeb Chadfield describes this exact workflow on Mixing Light: treat a finished timeline as the source for your versioning timelines, so a grade fix in the original flows through to every export automatically instead of requiring you to remember and repeat the fix in each version by hand.
- Do compound clips and nested timelines slow down render times?
- They can, mostly through Fusion overhead and render cache blind spots rather than the codec itself. Both appear as a single MediaIn node on the Fusion page, and stacking several nested layers or compound clips inside each other adds evaluation steps Resolve has to walk through before it can display or render a frame. Vagon's rendering optimization guide notes plainly that each active timeline increases memory usage, especially one containing nested timelines, compound clips, or Fusion effects.
- Which one works better for Fairlight audio mixing?
- Nested timelines, specifically when your project uses Sub and Aux bus routing. Per DaVinci Resolve's own reference manual, a nested timeline's Sub and Aux routings work as intended and expose every channel of Main 1 in the enclosing timeline, so the nest behaves like a genuine submix. Compound clips don't carry that same bus-routing guarantee, since they were built as an editing convenience first, not an audio mixing structure.
- Does DaVinci Resolve import Final Cut Pro nested sequences as compound clips?
- Yes. Per Blackmagic's own manual, Resolve imports both Final Cut Pro 7's nested sequences and Final Cut Pro X's compound clips as compound clips, in the Timeline and the Media Pool. The distinction that matters so much inside Resolve, static bundle versus live-linked source, gets flattened on import, so re-establish it manually afterward if your workflow depends on the linked behavior.
- Can I turn a compound clip or a nested timeline into a multicam clip?
- Yes, and Resolve treats them identically for this. Right-click either one in the Media Pool and choose Convert Compound Clips (Timelines) to Multicam Clips. The conversion is one-way, so duplicate the original first if you want to keep the compound clip or timeline version alongside the new multicam clip, per Blackmagic's own documentation.
Sources
- About Nested Sequences and Compound Clips (DaVinci Resolve Reference Manual, Blackmagic Design)
- Take Selectors, Compound Clips, and Nested Timelines - chapter overview (DaVinci Resolve Reference Manual, Blackmagic Design)
- Compound Clips (DaVinci Resolve Reference Manual, Blackmagic Design)
- Compositing With and Grading Compound Clips (DaVinci Resolve Reference Manual, Blackmagic Design)
- Nested Timelines (DaVinci Resolve Reference Manual, Blackmagic Design)
- Re-Editing a Nested Timeline (DaVinci Resolve Reference Manual, Blackmagic Design)
- Swapping the Contents of the Source Viewer and Timeline (DaVinci Resolve Reference Manual, Blackmagic Design)
- Compositing and Grading Nested Timelines (DaVinci Resolve Reference Manual, Blackmagic Design)
- Converting Compound Clips or Timelines to Multicam Clips (DaVinci Resolve Reference Manual, Blackmagic Design)
- Audio Compound Clips (DaVinci Resolve Reference Manual, Blackmagic Design)
- Compound clip question - thread with colorist Michael Gissing's reply (Creative COW)
- nesting/compound clip - thread with Joseph Owens's reply on resolution scaling (Creative COW)
- Overhaul the "Compound Clip" vs. Nested Timeline system (Blackmagic Forum)
- Set start timecode for Compound Clip "timelines" (Blackmagic Forum)
- An Introduction To Versioning Efficiently Using Compound Timelines, by Zeb Chadfield (Mixing Light)
- How to Render Faster in DaVinci Resolve: A Complete Optimization Guide (Vagon)
- DaVinci Resolve - Tech Specs (Blackmagic Design)
Put this guide to work with TryUncle.
Ask about the step you’re on. TryUncle sees your screen and points at the control you need, so you can keep learning in your own project.
Get TryUncle for Mac or WindowsKeep reading
Guides · Jul 13, 2026 · 18 min
DaVinci Resolve Render Cache Explained: Smart vs. User Mode
How DaVinci Resolve's render cache works, and how Smart mode differs from User mode: cache formats, disk space, per-clip flags, and when to use each.
Guides · Jul 11, 2026 · 31 min
How to Mix Audio in DaVinci Resolve Using Fairlight
Mix audio in DaVinci Resolve's Fairlight page: build a dialogue/music/effects bus structure, gain-stage your clips, EQ and compress dialogue, then duck music under it.

Guides · Jul 10, 2026 · 32 min
DaVinci Resolve Fusion Page Tutorial for Beginners
Learn the DaVinci Resolve Fusion page from zero: nodes, MediaIn/MediaOut, the Merge node, planar tracking, and keying a green screen, step by step.