Articles / Guidesupdated for DaVinci Resolve 21.0 (June 2026)
DaVinci Resolve Fusion Page Tutorial for Beginners
Quick answer
The Fusion page is DaVinci Resolve's node-based visual effects workspace, free in every version. Start with the MediaIn and MediaOut nodes Resolve creates for you, add a Merge node to combine images, then learn the Planar Tracker and Delta Keyer. Build one small effect end to end before trying anything more ambitious.
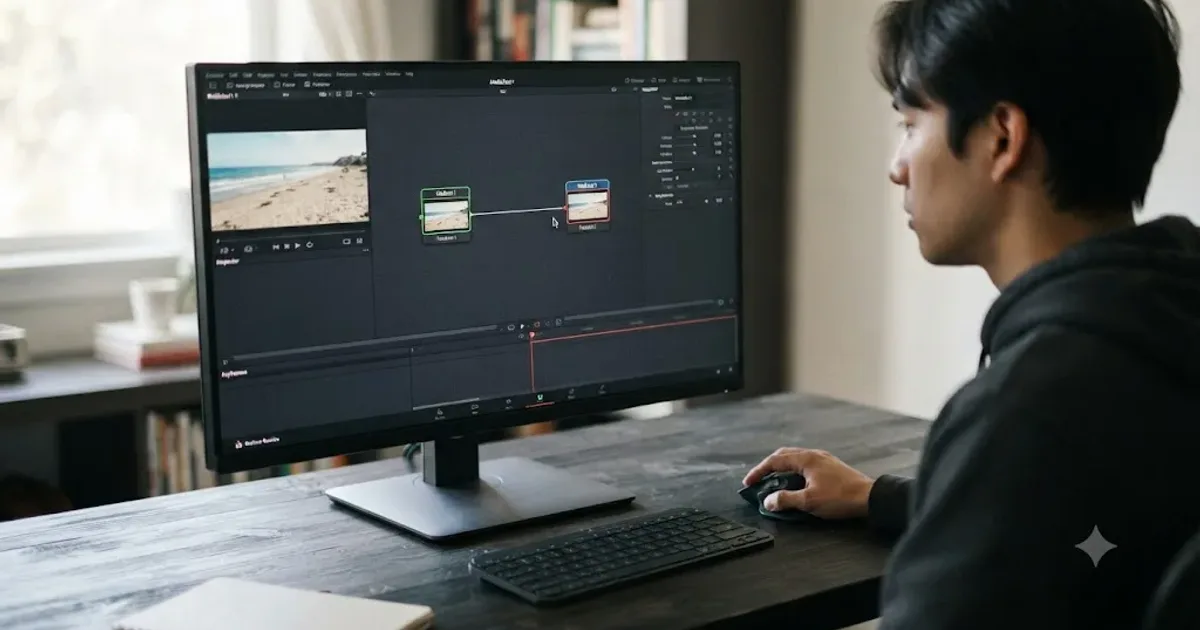
Fusion is the page most DaVinci Resolve beginners close within thirty seconds of opening it. Too many nodes, no obvious starting point, and a Flow area that looks like a wiring diagram for a submarine. I'm not going to pretend it's simple. I'm going to show you the six or seven things that actually matter, in the order you need them, so the wiring diagram turns into a chain of decisions you already understand.
By the end of this guide you'll have connected your first nodes, tracked a moving surface, keyed a green screen, and animated a title, all inside the same page that intimidated you an hour ago.
What is the Fusion page in DaVinci Resolve?
Fusion is DaVinci Resolve's node-based visual effects and motion graphics workspace, built into the same application as editing, color, and audio rather than sold as a separate program you have to switch to. Blackmagic Design's own product page pitches it hard, calling it "Hollywood's Secret Weapon" and pointing to its use on films including The Hunger Games, Avengers, and Terminator Genisys, per Blackmagic's Fusion product page. Marketing copy aside, the underlying claim is true: Fusion is a full compositing tool, not a lightweight effects tab bolted onto an editor.
The same source lists more than 200 filters and effects, called "tools" inside Fusion, covering keying, tracking, particle systems, 3D compositing, paint, and text, according to Blackmagic Design. You will never use most of them. That's fine. A woodworker doesn't use every bit in the drawer either. What matters for a beginner is a working model of the handful of tools that show up in almost every real composite: MediaIn, MediaOut, Merge, a tracker, and a keyer. This guide covers exactly those, plus the workflow habits that keep a node tree from turning into spaghetti.
Fusion's core idea is five simple operations that cover almost everything you'll ever do on the page: merge images together, insert effects between them, mask an effect to a specific area, adjust settings in the Inspector, and fine-tune the result with keyframes, per Blackmagic's own workflow summary. Every worked example later in this guide is one or more of those five operations, chained together. Once that sentence stops feeling abstract, Fusion stops feeling like a separate skill and starts feeling like an extension of the editing and color instincts you already have.
Do you need Fusion, or can you skip it as a beginner?
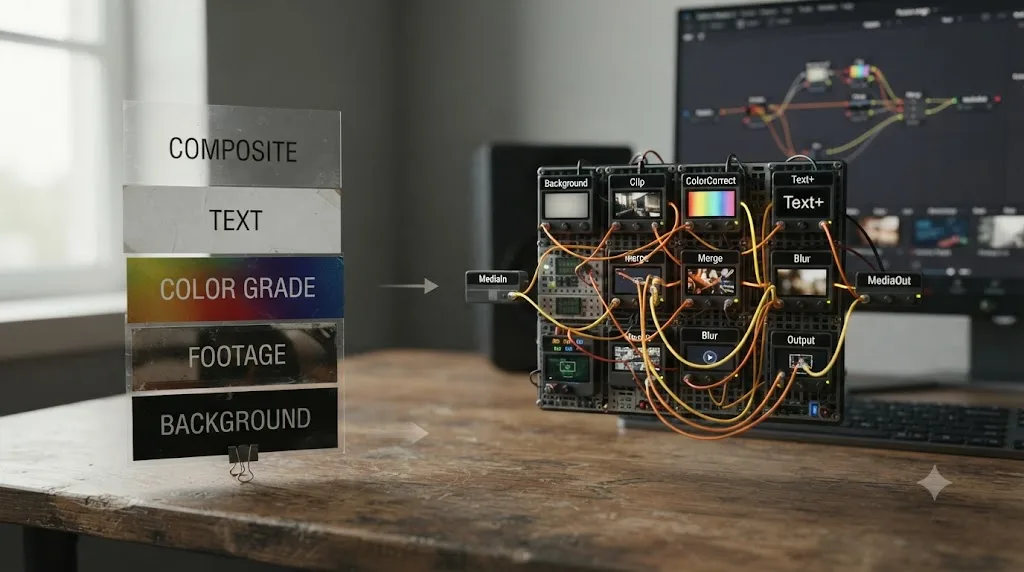
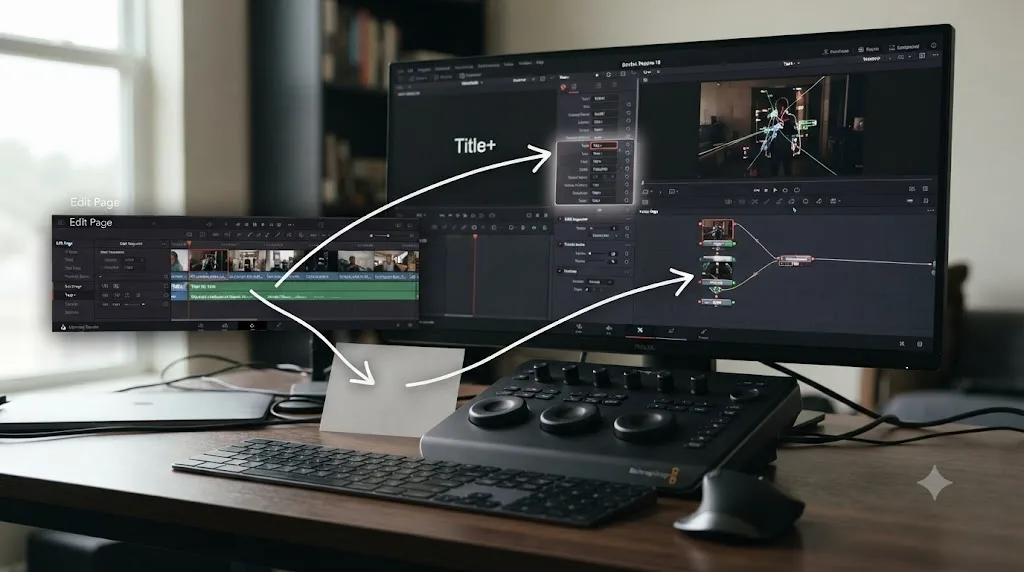
Skip it, for your first few projects. Our beginner's guide to DaVinci Resolve puts Fusion dead last in the learning order for exactly this reason: you already benefit from Fusion without visiting it, because the Text+ title tool on the Edit page is a Fusion template running quietly in the background.
Here's a quick gut check for whether a task actually needs the full Fusion page, or whether an Edit-page effect already covers it.
| What you're trying to do | Does it need the full Fusion page? |
|---|---|
| Add a simple title or lower third | No, use Text+ or a Krokodove title from the Effects Library |
| Add a basic transition | No, the Edit page's built-in transitions cover this |
| Track and replace a phone screen or sign | Yes, needs the Planar Tracker |
| Key out a green screen | Usually yes, for anything beyond a clean, evenly lit shot |
| Composite two or more video layers with masking | Yes |
| Build a custom animated logo or callout | Yes, or a Krokodove template if one fits |
| Stabilize shaky footage | No, use the Inspector's Stabilization tool on the Edit or Color page |
You don't need Fusion until a specific shot demands something a template can't do. That's not a cop-out. It's the same advice working compositors give each other: reach for the pre-built tool first, and only open the node editor by hand when the shot actually requires it. If you're the kind of person who wants to understand the tool underneath the template before you rely on it, keep reading. That instinct is exactly right, and it's also the fastest way to get comfortable with Fusion on your own timeline instead of only when a deadline forces it.
What do you see the first time you open the Fusion page?
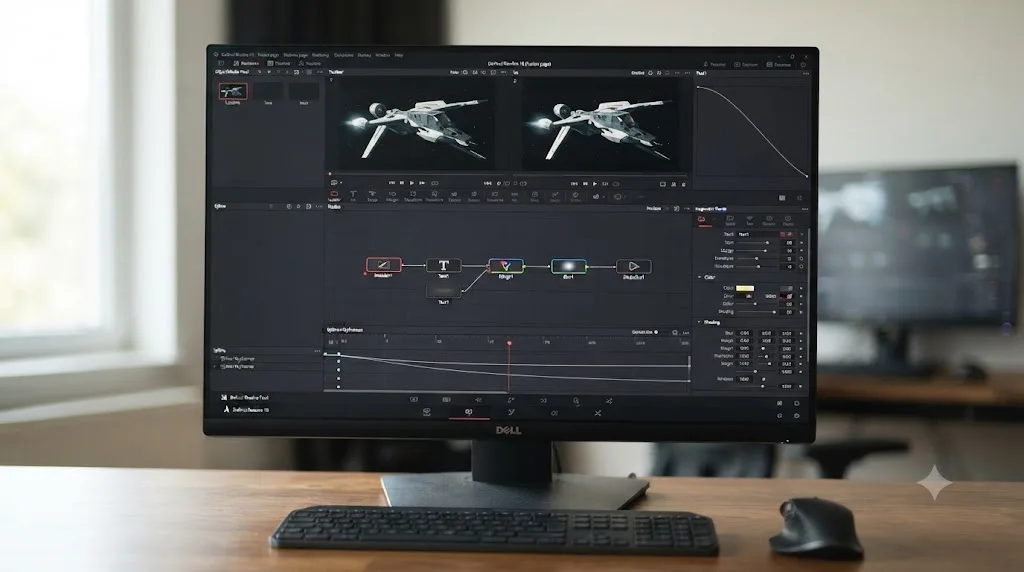
Select a clip on the Edit or Cut page timeline, then click the Fusion icon in the page selector at the bottom of the screen. The layout that appears has five areas, and knowing what each one is for turns the page from noise into a floor plan.
- The Flow, the large area in the middle-to-bottom of the screen, is where nodes live and connect. Think of it as your wiring diagram, read left to right.
- The Viewers, two panels at the top, show your image. You assign a node to a viewer by selecting it and pressing 1 or 2 on your keyboard, so you can compare two points in your chain side by side, for example your raw footage against your keyed result.
- The Toolbar, a row of icons above the Flow, holds the most common tools: Merge, trackers, paint, text, and a handful of others, one click away instead of buried in a menu.
- The Inspector, on the right, shows the settings for whichever node you have selected. This is where you actually adjust anything, from a keyer's tolerance to a text layer's font.
- The Spline and Keyframes panels, tucked at the bottom, handle animation. Any value you can right-click and animate in the Inspector shows up here as a curve you can shape by hand.
Two nodes already exist the moment you land on the page: MediaIn, holding the clip you had selected, and MediaOut, wired directly to it. That connection is the smallest possible composite, an unmodified pass-through, and it's also your safety net. If you ever get lost building a complex tree, you can always trace the chain back to these two nodes and know exactly where your image starts and ends.
What is a node, really?
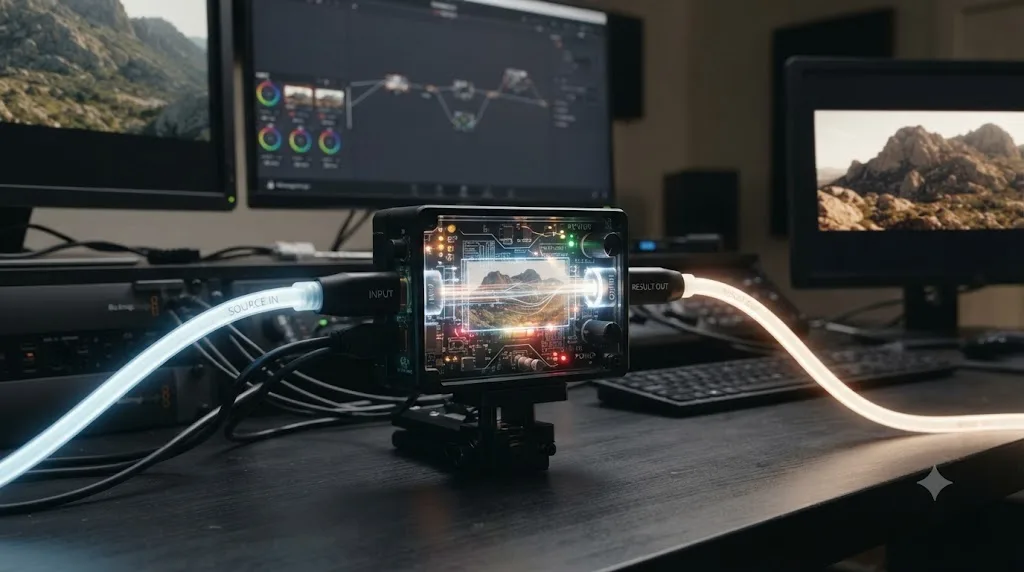
A node is one processing step, packaged as a box you can connect to other boxes. An image enters one side, the node does its one job to it, blur, color shift, key, track, generate text, and the result exits the other side toward whatever's connected next. That's the entire concept. Everything else in Fusion is a variation on that single idea repeated dozens of times in a row.
The comparison beginners reach for automatically is layers, because that's the mental model most editing and design software teaches first. It's a useful bridge, and also a source of real confusion, because nodes and layers solve the same problem with a different shape. A layer stack has an implicit order: whatever's on top covers whatever's below, always, unless you change the stacking order itself. A node tree has no such default. Two branches can run in parallel, feed into the same Merge node, split off again downstream, and reconnect a third time, in ways a linear stack simply can't represent without duplicating layers.
VFX artist Bernd Klimm frames the practical upside of that flexibility plainly in his Fusion fundamentals series: "You can create elements independently. You can repurpose them, you can use them multiple times, process them in different ways, and bring things together so you can build more complex and advanced two-dimensional logic, which you cannot do in layers as easily," in his Fusion Back to Basics tutorial for Mixing Light. That's the real payoff of learning nodes: not that they're more powerful in the abstract, but that reusing one processed element three different ways, without three copies of it cluttering your project, becomes routine instead of awkward.
A node tree has no default stacking order, which is the single biggest mental shift from layer-based software. Where an element sits in your composite is decided entirely by which node's output you plug into which node's input, not by a position in a list. That's disorienting for exactly one project, and then it becomes the feature you miss the moment you go back to a layer-based tool.
If you've already spent time on Resolve's Color page, you have a head start here. The node system in color grading works on the same underlying logic, chains of connected processing steps, just applied to correcting an image instead of compositing one. Fusion asks you to extend a habit you may already have, not to learn an unrelated discipline from zero.
What do MediaIn and MediaOut actually do?
These two nodes exist in every Fusion composite you'll ever build, and understanding their specific job removes most of the "where does my image even start" confusion beginners hit first.
MediaIn represents the clip from the Edit or Cut page timeline that was selected when you opened Fusion. Per JayAreTV's documentation of the node, "the clip from the Edit or Cut page Timeline is represented as a MediaIn node in the Node Editor," and its Inspector gives you controls for trimming, looping, reversing, and adjusting the color and gamma space of that source footage. You can create additional MediaIn nodes too: drag another clip in from the Media Pool, drag one in from your operating system's file browser, or import a layered PSD file, where each layer becomes its own MediaIn node automatically. One detail that trips up first-timers doing anything with audio inside Fusion: audio on a Media Pool clip's MediaIn node is muted by default, and you have to switch it on manually in the node's Audio tab if you need it to play.
MediaOut is the opposite bookend. It sends whatever reaches it back to your Edit or Cut page timeline, replacing the role a Saver node plays in the standalone version of Fusion, according to JayAreTV's documentation of the node. A composite needs at least one MediaOut node, but it can have more than one, and the first MediaOut node in the tree is always the one that renders back to the Edit page timeline. Extra MediaOut nodes downstream of that first one don't render to your program monitor; they exist to pass a matte or an isolated element through to the Color page, a more advanced technique worth knowing exists even if you don't need it on day one.
Put those two facts together and you get the single most useful debugging habit in all of Fusion: if your effect isn't showing up on the timeline, check that a complete, unbroken chain runs from MediaIn to a MediaOut node. A disconnected node, however elaborate, renders nothing.
How do you add and connect your first node?
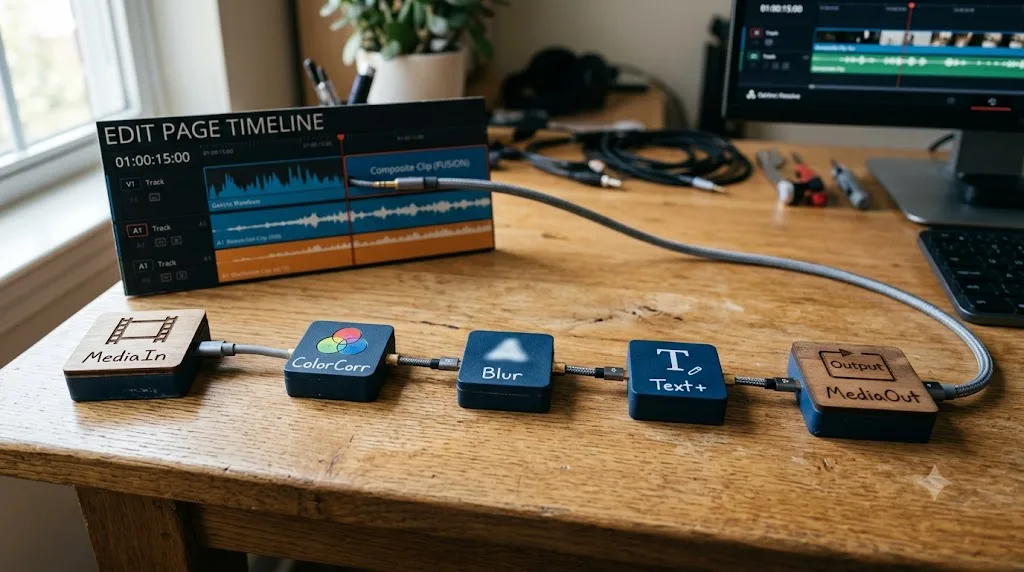
Here's the mechanical part, the actual clicking and dragging, stripped down to what you need for a first composite.
- Right-click an empty area of the Flow to open the Add Tool menu, organized into categories like Tracking, Matte, Filter, and Generator. Alternatively, press Shift+Spacebar to open a searchable tool picker, which is faster once you know a tool's name.
- Drop the tool into the Flow. It appears as its own box, unconnected to anything yet.
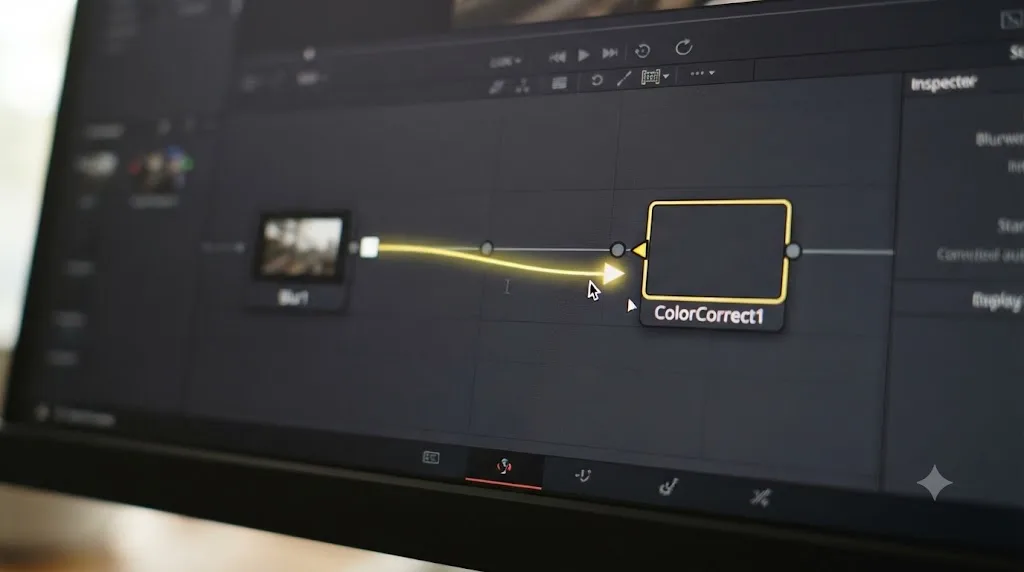
- Connect it by dragging between ports. Every node has an input port, shown as a small yellow triangle, and an output port, shown as a white square, per TourBox's beginner walkthrough of Fusion's port conventions. Click and drag from one node's output square to the next node's input triangle, and Fusion draws a connecting line between them, the visual equivalent of plugging in a cable.
- Insert it into an existing chain by dragging it onto the connecting line itself. Fusion splices the new node in between the two it landed on, automatically rewiring both connections. This is the fastest way to add a color correction or a blur partway through an existing composite without manually breaking and rebuilding two connections by hand.
- View the result by selecting the node and pressing 1 or 2 to send it to one of the two Viewers. Comparing your raw MediaIn against a downstream node this way is how you catch a tool doing the wrong thing early, instead of after five more nodes have been stacked on top of it.
That loop, add a tool, connect it, view it, adjust it in the Inspector, is the entire rhythm of working in Fusion. Ten nodes in a row is the same loop ten times, not a harder skill.
What does the Merge node do, and why is it the most important tool in Fusion?
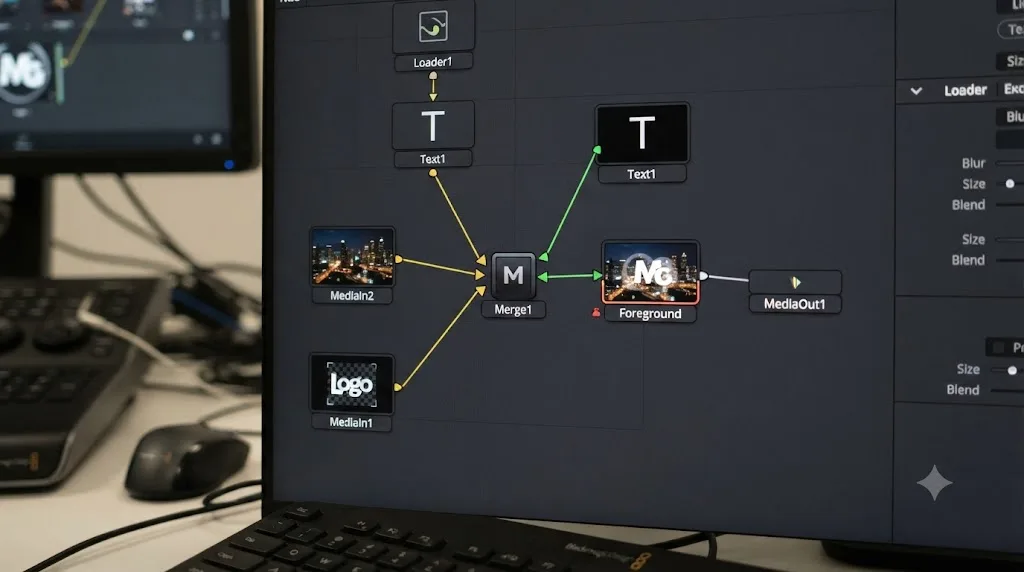
If Fusion has a single tool worth learning before any other, it's Merge. Almost every real composite, a title over video, a green screen replacement, a tracked graphic, a particle effect layered on top of footage, comes down to combining two images, and Merge is the node that does exactly that.
A Merge node has two image inputs and one output. Per TourBox's explanation of the workflow, you connect your background to the node's yellow-labeled input and your foreground, the element that sits on top, to its green-labeled input. The Inspector then lets you control the foreground's position, size, rotation, and blend mode over that background, along with an Apply Mode setting that determines whether it should composite normally, add, screen, or use one of several other blend behaviors familiar from any layer-based tool.
Building a two-element composite by hand, step by step:
- Bring your background clip in as MediaIn 1.
- Bring your foreground element, a graphic, a second clip, a title, in as MediaIn 2 or a generator node.
- Add a Merge node from the toolbar or Shift+Spacebar.
- Connect MediaIn 1's output to the Merge node's yellow (background) input.
- Connect MediaIn 2's output, or your title generator's output, to the Merge node's green (foreground) input.
- Connect the Merge node's output toward MediaOut, directly or through more nodes.
- Use the Inspector's Center, Size, and Angle controls to position the foreground exactly where you want it over the background.
Need a third element, a second graphic, a watermark, a second tracked object? Stack another Merge node. Its background input takes the output of your first Merge, and its foreground input takes the new element. This is the pattern that scales: three elements is two Merge nodes, five elements is four Merge nodes, and the shape of your Flow literally shows you the compositing order at a glance, which a deeply nested layer panel in other software often hides.
A DaVinci Resolve Fusion composite with five visible elements almost always has four Merge nodes underneath it, one per layer added on top of the base image. Once you can read that pattern in someone else's node tree, you can generally reverse-engineer how a composite you're looking at was built, which is a genuinely useful skill on its own.
How do you track a moving object with the Planar Tracker?
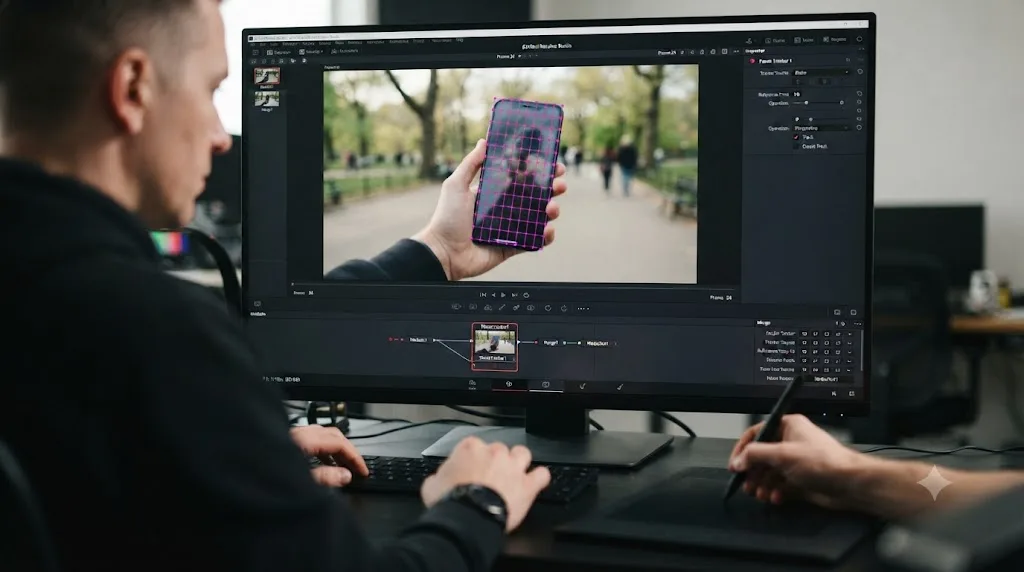
The Planar Tracker solves a specific, common problem: you want to attach a new image, a phone screen replacement, a sign, a billboard, to a flat surface that moves and rotates as the camera or the subject moves. Tracking that by hand, frame by frame, is exactly the tedious work Fusion exists to automate.
Per Boris FX's guide to the tool, the Planar Tracker "makes tracking footage with camera movement and perspective changes more manageable than keyframing or using a single point-tracking tool," because it follows an entire flat surface's translation, rotation, scale, and perspective shift at once, instead of following a single dot and hoping the rest of the surface behaves the same way.
Here's the worked process, start to finish:
- Add the Planar Tracker node from Tracking > Planar Tracker in the Add Tool menu, or search for it with Shift+Spacebar, and connect it into your chain right after the clip you want to track.
- Find a clean reference frame. Move the playhead to a point in the clip where your target surface, the phone screen, the sign, the wall, is fully visible and nothing is blocking it.
- Draw a shape around the surface in that reference frame, tracing its visible edges as closely as you can.
- Set the Operation Mode to Track in the Inspector, confirm your reference time is correct, and choose between the Point tracker and the Hybrid Point/Area tracker, the second of which is generally the more accurate choice for a textured, well-lit surface.
- Choose your motion type. Translation alone if the surface only moves side to side, or Translation, Rotation, and Scale together if the camera or the surface itself moves in more complex ways.
- Click Track Forward and let Fusion analyze the clip, then scrub through the result and watch for drift, moments where the tracked shape slips off the real surface.
- Add occlusion masks for any frames where something passes in front of your tracked surface, a hand, another object, so the tracker doesn't try to follow the obstruction instead.
- Click Create Planar Transform once you're satisfied, which bakes the tracking data into a transform node you can attach a new image to.
- Merge your replacement graphic using that transform, and it now moves, rotates, and scales exactly in step with the original surface.
The most common beginner mistake here isn't a tracking failure, it's skipping the reference-frame step and drawing the tracking shape on a frame where the surface is partially hidden or motion-blurred. A Planar Tracker's accuracy is decided entirely by the quality of its single reference frame, so a blurry or partially occluded starting point undermines the whole track before it begins. Pick the sharpest, most fully visible frame you can find, even if it isn't frame one.
How do you key a green screen with the Delta Keyer?
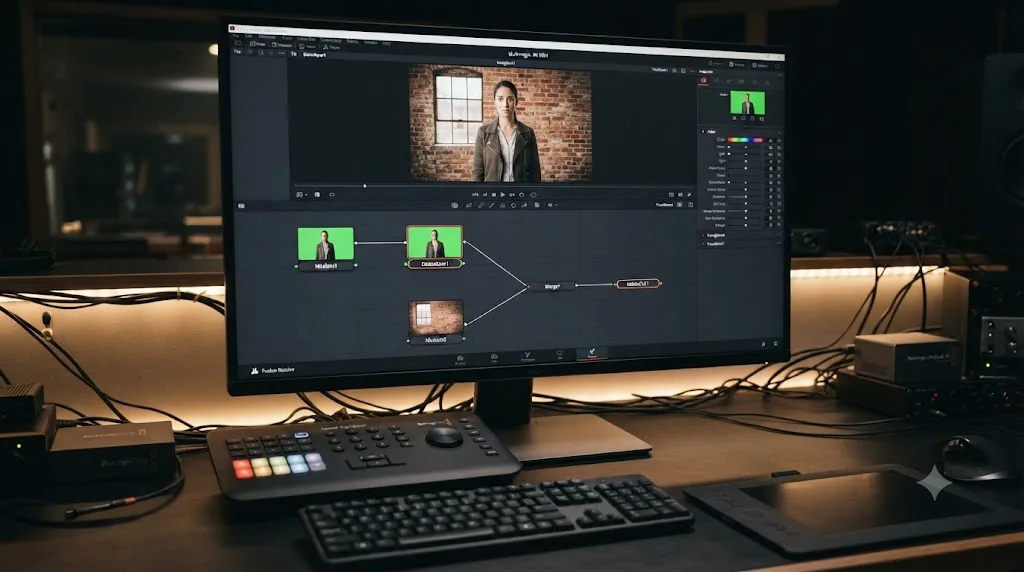
Fusion's Delta Keyer handles green and blue screen removal, and it works differently from a standard chroma keyer in a way that matters for how you set it up. Colorist Joey D'Anna explains the distinction directly: "'Delta' refers to the difference between two things, and differences are exactly what this powerful keyer exploits to make great keys," in his Delta Keyer tutorial for Mixing Light. Rather than removing one flat color, the Delta Keyer compares your shot against a clean plate, an unobstructed reference shot of the empty screen, and subtracts the difference, including the screen's real-world imperfections, uneven lighting, wrinkles, dust, that a single-color key can't account for.
The setup, step by step:
- Bring in your green screen footage as a MediaIn node.
- Add a Delta Keyer node from Add Tool > Matte > Delta Keyer, and connect it directly after your green screen clip.
- Sample the key color using the eyedropper on the Key tab in the Inspector, clicking on the green screen itself in the Viewer.
- Refine with the Pre-matte, Matte, Fringe, and Tuning tabs, which give you granular control over edge softness, spill suppression around hair and fine edges, and overall matte cleanliness, per the setup steps described in several practical Delta Keyer walkthroughs.
- Connect the keyed output to a Merge node's foreground (green) input, with your new background clip on the Merge node's background (yellow) input, so the transparent areas the key created reveal the new background underneath.
- Check the edges at full resolution, particularly around hair, motion blur, and any semi-transparent object like smoke or glass, since these are where any keyer, Delta or otherwise, shows its limits first.
D'Anna's broader point about the tool is worth internalizing before you fight with slider values for an hour: "If you are working really hard, there is probably a better way to approach the problem," he notes in the same tutorial. A key that needs a dozen aggressive slider pushes to look passable usually means the shot itself, the lighting, the screen's evenness, the compression, is the actual problem, and no keyer setting fixes a shot that was lit poorly on the day.
The Delta Keyer needs a clean plate to reach its full accuracy, which a standard single-color chroma keyer never asks for. If you didn't shoot one, a well-lit, evenly colored, wrinkle-free green screen still gets you a usable key with the color-sampling method alone, just with less headroom for a difficult shot.
How do you add and animate a title or graphic in Fusion?
You already have a fast path here that doesn't require building anything from raw nodes: drag a Text+ title, or one of Resolve 21's Krokodove templates, from the Effects Library onto your Edit page timeline, then adjust its font, size, and color in the Inspector without ever opening the Fusion page. That covers most titles most people need.
Building or animating a title inside Fusion itself becomes worth it the moment you need something a template doesn't offer: text that follows a tracked object, a custom animated reveal, or a title built from several combined elements. The path:
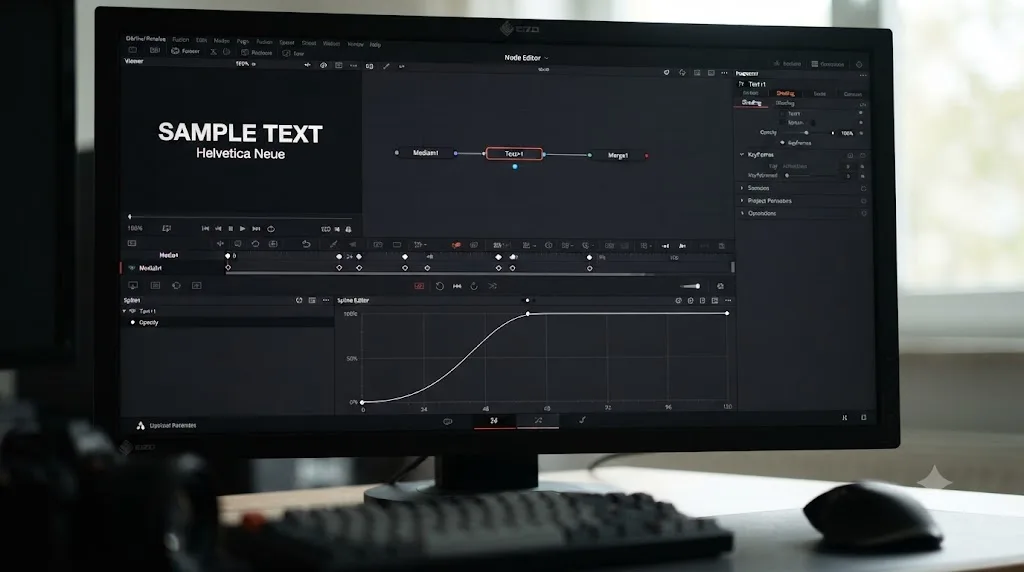
- Add a Text+ node from Add Tool > Titles > Text+, or from the toolbar, and connect it toward a Merge node's foreground input, with your video as the background.
- Set your text, font, size, and color in the Text+ node's Inspector, exactly like editing text anywhere else in Resolve.
- Animate a parameter by right-clicking its value in the Inspector and choosing to animate it, which adds it to the Spline Editor at the bottom of the screen as a keyframeable curve.
- Set keyframes at different points in time by moving the playhead and changing the value, for example animating opacity from 0 to 1 over the first ten frames for a fade-in.
- Shape the curve itself in the Spline Editor if a linear fade feels mechanical, pulling its handles to ease the animation in and out instead of starting and stopping abruptly.
This is also where Fusion's node-vs-layer difference pays off most visibly for a beginner project. Build one animated graphic element once, then feed its output into two or three different Merge nodes at different points in your composite, reusing the same title over multiple shots without duplicating and re-animating it each time. That's the exact advantage Bernd Klimm was describing earlier: build once, reuse everywhere, in ways a stacked layer panel makes needlessly repetitive.
What's the difference between a Fusion clip effect and the full Fusion page?
This distinction confuses more beginners than almost anything else in Resolve, because both routes involve the word "Fusion" and both can produce the exact same visual result.
On the Edit page, right-clicking a clip and choosing "Open in Fusion Page," or applying a Fusion title, generator, or transition from the Effects Library, gives you Fusion functionality without leaving your familiar editing context. Under the hood, Resolve is quietly building a small Fusion composition tied to that specific clip.
The full Fusion page is the same underlying engine, opened directly, with the complete toolbar, node categories, and Flow area visible and editable. Every clip-level Fusion effect you apply on the Edit page is actually a composition you could open on the full page and edit by hand, node by node, if the built-in controls in the Inspector don't expose the setting you need.
| Approach | Best for | Limitation |
|---|---|---|
| Fusion title/generator on Edit page | Fast titles, simple graphics, no node editing needed | Limited to the controls the template exposes |
| "Open in Fusion Page" on a clip | Adding tracking, keying, or compositing to one specific clip | Only applies to that single clip's duration |
| The full Fusion page as a standalone tab | Complex composites, reusable elements, anything with multiple tracked or keyed layers | Requires understanding nodes, as covered in this guide |
Every Fusion title and transition on the Edit page is a small Fusion composition running behind a simplified Inspector, not a separate, lighter tool. Once that clicks, the two entry points stop looking like different features and start looking like two doors into the same room, one with the furniture already arranged for you, one empty and ready for whatever you want to build.
What is Krokodove, and should a beginner use templates instead of building from scratch?
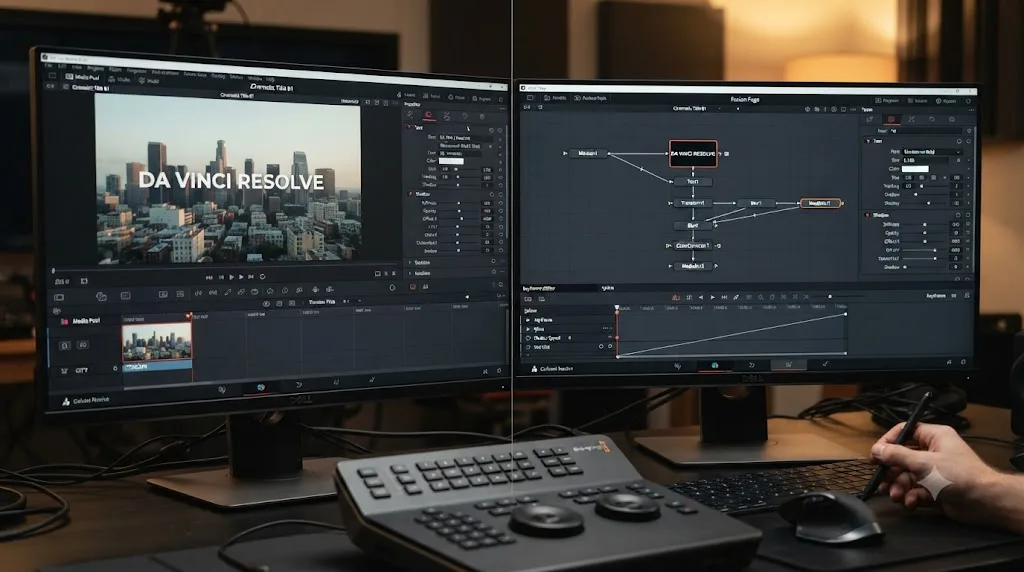
Starting in DaVinci Resolve 21, Fusion ships with Krokodove, a motion graphics tool and template library that Blackmagic Design folded directly into the page rather than selling it as a separate add-on. Per CG Channel's coverage of the Resolve 21 release, "the popular Krokodove library, which features over 100 tools and effects, including 2D and 3D motion graphics templates, is now integrated directly into Resolve." That's a large jump in ready-made material for anyone who used to build lower thirds and simple motion graphics from primitive shapes and manual keyframes.
For a beginner, the honest advice is to use Krokodove templates deliberately, not exclusively. A template gets you a finished-looking result today, which is genuinely valuable when you're on a deadline or just need momentum. But every template is also a real Fusion node tree you can open and study, and doing exactly that, opening a Krokodove template and tracing how its creator built the effect, is one of the fastest ways to learn real node habits, faster than building everything from a blank Flow before you've seen a single working example.
Krokodove adds more than 100 ready-made motion graphics tools and templates to Fusion, in both the free and Studio versions of Resolve 21, at no extra cost. That last part matters because Fusion overall, unlike Magic Mask or the nine Resolve 21 AI tools, has never been gated behind the Studio license for its core node system, and Krokodove followed that same free-tier pattern. Our full rundown of everything new in DaVinci Resolve 21 covers Krokodove alongside the release's other Fusion changes, including a redesigned Macro Editor and an updated USD pipeline for 3D work.
Is Fusion the same as Adobe After Effects, and should you learn it if you already know AE?
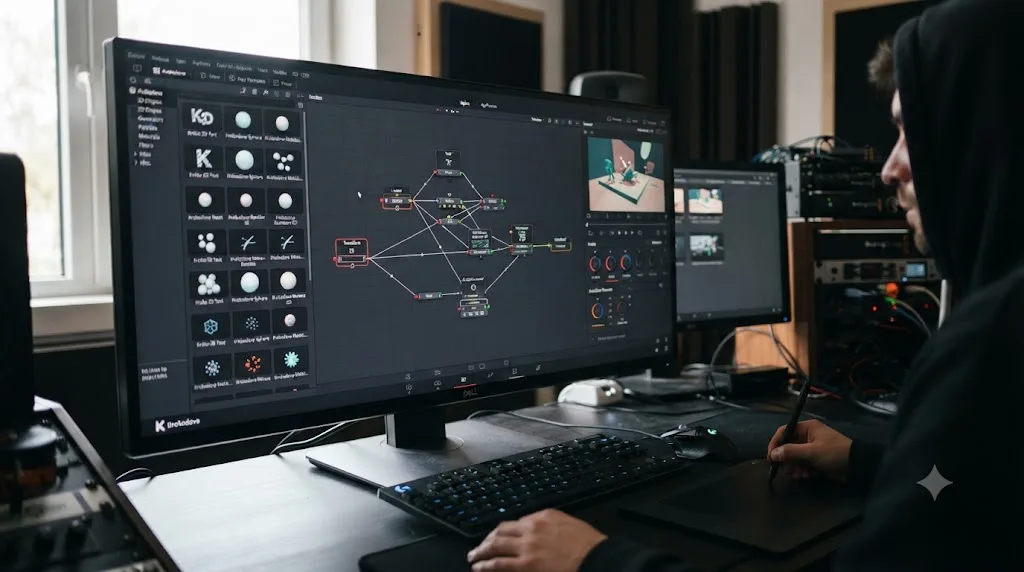
No, and the difference is deeper than the interface. Both do compositing and motion graphics, and a lot of the concepts, keyframes, masks, tracking, blend modes, transfer directly. But the fundamental data model is different, and that difference shapes how you build everything.
| Fusion (DaVinci Resolve) | After Effects | |
|---|---|---|
| Core structure | Node graph, no default stacking order | Layer stack, top-down order |
| Where it lives | Built into Resolve, same app as edit and color | Separate application, round-trips via export or plugin |
| Cost | Free in every Resolve tier | Subscription, part of Creative Cloud |
| Reusing one element multiple ways | Native, just connect the same node's output twice | Requires pre-composing or duplicating layers |
| 3D compositing | Built-in 3D workspace | Requires a 3D renderer or plugin for full 3D |
| Learning curve if you already know layer-based tools | Real, the node model takes adjustment | N/A |
If you already know After Effects, expect your first week in Fusion to feel like driving a manual transmission after years of automatic. The destinations are the same. The muscle memory for getting there isn't, and impatience with that mismatch is a common reason experienced AE users quit Fusion early. Give it the same handful of practice composites this guide walks through before judging it against years of AE fluency.
If you're choosing between them for a project rather than comparing skills, the practical answer is usually "whichever one is already open." Resolve's advantage is proximity, your composite lives in the same project as your edit and your grade, with no export-and-reimport round trip. After Effects' advantage is a much larger third-party plugin and template ecosystem built up over two decades. Neither one replaces the other completely for a working compositor, which is why moving projects between them is still common on real productions.
What hardware do you need to run Fusion smoothly?
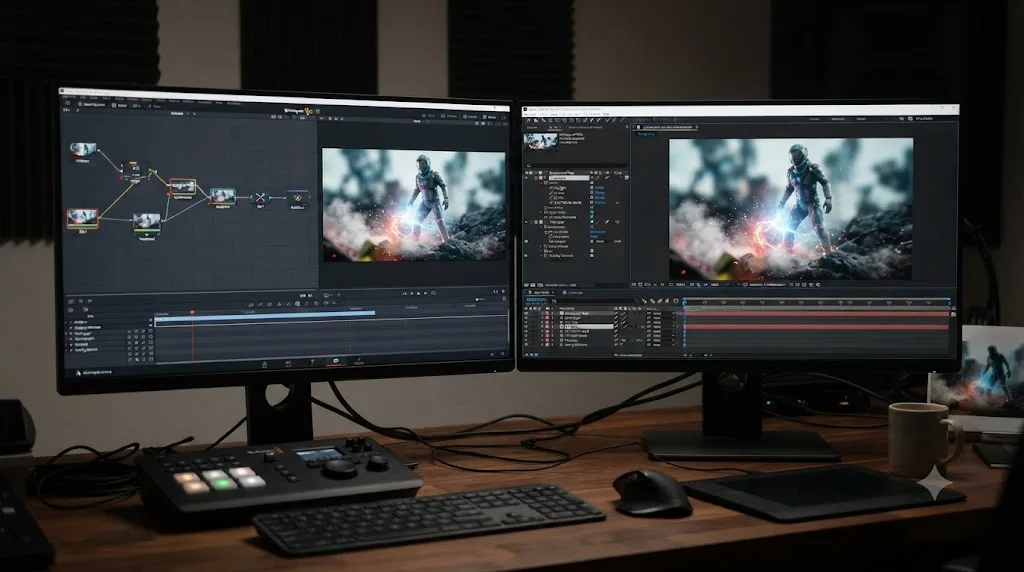
Fusion is one of the more GPU-hungry pages in Resolve, more so than a straightforward edit and often more than basic color correction. Trackers, 3D compositing, particle systems, and anything involving multiple full-resolution layers all lean on your graphics card, not your CPU, for real-time playback in the Viewer.
The guidance below is a practical rule of thumb, not an official Blackmagic specification for Fusion specifically, since Blackmagic doesn't publish per-tool GPU minimums. Treat it as a starting point for judging whether a slow composite is your machine or your node tree.
| What you're building | Realistic minimum | Comfortable |
|---|---|---|
| A single title with a fade, on 1080p footage | Any machine that runs Resolve at all | Same |
| A tracked graphic on one HD clip | 8 GB VRAM | 12 GB VRAM or Apple silicon |
| Green screen keying on 4K footage | 12 GB VRAM | 16 GB+ VRAM |
| Multi-layer 3D composites with particles | 16 GB+ VRAM, a strong discrete GPU | A workstation-class GPU with 24 GB or more |
Two practical habits matter more than raw specs for a beginner project. First, lower your Viewer's proxy resolution while you're actively building a composite, since you rarely need full-resolution playback until the very end. Second, disable nodes you're not currently working on rather than leaving a heavy tracker or particle system live and recalculating every time you scrub the timeline. If a composite feels sluggish and neither habit helps, the guidance in our choppy playback and slow export guide applies here too: check your GPU processing mode, confirm Resolve is using your dedicated card rather than an integrated one, and consider whether proxies on the source footage would help before assuming the whole machine needs replacing.
Fusion's 3D workspace and tracking tools push far more work onto your GPU than a typical edit or color pass, so a machine that handles a normal timeline fine can still choke the moment you add a tracker and a particle system to the same node tree. That's not a Fusion-specific flaw. It's the same GPU-bound tradeoff every compositing tool makes, DaVinci Resolve included.
What mistakes do most beginners make in Fusion?
A handful of habits account for most of the frustration new Fusion users report, and every one of them has a specific, learnable fix.
- Building on a blurry or partially blocked reference frame. As covered in the tracking section above, a tracker or a keyer is only as good as the single frame you set it up on. Scrub through the whole clip first and pick the cleanest frame before you draw anything.
- Forgetting that MediaOut has to be the last node, connected all the way through. A beautiful, complex node tree that never reaches MediaOut renders nothing back to your timeline. If your effect isn't showing up on the Edit page, this is the first thing to check.
- Confusing the foreground and background inputs on a Merge node. Plug your background into the green foreground input by mistake and your new element disappears behind the original footage instead of on top of it. The color coding, green for foreground, yellow for background, is there specifically so you can check this at a glance.
- Leaving every node active while building. A composite with a dozen nodes, half of them heavy trackers or 3D renders you're not currently adjusting, slows the Viewer down for no benefit. Disable what you're not working on right now.
- Trying to fix a bad shot with an aggressive key or track instead of accepting the shot's limits. As Joey D'Anna's advice about the Delta Keyer put it, working really hard at a keyer setting usually means the actual fix belongs upstream, in better lighting or a cleaner plate, not in one more slider push.
- Skipping Text+ and Krokodove templates out of a sense that "real" Fusion work means building from raw nodes. Templates are real Fusion compositions. Opening one to see how it was built teaches you more, faster, than a blank Flow and a deadline.
- Rebuilding the same element from scratch on every shot. This is the layer-based habit that costs the most time once you've moved to Fusion. If you've built a tracked graphic, a keyed layer, or an animated title once, reuse that node's output rather than recreating it, exactly the workflow advantage nodes exist to provide.
None of these are advanced mistakes. They're first-week mistakes, and every working Fusion artist made every one of them on their way to not making them anymore.
What do you do when Fusion won't cooperate?
Most Fusion problems fall into a handful of predictable branches, and diagnosing which one you're in is faster than randomly re-clicking settings.
A node won't connect when you drag between two ports. This almost always means you're trying to connect two ports that don't match, dragging from one input toward another input instead of from an output toward an input, or trying to feed a number or mask output into a port that expects a full image. Zoom in and confirm you're dragging from a white output square to a yellow input triangle, in that direction, not the reverse.
The Viewer stays black even though the node tree looks complete. Check three things in order: that the node is actually assigned to the Viewer you're looking at (press 1 or 2 with it selected), that nothing upstream is disabled, and that the first node in the chain, usually MediaIn, actually has a clip loaded rather than sitting empty after a relinked or deleted source file.
Your effect looks right in the Fusion Viewer but never shows up on the Edit page. This is the MediaOut problem from the mistakes list above, restated as a live symptom. Trace the chain forward from your last node and confirm it reaches a MediaOut, and that the MediaOut in question is the first one in the composite rather than a secondary matte-only node.
Fusion reports a GPU memory error mid-composite. The cause and the fix are the same as anywhere else in Resolve that leans on the GPU: too many full-resolution layers, trackers, and 3D elements are competing for VRAM at once. Lower the Viewer's proxy resolution, disable nodes you're not actively adjusting, and if the error persists on export rather than just in the Viewer, the deeper GPU troubleshooting in our GPU memory full fix applies directly, since the underlying cause is the same whether it surfaces on the Color page or the Fusion page.
A saved project opens with a tool showing as red or missing entirely. That's almost always a version or plugin mismatch, a macro, a Reactor-installed tool, or a Krokodove template built on a newer Resolve version than the one currently opening the project. Confirm both machines are on the same Resolve version before troubleshooting the node itself.
None of these require deep Fusion expertise to fix. They require knowing which of five or six usual suspects you're looking at, which is exactly what this section is for.
How do you extend Fusion beyond its built-in tools?
Once the basics feel routine, Fusion's community has built a genuinely useful layer on top of the built-in tool set: free, third-party macros, scripts, and title templates, distributed through a package manager called Reactor. Per a walkthrough of installing it for Resolve, Reactor is a free, open-source package manager that syncs with an online repository so you can browse and install community tools with a click instead of manually downloading and copying files into the right folder yourself. You launch it from Workspaces > Scripts > Reactor > Open Reactor inside Resolve.
This isn't a beginner-day-one tool, and I'd wait until the Merge node, a basic track, and a basic key all feel comfortable before opening Reactor at all. But it's worth knowing it exists, because the honest answer to "does someone already have a tool for this specific effect" is very often yes, and Reactor is where that community work lives. Building your own reusable tool eventually works the same way: Fusion's Macro Editor lets you package a chain of nodes you've built into a single custom tool with its own simplified controls, which Resolve 21 updated with a new inspector view specifically to make that packaging easier, per CG Channel's release coverage.
One more thing worth knowing exists, even if you'll probably never need it as a beginner: Fusion is also sold as a separate, standalone application called Fusion Studio, aimed at dedicated compositors, and it's available free of charge to Resolve Studio license holders rather than priced separately. Everything in this guide works the same way inside that standalone app, since it's the same underlying tool. The Fusion page inside Resolve is where almost every editor should stay, because it keeps your composite in the same project as your edit instead of round-tripping between two applications.
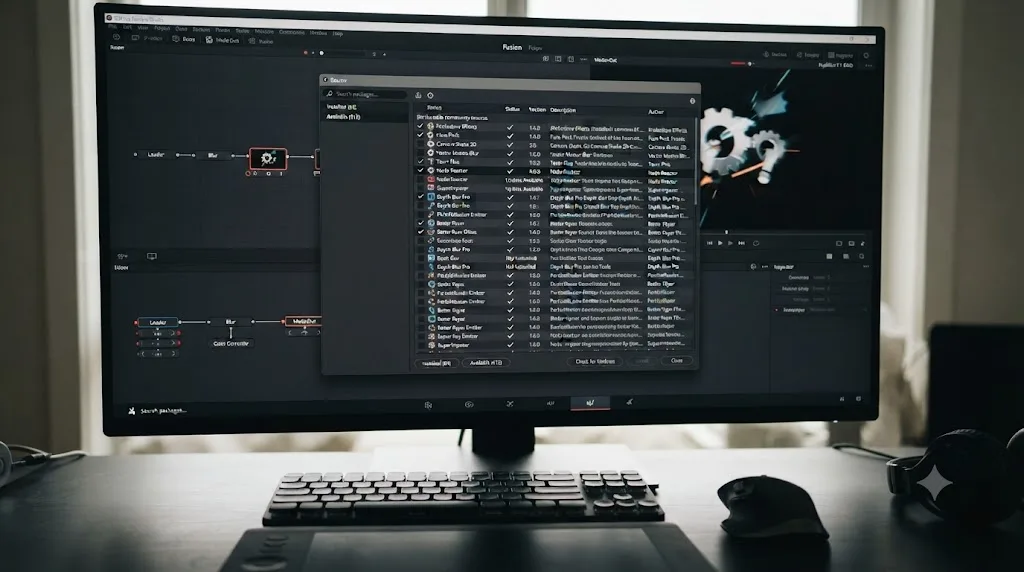
A worked example: build a simple lower third from scratch
Everything in this guide comes together in one small, complete project. This is deliberately simple, a lower third title that fades in over footage, because a first Fusion project should be finishable in one sitting, not abandoned halfway through something ambitious.
- Select your clip on the Edit page and open the Fusion page. You'll see MediaIn connected directly to MediaOut.
- Add a Text+ node from the toolbar and type your title and subtitle text, setting the font and size in the Inspector.
- Add a Merge node, connecting MediaIn's output to the Merge node's yellow background input.
- Connect the Text+ node's output to the Merge node's green foreground input.
- Position the text using the Merge node's Center controls in the Inspector, moving it to the lower third of the frame.
- Connect the Merge node's output to MediaOut, replacing the original direct MediaIn-to-MediaOut connection.
- Right-click the Merge node's Blend value in the Inspector and choose Animate, which adds it to the Spline Editor.
- Set a keyframe at 0 on the timeline with Blend at 0, then move a few frames forward and set Blend to 1, creating a fade-in.
- Add a matching pair of keyframes near the end of your on-screen text duration, fading Blend back to 0 before the clip ends.
- Play the result in the Viewer, checking the fade timing feels natural rather than mechanical, and adjust the keyframe spacing in the Spline Editor if it doesn't.
That's a complete composite: a MediaIn, a text generator, a Merge node, an animated parameter, and a MediaOut, five node types covering title creation, compositing, and animation in one small project. Every larger Fusion composite you'll ever build is this same pattern, repeated and layered, not a fundamentally different skill.
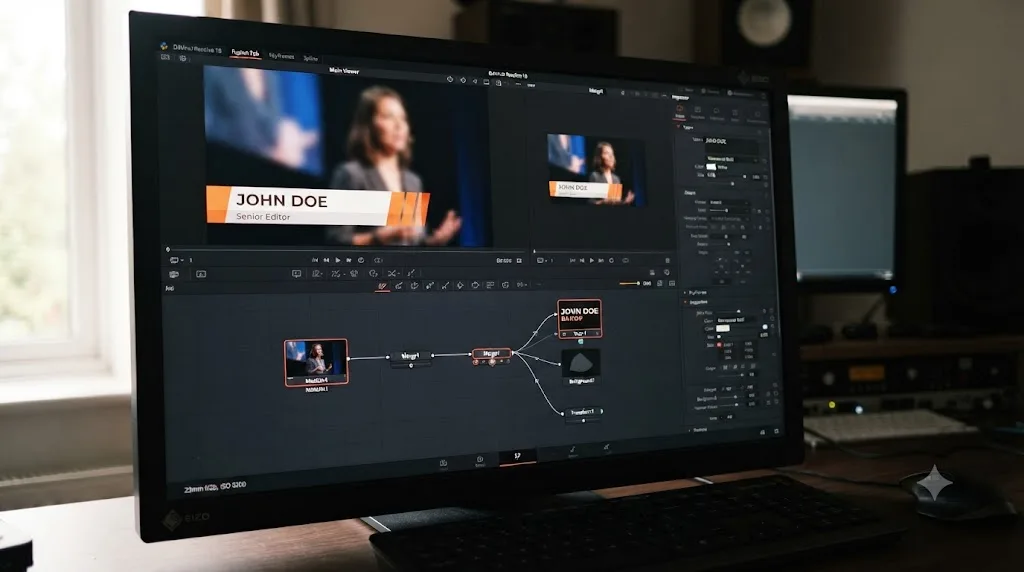
Where do you go from here?
You now know what a node is, what MediaIn and MediaOut do, how a Merge node combines two images, how the Planar Tracker follows a moving surface, how the Delta Keyer pulls a clean matte from a green screen, and how to animate a title with keyframes in the Spline Editor. That's the real starting toolkit, the same handful of concepts every Fusion artist reaches for on most projects, template-heavy or built from scratch.
The next step isn't a bigger tutorial. It's a small real project of your own: one title, one simple track, one simple key, built end to end the way the worked example above walked through. Do that three or four times on your own footage before reaching for anything more advanced, a 3D camera track, a particle system, a custom macro. Fusion rewards repetition on small projects far more than it rewards reading about big ones.
If you get stuck on a specific control mid-composite and can't remember which tab it lives in, TryUncle is built for exactly that moment, an AI tutor that looks at your actual Resolve window and points at the control instead of sending you to a ten-minute video for a two-second answer. And once titles, tracking, and keying feel routine, our guide to what's new in DaVinci Resolve 21 covers Krokodove's full template library and Fusion's updated 3D pipeline in more depth, the natural next stop once the fundamentals in this guide stop feeling new.
Frequently asked questions
- What is the Fusion page in DaVinci Resolve?
- It's Resolve's node-based visual effects and motion graphics workspace, built into the same app as editing, color, and audio. Instead of stacking layers, you connect small processing blocks called nodes into a chain, or flow, that starts at a MediaIn node and ends at a MediaOut node.
- Do you need DaVinci Resolve Studio to use Fusion?
- No. Fusion has shipped in the free version of DaVinci Resolve for years, with full access to the node editor, the tool library, 3D compositing, tracking, and keying. The Studio-only line runs through Neural Engine AI features like Magic Mask and CineFocus, not through Fusion itself.
- What is a node in DaVinci Resolve Fusion?
- A single processing step, like a color correction, a blur, a tracker, or a title generator, represented as a box you connect to other boxes. An image flows in one side and out the other, picking up whatever that node does to it, then passes to the next node in the chain.
- What do the MediaIn and MediaOut nodes do?
- MediaIn represents the clip you had selected on the Edit or Cut page timeline when you opened Fusion. It's the start of every composite. MediaOut sends the finished result back to that same timeline, and it's always the last node in the chain; a composite with no MediaOut renders nothing back to your edit.
- Is DaVinci Resolve's Fusion page the same as Adobe After Effects?
- No. Both do compositing and motion graphics, but After Effects builds a project from stacked, ordered layers, while Fusion builds one from connected nodes with no inherent stacking order. The concepts transfer, the muscle memory doesn't, and neither one is simply the other with a different skin.
- Why is my Fusion composition slow or laggy?
- Fusion renders every node in the chain for every frame you scrub, and 3D tools, trackers, and particle systems are especially GPU-heavy. Lower your viewer's proxy resolution, disable nodes you're not actively working on, and check that Resolve is using your dedicated GPU rather than an integrated one before assuming your machine is too weak.
- Can you use Fusion effects without ever opening the Fusion page?
- Yes, partially. The Edit page's Effects Library includes Fusion titles, generators, and transitions, including Text+, that you drag straight onto a timeline and adjust in the Inspector. You only need the full Fusion page when a template doesn't cover what you're building, or you're tracking, keying, or compositing multiple layers by hand.
- What is Krokodove in DaVinci Resolve Fusion?
- A motion graphics tool and template library that Blackmagic Design folded directly into Fusion starting in DaVinci Resolve 21, adding more than 100 ready-made tools, generators, and 2D/3D templates at no extra cost in either the free or Studio version.
Sources
- Blackmagic Design: DaVinci Resolve Fusion (product page, tool count, capabilities)
- Blackmagic Design: DaVinci Resolve product page (free vs Studio, Fusion VFX access)
- TourBox Tech: A Beginner's Guide for Fusion Page
- JayAreTV: MediaIn Node
- JayAreTV: MediaOut Node
- Mixing Light (Bernd Klimm): DaVinci Resolve Fusion, Back to Basics Part 1
- Mixing Light (Joey D'Anna): Getting Great Greenscreen Keys Using Fusion's Delta Keyer
- Boris FX: How to Use Planar Tracker in DaVinci Resolve
- CG Channel: Blackmagic Design releases DaVinci Resolve 21.0 (Krokodove)
- Creative Video Tips: Install Fusion Reactor for Resolve
- VFXstudy: DaVinci Resolve vs Fusion Studio
Put this guide to work with TryUncle.
Ask about the step you’re on. TryUncle sees your screen and points at the control you need, so you can keep learning in your own project.
Get TryUncle for Mac or WindowsKeep reading
Guides · Jul 7, 2026 · 32 min
DaVinci Resolve for Beginners: The Complete Starter Guide
Learn DaVinci Resolve from zero: what it costs, what it needs to run, the seven pages you'll actually use, and the steps to cut your first project.

Guides · Jul 7, 2026 · 35 min
How to Color Grade in DaVinci Resolve: The Basics
Learn how to color grade in DaVinci Resolve: build a node chain, balance shadows and highlights with Lift, Gamma, and Gain, and read the scopes.
News · Jul 8, 2026 · 21 min
DaVinci Resolve 21 New Features: The Complete List
Every new feature in DaVinci Resolve 21, page by page: Photo page, nine AI tools, Krokodove, MultiMaster, and Fairlight updates, all sourced.