Articles / Guidesupdated for DaVinci Resolve Studio 21.1 (October 2026)
DaVinci Resolve AI Audio Assistant Tutorial: Mix a Timeline
Quick answer
In DaVinci Resolve 21, the AI Audio Assistant is a Studio-only automatic mixing tool, not a chat bot. Separate dialogue, music, and effects onto sensible tracks, choose Timeline > AI Tools > Audio Assistant, select a delivery standard, and run Auto Mix. Listen critically, correct track categories or processing, and adjust the result before delivery.
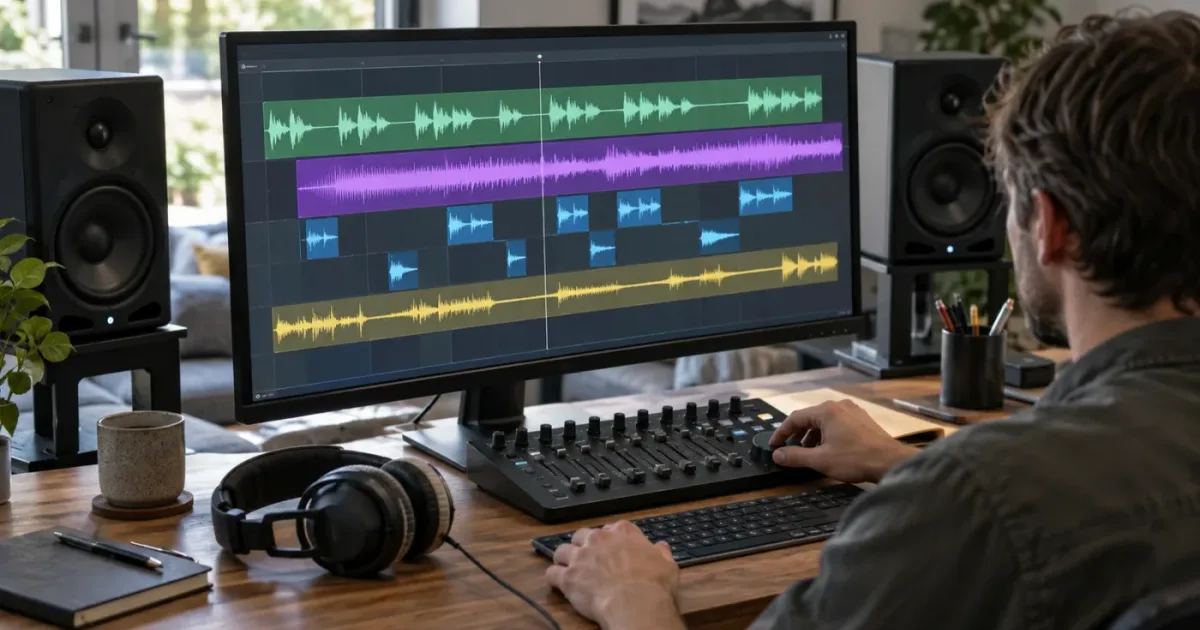
As of October 2026, Resolve has two features people can easily confuse: the AI Audio Assistant and the newer AI assistant integration. We’ve spent more than seven years editing commercial video, and the practical rule is simple: treat the Audio Assistant as a first-pass mixer, then judge the result yourself. It can save setup time. It cannot hear your creative intent for you.
What does the DaVinci Resolve AI Audio Assistant actually do?
The DaVinci Resolve AI Audio Assistant analyzes a timeline and builds an automatic starting mix from its audio tracks. In Resolve 21 it remains a DaVinci Resolve Studio feature; it is not the same thing as asking a chatbot questions about Fairlight.
Blackmagic introduced AI Audio Assistant in DaVinci Resolve 20. Its official New Features Guide describes track organization and color coding, dialogue leveling, mixer fader adjustment, dialogue cleanup, optional Voice Isolation and De-Essing, music ducking, automation, and mastering effects. The feature is designed to get a rough timeline closer to a mix, not to make editorial decisions about what the scene should feel like.
That distinction matters because “AI audio assistant” can mean at least three things in search results:
| Name | What it does | Where it fits |
|---|---|---|
| AI Audio Assistant | Analyzes a Resolve timeline and creates an automatic mix | First-pass balance for an edit with dialogue, music, and effects |
| Resolve 21.1 AI assistant integration | Connects supported external conversational assistants to Resolve | Project and workflow tasks, such as analyzing or organizing a project |
| AI audio cleanup or voice generation tools | Process, isolate, match, or generate audio | A specific repair or creation task, not the overall mix |
Blackmagic’s Resolve 21.1 announcement describes its assistant integration as a way to manage tasks such as organizing media or batch rendering. The Studio update listing includes integration with AI assistants; it is distinct from the audio mix assistant. If you ask a conversational assistant to “mix this timeline,” the assistant integration may provide controls depending on the client and supported actions, but that does not turn it into the AI Audio Assistant or guarantee a finished mix.
Resolve’s AI Audio Assistant is a first-pass mixing tool, not an audio engineer in a box.
We run a professional editing community with more than 100,000 members, and audio questions often begin with a practical goal: make speech clear, stop music from covering it, and get the timeline ready to review. This guide follows that order. If you want a full manual Fairlight workflow, see our Fairlight audio mixing guide.
What do you need before running AI Audio Assistant?
You need DaVinci Resolve Studio, an active timeline with unmixed audio, and tracks separated well enough for Resolve to identify dialogue, music, and effects. A messy timeline can still run, but poor organization gives the assistant fewer clues and makes its decisions harder to inspect.
Confirm Studio and version
Blackmagic labels AI Audio Assistant “Studio Version Only” in the Resolve 20 New Features Guide. The feature was introduced in 20 and is available in the Resolve 21 generation. Resolve 21.1 adds a separate AI assistant integration to Studio, so a menu item or setup window for that newer feature does not mean the Audio Assistant is available in the free edition.
Check Help > About DaVinci Resolve on Windows or DaVinci Resolve > About DaVinci Resolve on macOS. The product name should include Studio. Also check the version number before following an older tutorial. Resolve 20.1 changed the Audio Assistant’s plugin view and excluded disabled tracks from the mix, according to Blackmagic’s 20.1 New Features Guide. A video made for 20.0 may not show that review control.
Save a version before the first pass
Create a duplicate timeline or save a project version before you run an automatic process on a mix you have already adjusted. This gives you a clean comparison and a route back if the assistant changes levels or effects in a way you do not want. Blackmagic’s guide says you can make further adjustments or completely undo the mix when processing ends, but a named version makes the before and after easier to compare.
Do not treat the undo button as your only backup. If you have a client review mix, a documentary scene, or a timeline with hand-built automation, preserve the current state first. You can also duplicate just the timeline, keeping the same media pool and project while isolating the experiment.
Check the timeline, not only the mixer
The assistant works on timeline audio. Before opening it, play the sequence and look for dialogue, music, room tone, and sound effects. Blackmagic’s Fairlight Audio Guide is the reference for the page’s broader audio-editing and mixing workflow. If a clip contains camera scratch audio and a music bed together on one track, the assistant cannot split that clip into independent creative elements simply because it has been asked to mix.
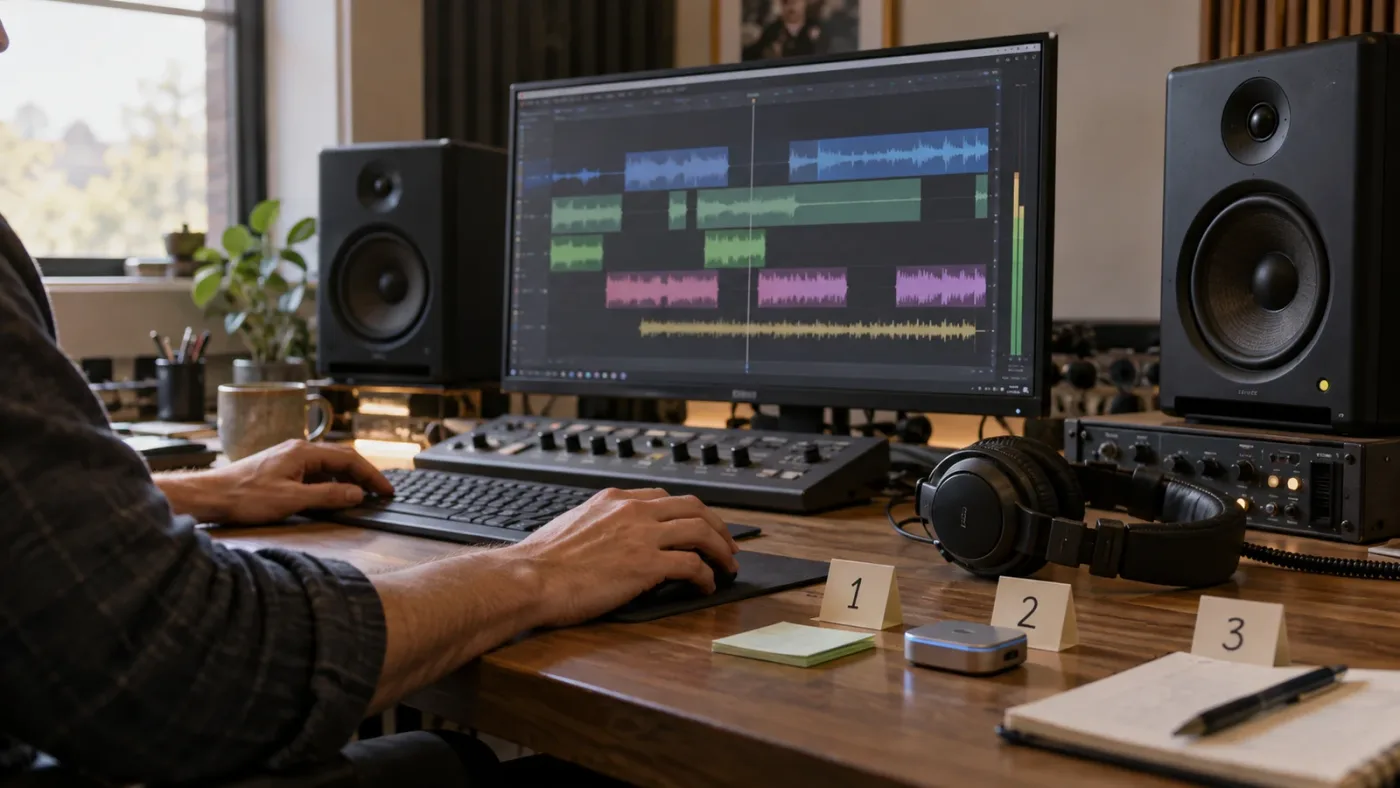
For a speech-led video, a useful minimum is one dialogue track, one music track, and one or more effects or ambience tracks. A multitrack interview may need separate boom and lavalier tracks. A short social edit may only have one voiceover track and one music track. There is no magic track count. Separation is what helps.
The Audio Assistant can only make sensible track decisions when the timeline gives it sensible track boundaries.
How do you run the AI Audio Assistant in DaVinci Resolve 21?
Open the intended timeline, choose Timeline > AI Tools > Audio Assistant, choose the delivery standard, and select Auto Mix. Then wait for processing to finish and listen to the result before changing or exporting the project.
Use this sequence for a clean first pass:
- Open the timeline you want to mix. Confirm that you have not accidentally selected a different timeline or a source clip. The assistant works against the active timeline.
- Separate unlike audio. Keep dialogue, music, effects, and ambience on distinct tracks where practical. Name tracks in plain language. This reduces ambiguity when you review the generated mix.
- Set track categories. If a track is misclassified, correct its category from the track header’s contextual menu before running Auto Mix. Resolve 21’s manual describes correcting a track category and rerunning the assistant when it has guessed incorrectly.
- Disable tracks that should be ignored. Resolve 20.1’s release guide says disabled tracks are ignored during the mix. This is useful for scratch audio, alternate takes, muted references, or a temporary track you do not want included.
- Open the command. Choose Timeline > AI Tools > Audio Assistant. If the command is missing, verify Studio and make sure a timeline is active.
- Pick the delivery standard. Choose the target that matches the work’s delivery requirement. Do not pick a loudness target just because it sounds louder in the room. A web upload, broadcast delivery, and a client’s specification may not use the same target.
- Run Auto Mix. Let the assistant analyze and process. Avoid changing the project while it is working.
- Audition the whole timeline. Listen to dialogue, transitions, music entrances, effects, and the ending. A mix that sounds good during one line may fail when a music cue enters or an effect lands.
- Inspect changes and refine. Use the plugin view control added in Resolve 20.1 to inspect the full controls for effects applied during the mix, as documented in the 20.1 Fairlight notes. Adjust what is wrong instead of assuming each generated choice is correct.
The initial fader positions do not need to be balanced first. Blackmagic says the assistant adjusts faders as part of its process. That does not mean every clip should be left untouched: edit out unwanted noise, remove unused takes, and make the track layout understandable before it analyzes.
The first playback is a decision point, not a finish line. Listen on headphones and on speakers you know. Keep a note of places where speech disappears, music jumps, an effect distracts, or a transition changes tone. Then fix those sections in Fairlight, not by rerunning Auto Mix blindly over a mix you have already refined.
Worked example: a talking-head video
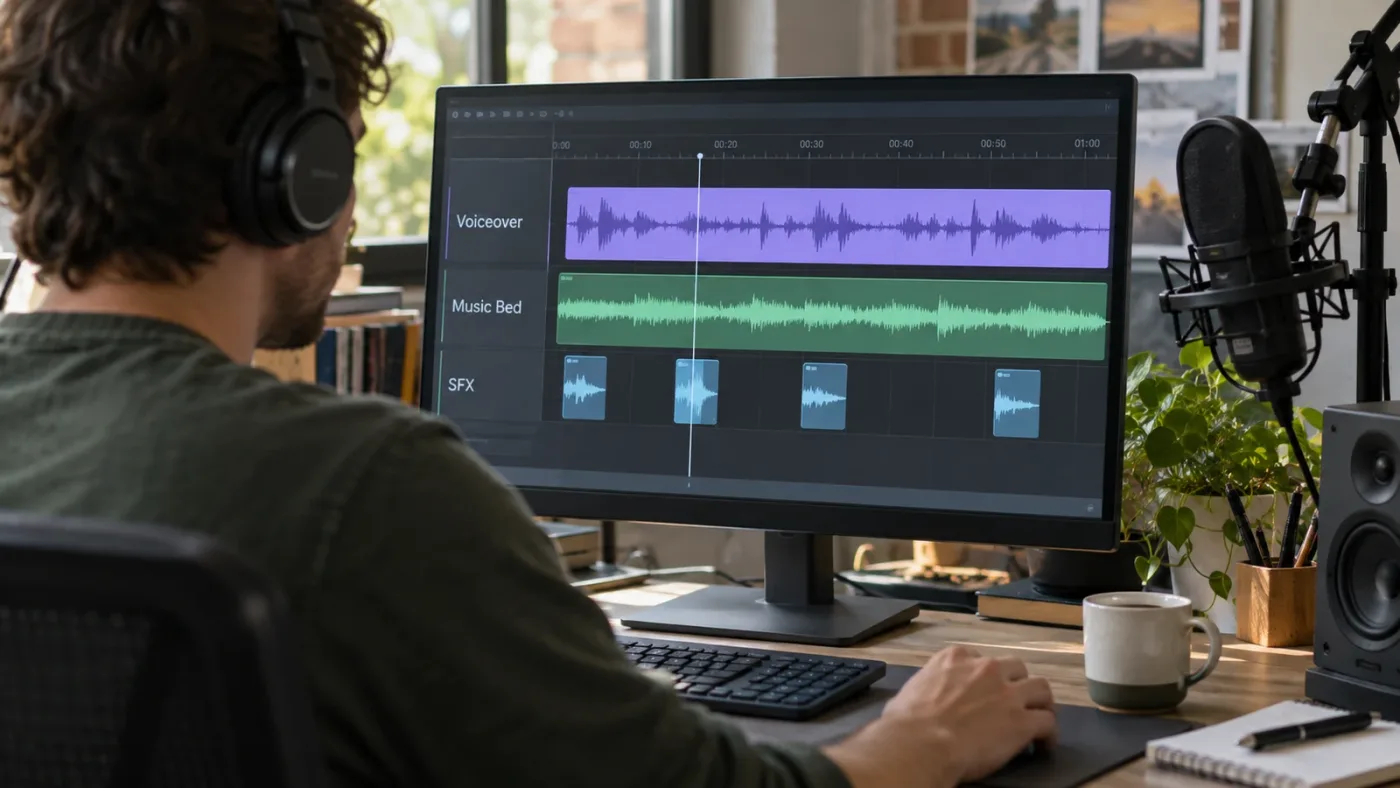
Imagine a four-minute tutorial with a voiceover, a music bed, keyboard clicks, and a short intro sound. Place the voiceover on a dialogue track, the music on a music track, and clicks plus the intro sound on effects tracks. Put the intro sting on its own track if you need a fast, independent level change.
Before mixing, trim long breaths and remove unusable takes. Keep the background music continuous if that is the intended design. Confirm that the voice track is not muted, select the appropriate web or client delivery target, and run Auto Mix. On playback, check the first spoken line over music, the loudest keyboard click, the transition into the outro, and the final decay.
If the voice sounds too processed, inspect the dialogue effects and reduce or remove processing. If music ducks too sharply, adjust the music level or automation by hand. If clicks distract, lower those clips individually rather than forcing the entire effects track down. A good first pass tells you where to work next.
Worked example: an interview with two microphones
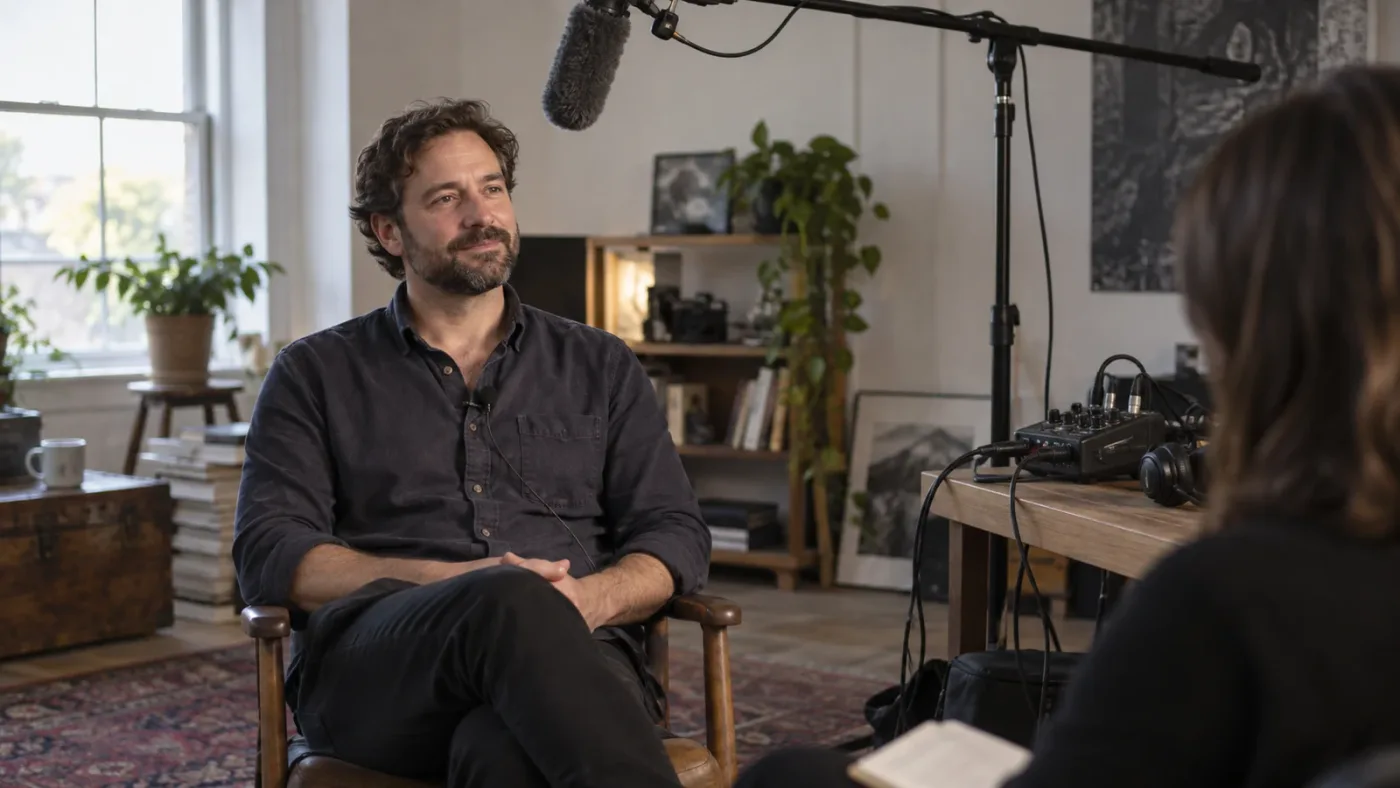
A two-person interview recorded with a boom and two lavaliers needs more care than a single voiceover. Keep the microphone recordings separate so you can check phase, clothing noise, and who is speaking. If the audio is already mixed into a camera guide track, retain it as a reference and avoid treating it as another full-level dialogue track.
The assistant cannot know which microphone sounds most natural for every line. It also cannot choose between a boom with room tone and a lavalier with clothing rustle based on your taste. Use it after you have selected or edited the dialogue you want. Then compare the mix against the unmixed version and inspect any voice cleanup the process adds.
For a deep step-by-step on matching and leveling voices manually, the Resolve dialogue leveler settings guide covers a narrower control task. The automatic mixer can be a starting point; it is not a substitute for choosing the right source recording.
Why is AI Audio Assistant missing in DaVinci Resolve?
The most common reason is that you are using the free DaVinci Resolve edition, because Blackmagic marks Audio Assistant as Studio-only. Other common causes are an inactive timeline, looking in the wrong menu, or following a tutorial whose version predates the feature.
Check these conditions in order:
| Symptom | Check | What to do |
|---|---|---|
| No Audio Assistant menu item | Product edition | Confirm Studio in About DaVinci Resolve; the free edition does not include this feature |
| You see AI assistant setup but no audio mixer | Feature name | The 21.1 assistant integration is separate; open the timeline menu for Audio Assistant |
| Timeline command is unavailable | Active timeline | Open or activate an editable timeline, then check Timeline > AI Tools |
| Your tutorial shows a different location or dialog | Resolve version | Check whether the tutorial uses Resolve 20, 20.1, or 21; controls can change between releases |
| The feature appears only on one machine | Edition and installation | Compare the installed product edition and version, not just the app icon |
Resolve 21.1’s assistant integration is listed in Blackmagic’s Studio update description. The free 21.1 update description does not list that integration, and the Studio download requires a license. That is a separate limitation from Audio Assistant, which was already marked Studio-only when introduced in Resolve 20.
If you have Studio and the command remains absent, restart Resolve after confirming the active timeline and product edition. Then check for a maintenance update in Blackmagic Support. Do not uninstall or reset preferences as the first move. Those steps can disturb a working setup and are rarely the best diagnosis for a missing, edition-gated feature.
One more version wrinkle: Resolve 20.1 added an option to switch from the Audio Assistant’s macro plugin view to the full plugin controls. If you cannot see every parameter shown in a tutorial, look for the Change View control near the track name and effect slot. A screenshot from 20.0 may not include it.
A missing Audio Assistant menu is usually a version or edition question before it is a broken installation.
Why does AI Audio Assistant put dialogue, music, or effects on the wrong track?
The assistant can misread a track when different audio roles share it or its category is incorrect. Separate the clips, correct the track category, then rerun on a saved copy if you want the assistant to rebuild the mix.
Start at the track header. Resolve’s manual describes changing a track category from the track header menu when the assistant has assigned the wrong category. That fix is more direct than repeatedly changing the master output or adding a limiter to hide the symptom.
Use this diagnosis:
- Music is treated like dialogue: check the track category and whether speech or camera audio is also present on that track.
- A sound effect becomes too quiet: confirm the effect track is categorized as effects and that the effect itself is not a critical foreground sound that needs a manual move.
- A scratch track appears in the mix: disable the track before Auto Mix or remove it from the timeline if it has no editorial use.
- Two microphones are combined: separate them first if you still need to choose, balance, or process the microphones independently.
- The assistant has already changed your mix: return to the saved version, fix the track layout, and run another pass there. Avoid stacking several automatic passes over one another without checking what each one changed.
A category is a hint about a track’s role. It is not a substitute for clear editing. If a track holds dialogue in one section and a sound effect in another, split or move the material so each track has one job. That also helps you when you come back to the project weeks later.
If your timeline includes a temporary reference mix from a camera or recorder, decide whether you need it for comparison. Keep it muted or disabled before running the mix if it should not contribute to the final output. Resolve 20.1 specifically notes that disabled tracks are ignored by Audio Assistant, making this a clean way to keep a reference without deleting it.
Can I rerun the assistant after adding new audio?
Yes, but treat a rerun as a new automatic pass and inspect the resulting mix. If you extended the timeline after the first pass, check the new ending and any automation or fades at the old endpoint.
A user report in the Resolve community describes an ending fade that remained at the original timeline end after extending a project. That report is not a universal defect, but it points to a sensible check: when you change the duration, inspect the ending automation, music fade, and bus controls. If an old fade remains, adjust or remove those keyframes manually and audition the new ending.
The same principle applies to new dialogue inserted late in the project. A fresh pass may affect existing levels and processing, not only the new clip. Compare against the saved timeline and choose the approach that gives you the more predictable result. For small additions, manual level and automation changes can be safer than rebuilding the whole mix.
How do you check the mix before exporting?
Play the full timeline and verify intelligibility, transitions, loudness, peaks, and the ending against the delivery requirement. An Auto Mix result is a proposal; you remain responsible for the final audio and export.
Do one pass for story and one pass for technical checks. During the story pass, ask whether every line is understandable, whether music supports rather than competes with the voice, and whether effects land where the picture suggests. During the technical pass, check meters, channel routing, clipping, silence, and the required loudness measurement for the delivery platform or client.
Do not use a single number as a universal target. A delivery standard is part of a specification, not an aesthetic preference. Choose the standard provided by the broadcaster, platform, client, or project brief. If there is no supplied specification, decide what the video is for and confirm the requirements rather than guessing from an unrelated online preset.
Listen at a comfortable level. Then check the mix at a lower volume, where speech problems become easier to notice. If you have headphones and speakers, use both. One monitoring system can exaggerate bass or hide a narrow problem. Do not assume a mix is correct just because the loudest parts sound exciting.
Check these points in order:
- Opening: does the first spoken word arrive cleanly, or does the music mask it?
- Dialogue: are quiet lines still understandable, and do louder lines sound strained?
- Music: does it support the scene without fighting consonants and important detail?
- Effects: do impacts, clicks, and ambience feel intentional rather than randomly loud?
- Transitions: are there sudden changes in room tone, noise, or music level?
- Ending: does the last line finish naturally, with no abrupt cut or lingering automation?
- Meters and outputs: do the bus routing and peak levels meet your actual delivery specification?
If voice processing sounds unnatural, inspect the applied effects and reduce them. If the mix feels too loud or too compressed, inspect the mastering chain and delivery target. If only one clip is wrong, adjust that clip or its track instead of rebuilding the entire timeline. The assistant can organize a useful baseline, but the final mix has to serve the edit.
For noisy dialogue, use the right tool for the actual problem. Audio Assistant may apply Voice Isolation as part of its mix, but it is not a focused noise-repair workflow. Our guide to removing background noise from audio in Resolve covers that specific job. Avoid applying aggressive isolation twice without listening for watery consonants or missing room tone.
What are the AI Audio Assistant’s limits and failure cases?
AI Audio Assistant does not understand the story, the intended emotional emphasis, a client’s unwritten preferences, or whether an effect is artistically important. It also depends on usable track separation and correct delivery choices.
Treat its output as a starting mix in these situations:
- A dramatic scene: a pause may be intentional, and an automatic dialogue leveling pass can reduce the contrast that makes the moment work.
- A music-led montage: the music may be the foreground. A speech-oriented balance is not automatically the right mix.
- A film with production sound and designed effects: a low rumble may be ambience, camera noise, or a deliberate effect. The assistant cannot infer the director’s intention from the track name alone.
- A timeline with many alternate takes: muted or disabled material should not be mixed as if it were part of the final program.
- A project with automation already written: a new automatic pass can change the balance you had shaped by hand. Preserve a prior timeline and inspect what moved.
- A delivery with strict loudness or peak limits: use the exact specification and measure the final output. A menu choice does not certify compliance.
- A clip that combines several roles: the assistant cannot independently balance elements that have been baked together into one rendered clip.
Community discussion around the feature includes both positive first-pass experiences and reports that it changed more than the editor expected. Those reports are anecdotes, not controlled tests, so they cannot establish how the assistant will behave on your project. The practical response is the same either way: duplicate, run, listen, inspect, and keep only changes that work.
There is also a difference between a mix that sounds balanced and a mix that is technically deliverable. The assistant can apply a selected standard and processing, but you still have to check the rendered file against the spec. If a client provides an integrated loudness target, true-peak ceiling, channel layout, or stem requirement, use those exact requirements. Do not substitute a generic “YouTube mix” label for a written client spec.
A delivery preset cannot make a mix compliant with a specification you never checked.
Should you learn Fairlight before using the assistant?
Learn enough Fairlight to recognize dialogue, music, effects, track categories, meters, and automation before you trust an automatic mix. You do not need to become a mastering engineer to judge whether speech is clear or an ending is cut off.
The best way to learn DaVinci Resolve audio depends on what you need to finish. Blackmagic’s official training page remains the clearest free foundation: its Fairlight “Introduction to Audio” video is listed at 1 hour 28 minutes and covers navigation, importing media, clip selection, level balance, editing, and dialogue repair. The official “Introduction to Mixing” is 1 hour 16 minutes and covers panning, EQ, dynamics, buses, automation, and delivery. Both pages offer project files alongside the videos.
Casey Faris has a dedicated Fairlight 101 course on YouTube, a useful option if you prefer an instructor-led walkthrough and example project. In his Resolve 21 tutorial, Faris describes Fairlight as “the app within Resolve to get really crazy with your audio mixing, sound design.” This is a verbatim fragment from his spoken explanation of the Fairlight page. For a technical foundation, use the official training guide and then practice on a copy of your own timeline.
| Learning route | Best for | Trade-off |
|---|---|---|
| Blackmagic official Fairlight training | A structured, free introduction using Resolve terminology and project files | The listed audio materials are for Resolve 20, so check version differences in your Resolve 21 menus |
| Casey Faris Fairlight 101 | Editors who learn by watching a creator demonstrate a workflow | A video lesson is linear; you may need to pause and map the steps to your own timeline |
| Practice on a duplicate timeline | Learning where your own audio tracks and controls are | You need to supply a short project and compare results carefully |
| On-screen help while editing | Finding a control when a tutorial does not match the current layout | It helps you navigate the interface; it does not judge or mix your audio for you |
We have taught more than 100,000 students on Udemy and are an official Udemy Business Partner, so we have seen how often passive watching leaves a gap when the learner returns to a different project. Courses are good for foundations. Practice is where you connect the lesson to the timeline in front of you.
TryUncle is the on-screen assistant for DaVinci Resolve on Mac and Windows; ask in plain words and Uncle points at the exact control on your screen. It can help when a course or tutorial does not match the panel you see; it does not mix tracks or guarantee an audio result.
The best way to learn DaVinci Resolve audio is to combine a clear lesson with a real timeline you can safely experiment on.
Which AI tool should you use to learn or mix audio in Resolve?
Use Resolve’s AI Audio Assistant when you want an automatic first-pass mix inside the timeline; use a course or on-screen help when you want to learn the controls. Other AI products focus on editing automation or chat-driven tasks, so check that the tool actually solves your audio problem.
“AI tool to learn DaVinci Resolve” can mean an editor wants an assistant to explain a control, or wants software to make changes to a timeline. Those are different jobs. Sottocut describes itself as a local-first assistant editor that proposes and verifies timeline edits. Eddie AI creates rough cuts and can hand a Resolve project to the editor. CutAgent describes an agent that can perform editing tasks in Resolve. PremiereCopilot is built for Adobe Premiere Pro, so it is not a Resolve learning tool.
| Option | Useful for | Limitation for this audio tutorial |
|---|---|---|
| DaVinci Resolve AI Audio Assistant | Building a baseline mix from separated timeline tracks | Studio-only; it changes the mix and still needs listening and review |
| Blackmagic training and Casey Faris | Learning Fairlight concepts and seeing a demonstrated workflow | You apply the lesson yourself; a video cannot see your current project state |
| TryUncle | Finding an on-screen control while you work in Resolve | It points to controls; it does not edit or mix for you |
| Sottocut | Assistant-editor tasks inside an open Resolve project | Its positioning is editing and timeline work, not a replacement for the built-in audio mixer |
| Eddie AI | Turning footage into a rough cut and exporting a Resolve project | It focuses on edit assembly and handoff, not teaching the AI Audio Assistant workflow |
| CutAgent | Delegating editing tasks to an agent connected with Resolve | It is automation-oriented, so review changes; it serves a different job from learning the mixer |
| PremiereCopilot | Text-driven editing in Premiere Pro | It targets Premiere Pro rather than the Resolve timeline |
An “app that helps you while using DaVinci Resolve” is most useful when your obstacle is locating a setting or translating a lesson to the screen you have open. A timeline agent may help with repetitive edit actions, but it is not necessarily an instructor, and an automatic mixer is not a general AI tutor. Choose by the job you want done.
Pick Blackmagic training if you want a free, systematic Fairlight foundation. Pick Casey Faris if video demonstrations help you follow the workflow. Use the built-in Audio Assistant if you have Studio and want a first-pass mix. Use an on-screen assistant if you are stuck finding the control. Use an editing agent only when you want it to act on a timeline and you can review those actions.
A tool that edits a timeline and a tool that teaches you a control solve different problems.
What should you do next?
Run one careful test mix on a duplicate timeline with separated audio, then listen to the whole result and inspect the changes. If the assistant helps, keep the parts that serve the edit; if it does not, use Fairlight manually and keep the original.
The shortest responsible workflow is: organize, save, mix, listen, inspect, refine. Resolve 21 gives you the AI Audio Assistant in Studio, while its free edition still lets you mix manually. The assistant can speed up the first pass, but your ears and delivery spec decide whether the timeline is ready.
If you are still learning, start with Blackmagic’s Fairlight audio training and a short practice project. Work one problem at a time: dialogue balance, then music, then effects, then delivery checks. When you understand what the assistant changed, you can decide when it helps and when a manual mix is the better call.
Frequently asked questions
- Is the DaVinci Resolve AI Audio Assistant available in the free version?
- No. Blackmagic labels AI Audio Assistant as Studio-only in its Resolve 20 New Features Guide, and the feature remains a Studio feature in the Resolve 21 workflow. The free edition still has Fairlight for manual mixing.
- Why is AI Audio Assistant missing from DaVinci Resolve 21?
- Check that you are using DaVinci Resolve Studio, that the timeline is active, and that you are looking under Timeline > AI Tools. The general AI assistant integration introduced in Studio 21.1 is a separate feature and does not replace the Audio Assistant menu.
- Does AI Audio Assistant make a finished professional mix automatically?
- It can create a useful starting mix by sorting tracks, adjusting levels, applying supported dialogue processing, ducking music, and adding mastering effects. You still need to check dialogue intelligibility, effects, peaks, loudness, and the delivery requirements by ear and with meters.
- How do I get better results from AI Audio Assistant in Resolve?
- Put unlike material on separate tracks, label or categorize tracks correctly, disable tracks you do not want included, and select the actual delivery standard. Then audition the whole timeline and inspect the changes before exporting.
- What is the difference between Resolve AI Audio Assistant and the AI assistant integration in Resolve 21.1?
- AI Audio Assistant analyzes a timeline and makes a mix. The separate Resolve Studio 21.1 integration connects external conversational assistants to Resolve for tasks such as project analysis, media organization, settings, and batch rendering; it is not the same audio-mixing tool.
Sources
- DaVinci Resolve 20 New Features Guide, AI Audio Assistant
- DaVinci Resolve 20.1 New Features Guide
- DaVinci Resolve 21 New Features Guide
- DaVinci Resolve 21.1 announcement
- DaVinci Resolve support and software updates
- Blackmagic Design Resolve training
- The Fairlight Audio Guide to DaVinci Resolve 20
- Casey Faris, Fairlight 101: Introduction to Audio Post-Production
- Sottocut, product overview
- Eddie AI, product overview
- CutAgent, product overview
- PremiereCopilot, product overview
Put this guide to work with TryUncle.
Ask about the step you’re on. TryUncle sees your screen and points at the control you need, so you can keep learning in your own project.
Get TryUncle for Mac or WindowsKeep reading
Guides · Jul 11, 2026 · 31 min
How to Mix Audio in DaVinci Resolve Using Fairlight
Mix audio in DaVinci Resolve's Fairlight page: build a dialogue/music/effects bus structure, gain-stage your clips, EQ and compress dialogue, then duck music under it.
Fixes · Jul 10, 2026 · 29 min
How to Remove Background Noise from Audio in DaVinci Resolve
Remove background noise from audio in DaVinci Resolve with the Fairlight Noise Reduction plugin, De-Hummer, Gate, or Voice Isolation. Exact settings, in order.
Guides · Jul 13, 2026 · 31 min
DaVinci Resolve Dialogue Leveler Settings Explained
Every DaVinci Resolve Dialogue Leveler control explained: Reduce Loud Dialogue, Lift Soft Dialogue, Background Reduction, Output Gain, and what Allow Wider Dynamics does.