Articles / Guidesupdated for DaVinci Resolve 21.1 (October 2026)
DaVinci Resolve AI Multicam SmartSwitch Tutorial: Setup and Fixes
Quick answer
For a DaVinci Resolve AI Multicam SmartSwitch tutorial, create and sync a multicam clip, place it on the timeline, right-click it, choose Multicam SmartSwitch, set timing, wide-shot behavior, and video/audio switching, then select Analyze. SmartSwitch creates a first-pass cut; review each angle and correct bad choices or trim edit points. As of October 2026, it applies to Resolve 21 workflows.
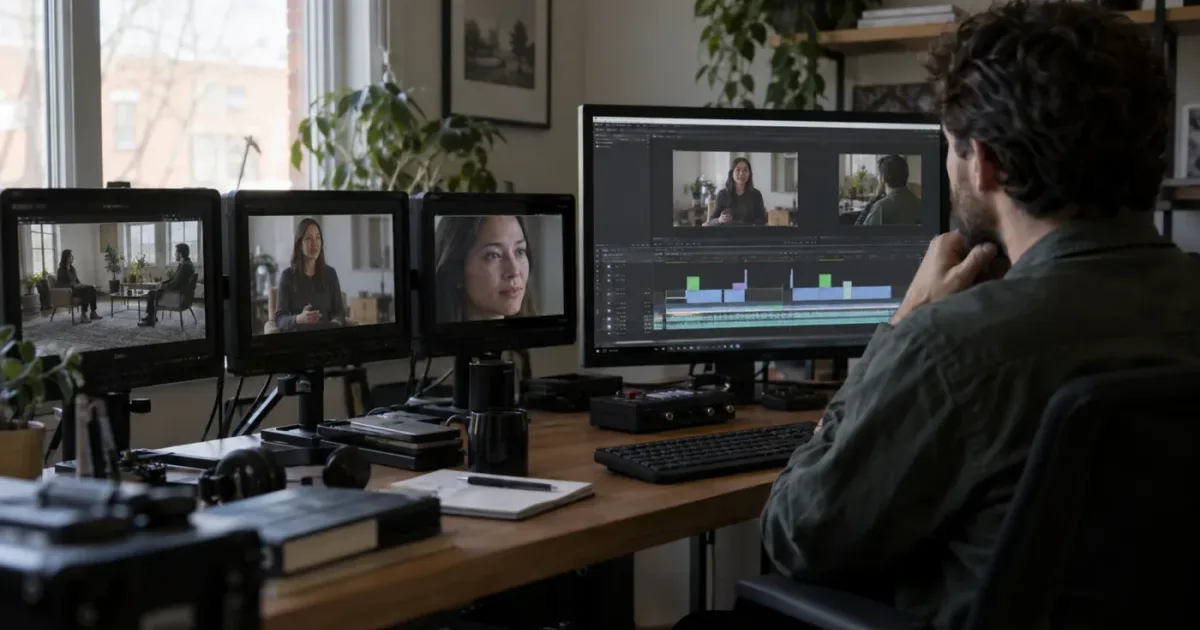
DaVinci Resolve AI Multicam SmartSwitch Tutorial: Setup, Analyze, Correct
SmartSwitch can turn a synced multicam recording into a first-pass cut, but it cannot make the editorial decision for you. We have spent more than seven years editing commercial video, and the practical lesson is familiar: a fast assembly is useful only when the material is organized and someone checks the choices.
As of October 2026, DaVinci Resolve 21.1 is current. SmartSwitch first appeared in Resolve 20 Studio, and Blackmagic's documented workflow remains a useful guide to running the feature in a Resolve 21 project. This tutorial explains the setup, the controls that change its decisions, and a repeatable way to correct the result without pretending that automatic cuts are a finished edit.
What does DaVinci Resolve AI Multicam SmartSwitch do?
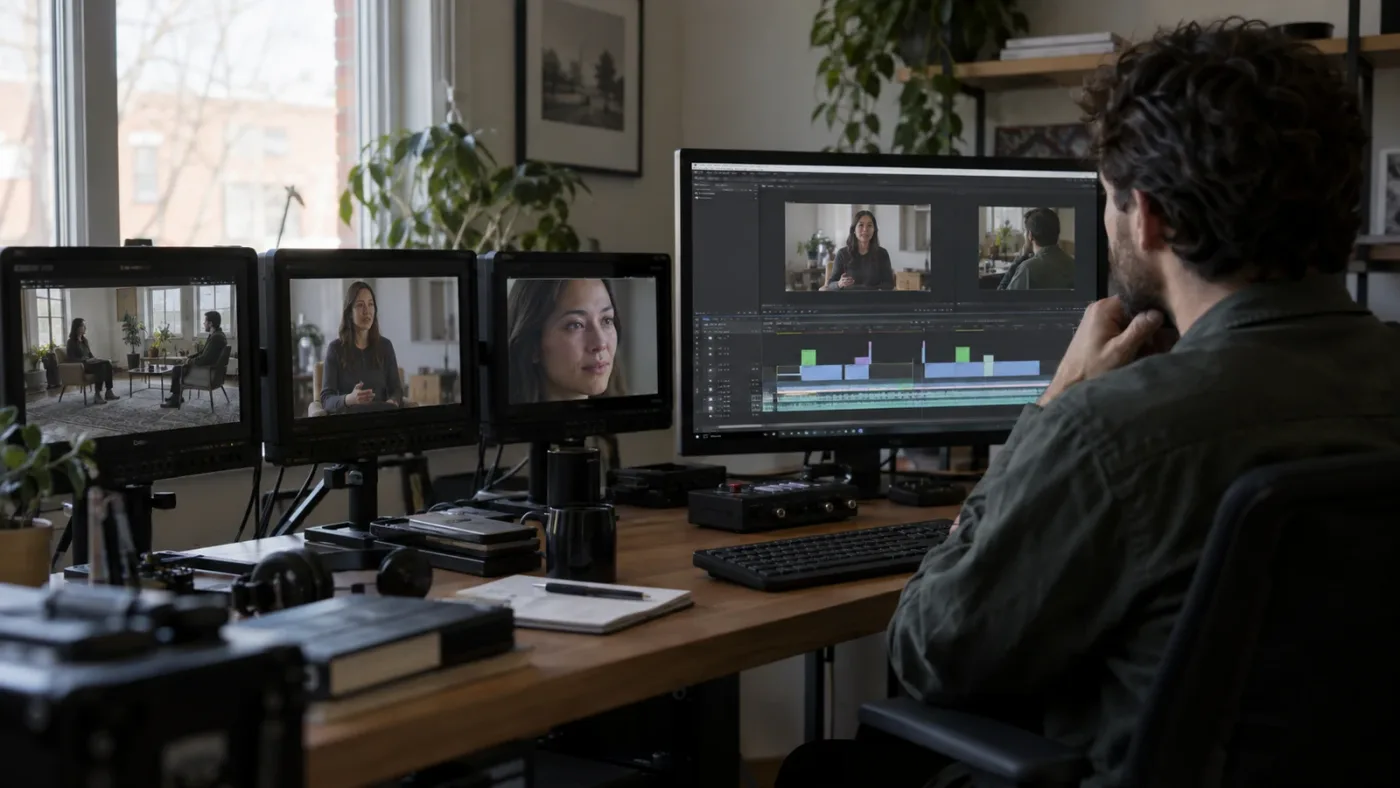
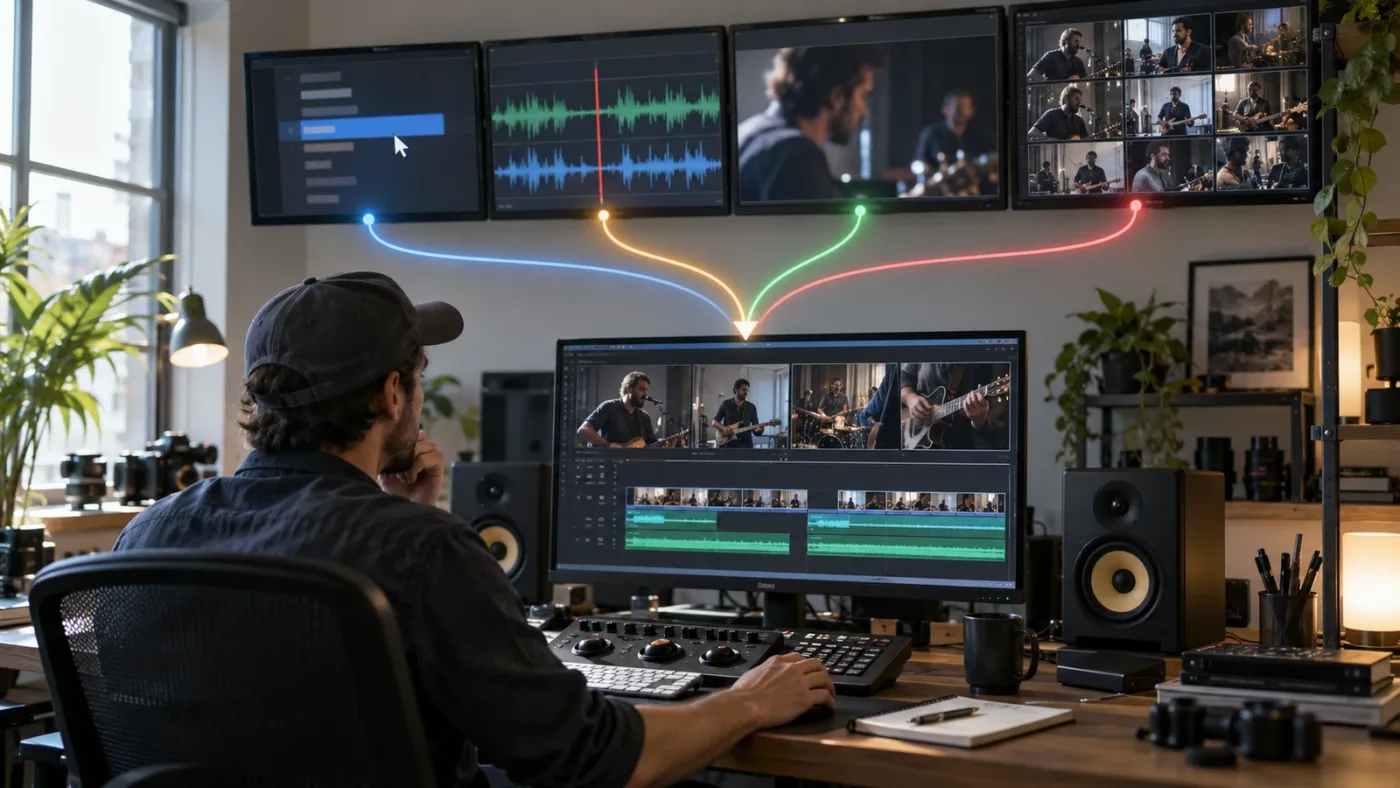
DaVinci Resolve Multicam SmartSwitch analyzes the video angles and audio tracks in a multicam clip, then makes an automatic first-pass cut based on its assessment of the active speaker and the shot. Blackmagic says the analysis considers audio, lip movement, and whether a view is wide or close, so the tool is more than a simple audio-level switcher. Blackmagic's Resolve 20 New Features Guide calls the result a “good first pass” that an editor can finesse.
That phrase sets the right expectation. SmartSwitch is an assembly assistant for a multicamera conversation, interview, podcast, or discussion. It is not a director who understands story, emphasis, brand standards, or a guest's reaction better than you do. The model can select a camera because someone is speaking, while the editor may prefer the listener's reaction, a balanced two-shot, or the wide view that preserves the room's geography.
Resolve's guide identifies this as a Studio-only tool. The base multicam workflow remains useful without it: create synced angles, cut between them manually, and refine edit points. Blackmagic's feature matrix likewise lists Multicam SmartSwitch as Studio on desktop and unavailable on the listed iPad configurations. The feature matrix is for Resolve 20, so check the version-specific matrix if your platform or edition differs.
Resolve 21.1 also introduced a separate kind of AI assistant integration. Blackmagic's September 8, 2026 announcement describes integrations with assistants such as Claude, Claude Code, and ChatGPT Codex for tasks including project organization and batch rendering. That is distinct from SmartSwitch's automatic angle analysis. Do not confuse the named SmartSwitch workflow with the newer assistant integrations simply because both use AI.
SmartSwitch is a first-pass multicam editor, not an approval system for finished cuts.
How do I prepare multicam footage before SmartSwitch?
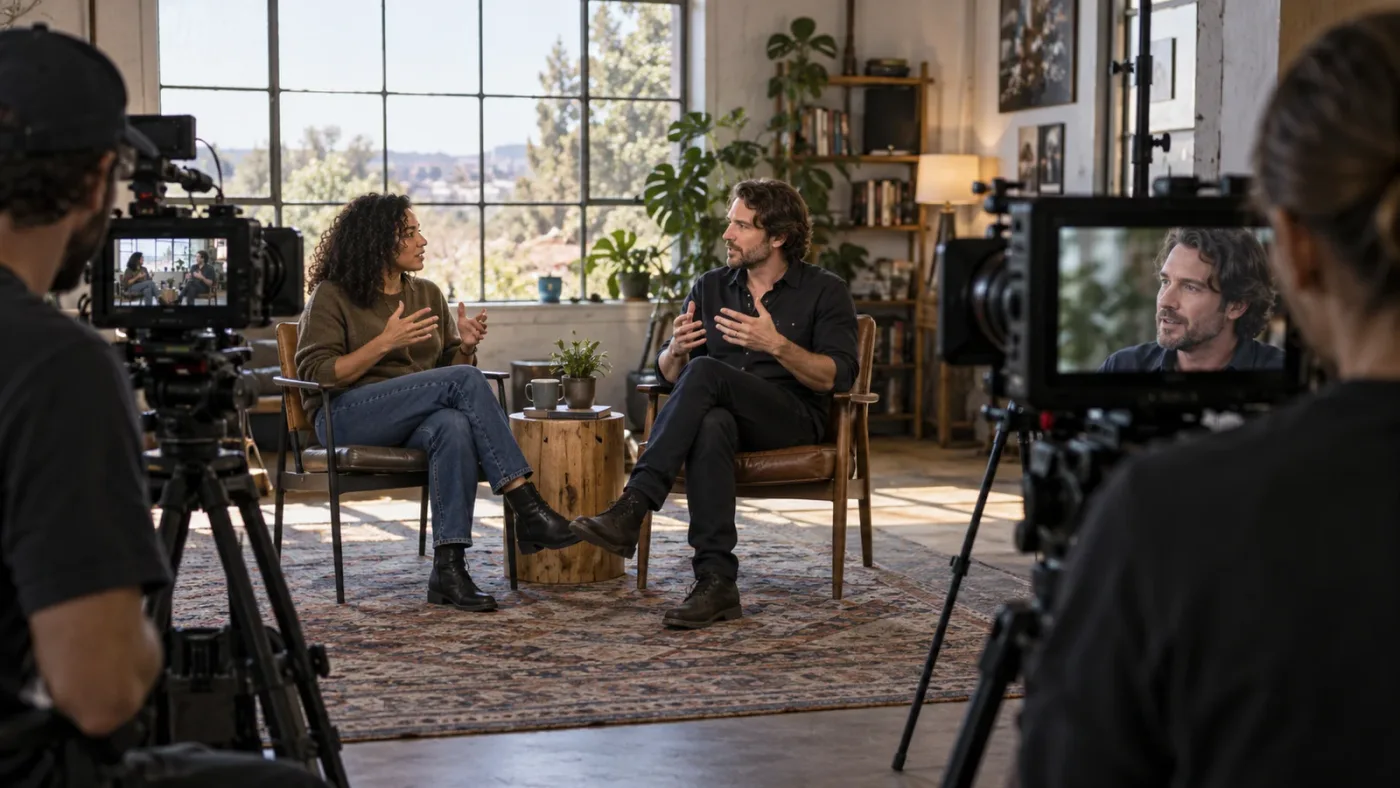
Prepare a synced multicam clip with deliberate audio and camera-angle organization before launching SmartSwitch. The tool analyzes a multicam clip; it does not repair bad sync, identify missing coverage, or make a disorganized source bin editorially coherent.
Start by grouping the video recordings that cover the same continuous event. Inspect the start and end of each recording, confirm that the clips overlap where you expect them to, and find a sync reference. Timecode is useful when the cameras share reliable timecode. Audio waveform sync can help when each camera recorded usable reference sound. If neither works, align a clear clap, slate, or other shared event manually, then check the sync by listening and watching mouth movement.
The camera angles do not need to have identical durations, but gaps and late starts need attention. A camera that begins after the conversation starts cannot provide a close-up for the opening. If a camera stops and restarts, check whether the multicam arrangement represents those segments correctly. Don't expect SmartSwitch to invent the missing frames. If sync slips by a frame or more, repair the multicam source before running analysis; a wrong sync makes otherwise sensible angle decisions look wrong.
Create the multicam clip in the Media Pool from the selected source clips, choose an appropriate synchronization method, and give the angles names you can recognize. Labels such as “Host wide,” “Guest close,” and “Two-shot” are easier to audit than anonymous camera numbers. Confirm the angle order in the multicam viewer. A well-labeled source structure makes later repairs faster because you can identify what each angle actually shows.
Resolve 21 adds two setup choices worth checking before a new multicam is made. In the New Multicam Clip dialog, “All Angles” under Multicam Audio includes every source angle's audio tracks in the multicam clip. Blackmagic's example says that if one angle has four audio tracks and another has five, all nine can be available. The “Use full clip extents” option keeps all selected angles at their full lengths regardless of the multicam clip's length. The Resolve 21 New Features Guide describes both options. They help preserve source access, but they do not decide which microphone should be heard in the final mix.
| Preparation choice | Use it when | Check before SmartSwitch |
|---|---|---|
| Sync by timecode | Cameras share dependable timecode | Confirm a visible or audible sync point at the start and after any recording restart |
| Sync by waveform | Camera reference audio captures the same event clearly | Listen for echo or drift; a visually aligned waveform is not proof that dialogue is perfectly in sync |
| Manual sync | Timecode is absent or audio sync is ambiguous | Align a slate, clap, or distinct event, then inspect speech and transients |
| All Angles audio in Resolve 21 | You need to retain each source's audio in the multicam clip | Decide which track is the production master and prevent unwanted camera mics from dominating |
| Full clip extents in Resolve 21 | Selected sources have different usable lengths or you need the full source ranges | Look for gaps where an angle did not record or began late |
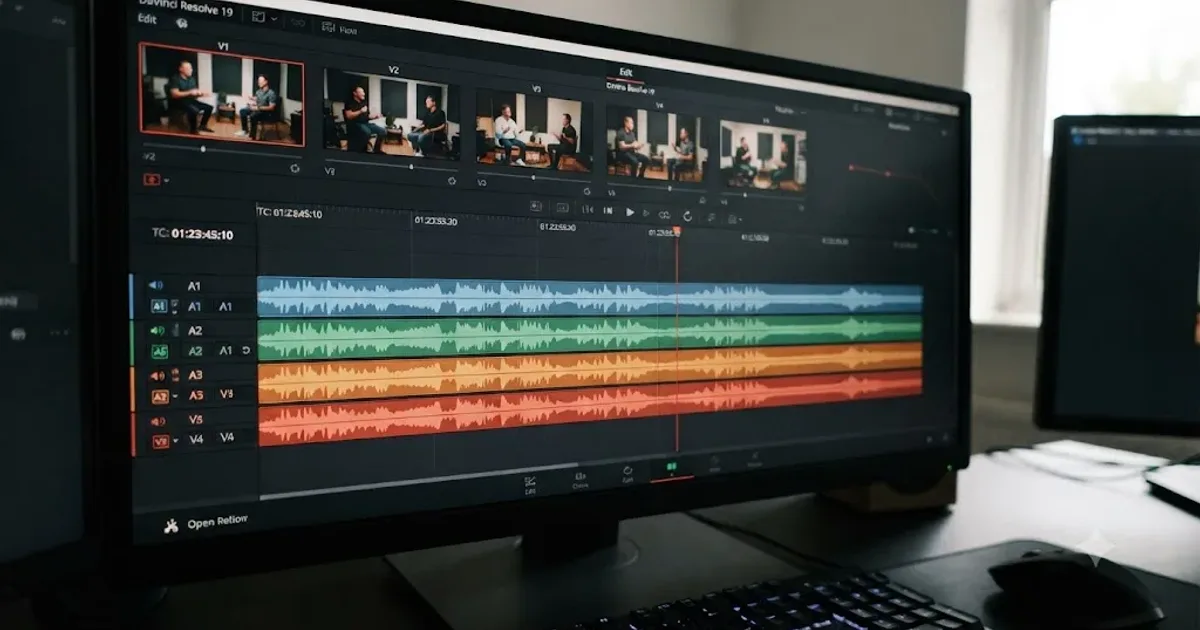
Resolve's multicam viewer supports projects with 4, 9, 16, 25, or more cameras, according to Blackmagic's Edit page overview. It also describes sync by waveform, timecode, or in/out points, plus separate video-only and audio-only switching options. Those capabilities make ordinary multicam editing useful even if SmartSwitch is unsuitable for a particular shoot. Blackmagic's multicam editing overview covers that broader workflow.
When sync is uncertain, diagnose it before interpreting the cut. An image may seem to switch late because the edit point is poor, because the speaker's mouth is out of sync, or because the camera's audio is offset. Those are three different problems. A short test section can reveal the difference before you run analysis across a long recording.
If you already made a multicam clip in Resolve 20, don't assume it automatically gains Resolve 21's new audio and full-extents options. Those are creation-time choices described in the Resolve 21 guide. Rebuild only if you need those options and can verify that doing so preserves the sync and metadata you rely on. Otherwise, work with the valid multicam clip you already have.
How do I run SmartSwitch in DaVinci Resolve 21?
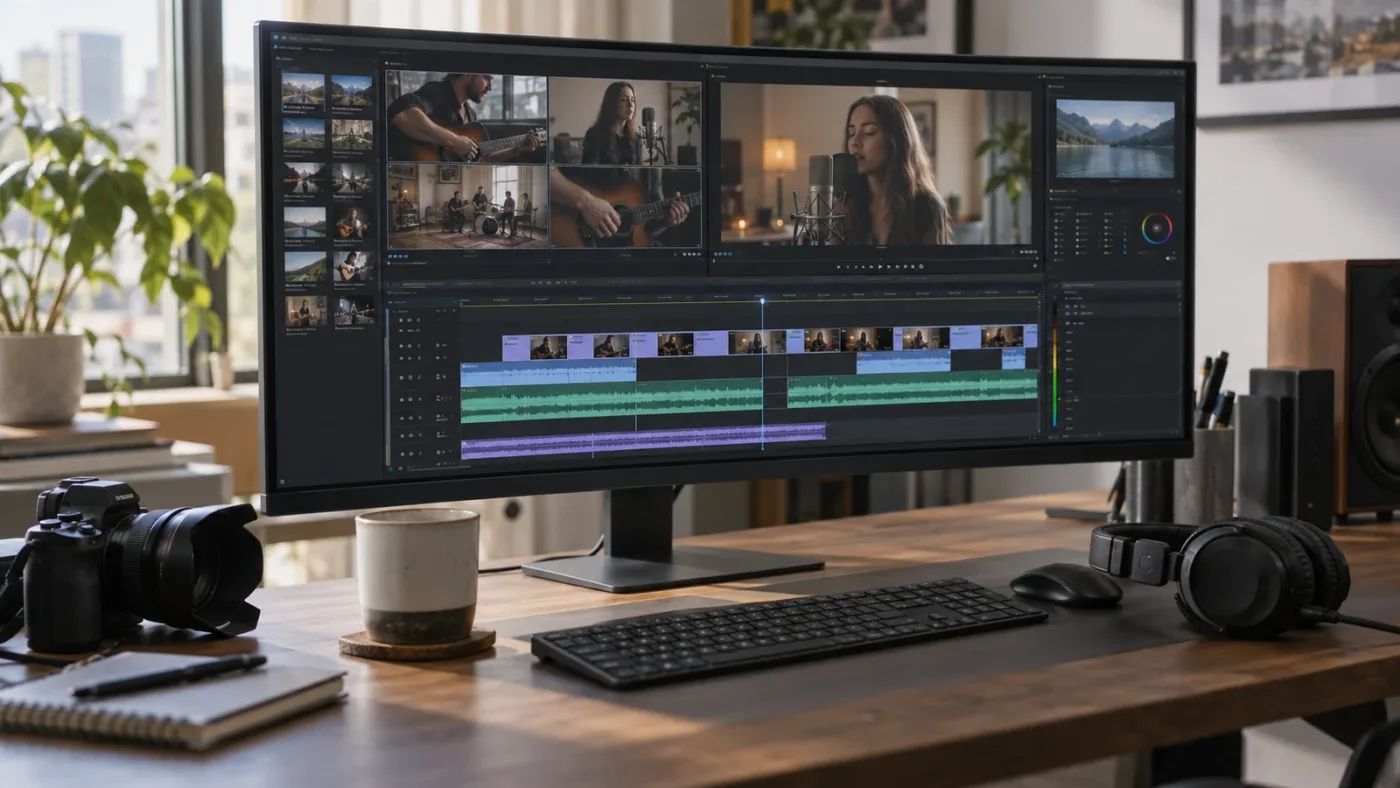
To run SmartSwitch, place a multicam clip on the timeline, right-click that clip, choose Multicam SmartSwitch, configure the analysis, and click Analyze. This is the five-step workflow Blackmagic documents for the Resolve 20 feature; the source guide is the primary reference for SmartSwitch's controls and expected result.
- Create the multicam clip. In the Media Pool, select the camera-angle clips that belong to the same recording. Create a multicam clip and verify the sync and angle order before editing.
- Add it to the timeline. Put the multicam clip on the timeline where you want the auto-cut version. Work from a copy of the sequence or a duplicate timeline if preserving an earlier manual edit matters.
- Open SmartSwitch. Right-click the timeline multicam clip and choose Multicam SmartSwitch from its context menu. Make sure you're selecting the multicam clip instance, not an unrelated audio item or a flattened cut.
- Set the options. Choose whether the cuts should affect video only or both video and audio. Set the minimum edit duration, change delay, wide-shot behavior, and quality based on the material and your intended review.
- Analyze and wait. Click Analyze. Blackmagic warns that analysis time depends on recording length and camera count. Let the operation finish before judging the timeline result.
After analysis, Resolve creates a cut version of the multicam clip on the timeline. The exact UI labels can move between releases, so if the control isn't where a Resolve 20 tutorial shows it, use the current context menu and SmartSwitch dialog as your guide. In Resolve 21, verify the installed version from the application's About dialog before comparing a tutorial filmed in an earlier major release.
Do not judge a long analysis as failed simply because the progress appears slow. A longer recording or more angles means more material to analyze, and Blackmagic explicitly notes that time varies with both. If the interface appears stuck, wait long enough to distinguish a slow operation from a genuine failure, then check whether Resolve is responsive before canceling. Preserve the original timeline while diagnosing.
You can find the feature unavailable or greyed out for several practical reasons. The most basic check is edition: SmartSwitch is labeled Studio Version Only. Next, check selection: Blackmagic's documented sequence starts with a multicam clip in the Media Pool and applies SmartSwitch after placing that clip in a timeline. Finally, make sure you have an actual multicam object rather than a hand-built stack of camera clips. A stack may look similar but doesn't provide the same multicam object and angle metadata.
If the context menu is present but the analysis doesn't produce an obvious edit, first inspect the timeline and media. Check if the selected segment is the multicam clip you analyzed, whether the clip has usable video and audio, and whether analysis completed. A Blackmagic forum thread from 2025 reports an individual case where SmartSwitch appeared to analyze but did not change the timeline; that forum post is a report, not proof of a general defect or a verified fix. The report is useful as a troubleshooting example, not as a substitute for checking your own version and clip structure.
Which SmartSwitch settings should I choose?
Choose settings to control cut rhythm, use of wide coverage, and whether audio follows the video. None of the controls can guarantee that the selected angle is the best editorial choice, so treat them as instructions for a first pass rather than a one-click style preset.
| Setting | What it changes | A useful starting decision |
|---|---|---|
| Minimum Edit Duration | Prevents an angle change before the chosen minimum length has elapsed | Raise it if the first pass cuts too often; lower it only when rapid exchanges need fast coverage |
| Edit Change Delay | Sets the timing gap between a person speaking and the angle change | Use a slight delay if you want the speaker to begin before the cut; review whether the cut lands on the word or reaction you intend |
| Automatically detect wide angles | Lets SmartSwitch choose what it considers wide shots | Use it only when the wide view is visually distinct and consistently framed |
| Wide Angle | Lets you choose a specific wide view for coverage | Select the actual group or room view when automatic classification is not a safe assumption |
| Wide Angle Frequency | Sets how often SmartSwitch returns to a wide view, with Low, Medium, and High choices | Pick a lower frequency for intimate two-person interviews and a higher one when room context or overlapping speech needs coverage |
| Wide angle for intro and outro | Uses the wide view to open and close the multicam clip | Enable it when a room-establishing shot fits the sequence's opening and ending |
| Wide angle for silence | Returns to the wide view when no one is speaking | Use it when pauses should show the group; turn it off if pauses contain meaningful listener reactions |
| Switch: Video Only / Video and Audio | Determines whether audio tracks cut with the video | Choose Video Only when a continuous mix or dedicated microphone must remain uninterrupted |
| Quality: Faster / Better | Trades analysis speed for the Better quality option | Favor Better when you care about the quality of the first pass; use Faster when you need a rough selection quickly |
| Use Audio Only Fast Analysis | Uses audio rather than video for its decisions in supported modes | Use this only when audio-driven choices are appropriate and a faster pass is more valuable than visual cues |
Blackmagic describes Minimum Edit Duration as a floor: SmartSwitch will not change angles again until the set duration has passed. That makes it a direct way to reduce rapid switches, but it can also delay a camera change when the speaker changes quickly. There is no universal correct duration. A slow interview and a panel with interruptions have different rhythms, and the material itself should drive the choice.
Edit Change Delay is similarly about timing rather than correctness. A camera cut exactly at the syllable where a new voice begins can feel abrupt. A small delay can let the viewer hear the new speaker before seeing them. But a delay that is too long may leave the previous speaker on screen while someone else talks. Watch the cut and listen to the dialogue together; do not tune the number by watching picture alone.
Wide angle behavior is one of the most consequential decisions in a panel or podcast edit. A wide shot can hide an uncertain close-up choice, cover overlapping speech, and preserve the group's spatial relationship. Yet returning to the wide shot for every pause can erase a valuable reaction. If a guest stops speaking and the host visibly responds, the reaction may be the point of the moment. SmartSwitch cannot infer whether the audience should watch the speaker or the listener in every beat.
Video Only is often the safer choice when you recorded a clean isolated microphone or a mixed production track that should run continuously. If the tool edits video and audio together, the camera's scratch microphone may become audible, or a camera change may create an unwanted audio discontinuity. Video and Audio can make sense when the multicam audio layout is intentionally designed to switch along with angles. Listen to the result, because the setting determines what gets cut, not whether the cut audio sounds good.
The Faster and Better labels are a tradeoff, not a promise. Blackmagic describes Faster as speed and Better as accuracy. It does not publish a guaranteed improvement percentage or a fixed processing time, so don't make one up or assume that Better will be editorially correct. Use a brief representative segment to compare how each mode behaves on your footage if the difference matters to the job.
Audio-only fast analysis deliberately excludes video analysis and is available only in certain modes, according to the guide. That can be useful when speakers have clean, separate audio and the desired edit should primarily follow who is talking. It is a poor fit when the footage depends on visual cues, the microphones bleed heavily, or the camera angle should show reactions rather than whoever has the loudest voice.
What settings fit a podcast, interview, or panel?
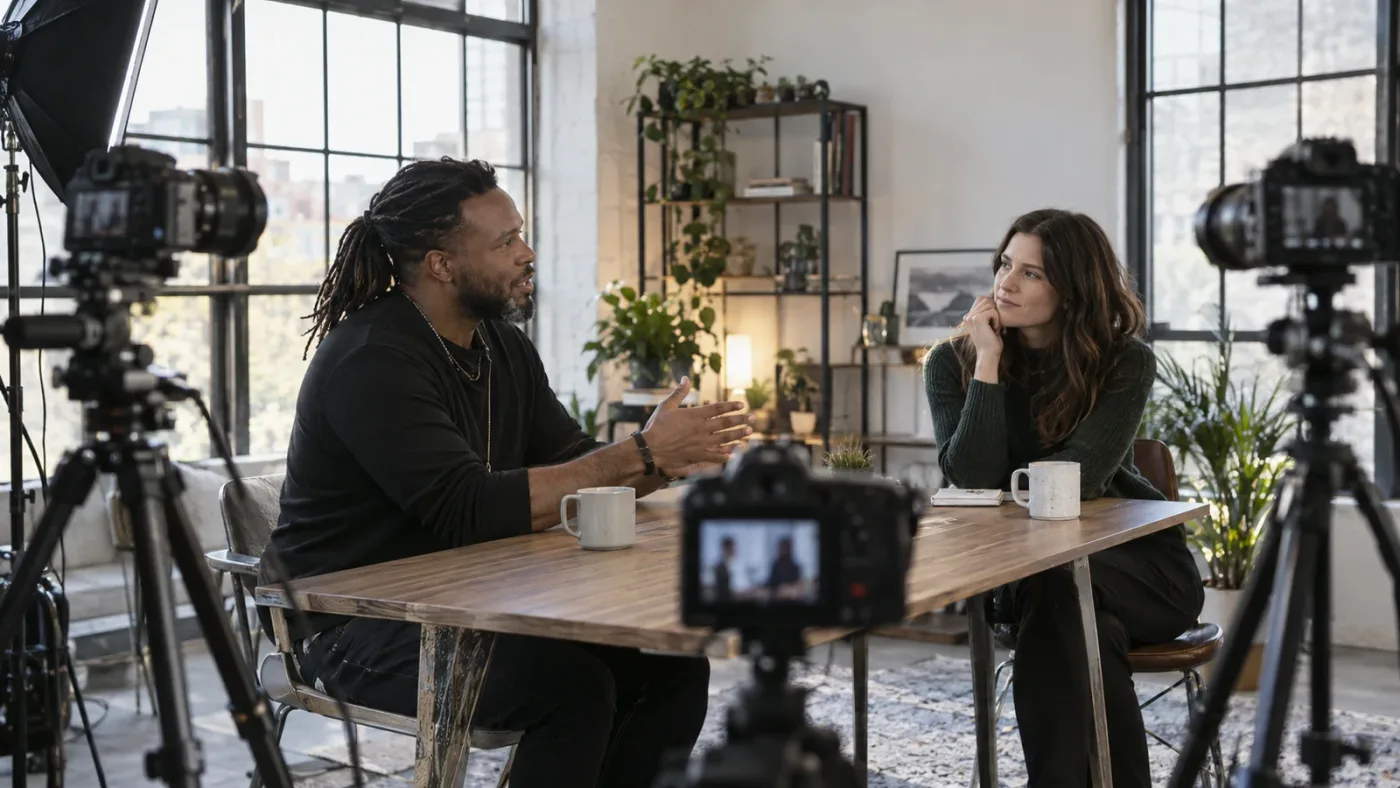
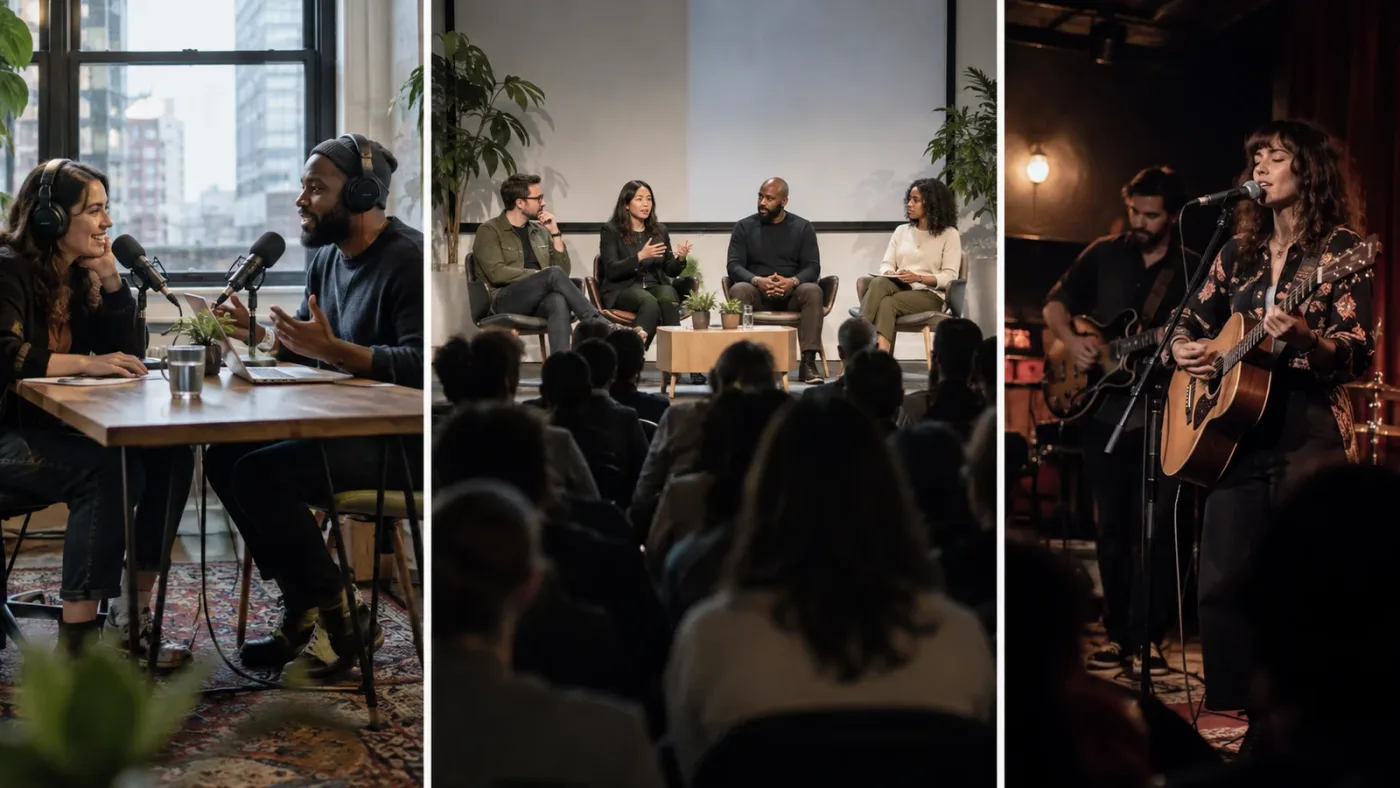
For a two-person interview with separate microphones, begin with Video Only, a modest minimum duration, and a measured change delay, then review every speaker transition and reaction. For a panel, decide whether the wide shot is essential for interruptions and group context before choosing its frequency. For a host-led podcast with a continuous mixed track, keep audio continuous and treat SmartSwitch as a picture pass.
These are starting choices, not recipes. Consider a three-person discussion: one person asks a question, the guest answers, and the host nods. A voice-driven choice may cut from the guest's close-up to the host only after the answer ends. That may be technically understandable but emotionally late. A human editor might cut to the host during the answer to show that the question landed. Make that choice in the correction pass.
For a tutorial filmed with a presenter and a screen camera, the wide-angle classification may not match your idea of useful coverage. The screen view might be the important image even when nobody speaks. If the screen camera isn't a meaningful angle for a speaker-based edit, do not ask SmartSwitch to choose it intelligently. Keep it out of the multicam clip used for automatic switching, or perform a separate manual insert pass.
For a music performance, SmartSwitch's speaker-driven assumptions may not suit the edit at all. A performer can be visually active while the instrument audio dominates, and the most interesting camera choice may follow a musical phrase rather than the voice. The tool can still provide a rough angle assembly if the source material fits, but manually cut the rhythmic and expressive passages. In many performances, standard multicam switching gives you more deliberate control.
The best SmartSwitch settings depend on the shoot's audio, coverage, and intended cut rhythm.
How do I review and manually correct SmartSwitch cuts?
Review the full timeline from beginning to end, then change the angle or trim the edit point wherever the first pass misses the editorial moment. Blackmagic explicitly documents right-clicking a SmartSwitch cut and choosing another multicam angle, or using standard trim tools to move the edit point.
Use this five-part review pass:
- Watch at normal speed with sound. Start at the beginning and watch the whole cut. Note wrong speakers, abrupt cuts, missed reactions, distracting wide-shot returns, black gaps, and any audio change that should not happen.
- Check transitions around every speaker change. Replay a few seconds before and after a handoff. Decide whether the shot should change on the new voice, slightly after it, before it for a reaction, or not at all.
- Correct the angle. Right-click the affected segment and choose the desired angle from the Switch Multicam Clip Angle menu. The exact angle names depend on how the multicam clip was organized.
- Trim the cut. If the chosen angle is right but the moment is wrong, use the trim tools to shift the edit point. A correct camera at the wrong frame can still feel careless.
- Review the audio separately. Listen across every cut with headphones or reliable speakers. Confirm that the main dialogue mix remains continuous and that camera mic changes, room tone shifts, or phasey overlaps do not call attention to themselves.
Correct the reason for the bad cut, not just the visible symptom. If SmartSwitch repeatedly shows the wrong person because the cameras are out of sync, fixing individual edits won't solve the underlying problem. Open the multicam source and repair sync, then rerun analysis or adjust affected cuts. If the angle is in sync but the edit misses the reaction, that is an editorial choice and should be corrected on the timeline.
When the angle is poor because the shot is soft, blocked, or framed badly, the best correction may be the wide shot rather than another close-up. A camera with a technically correct subject is not necessarily the best shot. Check focus, eyelines, exposure, framing, and anything distracting in the background. SmartSwitch can only choose among the views you supplied.
Manual review turns an automatic angle pass into an intentional multicamera edit.
For a useful review, think in beats instead of counting cuts. A question, answer, laugh, pause, and reaction are different editorial beats. The camera may change on a beat boundary, hold through several beats, or cut away to keep the exchange visually alive. SmartSwitch's minimum duration shapes its options, but it cannot decide what the exchange means.
Protect the clean original. Keep the multicam source intact while refining the generated cut. If you need to revisit the analysis or compare it with a manual pass, duplicate the timeline or preserve a separate version before making broad changes. Avoid flattening the multicam clip until you're confident you no longer need angle switching. An editable multicam timeline is easier to correct than a rendered or flattened result.
What if SmartSwitch cuts the audio when I only wanted video?
If SmartSwitch changes audio along with the picture, switch its setup to Video Only and make sure the timeline's production audio is independent of the multicam video cuts. Resolve's guide explicitly offers Video Only and Video and Audio modes. That setting is available at analysis time; after the fact, inspect the resulting audio edits and restore a continuous source track if necessary.
A common podcast arrangement uses one clean master mix and scratch audio on the cameras. Keep the master mix continuous on a separate track and mute or disable camera audio that should not be heard. If your multicam clip includes all angle audio tracks under Resolve 21's All Angles option, that is useful access, but it also means you should be intentional about track selection and muting. Don't assume that retaining more tracks means Resolve automatically chose the right master.
What if the generated cut has black gaps or missing angles?
Check whether each camera actually covers the affected time and whether its clip was included and synced in the multicam source. SmartSwitch cannot show a frame from a camera that stopped recording or started late. Resolve 21's full-clip-extents option can preserve the full selected source lengths, but it cannot create missing footage or fill a genuine recording gap.
Then open the multicam clip and inspect the source angles around the gap. If an angle exists but was trimmed out of the multicam clip, adjust the source structure. If the view is genuinely absent, cut to a camera that does cover the moment, hold a valid wide, or use an intentional cutaway. A black frame is a coverage problem to solve, not a parameter to tune away.
What if the edit feels too busy or too slow?
If the edit feels too busy, increase the minimum edit duration or reduce the wide-angle frequency, then analyze a representative section again. If the edit feels too slow, reduce the minimum duration or shorten the change delay and check whether the switches now land on the dialogue naturally. Change one variable at a time so you can tell what affected the result.
The SmartSwitch dialog's sample values in Blackmagic's guide illustration are examples, not universal recommendations. Don't copy them simply because they appear in a screenshot or tutorial. A fixed one-second minimum could be too short for a slow interview and too long for quick interruptions. Tune against the actual pace and cut purpose.
How do I fix sync that makes camera switches look wrong?
Repair sync inside the multicam source if the speaker's mouth and voice do not align across angles. A camera being late by one frame can make an otherwise correct switch look visibly wrong; an audio delay can make a correct angle seem to belong to the wrong speaker. Check the source first, then choose whether to rerun the first pass or correct only the affected timeline sections.
If a multicam clip is already off by a small number of frames, compare a clear consonant or clap across angles. Resolve's multicam structure lets you refine the source, but the exact correction depends on whether the error is global, limited to one camera, or caused by drift over time. See our separate guide to DaVinci Resolve multicam sync off by frames for a focused diagnosis of frame-offset sync problems.
Why is SmartSwitch missing or greyed out?
SmartSwitch is missing most often because the feature requires DaVinci Resolve Studio, or because the selected item is not a timeline multicam clip. Blackmagic labels it Studio Version Only and documents the command from a multicam clip on the timeline. Check the license, clip type, and selection before rebuilding the project.
Use this diagnostic order:
| Symptom | First check | Next action |
|---|---|---|
| No SmartSwitch menu item | Resolve edition and selected object | Confirm Studio, then right-click the timeline multicam clip itself |
| Menu item appears but nothing changes | Analysis completion and selected timeline segment | Wait for analysis, inspect the analyzed clip, and verify you are viewing the resulting cut |
| SmartSwitch is absent on an iPad | Platform support | Blackmagic's Resolve 20 feature matrix lists desktop Studio support and no iPad support for this feature |
| Audio is cut unexpectedly | Switch mode | Choose Video Only for picture-only switching and inspect the audio tracks |
| Cuts change after relinking or rebuilding | Multicam source identity and sync | Verify angle order, source links, and sync before running SmartSwitch again |
| Some angles are never selected | Coverage, framing, and source structure | Confirm the angle appears in the multicam viewer at the same time as the action |
The platform point matters because “Resolve Studio” does not mean every device receives every feature. The cited feature matrix lists Multicam SmartSwitch on desktop and marks it unavailable for iPads. Treat that as a Resolve 20 capability statement and check the current matrix for later releases, rather than assuming an iPad version gained the feature just because the desktop version did.
A forum report can help identify a symptom, but it should not be turned into a universal diagnosis. In one Blackmagic forum thread, a user says the tool appeared to analyze but did not visibly change the timeline. That doesn't establish the cause. If you see the same behavior, note the exact Resolve build, Free or Studio status, platform, multicam construction method, and what changes after Analyze. Those details make the problem reproducible and distinguish a UI selection issue from a project-specific failure.
If SmartSwitch is unavailable after you confirm Studio and select a multicam clip, save a copy of the project and verify you can reproduce the issue with a short test multicam clip. Check the current Blackmagic support notes for your release before reinstalling or making broad changes. Keep any original project and media available while troubleshooting; deleting or replacing source media can turn a reversible menu problem into a recovery problem.
One more confusion: the Cut page has its own fast multicam workflow, while SmartSwitch is invoked from the timeline multicam clip context menu as described in the Resolve 20 guide. A tutorial that demonstrates angle switching in the multicam viewer may be showing manual switching, not SmartSwitch. The two workflows can both be useful, but they answer different questions.
If you're trying to show every camera angle in the multicam viewer before you analyze, that is a viewer-layout problem rather than a SmartSwitch problem. Use the relevant angle-viewer controls first, then proceed with the analysis. Our guide to the DaVinci Resolve multicam angle viewer not showing all cameras covers that separate display issue.
A missing SmartSwitch command is usually a feature or selection check before it is a project rebuild.
Is SmartSwitch the best way to learn DaVinci Resolve multicam?
SmartSwitch is one focused tool, not a complete multicam education plan. The best way to learn DaVinci Resolve multicam editing is to understand sync, angle selection, audio continuity, trimming, and shot motivation, then use SmartSwitch to compare an automatic pass with your own editorial decisions.
Blackmagic's official free training is a strong starting point: its Multicam Editing lesson is listed at 32 minutes and includes both a video and a project file. It teaches syncing angles and editing a simple two-camera sequence before a larger multicam music performance. Blackmagic's training page makes those materials available directly. Casey Faris and other independent creators can help when you need a more conversational demonstration or a specific workflow. Community forums and Reddit can surface practical workarounds, but test advice against your version and project before making destructive changes.
We have taught more than 100,000 students on Udemy and are an official Udemy Business Partner. That experience informs a straightforward learning pattern: watch a short lesson, reproduce the action in a small project, then diagnose the first mismatch yourself. A tutorial is most useful when you can stop at the exact control that differs on your screen.
| Learning route | Strongest use | Tradeoff |
|---|---|---|
| Blackmagic Design official training | Learning the intended Resolve workflow from the software maker, with downloadable project files | It teaches the documented feature; you still need to judge your own footage and correct the edit |
| Casey Faris or another Resolve-focused YouTube creator | Seeing a task demonstrated in an informal, practical sequence | Tutorials can be tied to a particular release, project setup, or creator's preferences |
| Reddit and Blackmagic forums | Finding how other editors describe an unusual symptom or workaround | Advice varies in quality and may refer to a different version, platform, or license |
| A structured course on Udemy or Coursera | Following a broader curriculum with lessons arranged from basic to advanced | A course may not answer a question about the control currently open in your project |
| Practice on your own multicam footage | Learning how sync, audio, coverage, and edit rhythm interact | You must make time to prepare media and review the result carefully |
| On-screen help while Resolve is open | Getting unstuck when a tutorial and your interface don't match | It supplements practice and documentation; it does not make editorial choices for you |
The Resolve 21.1 release also changes the broader AI conversation, but it shouldn't distract from the editing fundamentals. Blackmagic CEO Grant Petty said of the newer assistant integration: “which frees them up to focus on creative decisions.” That is a short excerpt from the company's September 2026 announcement about automating repetitive tasks, not a promise that SmartSwitch makes creative decisions correctly. The distinction matters: automate repetitive assembly where it helps, and keep the editorial judgment with the editor.
TryUncle is the on-screen assistant for DaVinci Resolve on Mac and Windows. Ask in plain words and Uncle points at the relevant control on your screen.
For the “AI tool to learn DaVinci Resolve” or “app that helps you while using DaVinci Resolve” question, separate live on-screen guidance from tools that edit for you or answer questions in a chat. These products overlap in the broad editing-assistant category, but they do different jobs:
| Tool | What its current product page says it does | When it may fit better than SmartSwitch |
|---|---|---|
| SmartSwitch in Resolve Studio | Analyzes multicam camera angles and audio, then produces an automatic angle cut inside the multicam timeline | Use it for a speaker-based first pass when you already work in Resolve and want to retain direct control of the multicam edit |
| Sottocut | Describes a local-first assistant editor inside an open Resolve project that scores footage, proposes edits, and verifies timeline changes; its listed requirements include Resolve Studio 21 on Apple Silicon Mac | Consider it when you want a broader assistant-editor workflow in Resolve, subject to its current platform and license requirements (Sottocut) |
| Eddie AI | Describes rough-cut generation from raw footage and round-tripping to Resolve, Premiere, and Final Cut Pro | Consider it when you want a rough assembly that can move into an NLE for finishing (Eddie AI) |
| CutAgent | Describes an AI agent that can coordinate editing tasks inside DaVinci Resolve, including multicam workflows | Consider it when you want broader Resolve task execution rather than only angle selection (CutAgent) |
| PremiereCopilot | Describes text-to-edit timeline operations inside Adobe Premiere Pro | Consider it if your editing work is in Premiere Pro; its own product page identifies Premiere as its native editor, so it isn't a direct Resolve workflow alternative (PremiereCopilot) |
These product descriptions come from their providers, not independent testing. Features, platform support, and plans can change, so check each linked current product page before choosing. None of these alternatives removes the need to inspect the actual multicam cut. SmartSwitch selects angles; an on-screen assistant helps you find a Resolve control; an editing agent can perform broader tasks. Those are distinct jobs.
If a tutorial does not match your screen, an on-screen assistant such as TryUncle can point you to the relevant Resolve control while you work. Use it to find the setting, then confirm the choice against Blackmagic's documentation and your footage.
What should I use SmartSwitch for, and when should I cut manually?
Use SmartSwitch when your multicam recording is well synced, speaker-driven, and benefits from a fast assembly. Cut manually when the sequence depends on reaction timing, musical rhythm, visual inserts, complex overlap, or a deliberate story beat that the automatic angle selection cannot infer.
| Situation | Better first move | Why |
|---|---|---|
| Two-person interview with clean audio and clear close-ups | SmartSwitch, then review | A speaker-driven first pass can reduce repetitive angle switching |
| Panel with frequent overlap and a useful group shot | SmartSwitch with deliberate wide-shot settings, then correct | The wide can cover uncertainty, but reaction choices still need editorial review |
| Music performance | Manual switching or a short SmartSwitch trial | Musical phrasing and performer energy may matter more than speech activity |
| Tutorial with presenter, screen recording, and inserts | Manual structure, optionally using SmartSwitch for presenter coverage | A speaker-focused tool cannot know when the screen or a graphic is the important image |
| Uneven sync, missing clips, or camera drift | Repair the multicam source first | Automatic cut decisions depend on usable, synchronized source angles |
| Clean production mix on a separate track | Video Only | This keeps picture decisions from cutting the continuous master audio |
The strongest way to assess a workflow is to compare a small section, not to trust a feature label. Pick a representative section with a speaker handoff, pause, overlap, and reaction. Duplicate the timeline, run SmartSwitch with a considered setup, and compare its cuts to a manual pass. Ask which shots are merely acceptable and which actively help the viewer understand the exchange.
If SmartSwitch saves repetitive switching on the bulk of an interview, use the saved time for story and quality control. If you spend longer correcting every cut than you would have spent switching manually, choose the manual path for that project. The feature is optional because multicam editing already offers direct angle selection and trim controls.
For readers learning the wider interface, our guide to DaVinci Resolve 21.1 Multicam Timeline Viewer Mode explains a separate viewer workflow. It can help when you need to inspect and switch angles, but the SmartSwitch process itself begins with a valid multicam clip on the timeline.
What is the next step after SmartSwitch finishes?
Watch the result once without stopping, mark the obvious failures, then correct camera choice, timing, and audio in that order. Keep the multicam clip editable until the cut has passed a full picture-and-sound review. SmartSwitch can get you to a draft; the editor decides whether the draft communicates the moment.
If you want to learn the feature, begin with Blackmagic's free multicam lesson and a short synced sample. If you're already on a real job, verify your Resolve edition, sync and audio plan, preserve a clean timeline copy, then analyze a representative section. The next decision is simple: keep the automatic cut where it helps, and make the human edit everywhere else.
Frequently asked questions
- Does DaVinci Resolve SmartSwitch work in the free version?
- No. Blackmagic's Resolve 20 guide labels Multicam SmartSwitch as Studio Version Only. The ordinary multicam editing workflow is separate, so you can still switch angles manually without SmartSwitch.
- Why is Multicam SmartSwitch greyed out in DaVinci Resolve?
- First check that you're using DaVinci Resolve Studio and have selected a multicam clip instance on a timeline. SmartSwitch is a Studio feature, and the documented workflow starts from a multicam clip placed in the timeline.
- How do I stop SmartSwitch from cutting the audio with the camera?
- In SmartSwitch Setup, choose Video Only when you want the picture to change while your continuous production audio stays on its own timeline track. Confirm your multicam audio configuration before analysis.
- Why does SmartSwitch choose the wrong camera angle?
- SmartSwitch makes an automatic first pass using audio and image cues, but its choice can miss editorial context, reactions, interruptions, or shot quality. Replace the angle on the affected segment or adjust the cut point with Resolve's multicam controls.
- What is the best way to learn DaVinci Resolve multicam editing?
- Start with Blackmagic Design's free Multicam Editing lesson, which includes a 32-minute video and project file, then practice syncing, switching, and correcting a short sequence before adding SmartSwitch.
Sources
- DaVinci Resolve 20 New Features Guide, AI Multicam SmartSwitch
- DaVinci Resolve 21 New Features Guide, multicam updates
- DaVinci Resolve Studio and iPad Features
- Blackmagic Design announces DaVinci Resolve 21.1
- DaVinci Resolve Training: Multicam Editing
- DaVinci Resolve Edit page: multicam editing
- Sottocut: AI assistant editor for DaVinci Resolve
- Eddie AI: official product overview
- CutAgent: AI editing agent for DaVinci Resolve
- PremiereCopilot: text-to-edit for Premiere Pro
Put this guide to work with TryUncle.
Ask about the step you’re on. TryUncle sees your screen and points at the control you need, so you can keep learning in your own project.
Get TryUncle for Mac or WindowsKeep reading
Guides · Oct 5, 2026 · 13 min
DaVinci Resolve 21.1 Multicam Timeline Viewer Mode: How It Works
Find and use DaVinci Resolve 21.1 multicam timeline viewer mode to switch angles, preview source clips, and keep your edit in sync.
Fixes · Jul 31, 2026 · 24 min
DaVinci Resolve Multicam Angle Viewer Not Showing All Cameras
Multicam viewer only showing some of your DaVinci Resolve camera angles? Fix the grid size, duplicate camera metadata, and black angle bugs, one by one.
Fixes · Jul 8, 2026 · 26 min
DaVinci Resolve Multicam Sync Off by Frames: Every Fix
Multicam clip off by frames or drifting worse over time? Fix DaVinci Resolve's waveform mis-sync, frame rate drift, and timecode gaps, angle by angle.