Articles / Comparisonsupdated for DaVinci Resolve 21.1 (October 2026)
DaVinci Resolve Audio Clip Gain vs Automation: Which to Use?
Quick answer
In DaVinci Resolve 21, use clip gain to correct one clip's overall level, clip volume keyframes to change that clip at specific moments, and Fairlight track automation to ride a track or automate its fader, pan, mute, EQ, dynamics, or supported plug-in controls over time. Start with clip corrections, then balance and automate the mix.
We hear the same question in our 100,000+ member editing community: should you turn down the clip, draw a line, or ride the fader? We’ve spent more than seven years editing commercial video, and the practical answer is simpler than the interface suggests. As of October 2026, this guide refers to DaVinci Resolve 21.1.
What is the difference between clip gain and automation in DaVinci Resolve?
Clip gain changes the overall level of an audio clip, while automation changes an enabled parameter over time. In Resolve, the phrase “automation” can mean two different things: volume keyframes attached to a clip and Fairlight mix automation on a track.
That distinction clears up much of the confusion. Clip gain is a static correction for a clip. Clip volume keyframes create a changing level on that clip. Fairlight track automation writes or draws time-based changes to a track control, such as its fader, pan, mute, equalizer, dynamics, or supported plug-in parameters. They solve related problems, but they do not live in the same place or affect the same scope.
Blackmagic’s Resolve 21 manual separates Clips View, where you edit clips and their gain, from Automation View, where you edit track parameters. In Automation View, timeline clip-gain keyframe editing is unavailable, although the clip’s overall volume can still be changed in the Inspector Audio tab. That is a useful boundary to learn before you start clicking around.
| Control | What changes | Where the data belongs | Good first use | Main trade-off |
|---|---|---|---|---|
| Clip gain | One clip’s overall volume | The audio clip | A take is consistently quieter than the others | Does not create an independent track ride over time |
| Clip volume keyframes | Volume at selected moments | The audio clip | One phrase or transient needs a local adjustment | More points to manage; clip gain editing is in Clips View |
| Track fader | The whole track’s current level | Track mixer control | Set dialogue, music, ambience, or effects into the broad mix | One static move affects every clip routed through that track |
| Track automation | An enabled track parameter over time | The track and timeline automation data | Duck music under dialogue or ride a scene-wide track level | Requires automation view and attention to edit-follow behavior |
Clip gain corrects a source; track automation performs a changing mix.
A simple example: three interview answers sit at noticeably different levels. Adjust each answer’s clip gain so the phrases begin in a similar range. Then use the dialogue track fader to position the speaker against music. Finally, automate the music track lower under the answers if that relationship changes from line to line.
This is not a rigid order. You might set a rough fader mix first to hear what is wrong. The useful principle is to make each control solve the problem at the scope where it occurs. If one clip is the outlier, don’t redraw an entire track’s automation curve just to fix it.
When should I use clip gain instead of automation?
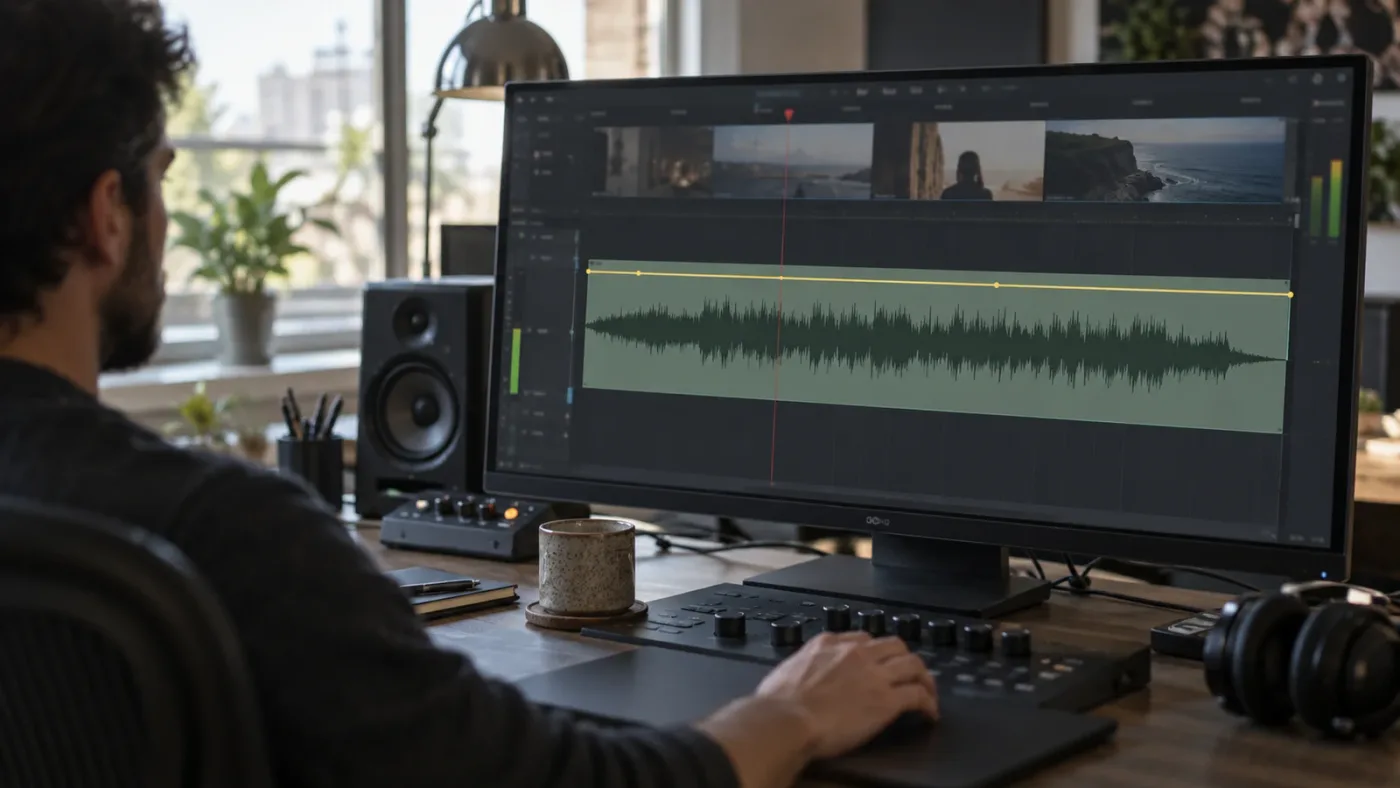
Use clip gain when a clip is too loud or quiet as a whole, and use automation when its level needs to change during playback. Clip gain is the fastest useful move for inconsistent source takes because it corrects the material before you balance the track against other material.
Think of a dialogue interview recorded in several takes. The speaker leans away from the microphone in one answer, so that entire clip comes in quieter than the neighboring answers. A gain adjustment on that clip makes it easier to mix the scene. You can then use one dialogue fader setting for the broad balance instead of pushing the fader up and down every time playback crosses that take.
Clip gain is also a reasonable first step when editing a run of voiceover, sound effects, or music fragments cut from the same source. If one short excerpt is substantially louder than the next, correcting each excerpt reduces the size of the differences that later processing or mix decisions must handle. It does not guarantee a finished, consistent mix. You still need to listen across cuts, account for background noise and performance, and check the dialogue against everything else.
Blackmagic’s Fairlight documentation says each timeline clip has its own volume and that you can adjust it with the clip gain line or the Inspector’s level control. The clip’s waveform updates as you adjust the line. That visible response helps you compare neighboring clips, but waveform height is not a substitute for listening or metering.
A common mistake is to use normalization as a synonym for clip gain. Normalization is a command that sets a clip to a chosen target according to the selected analysis mode; clip gain is a level adjustment you decide by ear and meter. A normalized clip may still sound too loud beside a quieter performance, or may have large changes inside the clip that a peak target does not solve. The separate guide to normalizing audio clips individually explains that task in more detail.
Which problems does clip gain solve well?
Clip gain is a strong fit when the whole clip needs roughly the same correction. It is not a repair tool for every audio problem, and a louder waveform does not remove noise or improve the recording itself.
Use it for:
- A dialogue take recorded consistently lower than another take.
- A sound effect that is consistently too prominent beside other effects.
- A music excerpt whose overall level needs to sit closer to the other sections before you shape its entrance or exit.
- A selected set of clips that share a broad correction, provided you have checked that they really need the same move.
- A quick pre-mix adjustment before you make track-level balance decisions.
Be careful with a clip that contains both quiet speech and loud background noise. Turning up the whole clip raises both. The gain change does not separate wanted sound from unwanted sound. If the problem is a brief peak, make a local keyframe adjustment or use dynamics processing where appropriate. If the problem is a noisy recording, inspect the actual noise and choose a suitable repair approach rather than treating level as cleanup.
Larry Jordan, a post-production trainer who writes about Fairlight, makes a useful point about track processing: “the real power is when you add effects to tracks or buses.” His explanation is about effects rather than gain, but it captures the same scope decision: a track-level treatment follows that track’s material, while a clip-level adjustment stays with the individual clip. See his Resolve dialogue workflow.
How should I set clip gain without chasing a magic number?
Set clip gain by comparing the clip with nearby material at a stable listening level, then check the meters for peaks and the full mix for balance. A universal clip-gain target cannot account for the speaker, scene, delivery format, noise floor, or the other sounds in your timeline.
Start by soloing the dialogue track only long enough to hear whether a clip is obviously out of line. Compare its loudness with the lines around it, then return to the full mix. If it sounds right alone but disappears under music, the issue may be the music balance rather than the dialogue clip. If every clip on the track is low, the track fader or routing may be the better control.
Resolve’s peak and loudness meters answer different questions. A peak meter shows brief maximum level; an integrated loudness reading describes level over a longer program interval. Neither decides whether a line is intelligible or whether the mix feels natural. For delivery targets, use the destination’s current specification and the dedicated Resolve loudness normalization guide, rather than treating a clip-level edit as final loudness compliance.
Do not copy numbers from an unrelated social video, broadcast, or podcast workflow. Larry Jordan notes that his preferred dialogue settings differ from broadcast and cable requirements. His figures are his stated practice, not a universal Resolve target or a promise that the result will meet your delivery spec. The client, broadcaster, platform, and mix context determine the relevant target.
How do I lower one loud word without changing the whole clip?
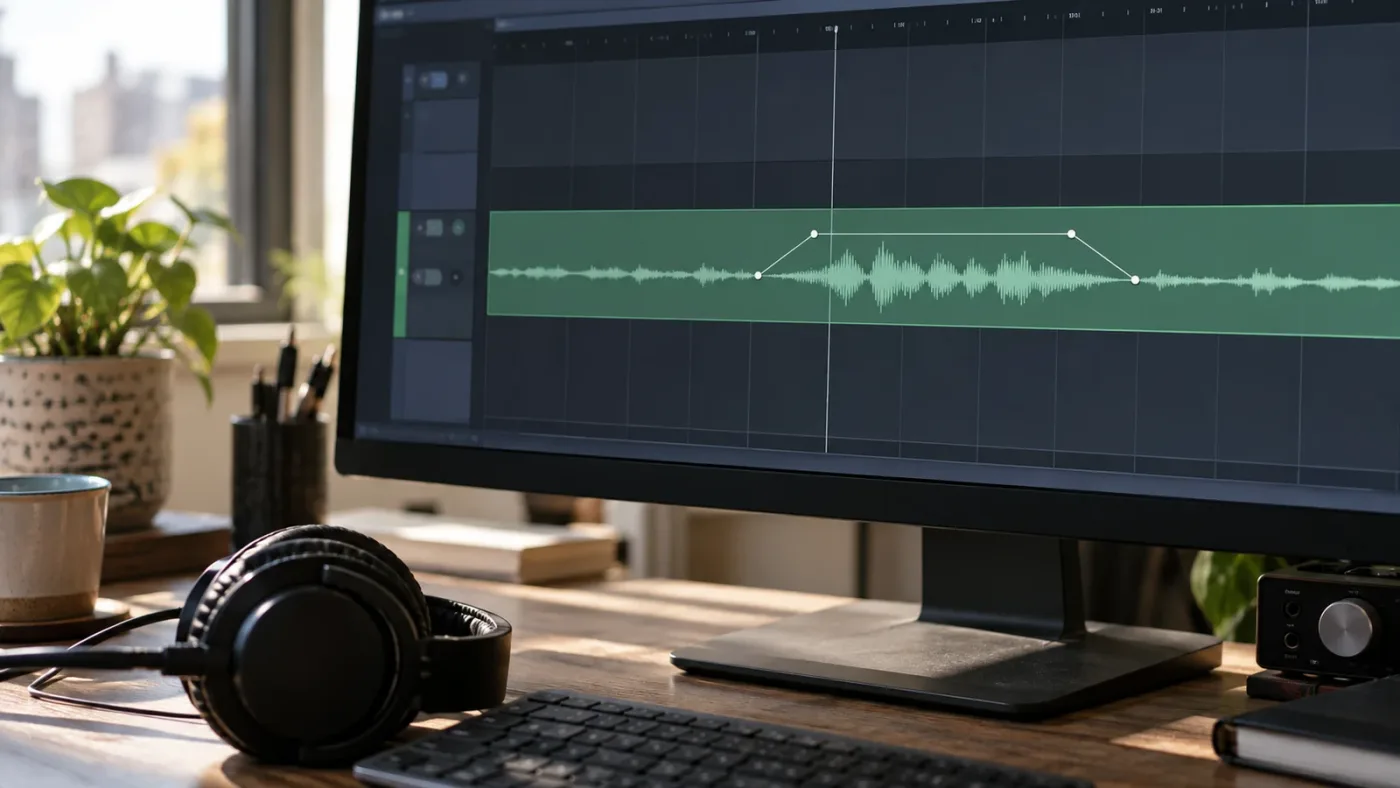
Add clip volume keyframes around the loud word and lower the section between them. Clip keyframes keep this local correction attached to the clip, so neighboring clips on the same track retain their existing levels.
In the Edit or Fairlight timeline, show the clip’s volume line, then add keyframes on either side of the phrase you want to change. Blackmagic documents Option-clicking the clip line to add points in its Fairlight workflow. On Windows, the modifier is typically Alt; check the current Resolve shortcut reference if your keyboard mapping has been customized. Pull the line down between the points and play across both boundaries.
Use four keyframes for a simple dip: one to hold the original level before the phrase, one to begin the reduction, one to hold it through the loud moment, and one to return to the original level afterward. That shape gives you control of the transition in and out. Two points may create a ramp across a larger span, which can be useful for a gradual change but will not isolate a single word cleanly.
Do not place the keyframes directly on consonants unless the edit calls for a sharp change. The level transition can make the word sound clipped or unnatural. Move the boundary points into a pause or a less noticeable part of the performance, then compare the phrase in context. If you hear pumping, a sudden room-tone change, or a word that seems detached, ease the reduction or extend the ramps.
The clip gain line is useful for sound effects too. For example, if a door slam is too sharp, a short level dip around the transient may make it less startling. But lowering the entire effect clip would also change the quieter tail. A local keyframe solves the local issue. If you need to reshape the transient’s tone or sustain, volume alone may not be enough.
In Resolve 21, do not confuse clip volume keyframes with track automation just because both appear as lines and points. The clip line is edited with the clip in Clips View. The Fairlight Automation View shows track parameter data. The reference manual says that, while Automation View is active, clip-gain keyframe adjustments on the timeline are not available. Switch views before editing the wrong line.
When is Fairlight track automation better than clip keyframes?
Use Fairlight track automation when a track parameter needs to change over time across the mix, especially when the control is not a clip’s volume. Automation can record or draw changes to track fader, pan, mute, built-in EQ and dynamics, sends, and supported plug-in parameters.
A music bed under dialogue is the clearest example. You can lower the music fader for a line, let it rise between lines, and make another move when the scene changes. This is a mix decision. It belongs on the music track because the relationship between music and dialogue is changing over time, not because one music clip has a defective source level.
Another example is a sound that moves across the stereo field. The source clip may be fine at a fixed pan, but the story calls for it to travel left to right as an object moves on screen. Automating the track’s pan can create that movement. In Resolve 21, Blackmagic describes Fairlight automation controls for changing parameters over time; Resolve 21 also introduced an audio-to-video panning workflow that can generate panning automation from tracked on-screen movement. That feature is a specific pan workflow, not a general replacement for manually balancing clip gain or riding a fader.
Use track automation for processing changes too. If a supported track EQ parameter needs to shift during a scene, track automation can write that parameter over time. The control’s track scope matters: every clip playing through that track during the automated region is affected. If you need two characters processed differently, separate tracks or another routing strategy may be more suitable than one track automation curve.
Track automation is the right tool when the mix relationship changes over time.
What does Fairlight Automation View change?
Automation View changes the track display from a clip arrangement to a view of a selected track parameter’s automation data. Select the parameter in the track header’s automation menu, then draw or edit its curve.
The Resolve 21.1 manual lists fader, sends, pan, mute, built-in dynamics and equalizer parameters, and supported AU or VST plug-in effects among the available track automation choices. When you choose a parameter, the display focuses on that automation curve. Clip gain keyframe editing on the timeline is unavailable in this view, although the Inspector can still change overall clip volume.
That UI switch is a frequent source of “my gain line disappeared” questions. Your clip may still be present and its overall level still editable; you may simply be looking at the track automation view. Switch back to Clips View for the clip waveform and clip gain controls. Choose Automation View when you intend to edit a track parameter.
Resolve audio keyframes are vector-based, meaning levels ramp between points according to their timeline spacing and values. The manual gives an example of a fader moving from 0 dB to -10.5 dB over eight seconds. That describes an interpolation between two points, not a recommendation for how much to lower your music. A large change with one new point may sound abrupt, so use additional points to define the desired movement.
Audio automation on the Fairlight page is sample-accurate according to the Resolve 21.1 manual, which means keyframes can be placed at sample locations with sub-millisecond precision. This precision is valuable for detailed audio changes, but it does not make an inaudible or awkward mix decision better. Use only as many points as the move needs.
Which automation mode should I use for a fader ride?
For a careful first ride, use a mode that lets you hear the move and control when the fader stops writing, then review the written curve before relying on it. Fairlight offers several automation modes, including Touch, Latch, Write, Trim, and Off, with behavior intended for different recording and adjustment workflows.
Blackmagic’s product documentation describes enabling the automation toolbar, selecting which parameter to automate, and recording changes while playing. It also describes active faders changing color while data is recorded and after the pass. The Resolve 21 manual supplies the detailed mode and write-range controls. The terms and button arrangement may differ across versions, so use the manual for your installed 21.x build rather than assuming a tutorial’s old screenshot is current.
A conservative workflow is:
- Set a static starting balance with the track faders.
- Enable automation for the exact track parameter you intend to ride.
- Choose an automation mode deliberately and confirm the correct track is armed.
- Play the section and make a restrained move while listening to picture.
- Stop playback, review the curve, and play the section again in context.
- If the pass wrote too much, undo or edit the curve before continuing.
- Save a checkpoint before making a broad edit to existing automation.
The most consequential mistake is recording the wrong parameter or leaving a write mode active while playback continues. That can add unwanted data to a fader or plug-in control. Check which parameter is enabled and whether the track is armed before each pass. If you do not want to record a live move, use the automation view to draw or adjust the curve directly.
A fader move becomes automation only when Resolve is set to record that parameter.
Clip volume keyframes stay local while track automation follows the mix timeline.
Do not assume the term “automation” means every control in the Inspector can be keyframed. Resolve distinguishes clip controls from track mix automation. Blackmagic’s documentation specifically describes track automation for parameters that can be controlled on a track, while its clip controls cover their own set of adjustments. If a clip effect parameter does not appear in the track automation list, put the relevant effect on the track if that is appropriate, then check whether its parameter is exposed for automation.
Should I use clip gain, clip automation, or track automation for dialogue?
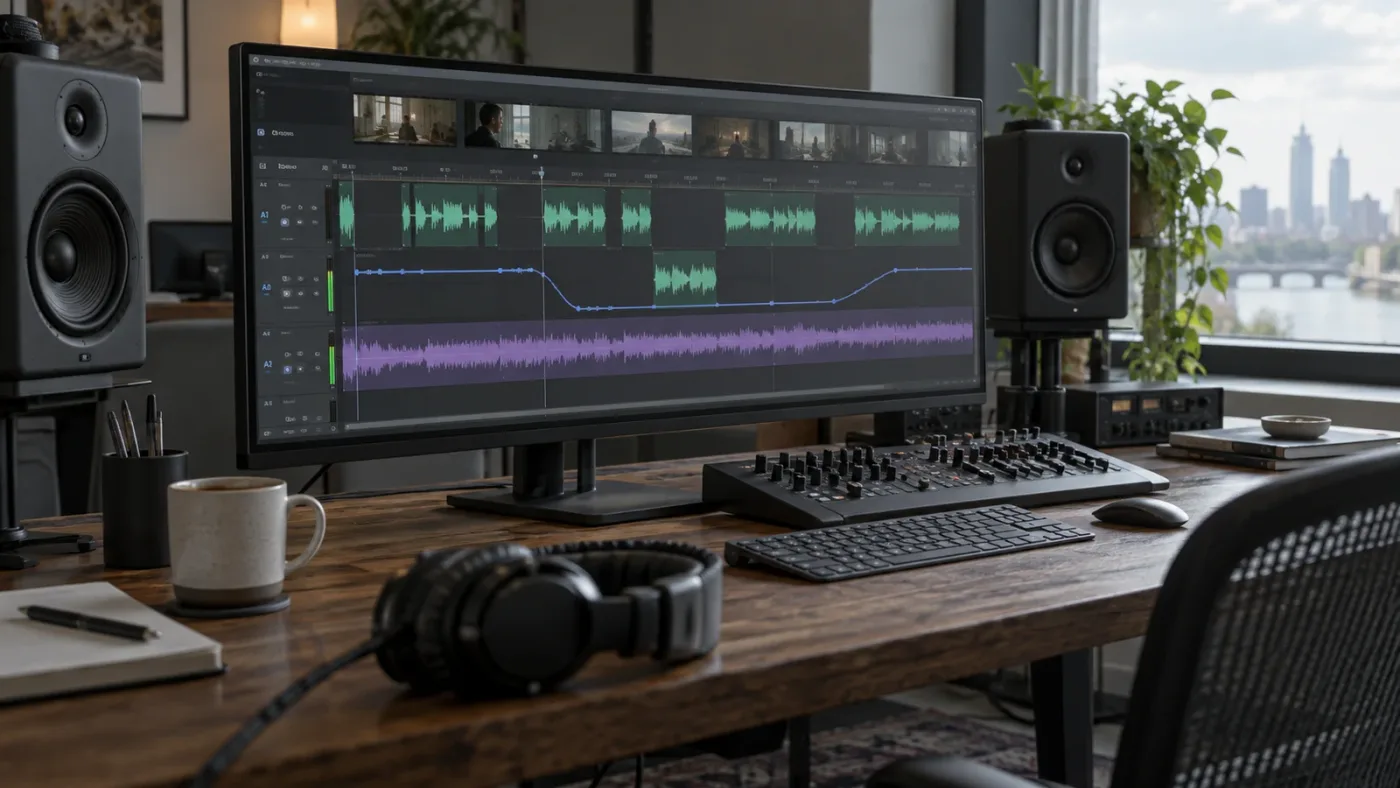
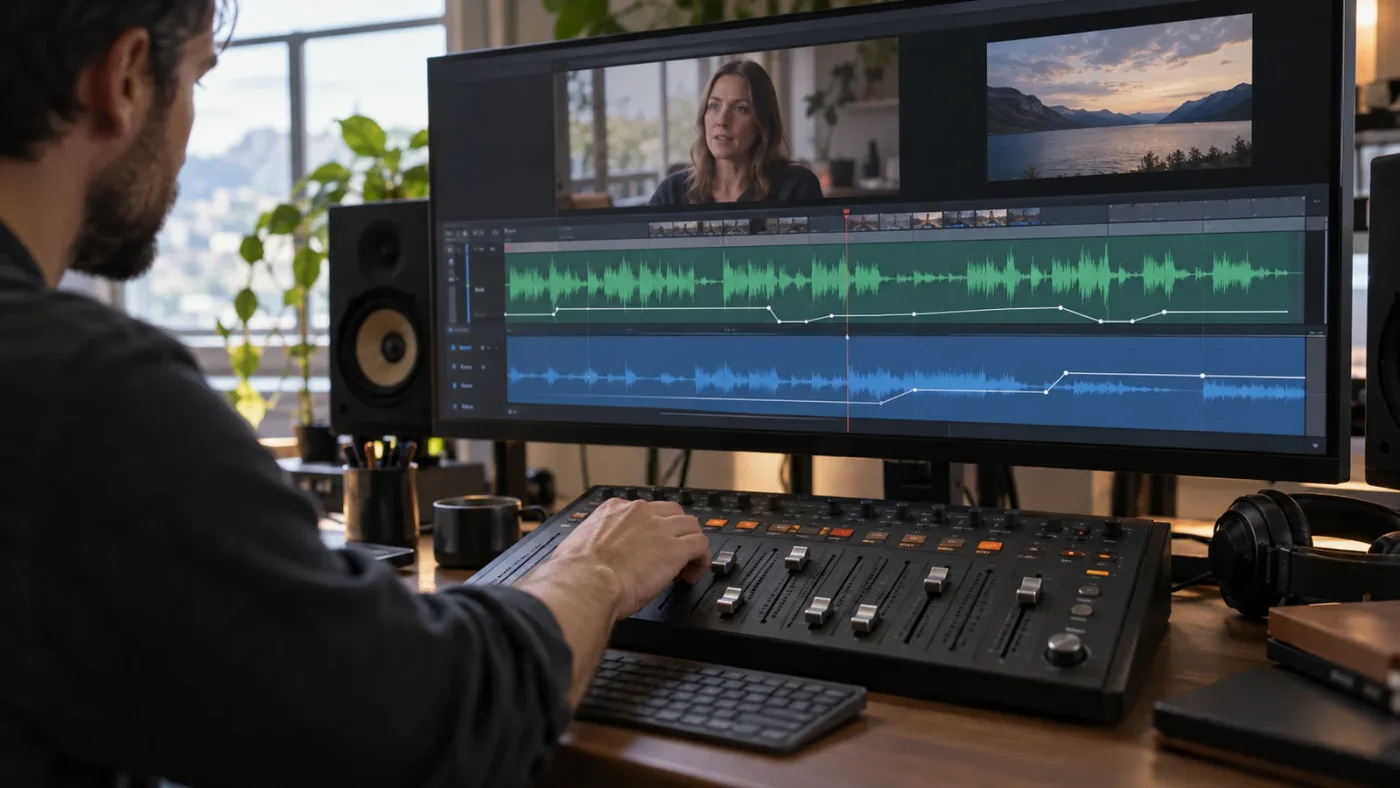
For dialogue, correct broad take-to-take differences with clip gain, make a local word or phrase correction with clip volume keyframes, and use track automation when the dialogue track needs to move against the rest of the mix. Many edits need a combination, because each operation solves a different scale of problem.
Imagine a two-person interview with a music bed. One answer was recorded softer than the others. Raise that dialogue clip’s gain. One excited word in another answer jumps forward. Lower just that word with clip keyframes. The music is clear between answers but masks the beginning of each line. Ride or draw the music track automation beneath the dialogue. The sequence now has source consistency, local performance control, and a changing mix balance without asking one control to do all three jobs.
Dialogue can also have natural changes that you should preserve. A whisper may be intentionally quiet; a laugh may leap out because that is the moment. Leveling every syllable to the same apparent loudness can flatten the performance and make breaths, room tone, and edits more obvious. Make the line intelligible in context, not mechanically identical in a meter.
When several speakers share a track, clip gain can still correct an individual clip, but track processing and track automation affect all material on that track during their active region. If one speaker needs a substantially different EQ or dynamics treatment, separate tracks can make the controls easier to manage. Larry Jordan recommends separating voices when different speakers call for different dynamic settings; treat that as workflow advice from his tutorial rather than a mandatory track layout.
Our broader Fairlight mixing guide covers the wider sequence of dialogue, effects, buses, and mix checks. This comparison stays focused on choosing the level control.
How do I duck music under dialogue without lowering the entire song?
Automate the music track’s fader when the music clip should remain at its intended level in the gaps but sit lower beneath dialogue. If a single excerpt is too loud throughout, adjust that clip’s gain first; automation then handles the changing relationship between music and speech.
You can create one automation dip for a line or draw a series of smaller moves for several phrases. Leave enough lead-in and recovery for the dialogue to sound natural. Abruptly dropping the music at the first consonant and restoring it at the last word can call attention to the fader. Shape the ride around the phrase and listen to the transitions, including music tails and pauses.
If the entire music track feels too loud from beginning to end, start with the static fader. Do not automate every second to compensate for a basic mix balance. If the music clip itself contains a loud chorus that dominates only during that section, clip gain keyframes on the music clip may be more direct. If there are several music clips on the same track, track automation can provide a consistent broad dip across them, while clip keyframes provide local per-clip control.
You can also use sidechain or dynamics tools for automatic ducking, but those are different tools with their own setup and sound. This article’s recommendation is about manual clip and mix level control. Do not present a hand-drawn automation curve as a compressor or promise that it will react automatically to a new edit.
Should clip gain happen before compression?
Clip gain is often useful before compression when source clips have large level differences, because it presents a more consistent input to track processing. But the right sequence depends on your routing, processor placement, and intention; check the signal flow in your project instead of assuming every volume control sits before every effect.
This is one reason to keep source correction separate from mix rides. If one dialogue take is much quieter, a compressor may react differently to it than to the louder takes. Bringing the takes into a reasonable range with clip gain can make the shared track processing easier to set. Then the track fader and automation can handle placement and movement in the mix.
Still, clip gain is not mandatory pre-processing. A deliberate fader ride, clip effect, track effect, or bus treatment may be the correct choice in another setup. If you are preparing a handoff to a dedicated dialogue editor or mixer, agree on what processing and gain adjustments should travel with the clips. Some dialogue professionals prefer to receive clean, unaltered clips and choose their own treatment, as described in Blackmagic’s training guide. A tidy handoff is more useful than an unexplained collection of baked-in corrections.
Do not use a gain change to disguise clipping that has already occurred in the source recording. Lowering a clipped recording makes the clipped waveform quieter; it does not reconstruct the missing peaks. If the audio clips only after your processing or mix, inspect the stage that is exceeding the available headroom and correct it there.
Why does my Resolve audio level change across every cut clip?
If changing the track fader affects many small clips, those clips share one track, so the fader changes their common track level. Use clip gain when each segment needs its own correction, or track automation when the shared track needs a planned move over timeline time.
This often happens after an editor cuts out pauses from a long recording. The timeline now contains many adjacent clips, but they still live on one audio track. The track fader does not become a separate control for each cut. A broad fader adjustment changes the playback level of the whole track.
If every clip is uniformly too loud or quiet, the track fader is the efficient control. If only some cuts are outliers, select those clips and adjust their gain, taking care not to apply one value blindly to clips with different source levels. If the desired level rises and falls along the timeline regardless of which clip happens to be under the playhead, write track automation.
A clip selection operation is not the same as a track selection operation. When adjusting several clips, confirm the clip selection count and inspect the Inspector mode before dragging a control. Resolve can show clip or track controls in the Inspector depending on the selection and view. A change that appears to “affect everything” may simply be a track adjustment because the track, rather than the clip, is selected.
What changes when I move, trim, or replace clips?
Clip gain travels with its clip, while track automation belongs to the track’s timeline data and may need different handling when you edit the arrangement. Before ripple edits, reordering, or replacing media, check whether the automation follows edits and review the mix afterward.
A clip-based correction is usually the more robust place for a correction that describes the source itself: this particular take is quiet, this effect needs a small dip, this line is too hot. When the clip moves, its correction should remain with that clip. But if you copied a clip and expected a unique correction, verify the copied instance and the keyframe behavior; duplicated material may carry attributes with it.
A track automation curve describes what a track does at timeline positions. That makes it a natural home for a ride that follows a scene or section, but it also makes edit behavior important. A ripple deletion can shift material and automation differently depending on the edit-follow settings and command. The Resolve 21.1 manual covers Fairlight automation operations; do not infer an edit result from the visual proximity of a curve to a clip.
After a major edit, check three points: the start of the changed section, the end of it, and the first unaffected section after it. Play across the transition. If a music dip has shifted onto a new line or a fader returns too late, adjust the curve or revisit the setting that controls automation following edits. A quick playback check is more reliable than assuming the curve landed where intended.
How do I choose the right control for music, effects, and ambience?
Choose based on what should remain consistent: use clip gain when the source excerpt is uniformly off, clip keyframes when one part of that clip needs a move, and track automation when the whole track’s relationship changes over time. The sound’s role in the scene helps decide its scope.
For music, clip gain corrects a cue whose overall level is out of line with other cues. Clip keyframes can shape a single swell, impact, or exposed transition inside a cue. Track automation can keep a music bed below dialogue across several edits or raise it when the dialogue ends. If you need a repeated, consistent baseline for all music, the track fader is a better starting point than a long automation curve.
For effects, clip gain handles a one-off sound that is simply too loud. Clip keyframes can soften a single hit or taper one tail. Track automation can create a broad fade on a collection of effects, or automate a shared pan or effect control. If individual effects need to move independently, keep their control local or put them on separate tracks.
For ambience, clip gain helps match adjacent room-tone recordings. A clip fade or keyframe can hide a transition inside one recording. Track automation can lower a continuous ambience bed during a prominent effect or bring it back after the event. Listen for changes in noise character as well as changes in level; a sudden level change can make an otherwise continuous atmosphere feel edited.
| Example | First choice | Add this if the problem changes over time | Check after the move |
|---|---|---|---|
| One quiet interview answer | Clip gain | Dialogue track automation for later mix balance | Room tone and noise rise with the voice |
| One loud word | Clip volume keyframes | Track ride if the full dialogue track needs movement | No abrupt consonant or room-tone dip |
| Music is too loud throughout | Music track fader | Automation only where the balance later changes | Dialogue and music still feel related |
| Music masks selected lines | Music track automation | Clip gain if one song excerpt is globally hotter | Smooth entry, exit, and gaps |
| One effect hit is too sharp | Effect clip gain or local keyframes | Track automation for a shared section-level move | Tail remains audible and natural |
| Ambience clips do not match | Clip gain on outlier recordings | Track automation for a planned scene shift | No obvious change in room character |
| Pan follows a moving subject | Track pan automation | Resolve 21’s audio panning to video workflow where suitable | Movement stays attached to the intended moment |
| Shared EQ changes during a scene | Track parameter automation | Split tracks if sources need independent treatment | Other clips on the track receive the same move |
Use the narrowest control that matches the problem’s scope.
Why can’t I see or edit the audio line I expect?
The line may be hidden by the current view, track height, or displayed parameter, or the selected item may be a track instead of a clip. First identify whether you need the clip volume line or a Fairlight track automation curve, then switch to the matching view.
Try these checks in order:
- Select the audio clip and open the Inspector’s Audio controls. Confirm the Inspector is showing clip properties rather than track controls.
- In Clips View, show the clip gain line if it is hidden. Blackmagic’s Fairlight overview documents clip volume adjustment with this line.
- If the Automation button is active, check the parameter dropdown in the track header. A selected fader or pan curve means you are looking at track automation.
- Switch back to Clips View to edit clip gain keyframes on the timeline.
- Increase track height if the automation dropdown or line is difficult to see.
- Check that the correct audio track is selected and that no solo, mute, or bypass state is changing what you hear.
If the Inspector’s overall volume slider still works but the clip line keyframes do not, that matches the Resolve 21 manual’s Automation View limitation. Use the Inspector for an overall clip-volume adjustment while the track automation view is active, or switch to Clips View for timeline clip keyframes.
If the expected control is missing from the automation menu, confirm that the parameter is eligible for track automation and that the effect is on the track rather than only on an individual clip. A clip effect can be available in the Inspector without appearing as a track automation parameter. Resolve’s model is scope-based; a control’s location affects what can automate it.
Why did my fader change the whole track?
The mixer fader belongs to the track, so it affects clips routed through that track together. Select a clip and change its clip volume if only that clip should change.
When cutting a long recording into pieces, the track remains one shared channel even though the timeline shows many separate blocks. The blocks are clips; the fader is the common track control. This is expected behavior and can be useful when all segments need the same adjustment.
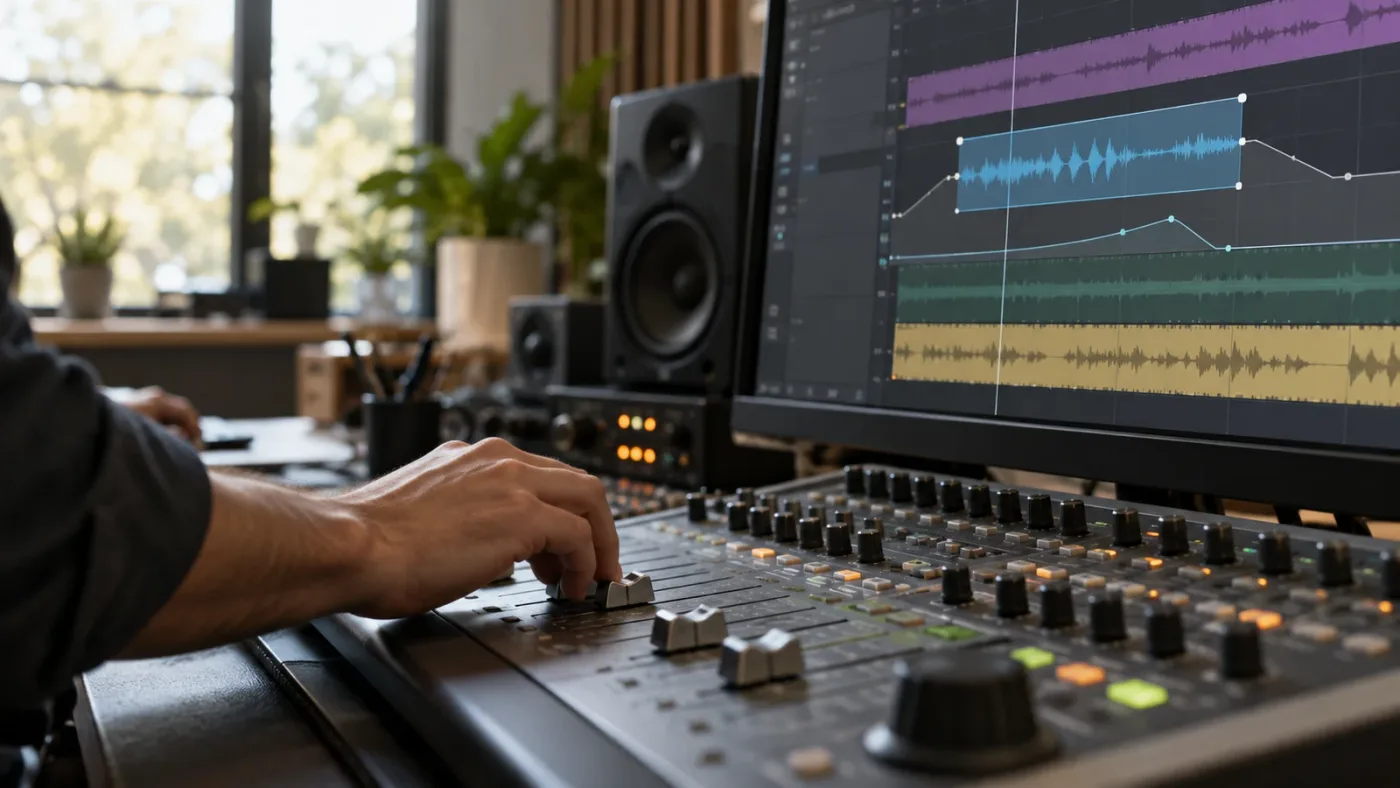
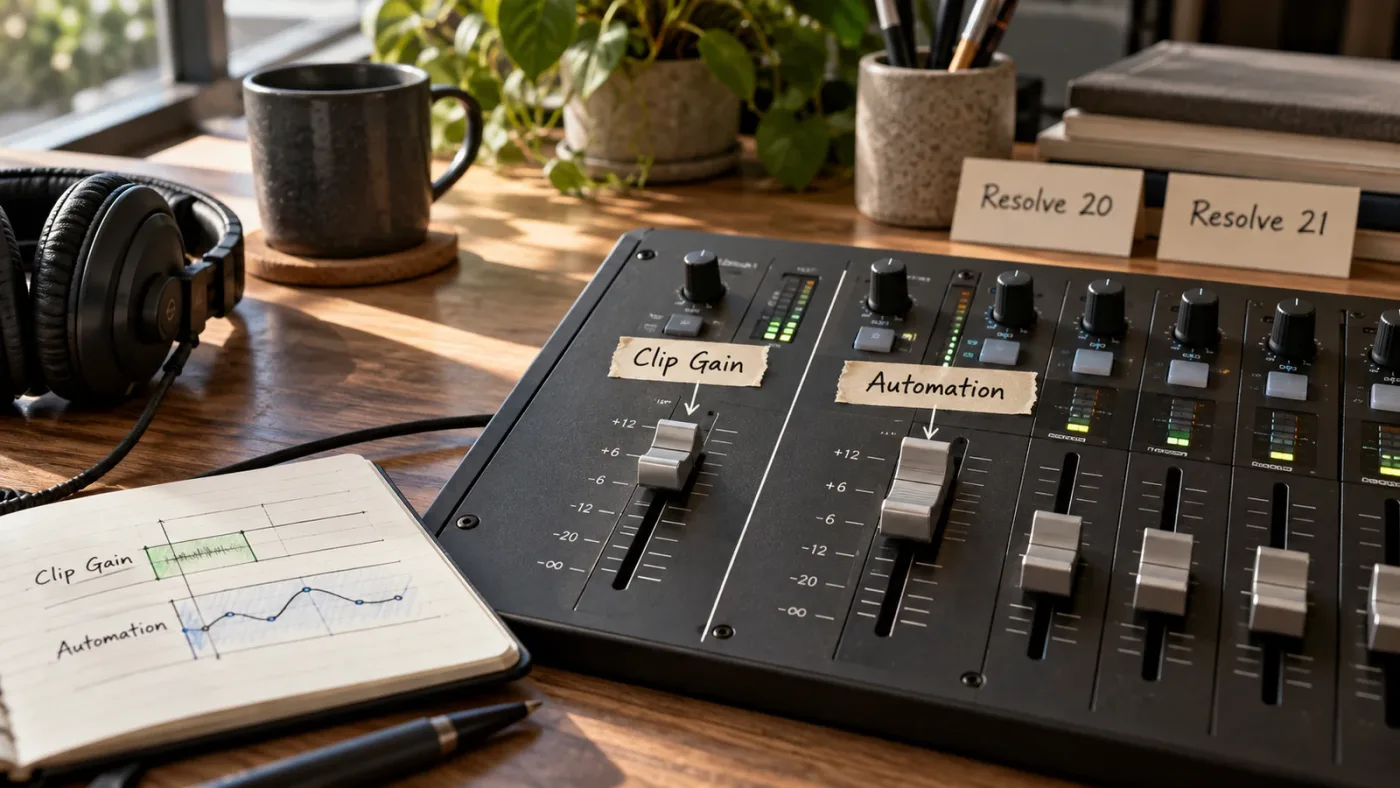
Does DaVinci Resolve 21 change the clip gain versus automation choice?
DaVinci Resolve 21.1 keeps the practical distinction between clip gain and track mix automation: clip gain belongs to clips, while the Fairlight automation view edits track parameters over time. Resolve 21 adds audio track folders and the audio panning to video workflow, but neither feature turns clip gain into track automation.
Blackmagic’s 21.1 release announcement, dated September 8, 2026, highlights AI assistant integration and expanded camera support; it does not announce a replacement for the basic Fairlight level controls described here. Blackmagic’s Resolve 21 feature overview calls out Fairlight folder tracks, which help organize and collapse sets of tracks. A folder changes how tracks are organized on the timeline; it does not make one clip’s gain correction act on all clips in the folder.
The 21.1 Reference Manual is the right place to resolve interface differences in current point releases. Its Mix Automation chapter describes Clips View, Automation View, available track parameters, keyframe interpolation, and how clip gain editing behaves while Automation View is active. If a course recorded in Resolve 18, 19, or 20 uses a different toolbar layout, translate the underlying scope rather than copying the screen position literally.
Use the manual’s version number as context when following instructions. The top-level support center lists the Resolve 21.1 manual, while older training material may document earlier labels or defaults. Automation behavior has evolved over several releases; a 2022 tutorial can still explain the concept, but its exact control placement may not match your build.
What should I choose: clip gain, clip keyframes, or track automation?
Choose clip gain for a clip-wide correction, clip volume keyframes for a moment inside one clip, and Fairlight track automation for a changing track or mix parameter. When all three problems exist, correct the clip outliers first, establish a broad fader balance, then automate the moving relationship.
Use clip gain if the problem follows one source clip wherever it goes. Use clip keyframes if the change starts and ends inside that clip. Use a track fader if every clip on the track needs the same static move. Use track automation if the track’s level, pan, mute, EQ, dynamics, send, or supported plug-in control needs to change at particular timeline moments.
Choose clip gain when the clip is the exception. Choose automation when the timeline is the reason for the change. If you cannot explain why a level should change at that exact moment, pause before adding another point. You may be looking at a source-level mismatch, a routing issue, or a basic fader balance instead.
TryUncle is the on-screen assistant for DaVinci Resolve on Mac and Windows - ask in plain words and Uncle points at the exact control on your screen.
Start with the clip that sounds wrong. Fix that source, balance the track, and write automation only when the mix itself needs to move.
Frequently asked questions
- In DaVinci Resolve, should I use clip gain or automation?
- Use clip gain to correct a clip's overall level, clip volume keyframes for changes confined to one clip, and Fairlight track automation for changes to a track mix or its fader, pan, mute, EQ, dynamics, or supported plug-ins over time.
- How do I lower only one loud word in DaVinci Resolve?
- Add volume keyframes around the loud word on the clip gain line, then lower the section between them. If the whole clip is consistently too loud, lower its overall clip gain instead.
- Why does my clip gain line disappear when I turn on automation?
- Fairlight Automation View displays track automation and hides timeline-based clip gain keyframe editing. Switch back to Clips View to edit clip gain keyframes, or use the Inspector Audio tab to change the clip's overall volume while Automation View is active.
- Does DaVinci Resolve 21 track automation follow clips when I edit?
- Track automation belongs to a track and timeline positions, while clip gain belongs to a clip. In Resolve 21.1, use the Fairlight automation options and check the Automation Follows Edit setting when you need automation data to move with an edit; verify the mode for the operation you are doing.
- Can I automate clip EQ or a Fairlight effect in DaVinci Resolve?
- Fairlight mix automation targets track parameters, including built-in EQ and dynamics and supported AU or VST plug-in effects. Clip EQ and clip effects are separate clip processing controls; for parameter changes over time, put the control on a track and automate its parameter.
- What is the fastest way to balance dialogue and music in Resolve?
- Correct unusually loud or quiet dialogue clips with clip gain first, set the dialogue and music tracks' broad relationship with their faders, then automate the music track down during lines that need more room. Listen to the transitions and final mix instead of relying on a single peak reading.
Sources
- DaVinci Resolve 21.1 Reference Manual, Chapter 178: Mix Automation
- Blackmagic Design Fairlight page
- Blackmagic Design Support Center, DaVinci Resolve 21.1 Manual
- Blackmagic Design Announces DaVinci Resolve 21.1
- Optimize Dialog For Quality and Levels in DaVinci Resolve, Larry Jordan
- The Fairlight Audio Guide to DaVinci Resolve 20, Lesson 5: Balancing Clips and Panning Tracks
Put this guide to work with TryUncle.
Ask about the step you’re on. TryUncle sees your screen and points at the control you need, so you can keep learning in your own project.
Get TryUncle for Mac or WindowsKeep reading
Guides · Jul 11, 2026 · 31 min
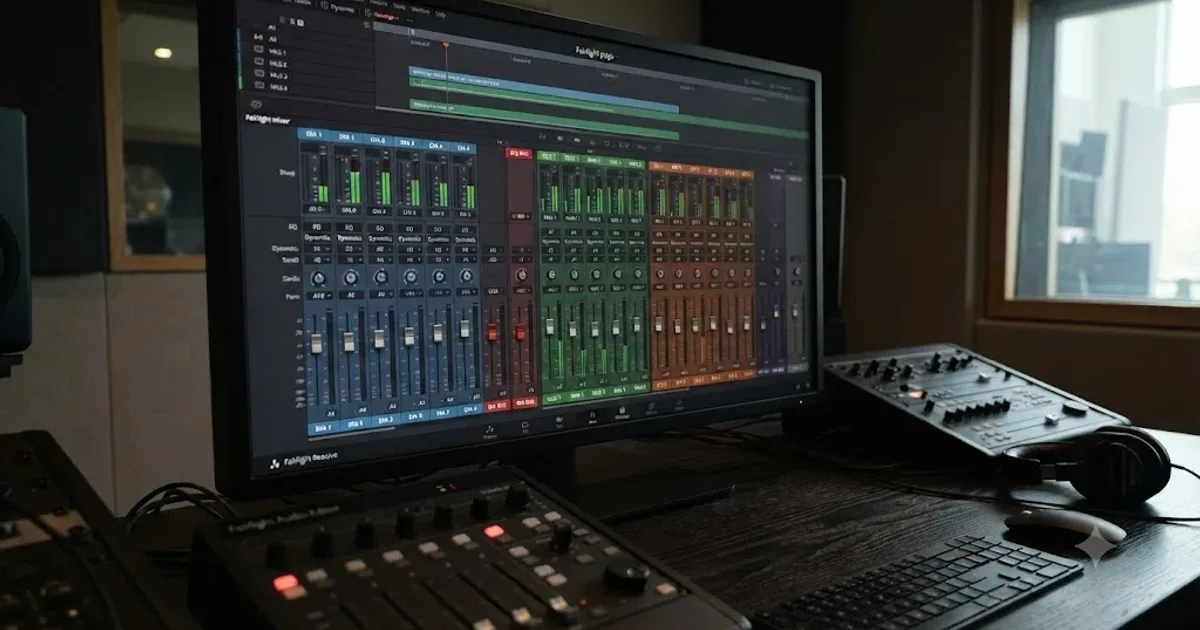
How to Mix Audio in DaVinci Resolve Using Fairlight
Mix audio in DaVinci Resolve's Fairlight page: build a dialogue/music/effects bus structure, gain-stage your clips, EQ and compress dialogue, then duck music under it.
Guides · Jul 13, 2026 · 31 min
DaVinci Resolve Dialogue Leveler Settings Explained
Every DaVinci Resolve Dialogue Leveler control explained: Reduce Loud Dialogue, Lift Soft Dialogue, Background Reduction, Output Gain, and what Allow Wider Dynamics does.
Guides · Jul 8, 2026 · 33 min
DaVinci Resolve Loudness Normalization: The Right LUFS Target
The exact LUFS target for every platform in DaVinci Resolve: -14 for YouTube and Spotify, -16 for podcasts, -23 EBU R128 broadcast. Plus how to set and hit it.