Articles / Guidesupdated for DaVinci Resolve 21.1 (September 2026)
DaVinci Resolve Audio: Normalize Clips Individually
Quick answer
In DaVinci Resolve 21, select the audio clips, right-click one, choose Normalize Audio Levels, select a peak or loudness mode, then choose Independent under Set Level. Independent measures and adjusts each clip separately. Use Relative only when the selected clips should keep their existing level relationship.
If you want DaVinci Resolve to bring each selected audio clip to its own target, the setting you need is Independent. The word matters. Relative normalization treats the selection as one group, while Independent calculates a separate change for every clip.
As of October 2026, this workflow applies to DaVinci Resolve 21.1. We have spent more than seven years cutting commercial video, taught more than 100,000 students on Udemy, and run a professional video-editing community of more than 100,000 members. This is one of the recurring questions there because the two normalization choices sound almost identical until you hear the result.
How do I normalize audio clips individually in DaVinci Resolve 21?
To normalize audio clips individually in DaVinci Resolve 21, select the clips on the timeline, right-click one selected clip, choose Normalize Audio Levels, choose the measurement mode and target, set Set Level to Independent, and click Normalize.
The command changes clip level. It does not automatically repair a noisy recording, flatten a performance, remove room tone, or create a finished mix. Blackmagic describes clip normalization as a way to set target levels for timeline clips, and its Fairlight documentation places the command in the clip's right-click menu. Blackmagic Design documents the command and clip-level controls here.
Use this exact sequence:
- Open the Edit page or Fairlight page.
- Select the audio clips you want to process. You can select one clip or several clips.
- Right-click one of the selected audio clips.
- Choose Normalize Audio Levels.
- Choose the Normalization Mode.
- Enter the Target Level, or enter the target loudness fields when the selected mode uses loudness.
- Under Set Level, choose Independent.
- Click Normalize.
- Play the clips in sequence and make the mix decision after normalization, not before it.
Independent normalization is the DaVinci Resolve setting that adjusts each selected audio clip separately.
The important choice is not the page you use. Edit and Fairlight expose the same basic clip-normalization idea. The important choice is whether the selection should act as a group or as a set of separate measurements.
Why does Independent normalize each clip separately?
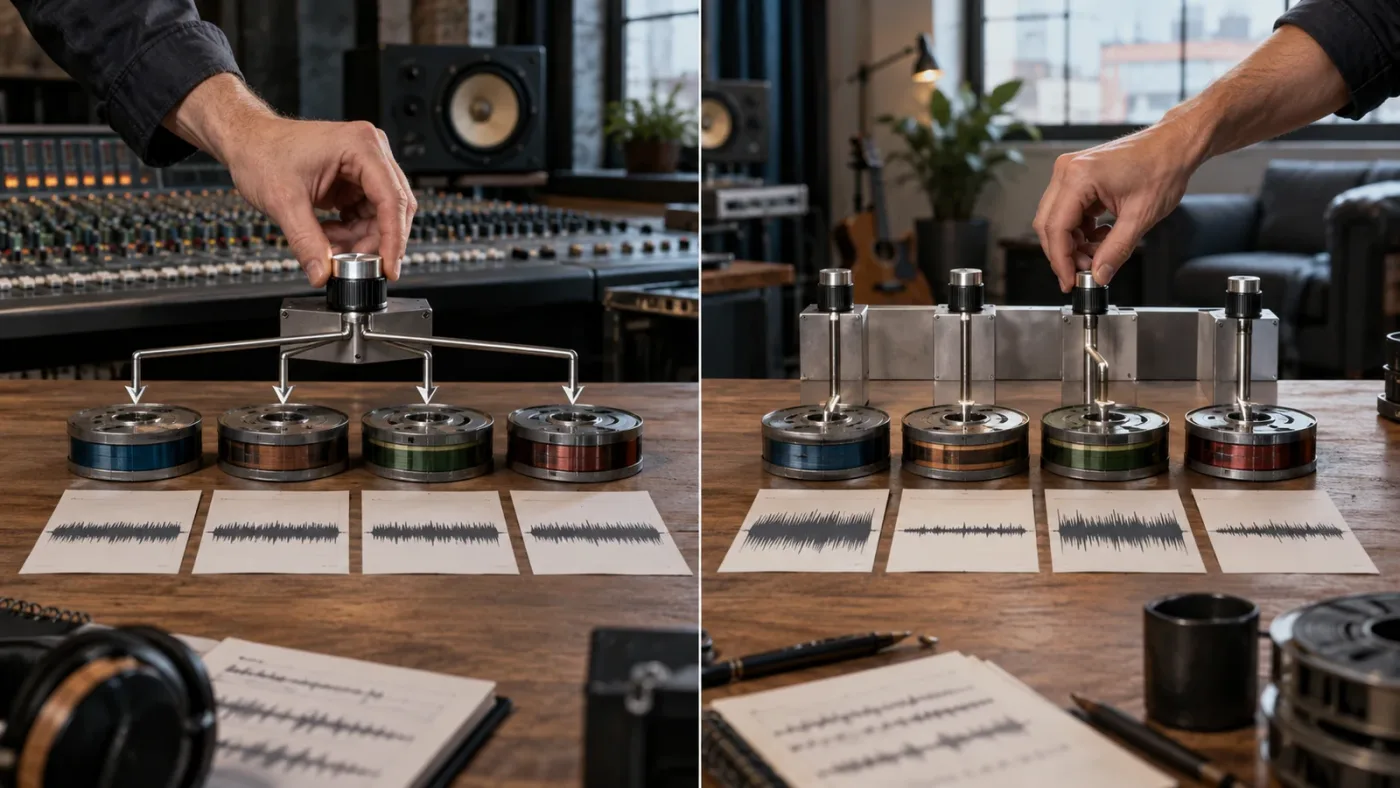
Independent normalization measures the selected clips one by one and applies an adjustment specific to each clip. A quiet clip may be raised more than a loud clip, while a clip that already reaches the target may be changed very little.
DaVinci Resolve's documentation describes the two behaviors plainly. Relative uses the highest peak from the selected group to define the adjustment for all clips. Independent uses the peak level of each clip to define that clip's adjustment. The result can therefore contain different gain changes from clip to clip. The Resolve audio guide explains the Relative and Independent behavior in its normalization example.
Imagine three dialogue clips with peak readings of -3 dBFS, -12 dBFS, and -18 dBFS. Those numbers are an example of the decision, not a recommendation for your project. If you choose a peak target of -9 dBFS and Independent, Resolve evaluates the three clips separately. The first clip needs reduction, the second needs a smaller increase, and the third needs a larger increase. If you choose Relative, Resolve uses the loudest selected peak to calculate one shared change, so the original distance between the clips remains.
That distinction is why selecting a whole dialogue track and choosing Independent can feel dramatic. Independent is not trying to preserve the original relationship between clip levels. It is trying to make the selected clips meet the same measured target.
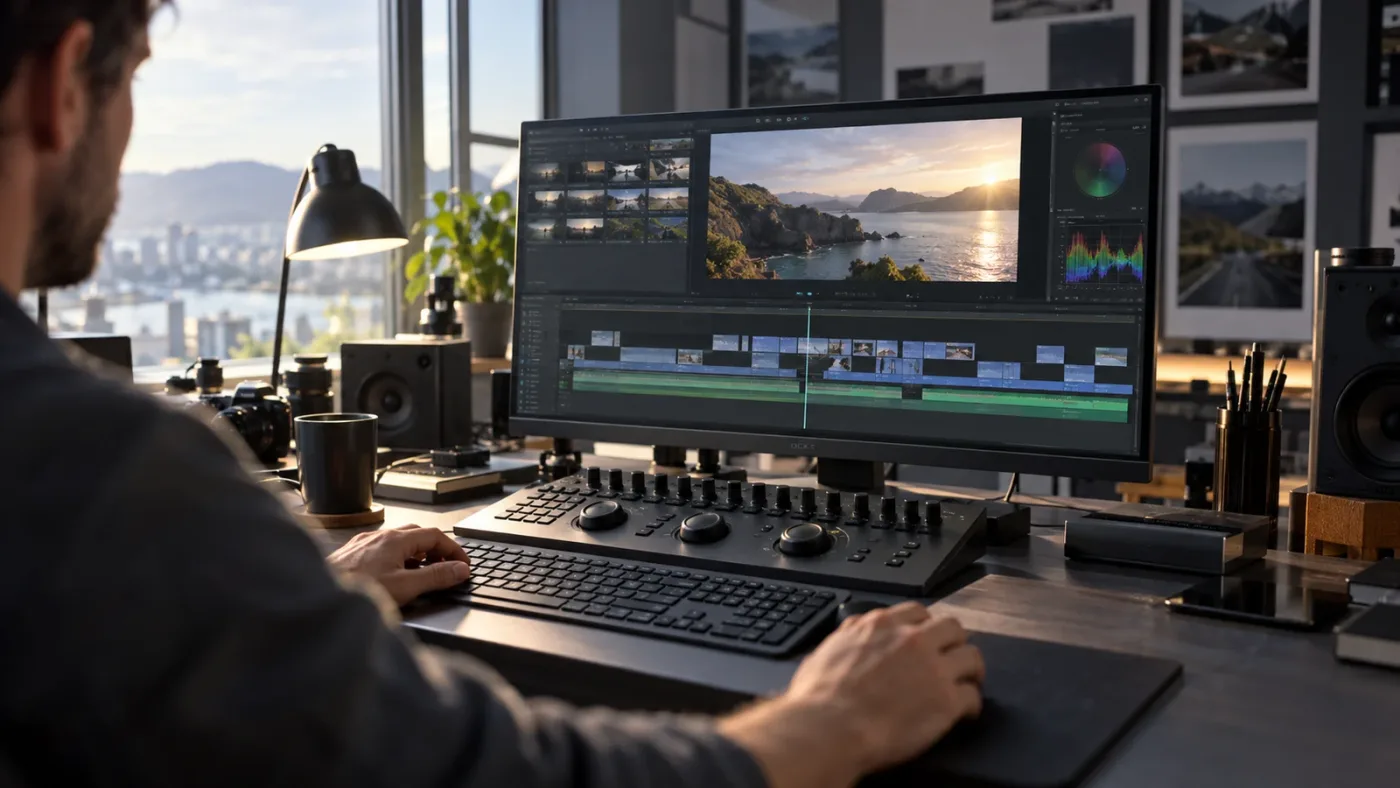
Choose Independent when the clips came from different recordings, when the speaker moved closer to the microphone, or when you cut a long recording into pieces with clearly different starting levels. Choose Relative when the clips already belong to a controlled recording and you want to move the group without changing its internal balance.
Should I choose Relative or Independent for DaVinci Resolve audio?
Choose Independent when every clip should reach the target on its own. Choose Relative when the selected clips should move by the same amount and keep their relative loudness differences.
| Situation | Choose | What Resolve is trying to preserve | Main risk |
|---|---|---|---|
| Interview clips recorded at noticeably different levels | Independent | A similar measured level from clip to clip | A loud breath or short transient can drive one clip's adjustment |
| Voiceover phrases cut from one controlled take | Independent, then listen | A quicker starting point for clip consistency | Perceived loudness can still vary with syllable density |
| A continuous performance split into edits | Relative | The level relationship across the performance | A single loud peak can limit the group adjustment |
| Sound effects with very different source levels | Independent | A common measured starting point | A quiet effect may need artistic placement, not more gain |
| Clips already balanced and only slightly low | Relative | The existing mix balance | One loud clip can determine the shared result |
| A final program mix for delivery | Neither as the only step | The full mix and its delivery standard | Clip normalization does not replace loudness checking and mixing |
The table describes the scope decision. It does not give a universal target number because the correct target depends on the normalization mode, the source material, the delivery requirement, and the rest of the mix.
Lance Phillips, a Certified DaVinci Resolve Trainer and the author of the Resolve training material linked below, puts the practical reason this way: “Normalization stops drastic changes in the peak volume, which can deafen your viewer and have them constantly reaching for the volume control.” The quotation appears in his chapter on normalizing audio.
That advice is useful, but it has a boundary. Peak normalization can reduce large peak differences while leaving the spoken words subjectively uneven. The loudest moment in a clip might be a consonant, a click, a cough, or a transient. Resolve can measure it accurately and still leave you with a poor creative decision.
What should I set for Normalization Mode and Target Level?
Choose a peak mode when you need a quick clip-level starting point, and choose a loudness mode when your workflow is based on perceived program loudness or a defined delivery standard. The target belongs to the selected measurement method, so do not treat dBFS, dBTP, LUFS, and LKFS as interchangeable labels.
DaVinci Resolve exposes more than one normalization approach. The manuals describe Sample Peak and True Peak choices, along with loudness algorithms for standardized measurements. A peak mode asks where the highest sample or true peak should land. A loudness mode evaluates loudness according to its selected standard and can also use a true-peak limit. The Fairlight guide shows a normalization dialog using ITU-R BS.1770-4 with a -2.0 dBTP target and -23 LKFS target.
Here is the practical way to choose:
| Your immediate goal | Starting mode | What to inspect afterward |
|---|---|---|
| Bring clips to a comparable peak before editing | Sample Peak | The waveform, meters, and the clips in sequence |
| Account for peaks that may exceed the sample values after reconstruction | True Peak | The true-peak reading and any later limiter stage |
| Match clips by perceived loudness more closely | A supported loudness standard | Loudness readings and speech intelligibility |
| Prepare a complete program for a platform or broadcaster | The required delivery loudness standard | The full program, integrated loudness, short-term changes, and peak ceiling |
The default value shown in a dialog is not a universal answer for every source. The Fairlight Audio Guide uses -9 dBFS in one peak-normalization exercise, while its loudness example uses -23 LKFS and -2 dBTP for a specific standard. Those are examples of different workflows, not a promise that every YouTube video, interview, podcast, or broadcast should use one number. The official training guide shows both examples.
If a brief asks for a delivery target, follow the brief. If it does not, start conservatively, listen to the clips in context, and measure the finished mix. Do not raise every clip simply because its waveform looks small. A waveform is a picture of amplitude, not a complete description of perceived loudness.
Why are my normalized DaVinci Resolve clips still different in volume?
Normalized clips can still sound different because normalization applies a gain change based on a measurement, while perceived loudness also depends on dynamics, frequency balance, pauses, background noise, microphone distance, and performance.
This is the most common misunderstanding in the workflow. Normalization is not the same as compression. Normalization usually applies a clip-level gain adjustment so a measured peak or loudness value reaches a target. Compression changes the level relationship inside the clip over time. A compressor can reduce peaks and alter the difference between quiet and loud passages. A limiter can restrict peaks. EQ can change how prominent speech feels. None of those jobs is identical to Independent normalization.
Consider two clips. The first contains a single sharp clap and otherwise quiet speech. The second contains steady speech with no transient. If both clips are normalized to the same peak target, the first clip's speech may remain much quieter to your ear because the clap determined its adjustment. Independent normalization did what it was asked to do. It did not understand that the clap was irrelevant to the spoken line.
When clips still sound uneven, use this order:
- Listen to the clips in the order the audience will hear them.
- Check whether a transient is driving one clip's normalization.
- Adjust clip gain or the clip volume line for obvious exceptions.
- Use compression when the problem is changing dynamics inside a clip.
- Use a limiter when you need a controlled ceiling after the mix is shaped.
- Check the full track and the full program, not only isolated clips.
Blackmagic's Fairlight page describes several levels of control: each clip has volume, pan, pitch, and equalization controls, while automation can change controls over time. That is why normalization should be treated as a starting move. It does not remove the need to mix the track. Blackmagic's Fairlight overview describes clip controls and automation.
Normalizing clips individually creates a measured starting point, not a finished dialogue mix.
This also explains why normalizing before or after processing can change the result. If a plug-in, EQ, compressor, or noise-reduction stage changes the signal being measured, the loudest point may change. Resolve users should decide which stage they want to measure and keep that decision consistent across the project. If you are unsure, normalize a small copy of the selection, compare it with the original, and undo or reset before committing to a larger batch.
Why is Normalize Audio Levels missing in DaVinci Resolve 21?
The Normalize Audio Levels command appears when you right-click an audio clip in the timeline on the Edit or Fairlight page. If the command is absent, the selection or location is usually wrong rather than the feature being removed.
Check these branches:
Are you right-clicking a timeline clip?
Right-click the audio event itself. Do not right-click empty timeline space, a bin item in the Media Pool, a video-only clip, or a track header and expect the clip command to appear. Blackmagic's Fairlight documentation specifically describes the command as a right-click action on a clip. See the official clip-adjustment description.
Did you select audio rather than only video?
If a linked video and audio item are present, click the audio portion or make sure the audio event is included in the selection. If you are working with a video-only item, there is no audio clip to normalize.
Are you on the correct page and timeline?
Open the timeline that contains the clips. The Edit page and Fairlight page both support the workflow, but a Media Pool selection is not the same thing as a timeline selection. In Fairlight, the audio timeline makes the clip boundaries and waveforms easier to inspect before you apply a change.
Are the clips already processed or disabled?
If the clip has processing, automation, or an unusual routing setup, normalization may not produce the audible result you expect. First confirm that the clip plays, that the track is not muted, and that the bus is not being pulled down elsewhere in the mixer. A level change at the clip does not override every later track or bus decision.
Are you confusing clip normalization with delivery normalization?
Clip normalization happens while you are working with timeline clips. Delivery normalization is a separate export-stage concern. A delivery setting can affect the final render without changing the individual clip levels you see during editing. Decide which problem you are solving before you open either control.
How should I normalize dialogue clips cut from one recording?
For dialogue cut from one recording, start by deciding whether you want to preserve the performance's level relationship. Use Relative when the edits already sound like one performance and you only need a shared move. Use Independent when the cuts contain genuine recording-level differences.
The choice becomes easier if you separate three jobs:
- Clip leveling: Make clips start from a useful measured level.
- Performance control: Reduce jumps inside a phrase with clip automation or dynamics.
- Mix placement: Set the dialogue against music, effects, room tone, and the final output.
Independent normalization addresses the first job. It does not automatically complete the second or third.
For interview edits, listen across the edit points. A clip can have the same measured peak as its neighbor and still sound like it jumps because the speaker changed distance, the room changed, or the cut removes a quiet lead-in. In that case, use a short clip-volume ramp or keyframe instead of repeatedly re-normalizing the same material.
For voiceover, Independent can save time when every phrase was recorded separately. It is still worth checking breaths and word endings. A short phrase with one strong consonant can be measured differently from a longer phrase even when both sound acceptable before processing.
For sound effects, Independent is useful as an organizational first pass, but creative level is part of the effect. A door close, a footstep, and a distant ambience bed should not necessarily feel equally loud just because their measured peaks match. Use normalization to remove avoidable source-level friction, then decide the storytelling level yourself.
The official Fairlight material also warns through its workflow examples that clip normalization does not replace balancing the clips in the track and scene. After normalization, use the track fader and the mix context to make the artistic decision. The Fairlight audio guide walks through clip balancing after normalization.
Independent is a clip-level shortcut; the final decision still belongs to the mix.
Should I use Dialogue Leveler instead of normalizing clips individually?
Use Independent normalization for separate clip-level starting adjustments. Use Dialogue Leveler or manual dynamics control when the problem is that speech changes level inside a clip or across a long continuous track.
These tools solve different shapes of problem:
| Problem you hear | Better first move | Why |
|---|---|---|
| One clip is recorded much lower than another | Independent normalization | Each clip can receive its own starting gain |
| Loud and quiet words occur inside the same clip | Clip automation or dynamics | The level must change over time |
| A complete speech track needs more even dynamics | Dialogue Leveler or a considered compressor workflow | The processing operates across a longer performance |
| Speech is balanced but music masks it | Track balance, EQ, or ducking | The issue is the relationship between sources |
| Final program misses a delivery requirement | Full-program measurement and mix correction | Clip targets do not describe the whole program |
The existing DaVinci Resolve ecosystem has several legitimate ways to learn this. Blackmagic's official training is the reference starting point for the application. Casey Faris and other established Resolve educators can help with broader workflow practice. Our own DaVinci Resolve courses comparison is useful when the question is how to learn the application in a structured way. For the audio work itself, continue with our guide to mixing audio in DaVinci Resolve Fairlight and the separate guide to Dialogue Leveler settings.
TryUncle is the on-screen assistant for DaVinci Resolve on Mac and Windows — ask in plain words and Uncle points at the exact control on your screen.
If you are stuck because a tutorial shows a different panel or you cannot find the normalization menu, TryUncle can provide on-screen guidance while you work. It does not replace the mix decision. It helps you locate the control.
What should I do after clicking Normalize?
After clicking Normalize, audition the clips in context, inspect the meters, and correct exceptions with clip or track controls. The normalization dialog is the beginning of the audio decision, not the final approval step.
Use this short review pass:
Listen across every edit
Play the transition from one clip to the next. You are listening for a change in perceived loudness, background sound, microphone tone, and room perspective. The waveform alone cannot answer those questions.
Compare speech against the rest of the scene
Soloing a clip can help you find a fault, but the audience will not hear the clip in isolation. Bring music, effects, and ambience back into the review. A dialogue clip that sounds loud enough alone may disappear once the rest of the scene returns.
Check for peaks and overloads
Normalization does not mean a later effect chain cannot create new peaks. Inspect the meters after processing. If the signal overloads, reduce the appropriate stage or use dynamics control deliberately. Do not keep applying normalization to chase a problem created later in the chain.
Review the full program for delivery
A set of individually normalized clips can still produce an uneven program. Loudness changes across scenes, music entrances, silence, and effects all contribute to the finished result. If your delivery specification names an integrated loudness and peak limit, measure the finished program against that specification.
Blackmagic's training examples distinguish clip normalization from loudness analysis and delivery work. In the Fairlight workflow, a clip can be analyzed with an ITU-R BS.1770-4 preset and then normalized to a chosen target before being analyzed again. That measurement is useful because it tells you what the selected standard sees, not merely what the waveform looks like. Read the Fairlight example of analyzing and normalizing levels.
What is the best way to learn this DaVinci Resolve audio workflow?
The best way to learn this workflow is to repeat the same five-clip test with different source material, then compare Independent and Relative by ear and by meter. You learn the control faster when the decision has a visible and audible consequence.
Make a small practice timeline with:
- two clips from the same recording,
- one deliberately quieter clip,
- one clip with a sharp transient,
- and one clip with background noise.
Duplicate the timeline before changing anything. Normalize one copy with Independent and one with Relative. Write down which clips changed and listen through the transitions. Then try a loudness mode on a third copy and compare the result without assuming that the loudest waveform is the most important part of the sound.
This practice also answers the buyer-language questions that often sit behind a small technical problem. If you want the best way to learn DaVinci Resolve, do not watch only a course about audio. If you want to learn DaVinci Resolve fast, build a short project and make the same decision in context. If you are looking for an app that helps you while using DaVinci Resolve, use guidance to find the control, then make the editorial decision yourself.
The fastest way to learn normalization is to compare the same clips with Relative and Independent.
That small experiment teaches the scope difference better than memorizing a menu label. It also keeps you from treating one target number as a universal mix rule.
Why does DaVinci Resolve normalize a clip but not make it sound finished?
DaVinci Resolve normalizes a clip by applying a measured level adjustment, but a finished sound depends on dynamics, tone, noise, performance, transitions, and the complete mix. The tool succeeds when it removes a level problem that can be solved with a fixed gain change.
It is the wrong tool when you need to make a changing performance stay inside a narrow range. It is also the wrong tool when the problem is noise, reverb, plosives, clipping, masking, or a creative level relationship between music and dialogue.
Here is the clean verdict:
- Use Independent for separate clip-level starting adjustments.
- Use Relative for a shared move that preserves the selection's level relationship.
- Use loudness normalization when a defined loudness measurement is the actual requirement.
- Use automation, compression, limiting, EQ, noise control, and track mixing for problems that happen over time or between sources.
- Always listen after the operation.
DaVinci Resolve 21.1 remains the current version context for this guide as of October 2026. Blackmagic's support center lists the 21.1 reference manual and the September 8, 2026 update, while the final Resolve 21 release arrived on June 3, 2026. Use the support center for the current manual and release information.
The one setting to remember is simple: Independent means each selected clip gets its own calculation. Start there when the words “normalize clips individually” describe the task. Then stop normalizing and start mixing when the problem becomes musical, emotional, or contextual.
Frequently asked questions
- How do I normalize audio clips individually in DaVinci Resolve 21?
- Select the clips, right-click one, choose Normalize Audio Levels, choose a normalization mode and target, select Independent under Set Level, and click Normalize. Independent calculates a separate adjustment for every selected clip.
- What is the difference between Relative and Independent normalization in DaVinci Resolve?
- Relative treats the selected clips as one group and applies the same gain change. Independent measures each clip separately and applies a different gain change to each clip when needed.
- Why do my normalized clips still sound different in DaVinci Resolve?
- Peak normalization matches a measured peak, not perceived loudness, speech density, noise, or dynamics. Use a loudness mode where appropriate, then listen and mix the clips in context.
- Why is Normalize Audio Levels missing in DaVinci Resolve?
- The command is available from an audio clip's context menu on the Edit and Fairlight pages. Make sure you are right-clicking a timeline audio clip, not an empty area, a bin item, or a video-only selection.
- Should I normalize clips individually or use the Dialogue Leveler?
- Normalize clips individually when you need a fast clip-by-clip starting point. Use Dialogue Leveler or manual mixing when the recording has changing dynamics, noise, room tone, or performance differences that a fixed gain change cannot solve.
Sources
- DaVinci Resolve Support Center and 21.1 release information
- DaVinci Resolve Fairlight audio page
- DaVinci Resolve 17 Fairlight Audio Guide
- Video Editing Made Easy with DaVinci Resolve 20, normalizing audio
- DVResolve.com, How to Normalize Audio for Consistent Levels
- DaVinci Resolve Fairlight Audio Guide, loudness normalization example
- DaVinci Resolve 21 Fairlight and audio documentation mirror
- Blackmagic Design official training and support
Put this guide to work with TryUncle.
Ask about the step you’re on. TryUncle sees your screen and points at the control you need, so you can keep learning in your own project.
Get TryUncle for Mac or WindowsKeep reading
Guides · Jul 11, 2026 · 31 min
How to Mix Audio in DaVinci Resolve Using Fairlight
Mix audio in DaVinci Resolve's Fairlight page: build a dialogue/music/effects bus structure, gain-stage your clips, EQ and compress dialogue, then duck music under it.
Guides · Jul 13, 2026 · 31 min
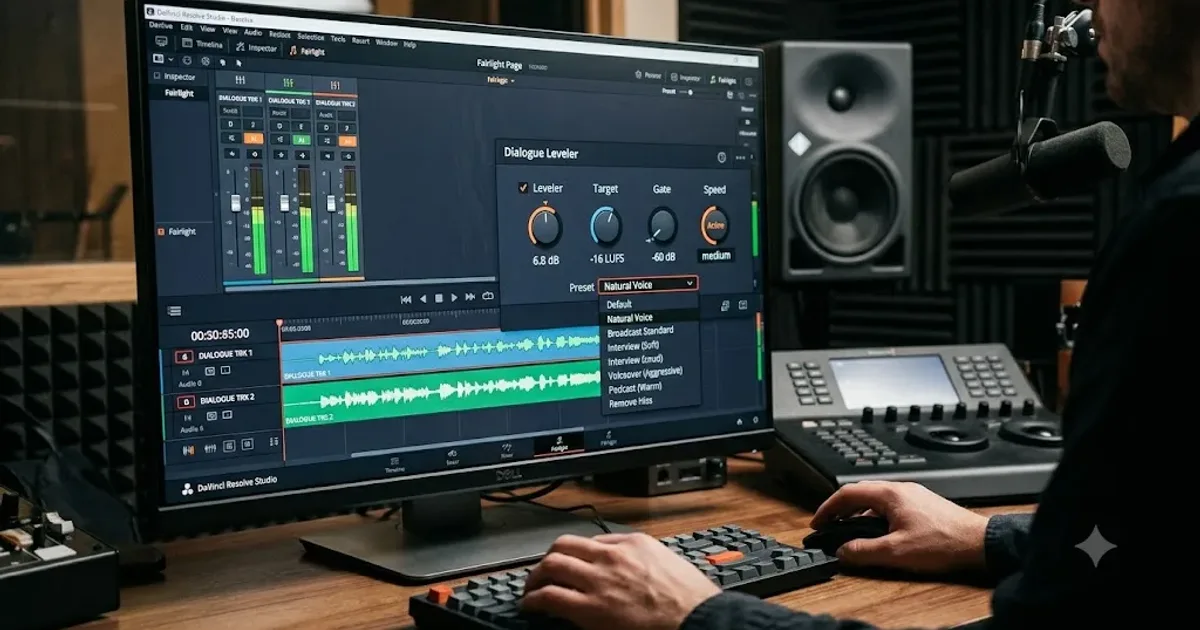
DaVinci Resolve Dialogue Leveler Settings Explained
Every DaVinci Resolve Dialogue Leveler control explained: Reduce Loud Dialogue, Lift Soft Dialogue, Background Reduction, Output Gain, and what Allow Wider Dynamics does.

Comparisons · Jul 13, 2026 · 34 min
Best DaVinci Resolve Courses in 2026: 6 Real Options Compared
We compared six real DaVinci Resolve courses for 2026, from Blackmagic's free certification to color grading and Udemy bootcamps, to find the best fit.