Articles / Guidesupdated for DaVinci Resolve 21.0 (August 2026)
DaVinci Resolve Audio Transition Between Dialogue Clips
Quick answer
To create a DaVinci Resolve audio transition between dialogue clips, select the edit point, choose Timeline > Add Audio Only Transition, or press Shift-T. Start with Cross Fade 0 dB, then adjust the fade handles or Inspector while listening for clicks, dips, and changes in room tone.
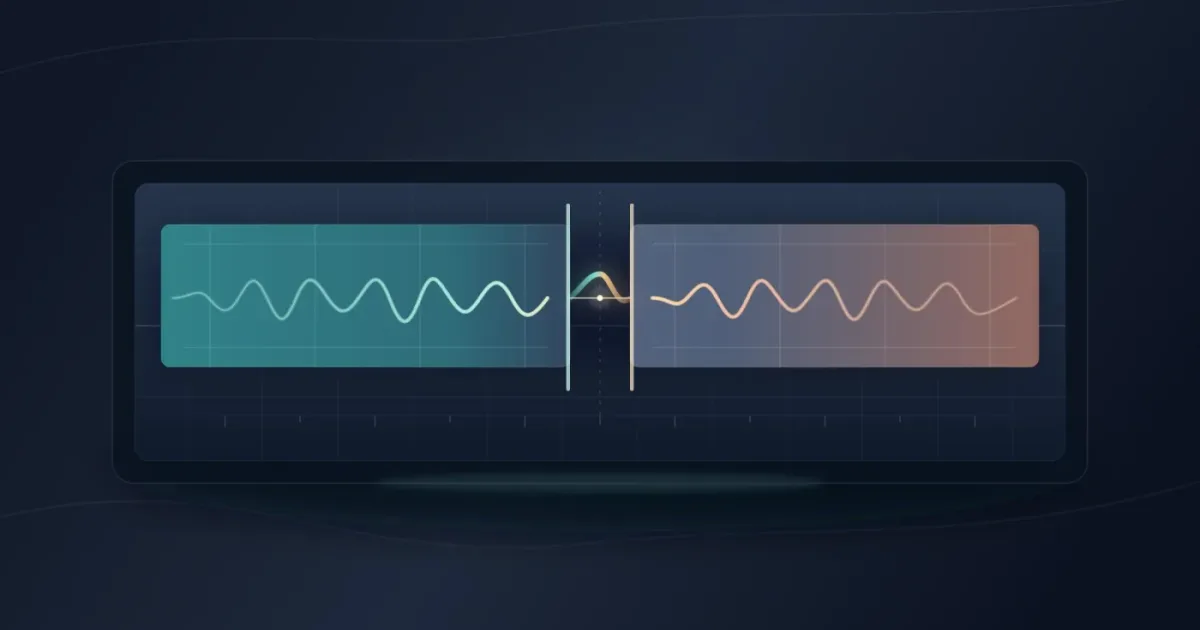
Two dialogue clips can be perfectly clean and still sound like they were cut with a knife. The fix is usually small: shape the handoff instead of letting one clip stop and the next one start at full level.
We’ve spent 7+ years cutting commercial video, and this is one of the recurring questions in our 100,000+ member editing community. As of August 2026, the steps below apply to DaVinci Resolve 21. Resolve 21 is Blackmagic Design’s current major version for Mac, Windows, and Linux. Blackmagic Design lists Resolve 21 as the current version, while its Resolve 21 New Features Guide calls out Fairlight folder improvements.
How do I make a DaVinci Resolve audio transition between dialogue clips?
The fastest method is to select the audio edit point and press Shift-T, which adds Resolve’s standard audio-only transition. For a first pass, keep the default Cross Fade 0 dB, play across the cut, and change the duration only after you hear what the edit needs. Blackmagic’s Beginner’s Guide documents the Shift-T shortcut and the audio-only transition command.
Before you add anything, decide what problem you’re solving. A crossfade smooths a hard level change between two clips. It doesn’t repair a mismatched microphone, remove background noise, or create room tone that was never recorded.
A short audio crossfade is the cleanest default for two adjacent dialogue clips in DaVinci Resolve 21.
What should I check before adding the transition?
Check the clip edges, the edit point, and the background sound before touching the transition. If the dialogue ends on one track and the next line begins on another, use the same basic fade idea, but give each clip enough timeline space to overlap or fade independently.
- Zoom into the edit until you can see the waveform clearly.
- Play a few seconds before and after the cut with the video visible.
- Listen for three things: a click, a hole in the ambience, or a sudden change in voice level.
- If either clip ends exactly at the available media boundary, trim the edit earlier or later if possible. A transition needs audio material to shape.
- If the two voices were recorded in the same space, keep some consistent background under the handoff. The official Fairlight guide demonstrates crossfades between audio track layers, which is useful when overlapping clips on separate tracks gives you more control. See Blackmagic’s Fairlight audio guide.
Room tone is the quiet sound of the location when nobody is speaking. It can be a low air conditioner, a street bed, or the natural hush of a room. Film Sound explains why location ambience matters in dialogue editing. A fade can make the words meet smoothly while the ambience still jumps. In that case, put a matching piece of room tone under the edit and fade it separately.
Marsha Kelly, a film-sound editor, describes the goal this way: “my job is to clean up the production sound so that the actors’ dialogue is clear.” Read Kelly’s full essay. That’s the standard to use here. The transition is successful when the listener follows the sentence, not when the curve looks pretty.
How do I add a crossfade between dialogue clips in Resolve 21?
Select the cut on the audio track, choose Timeline > Add Audio Only Transition, and press Shift-T when you want the keyboard shortcut. Resolve’s official guide also documents quarter-second, half-second, one-second, and two-second duration choices from the edit-point menu, which gives you useful starting points before you fine-tune the result. Check the documented audio-editing workflow.
- Open the Edit page and locate the two dialogue clips.
- Click the edit point between them. Make sure you’re selecting the audio cut, not only the video cut above it.
- Press
Shift-T, or right-click the selected point and choose the audio transition command. - Play across the edit. If the transition is too obvious, shorten it. If the handoff still clicks, inspect the clip edges and waveform rather than automatically making the fade longer.
- Open the transition in the Inspector if you need to change its duration or Fade In and Fade Out curves.
- Play the scene again with music, effects, and room tone turned on.
The Effects Library is useful when you want to choose a specific audio transition instead of using the current standard one. Blackmagic’s guide says Resolve provides three audio transition types, and that you can apply, adjust, save, and set them as the standard transition. See the official explanation of audio transitions.

Which audio transition should dialogue use: 0 dB, +3 dB, or -3 dB?
Start with Cross Fade 0 dB for spoken dialogue, then choose another curve only if your ears give you a reason. Resolve’s official guide warns that 0 dB can create a slight level dip through the middle, while +3 dB is a constant-power style option and -3 dB makes the fade more pronounced. Read Blackmagic’s definitions of the three types.
| Transition | What it does | Good starting use | Watch for |
|---|---|---|---|
| Cross Fade 0 dB | Uses a straightforward linear fade between outgoing and incoming audio. | Two clean dialogue clips with similar level and ambience. | A small dip at the center of the blend. |
| Cross Fade +3 dB | Uses a ramped, constant-power style curve that holds the blend more firmly. | Music or effects, or dialogue whose center briefly loses presence. | A blend that feels too dense when both voices overlap. |
| Cross Fade -3 dB | Fades the two sides more aggressively through the handoff. | A deliberate fade where you want the old sound to clear quickly. | A hole or weak syllable if the transition is long. |
Cross Fade 0 dB is the safest starting point when spoken words must stay natural.
The table is a starting map, not a verdict. Blackmagic’s own guidance says the choice depends on what you hear. A voice edit has timing, consonants, breaths, and background sound, so two curves with the same duration can feel very different once they meet a word.
For dialogue, change one variable at a time. Set the curve, adjust the duration, then compare the transition with no transition. If you change curve, length, and clip gain together, you won’t know which adjustment helped.
Why does my dialogue transition dip, click, or sound hollow?
The usual cause is a mismatch at the clip edge, not a missing “better” transition. A dip often comes from the chosen fade curve or unequal clip levels. A click usually comes from an abrupt waveform change. Hollow sound often means two different room ambiences are being blended or the background vanishes at the cut.
Try this order:
- Dip: switch back to 0 dB, then compare +3 dB at the same duration. If the words still lose presence, adjust clip gain before lengthening the fade.
- Click: shorten the transition and inspect the waveform. Move the cut away from a sharp waveform edge when the edit allows it.
- Gap: place matching room tone underneath the dialogue and fade the ambience independently. Blackmagic’s Fairlight material shows how layered audio clips can carry crossfades, so a second track is a practical repair space rather than a sign that the edit failed. Review the Fairlight track-layer example.
- Uneven voice: fix the clip levels first. For a broader pass, use the DaVinci Resolve dialogue leveler settings guide.
- Noise change: don’t use a long crossfade to hide two incompatible backgrounds. Clean or replace the ambience, then use a shorter transition for the words.
A room-tone bed often fixes a bad dialogue edit more convincingly than a longer crossfade.
If the cut still feels unnatural, listen without looking at the waveform. A small pause may be intentional. A long crossfade can smear the end of one word into the start of the next and make the conversation feel slow.
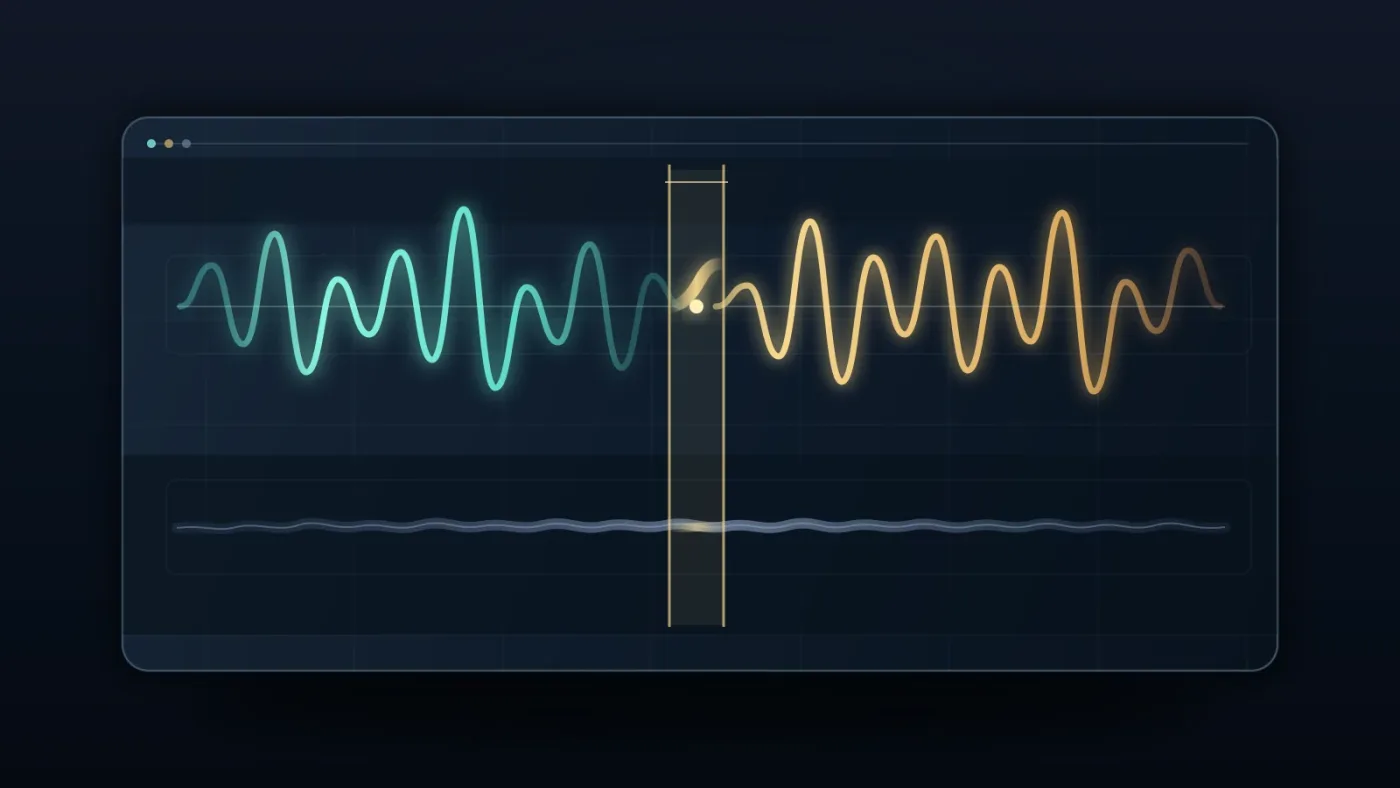
Should I use a crossfade, a J-cut, or an L-cut?
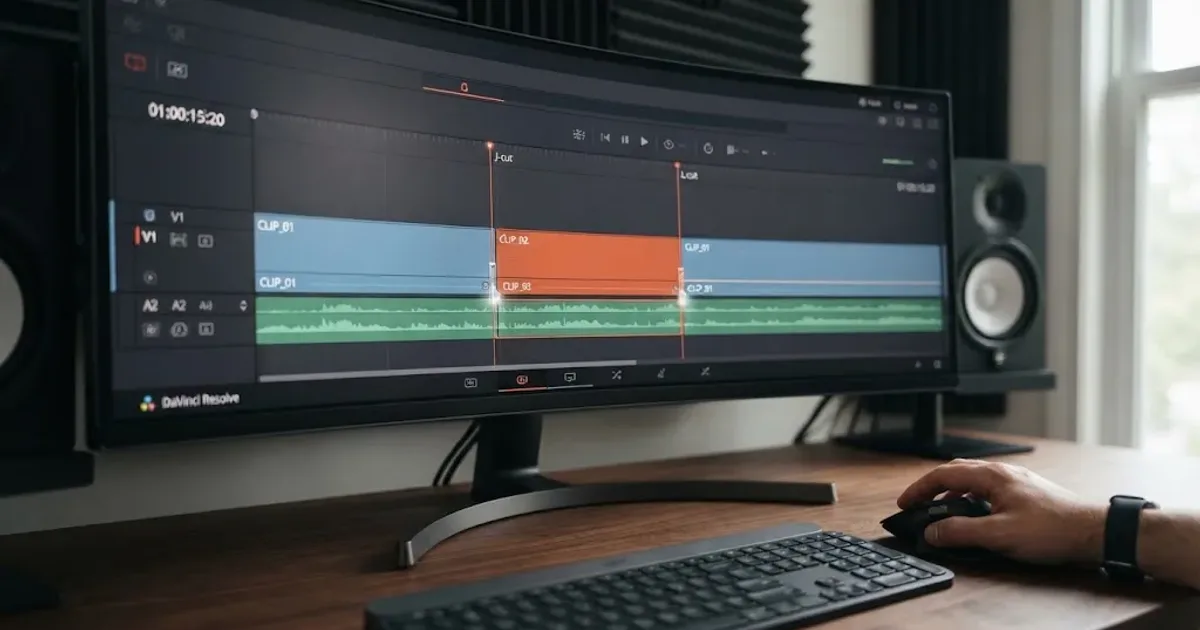
Use a crossfade when both dialogue clips should meet at the same picture cut. Use a J-cut when the next clip’s audio should arrive before its picture, and an L-cut when the current clip’s audio should continue after the picture changes. Blackmagic defines these as split edits that delay either the audio or video cut, and its guide gives reaction shots as a common L-cut use. Read the Editor’s Guide section on J-cuts and L-cuts.
| Your editorial problem | Choose | Why |
|---|---|---|
| Two words meet with a hard click | Short crossfade | Smooths the level handoff without changing the picture timing. |
| You want viewers to hear the next speaker before seeing them | J-cut | Leads with the incoming dialogue and makes the reveal feel motivated. |
| You want to hold a line over a reaction shot | L-cut | Keeps the outgoing dialogue alive after the picture changes. |
| The voices are clean but the background jumps | Room tone plus a short fade | Repairs the ambience separately from the dialogue edit. |
A J-cut changes when the audience hears the next clip, while a crossfade changes how one sound gives way to another.
To make a J-cut or L-cut, make the straight edit, then independently trim the audio and video portions as your timeline allows. The J-cut and L-cut guide covers that workflow. Don’t reach for a J-cut just because a crossfade sounds rough. They solve different problems.
When should I add music or sound effects after the dialogue transition?
Add music or sound effects only after the dialogue handoff works on its own. A bed of music can hide a small ambience change, but it can also mask a consonant or make you think a level problem is fixed when it isn’t.
If the cut needs a complementary music bed, room texture, or a small sound effect, Epidemic Sound is one option for licensed music and sound effects. Its plan rights and download terms can change, so check the current license for your use case before publishing.
Disclosure: this section contains an affiliate link. If you subscribe through it, we may earn a commission at no extra cost to you.
Check Epidemic Sound’s current music and sound-effects options
That recommendation comes after the edit, not before it. If the story works with production audio and room tone alone, you don’t need a subscription to solve this transition.
What is the best way to learn DaVinci Resolve audio editing?
The best way to learn this workflow is to repeat one small edit with different curves, then listen in context. Blackmagic’s free training library includes editing and Fairlight lessons, and its official materials cover transitions, mixing, and dialogue workflows. Explore Blackmagic Design’s training resources.
If you’re learning Resolve fast, don’t memorize every Fairlight control at once. Remember this sequence: select the cut, add an audio-only transition, listen, check the room tone, then decide whether a split edit is better.
You can also continue with the Fairlight mixing guide when the transition is clean but the finished mix still needs level, EQ, dynamics, or automation work.
Listen in context before you choose a fade curve, because the correct transition is the one that preserves intelligibility.
The next step is simple. Add the short Cross Fade 0 dB, play the cut with the full mix, and fix the ambience separately if you still hear the edit. That keeps the transition small, the dialogue clear, and the story moving.

Frequently asked questions
- How do I add an audio transition between dialogue clips in DaVinci Resolve?
- Select the cut between the dialogue clips, choose Timeline > Add Audio Only Transition, or press Shift-T. Then choose the crossfade type and adjust its length by dragging the transition edges or fade handles.
- Which crossfade is best for dialogue in DaVinci Resolve?
- Start with Cross Fade 0 dB for a simple dialogue edit. Try +3 dB if the words dip at the center, and use -3 dB when you want a more pronounced fade rather than a constant-power blend.
- Why does my dialogue crossfade sound like a click or gap?
- A click usually means the edit has an abrupt waveform change, while a gap often means the clips have no usable overlap or the room tone disappears. Shorten the fade, inspect the clip edges, and add matching room tone on a separate track when needed.
- What is the difference between a dialogue crossfade and a J-cut?
- A crossfade blends outgoing and incoming audio at the same edit point. A J-cut moves the next clip's audio earlier than its picture, so it changes the timing of the reveal rather than simply blending two sounds.
Sources
- DaVinci Resolve product page, Blackmagic Design
- The Beginner's Guide to DaVinci Resolve 20, Blackmagic Design
- DaVinci Resolve 21 New Features Guide, Blackmagic Design
- The Fairlight Audio Guide to DaVinci Resolve 18, Blackmagic Design
- The Editor's Guide to DaVinci Resolve 17, Blackmagic Design
- Editing Dialogue, Film Sound
- I Love This Job, Marsha Kelly
- DaVinci Resolve Training, Blackmagic Design
- Epidemic Sound music and sound-effects options
Put this guide to work with TryUncle.
Ask about the step you’re on. TryUncle sees your screen and points at the control you need, so you can keep learning in your own project.
Get TryUncle for Mac or WindowsKeep reading
Guides · Jul 13, 2026 · 31 min
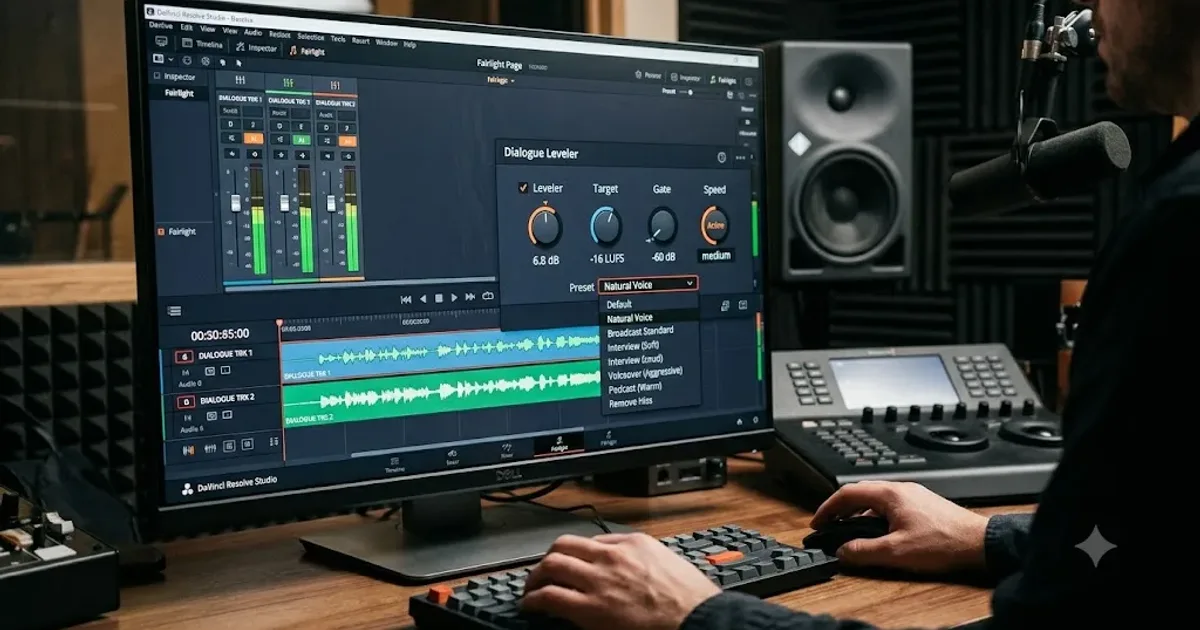
DaVinci Resolve Dialogue Leveler Settings Explained
Every DaVinci Resolve Dialogue Leveler control explained: Reduce Loud Dialogue, Lift Soft Dialogue, Background Reduction, Output Gain, and what Allow Wider Dynamics does.
Guides · Jul 11, 2026 · 31 min
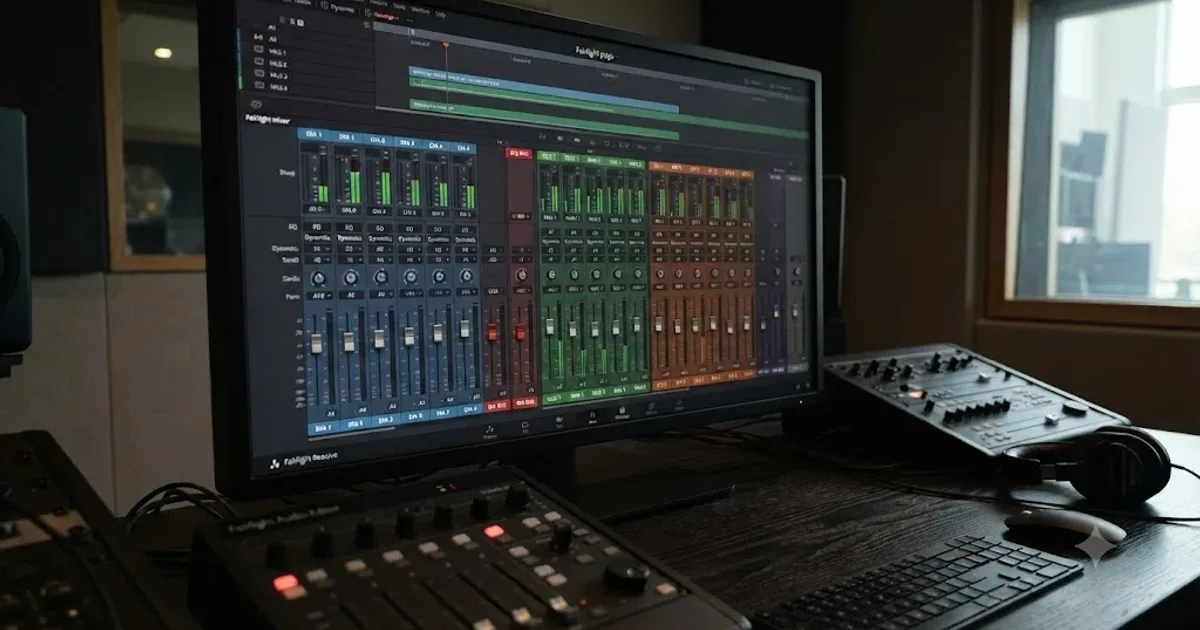
How to Mix Audio in DaVinci Resolve Using Fairlight
Mix audio in DaVinci Resolve's Fairlight page: build a dialogue/music/effects bus structure, gain-stage your clips, EQ and compress dialogue, then duck music under it.
Guides · Aug 24, 2026 · 7 min
How to Make J-Cuts and L-Cuts in DaVinci Resolve
Learn the exact DaVinci Resolve 21 workflow for J-cuts and L-cuts, including Linked Selection, Trim Edit mode, shortcuts, and timing fixes.