Articles / Guidesupdated for DaVinci Resolve 21.0.2 (July 2026)
DaVinci Resolve Fairlight 5.1 Surround Mix Tutorial
Quick answer
To mix 5.1 surround in DaVinci Resolve, set Bus Format to 5.1 in the Fairlight menu, route Dialogue, Music, and Effects buses to L, C, R, Ls, and Rs, pan with the 2D or 3D panner, send low end to LFE via Boom, then match loudness to your delivery target before export.
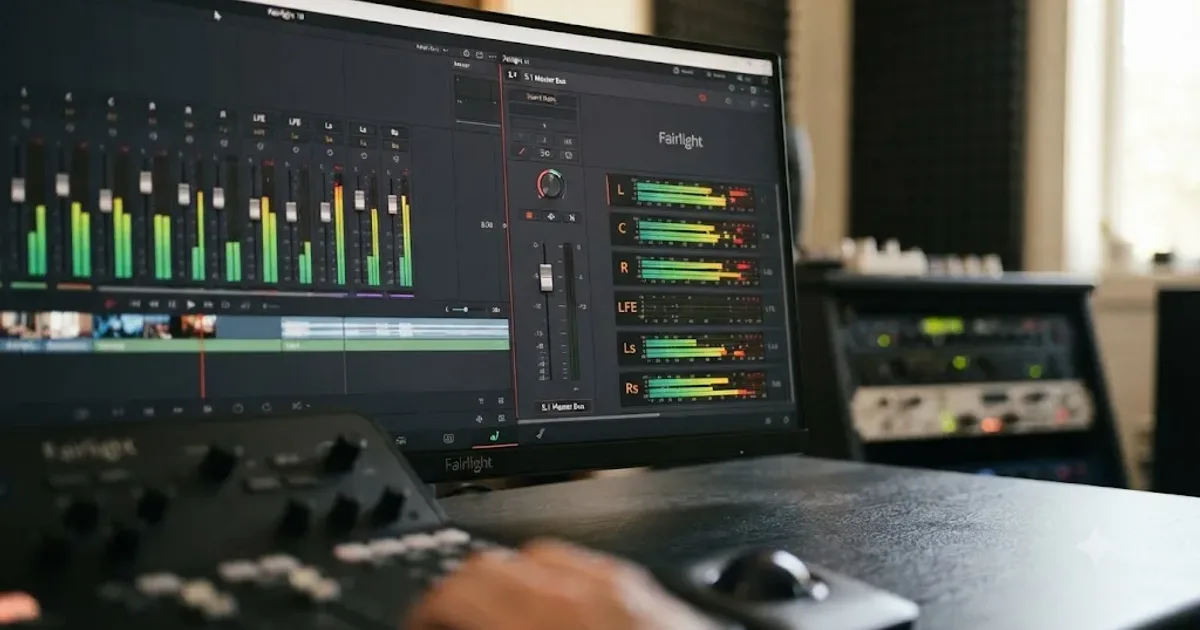
Six channels, one center image, and a subwoofer feed that doesn't work like a seventh speaker. That's a 5.1 mix, and DaVinci Resolve's Fairlight page can build one entirely inside the free version, using the same bus, EQ, and dynamics tools covered in our Fairlight mixing guide, pointed at six discrete channels instead of two.
After 7+ years of professional commercial video editing, including projects that needed a real surround delivery, not just a stereo file with extra channels stapled on, the part that trips people up almost never sits where they expect. It's not the panner. It's the bus format menu, the LFE routing, and the loudness spec on page 40 of a delivery PDF nobody reads until a QC report bounces the file back.
This guide covers the whole path: setting the bus format correctly the first time, routing a Dialogue/Music/Effects structure into six channels instead of two, panning and LFE routing, monitoring without a calibrated surround room, upmixing an existing stereo mix when that's the only option, hitting the loudness number your delivery target actually requires, downmixing back to stereo without breaking the math, and exporting a file that plays back as 5.1 instead of quietly reverting to stereo.
What does a "5.1 surround mix" actually mean in Fairlight?
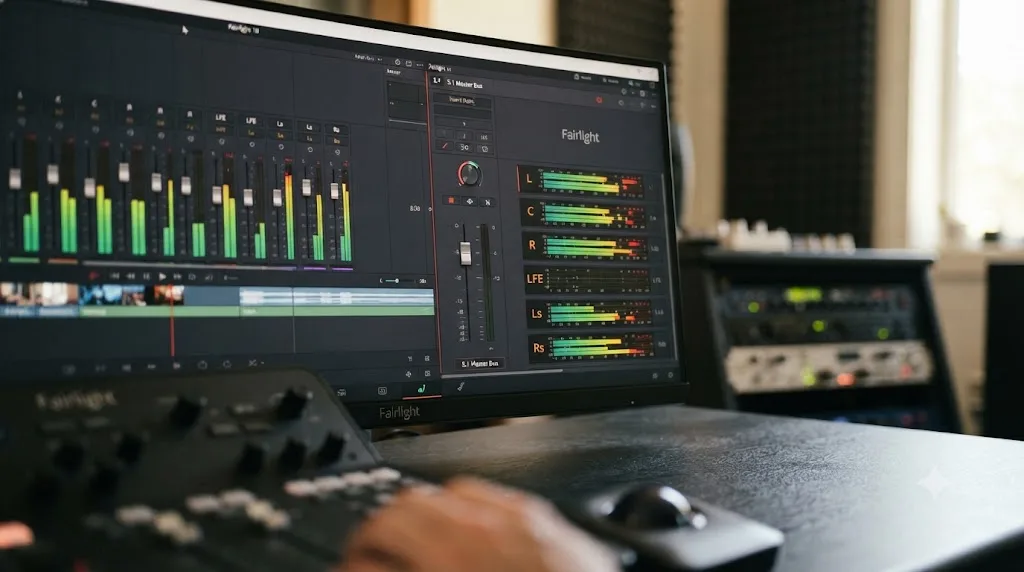
A 5.1 mix is six discrete channels, five full-range speakers arranged around the listener plus one band-limited subwoofer feed, not a stereo mix played louder through more speakers.
The five main channels are Left (L), Center (C), Right (R), Left Surround (Ls), and Right Surround (Rs), each carrying full-range audio. The sixth channel, Low-Frequency Effects (LFE), is different in kind, not just position: it's a band-limited channel handling deep bass and effects, not a general-purpose speaker feed, as Wikipedia's entry on low-frequency effects describes it. Fairlight's bus format menu treats this correctly. Selecting 5.1 as a bus format creates six channels with these six specific roles, not six identical general-purpose outputs.
| Channel | Abbreviation | Role |
|---|---|---|
| Left | L | Full-range front left |
| Center | C | Full-range front center, usually dialogue |
| Right | R | Full-range front right |
| Left Surround | Ls | Full-range rear/side left, ambience and effects |
| Right Surround | Rs | Full-range rear/side right, ambience and effects |
| Low-Frequency Effects | LFE | Band-limited subwoofer feed, not a general speaker |
A 5.1 mix is not a stereo mix with two extra speakers bolted on. It's six channels doing six different jobs, and mixing it like a wider stereo mix is the single fastest way to end up with a broken one. Dialogue that lives happily in the center of a stereo image needs an actual decision about whether it lives in the Center channel or gets phantom-imaged between L and R, since Fairlight, unlike a stereo bus, gives you a real, separate Center channel to put it in.
How do you set the Fairlight bus format to 5.1?
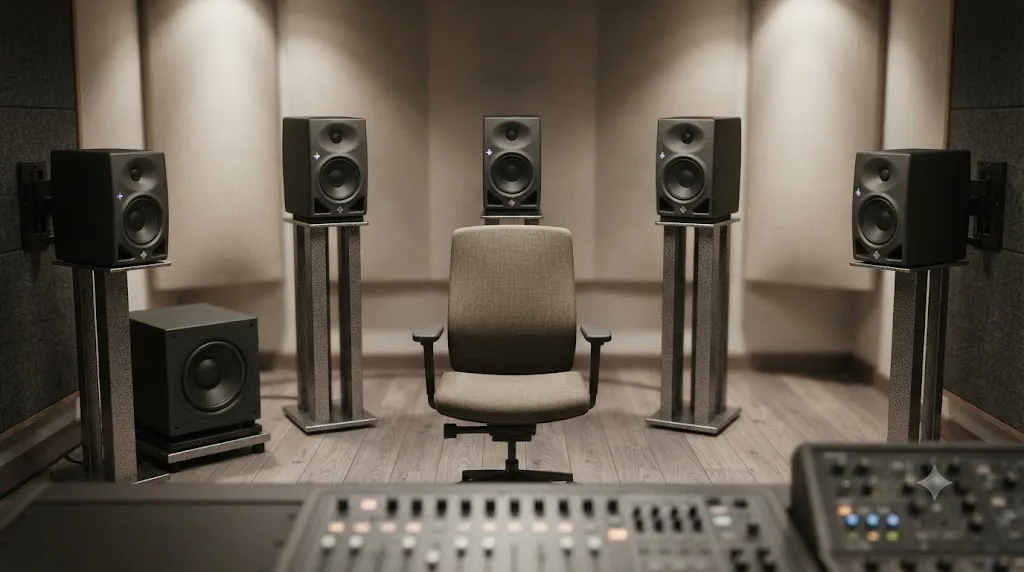
Set the bus format to 5.1 through the Fairlight menu, choosing Bus Format, adding a bus, and setting that bus's Format field to 5.1 before you route anything into it.
The steps, in order:
- Open the Fairlight page and click the Fairlight menu at the top of the app.
- Choose Bus Format from the menu.
- Click Add Bus, and give it a name you'll recognize, like "Surround" or "5.1 Main."
- In the Format dropdown for that bus, select 5.1 (covered in more detail in the next section, since Fairlight actually offers two different 5.1 orderings).
- Optionally assign the bus a color so it's visible at a glance in the mixer.
- Click OK, then open Fairlight, then Bus Assign, and route each of your existing tracks or category buses into the new 5.1 bus.
Once that bus exists, the Fairlight Mixer splits to show it as a six-channel-wide strip instead of the usual two-channel stereo strip, with individual meters for L, C, R, Ls, Rs, and LFE, following the same bus-creation mechanics Blackmagic documents for building any submix bus. If you're starting from six separate mono files instead of building a bus from category buses, link them into a single 5.1 clip first: select all six mono tracks in the Fairlight Mixer, shift-select each channel strip, and choose Link Group, then pick the matching 5.1 format so Resolve treats the six files as one linked surround clip rather than six independent mono tracks you'd have to fader and pan separately.
Resolve's routing engine, FlexBus, isn't limited to a single surround bus per project. A track can feed as many as 20 sets of buses, each set holding up to 3 buses, for as many as 60 total destinations from one track, and buses can feed other buses up to six layers deep, per Blackmagic's own Fairlight product page and the manual's FlexBus Routing and Mixing entry. In practice, that means you can build a 5.1 bus for a theatrical or broadcast master and a separate stereo bus for a web cutdown, fed from the exact same tracks, in the same project, without duplicating a single clip.
If you'd rather lock down routing so every new project starts from a known, unchangeable channel map instead of Resolve's default flexible routing, Project Settings offers a "Use fixed bus mapping" option under the Fairlight section. It only applies to new projects and new timelines created after you enable it, so it's a decision to make before you start building a surround session, not a switch you flip midway through one.
What's the difference between "5.1" and "5.1 Film" bus formats?
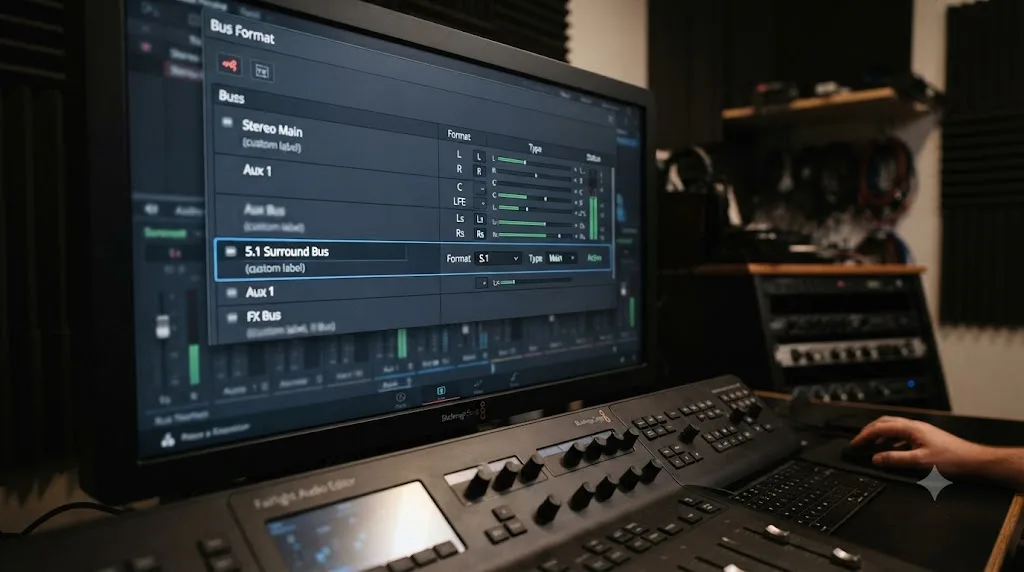
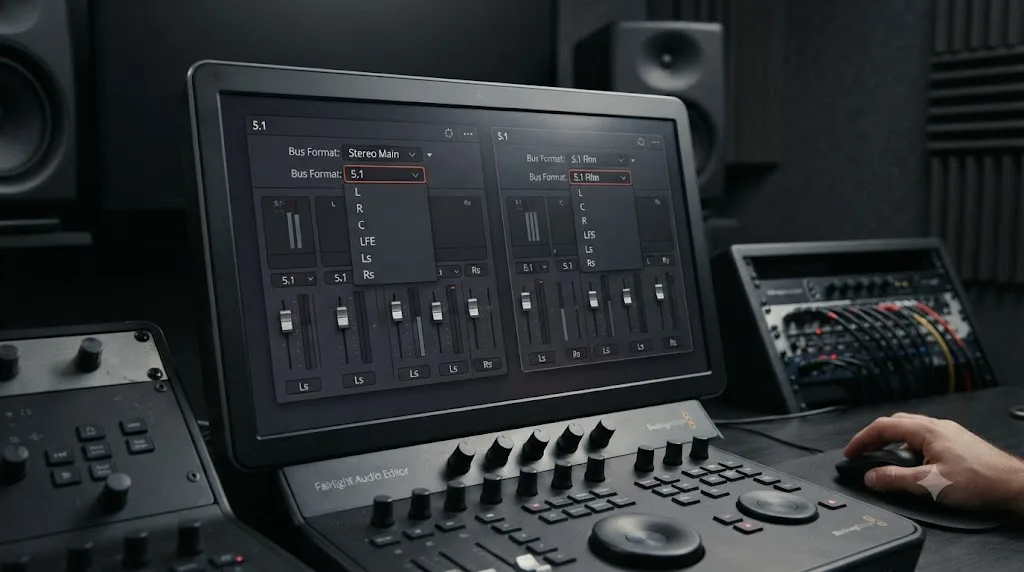
Fairlight's Format dropdown offers two 5.1 orderings that put the same six channels in different sequence, and choosing the wrong one for your delivery target silently swaps which channel is center dialogue and which is the subwoofer feed.
Standard "5.1" orders the channels L, R, C, LFE, Ls, Rs. That's the order used by DCPs and most streaming and broadcast deliverables. "5.1 Film" orders them L, C, R, Ls, Rs, LFE instead, a mapping common in Pro Tools sessions coming from feature film post houses.
Knut Erik Evensen, who works specifically with DCP formats and Resolve delivery workflows, states the practical rule plainly: "Choose standard '5.1' rather than '5.1 Film'. 5.1 Film is the channel mapping often used in Pro Tools," in his guide to adding 5.1 audio in Resolve. When a properly configured 5.1 track receives an interleaved WAV or a QuickTime/MXF file with embedded 5.1 audio, Evensen notes that "Resolve automatically maps all channels correctly," and this works identically whether the source is a WAV file or a DCP-style audio source, provided the bus format on the receiving end actually matches what the source file expects.
"5.1" and "5.1 Film" are not the same channel order, and choosing the wrong one silently swaps your center and LFE channels. That's not a cosmetic difference. If your delivery format expects standard order and your bus is set to Film order, dialogue that should be centered arrives on the LFE channel's slot, and the actual subwoofer content arrives where the mixer expects center dialogue. On playback through a properly configured 5.1 system, that's not a subtle problem. It's dialogue coming out of a subwoofer, at subwoofer bandwidth, or silence where dialogue should be.
| Bus format | Channel order | Common use |
|---|---|---|
| 5.1 (standard) | L, R, C, LFE, Ls, Rs | DCP, most streaming and broadcast deliverables |
| 5.1 Film | L, C, R, Ls, Rs, LFE | Pro Tools sessions from feature film post |
Evensen's guidance on this is worth repeating as a habit, not a one-time check: "Always verify channel mapping in the audio meters to confirm correct channel orientation before final export." A visual check against the meter labels, L, C, R, Ls, Rs, LFE lit up in the order your speakers actually expect, catches this mistake in seconds. Catching it after delivery means a QC bounce, a re-render, and an explanation to whoever's waiting on the file.
Do you need DaVinci Resolve Studio for 5.1 surround mixing?
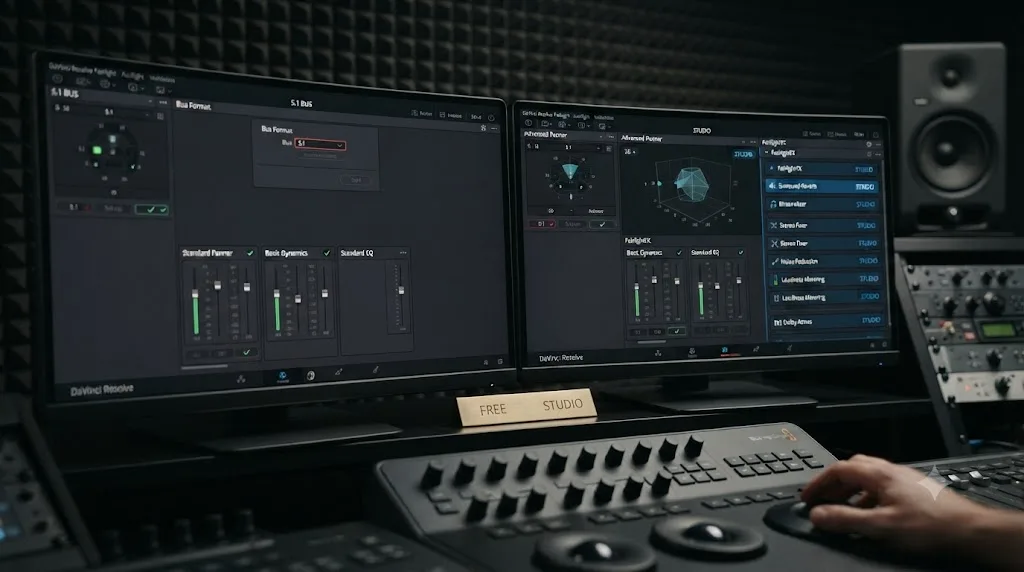
No, not for a standard discrete 5.1 mix. Bus formats up to 5.1 and 7.1, the 2D panner, and LFE routing through Boom are all part of the free version's Fairlight page, the same way the rest of Fairlight ships complete in the free version, per Blackmagic's own Fairlight product page.
Discrete 5.1 bus routing and panning work in the free version of DaVinci Resolve. Object-based immersive formats like Dolby Atmos do not. The line Blackmagic actually draws sits at object-based and 3D spatial audio, not at surround sound generally. Studio adds the 3D panner and 3D Space View display for visualizing where a sound object sits in three-dimensional space, support for object-based formats like Dolby Atmos and MPEG-H that use panning automation to move audio objects around a room rather than assigning them to fixed channels, and Ambisonics support up to 5th order, according to Blackmagic's own Studio product page. An independent breakdown of the free-vs-Studio gap lists the same items explicitly, Studio-exclusive Voice Isolation, Dolby Atmos, MPEG-H import and rendering, SMPTE ST.2098, Auro-3D, and the 3D panner and 3D Space View, per CineD's comparison of the free and Studio versions.
| Feature | Free | Studio |
|---|---|---|
| 5.1 / 7.1 bus format and routing | Yes | Yes |
| 2D panner (Left/Right, Front/Back, Rotate) | Yes | Yes |
| LFE routing via Boom | Yes | Yes |
| 3D panner and 3D Space View | No | Yes |
| Dolby Atmos, MPEG-H, Auro-3D | No | Yes |
| Ambisonics up to 5th order | No | Yes |
| Voice Isolation and DaVinci Neural Engine audio AI | No | Yes |
That gap matters more once you get past discrete surround and toward object-based formats. Joey D'Anna, writing for Mixing Light about Atmos delivery in Resolve, describes what changed when native support landed: "Resolve 17 has made this massively more accessible by integrating full Atmos support right in the software," with Resolve now able to expand "on that functionality by adding native support for importing, editing, mixing, and delivering immersive audio formats," in his guide to setting up and delivering Dolby Atmos in Resolve 17. None of that changes whether you need Studio for the guide in front of you. If your delivery is a discrete 5.1 file for a DCP, broadcast, or streaming platform, the free version covers everything from here forward.
How do you route a Dialogue, Music, and Effects structure into 5.1?
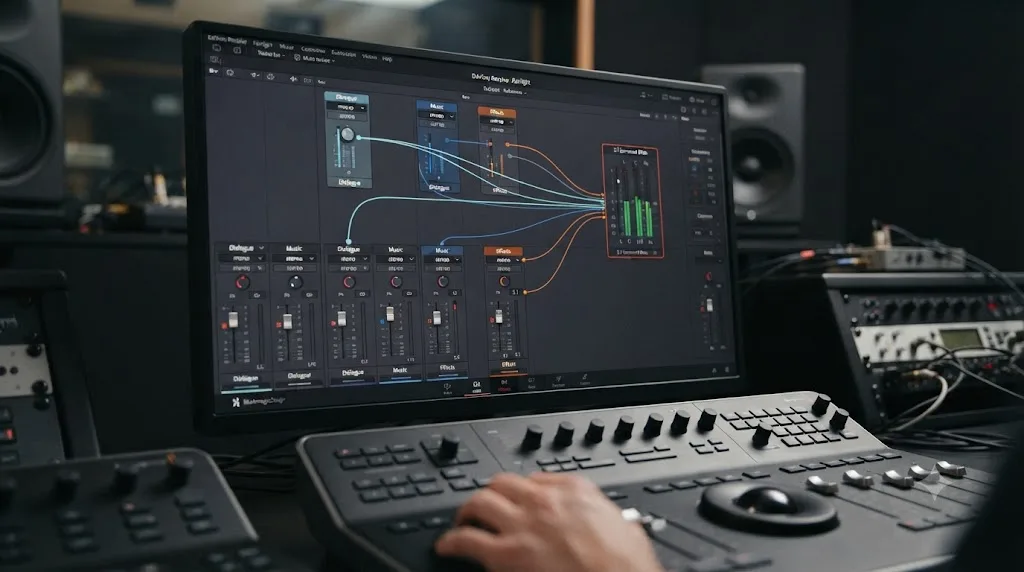
Route each DME category bus into your 5.1 bus the same way you'd route it into a stereo Main bus, then let panning, not routing, decide where each source lands across the six channels.
The DME (Dialogue, Music, Effects) structure covered in our Fairlight mixing guide doesn't change shape for surround. You still build Dialogue, Music, and Effects buses, gain-stage clips before touching a plugin, and EQ and compress each category the same way. What changes is the destination: instead of routing those three category buses into a stereo Main bus, route them into your 5.1 bus, and instead of one pan position per source, you're now placing each source somewhere across five full-range channels plus a separate LFE send.
A practical worked example: a 20-minute short film has three lav tracks (two actors and a narrator), a licensed score, ambient room tone recorded separately for the location, and a handful of hard sound effects, a door slam, footsteps, a car passing through frame.
- Route all three lav tracks to the Dialogue bus, as usual. Dialogue in a 5.1 mix almost always centers on the Center channel, since that's the channel every seat in a theater or living room hears identically, regardless of where they're sitting relative to the left or right speakers.
- Route the score to the Music bus. Music beds commonly spread wide across L and R, sometimes bleeding lightly into Ls and Rs for a sense of envelopment, but rarely dominate the surrounds the way effects can.
- Route ambient room tone and hard effects to the Effects bus. This is where 5.1 earns its keep over stereo: room tone in the surrounds creates a sense of space a stereo mix can only imply, and a car passing through frame can actually pan from front to rear, following the picture instead of just left to right.
- Route Dialogue, Music, and Effects into the 5.1 bus through Bus Assign.
The processing chain, EQ, compression, ducking, doesn't need reinventing for surround. A ducker or a compressor triggered by five channels of dialogue behaves the same way it does triggered by two, because the sidechain source is still whatever bus you point it at, not the channel count of the bus receiving the effect. Build the Dialogue bus's EQ and compression the same way you would for stereo, sidechain the Music bus's ducker to the Dialogue bus the same way, and the DME processing chain carries over cleanly. What's new is the panning decision layered on top of it, covered next.
How do you pan clips across 5.1 speakers?
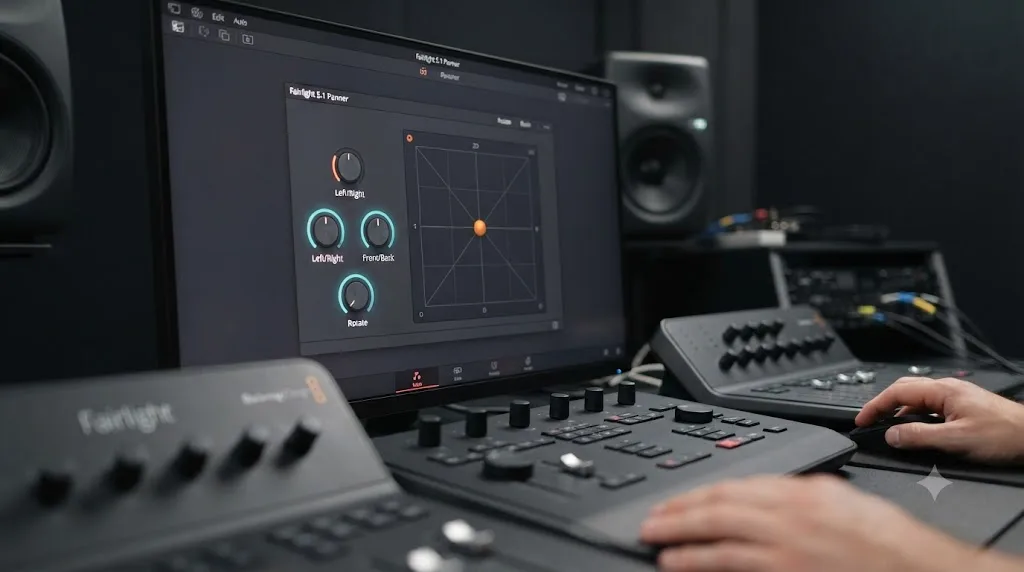
Pan a clip across a 5.1 bus using the mixer's pan control, which offers Left/Right balance, Front/Back balance, and a Rotate knob that moves a source smoothly around the full circle of speakers instead of just between two.
Per Blackmagic's manual entry on pan controls, Left/Right "changes the balance of signal between the left and right side speakers," Front/Back "changes the balance of signal between the front and back sets of speakers," and Rotate horizontally repositions a source by simultaneously adjusting "the left/right and front/back pan controls" together, as the manual describes the standard surround pan interface. Holding Shift while adjusting the pan constrains movement to left/right only, useful when you want to slide a source across the front or rear without accidentally dragging it forward or backward at the same time.
| Pan control | What it adjusts | Typical use |
|---|---|---|
| Left/Right | Balance between left and right speaker sets | Placing a source's horizontal position |
| Front/Back | Balance between front and rear speaker sets | Moving a source from screen to surround |
| Rotate | Both axes together, moving a source around the room | A source that needs to travel, like a passing car |
Practical panning decisions for common source types:
Dialogue almost always sits at Center, full front, zero surround content. Panning dialogue into the surrounds, even lightly, tends to make it feel disconnected from the picture, since viewers expect voices to come from the screen, not from behind them.
Music beds commonly sit wide across L and R at the front, sometimes with a light surround bleed for envelopment on a theatrical or premium mix, but rarely centered, since a centered music bed competes directly with centered dialogue for the same channel.
Ambient room tone benefits the most from actually using all five channels. A small amount of the same room tone in Ls and Rs, matched in tone to what's playing in L, C, and R, is what makes a 5.1 mix feel like a space instead of a stereo mix with extra speakers turned on.
Discrete effects tied to picture, a car passing through frame, a door slamming somewhere off to one side, get real spatial payoff from Rotate or a Front/Back move timed to match what's happening on screen. This is the category where 5.1 does something stereo genuinely cannot: a stereo mix can only imply a car moving past camera. A properly panned 5.1 mix can put it behind the audience for a moment.
What is the 3D panner, and when do you actually need it?
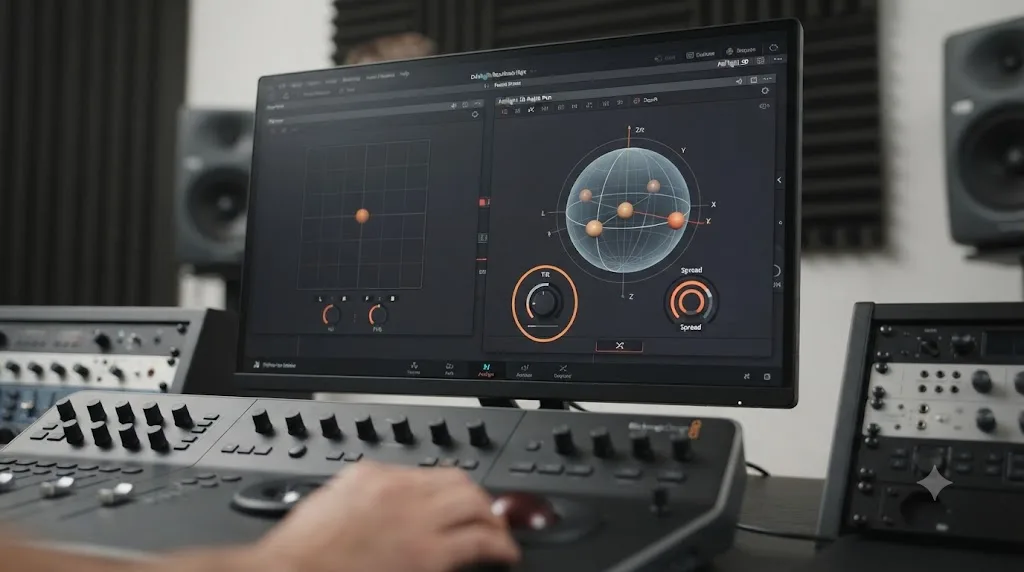
The 3D panner is a Studio-only tool for object-based and immersive audio, opened by Option-double-clicking the pan control on the mixer, and it's a different tool from the standard 2D panner covered above, not an upgraded version of it.
Per Blackmagic's manual, "DaVinci Resolve also supports a 3D Audio Pan window" with additional controls beyond the standard pan interface: Tilt, which vertically rotates the mix "about the center of the room," and Spread, which ranges "from 1 (PNT/Point) to 99 (FULL)" to control how tightly or broadly a source is positioned, per the manual's entry on 3D Audio Pan Controls. These controls exist to place and animate a sound object in a full 3D space, height included, the way Dolby Atmos or Auro-3D require, not to pan a source across the fixed six channels of a discrete 5.1 bus.
For a discrete 5.1 mix, the standard 2D panner covered in the previous section is the correct tool, and it's the free-version tool. The 3D panner becomes relevant the moment your deliverable target is object-based rather than channel-based, Dolby Atmos for a theatrical or premium streaming release, for instance, where sounds are placed as objects with metadata describing their position, and the render engine calculates how to fold that into however many speakers a given room actually has, rather than you manually assigning six fixed channels.
A common point of confusion worth clearing up directly: a 5.1 mix and a 5.1 downmix of an Atmos mix are not the same file, even though both end up as six discrete channels. A native 5.1 mix was built channel by channel from the start. A 5.1 render of an Atmos mix is the renderer's calculated fold-down of an object-based mix into six fixed positions, and the two can sound noticeably different, since the Atmos mix was never balanced with six fixed channels as the target in the first place. If your delivery genuinely requires Atmos, that's outside the scope of a discrete 5.1 tutorial and requires Studio, the 3D panner, and 3D Space View from the ground up.
Where does the LFE channel actually belong, and what should feed it?
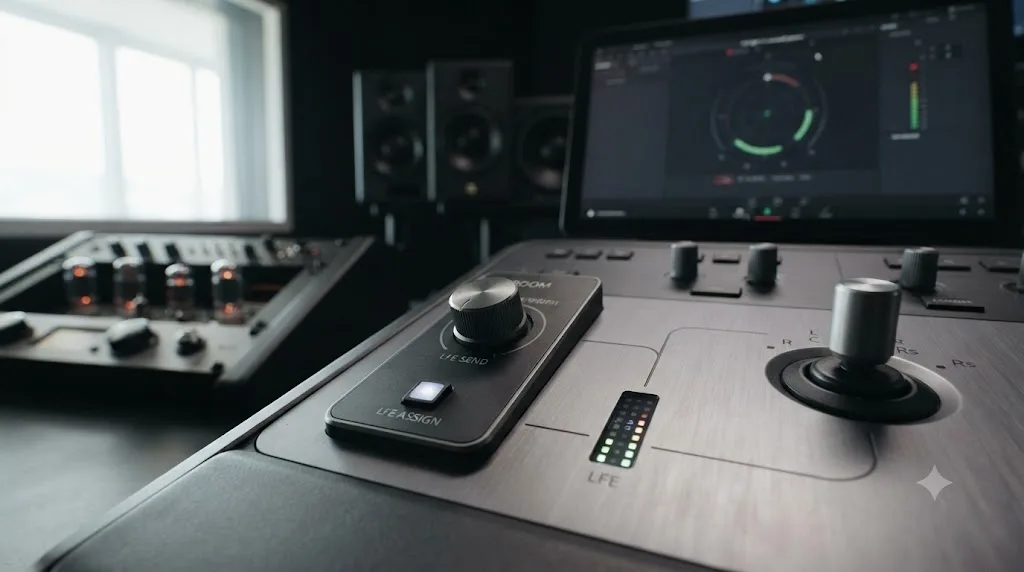
The LFE channel is a dedicated, band-limited effects channel, not a general subwoofer feed for anything low in your mix, and it's fed separately from the panned signal using the Boom control, not by panning a source toward it.
The LFE channel carries deep, intense low-frequency content in roughly the 3 to 120Hz range, and it's band-limited by design, which is exactly what the ".1" in "5.1" refers to: a partial-bandwidth sixth channel, not a seventh full-range speaker, as Wikipedia's entry on low-frequency effects summarizes the format. It also runs with roughly 10dB of additional electrical headroom compared to the five main channels, which is part of why a subwoofer explosion cue can hit so much harder than anything the front channels alone could produce.
In Fairlight, the LFE channel isn't reached through the same pan control that places a source across L, C, R, Ls, and Rs. It's fed through Boom, a dedicated send described in the manual as controlling "the send level to the LFE part of the mix," with an On toggle to enable it and a Pre option that "routes the LFE signal pre fader," so the LFE send doesn't automatically follow the main channel's fader position the way a post-fader send would. Option-clicking the Pre button engages an Only mode that routes a source exclusively to LFE and nowhere else, per Blackmagic's manual entry on 3D Audio Pan Controls.
The LFE channel is not "where the bass goes." It's a dedicated, band-limited effects channel capped around 120Hz, and routing full-range low end into it will make a mix sound broken on a real subwoofer. A kick drum, a bass guitar, and low male dialogue all have energy under 120Hz, but none of that energy belongs on the LFE channel by default, because it's already present in the main channels' full-range signal. Bass management systems in real playback rooms redirect low frequencies from any channel to a subwoofer automatically, a process Wikipedia's entry on bass management describes as routing bass content "irrespective of channel, to loudspeakers capable of reproducing it". The LFE channel exists specifically for deliberate low-frequency effects, explosions, impacts, deep rumbles designed as a discrete creative choice, not as a dumping ground for anything under 200Hz in the mix.
Practical LFE discipline for a real project:
- Send genuine low-frequency effects, an explosion, a building collapse, a deep impact, to LFE deliberately through Boom, and keep the level conservative given the extra headroom the channel runs with.
- Don't route a full mix bus or a music bed to LFE by default. If your score has real low end, it already lives in L, R, Ls, and Rs at full bandwidth; duplicating it into LFE just adds mud, not impact.
- Low-pass anything you do send to LFE. Full-range content routed to a band-limited channel doesn't get filtered automatically just because it landed on the LFE bus; you still need a low-pass filter around 120Hz on that specific send if the source itself carries content above that range.
How do you monitor a 5.1 mix without five speakers and a subwoofer?
Fairlight can fold a 5.1 bus down to a stereo monitoring path, letting you check relative balance, panning, and intelligibility on ordinary stereo speakers or headphones, even though that fold-down can't tell you how the LFE channel actually feels on a real subwoofer.
This isn't a hypothetical problem. Most editing and mixing setups, even professional ones, don't have a calibrated 5.1 room sitting next to every workstation. Nikolai Waldman, writing under the name Niwa, describes the underlying friction plainly: "Since Fairlight was introduced it has been a bit of a problem to setup a timeline to just monitor a 5.1 mix," in his guide to monitoring 5.1 in Resolve. His fix uses the same link-group and bus-format mechanics covered earlier in this guide, building a proper 5.1 bus specifically so its output can be folded to a stereo monitor path for day-to-day work, rather than trying to judge a surround mix on two speakers with no fold-down at all.
What a stereo or headphone fold-down monitoring pass genuinely tells you:
- Whether dialogue stays intelligible once it's competing with everything else in the mix.
- Whether the overall balance between Dialogue, Music, and Effects buses feels right.
- Whether a panned effect is audibly present and roughly where you intended it, even if the exact spatial position folds down differently than it will on a real surround system.
What it cannot tell you:
- How the LFE channel actually feels physically, since a subwoofer's low-frequency reproduction isn't something headphones or small stereo monitors reliably represent.
- Whether the surround-specific spatial separation between Ls and Rs reads correctly, since a stereo fold-down collapses two discrete surround channels into a shared stereo image.
- Whether the mix holds up in an actual theatrical or living-room 5.1 setup, where speaker placement, room acoustics, and bass management all interact in ways a fold-down monitor path doesn't simulate.
If a genuine surround delivery is riding on a project, a final pass in a real, even modestly equipped, 5.1 room before locking the mix is worth the trip. Stereo and headphone monitoring during the build is a legitimate, necessary workflow. Treating it as a substitute for a real playback check before final delivery is how a mix that sounded fine at the desk comes back with notes about LFE levels nobody could actually hear while building it.
How do you upmix a stereo mix to 5.1 in DaVinci Resolve?
Upmix a stereo mix to 5.1 by setting your bus format to 5.1, loading an upmixing plugin on the receiving bus, and rendering with one output track per channel, using a plugin like Penteo 16 Pro, officially supported in Fairlight, or DTS Neural UpMix, which works but isn't officially supported.
This situation comes up more often than a from-scratch 5.1 mix does: a film delivered originally in stereo now needs a surround master for a festival, a theatrical booking, or a platform that requests one, and there's no multitrack session left to rebuild from, just the finished stereo file.
Knut Erik Evensen, who has tested upmixing solutions across hundreds of short and feature films for film festival delivery and monitored the results in actual cinema auditoriums, lays out the process:
- Set the bus format to 5.1 through Fairlight, then Bus Format, the same steps covered earlier in this guide.
- Add an upmixing plugin, DTS Neural UpMix or Penteo 16 Pro, to the bus receiving the stereo signal, per Evensen's guide to upmixing to 5.1 in Resolve.
- Configure the plugin's settings and test with playback before committing.
- Export as 32-bit float WAV files with "Render one track per channel" enabled, so the six channels land as genuinely discrete outputs rather than a single interleaved file that might get remapped wrong downstream.
| Plugin | Price | Resolve support | Method |
|---|---|---|---|
| Penteo 16 Pro | $499 | Officially supported | Phaseless upmixing algorithm |
| DTS Neural UpMix | $249 | Not officially supported, works when tested | Phase and intensity analysis |
Upmixed 5.1 is a reconstruction, not a recording, and it will never separate sounds that were never captured separately in the first place. An upmixing algorithm can only work with the phase and intensity relationships already present in a stereo file, deciding what probably belongs at center, what probably belongs in the surrounds, and redistributing accordingly. It cannot recover a dialogue track that was recorded bleeding into a music bed on the same stereo pair, because that separation never existed to begin with.
Evensen's testing surfaces an important limit specific to older material: "older movies in stereo were mixed using a Dolby surround encoder. Films not mixed in Dolby surround will not always work using a normal 5.1 upmix, then I use a LCR upmix," as he describes in the same guide. A source encoded with Dolby Surround's original matrix already carries some directional information a standard upmix algorithm can extract cleanly. A source that was never encoded that way gives the algorithm less to work with, and a simpler LCR (Left, Center, Right) upmix, which doesn't attempt to generate surround content at all, sometimes produces a more honest, less artifact-prone result than forcing a full 5.1 spread out of material that was never mixed with directionality baked in.
Before treating an upmix as final, verify loudness against your actual delivery target, since redistributing a stereo mix across six channels changes the summed level Resolve's meters will report, and a mix that measured correctly in stereo won't automatically measure correctly once it's spread across five main channels and an LFE send.
How loud should a 5.1 mix be for Netflix, broadcast, or streaming delivery?
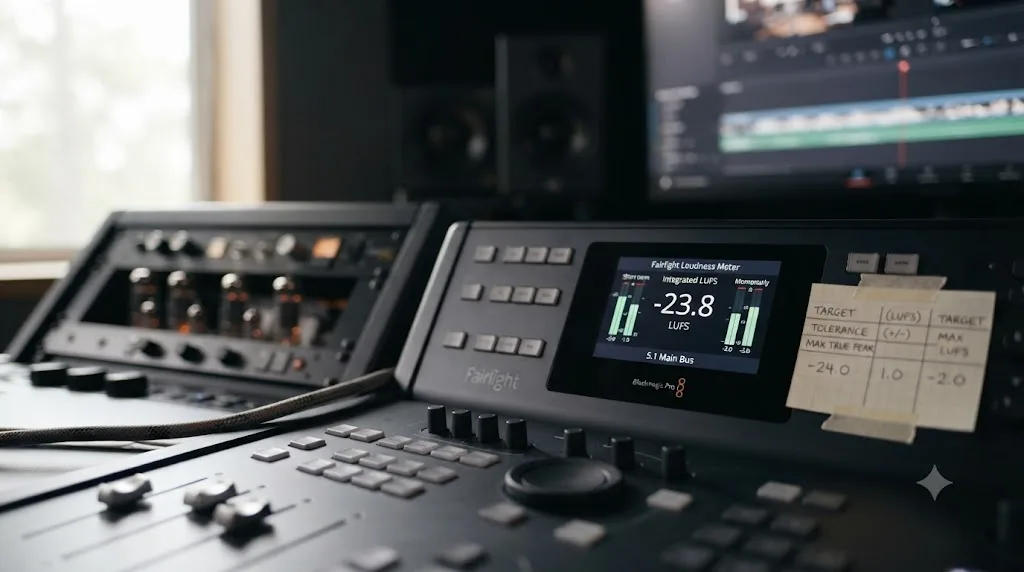
Netflix requires -27 LKFS dialogue-gated loudness measured per ITU-R BS.1770-1, US broadcast under ATSC A/85 targets -24 LKFS, and European broadcast under EBU R128 targets -23 LUFS, all measured on the finished multichannel mix, not on any single channel in isolation.
This is the step most likely to bounce a finished mix back from QC, because it's invisible at the mixing desk. A 5.1 mix can sound perfectly balanced on your monitors and still fail delivery on paper, because loudness compliance is a measurement against a published spec, not a subjective call about whether the mix feels right.
| Delivery target | Loudness spec | Value | True peak ceiling |
|---|---|---|---|
| Netflix | ITU-R BS.1770-1, dialogue-gated | -27 LKFS (+/- 2 LU) | -2 dBFS (+18dBu over -20dBFS reference) |
| US broadcast | ATSC A/85 | -24 LKFS | Set by dialnorm metadata |
| European broadcast | EBU R128 | -23 LUFS (+/- 1 LU) | -1 dBTP |
A 5.1 mix that passes on your monitors can still fail delivery on paper, because loudness compliance is measured, not heard. Netflix's own sound mix specification states the requirement directly: "Meet a -27 LKFS (+/- 2 LU) dialogue loudness using ITU-R BS.1770-1 measured over entire program," with a true peak ceiling described as "Do not exceed +18dBu (-2 dBFS) maximum level (true-peak) over reference of -20 dBFS," per Netflix's Sound Mix Specifications and Best Practices. That -27 LKFS target sits noticeably quieter than the -14 LUFS most web platforms normalize toward, a difference our loudness normalization and LUFS guide covers in full for every common platform target, not just broadcast and streaming ones.
US broadcast works differently. ATSC A/85, the recommendation given legal force by the CALM Act, targets -24 LKFS, but it's enforced through a metadata parameter called dialnorm, carried in the AC-3 bitstream, that tells a receiving device how far the program's average dialogue level sits below 0 LKFS. An incorrectly set dialnorm value can cause loudness variation as large as 30dB on playback, even when the underlying mix itself measures correctly, per the technical background behind ATSC A/85. That means a broadcast-bound 5.1 mix needs both the mix itself at the right level and the correct dialnorm value set in the delivery metadata, two separate checks, not one.
European broadcast under EBU R128 is comparatively simpler to hit: a -23 LUFS integrated target with a +/- 1 LU tolerance and a -1 dBTP true peak ceiling, as documented by Critical Listening Lab's breakdown of the standard. Unlike Netflix's dialogue-gated measurement, EBU R128's integrated loudness reading factors in the whole program, which matters for a mix with long stretches of ambience or music where dialogue gating would otherwise ignore those sections entirely.
Whichever target applies, read the number on Fairlight's Loudness Meter after a complete playthrough of the finished mix on the Main bus, the same practice covered for stereo mixes in our loudness normalization guide, and confirm nothing was left muted or soloed during the check, since a soloed bus reports that bus's loudness alone, not the finished program's.
How do you downmix a 5.1 mix to stereo correctly?
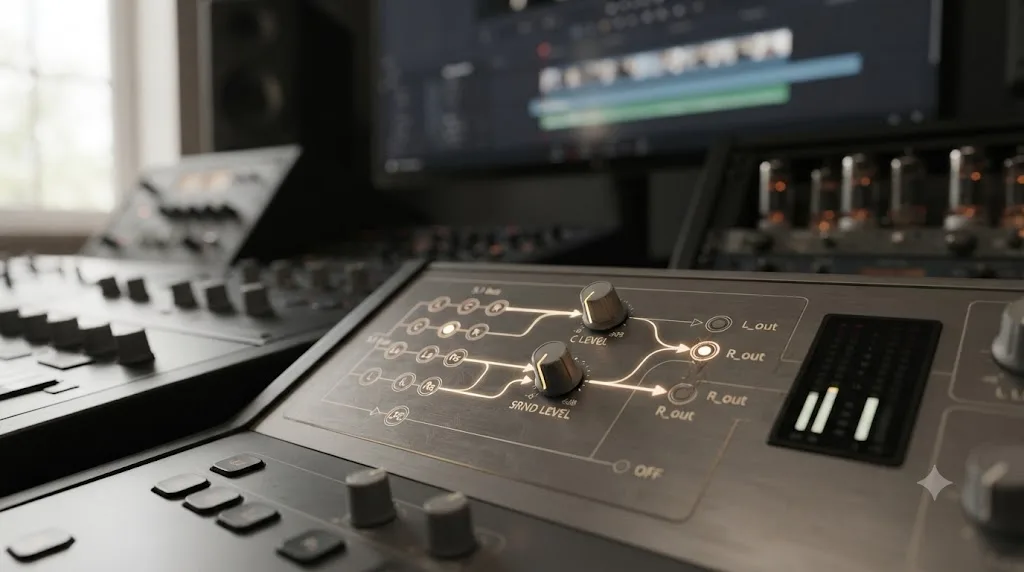
Downmix 5.1 to stereo by folding Center content into both L and R at a reduced level, folding the surround channels into their corresponding front channel at a reduced level, and optionally including a low-passed portion of the LFE channel, applying every adjustment to the individual 5.1 channels before the actual fold-down, not after.
Almost every 5.1 deliverable also needs a stereo (Lo/Ro or Lt/Rt) version, since plenty of viewers watch on a laptop, a phone, or a TV with no surround system at all. Netflix's own specification for building that stereo version from a 5.1 master lays out the exact coefficients:
- Lower Center channel content by -3dB, then include it in both the LEFT and RIGHT channels.
- Lower Surround channel content by a minimum of -3dB, folding Left Surround and Right Surround content into the corresponding LEFT and RIGHT channels.
- Optionally include the LFE channel between -8dB and -12dB, folded into both LEFT and RIGHT, with the LFE content low-pass filtered at 200Hz or lower before it's folded in, per Netflix's Sound Mix Specifications and Best Practices.
All of these adjustments happen on the individual 5.1 channels before folding, not as a blanket adjustment applied after the fact to an already-summed stereo file. That ordering matters because a -3dB reduction applied to Center before the fold produces a different, correct result than reducing an already-folded stereo mix by some approximate amount afterward and hoping it lands close.
A 5.1 mix that was never checked in stereo will surprise you the first time someone watches it on a laptop. A center-heavy dialogue mix that sounds perfectly balanced across five speakers can sound thin or oddly quiet once it's folded to two, if the fold-down math wasn't accounted for during the original mix. This is exactly why Netflix, and most other platforms with a 5.1 deliverable spec, ask for both a 5.1 file and a Lo/Ro stereo file built from it, rather than assuming either one covers every viewer.
Practically, in Fairlight, this means routing a copy of your finished 5.1 bus through a downmix stage with these specific coefficients applied, rather than simply changing the Main bus's output format from 5.1 to stereo and rendering, which typically applies a generic fold-down rather than the specific gain-staged coefficients a spec like Netflix's actually requires. If your delivery target publishes its own downmix coefficients, as most professional specs do, those numbers take precedence over any platform's generic default.
How do you export a 5.1 mix from the Deliver page?
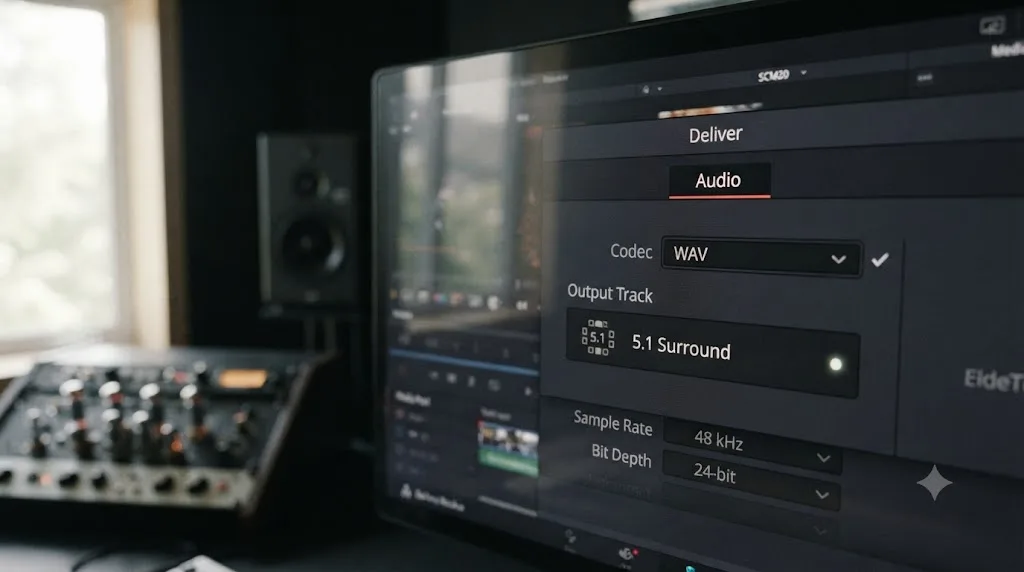
Export a 5.1 mix from the Deliver page's Audio tab by setting the audio format to WAV, confirming the output track shows 5.1, and verifying Fairlight's own Bus Format is still set to 5.1 immediately before rendering, since Resolve renders whatever bus format is actually active, not whatever your files are named or how the timeline looks.
The Deliver page renders the output of whichever bus you've designated as your master, producing a final bounced file rather than re-deriving the mix from scratch at export time. The core steps:
- Open the Deliver page and click the Audio tab in the settings panel.
- Change the audio codec dropdown to WAV, the format most commonly expected for discrete multichannel delivery.
- Confirm the output track's channel configuration shows 5.1, not stereo.
- Set your destination and add the job to the render queue.
- Render, then verify the resulting file's channel count and playback before considering the export final.
Resolve renders whatever bus format the Fairlight page is set to, not whatever format the file is named after. This is the single most common way a 5.1 export goes wrong, and it's a workflow trap rather than a bug: "Despite having a 5.1 file, Davinci Resolve's default settings often stubbornly stick with stereo output" unless the bus format is explicitly confirmed as 5.1 immediately before export, as one practical export walkthrough describes the gotcha. It's entirely possible to build a correct 5.1 bus structure, mix it correctly, and then export from a session where the bus format quietly reverted to stereo, or where a render preset built for an earlier stereo delivery got reused without updating its audio settings. Reopening Fairlight, then Bus Format, and confirming the bus feeding your Main output still reads 5.1 takes ten seconds and catches this before it becomes a re-render.
The Deliver page's Audio tab also offers loudness standard presets that can normalize a deliverable automatically to a selected target as part of the render, useful once you've confirmed your finished mix already sits close to that target, since automated normalization at render time is a safety net, not a substitute for actually mixing and checking against the number during the session.
For DCP or other professional container formats, delivery specs commonly ask for either a single interleaved 5.1 WAV file, container files with embedded discrete channels (QuickTime or MXF), or six separate discrete mono files, and it genuinely matters which one a given spec expects, since a discrete mono set with no channel labeling can get remapped incorrectly downstream if the receiving system has no way to know which file is which channel. Confirm the exact deliverable format your recipient expects before rendering, not after.
What does a full 5.1 mix workflow look like start to finish?
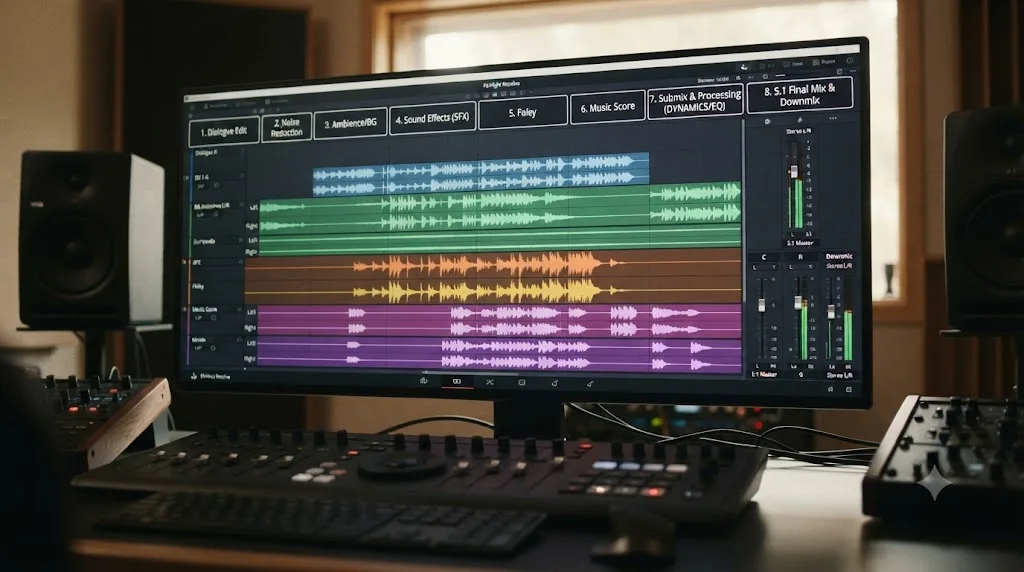
Here's the entire process applied in order, on a realistic 15-minute short film with three dialogue tracks, a score, location ambience, and a handful of hard effects, delivering both a 5.1 master and a Netflix-spec stereo downmix.
Step one, bus setup. Create a 5.1 bus, format set to standard "5.1" (not "5.1 Film," since this project delivers to a streaming platform expecting DCP-standard channel order). Build Dialogue, Music, and Effects category buses as usual, and route all three into the 5.1 bus.
Step two, gain staging and dialogue processing. Gain-stage every clip, then EQ and compress the Dialogue bus exactly as covered in our Fairlight mixing guide, subtractive EQ first, a 2.5:1 compressor second. None of this changes for surround.
Step three, panning. Center all three dialogue tracks. Spread the score across L and R at the front, with a light bleed into Ls and Rs for envelopment during the more atmospheric cues. Pan location ambience across all five main channels so the room feels present, not just visible. Use Rotate on the one effect that actually needs it, a motorcycle passing behind camera in a key scene, timed to match its movement in picture.
Step four, LFE. A single explosion cue near the film's climax gets a deliberate Boom send to LFE, low-passed and kept conservative given the channel's extra headroom. Nothing else in the mix touches LFE.
Step five, monitoring check. Fold the 5.1 bus to stereo and check dialogue intelligibility and overall balance on studio monitors, since a full 5.1 room isn't available for every pass. A final check happens later in an actual surround-equipped room before lock.
Step six, loudness. This project delivers to a platform following Netflix's spec, so the target is -27 LKFS dialogue-gated per ITU-R BS.1770-1, true peak under -2 dBFS. Read Integrated on the Main bus after a full playthrough and adjust until it lands within the +/- 2 LU tolerance.
Step seven, downmix. Build a stereo version from the finished 5.1 mix using Netflix's fold-down coefficients: Center attenuated -3dB into both L and R, surrounds attenuated -3dB into their corresponding front channel, LFE optionally folded in at -8 to -12dB with a 200Hz low-pass first.
Step eight, export. Confirm Fairlight's Bus Format still reads 5.1 for the surround master, render as WAV with the output track set to 5.1. Repeat for the stereo downmix bus, confirming its output track reads stereo before that render.
Eight steps, and every one of them exists because surround adds a dimension stereo doesn't have, spatial placement, a dedicated LFE channel, and a fold-down relationship between two different deliverables that both have to be correct independently.
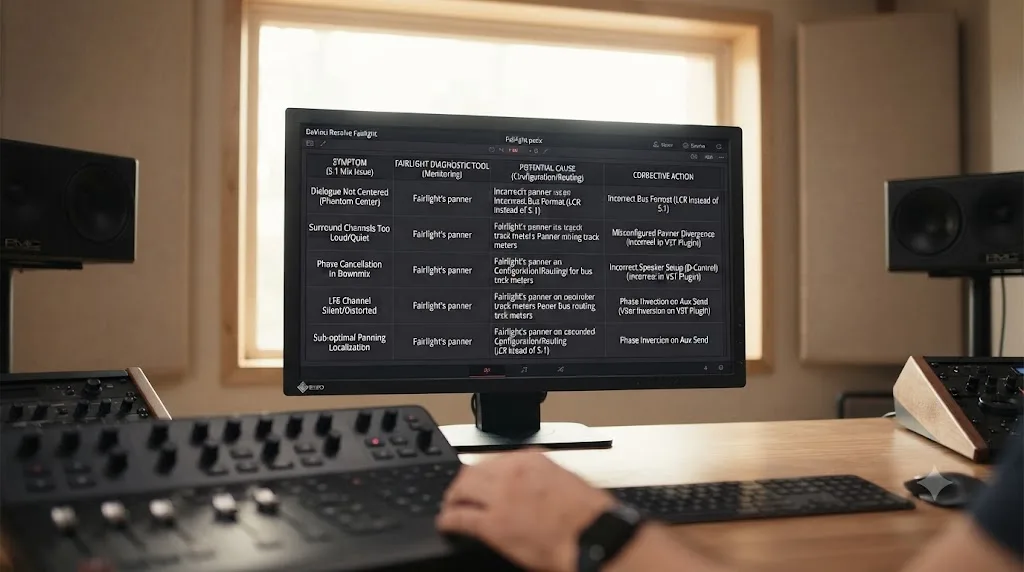
Which symptom points to which 5.1 mixing problem?
Match what you're actually hearing or seeing in the meters to the row below before opening a settings panel at random.
| Symptom | Most likely cause | Fix |
|---|---|---|
| Dialogue plays from the wrong channel, or LFE content plays as dialogue | Wrong 5.1 bus order (5.1 vs 5.1 Film) selected | Reopen Bus Format and confirm channel order matches your delivery spec |
| 5.1 export plays back as stereo | Fairlight Bus Format reverted or was never confirmed before render | Reopen Fairlight, then Bus Format, and verify 5.1 is active before rendering |
| Low end sounds muddy or doubled on a real subwoofer | Full-range content routed to LFE instead of a genuine effects-only send | Route only deliberate low-frequency effects to LFE via Boom, low-pass first |
| Mix sounds fine on monitors but fails a delivery QC loudness check | Loudness never measured against the actual delivery spec | Read Integrated LUFS/LKFS on the Main bus against the platform's published target |
| Stereo downmix sounds thin or unbalanced compared to the 5.1 master | No proper fold-down coefficients applied, or applied after summing instead of before | Apply Center and Surround attenuation to individual channels before folding, per your spec |
| Upmixed 5.1 sounds artificial or oddly directional on older stereo material | Source wasn't originally encoded with Dolby Surround directionality | Try an LCR upmix instead of a full 5.1 spread |
| A linked 5.1 clip from six mono files plays back with channels swapped | Wrong 5.1 format chosen during Link Group | Relink using the format that matches your source files' actual channel order |
| Surround image collapses to mono or near-mono on playback | Phase or timing mismatch between channels, or LFE bleeding full-range content into other channels | Check phase and confirm LFE send isn't leaking into the panned signal |
| 3D panner or Atmos options are missing from the mixer | Running the free version, not Studio | Confirm Studio license if object-based delivery is genuinely required |
What mistakes wreck a 5.1 mix even when every individual setting looks reasonable?
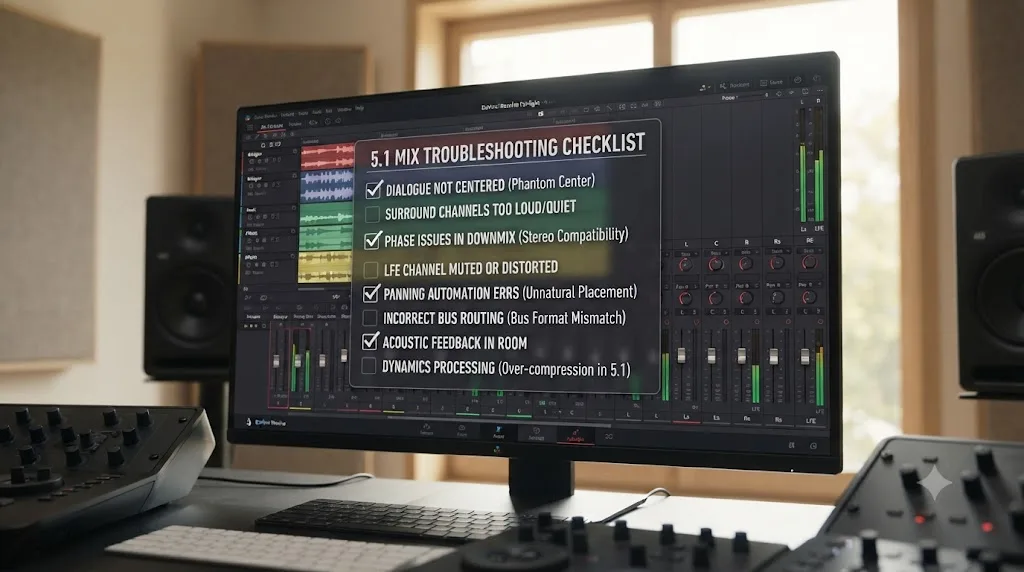
A handful of habits account for most surround mixes that pass every individual check and still come back with delivery notes.
Treating LFE as a bass bus. Routing a full mix bus, a music bed, or anything beyond deliberate low-frequency effects into LFE produces a mix that sounds muddy and overpowered the moment it hits a real subwoofer, even though it may have sounded fine folded to stereo or headphones where LFE-specific issues don't reliably show up.
Never checking the mix folded down to stereo. A 5.1 mix that only ever gets auditioned in 5.1 can hide a downmix problem until the stereo deliverable actually ships and someone watches it on a laptop. Build and check the fold-down early, not as an afterthought after the surround master is already locked.
Assuming the bus format at export matches the bus format during mixing. This is the specific trap covered in the export section: confirming Bus Format once at the start of a session doesn't guarantee it's still set correctly hours or days later, especially across multiple render sessions or reused presets. Check it every time, immediately before rendering.
Skipping the loudness spec because the mix "sounds right." A 5.1 mix that sounds well-balanced at the desk can still land well outside a Netflix, ATSC, or EBU target, because those targets are measured values, not subjective ones. Read the actual number before calling a mix delivery-ready.
Choosing "5.1 Film" out of habit from a Pro Tools background without checking what the delivery spec actually expects. The channel order mismatch covered earlier is easy to avoid with one check and genuinely disruptive to fix after the fact, since it usually means re-exporting from a corrected bus rather than a quick metadata patch.
Forgetting that upmixed 5.1 needs its own loudness check. Redistributing a stereo mix across six channels changes the summed level Resolve's meters report. A stereo source that measured correctly before upmixing doesn't automatically measure correctly after, so treat the loudness check as a step in the upmix workflow, not something already handled by the original stereo mix.
What's the fastest pre-mix checklist before you start a 5.1 project?
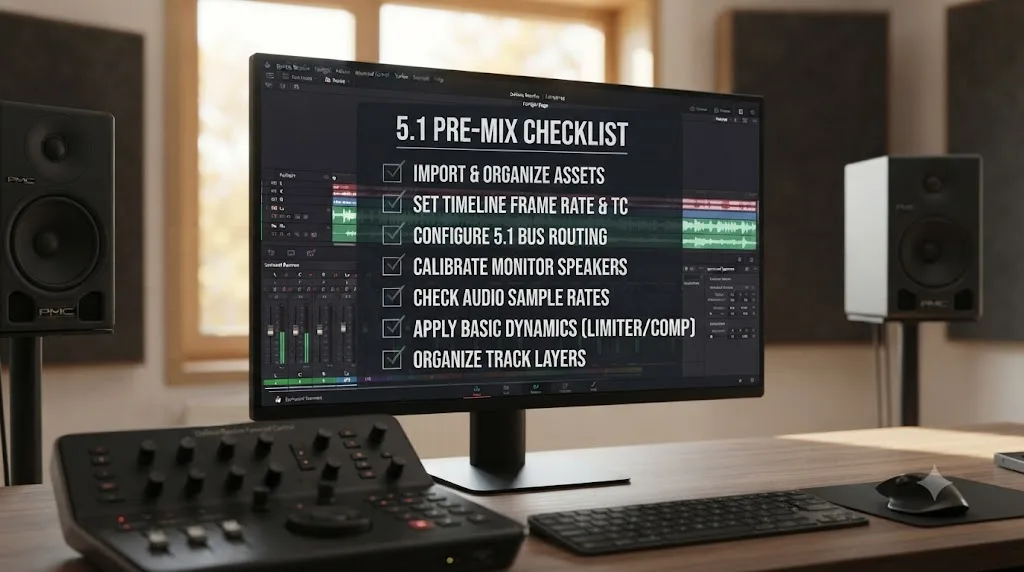
Seven checks, worked in order, cover the structure every 5.1 mix in this guide depends on.
- Bus format confirmed, not assumed. Standard "5.1" or "5.1 Film," matched deliberately to your delivery spec, not picked by habit.
- DME buses route into the 5.1 bus. Dialogue, Music, and Effects all feed the surround bus, not a leftover stereo Main bus from a copied project template.
- Dialogue centers on Center. Not phantom-imaged between L and R the way it would in a stereo mix.
- LFE gets deliberate sends only. Nothing routes to LFE by default; every send there is a specific creative decision, low-passed and conservative.
- A fold-down monitoring path exists. You can check the mix on stereo speakers or headphones without a full surround room for every pass.
- Loudness target identified before mixing starts, not after. Netflix, ATSC, EBU, or a platform's own published spec, known in advance so the final check isn't a surprise.
- Bus Format reverified immediately before every render. Not once at project setup, every single time you're about to export.
If keeping track of which bus format matches which delivery spec, and where the LFE Boom control actually lives versus the main pan knob, is the part that eats your afternoon, that's a real, specific gap. TryUncle is the on-screen assistant for DaVinci Resolve on macOS. Ask in plain words and Uncle points at the exact control on your screen, instead of sending you back through a manual page for a setting you needed twenty seconds ago.
What should you actually remember from all of this?
A 5.1 mix in DaVinci Resolve starts with one deliberate choice, standard "5.1" or "5.1 Film," made once and verified before every render, not assumed. From there, the same DME bus structure, gain staging, EQ, and compression that work for stereo carry over directly, with panning and a dedicated LFE send layered on top to actually use the five main channels and the subwoofer feed the way they're meant to be used. Loudness compliance is a measured number, not a feeling, and it's different for every delivery target, Netflix, ATSC broadcast, EBU broadcast, each with its own published spec worth checking before, not after, a mix gets called finished.
None of this requires DaVinci Resolve Studio, as long as the deliverable is a discrete 5.1 mix rather than an object-based format like Dolby Atmos. The bus formats, the 2D panner, LFE routing through Boom, and everything else covered here ship in the free version. What separates a 5.1 mix that clears delivery from one that bounces back with notes was never the price of the software. It was checking the bus format one more time before hitting render, and reading the loudness meter instead of trusting your ears alone on a spec built to be measured.
Frequently asked questions
- How do I set up 5.1 surround sound in DaVinci Resolve?
- Open the Fairlight menu and choose Bus Format, add a bus, name it, and set its Format to 5.1. Route your Dialogue, Music, and Effects buses into that 5.1 bus through Bus Assign, then pan each source across the L, C, R, Ls, and Rs channels with the mixer's pan control. Send low-frequency content to the LFE channel separately using the Boom control, not by panning.
- Do I need DaVinci Resolve Studio for 5.1 surround mixing?
- No, not for a standard discrete 5.1 mix. Bus formats up to 5.1 and 7.1, the 2D panner, and LFE routing are part of the free version's Fairlight page. Studio is required for the 3D panner, 3D Space View, and object-based immersive formats like Dolby Atmos, MPEG-H, and Auro-3D, along with Voice Isolation and the DaVinci Neural Engine's other AI audio tools.
- What's the difference between the "5.1" and "5.1 Film" bus formats in Fairlight?
- They order the same six channels differently. Standard "5.1" follows L, R, C, LFE, Ls, Rs, the order used by DCPs and most streaming deliverables. "5.1 Film" follows L, C, R, Ls, Rs, LFE, the mapping common in Pro Tools sessions. Picking the wrong one for your delivery target silently swaps which channel carries center dialogue and which carries the subwoofer feed.
- How loud should a 5.1 mix be for Netflix or broadcast delivery?
- Netflix asks for -27 LKFS dialogue-gated loudness measured per ITU-R BS.1770-1, with true peak under -2 dBFS. US broadcast under ATSC A/85 targets -24 LKFS. European broadcast under EBU R128 targets -23 LUFS with a -1 dBTP peak ceiling. All three are stricter and quieter than typical web platform targets, and none of them are optional if you're delivering to that platform.
- Can I upmix a stereo mix to 5.1 in DaVinci Resolve?
- Yes, using a bus-level upmixing plugin like Penteo 16 Pro, which is officially supported in Fairlight, or DTS Neural UpMix, which works but isn't officially supported. Set your bus format to 5.1, load the plugin on the Main bus, and export with one track rendered per channel. Upmixed 5.1 is a reconstruction of a stereo mix, not a genuine multichannel recording, and it won't separate sounds that were never captured on separate channels to begin with.
- Why does my 5.1 export play back in stereo even though I set up a surround bus?
- DaVinci Resolve renders whatever bus format the Fairlight page's Bus Format is actually set to at export time, not whatever format your source files were named after or how your timeline looks. Reopen Fairlight, then Bus Format, and confirm the bus feeding your Main output still shows 5.1 before you render, since it's easy to build the structure correctly and then export from the wrong bus.
- How do I monitor a 5.1 mix if I don't have five speakers and a subwoofer?
- Fairlight can fold a 5.1 bus down to a stereo monitoring path so you can check relative levels and panning decisions on regular stereo speakers or headphones before a proper surround room ever gets involved. It won't tell you how the LFE channel actually feels on a real subwoofer, so treat headphone or stereo monitoring as a check on balance and intelligibility, not a final approval of the low end.
Sources
- DaVinci Resolve - Fairlight product page (Blackmagic Design)
- DaVinci Resolve - What's New (Blackmagic Design)
- DaVinci Resolve Studio product page (Blackmagic Design)
- DaVinci Resolve Manual - Tracks and Busses (Blackmagic Design)
- DaVinci Resolve Manual - FlexBus Routing and Mixing (Blackmagic Design)
- DaVinci Resolve Manual - The 3D Audio Pan Controls (Blackmagic Design)
- ITU-R BS.775-1: Multichannel Stereophonic Sound System Layout
- Netflix Sound Mix Specifications & Best Practices v1.6 (Netflix Partner Help Center)
- ATSC A/85:2013 Techniques for Establishing and Maintaining Audio Loudness
- Critical Listening Lab: EBU R128, European Broadcast Loudness Standard
- Wikipedia: Low-frequency effects
- Knut Erik Evensen: Adding 5.1 WAVs and QT/MXF in Resolve Explained
- Knut Erik Evensen: Upmixing to 5.1 in Resolve with Penteo or DTS Neural Upmix
- Niwa (Nikolai Waldman): Monitoring 5.1 in Resolve, the easy way
- Mixing Light (Joey D'Anna): How To Set Up and Deliver Dolby ATMOS in Resolve 17
- CineD: DaVinci Resolve - An In-Depth Comparison Between the Free and Studio Version
- Color Culture: Export 5.1 Audio From DaVinci Resolve
Keep reading
Guides · Jul 11, 2026 · 31 min
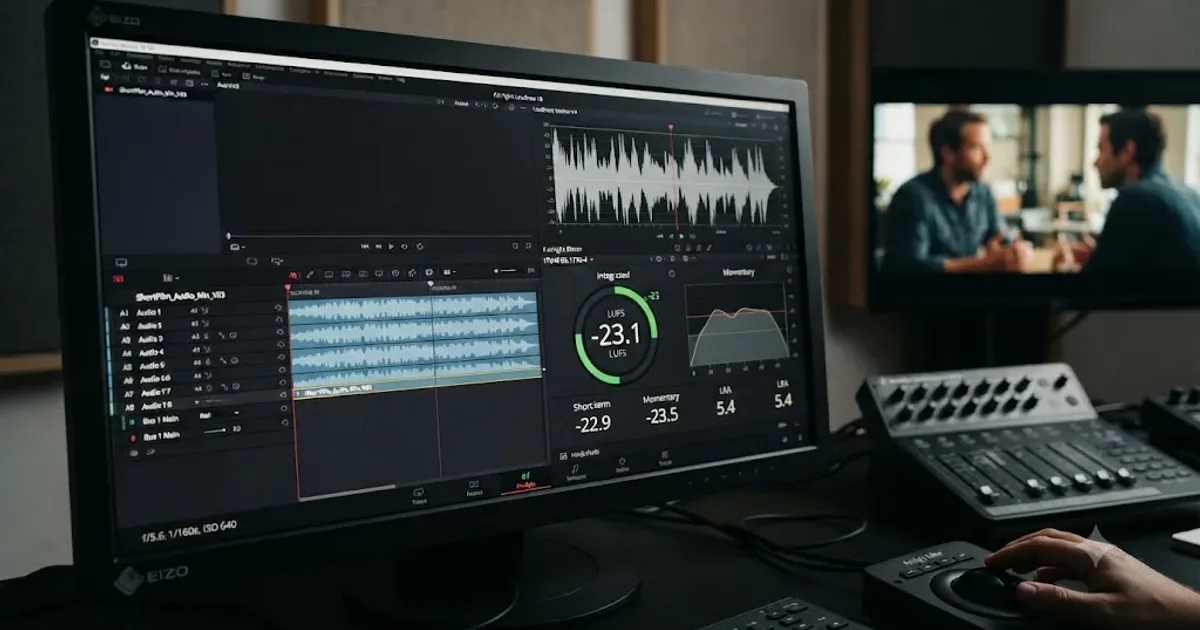
How to Mix Audio in DaVinci Resolve Using Fairlight
Mix audio in DaVinci Resolve's Fairlight page: build a dialogue/music/effects bus structure, gain-stage your clips, EQ and compress dialogue, then duck music under it.
Guides · Jul 8, 2026 · 33 min
DaVinci Resolve Loudness Normalization: The Right LUFS Target
The exact LUFS target for every platform in DaVinci Resolve: -14 for YouTube and Spotify, -16 for podcasts, -23 EBU R128 broadcast. Plus how to set and hit it.
Comparisons · Jul 7, 2026 · 28 min
DaVinci Resolve Studio Price: Free vs. Studio Cost, Explained
DaVinci Resolve Studio costs $295, paid once, not monthly. Here's exactly what that buys, how it stacks up against Premiere Pro and Final Cut Pro, and who needs it.