Articles / Guidesupdated for DaVinci Resolve 21.1 (September 2026)
DaVinci Resolve Professional Color Grading Node Order
Quick answer
For DaVinci Resolve professional color grading node order, use a sequence that follows your image pipeline: manage or transform color space, balance exposure and color, match shots, make targeted corrections, shape the look, then handle output-specific finishing. That is a practical default, not a rule. Serial nodes process in sequence; use parallel or layer structures when their different mixing behavior solves a real problem.
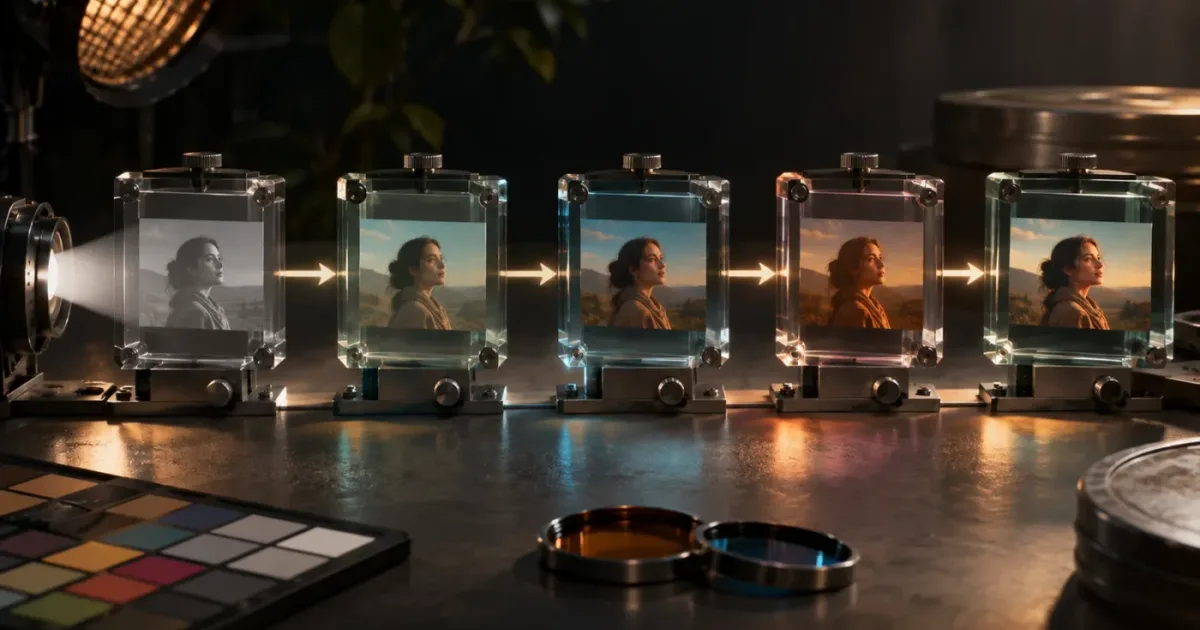
A node graph can look tidy and still give you the wrong order. Move one operation, and a key, transform, or look may behave differently because it receives different image data. I start by asking what each node needs to see.
As of October 2026, this reference is for DaVinci Resolve 21.1. The core idea is stable across recent versions: a node graph is a processing path, not a checklist of named boxes. The best order is the one that makes the image pipeline clear and keeps each adjustment easy to judge.
What is the right DaVinci Resolve professional color grading node order?
A practical starting order is input color management, balance, shot matching, targeted corrections, creative look, and output finishing. That sequence is a reference structure, not a commandment: move an operation when the color pipeline, shot, or effect requires it.
The most important question is not “Which node number does a professional use?” It is “What image does this node receive, and what should it change?” In a serial chain, each node receives the result of the preceding node. Change the order, and you change the data available to downstream work. Blackmagic’s Colorist Guide to DaVinci Resolve 20 teaches node order as a subject for judgment, including the use of mixer nodes, rather than as one universal numbered recipe.
Here is a baseline you can adapt:
| Stage | Typical job | Why it sits here |
|---|---|---|
| Input interpretation | Camera RAW settings or input transform, if needed | Establishes how the source is interpreted for the rest of the grade |
| Balance | Exposure, contrast, and neutral color correction | Creates a stable starting image |
| Match | Bring related shots into visual continuity | Makes differences between shots easier to judge |
| Targeted correction | Qualifiers, windows, keys, or tracked adjustments | Changes a selected subject or region without making the whole image carry the correction |
| Creative look | Contrast character, palette, or other scene-wide choices | Shapes the mood after the technical foundation is understood |
| Finishing | Texture, output transform, or delivery-specific work where appropriate | Prepares the result for the defined output without hiding earlier decisions |
The table is useful when you need a starting point, but the label alone does not decide placement. A vignette might be a finishing adjustment in one node-managed workflow. In another, its relationship to a transform or other effects may call for a different position. A camera input transform may belong near the beginning of a node-managed chain. With project-level color management, Resolve handles important parts of that pipeline outside the clip node chain.
A professional node order is a readable signal path, not a magic list of node names.
The sample structures below are worked examples. They explain how to reason about order; they are not observed tests, guaranteed presets, or a claim that every colorist should grade this way. For a broader walkthrough of basic corrections, see how to color grade in DaVinci Resolve. For the distinction between grading-workflow stages and node order, see DaVinci Resolve color grading workflow order.
How does node order change what a correction does?
Node order changes the image data available to each downstream operation. A serial node receives the output of the node before it, so a correction later in the chain is not working on the untouched source unless you deliberately build a structure that gives it that source.
Think of a serial chain as a sequence of instructions applied to an image. If the first operation changes contrast, the next operation sees that contrast change. If a later key selects a color, it evaluates the image at its point in the chain, not necessarily the original camera values. That distinction can affect the key’s appearance and the adjustment that follows it.
This is why the “same correction” can behave differently after you move it. The controls haven’t necessarily changed. Their input has.
Consider a worked example: a log shot looks flat, and you want to isolate a green sign. If you first normalize or transform the image, the sign’s color and contrast relationship may change before the qualifier sees it. If you build the key before that change, the qualifier sees a different version of the image. Neither order is automatically right. Inspect the key and the final picture, then choose the order that gives you a stable selection and the intended look.
A node’s job matters more than its label. “Skin” does not tell you whether the node contains a key, a color adjustment, a window, or several tools together. “CST” does not tell you whether it is an input or output transform. Label nodes by the task they perform, and keep distinct operations separate when that makes later changes easier.
Node order also affects troubleshooting. If a correction seems too strong, temporarily bypass nearby nodes and compare the image. If the key changes dramatically when you bypass an upstream node, that earlier operation is changing the material the key receives. If a creative look makes a secondary correction harder to control, ask whether the key should be built before or after that look, or whether a branch structure is more suitable.
Do not treat every visible difference as a problem with the node graph. A clip may have an incorrect camera RAW interpretation, a mismatched input color space, or a project color-management setting that changes the image before the clip grade. Resolve’s official color page overview describes its node editor as a flow-chart-like workspace. The graph is one part of the pipeline, not a substitute for understanding the project’s color settings.
A reliable mental model has three questions:
- What does this node receive?
- What change does it make?
- What should the next node receive?
If you can answer those questions, you can explain why a node belongs where it does. If you can’t, simplify the graph until the answer becomes visible.

Should color management go first or last in a node graph?
Color management belongs where the chosen pipeline requires it, not automatically at the first or last node. Before placing a transform, decide whether Resolve’s project settings or node-based transforms are responsible for interpreting the source and preparing the output.
This decision comes before fine-tuning a grade because a color-space transform changes the representation of image values. A correction before a transform does not necessarily behave like the same correction after it. The right position depends on what the node is transforming and which image space your other operations are intended to work in.
If you use project-level color management
Start by checking the project’s color-management settings and the input color-space assignments for your media. In this approach, project settings manage the color pipeline. Do not add an extra input or output transform just because a template includes one. A second conversion without a deliberate reason can produce a result that looks wrong.
The node graph can still hold creative and corrective work. But you need to know what space the project pipeline provides to the grade and where it converts for the output. The DaVinci Resolve 20 Colorist Guide discusses project color management and node-based color management as different approaches. Resolve 21.1’s manual is linked from Blackmagic Design’s manual download page.
If you use node-based transforms
A node-managed chain commonly has an input transform before the corrections that expect a normalized working image, followed by grading operations and, when needed, an output transform for the target. That is a workable model, not a universal order. Some colorists place creative operations on one side or the other of a transform for a reason, and a project may use a different, documented pipeline.
Write down what each transform does. “Input CST” should name the source-to-working conversion; “Output CST” should name the working-to-delivery conversion. Confirm that the source camera gamut and gamma, working space, and output target match the actual project. Do not infer the correct transform solely from a clip’s appearance.
The distinction between project-level and node-based color management matters when a project uses multiple cameras or delivers multiple versions. With node-based transforms, a clip’s node graph may carry some of that conversion work. With project settings, the color-management pipeline has a broader role. If both approaches are mixed, define which stage owns each conversion so you do not duplicate it.
A transform belongs where its input and output make sense, not where a template happens to put it.
How should I test transform placement?
Use one representative shot and a controlled comparison. Disable a transform, inspect the image and scopes, then re-enable it. Confirm the source and output color-space choices against the camera or delivery requirements. Avoid moving the transform and changing several grading controls at once; otherwise, you won’t know which change caused the difference.
Then check the same decision on a second shot, especially if the material comes from another camera or recording mode. A node arrangement that works for one source is not proof that another source is interpreted correctly. For a detailed workflow focused on log material, see DaVinci Resolve color grading workflow for log footage.
What should come before and after the balance nodes?
Place balance work early enough that later corrections can build on a stable image, but do not assume every exposure or color adjustment belongs in a single dedicated node. Separate operations when that makes the grade easier to read, compare, or revise.
A simple balance stage can include exposure and contrast corrections, neutralizing an unwanted cast, and setting a useful saturation level. It might be one node or several. The point is to establish a dependable image before you spend time shaping a look or refining a narrow selection.
That does not mean the grade must be perfectly neutral before you do anything creative. It means you should recognize whether a change is correcting a problem or creating a look. If you raise contrast because the camera image is flat, that may be part of normalization. If you make shadows cooler to establish a mood, that is a creative choice. They may use similar controls, but they answer different questions.
A clear balance stage helps shot matching. If two shots differ in exposure, white balance, or contrast, you can compare them before adding a strong look that might disguise the mismatch. Match them toward a common scene intention, not identical scope traces. Framing, light direction, production design, and camera response can make matching identical numerical settings the wrong goal.
When a shot contains a difficult region, avoid using a global balance node to fix one local problem. A bright window may need a separate highlight treatment; a face may need a narrow correction; the background may need to remain untouched. Put the targeted work in its own node or branch so you can evaluate its effect independently.
A useful balance sequence for a worked example might be:
- Input interpretation, if the project requires a clip-level transform.
- Exposure and broad contrast.
- Neutral balance or camera mismatch correction.
- Shot-to-shot comparison.
- Local adjustments for specific regions.
- Creative contrast and palette.
- Output-specific finishing.
This sequence is not a Resolve preset. It is a way to separate decisions. If the image is already balanced, you may not need a correction node for every step. If a shot needs a creative adjustment before matching, move it, then revisit the match in context.
A node graph becomes harder to maintain when one node does unrelated jobs. For example, if a single node contains a white-balance correction, a key, and a look adjustment, you may find it hard to decide which part is causing a change. Split it when the separation improves control. Keep it combined when the operations are tightly linked and the combined node remains easy to understand.

Should I use serial, parallel, or layer nodes?
Use serial nodes when you want one correction to feed the next. Use a parallel or layer structure when you need separate branches and a mixer that combines them. These structures solve different signal-flow problems; they are not competing levels of professionalism.
When does a serial chain make sense?
Serial nodes are the clearest option when each operation should build on the previous result. A basic chain might separate balance, a key, a look, and finishing into distinct steps. Because the downstream node receives the upstream result, the path is easy to follow.
Serial structure is often a good place to begin because it makes order explicit. If you need to understand why a key changes, or why a look affects a later correction, you can trace the chain. But serial nodes can also make a later operation depend on altered image data. That dependency is useful when intended, awkward when accidental.
When does a parallel structure make sense?
A parallel structure sends image data down separate branches and combines those results with a parallel mixer. Consider it when two corrections should be developed separately from a common upstream point, rather than one correction being applied only to the output of the other.
For example, you might want to treat a selected subject and a background separately, then combine the branches. Whether that structure is appropriate depends on the keys, the grade, and the desired mix. Do not assume a parallel mixer will produce the same result as stacking the same two operations serially. The branches and their combination change the signal path.
A parallel structure can also help when one correction is difficult to manage because another correction has altered the input it needs. Rather than forcing the operations into one chain, test whether separate branches give each operation the material it should see. Inspect the combined result, not just the individual branch.
When does a layer structure make sense?
Layer nodes also combine branches, but the way layers are mixed differs from a parallel mixer. That can make them a better fit for a particular composite-like or priority-based interaction. Choose them because the mixing behavior matches your intent, not simply because you want more lines in the graph.
The exact behavior of a mixer matters. If a node structure is unfamiliar, compare serial, parallel, and layer approaches using the same source and correction. Change one structure at a time and inspect both the image and the node connections. Blackmagic’s official training includes an Advanced Color lesson that covers node-editor structure and color management. The official Colorist Guide also devotes a lesson to node order and mixer nodes.
| Structure | What to expect | Consider it when |
|---|---|---|
| Serial | Each node receives the previous node’s output | Corrections should build in a deliberate sequence |
| Parallel | Separate branches are combined through a parallel mixer | You want branches to receive a common upstream image and mix their results |
| Layer | Branches are combined through a layer mixer with different compositing behavior | The branch priority and mixing behavior suit the operation |
| Mixed graph | Some serial sections feed one or more mixer structures | The shot needs both sequential processing and separately managed branches |
A mixed graph is normal when the work requires it. Keep it legible. Label each branch, state why it exists, and avoid turning a small correction into a complicated graph without a visible benefit.
Choose a mixer because its signal flow solves a problem, not because a larger graph looks more advanced.
How should I order keys, windows, and secondary corrections?
Place a key or window where it can isolate the intended subject reliably, then keep the associated correction close enough that you can understand the relationship. The best location depends on the image the selection should analyze and on how upstream operations affect that image.
A qualifier extracts a selection based on image characteristics such as color or luminance. A power window limits an adjustment by region. A tracked selection can follow movement, but it still needs review across the shot. These tools are not interchangeable, and the correction they control may behave differently depending on whether it receives the full image, a transformed image, or the output of another grade.
Use this decision path:
- Name the target. Is it a hue, a tonal range, a face, a region, or a moving object?
- Choose the selection method. Use a qualifier when the image characteristic distinguishes the target; use a window when position and shape are the clearer boundaries; combine methods when one alone is too broad.
- Check the key at its graph position. View the matte or selection and inspect difficult areas, including edges and parts of the shot where lighting changes.
- Apply the correction conservatively. Judge the whole frame as well as the isolated region.
- Review the result through movement and cuts. A selection that looks acceptable on one paused frame may not hold across the shot.
- Recheck after changing upstream nodes. An upstream correction can change the image values that a later key evaluates.
A common worked example is a face that needs a small exposure adjustment without lifting the whole frame. A window or a suitable key may isolate the face, but the node order should follow the image that makes that selection dependable. If a broad contrast change comes first, test whether the selection remains stable. If it doesn’t, consider moving the selection earlier, adjusting its range, using another selection method, or changing the structure.
Be careful with nodes that contain several masks or corrections. They can be efficient, but the graph may become difficult to debug. When a node does several jobs, a failure in one part can make it unclear whether the selection, correction, or interaction with another tool is responsible. Separate the work when you need independent control.
The official Blackmagic Resolve training page lists an Introduction to Color lesson covering primary and secondary tools, scopes, balancing, and matching. Its listed runtime is 1 hour and 33 minutes. The Advanced Color lesson is listed at 57 minutes and includes color management and node-editor structure. Those are useful official references if you want to practice the tools alongside a worked project.
Where should a creative look, LUT, grain, or effect go?
Put a look or effect where its input image and intended output make sense in the project’s color pipeline. There is no safe universal rule that every LUT, grain effect, or vignette belongs at the end.
A look may be designed for a particular input color space or contrast range. A LUT used on the wrong input can produce unexpected color or contrast, even if the node order looks tidy. Check the LUT’s documented assumptions before placing it. Do not treat “look node” as a license to apply an unknown transform and repair the result with extra nodes.
Grain, halation, glow, blur, and other effects can also depend on image scale, contrast, and color representation. Their placement can affect what parts of the picture they respond to and how they appear after an output conversion. A finishing node is a convenient organizational choice, not proof that the effect belongs after every other operation.
For each creative operation, ask:
- What image should this effect receive?
- Is the operation meant to shape the working image or the final display image?
- Does the effect need to come before or after a transform?
- Does it belong on one clip, a group of shots, or the timeline?
- Will a separate output version need a different treatment?
Suppose you add a warm look to a scene and then need to protect a neutral product label. The local correction may work before or after the look depending on whether the selection should be based on the pre-look image or the transformed image. Try the order that makes the selection predictable, then judge the composite. Don’t add compensating nodes until you understand which earlier step created the problem.
If you use a LUT, distinguish a technical conversion LUT from a creative look LUT. A technical LUT may be intended to map one color space or log encoding to another. A creative LUT may be designed to impart a style under defined conditions. Their roles are different, so their placements are not automatically the same. Resolve’s project color management may also perform conversions that make a LUT redundant.
A LUT’s name is not a color-management plan; verify its intended input and output.
If an effect becomes hard to control, isolate it. Bypass the look, inspect the image, then re-enable the effect. Compare nodes around the transform and the effect one at a time. A structured graph makes those checks faster because the function of each stage is visible.
How do group and timeline nodes change the order?
Group and timeline nodes add shared processing stages around clip-level work. They can make a grade more consistent across multiple clips, but they also make the complete signal path longer than the individual clip graph.
A group grade can apply a shared operation to clips assigned to that group. A timeline grade can affect clips across a timeline. That scope can be useful for common creative treatment or output-level work, but it can also make a change difficult to diagnose if you forget that the selected clip is receiving adjustments outside its own nodes.
Think of the pipeline as more than the clip graph:
| Scope | Question to ask | A sensible use |
|---|---|---|
| Clip | Does this shot need an individual adjustment? | Shot balance, matching trims, a local key |
| Group pre-clip | Should a shared operation happen before clip-level work? | A deliberately shared input treatment where appropriate |
| Group post-clip | Should a shared treatment follow the clip-level grade? | A common scene look after individual shots are matched |
| Timeline | Should every shot receive the operation? | A deliberate timeline-wide finishing or output task |
These are decision prompts, not fixed prescriptions. Blackmagic’s Colorist Guide to DaVinci Resolve 20 explains group modes and cautions against treating the signal order as a rigid grading sequence. The useful idea is that the output of an earlier group level becomes input to a later level, while the colorist can still move between levels during the work.
When a clip looks unexpectedly different from its neighbors, inspect the clip nodes and the group and timeline grades. A correction may be working perfectly at clip level while a shared node changes the result afterward. If the scope of a node is not obvious, label it to name the scope and purpose.
Resolve 21 adds a version-management feature for group grades, according to Blackmagic Design’s Resolve 21 feature overview). The same overview describes Layer List View for the node editor, which lists nodes in rows according to their node number to help manage a less crowded graph. These interface changes can make organization easier; they do not change the core decision about where an operation belongs in the signal path.
Resolve 21.1’s manual is available from the official DaVinci Resolve manual page. When using a specific manual, confirm that it matches the installed version. A screenshot or instruction from another version may show a different layout, even when the underlying node concept remains similar.
Why does my grade change when I move a node?
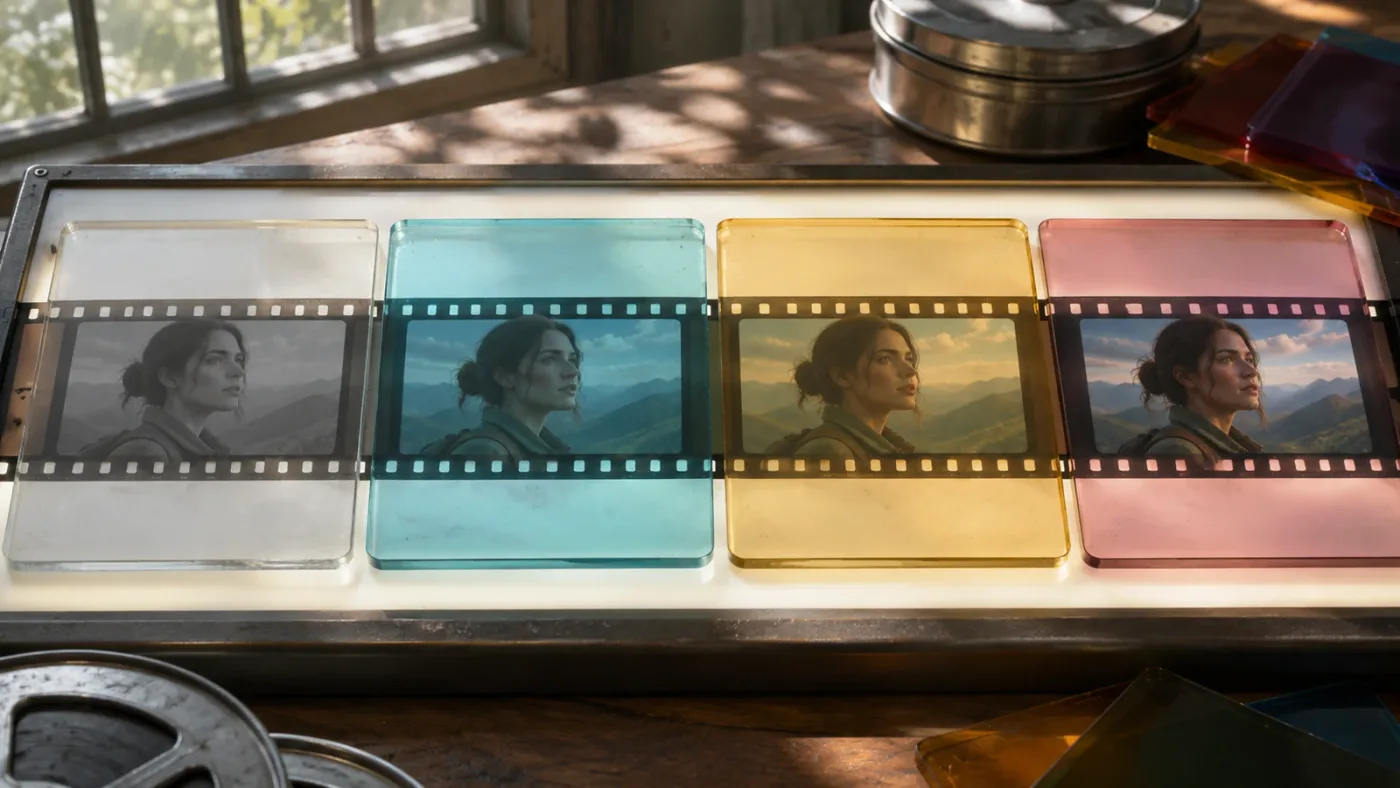
A grade changes when you move a node because the node receives different image data or participates in a different mixer structure. If the change is surprising, isolate the operation and check the nodes before and after its new position.
Use this troubleshooting sequence:
- Undo the move or compare the two arrangements. Change only the node position, not its controls.
- Identify the node’s input. Is it receiving the original image, a balanced image, a transformed image, or a mixer output?
- Bypass one upstream node at a time. Watch whether the key, effect, or correction changes as the upstream image changes.
- Check any matte or key. A selection may look different because the underlying image values changed.
- Inspect the mixer. A parallel or layer graph may combine results differently from a serial chain.
- Check project and group processing. A group or timeline adjustment may also contribute to the final image.
- Return to the intended task. Choose the order that produces the required result and stays understandable.
This method avoids a familiar trap: adding more corrections to fix the symptom before finding the cause. If a selection breaks after moving a contrast node, a second contrast node may conceal the issue without restoring a clean selection. Find the dependency first.
A good comparison is controlled. Keep the source clip, project settings, and correction values unchanged. Compare the image before and after the node move, then note whether the change is in the selection, the color adjustment, the effect, or the final output. You do not need to change five controls to answer one question.
If the node graph is crowded, the issue might be organization rather than processing. Use labels that describe function, group related work, and remove abandoned nodes after confirming they are no longer needed. DaVinci Resolve 21’s Layer List View can make a node-heavy graph easier to scan, as described in Blackmagic’s Resolve 21 overview). But a tidy view cannot fix a pipeline whose purpose is unclear.
How many nodes should a professional grade use?
Use enough nodes to keep meaningful operations controllable, but no more than the shot needs. There is no fixed node count that makes a grade professional.
A simple, well-exposed shot may need a short chain. A shot with mixed lighting, a difficult key, a creative look, and output-specific treatment may need separate nodes or branches. The requirement comes from the image and the revision needs, not a target count.
A node earns its place if it does at least one useful job:
- Separates a correction you may need to adjust later.
- Makes an important decision visible in the graph.
- Gives a key or effect a more suitable input.
- Keeps a shared operation at the correct scope.
- Lets you compare or bypass a look without disturbing balance work.
- Makes delivery-specific processing clear.
A node may not earn its place if it is empty, duplicates another operation, or exists only because a template has a slot for it. More nodes can make a grade easier to maintain, but they can also make a simple shot harder to understand.
When you inherit someone else’s graph, don’t delete nodes just because you can’t identify them at a glance. First check whether they contain a key, window, external effect, transform, or shared setting. Bypass one node at a time and observe the result. Then label, simplify, or rebuild only after you understand what the node contributes.
The same caution applies when copying a grade. A graph that works on one source may not behave the same way on another camera, exposure, or color pipeline. A shared look can be a useful starting point, not a guarantee that every shot is matched. Use the scopes and the image to judge the result. Blackmagic’s training page offers a separate Color Management lesson listed at 31 minutes, alongside its Introduction to Color and Advanced Color lessons. Those resources complement the graph reference; they don’t prescribe one node count.
Which node structure should I start with?
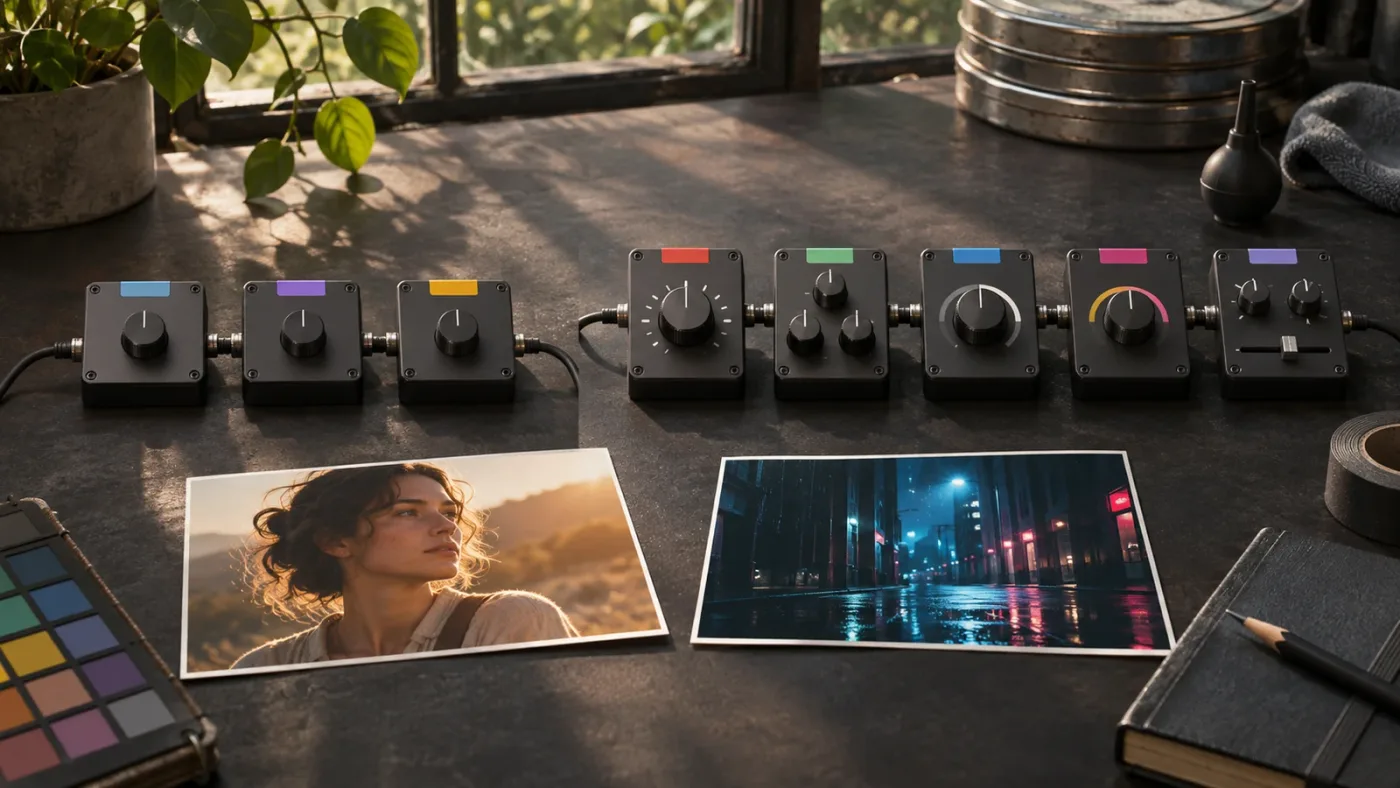
Start with the simplest graph that explains the work you need to do. Add a branch or another stage only when it gives a correction the right input, isolates an important decision, or makes the grade easier to revise.
These worked examples show how that principle can look in practice. Their node counts are illustrative, not requirements.
A straightforward interview shot
For a balanced interview shot, you might use a short serial chain: input interpretation if required, broad balance, a small skin or background correction if needed, a creative contrast or palette choice, and finishing. If the shot needs no local correction, leave that stage out.
If multiple angles belong to the same scene, compare them after the individual balance work. Then consider whether a shared group treatment makes sense. A group node should carry a deliberate shared operation, not a correction that only works for one angle.
A mixed-lighting shot
For a shot with a warm practical light and a cooler background, begin by deciding which part of the image should remain the reference. Balance the shot to the scene’s intent, then isolate any correction that should affect only one region. A window, a qualifier, or a combined selection may help, depending on the separation in the image.
Keep the local correction distinct from the global look. If the key becomes unstable after a look node, test whether the selection should be created earlier or whether a separate branch is a better fit. Check the full frame after each adjustment; a clean matte is not the final goal if the composite looks unnatural.
A multi-camera scene
For a scene recorded with more than one camera, first confirm that each source is interpreted correctly. Then balance and match the shots toward the scene’s common intent. Only after that should you settle on a shared look or group operation.
A group node can help apply a common treatment, but it does not automatically make mismatched clips match. Review every angle after the shared operation. If one camera needs a different correction, keep that work at clip level instead of weakening the shared treatment for every shot.
A shot with a strong look
For a stylized shot, keep the technical foundation and the creative choice distinguishable. That makes it easier to revise the look without undoing a correction needed for the source. It also helps when a client asks for a different mood while asking you to preserve the exposure or neutral treatment.
If a LUT is involved, establish its intended input and output first. Then position it in the pipeline accordingly and see whether the image needs any corrections before or after it. Don’t assume that a single node labeled “LUT” tells the next colorist what the LUT expects.
A grade with a separate subject and background treatment
Use separate branches when the subject and background should be treated independently and the mixer structure gives you the desired result. A parallel setup may be appropriate when both branches should receive a common upstream image. A serial chain may be clearer if the second correction should build directly on the first.
The useful test is not which graph has more nodes. It is whether each branch receives suitable image data and whether the combined result is predictable.
How do I keep a node graph readable for revisions?
Label nodes by function, arrange them so the signal path is clear, and separate operations when future changes are likely to affect them independently. A readable graph is a practical tool for grading, review, and handoff.
Names like “Node 3” or “Fix” tell you little later. Use concise labels such as “Balance,” “Window,” “Background key,” “Look,” or “Output transform.” Use labels that match what is actually inside the node; if a node contains several jobs, either rename it clearly or split it.
Keep branches visually understandable. If a parallel or layer structure is necessary, label the branch and the mixer’s purpose. If a node appears unused, verify that before removing it. A bypassed node, a node with a key, and an empty node may look similar at a glance but serve different roles.
For revisions, think about the likely request. If someone asks to reduce saturation in the look while preserving the match, can you find the look quickly? If they ask to soften a local correction, is it separate from the balance? If the answer is no, improve the structure when you revise the grade.
Resolve 21’s Layer List View offers another way to inspect node organization. Blackmagic’s Resolve 21 feature overview) says the view presents nodes in rows according to node number and is intended to make node management easier in a less crowded interface. That helps with visibility. It does not decide the correct signal flow, so maintain labels and a clear reason for each operation.
A short node graph is not always clearer than a longer one. A single node with too many unrelated controls can be harder to revise than several well-named nodes. The reverse is true too: breaking every small adjustment into its own node can bury the important choices. Aim for useful separation, not maximum separation.
A readable node graph makes the next correction easier to find and safer to change.
What is the final rule for choosing node order?
Choose node order by following the image signal and the purpose of each operation. Put color management where the chosen pipeline requires it, establish balance before relying on a look, separate local work when it needs independent control, and use mixers only when their behavior solves a real problem.
There is no universal professional node tree. A serial chain can be the clearest choice. A parallel or layer structure can be better when separate branches need to be combined. Group and timeline grades can extend the pipeline beyond the clip. The decision is technical and editorial at once: choose the arrangement that produces the intended image and keeps the reasoning visible.
When stuck, make one change at a time. Identify what the node receives, what it changes, and what the next stage needs. Then inspect the whole shot, not just the node you moved.
If you’re stuck finding a control or following a tutorial whose screen doesn’t match yours, TryUncle offers on-screen guidance while you work in DaVinci Resolve.
Frequently asked questions
- What is the best node order for professional color grading in DaVinci Resolve?
- There is no single best order for every project. A useful starting structure is input color management, balance, shot matching, targeted corrections, creative look, and output finishing, with the placement of transforms and effects determined by the color pipeline and the work each node must do.
- Should a Color Space Transform node go first or last?
- Place a Color Space Transform where the grade needs the color-space conversion to occur. In a node-managed pipeline, that may mean an input transform before grading and an output transform after it. With project-level color management, Resolve manages the project pipeline instead, so adding another transform without a defined purpose can create an unwanted double conversion.
- Should I use serial or parallel nodes for skin tones?
- Use a serial node when the correction should build on the output of earlier nodes. Consider a parallel structure when you want a correction branch to receive a common upstream image, then combine its result with the other branch. The best choice depends on the key, the upstream grade, and how you want the mixer to combine results.
- Why does changing node order change my DaVinci Resolve grade?
- Serial nodes pass their output to the next node, so a later correction receives already-processed image data. Changing order changes what that correction sees. Parallel and layer mixers also combine branches differently, so moving a correction across a mixer can change the result.
- How many nodes should a professional DaVinci Resolve grade have?
- Use the fewest nodes that keep the work understandable and controllable. A simple shot may need only a few distinct operations; a difficult shot or a grade with separate keys, effects, or delivery transforms may need more. Node count by itself does not measure quality.
Sources
Put this guide to work with TryUncle.
Ask about the step you’re on. TryUncle sees your screen and points at the control you need, so you can keep learning in your own project.
Get TryUncle for Mac or WindowsKeep reading

Guides · Jul 7, 2026 · 35 min
How to Color Grade in DaVinci Resolve: The Basics
Learn how to color grade in DaVinci Resolve: build a node chain, balance shadows and highlights with Lift, Gamma, and Gain, and read the scopes.
Guides · Oct 23, 2026 · 38 min
DaVinci Resolve Color Grading Workflow Order: The Right Sequence
A practical DaVinci Resolve color grading workflow order, from color management and shot balance to matching, look development, checks, and delivery.
Guides · Oct 18, 2026 · 26 min
DaVinci Resolve Color Grading Workflow for Log Footage
A camera-agnostic DaVinci Resolve 21 workflow for identifying log footage, setting a CST or color management, balancing exposure, matching shots, and checking delivery.