Articles / Guidesupdated for DaVinci Resolve 21.1 (September 2026)
DaVinci Resolve Render Preset for Multiple Platforms
Quick answer
In DaVinci Resolve 21.1, make separate custom presets for web master, vertical social, review, and archive delivery. Set each preset’s codec, resolution, quality, audio, and filename rules in Deliver, then save it with the three-dot menu. Use separate timelines when framing or aspect ratio must change; a render preset changes export settings, not the edit’s composition.
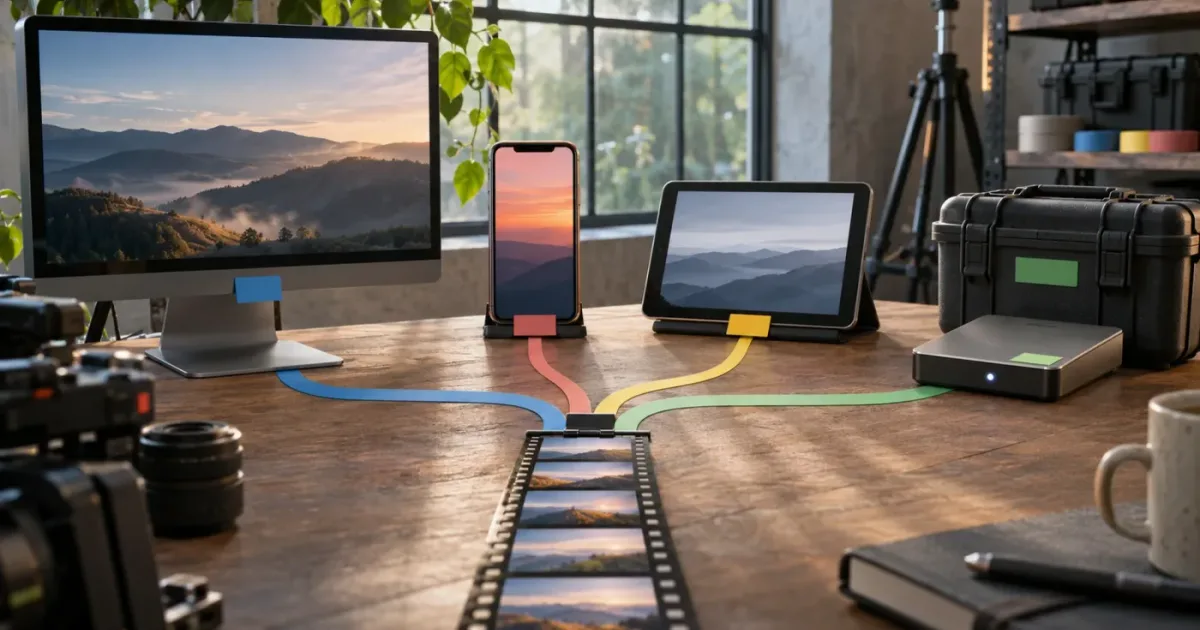
I’d keep the system small: one preset for a web master, one for vertical social, one for review, and one for an archive intermediate. A preset saves export choices; it doesn’t make one edit fit every screen. As of October 2026, this guide follows DaVinci Resolve 21.1, whose current manual documents custom presets and adding them to Quick Export.
What is a DaVinci Resolve render preset for multiple platforms?
A DaVinci Resolve render preset for multiple platforms is a saved set of output settings you can reuse for a specific delivery job. It can store choices such as format, codec, resolution, quality, audio, and filename behavior, but it doesn’t decide how the edit should be reframed for a different aspect ratio.
That difference is the key to a sane setup. A 16:9 YouTube export and a 9:16 vertical export aren’t just two codec choices if the edit needs a new crop, repositioned titles, or different shot selections. In that case, make a second timeline or otherwise prepare a vertical version, then apply the matching export preset.
The job of the preset is narrower and useful: reduce repetitive settings work, make a recurring output easier to recognize, and help avoid choosing the wrong codec or frame size on a busy delivery day. A preset is not a guarantee that a video meets every platform’s current rules. Requirements can change, and a client may ask for settings that differ from a platform’s general upload recommendations.
Blackmagic Design’s Resolve 21.1 manual describes creating a custom preset from the Deliver page’s Video, Audio, and File settings, then saving it through the Render Settings options menu. The same manual explains that saved custom presets can be made available in Quick Export. (imaster.org)
A render preset stores output settings; it doesn’t turn one timeline into four finished edits.
Which four presets should I build first?
Start with four names that describe the job, not just a platform: WEB_MASTER_H264, SOCIAL_VERTICAL_H264, REVIEW_SMALL_H264, and ARCHIVE_INTERMEDIATE. The exact codec and quality depend on the footage, delivery brief, storage, and the receiving service, so treat these as a starter system rather than magic universal settings.
| Preset | Main use | Typical frame shape | Starting point for format | What still needs a decision |
|---|---|---|---|---|
WEB_MASTER_H264 | A finished upload or client web handoff | Match the prepared timeline | MP4 with H.264; keep the timeline frame rate | Resolution, bitrate or quality, color, audio |
SOCIAL_VERTICAL_H264 | A vertical platform upload | 9:16, if that is the brief | MP4 with H.264 | Vertical framing, safe placement, captions, audio |
REVIEW_SMALL_H264 | A practical approval copy | Usually match the review edit | H.264 in a manageable file size | Watermark, timecode, review link, client preferences |
ARCHIVE_INTERMEDIATE | A high-quality rendered master or handoff | Match the approved master timeline | A suitable intermediate codec and container | Bit depth, alpha, audio layout, storage, project/media archive |
This table separates the preset’s role from the finished video’s aspect ratio. The web master might be 1920×1080, 3840×2160, or another approved frame size. A vertical social version may use 1080×1920, but only if that size fits the delivery requirement and the timeline was framed for it.
YouTube’s upload guidance recommends MP4, H.264 video, progressive scan, and uploading at the source frame rate. For SDR uploads, YouTube gives recommended H.264 bitrates by resolution and frame-rate category. Its guidance lists 8 Mbps for 1080p at standard frame rates and 12 Mbps for 1080p at high frame rates; for 2160p, it lists 35–45 Mbps at standard rates and 53–68 Mbps at high rates. Those are recommendations, not a promise that every clip needs those exact values. (support.google.com)
YouTube also advises against adding black bars directly to a video because its player adapts to the video’s aspect ratio and device. It lists 1920×1080 as the 1080p resolution for a 16:9 frame. (support.google.com)
For vertical work, TikTok for Business recommends 9:16 video and says to export at 1080×1920 or higher for crisp playback in its advertising guide. That guidance is a useful reference for vertical ad delivery, but an organic post, a client brief, or another social service may specify something else. (ads.tiktok.com)
The archive preset needs the most careful label. An intermediate render can preserve more editing latitude than a compact H.264 upload copy, but it is still only one part of an archive. It doesn’t automatically include camera originals, the Resolve project, fonts, graphics, or other dependencies. For a project handoff, document what’s included and use a separate media-consolidation step when needed. Our guide to consolidating DaVinci Resolve media before archiving covers that separate task.
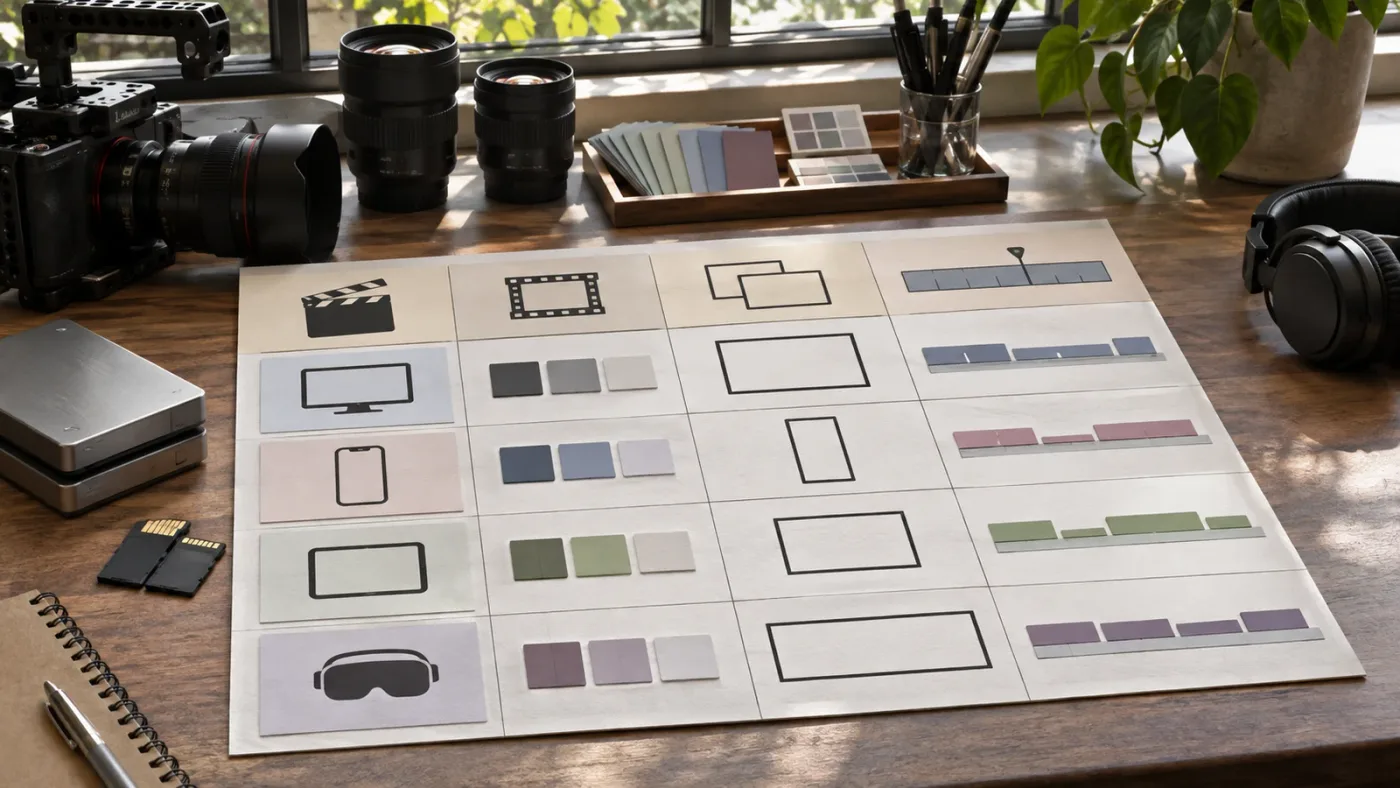
How do I save a custom render preset in DaVinci Resolve 21?
To save a custom render preset in DaVinci Resolve 21, open Deliver, choose Custom Export, set the Video, Audio, and File options, then use the Render Settings three-dot menu and choose Save as New Preset. Give the preset a specific name that identifies its intended output.
Blackmagic’s 21.1 manual also says you can add the saved preset to Quick Export. That’s useful if the preset is part of a repeatable job and you want to select it from the Quick Export dialog. The Deliver page remains the better place to inspect the full settings before a more demanding delivery. (imaster.org)
Use this sequence:
- Select the timeline you actually intend to export. Confirm that it is the web master, vertical version, review cut, or archive master. A preset can’t select the right edit on your behalf.
- Open Deliver and choose Custom Export. Custom exposes settings you need to define instead of relying on a platform button to make every decision.
- Set the Video options. Choose the container and codec, resolution, frame-rate behavior, quality or data-rate controls, and any other required video options.
- Set the Audio options. Confirm that audio is enabled and choose a format and quality appropriate for the delivery. Check that the selected bus or track output is the one you intend to send.
- Set the File options. Decide on filename construction, extension, and any applicable metadata or subfolder choices.
- Save the preset. Open the Render Settings options menu, choose Save as New Preset, enter a name, and save it.
- Review the selection before rendering. Selecting a saved preset updates the Render Settings values. Check the visible options, timeline, destination folder, and filename before adding the job to the queue.
Resolve’s exact controls and available codecs can differ by operating system, hardware encoder, and installed version. Use the manual for the Resolve version in front of you when a setting described here doesn’t appear. Blackmagic’s support page lists the DaVinci Resolve 21.1 manual and related current downloads. (blackmagicdesign.com)
Name presets so a collaborator can distinguish a delivery copy from an intermediate. For example, WEB_MASTER_H264_16x9 is clearer than Best Quality. Avoid putting an unchanging resolution or frame rate in the name if you routinely update those settings and expect the label to remain accurate. Better still, include the meaningful characteristics and keep a short note elsewhere about the approved frame size, color space, audio layout, and intended recipient.
A preset may be available on your workstation but not another editor’s. If you’re handing off a repeatable setup, Resolve 21.1’s manual describes importing and exporting custom render presets as XML. Move the preset file through an approved team channel, then have the recipient check its options in their own version and system. Don’t assume an imported preset will make an unavailable codec or hardware encoding mode appear. (imaster.org)
A useful preset name tells the next editor what the file is for before the render starts.
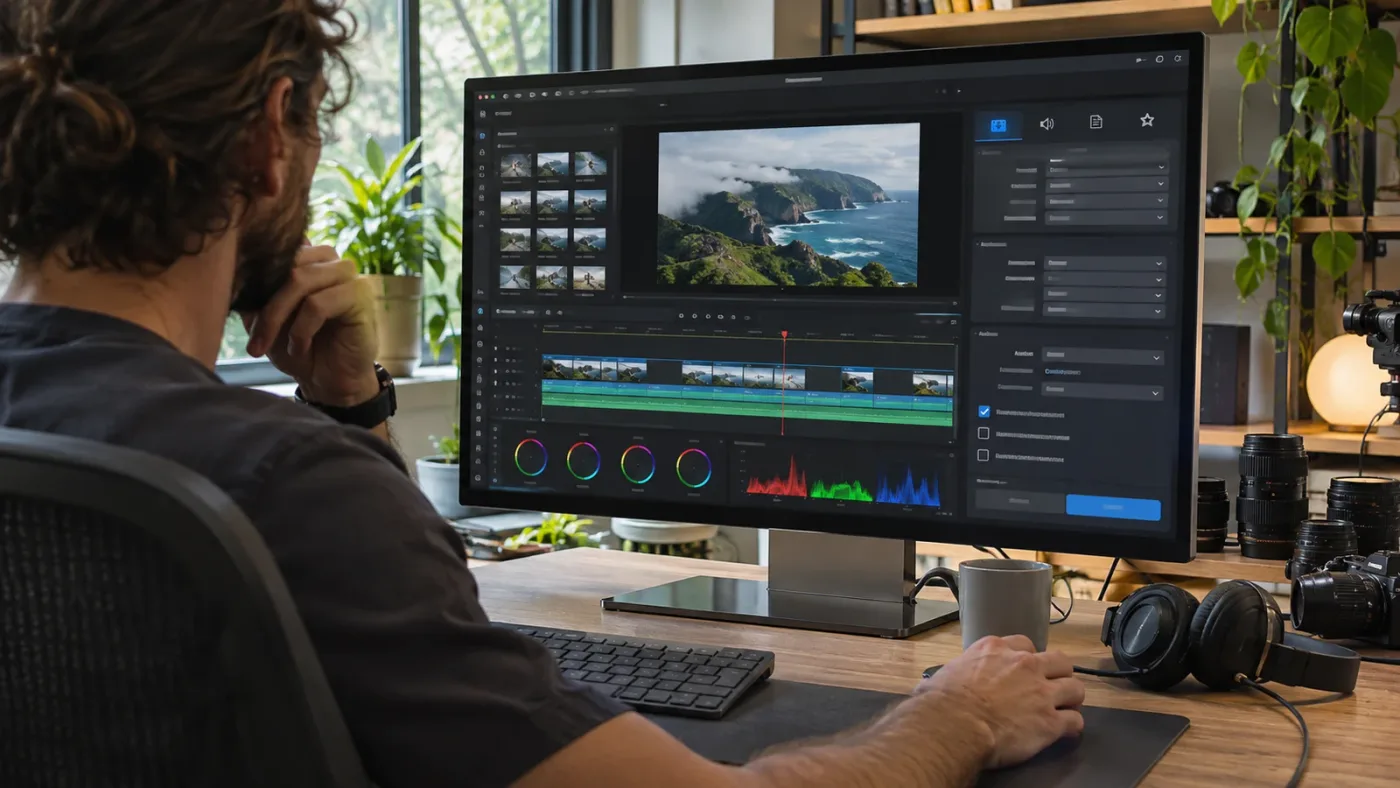
How do I make a YouTube preset without changing the edit?
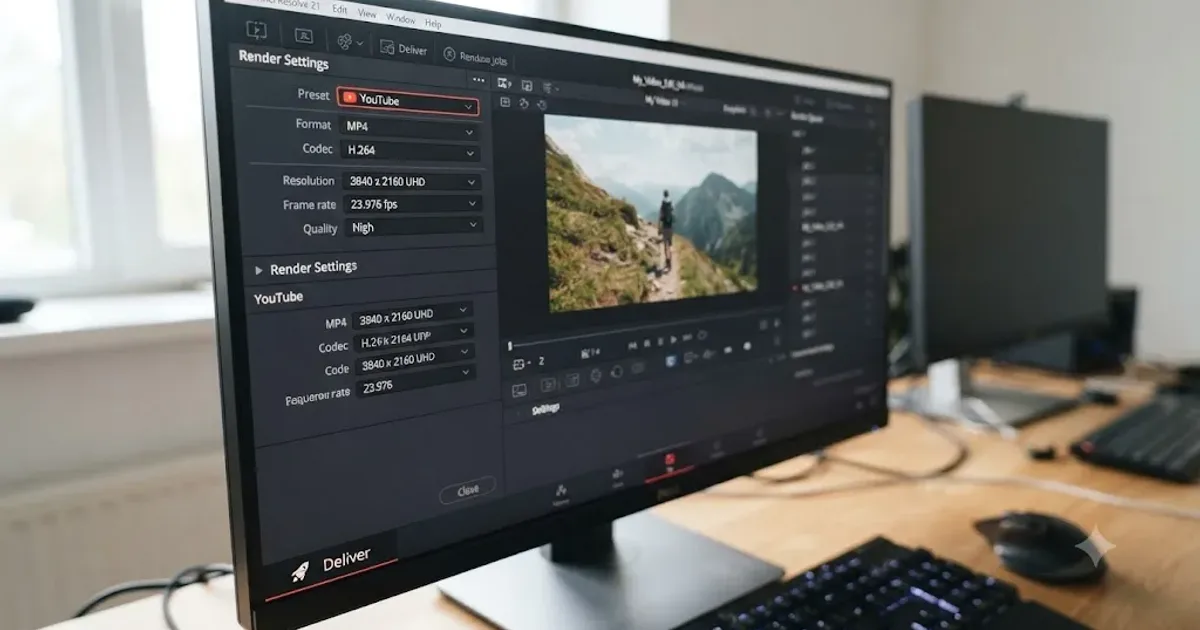
A YouTube preset should match the already-approved timeline’s aspect ratio and frame rate, then use an upload-friendly format and a quality appropriate to its resolution. For a standard SDR upload, YouTube recommends MP4 with H.264, progressive video, and the source frame rate; confirm current platform guidance before treating any bitrate as a fixed rule. (support.google.com)
For a common 16:9 master, make the timeline decision first. YouTube’s listed 1080p frame is 1920×1080, and its 2160p frame is 3840×2160. The player can adapt to other aspect ratios, so don’t add letterboxing merely to make a vertical file look like a conventional widescreen upload. (support.google.com)
A starting setup for an SDR H.264 upload could be:
| Setting | Suggested starting decision | Why it matters |
|---|---|---|
| Format | MP4 | YouTube recommends MP4 for uploads |
| Video codec | H.264 | YouTube’s recommended upload settings specify H.264 |
| Resolution | Match the delivery timeline | Don’t upscale just because the source preset offers a larger number |
| Frame rate | Same as source or approved timeline | YouTube says upload at the frame rate used for recording |
| Bitrate | Use YouTube’s recommendation as a reference | It varies by resolution and standard versus high frame rate |
| Audio | AAC-LC or another supported option | Check audio codec, channel layout, and sample rate |
YouTube’s table is for its upload recommendations, not a universal quality formula for every encoder. It states that no bitrate limit is required for video and offers recommended values as a reference. If Resolve exposes a quality-based option instead of a simple bitrate box, you’ll need to choose the control available in your build and check the result rather than assuming the displayed number is equivalent to a target bitrate. (support.google.com)
If your master is 4K and you want a 1080p web copy as well, create and save a separate preset rather than silently lowering the master timeline. Decide whether the 1080p file is for uploading, review, or a client requirement. Those jobs may share a frame size but not a quality target, filename, or audio requirement.
For a deeper walkthrough of the platform’s numbers and their context, use our dedicated guide to DaVinci Resolve export settings for YouTube. This multi-platform system keeps that page’s platform-specific settings distinct from the broader question of organizing reusable presets.
How do I create a vertical social preset for Reels, TikTok, or Shorts?
A vertical social preset should render a vertical timeline or a deliberately reframed version, not just place a 9:16 export setting on top of a 16:9 edit. Use a prepared vertical sequence, inspect the crop and text placement, then save a preset that outputs the required vertical file format.
TikTok for Business recommends 9:16 vertical video and 1080×1920 or higher for crisp playback in its video advertising guidance. That’s a clear, sourced starting point for an ad creative, but it is not a guarantee of every current organic upload specification or every delivery contract. Check the receiving platform’s current upload requirements and the brief before publishing. (ads.tiktok.com)
Treat the timeline and preset as two separate pieces:
- Timeline: Controls the composition, aspect ratio, crop, title layout, and edit decisions.
- Render preset: Controls the rendered file’s format, codec, resolution, quality, audio, and related output choices.
- Platform review: Confirms that the encoded file meets the current destination requirements and that its content is legible in the interface.
Before you make a vertical copy, inspect each shot. A centered speaker might survive a simple crop, while a two-person interview, wide product demonstration, or text-heavy graphic may need a different layout. Repositioning a shot can also reveal an area that was outside the original composition. Check important faces, product details, captions, lower thirds, and logos in the vertical viewer.
Text needs a separate check. A title that looks comfortably inside the frame on your workstation may sit behind platform buttons, captions, or account labels on a phone. Safe zones are platform- and placement-dependent. Don’t bake a single universal guide into your preset and assume it applies everywhere. Keep a visible guide or reference layout for review, and confirm it against the platform’s current creative guidance.
If one edit has several vertical destinations, you may still use one 9:16 preset when the actual file requirements match. But if one client asks for a watermark, another needs burned-in captions, or the platforms demand different sizes and compression, save distinct presets or make those adjustments explicitly. Keep preset names meaningful: SOCIAL_9x16_H264 identifies the general output, while CLIENT_A_REELS_9x16 signals a client-specific delivery.
If you’re publishing to Instagram Reels, compare the delivery brief against our Instagram Reels export settings guide. The point of a multi-platform setup is not to flatten platform differences. It’s to make the repeatable parts repeatable while keeping the creative and technical differences visible.
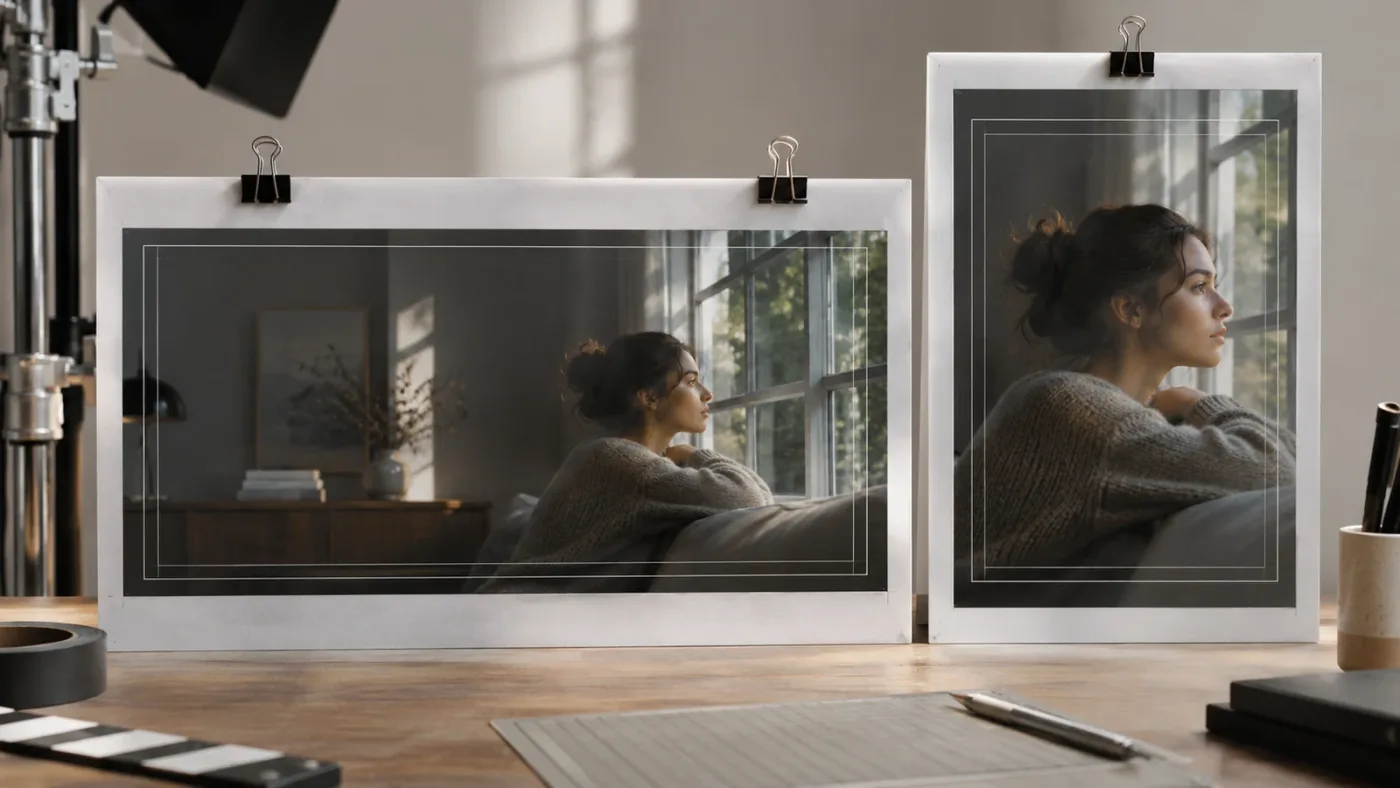
Why is my vertical export cropped or filled with black bars?
A vertical export is cropped when the output frame and the prepared timeline composition don’t match the intended framing; black bars usually appear when the image is fitted inside a differently shaped frame or when bars were added to the image itself. A preset alone cannot decide which part of a shot should remain visible.
Check these items in order:
- Confirm the timeline’s frame shape. Is it the vertical version you meant to render, or did you select the widescreen master?
- Check the export resolution. The output should match the approved vertical delivery dimensions.
- Inspect scaling and crop behavior. A fit operation may preserve the entire landscape image and leave empty space; a fill operation may cut off the sides. Choose the behavior that serves the shot.
- Inspect individual shots. Reposition or resize clips that lose a face, product, sign, or other important detail.
- Check titles and graphics. A title may be cropped even when the underlying video looks fine.
- Review any baked-in bars. If black bars are part of the source or graphic, the player can’t remove them as if they were empty timeline space.
For YouTube, its guidance specifically says to avoid adding padding or black bars directly to the video because the player adapts to the uploaded aspect ratio. That’s a platform recommendation, not a rule that removes all letterboxing from every artistic or delivery context. If a client asks for a letterboxed presentation, follow that brief and label the file accordingly. (support.google.com)
A useful troubleshooting check is to render a brief section containing the hardest shot and the most important title. Watch that small file on a phone before queueing a full-length export. This is a practical verification step, not a guarantee that the full render will be correct; the final file still needs a complete playback check.
Should my review preset use the same settings as the final upload?
A review preset should optimize for reliable feedback, not automatically duplicate the final upload. It may use a smaller H.264 file and include a watermark or timecode if the review process calls for them, but the client’s specification should decide what belongs in that copy.
Ask what the recipient needs to review. If they are judging pacing and shot selection, a compact file might be enough. If they’re assessing fine detail, color, graphics, subtitles, or audio, excessive compression may hide the problem they need to spot. If the reviewer is checking exact frame timing, confirm whether they need visible timecode or a separate reference.
A review preset can vary from the delivery preset in:
- Quality or data rate: A smaller file can be easier to share, but compression can obscure defects.
- Burn-ins: Use only if the review team needs timecode, version labels, or a watermark.
- Filename: Make the version and purpose obvious, such as
PROJECT_014_REVIEW_v03. - Audio: A review copy may need the full mix even when a separate audio deliverable is not required.
- Range: A review job may contain a selected section, but confirm that the range is intentional before export.
Don’t save a review setting that quietly alters your approved master. Keep the two names visibly distinct, and don’t let a “small file” label substitute for checking whether it is small enough to send and clear enough to judge. If client confidentiality matters, use the approved delivery channel and avoid sending a review file to a public platform by habit.
The preset can remember some repeatable export choices, but the review process also needs a versioning convention. Put the version in the filename, make the review status clear, and keep a record of which file received approval. That helps prevent a common operational mistake: rendering a technically correct file, then sending the wrong revision.

What should an archive preset include?
An archive preset should create the kind of high-quality rendered master your future workflow needs, but a rendered file alone is not a complete project archive. A durable archive may also require the Resolve project, camera originals or consolidated media, graphics, fonts, audio assets, and notes about the color and delivery settings.
Choose the archive codec based on the intended future use. A compact H.264 file can be convenient for access and playback, but it may not be the right sole copy if you expect another editor to conform, grade, or revise the program. An intermediate format can be a more suitable master for continued post-production, though it can consume substantially more storage. Don’t choose a codec only because its name sounds professional; confirm that the receiving system supports it.
For each archive, write down:
- The project name and approved timeline.
- The exact Resolve version used to finish it.
- The timeline resolution, frame rate, and aspect ratio.
- The codec, container, bit depth, and audio layout of the rendered master.
- Whether source media is included, consolidated, or stored elsewhere.
- Whether the project uses fonts, plugins, LUTs, graphics, or linked assets that need separate handling.
- The location and verification status of the copy.
Resolve’s separate project and media handling matter here. A preset makes an export repeatable; it doesn’t collect source files or package every dependency. If the archive requires a complete project handoff, plan that process as a separate job and verify that the archive can be reopened from its intended storage location.
An archive preset creates a render; an archive plan preserves the material needed to use the project again.
It can be useful to keep two archive outputs: an access copy that opens easily on ordinary devices and a higher-quality master for future work. That is a workflow choice, not a required number of files. If storage or transfer limits are tight, document the trade-off rather than silently reducing quality and calling the result a master.
A file size estimate can help with planning, but it should be labeled as an estimate. For constant bitrate, a rough calculation is bitrate in megabits per second multiplied by runtime in seconds, divided by eight to get megabytes, before container overhead. Variable bitrate and scene complexity can change the actual result. Use the estimate to compare orders of magnitude, not to promise a precise final size.
How do I queue multiple platforms without rendering the wrong timeline?
Queue each intended timeline and preset as its own render job, then inspect the queue labels and destination paths before starting. A multi-platform delivery is easier to audit when every job has a visible purpose and the timeline name, preset, and filename agree.
A practical sequence is:
- Open the correct timeline for the first output.
- Select its matching preset and review the displayed settings.
- Choose the output folder and a filename that identifies the version.
- Add that job to the Render Queue.
- Switch to the next prepared timeline.
- Select the next preset, choose its own destination and filename, and add that job.
- Review every queued item before rendering. Check timeline, preset, range, filename, and folder.
- Start the queue, then inspect the completed files before delivery.
Don’t assume that changing the preset also changes the timeline selection. Don’t assume that changing a timeline name updates the export filename the way you expect. Resolve shows render options and queue entries, but the editor remains responsible for confirming the job.
Use separate delivery folders if it helps reduce mistakes, such as Exports/Web, Exports/Social, Exports/Review, and Exports/Master. That’s an organizational convention, not a Resolve requirement. If your team already has a client or production naming scheme, use it instead of introducing a competing structure.
Resolve 21.1’s manual describes custom render presets and says that new presets can be accessed through the Deliver page and Quick Export when configured. Quick Export can be convenient for repeat jobs, but the Deliver page gives you a clearer view of the detailed render setup. Use it when the job has a special range, a delivery note, a changed resolution, or a project-specific requirement. (imaster.org)
What does DaVinci Resolve 21.1 add to the preset workflow?
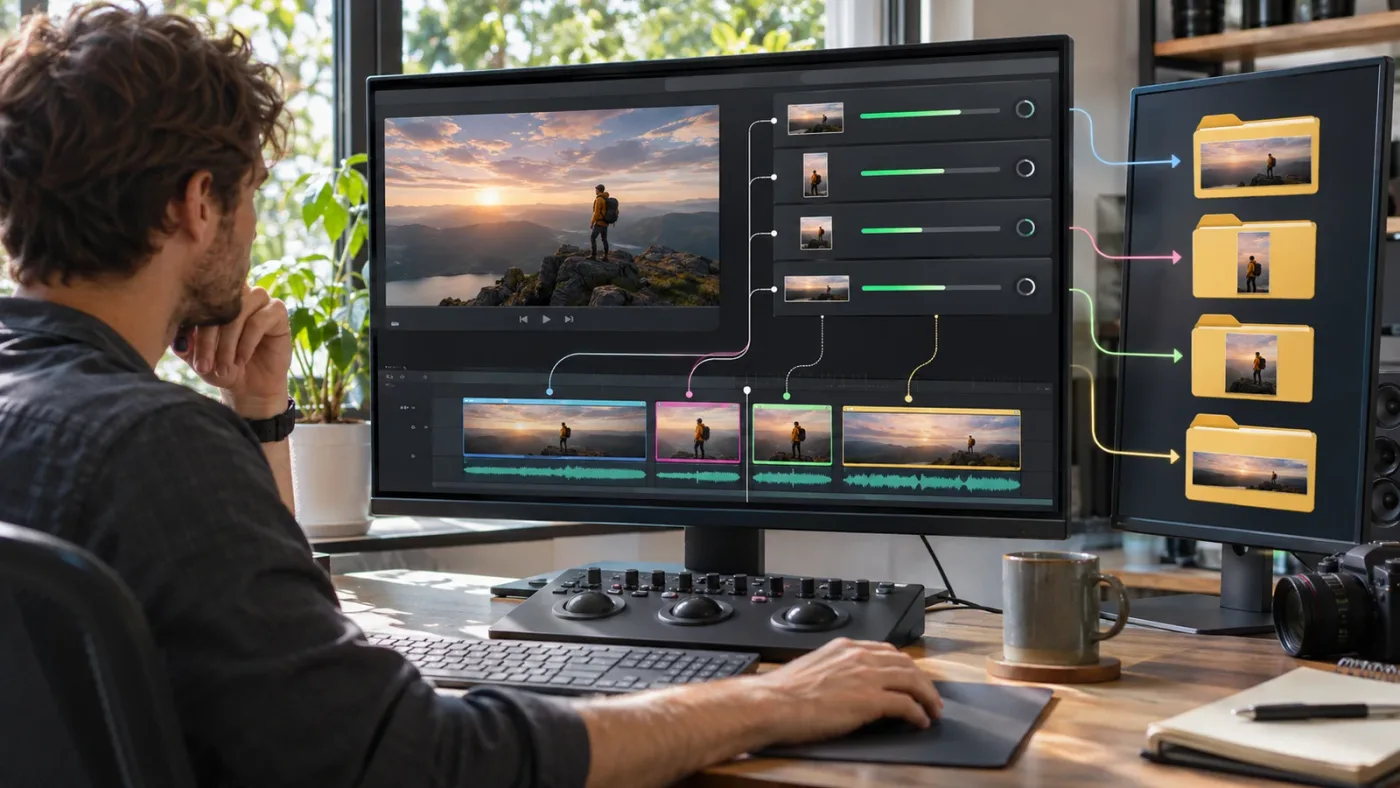
DaVinci Resolve 21.1’s manual documents saving custom render presets and adding a custom preset to Quick Export. It also describes importing and exporting presets, so a team can transfer an XML preset file and inspect it on another workstation. Check the manual for the exact controls in the version you use. (imaster.org)
The important practical distinction is between an update to the preset workflow and a change to your edit. Quick Export can make saved settings easier to reach; it doesn’t replace the need to select the correct timeline, decide whether the crop is right, or verify the finished media. A button that reduces clicks is useful only if the job is still the right job.
Resolve 21 also has a broader multiple-output context. Blackmagic’s official 21 new features guide describes new delivery-related functionality, including separate output-oriented workflows. The exact feature behavior and controls are version-specific, so don’t carry a Resolve 21 claim into an older release without checking its manual. (documents.blackmagicdesign.com)
Resolve 21.1 can speed access to saved render settings, but it can’t replace a final delivery check.
As a workflow principle, keep the custom preset library small enough to understand. Don’t make a new preset for every project if the only difference is a one-time filename or output folder. Keep a distinct preset when a meaningful format, codec, resolution, audio, or delivery requirement repeats. For exceptions, adjust the job deliberately and avoid overwriting a reusable preset by mistake.
If the UI in your installation doesn’t match the manual’s version, use Blackmagic Design’s support page to confirm the manual and release details for your installed version. Version labels matter because the render and quick-export interface can evolve. The supported version cited here is Resolve 21.1, whose manual Blackmagic lists as dated September 8, 2026. (blackmagicdesign.com)
What should I check before I trust a saved preset?
Check the preset’s output purpose, selected timeline, frame size, frame rate, codec, audio, filename, folder, and rendered playback before you rely on it for repeat delivery. A preset is reusable configuration, not proof that today’s job meets today’s brief.
Use this checklist when you create the preset, and repeat the relevant checks when you use it:
- The preset name matches the destination.
SOCIAL_VERTICALshouldn’t be selected for a widescreen review. - The active timeline is correct. Look at the timeline name and aspect ratio.
- The resolution is intentional. Don’t assume that a timeline’s working resolution equals the client’s delivery target.
- The frame rate is appropriate. YouTube recommends uploading at the same frame rate as the source; a client may specify another standard. (support.google.com)
- The color target is known. Confirm SDR or HDR requirements and the expected color space for the destination.
- The audio output is enabled and correct. Check the intended bus, channel layout, and sample rate.
- The filename and folder identify the deliverable. A clear filename can prevent a correct render from being mistaken for another version.
- The range is correct. If you set In and Out points for a test or excerpt, make sure the final job includes the intended duration.
- The completed file plays. Open it in a player or reimport it, then check the beginning, end, audio, and difficult sections.
- The render meets its receiving service’s current instructions. Platform settings can change; revisit the official upload guidance when the delivery is important.
For Vimeo, its compression guidance recommends maintaining the video’s native frame rate when compressing and discusses H.264 and other format-specific choices. Check its live help page alongside a client brief rather than treating a setting for one platform as a universal upload rule. (help.vimeo.com)
When color or brightness appears different in a rendered file, don’t immediately alter every preset. First isolate whether the difference comes from the display, player, color management, tags, or the export configuration. Then update the relevant preset only if the cause is genuinely a reusable output requirement. That keeps a single-file issue from becoming a permanent mistake across future deliveries.
Which preset should I choose for a real multi-platform delivery?
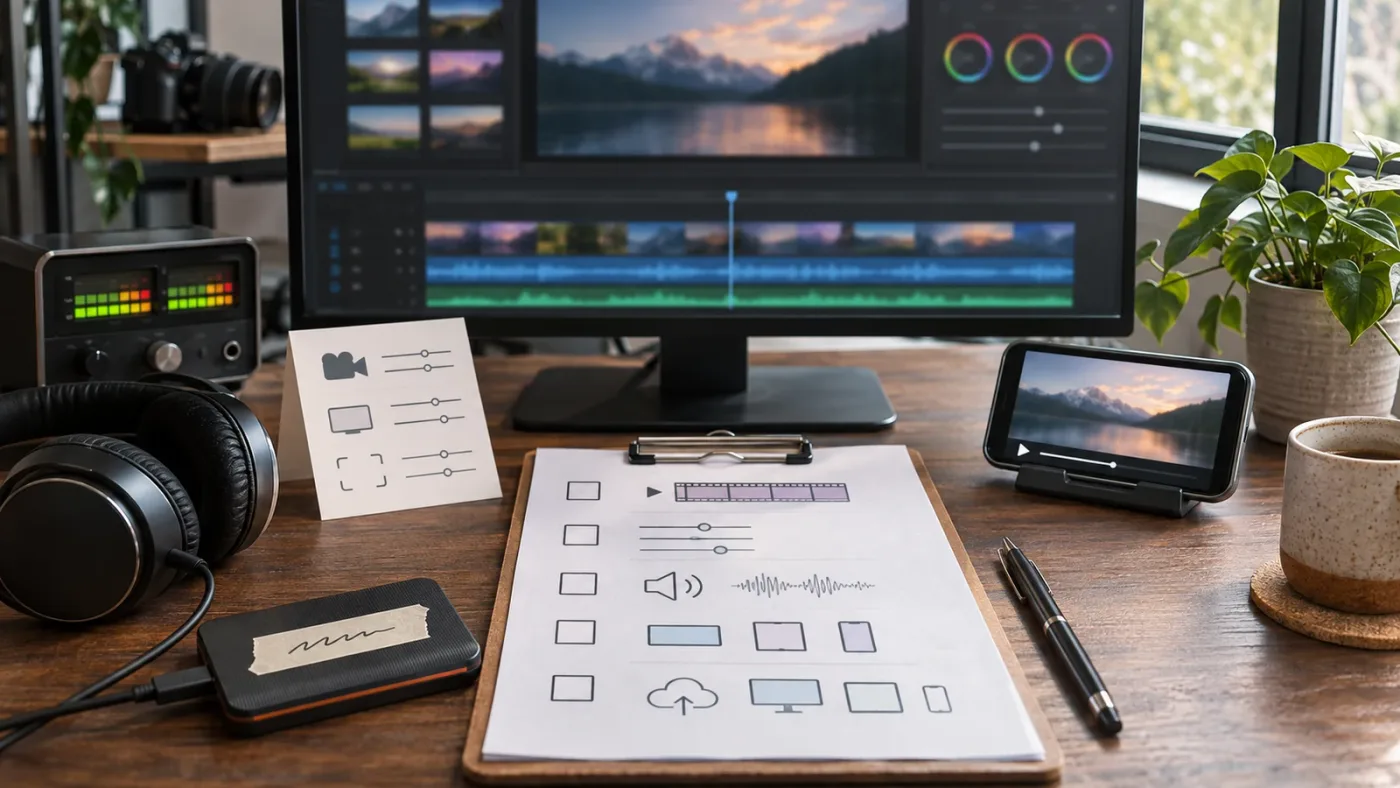
Choose the preset by the file’s purpose, then choose the matching prepared timeline. For example, a creator making a widescreen YouTube video, a vertical social cut, a low-bandwidth client review, and a reusable master should prepare the timelines and output settings as distinct decisions.
Here’s a worked example, not a measured test. Imagine a 4K 16:9 interview edit that also needs a vertical social version and a client approval copy:
- Keep the approved 16:9 edit as the web master timeline.
- Create a deliberate vertical version and check the reframing shot by shot.
- Apply
WEB_MASTER_H264to the 16:9 timeline. Use the client or platform’s accepted resolution and the current upload guidance. - Apply
SOCIAL_VERTICAL_H264to the vertical timeline. Check crop, text placement, captions, and output dimensions. - Apply
REVIEW_SMALL_H264to the version the client needs to review. Add watermark or timecode only if the review workflow requires it. - Render an archive intermediate if the project plan calls for a high-quality rendered master, and separately preserve the project and media the archive requires.
- Check that all four filenames and folders tell you which timeline and intended destination each file belongs to.
A second example: a podcast edit might need a widescreen video for a long-form channel, a vertical extract for a short-form feed, an audio-only file for a podcast host, and a clean archive master. Don’t try to make one video preset cover the audio-only deliverable. Use an audio export workflow for that output, and keep the vertical cut’s composition independent from the widescreen version.
A third example: a client may request a 1080p review copy even though the source and approved master are 4K. The review preset can meet that requirement, but the master should remain a separate job. Label the review file clearly so it doesn’t accidentally become the published copy.
Simon Hall of Blackmagic Design EMEA described the same general pressure in an interview about Resolve 21: “Creators are now expected to deliver the same project in lots of different formats.” (techradar.com) The useful response isn’t to save dozens of nearly identical presets. It’s to separate the edit’s composition from its export settings, then save the few output combinations you repeat.
TryUncle is the on-screen assistant for DaVinci Resolve on Mac and Windows — ask in plain words and Uncle points at the exact control on your screen.
What is the best small preset system to keep?
Keep four purpose-named presets, prepare separate timelines when framing changes, and verify each rendered file against its recipient’s current requirements. That system is easier to maintain than a long menu of presets whose names don’t explain the job.
A compact system works because the outputs answer different questions:
- Web master: What file can I deliver or upload from the approved main edit?
- Vertical social: What export matches the reframed vertical sequence?
- Review: What copy can the recipient inspect without confusing it with the master?
- Archive: What rendered master belongs with the project materials and documentation?
The final choice is yours, not the preset’s. If the client brief overrides a platform’s normal recommendation, follow the brief and make the distinction clear. If a platform publishes new specifications, update the relevant preset only after checking those specifications. If a destination has no special requirement, use a sensible general upload format and preserve the source frame rate when appropriate.
When you get stuck in Resolve’s Deliver controls or the instructions in a tutorial don’t match your screen, TryUncle can provide on-screen guidance while you remain in control of the steps. Check the landing page for current platform details.
Save the four presets only after you’ve tested their settings on a short, representative section and confirmed the resulting files. Then document the timeline and delivery expectations, export the full set, and inspect the outputs before sending them. That’s the part a preset can’t do for you.
Frequently asked questions
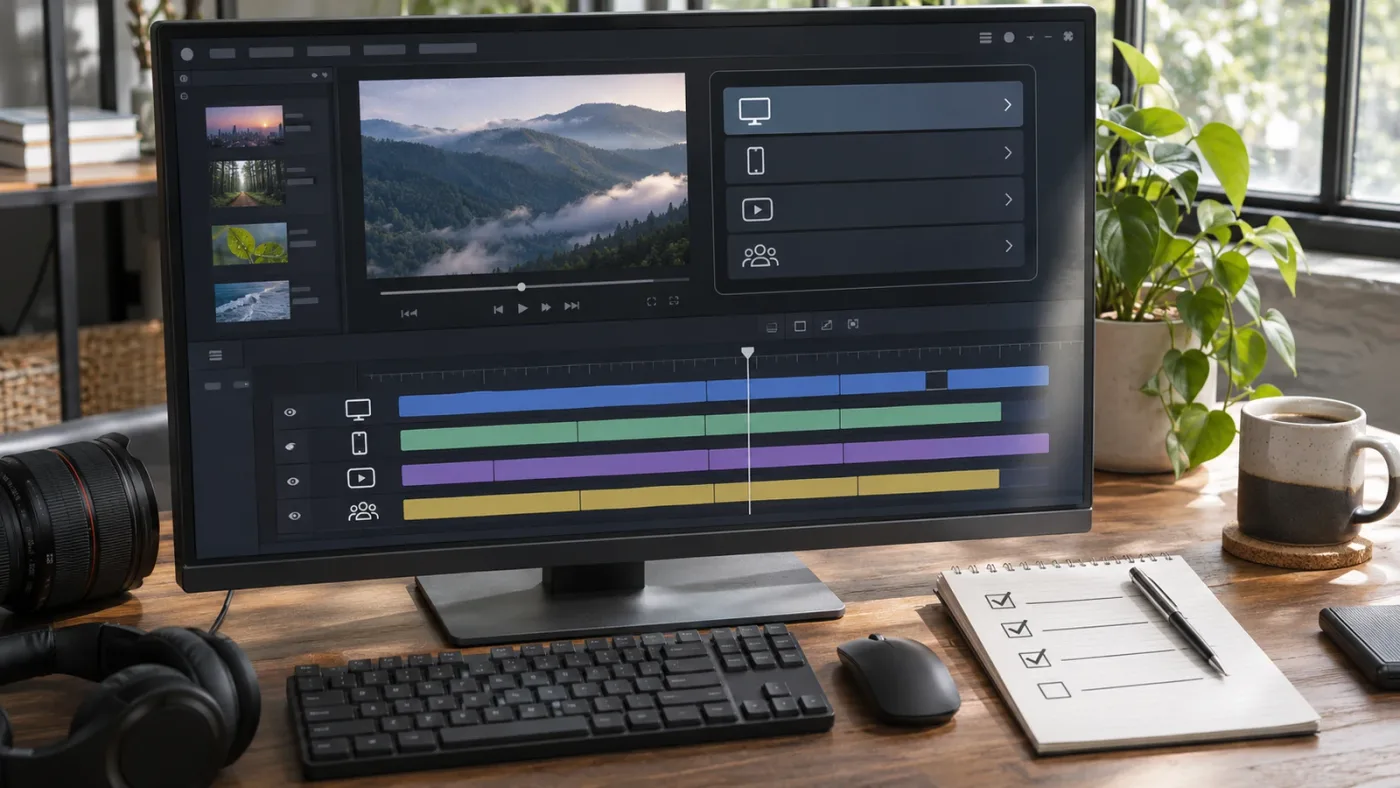
- Can one DaVinci Resolve render preset export to YouTube and vertical social at once?
- No. A preset defines one set of render settings. Save separate presets and queue separate jobs. If the vertical version needs different framing, make or adjust a vertical timeline too.
- How do I save a custom render preset in DaVinci Resolve 21?
- On the Deliver page, choose Custom Export, set the Video, Audio, and File options, open the three-dot Render Settings menu, choose Save as New Preset, name it, and save. In Resolve 21.1, you can also add a custom preset to Quick Export.
- Does a render preset change my timeline to 9:16?
- No. A render preset applies output settings, but it does not redesign a 16:9 edit for a vertical frame. Use a separate vertical timeline or another deliberate reframing workflow, then render that timeline with a vertical preset.
- Should my archive preset use H.264?
- Usually not as the only archive copy. H.264 is a practical delivery format, while an archive may call for a higher-quality intermediate, original media, project file, and documented assets. Choose the archive codec to fit your storage, handoff, and future-editing needs.
Sources
- DaVinci Resolve 21.1 Reference Manual, Deliver page
- Blackmagic Design DaVinci Resolve 21.1 support page
- YouTube recommended upload encoding settings
- YouTube video resolution and aspect ratios
- TikTok for Business video advertising guide
- Vimeo video and audio compression guidelines
- Blackmagic Design DaVinci Resolve 21 new features guide
- TechRadar interview with Simon Hall of Blackmagic Design EMEA
Put this guide to work with TryUncle.
Ask about the step you’re on. TryUncle sees your screen and points at the control you need, so you can keep learning in your own project.
Get TryUncle for Mac or WindowsKeep reading
Guides · Jul 7, 2026 · 25 min
DaVinci Resolve Export Settings for YouTube: The Right Numbers
The exact DaVinci Resolve export settings for YouTube: resolution, bitrate, codec, and audio numbers pulled straight from YouTube's own encoding guide.
Guides · Jul 12, 2026 · 26 min
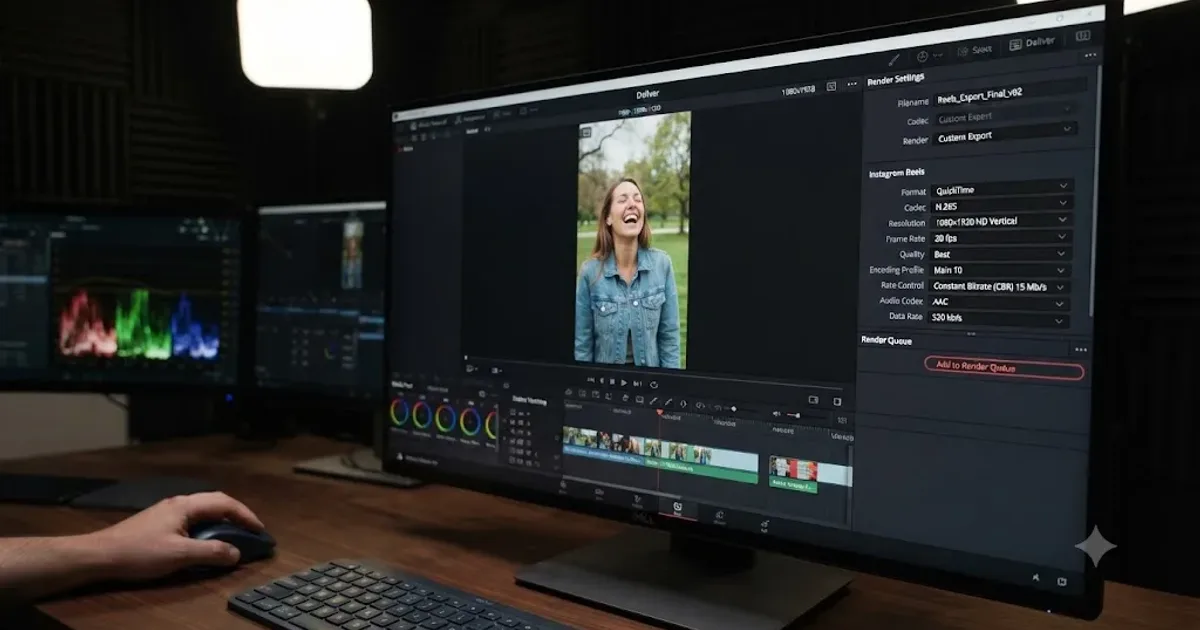
DaVinci Resolve Export Settings for Instagram Reels
Exact DaVinci Resolve export settings for Instagram Reels: 1080x1920 vs 1440x2560, H.264 only, bitrate, safe zones, and duration, sourced from Meta's own specs.
Guides · Jul 25, 2026 · 40 min
How to Consolidate Media in DaVinci Resolve Before Archiving
How to consolidate media in DaVinci Resolve before archiving: Media Management steps, frame handles, unused clips, and where to store the finished archive.