Articles / Guidesupdated for DaVinci Resolve 21.0.2 (July 2026)
DaVinci Resolve Export Settings for Instagram Reels
Quick answer
Export Instagram Reels from DaVinci Resolve as MP4, H.264, 1080x1920 (or 1440x2560 for paid Reels ads), 9:16, native frame rate, AAC audio at 128-256 kbps, and a bitrate around 8-12 Mbps. Build a vertical timeline first, keep text inside Meta's safe zone, and avoid H.265, which Instagram doesn't reliably accept.
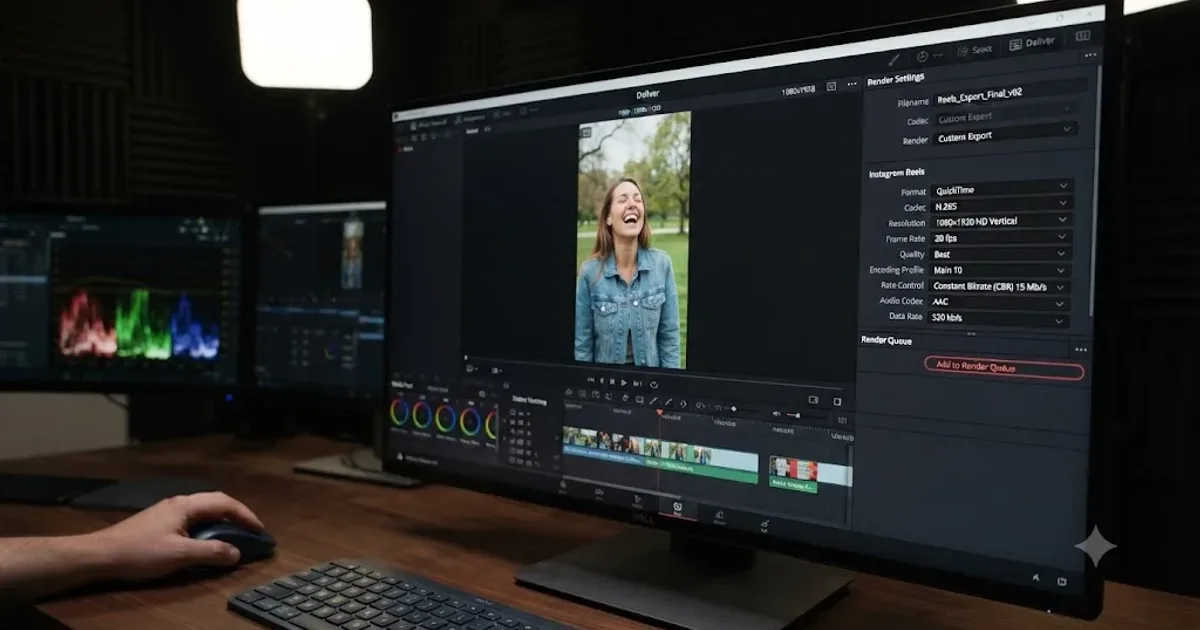
What settings actually matter when you export a DaVinci Resolve timeline for Instagram Reels? Five things: a vertical timeline built at 1080x1920, not a horizontal one cropped at export, MP4 with H.264 (never H.265), a bitrate in the 5,000-10,000 kbps range, AAC audio at 128-256 kbps, and text kept out of the top and bottom safe zones Instagram's own interface covers. Get those five right and your Reel looks the way your timeline looked before Instagram got its hands on it.
Most Reels export guides just repeat a YouTube bitrate table with the resolution swapped. That's not good enough here. Meta publishes different numbers for organic Reels than it does for paid Reels ads, it doesn't publish an official bitrate table at all, and it changed the safe zone Reels have to respect as recently as March 2026. Below is what Meta's own specification pages actually say, where they disagree with each other, and exactly where each field goes on the Deliver page.
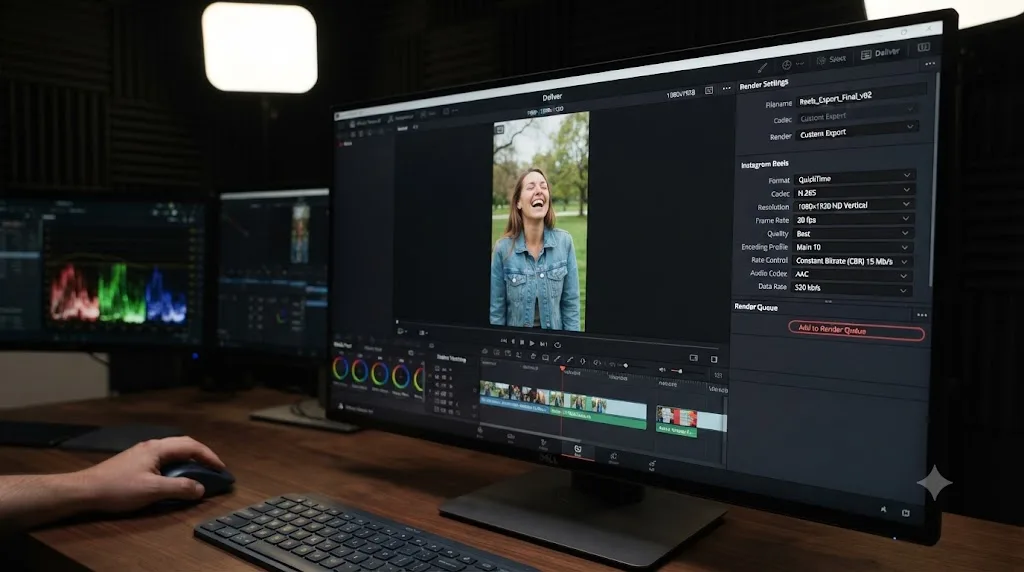
What are the exact DaVinci Resolve export settings for Instagram Reels?
Container, codec, and frame structure first. Meta's own Reels ad specification names "H.264 compression, square pixels, fixed frame rate, progressive scan" as the video encoding requirement, delivered inside an MP4 or MOV container, per Meta's ads guide for Facebook Reels. Audio rides alongside as stereo AAC compression at a minimum of 128 kbps, per the same page. None of that is unusual; it's the same baseline most web video platforms ask for.
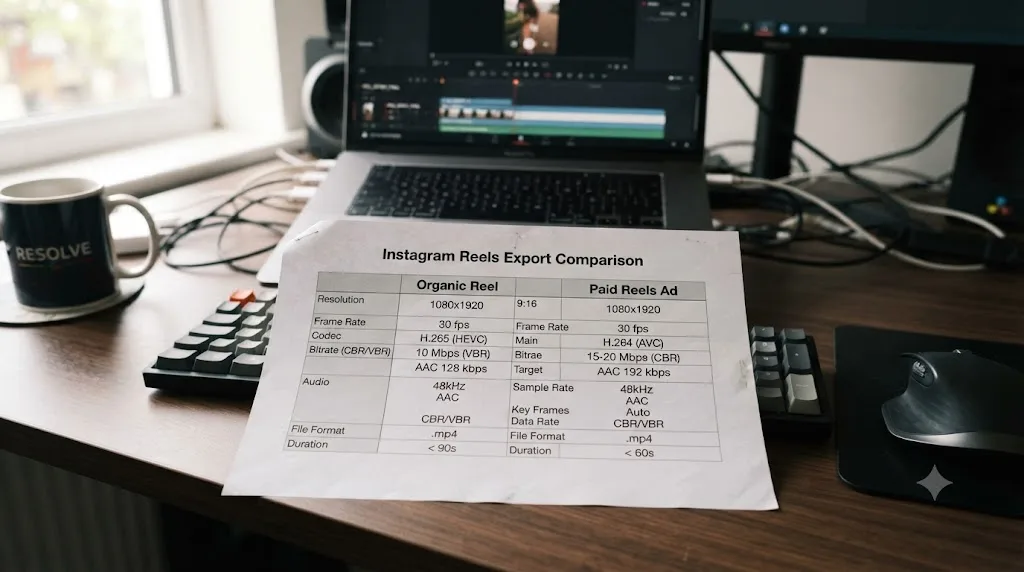
Here's the settings sheet, organic Reel and paid Reels ad side by side:
| Setting | Organic Reel | Paid Reels ad |
|---|---|---|
| Container | MP4 or MOV | MP4 or MOV |
| Codec | H.264 | H.264 |
| Aspect ratio | 9:16 | 9:16 |
| Resolution | 1080 x 1920 | 1440 x 2560 |
| Frame rate | Native, up to 60fps | Native, up to 60fps |
| Bitrate | 5,000-10,000 kbps (no official table) | 5,000-10,000 kbps (no official table) |
| Audio | AAC, 128-256 kbps, 48kHz stereo | AAC, minimum 128 kbps, 48kHz stereo |
| Max file size | Commonly cited under 1 GB | 4 GB documented ceiling |
| Duration | 3 seconds to 3 minutes | Set by campaign, same encode |
Meta's own Reels ad specification recommends 1440x2560, not the 1080x1920 that most Reels tutorials still repeat. That single discrepancy is the reason a settings sheet built for organic posting can under-deliver the moment the same file gets boosted into an ad, and it's worth understanding before you pick a resolution below.
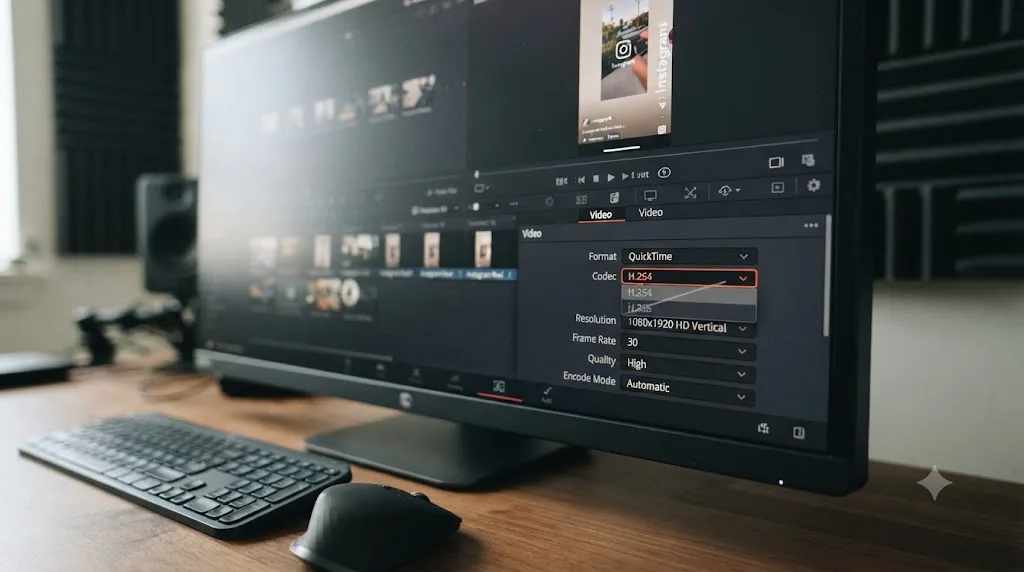
On the Deliver page, that maps to four fields: Format set to MP4, Codec set to H.264, the render resolution matched to whichever column above applies to your Reel, and the Audio tab's codec set to AAC. Everything else in this guide is the reasoning behind those four fields and what changes at the edges.
Should you build a vertical timeline, or reframe a horizontal one at export?
Build vertical from the start. Exporting a 16:9 timeline at a 9:16 resolution doesn't magically reframe your shots; it either squeezes everyone in frame into a tall, distorted sliver or crops the sides off blind, keeping whatever happened to be in the center of your original composition.
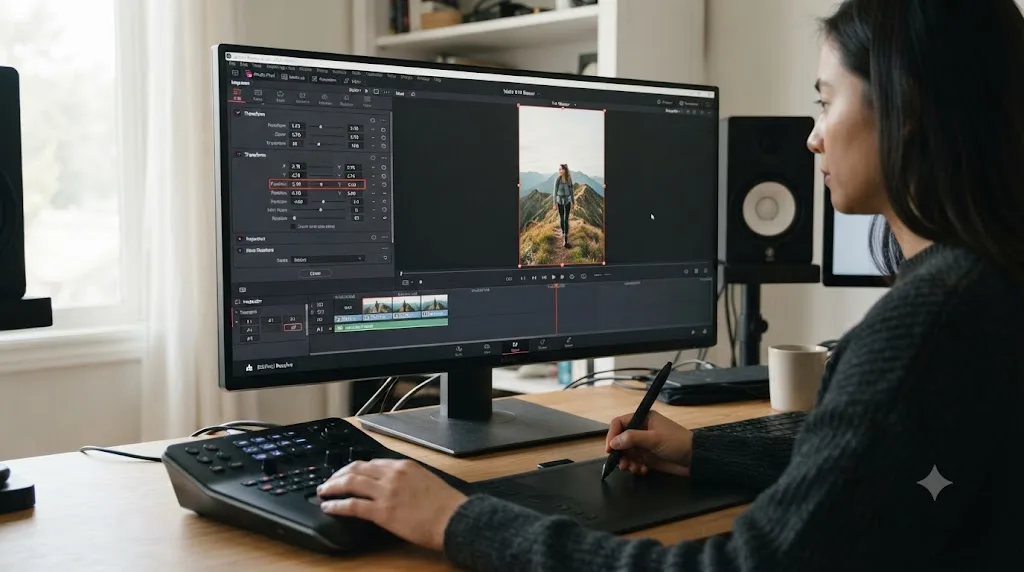
The right order is: duplicate or create your timeline first, open Timeline Settings, and change the resolution to 1080x1920 (tick Use Custom Settings if you're starting fresh). Then go shot by shot with the Transform controls in the Inspector, punching in and repositioning so faces, hands, and any burned-in text actually sit inside the tall frame instead of getting sliced off at the edges. It's slower than a blanket export-time crop, and it's also the only version that looks intentional instead of accidental.
A vertical timeline built at 1080x1920 from the start survives Instagram's compression better than a horizontal timeline squeezed or cropped into a vertical shape at export. That's not a subjective preference; a horizontal-to-vertical crop throws away the resolution outside your crop box before the encoder ever gets involved, so you're feeding Instagram's compressor a softer, lower-detail source than the same shot reframed properly would have produced.
Studio owners get a real shortcut here. Smart Reframe uses DaVinci Resolve's Neural Engine to auto-track a subject across a shot and generate the punch-in and pan automatically, which is genuinely useful on run-and-gun footage with a moving subject. It's still worth a manual pass on anything with two people in frame, a wide two-shot, or on-screen text, since an AI reframe optimized for "keep the face in frame" doesn't know your lower-third needs room too. Free-version users do this by hand with keyframed Transform values, which takes longer but produces exactly the same file once it's done, since Smart Reframe is a workflow accelerator, not an export requirement.
If your footage is a Fusion composite or has layered graphics that need to reframe together rather than shot by shot, the Fusion page's own transform and crop tools give you more precise control than the Edit page Inspector, though for a straightforward talking-head or b-roll Reel, Edit-page Transform covers it.
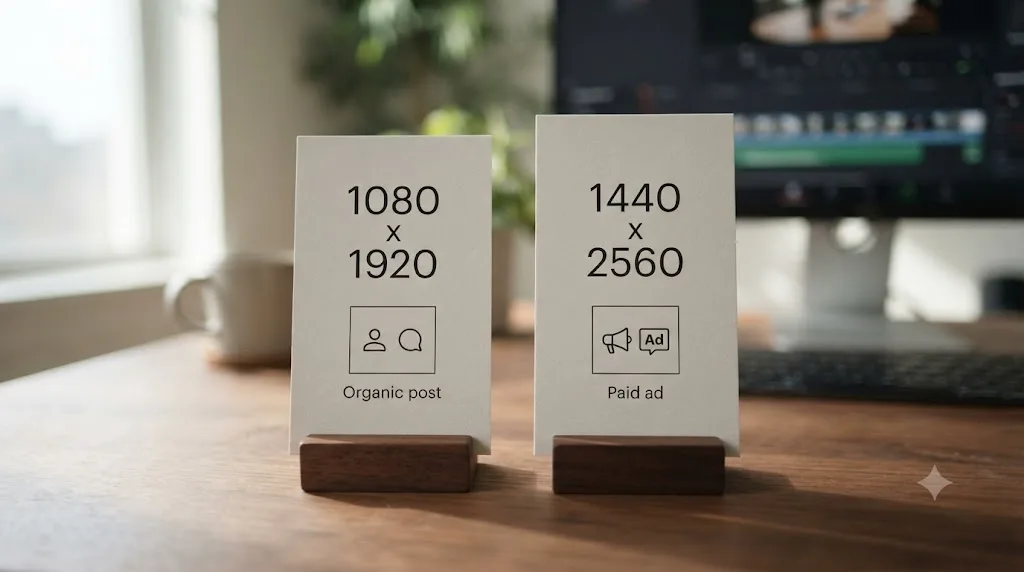
1080x1920 or 1440x2560: which resolution should you actually export at?
Depends entirely on whether the file is going out as an organic post or a paid ad, and this is the single spec most guides get wrong by treating Reels as one undifferentiated format.
For a regular Reel you're posting from your own account, 1080x1920 at 9:16 is the standard creator-facing resolution, matching the guidance on Instagram's own Reel size and aspect ratio help page. It's Full HD at a vertical orientation, and it's what the overwhelming majority of phones display Reels at regardless of what resolution you hand them, since most phone screens don't render meaningfully more detail than 1080 pixels wide in a scrolling feed context.
For a Reel that's going to run as a paid ad through Ads Manager, Meta's own ads specification for Facebook Reels names a recommended resolution of 1440x2560, per that same official spec page. That's not a typo or an inflated aspirational number; it's the documented recommendation for the ad placement specifically, sitting at roughly 33% more pixels per side than the organic figure.
| If your Reel is | Export at | Why |
|---|---|---|
| A regular post from your own account | 1080 x 1920 | Matches Instagram's own creator-facing Reel spec; covers what phone screens actually render |
| Going to run as a paid ad in Ads Manager | 1440 x 2560 | Meta's own ads guide names this resolution specifically for Reels ad placements |
| Unsure yet, might get boosted later | 1440 x 2560 | Downscaling a higher-res master to 1080p loses nothing; upscaling a 1080p file to feed an ad loses real detail |
That last row is the practical answer for most creators and small teams: if there's any real chance a Reel gets boosted or repurposed as a paid ad later, export your master at 1440x2560 and let Instagram's own pipeline scale it down for organic placements. Going the other direction, upscaling a 1080p export to fill a 1440x2560 ad slot, doesn't add real detail; it just hands the encoder a bigger, blurrier file to compress.
Whichever resolution you land on, keep it at exactly 9:16. That aspect ratio is what fills the Reels tab full-screen with no letterboxing on either side; Meta's own placement guide describes a supported video ratio range of 16:9 down to 9:16 across surfaces generally, per Meta's video requirements one-sheeter, but 9:16 specifically is the one that reads as "full-screen vertical" in the Reels feed itself.
What bitrate should you use for an Instagram Reels export?
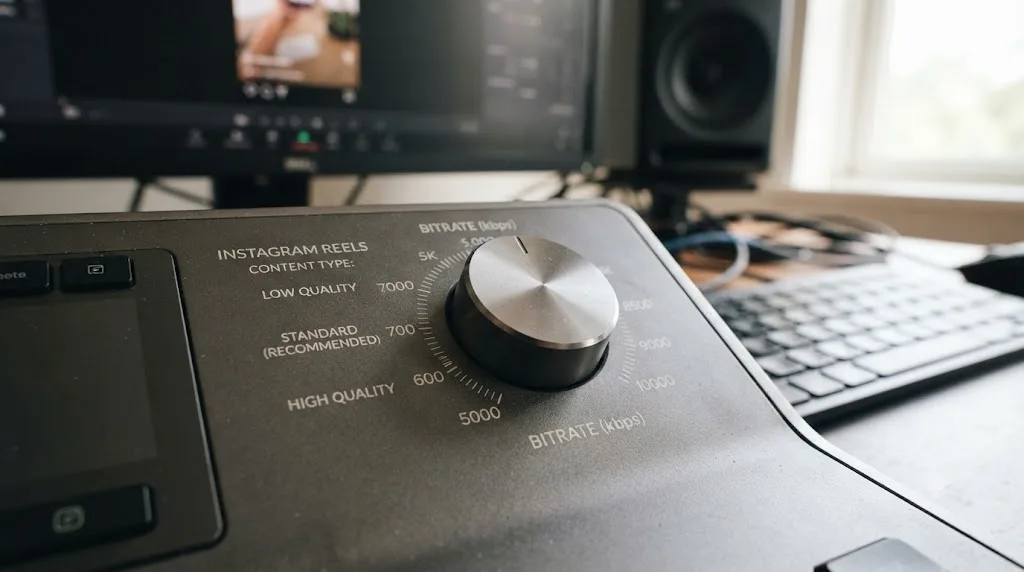
Here's the honest answer nobody selling a "definitive" Reels settings sheet wants to give you: Meta doesn't publish an official bitrate table for Reels. YouTube does, broken out by resolution and frame rate, which is why guides for YouTube exports can cite exact Mbps figures straight from the platform. Meta's Reels documentation, organic or paid, names the codec, the container, the resolution, and the audio bitrate, but not a target video bitrate.
Meta doesn't publish an official bitrate table for Reels the way YouTube does for its uploads. That gap is exactly why the internet is full of conflicting Reels bitrate advice ranging from 3,500 kbps up to 15,000 kbps: everyone's extrapolating from somewhere else, because there's no primary source to extrapolate from cleanly.
In the absence of an official number, use a practitioner range grounded in what actually holds up under Instagram's aggressive re-compression. Mark Ledbetter, a Los Angeles-based editor and colorist who has delivered for clients including Live Nation and Warner Music, recommends a bitrate between 5,000 and 10,000 kbps for a 1080x1920 Reels export, in his own export settings guide. That range sits comfortably above the floor where banding and blockiness start showing up in skies and skin tones, without ballooning your file size for no visible benefit once Instagram's own encoder finishes with it.
| Content type | Recommended bitrate (1080x1920) | Why |
|---|---|---|
| Talking-head, static b-roll, slideshow-style Reel | 5,000-6,500 kbps | Mostly static frames compress efficiently; you don't need the top of the range |
| Standard b-roll cut, moderate motion | 6,500-8,500 kbps | The middle of the range covers most everyday Reels content |
| Fast motion, dance, sports, screen capture | 8,500-10,000 kbps | Motion-heavy footage is the most bitrate-hungry content there is |
| Graded footage with skies, fog, or dark gradients | Top of range or higher | Smooth gradients band first under low bitrate; err upward |
If you're exporting at the higher 1440x2560 resolution for a Reels ad, scale the bitrate up proportionally rather than reusing the 1080p figures unchanged; a rough rule of thumb is to add 30-40% to whichever row above matches your content, mirroring the roughly 33% pixel increase between the two resolutions.
One more honest note: because there's no published ceiling, you can't meaningfully "overshoot" a Reels bitrate the way you can waste render time overshooting a platform that publishes a hard number. Instagram re-encodes what you send regardless, so the practical risk sits entirely on the low side. If you're deciding between two numbers in the table above and genuinely unsure, pick the higher one.
Should you export H.264 or H.265 from DaVinci Resolve for Instagram Reels?
H.264, without exception. This is the one place a Reels export genuinely diverges from a YouTube export, where our YouTube export settings guide recommends H.265 specifically for HDR deliveries. Instagram doesn't extend that same door.
Instagram's supported codec list for Reels doesn't include H.265 (HEVC), and Meta's own Reels ad specification names H.264 directly as the video compression standard, with no HEVC alternative offered the way YouTube's HDR upload page names H.265 as a first-class option. This matters more than it sounds like it should, because many recent iPhones record video in HEVC by default to save storage space, which means the file sitting in your camera roll before it ever touches Resolve may already be H.265.
That's not a Resolve problem to fix at the export stage alone; it's worth checking earlier in your pipeline too. If your camera source is HEVC, Resolve transcodes it during import and grading regardless, so the footage inside your timeline isn't the constraint. What matters is the codec you explicitly choose on the Deliver page's Video tab: confirm Codec reads H.264, not "same as source" or a default that quietly carried the H.265 setting through from a preset built for something else.
Instagram does not reliably accept H.265 video, so an iPhone recording HEVC by default needs converting to H.264 somewhere in the pipeline before the file reaches Instagram's upload flow. Get this wrong and the failure mode isn't always an obvious rejection message; sometimes it's a Reel that uploads but gets transcoded incorrectly, or one that silently strips audio or metadata during a forced server-side conversion. Setting Codec to H.264 explicitly on Resolve's Deliver page, every single time, removes the guesswork entirely.
| Platform | H.265 status |
|---|---|
| YouTube (HDR uploads) | Recommended, alongside VP9 Profile 2 and AV1 |
| YouTube (standard SDR uploads) | Supported, though H.264 is YouTube's primary recommendation |
| Instagram Reels (organic or ads) | Not in Instagram's supported codec list; export H.264 |
Resolve 21 added a new MainConcept encoder option for H.265 and MV-HEVC with 4:2:2 color, per Blackmagic's own release notes. It's a genuinely useful addition for HDR delivery to platforms that ask for it. Instagram Reels just isn't one of those platforms, so leave that encoder alone for this specific deliverable and stick with H.264.
What frame rate should you export at?
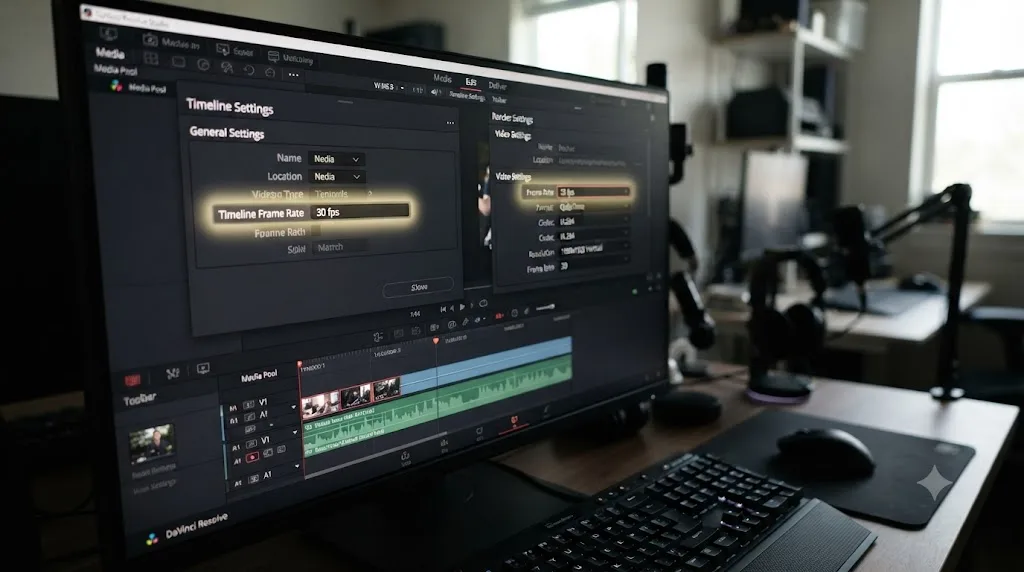
Whatever your timeline actually is, the same rule that governs every export in Resolve. Meta's video requirements don't publish a hard-and-fast recommended frame rate for Reels the way they do a resolution figure; industry practice, echoed in Ledbetter's export settings guide, lands on 30fps as the safe, widely compatible default, with 24fps and 60fps both playing back fine.
The mismatch that actually hurts you isn't picking 24 versus 30; it's exporting at a frame rate that doesn't match what you shot and edited at. If you filmed and cut at 24fps, export at 24fps. Forcing a 24fps timeline out at 30fps means Resolve has to invent or duplicate frames to fill the gap, and that shows up as a faint, hard-to-name judder in motion, the same problem that plagues mismatched YouTube exports.
Where frame rate does matter specifically for Reels: fast motion content, dance routines, sports clips, anything with quick whip pans, benefits from 60fps if that's what you actually captured, since Instagram's compression handles motion better with more source frames to work from. A static talking-head Reel gains nothing from 60fps beyond a bigger file for the same visual result.
Before rendering, open your timeline settings and compare the frame rate field against your Deliver page render settings. It's a fifteen-second check that catches the single most common invisible export mistake before it becomes a re-upload.
Do you need to worry about safe zones when editing for Reels?
Yes, and this is the setting most DaVinci Resolve tutorials skip entirely, because it isn't a codec field or a render setting at all. It's a framing decision you make while editing, and getting it wrong means Instagram's own interface covers up your captions, your logo, or your call to action after you've already rendered and uploaded.
Meta's own Reels ad specification gives concrete numbers: keep critical elements out of roughly the top 14% and bottom 35% of the frame, with about 6% clearance on each side, per Meta's ads guide for Facebook Reels. That bottom margin is the big one, and it exists because Instagram's own UI stacks the caption text, username, sound attribution, and action buttons (like, comment, share, more) directly over the bottom third of every Reel, whether it's an ad or not.
This safe zone changed in 2026. Reporting on Meta's creative specs notes a unified 9:16 safe zone for Stories and Reels took effect in March 2026, consolidating what had previously been two slightly different margins into one shared standard, according to Billo's breakdown of the update. The safe zone for Reels changed in March 2026, and a caption placed where it worked safely in 2025 may now sit under Instagram's own interface. If you're reusing an old title template or lower-third preset built before that update, it's worth re-checking against the current margins rather than assuming it still clears.
| Frame region | Keep clear of | Why |
|---|---|---|
| Top ~14% | Titles, top-of-frame text | Status bar and any pinned interface elements |
| Bottom ~35% | Captions, CTAs, logos, key subject | Caption text, username, sound credit, and action button column all stack here |
| Sides ~6% each | Edge-hugging text or graphics | Some devices and older interface versions clip content nearest the frame edge |
DaVinci Resolve has a built-in Safe Area overlay you can enable from the Viewer Overlay button: Extents, Action (90% of frame), Title (80% of frame), and Center crosshairs, per Blackmagic's own manual. Be honest with yourself about what that overlay is: it's a generic broadcast-television convention, not calibrated to Instagram's specific 2026 percentages. Turning it on gives you a rough visual guide while you're editing, but it won't match Meta's actual margins closely enough to trust blindly, especially in the bottom third where Instagram's UI eats far more than a standard 90% action-safe frame assumes. Treat it as a starting reference, then check your final composition against the percentages in the table above, ideally by overlaying a reference guide graphic sized to the actual UI mockup.
The practical workflow: keep your main subject and any burned-in text centered in roughly the middle 50% of the vertical frame, add captions and lower-thirds no lower than about 65% down the frame, and preview your final export on an actual phone in the Instagram app before you consider the job done. A desktop preview, even a full-screen one, doesn't reproduce Instagram's real interface overlap.
How long can an Instagram Reel actually be, and how long should yours be?
Up to three minutes, a real change from the 90-second cap that defined Reels for years. Instagram head Adam Mosseri announced the extension directly: "We're now supporting reels up to three minutes long on Instagram. We still are focused on short form video over long form, but hopefully this gives creators a bit more room to be creative," posted on Threads in January 2025. Coverage of the announcement noted the change came after Instagram had "heard a lot of feedback from a lot of you creators out there that 90 seconds is just too short," per Social Media Today's report on the rollout.
That's the ceiling, not the target. Mosseri's own framing is worth taking at face value: Instagram is still built around short-form video first, and a three-minute cap doesn't mean three-minute Reels perform the way 15-second ones do in a feed built for rapid scrolling.
| Length | What it's for |
|---|---|
| 3-15 seconds | Hooks, single-beat jokes, quick before/after reveals |
| 15-60 seconds | The bulk of what performs well in a scroll-driven feed |
| 60-90 seconds | Tutorials, multi-step content, anything needing a real setup and payoff |
| 90 seconds to 3 minutes | Available since Mosseri's 2025 change, best reserved for content that genuinely needs the room, not padding a short idea |
Inside Resolve, this changes nothing about your export settings, only your timeline planning. If you're building toward the longer end of that range, keep pacing tight anyway; a three-minute Reel with a slow first ten seconds loses viewers before the interface even finishes loading their scroll gesture. Minimum length matters too: Instagram's Reels requirements set a 3-second floor, so a very short cutdown needs at least that much runtime to qualify as a Reel rather than getting handled as a different content type.
What audio settings does Instagram actually want?
AAC, stereo, 48kHz, with bitrate scaled to quality needs rather than a single fixed number. Meta's own Reels ad specification states stereo AAC audio compression at a minimum of 128 kbps, per that same official spec page. That's a floor, not a target; pushing to 256 kbps costs almost nothing in file size at Reels-length runtimes and gives Instagram's own re-encode more to work with.
On Resolve's Deliver page, that's the Audio tab: Codec set to AAC, Bitrate set to somewhere between 128 and 256 kbps, and Output Track pointed at your finished stereo mix, not an isolated dialogue or music stem. The single most commonly missed setting on this entire page is the Export Audio checkbox at the top of the tab; it's on by default, but it's also the first thing that gets unchecked accidentally while troubleshooting something unrelated, and a silent Reel is a far worse failure than a slightly conservative bitrate. If your export comes out silent, our no audio troubleshooting guide runs the deeper checklist beyond this one checkbox.
Loudness deserves a separate mention, even though it isn't a codec-level field. Instagram, like most platforms, applies its own playback normalization rather than preserving your mix at whatever level you rendered it, which means an overly hot mix gets turned down automatically while a properly leveled one plays close to how you built it. Meta doesn't publish an exact Reels-specific LUFS target the way some platforms do, so the safest bet is to mix toward the same -14 LUFS integrated figure that's become the de facto web video standard across YouTube, Spotify, and most short-form platforms, since normalization only ever pulls loudness down and a mix with reasonable headroom survives that pass looking more natural. Our loudness normalization guide covers exactly how to set and hit that target on the Fairlight page.
One Reels-specific audio habit worth building: a meaningful share of Reels get watched with sound off, especially in the first second before someone decides whether to tap for audio. Burn in captions or key dialogue as on-screen text wherever the content depends on what's being said, independent of whatever audio codec and bitrate you've dialed in correctly on the Deliver page.
Does your color grade survive Instagram's compression?
Mostly, if you set it up correctly before you ever hit render. The two places a careful grade falls apart on the way to Instagram are gamma tagging and bitrate starvation, and only one of those is something Resolve's export settings can fix directly.
Gamma tagging is the sneakier of the two. Mark Ledbetter's export guidance is direct on this point: "Use Rec.709, not Rec.709-A. The latter may cause washed-out results," in his export settings writeup. Rec.709-A exists specifically to tell macOS playback software to interpret a file at gamma 2.4 instead of 2.2, which can help a file look correct in QuickTime Player on a Mac, but Instagram's own mobile playback pipeline isn't that specific viewer, and tagging for one player's quirk can shift how your grade reads once it's re-encoded and displayed inside the Instagram app on a mix of Android and iOS devices. When in doubt, export standard Rec.709 rather than Rec.709-A for a Reel; it's the safer default across the widest range of playback environments.
Bitrate starvation is the other half, and it's the same physics covered in the bitrate section above: gradients in skies, fog, and dark backgrounds are the first place a low bitrate shows visible banding, because those regions are long runs of nearly identical values that a starved encoder can't afford to preserve precisely. A heavily graded, moody Reel with lifted shadows and a teal-and-orange look is exactly the content that needs the top of the bitrate range covered earlier, not the bottom.
A Reel isn't the file viewers watch; Instagram re-encodes what you upload, the same way YouTube re-encodes every video it receives. That means your export is a source file for Instagram's own compression pass, not the final image. Handing it a soft, low-bitrate, or incorrectly tagged file doesn't just look slightly worse today; it gives Instagram's encoder a worse starting point to compress from, and there's no recovering detail that never made it into the upload.
One honest caveat about HDR: Reels doesn't currently have a documented HDR delivery path the way YouTube does with its Rec.2020 PQ/HLG requirements. If you're grading HDR footage for a Reel, deliver an SDR trim rather than assuming Instagram's pipeline handles HDR metadata the way YouTube's does; our HDR grading guide covers building that SDR trim from an HDR master without regrading from scratch.
How do Reels ads differ from organic Reels when exporting from Resolve?
Four fields change; everything else stays the same. It's worth a dedicated pass through this because treating a Reels ad export identically to an organic one is the single most common way a paid campaign launches with a softer, more compressed creative than it needed to.
| Field | Organic Reel | Reels ad |
|---|---|---|
| Resolution | 1080 x 1920 | 1440 x 2560 |
| Safe zone | Same unified 2026 margins apply | Same unified 2026 margins apply |
| Max file size | Commonly cited under 1 GB | 4 GB documented ceiling |
| Where it's uploaded from | Instagram app or direct upload | Ads Manager |
| Codec, container, aspect ratio | H.264, MP4/MOV, 9:16 | Identical |
The safe zone unification from March 2026 is genuinely useful news here: before that change, Stories and Reels ad placements used slightly different margins, which meant a creative built once and reused across both surfaces needed separate versions to clear each one's interface safely. A single 9:16 export built to the current unified margins now clears both, which simplifies exactly the kind of multi-placement export that used to require two separate renders from Resolve.
The bigger practical difference is planning ahead rather than reacting after the fact. If a piece of content might get boosted into a paid ad, even a "we'll decide later" maybe, export your Resolve master at 1440x2560 from the start. Instagram's own delivery pipeline downscales cleanly to 1080p for organic placements from a higher-resolution source; going the other direction, upscaling a 1080p organic export because a campaign manager suddenly wants to boost it, produces a visibly softer ad creative than building the higher-resolution master would have.
File size is the other quiet gotcha. The 4 GB figure documented for Reels ads gives you real headroom at the bitrates covered earlier in this guide, even at 1440x2560 and a three-minute runtime. The commonly cited under-1-GB figure for organic Reels is tighter, though at the bitrate ranges recommended above, a typical 15-60 second organic Reel comes in well under that ceiling without any special compromise. Only genuinely long organic Reels, pushing toward the three-minute maximum at a high bitrate, risk brushing up against that number, and if you're there, a bitrate close to the low end of the recommended range keeps you comfortably under it.
Does the free version of DaVinci Resolve limit Instagram Reels exports?
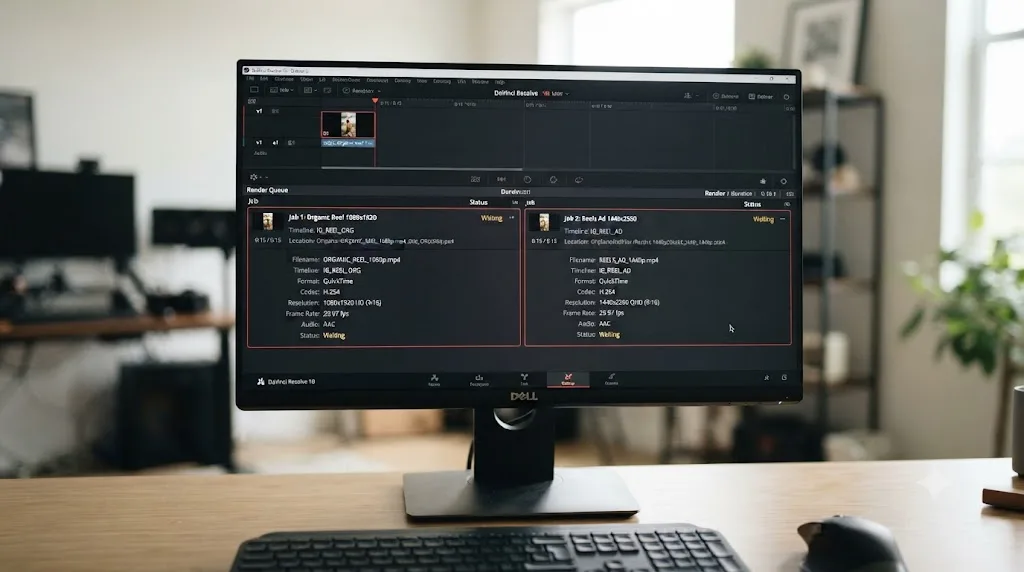
Barely, and less than it limits any other export type covered on this site. Per Blackmagic's own tech specs, the free version renders up to Ultra HD 3840x2160 at 60fps in 8-bit color. Both Reels resolutions covered in this guide, 1080x1920 and the higher 1440x2560, sit well inside that ceiling with room to spare; even the free version's export cap is more than five times the pixel count of a 1440x2560 Reel.
| Free | Studio | |
|---|---|---|
| Max export resolution | Ultra HD 3840x2160 | Beyond 4K |
| Max export frame rate | 60fps (8-bit) | 120fps (10-bit) |
| Reels export resolution ceiling reached? | No, not close | No, not close |
| Smart Reframe (AI auto-track for vertical reframing) | Not available | Available |
| H.264 hardware encoding (Windows, Linux) | CPU-based | GPU-accelerated |
The one genuine Studio trigger for Reels-specific work is Smart Reframe, the AI tool covered earlier that auto-tracks a subject when converting horizontal footage to vertical. Free-version editors do the identical reframing job by hand with keyframed Transform values on the Edit page; it takes longer per shot, but the exported file is indistinguishable from Smart Reframe's output once the keyframes are placed correctly. If you're reframing dozens of shots a week and the manual process is eating real time, that's the actual cost-benefit question Studio's $295 one-time price is answering, not any limitation in Reels export quality itself.
The other free-version gap, hardware-accelerated encoding on Windows and Linux being Studio-only, matters for render speed rather than output quality. At Reels' modest 1080p or 1440p resolutions and short runtimes, that speed difference is far less painful than it is exporting a full-length 4K YouTube master; a free-version CPU export of a 60-second Reel still finishes in a reasonable window on most modern hardware. Our free vs Studio comparison covers the full boundary between the two tiers if you're weighing the upgrade for reasons beyond Reels work specifically.
What's the fastest way to fix a bad-looking Instagram Reels upload?
Work through these in order before you assume Instagram simply ruined a good export.
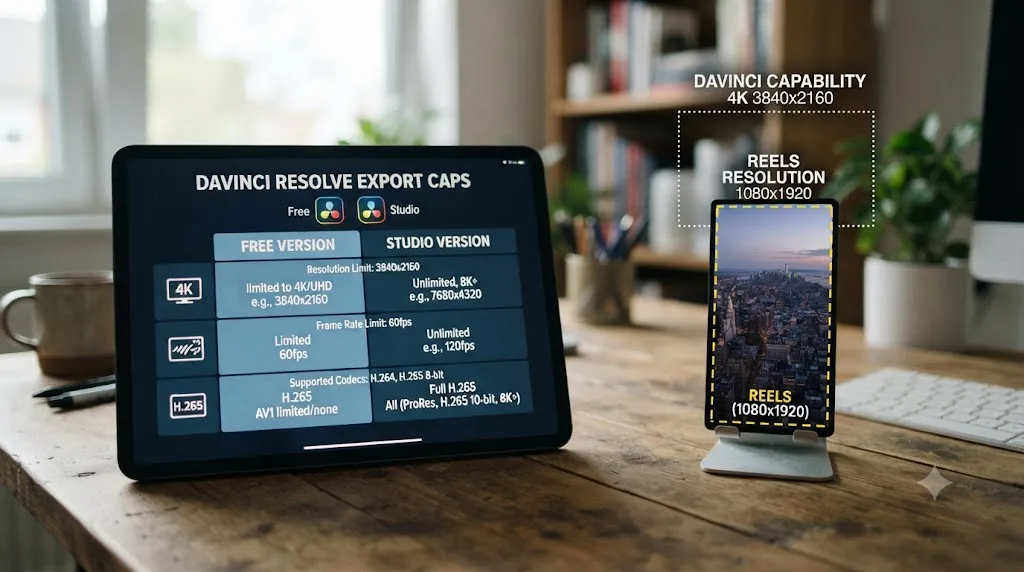
- The Reel looks cropped, zoomed, or has black bars on the sides. Your timeline wasn't actually built at 9:16. Check Timeline Settings against the render settings on the Deliver page; a 16:9 timeline exported at a 9:16 resolution gets forced into that shape, not properly reframed.
- Banding or blockiness in skies, shadows, or skin tones. Bitrate is under what the content needs. Check it against the table in the bitrate section above, and move toward the top of the range for anything graded or gradient-heavy.
- The video uploaded but plays back oddly, glitches, or fails to process. Almost certainly a codec issue. Confirm the Deliver page's Codec field reads H.264, not H.265, especially if your source footage came from a recent iPhone recording HEVC by default.
- Captions, your logo, or a call to action are covered by Instagram's interface. A safe zone miss. Compare your composition against the top ~14% and bottom ~35% margins covered earlier, and remember the March 2026 unification if you're reusing an older template.
- Colors look flat or washed out compared to your grade in Resolve. Check whether you exported with Rec.709-A instead of standard Rec.709; that Mac-specific gamma tag can shift how the file reads once Instagram re-encodes and displays it across a mix of devices.
- No audio in the upload. Export Audio was unchecked on the Deliver page's Audio tab. It's the single most common export mistake beginners make across every platform, not just this one. Our no audio troubleshooting guide runs the deeper checklist if it's checked and the file is still silent.
- The render itself won't finish or errors out. That's a resources or media problem, not a settings problem, most often GPU memory or a single corrupted clip the render hits. Our render failed guide walks the full diagnosis.
For hunting down the exact checkbox behind a specific export problem in your own project, that's the gap TryUncle is built for. It's an AI tutor that watches your actual Resolve window and points at the control you're asking about, instead of sending you hunting through a ten-minute video for a setting you needed twenty seconds ago.
How do you save this as a reusable Reels export preset?
Once you've built one export correctly, don't rebuild it from scratch every time. Any combination of settings on the Deliver page saves as a one-click preset.
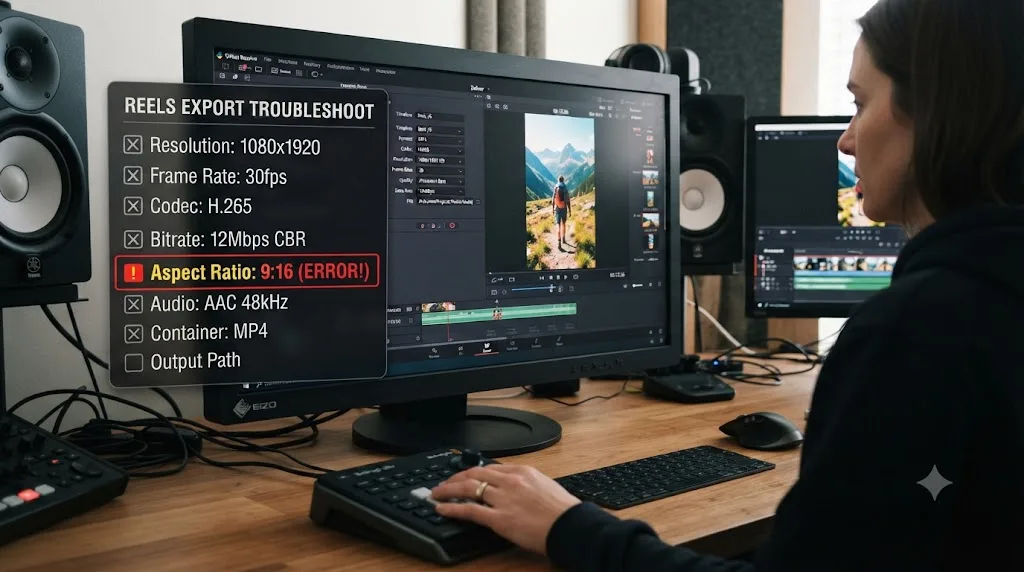
- Dial in the full setup on the Deliver page: Format MP4, Codec H.264, resolution at 1080x1920 (or 1440x2560 for ads), frame rate matched to your timeline, bitrate from the table earlier, and audio set to AAC between 128 and 256 kbps.
- Click the three-dot options menu at the top right of the Render Settings panel.
- Choose Save As New Preset and name it specifically: "Reels Organic 1080" or "Reels Ad 1440," not a generic label you'll have to reverse-engineer in six months.
- The preset appears in the strip alongside Resolve's stock YouTube, Vimeo, and ProRes Master presets, ready for any project on this machine.
Two presets cover almost every Reels workflow: one at 1080x1920 for organic posting, one at 1440x2560 for anything that might run as a paid ad. Build both once, and the settings sheet in this guide becomes background knowledge you rarely need to reopen.
Remember that a preset is a snapshot of a spec sheet on the day you built it, and Meta has changed Reels specs before, the safe zone update in March 2026 and the duration extension in January 2025 both landed with no advance warning to individual creators. Revisit your saved presets occasionally against Meta's current ads guide rather than trusting a preset saved once to stay accurate forever.
Which settings should you actually memorize?
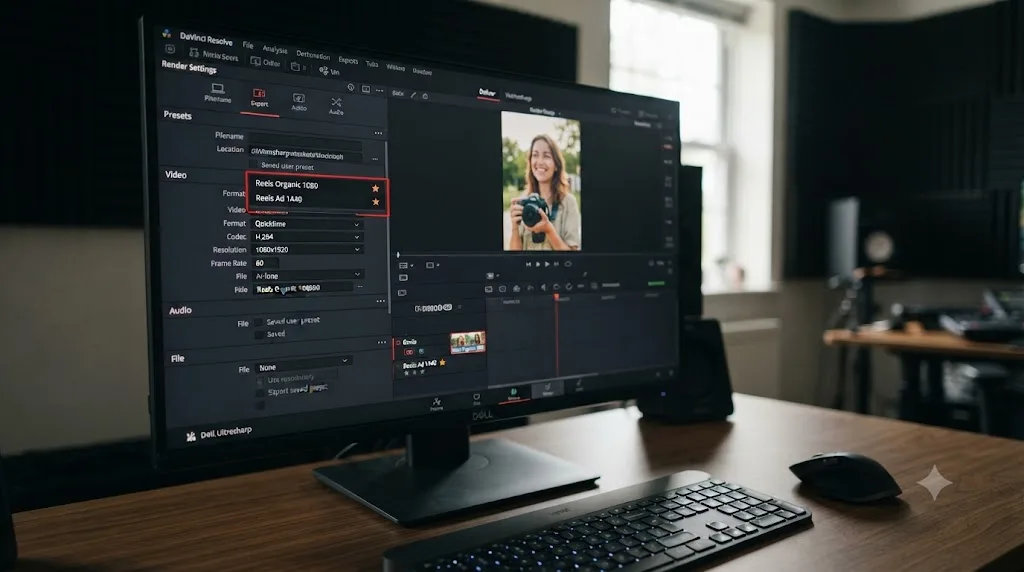
A vertical timeline built at 1080x1920 from the start, MP4 with H.264 and never H.265, a bitrate between 5,000 and 10,000 kbps, AAC audio at 128-256 kbps, and text kept out of the top 14% and bottom 35% of the frame. That covers organic Reels. Swap the resolution to 1440x2560 the moment a Reel might run as a paid ad, and export at that higher resolution from the start rather than upscaling later.
Meta doesn't hand you a bitrate table the way YouTube does, so the honest move is picking a range grounded in what actually holds up under Instagram's compression, not a number borrowed from a different platform's spec sheet. Save the two resolution variants as named presets, recheck your safe zone against Meta's current margins whenever you reuse an old title template, and preview the final file on an actual phone before you call the export finished. That last step catches more real problems than any setting on the Deliver page, because it's the only check that shows you exactly what Instagram's interface does to your frame once your Reel is live.
Frequently asked questions
- What resolution should I export from DaVinci Resolve for Instagram Reels?
- 1080x1920 for a regular organic Reel, matching Instagram's own 9:16 vertical spec. If you're exporting a Reel that will run as a paid ad, Meta's own ads guide recommends the higher-density 1440x2560 instead. Both are 9:16, so the difference is pixel density, not framing.
- What bitrate should I use for an Instagram Reels export from DaVinci Resolve?
- Meta doesn't publish an exact bitrate table the way YouTube does. A safe practical range for a 1080x1920 export is 5,000 to 10,000 kbps, which holds up under Instagram's own re-compression without unnecessarily bloating the upload. Lean toward the top of that range for anything with fine gradients, low light, or fast motion.
- Should I export H.264 or H.265 from DaVinci Resolve for Instagram Reels?
- H.264, always. Instagram does not reliably accept H.265 (HEVC) uploads, which matters because many recent iPhones record in HEVC by default. Confirm your Resolve export codec is set to H.264 specifically, not just left on whatever your source footage used.
- How do I build a vertical 9:16 timeline in DaVinci Resolve?
- Create a new timeline, open Timeline Settings, and set the resolution to 1080x1920 instead of the standard 1920x1080. Then reframe each shot individually using the Transform controls in the Inspector so subjects and text sit inside the tall frame, rather than exporting a horizontal timeline squeezed or cropped into a vertical shape.
- What's the difference between export settings for organic Reels and Reels ads?
- Organic Reels, the ones you post from your own account for free, target 1080x1920. Paid Reels ads, run through Ads Manager, use Meta's higher-density 1440x2560 recommendation and a wider safe zone. The codec, container, and 9:16 aspect ratio stay the same either way.
- What audio settings should I use for an Instagram Reels export?
- AAC audio, stereo, 48kHz sample rate, at a bitrate between 128 and 256 kbps. Meta's own ads specification names 128 kbps as the minimum stereo AAC bitrate to use. Confirm Export Audio is checked on the Deliver page's Audio tab before you render, since a silent Reel is a far worse outcome than a slightly low bitrate.
- Does DaVinci Resolve's free version limit Instagram Reels exports?
- No, practically speaking. The free version exports up to Ultra HD 3840x2160 at 60fps in 8-bit, and no Reels spec, organic or paid, gets anywhere near that ceiling. The only place Studio matters for Reels work is Smart Reframe, the AI tool that auto-tracks a subject when converting horizontal footage to vertical.
- Why does my Instagram Reel look worse after uploading from DaVinci Resolve?
- Usually one of four things: the bitrate was too low for the resolution and content, the timeline wasn't actually vertical so Instagram cropped or letterboxed it, the codec was H.265 and got mangled or rejected in processing, or text and graphics sat inside Instagram's UI safe zone and got covered by the caption bar or action buttons. Check all four before assuming the platform ruined your grade.
Sources
- Meta Ads Guide: Facebook Reels video specifications
- Meta Ads Guide: Video ad specifications and requirements
- Meta for Business: Video Requirements Chart (one-sheeter)
- Instagram Help Center: Reel size and aspect ratios on Instagram
- Meta Business Help Center: Requirements for Facebook Reels
- Adam Mosseri on Threads: Reels length announcement (January 2025)
- Social Media Today: Instagram Officially Expands Reels Length to 3 Minutes
- Testament Productions (Mark Ledbetter): Best Export Settings for Premiere Pro & YouTube
- Billo: Meta Ads Safe Zones, the Complete Guide
- DaVinci Resolve Manual: Safe Area Overlays in the Viewer (Blackmagic Design)
- DaVinci Resolve - Tech Specs (Blackmagic Design)
- DaVinci Resolve - What's New (Blackmagic Design)
- YouTube recommended upload encoding settings (YouTube Help)
Put this guide to work with TryUncle.
Ask about the step you’re on. TryUncle sees your screen and points at the control you need, so you can keep learning in your own project.
Get TryUncle for Mac or WindowsKeep reading
Guides · Jul 7, 2026 · 25 min
DaVinci Resolve Export Settings for YouTube: The Right Numbers
The exact DaVinci Resolve export settings for YouTube: resolution, bitrate, codec, and audio numbers pulled straight from YouTube's own encoding guide.
Guides · Jul 7, 2026 · 23 min
DaVinci Resolve Export Settings: Numbers That Actually Work
The exact DaVinci Resolve export settings for YouTube, client handoffs, and ProRes archives, plus what changed with Resolve 21's H.265 encoder.
Guides · Jul 8, 2026 · 33 min
DaVinci Resolve Loudness Normalization: The Right LUFS Target
The exact LUFS target for every platform in DaVinci Resolve: -14 for YouTube and Spotify, -16 for podcasts, -23 EBU R128 broadcast. Plus how to set and hit it.