Articles / Fixesupdated for DaVinci Resolve 21.0.3 (July 2026)
DaVinci Resolve Slow After Adding Many Tracks? The Fix
Quick answer
DaVinci Resolve slows down after you add many tracks because each track's compositing, waveform rendering, and any audio plugins recompute every frame, whether the track is empty or active. Disable or delete unused tracks, flatten heavy audio effects, turn on Render Cache, and check GPU VRAM. Track count itself isn't capped. Your hardware is.
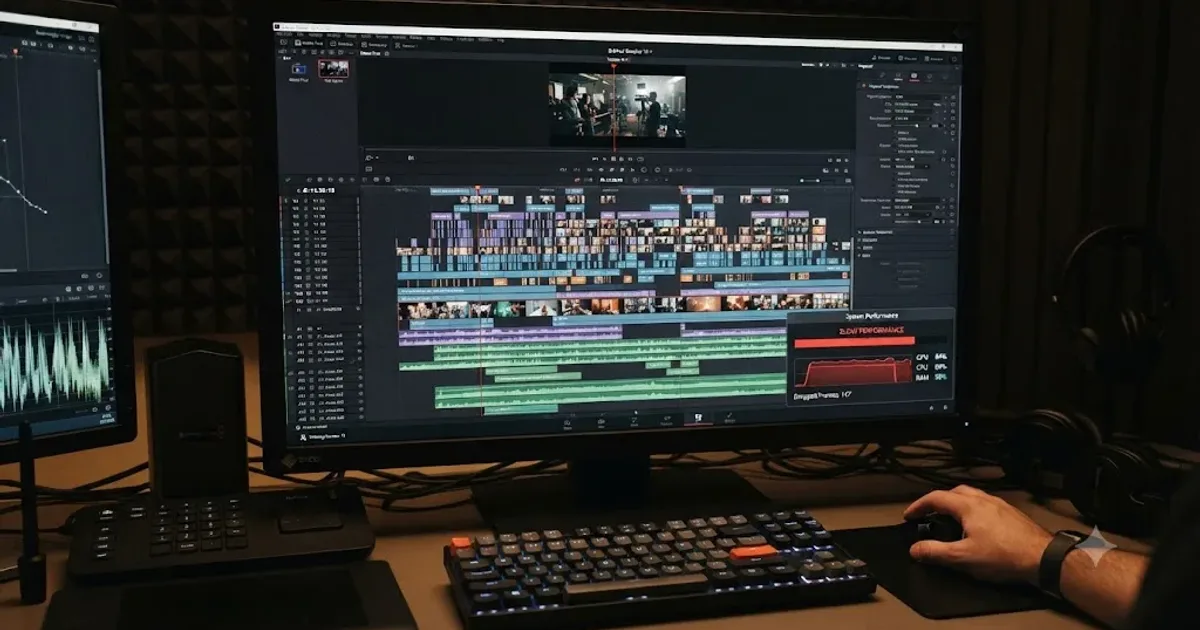
Ten tracks felt fine. Then you added a fourth camera angle, two more guest mics, and a music bed, and now the playhead drags every time you touch the space bar. Nothing about your footage changed. Your project just grew, and DaVinci Resolve is telling you it noticed.
In our 100,000+ member video-editing community, "why does adding tracks slow everything down" is one of the questions we hear most from podcast and multicam editors specifically, and after seven-plus years of cutting commercial work in Resolve, the pattern is consistent: it's rarely the track count by itself. It's what's running on those tracks, and how much of it Resolve has to recompute on every single frame. Here's what's actually happening as of DaVinci Resolve 21.0.3, and the specific fixes that address each cause instead of guessing at all of them at once.
What causes DaVinci Resolve to slow down after you add many tracks to the timeline?
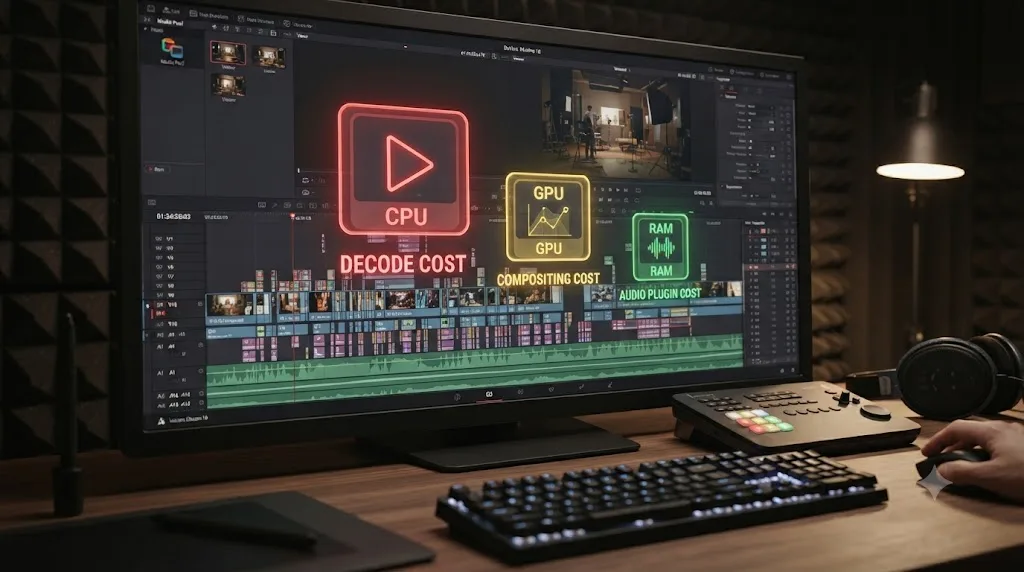
Every enabled video track above your base track has to be decoded and composited into the frame you're watching, and every audio track carrying a plugin, EQ, or dynamics processor has to recompute its output continuously during playback. Add tracks that don't need any of that, and the cost barely moves. Add tracks that do, and the cost stacks fast.
That's the piece most troubleshooting guides skip. A track by itself is just a lane on a timeline. It doesn't cost anything sitting empty. What costs something is what you put on it: a fourth 4K camera angle your GPU has to decode and blend into the composite, a noise-reduction plugin running on every one of six microphone tracks, a waveform Resolve has to redraw every time you scroll past a few hundred audio edits. Ten plain tracks and ten heavily processed tracks are not the same workload, even though they look identical in a project properties panel.
A DaVinci Resolve timeline doesn't get slow because it has many tracks. It gets slow because of what's running on those tracks, and that cost is invisible until you go looking for it. That distinction is the difference between spending an evening deleting tracks that weren't the problem and fixing the actual one in ten minutes.
Is it your video tracks or your audio tracks doing the damage?
Figure this out before you touch a single setting, because the fix for a video-heavy timeline and an audio-heavy one look nothing alike. The fastest way to tell them apart takes about two minutes.
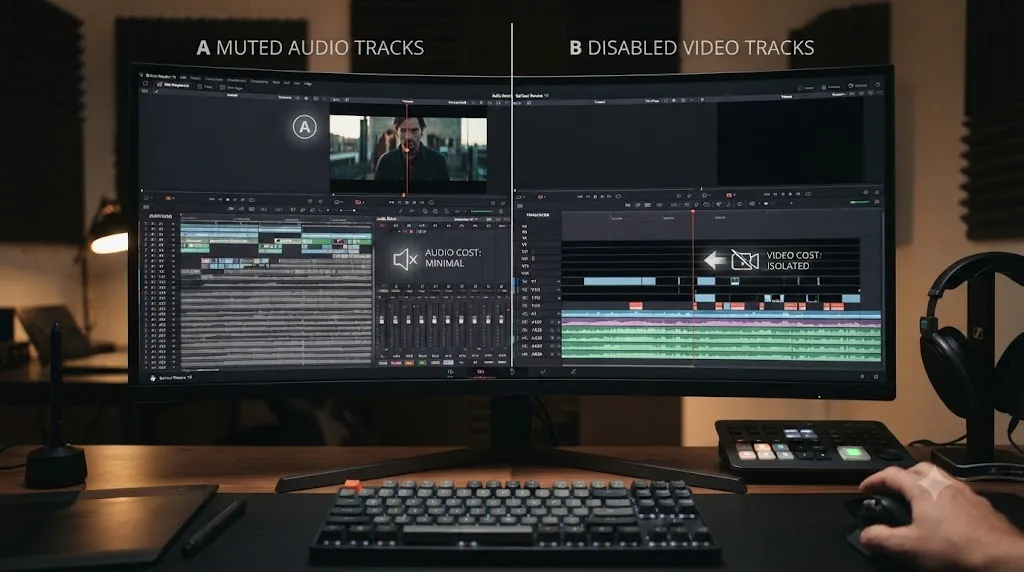
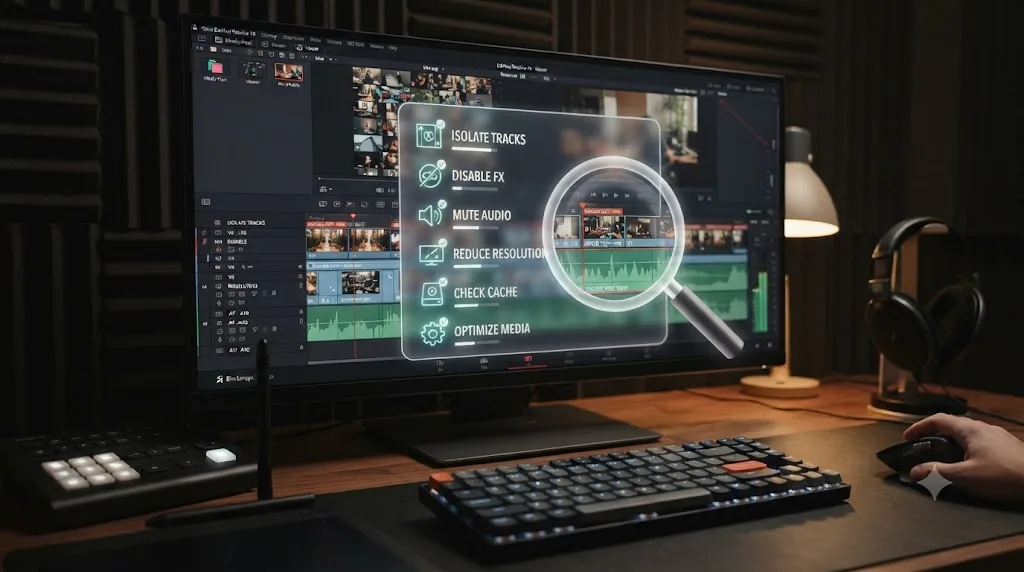
Mute every audio track first, using Shift-click on the mute icon to hit them all at once, and scrub the timeline. If it smooths out, your audio tracks were the drag. Re-enable audio, then disable every video track except the one you're parked on, using the same Shift-click trick on the Enable Track toggle, and scrub again. If that's what fixes it, decoding and compositing multiple video layers was the cost.
One editor's report on Blackmagic's own forum matches this pattern almost exactly. Editing a corporate speech that crossed the one-hour mark with heavy audio editing, they found the timeline dragging on scrolling and zooming with CPU and GPU usage staying under 20 percent the entire time, which ruled out raw processing power as the cause. The drag tracked specifically with the number of audio edits and the waveforms Resolve had to redraw for each one, per the Blackmagic Forum thread describing the case. Low CPU and GPU numbers with a genuinely sluggish timeline is the signature of a UI-rendering cost, not a decode or compositing one, and it points straight at audio waveform density before you look anywhere else.
| Symptom | Likely bottleneck |
|---|---|
| Playback drops frames, CPU and GPU both climb | Video track decode or compositing |
| Scrolling and zooming feel sluggish, CPU and GPU stay low | Waveform and thumbnail rendering |
| Fine on the Edit page, chokes specifically during playback | Live audio plugins recomputing per frame |
| Slow everywhere, even parked on a single frame with nothing moving | Cache or memory pressure, not real-time processing at all |
A timeline with low CPU and GPU usage that still feels sluggish isn't a processing power problem. It's a UI rendering problem, and no hardware upgrade fixes that. That single distinction saves you from buying a GPU to solve something a settings menu already handles for free.
Why does the timeline lag even when tracks are empty or disabled?
Because an empty or disabled track still has a header, a lock icon, a color swatch, and a waveform lane that Resolve has to draw and redraw every time you interact with the timeline, and none of that goes away just because there's no clip sitting on it. A separate Blackmagic Forum thread reported exactly this: a timeline that stayed sluggish even though every track above the ones actually in use was completely empty, per the thread on this exact symptom. That's the counterintuitive part. You'd expect an empty track to cost nothing. It costs less than a full one, but it isn't free.
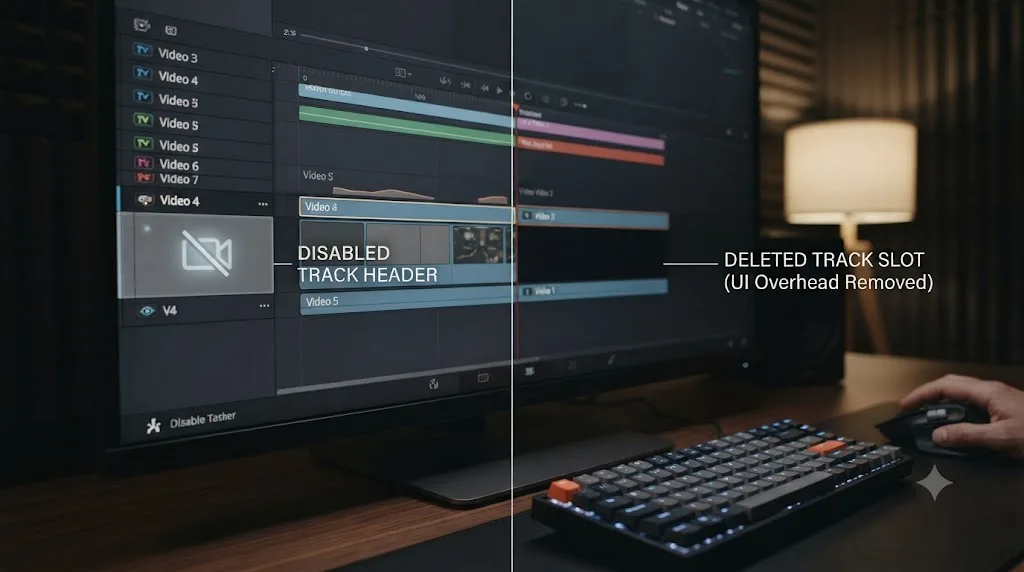
This is also where "disabled" and "deleted" stop meaning the same thing, and the gap matters more than most editors realize. Per DaVinci Resolve's reference manual, clips on a track with its Enable Track toggle turned off aren't decoded, aren't visible in the viewer, don't appear on the Color page, and aren't included in a render, per the manual's section on this behavior. That's a real, meaningful reduction in processing cost. But the track itself, its header and its lane, is still sitting in the timeline UI, still getting redrawn on every scroll and zoom, still contributing to whatever cost that empty-track forum report was describing.
Disabling a track stops DaVinci Resolve from decoding and compositing its clips. It doesn't remove the track's UI overhead, and that gap is why a timeline can still feel sluggish even after you've disabled everything you're not using. If disabling tracks didn't fully fix your slowdown, that's not a sign disabling doesn't work. It's a sign you've got a second cost layered underneath it, and the next few sections cover exactly what that's usually made of.
How do you actually test which layer is slowing you down?
Work through this in order rather than guessing, since each step isolates one specific cost and rules the rest out cleanly.
- Check the Performance Indicator in the top-left corner of the viewer. Green means Resolve believes it can play the current frame in real time. Red means it can't, and that alone tells you whether you're chasing a real-time playback problem or a UI-responsiveness one.
- Mute all audio tracks with Shift-click on one mute icon, then scrub and play. Smoother playback points at audio.
- Disable all video tracks except the base one, same Shift-click trick on the Enable Track toggle. Smoother playback points at video compositing or decode.
- Turn off Show Thumbnails and Show Audio Waveforms in the Timeline View Options menu. If scrolling and zooming get noticeably snappier, UI rendering was a real contributor, independent of anything above.
- Watch Task Manager or Activity Monitor while you play. CPU and GPU both climbing points at decode or compositing. Both staying low while the timeline still feels sluggish points back at UI rendering, exactly like the case in the forum thread above.
- Park on a single static frame with nothing playing and see if the machine still struggles. If it does even at a dead stop, you're looking at cache or memory pressure, not a real-time processing cost at all.
| Test | What it isolates |
|---|---|
| Performance Indicator color | Real-time playback capacity, in general |
| Mute all audio, then test | Fairlight processing and audio track load |
| Disable all video but one, then test | Video decode and compositing load |
| Toggle thumbnails and waveforms off | Pure timeline UI rendering cost |
| Task Manager / Activity Monitor while playing | Whether CPU/GPU are actually busy or the UI is the bottleneck |
| Slow even parked on one frame | Cache, RAM, or disk pressure, not real-time processing |
Running all six takes under ten minutes and tells you exactly which of the next sections actually applies to your project, instead of working through every fix in this guide on a problem only one of them was ever going to solve.
Does disabling a track actually help, or do you need to delete it?
Disabling helps with processing cost. Deleting helps with UI overhead too. They're not interchangeable, and picking the wrong one for your situation wastes the fix.
Use the Enable Track toggle, the small icon on each track header, when you want a track's content to stop being decoded, composited, and rendered, but you plan to come back to it later. This is the right move for camera angles you're not currently grading, alternate takes you haven't decided between, or a scratch audio track you're keeping around for reference. The clips stay exactly where they are. They just stop costing anything while disabled.
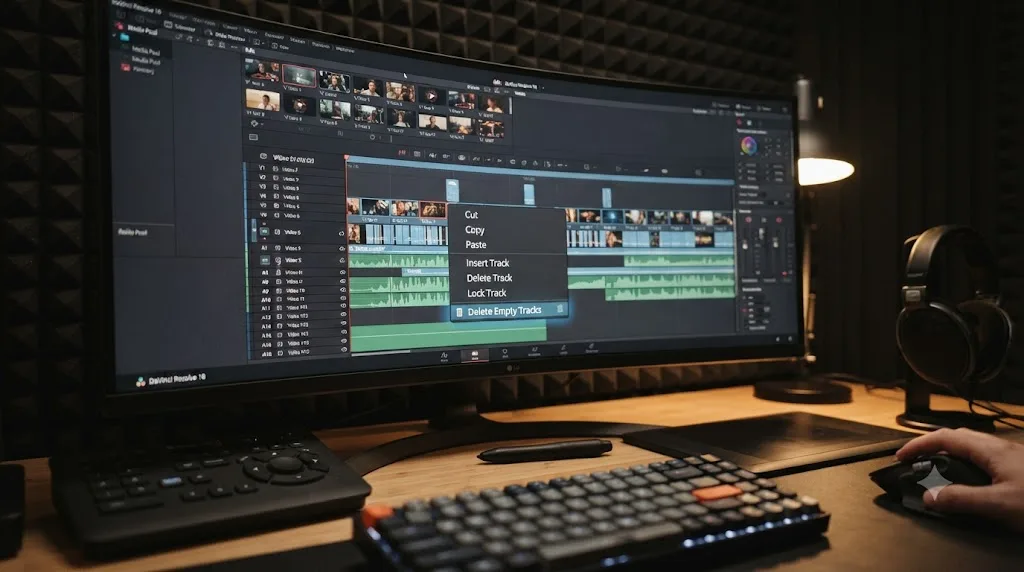
Delete a track when you're certain you don't need it at all, or when it's been empty since before your last export. An empty, disabled track still carries some UI weight, however small, and a timeline with a dozen leftover empty tracks accumulates that cost across the whole project. There's a one-click way to clear all of them at once: right-click the gray space below your lowest track header, or right-click any track header directly, and choose Delete Empty Tracks. It removes every video and audio track currently holding zero clips in a single action.
| Action | Stops decode/compositing? | Removes UI overhead? | Reversible? |
|---|---|---|---|
| Mute (audio track) | Not reliably, plugins often keep running | No | Yes, one click |
| Disable (Enable Track toggle) | Yes | No | Yes, one click |
| Delete Empty Tracks | N/A, only removes tracks with no clips | Yes | No, but nothing was lost |
| Delete a track with clips on it | Yes, permanently | Yes | No, clips are gone from that track |
Muting an audio track silences it. Disabling a track stops Resolve from processing it at all. Confusing the two is the single most common reason "I already muted everything" doesn't fix a slow audio-heavy timeline. If you've tried muting six mic tracks and playback still crawls, that's expected. Mute the mixer output if you want silence. Disable the track if you want the performance back.
Why do podcast and multicam timelines hit this problem especially hard?
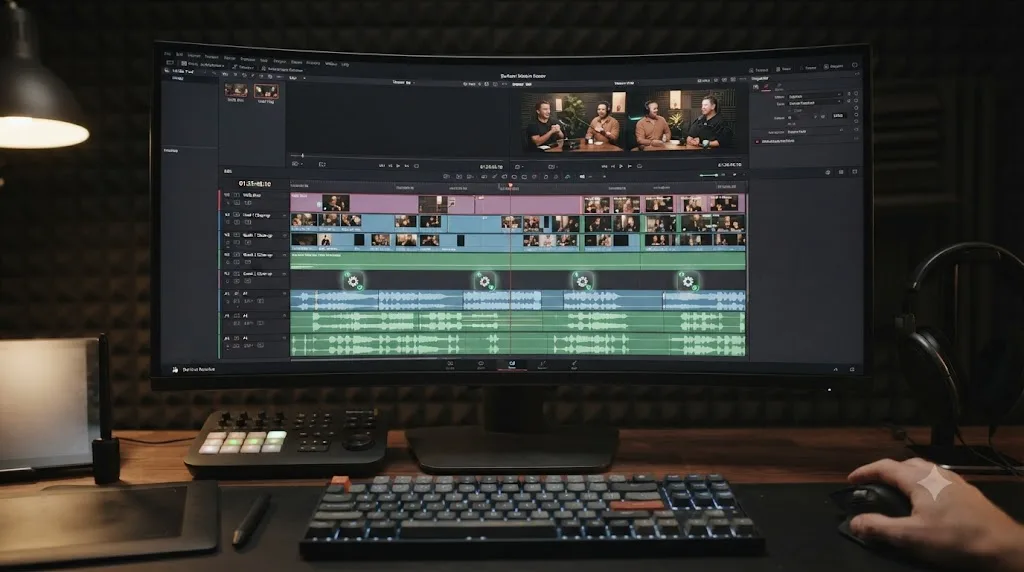
Because a typical podcast or multicam setup stacks several tracks that each carry a genuine real-time processing cost at the same time, not just several tracks in general. A four-angle multicam brings four video tracks that each need decoding and compositing. A four-guest podcast brings four microphone tracks that each often carry noise reduction, EQ, and dynamics processing running live, plus a music bed and a room-tone track on top of that. A narrative edit with the same raw track count rarely stacks that many simultaneous live processes, which is exactly why two projects with identical track counts can feel completely different to scrub through.
Our podcast video export settings guide covers the delivery side of this workflow, and our multicam sync guide covers keeping those camera angles aligned in the first place. Neither one is a performance fix on its own, but they're the two workflows where this exact slowdown shows up most often, because they're both built on stacking many simultaneously active tracks by design, not by accident.
A podcast or multicam timeline isn't slow because it has more tracks than a narrative edit. It's slow because more of those tracks are doing real, continuous work at the same time. That reframes the fix entirely. You're not looking to cut your track count down to some arbitrary number. You're looking to reduce how many of those tracks are actively processing something on every single frame, which the next two sections cover directly.
Do Track Level Audio Effects like Voice Isolation and Music Remixer explain the slowdown?
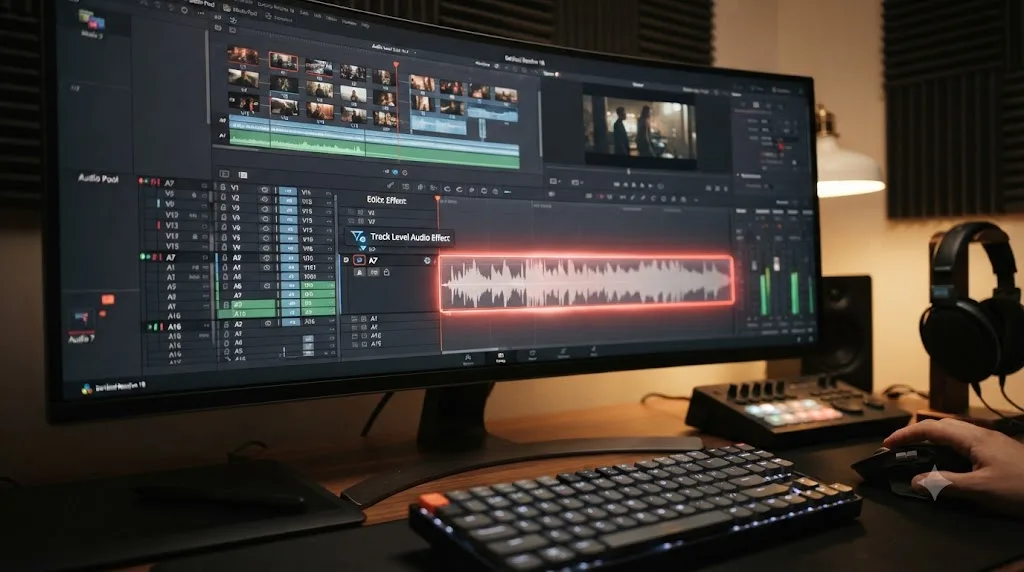
Often, yes, and they're easy to overlook because they live on the track header itself rather than in the Fairlight page's usual effects chain. One Blackmagic Forum thread traced a specific timeline slowdown to exactly this: Track Level Audio Effects, real-time tools like Voice Isolation and Music Remixer applied directly to a track, per the thread describing the diagnosis. Those effects don't run once and cache their result. They recompute continuously as the playhead moves, which is exactly the kind of cost that scales with how many tracks are carrying one, not with how many tracks exist in total.
A separate thread traced a similar slowdown to a third-party source instead of a built-in one: an Izotope Ozone 9 VST plugin sitting on an audio track, which the poster isolated by disabling every audio plugin at once through Preferences, then re-enabling them one at a time until the slow one revealed itself, per the Blackmagic Forum thread on this case. That one-at-a-time method works for any suspected plugin, built-in or third-party, and it's faster than guessing which of six tracks is the actual culprit.
A live audio effect on a track is a cost that runs every single time the playhead crosses it, not a cost you pay once and keep. Once you've dialed in a Voice Isolation pass or a noise-reduction setting and you're happy with it, the fix is straightforward: select the track, bounce it down to a new audio file through the Deliver page or a track-level render, then bring that flattened file back in and swap it for the live version. The processing is baked in once, permanently, and Resolve stops recomputing it on every scrub.
| Track content | Recomputes every frame? | Fix once you're happy with the sound |
|---|---|---|
| Plain dialogue clip, no effects | No | Nothing to do |
| Track with EQ or dynamics dialed in | Yes | Bounce to a new file, swap it in |
| Track Level Audio Effect (Voice Isolation, Music Remixer) | Yes, and it's easy to forget it's there | Bounce to a new file, swap it in |
| Third-party VST plugin | Yes, and quality varies plugin to plugin | Isolate with the one-at-a-time disable test, then bounce |
How many tracks can DaVinci Resolve actually handle before it breaks?
There's no fixed number Blackmagic writes into the software, which surprises a lot of editors who assume they've hit some hard-coded ceiling. Per Blackmagic's own Fairlight product page, "the number of tracks, busses, plugins and latency compensation is based on the available processing power and memory in your computer," not a cap the application itself enforces. On the far end of that spectrum, the same page states that "the combination of DaVinci Resolve with Fairlight Audio Core lets you have up to 2,000 tracks, complete with realtime effects, all on a single system," which is what dedicated Fairlight hardware acceleration buys you.
That figure is worth sitting with for a second. Two thousand real-time tracks with effects running is a professional audio-post scale, built for feature-film dialogue editing and full orchestral scores, not a podcast timeline. It exists to prove the software architecture doesn't impose an artificial ceiling. It doesn't mean your laptop can approach that number, and it isn't meant to.
DaVinci Resolve doesn't cap your track count. Your CPU, your GPU, and your RAM do, and that ceiling moves depending entirely on what's running on each track. A machine with 16GB of RAM and integrated graphics might start struggling at a dozen tracks carrying real effects. The same machine could hold fifty plain, unprocessed audio tracks without blinking. There's no single "safe" number, because the number was never really about tracks. It was always about work.
| Setup | Realistic real-time track ceiling | What sets it |
|---|---|---|
| Consumer laptop, integrated graphics, 16GB RAM | Low double digits with real effects running | CPU and shared memory |
| Desktop with a discrete GPU, 32GB+ RAM | Several dozen to over a hundred with mixed processing | GPU VRAM and CPU cores |
| Dedicated Fairlight hardware (Fairlight Audio Core) | Up to 2,000 with realtime effects, per Blackmagic | Purpose-built processing power |

Should you use compound clips or nested timelines to cut down track count?
Yes, for sections you've finished working on, and this is one of the more underused fixes in this whole guide. A compound clip groups a selection of clips, whether they're laid out across several stacked tracks, into a single unit that Resolve treats as one clip during playback of everything else on the timeline, per the reference manual's description of compound clips. Select a block of your multicam angles or your stacked audio tracks, right-click, and choose New Compound Clip. What was five separate tracks each demanding their own decode and composite pass becomes one track's worth of cost for the rest of the timeline.
The catch is honest and worth stating plainly: that reduction only applies while the compound clip stays collapsed. Double-click into it to make an edit, and you're back inside the full stack of original tracks, paying their full individual cost again until you back out. That makes compound clips the right tool for a section you've locked, not one you're still actively revising every few minutes.
A compound clip doesn't make your tracks disappear. It hides their individual cost from the rest of the timeline while it stays closed, which is exactly why it works best on finished sections, not ones you're still editing. Use it on the multicam block from an earlier segment of a long podcast episode once you've picked your angles and moved on, or on a stack of guest mic tracks once their levels are locked. Leave your currently active section as separate tracks until you're genuinely done touching it.
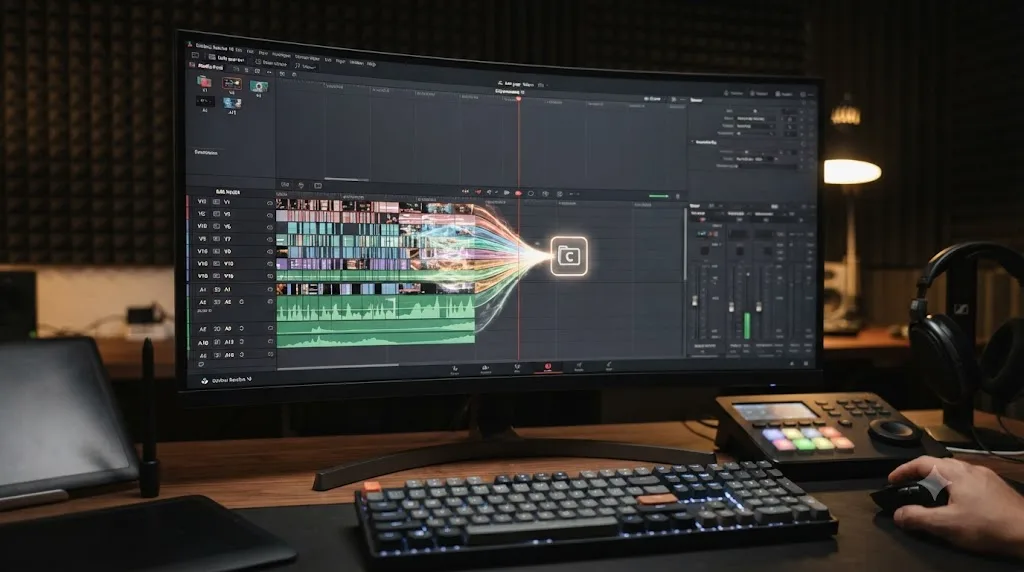
Does Render Cache or Optimized Media actually fix a multi-track slowdown?
Both help, and they attack different halves of the problem, so it's worth knowing which one your situation actually calls for. Our render cache guide covers Smart and User mode in full, but the short version applies directly here: Render Cache pre-renders the effects and grading stacked on top of your footage, including the compositing work of blending multiple video tracks together, into a single playable file. Once that's cached, Resolve hands you the finished result instead of recomputing every track's contribution on every frame.
Optimized Media solves a different piece. If part of your multi-track slowdown comes from heavy camera codecs on several video tracks at once, four angles of 10-bit 4:2:2 H.265 is a common one, transcoding those tracks to DNxHR or ProRes removes the expensive decode step that Render Cache doesn't touch. The two stack cleanly: Optimized Media fixes what you're decoding, Render Cache fixes what you're compositing and processing on top of it.
| Your situation | Use this | Why |
|---|---|---|
| Many video tracks stutter even with no grading applied | Optimized Media | The decode itself is the cost, and no cache fixes a decode problem |
| Video tracks play fine alone, but the composited stack together drags | Render Cache | The compositing and any stacked effects are the cost, not the source footage |
| Both are true at once | Optimized Media first, then Render Cache on remaining slow sections | Fix decode before compute, or you'll cache far more than necessary |
| A specific effects-heavy track (noise reduction, Fusion) drags regardless of track count | Render Cache, flagged on that clip specifically | The effect is the isolated cost, not the whole timeline |
Render Cache doesn't reduce your track count and it doesn't decode footage faster. It just stops DaVinci Resolve from recomputing the same composited stack on every single frame you scrub past. That distinction matters here specifically, because a multi-track timeline's real cost is almost always the repeated recomputation, not any one track in isolation.
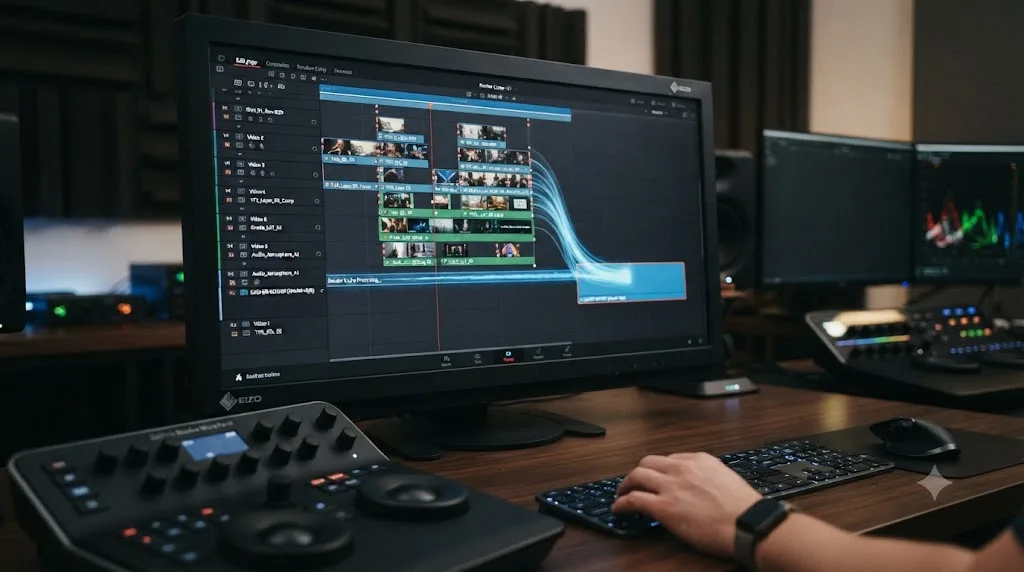
Is GPU memory the real ceiling when you stack many video tracks?
For heavy multicam and layered timelines, often yes. Each active video track that's part of the visible composite needs its frame held in GPU memory while Resolve blends it with everything above and below it, and that VRAM demand adds up fast once you're past two or three simultaneous video tracks at 4K. Our GPU memory guide covers the "Your GPU memory is full" error in depth, and it's directly relevant here: stacking video tracks is one of the more common ways editors hit that ceiling without realizing tracks, not just effects, were the reason.
Puget Systems recommends at least 12GB of VRAM for a 4K timeline, against 8GB for 1080p work, per Puget's hardware recommendations for DaVinci Resolve, and that's before you've added a single effect on top of the tracks themselves. A four-angle 4K multicam alone, before any grading, can eat meaningfully into that budget, which is exactly why some editors see the GPU memory warning appear the moment they add a fourth camera angle rather than while applying a heavy grade.
Stacking video tracks costs GPU memory whether or not any of them carry an effect, because DaVinci Resolve has to hold each active track's frame in VRAM to composite them together. If your slowdown or GPU memory warning appeared specifically when you added a video track, not when you applied a grade, that's the mechanism, and Blackmagic's stated 4GB VRAM minimum is a floor for a single stream, not a multi-track composite at 4K.
Does track height or the timeline thumbnails slow things down with many tracks?
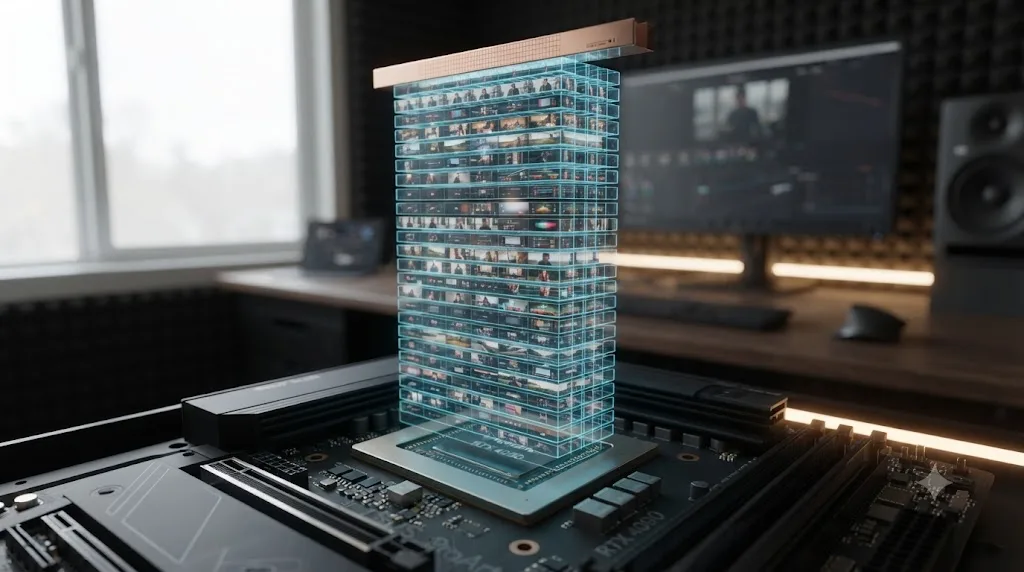
Yes, and it's one of the cheapest fixes in this entire guide precisely because it costs nothing and takes ten seconds to try. Nikolai Waldman, writing about a sluggish Resolve timeline, pointed specifically at turning off clip thumbnails as the fix for unresponsive or erratic zoom behavior on a timeline with many edits, describing it as the single setting that resolved the problem for him, per his write-up on the issue. The setting has moved around Resolve's interface since then, but the underlying mechanism hasn't changed: thumbnails have to be generated and redrawn as you zoom and scroll, and on a timeline with dozens of tracks and hundreds of clips, that's real, continuous rendering work happening purely for your eyes, unrelated to playback or export at all.
Track height compounds the same cost differently. A taller track shows a bigger waveform and a bigger thumbnail, both of which take more to draw. Open the Timeline View Options menu, the three-dot icon in the timeline toolbar, and you'll find sliders for track height alongside toggles for Show Thumbnails and Show Audio Waveforms. Dropping every track to its shortest height and switching both toggles off while you're actively cutting a many-track project, then turning them back on when you actually need to see a waveform or confirm a frame, costs you nothing structurally and can measurably smooth out scrolling on a dense timeline.
Timeline thumbnails and waveforms are a pure UI rendering cost, not a playback or export one, and turning them off never changes what your final render looks like. That makes this the single lowest-risk fix on this whole list. If you haven't tried it yet and you're still reading, it's worth thirty seconds before anything else here.
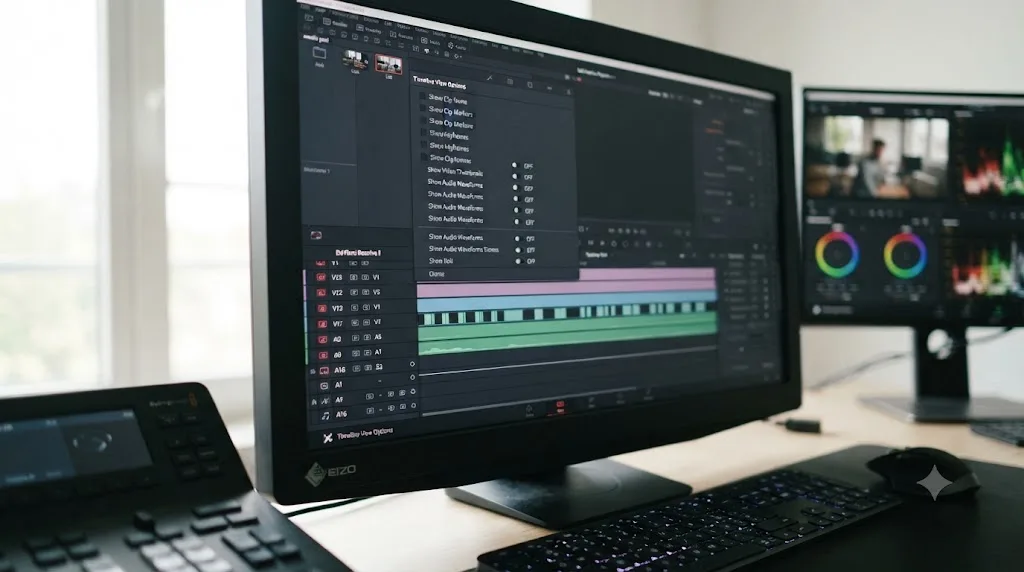
Does DaVinci Resolve Studio handle many tracks better than the free version?
Not because of how it handles tracks themselves. Enabling, disabling, deleting tracks, compound clips, and Fairlight's track-level processing all work identically in the free version and Studio. Where the editions genuinely diverge is hardware-accelerated H.264 and H.265 decoding on Windows and Linux, which Blackmagic reserves for Studio on those platforms, per Blackmagic's Studio product page. On a Mac, the free version gets hardware decode too, since Apple's operating system handles that acceleration outside Resolve's own licensing.
That distinction matters here specifically because it changes how much a multi-track slowdown is actually about track count versus about the codec each track is carrying. If your many-track project is built from H.265 camera originals on the free version on Windows, every one of those video tracks is decoding on the CPU regardless of your GPU, which compounds directly with the compositing cost of stacking them. The same project transcoded to DNxHR or ProRes, or run on Studio with hardware decode enabled, removes that layer entirely, independent of anything about track count.
Buying Studio to fix a many-tracks slowdown only helps if your tracks are also heavy camera codecs on Windows or Linux. It doesn't change how Resolve composites, disables, or deletes tracks in either edition. If your project is already built from an editing-friendly codec, or you're on a Mac, Studio's hardware decode advantage simply doesn't apply to this specific problem, and the fixes elsewhere in this guide are where the real gains are.
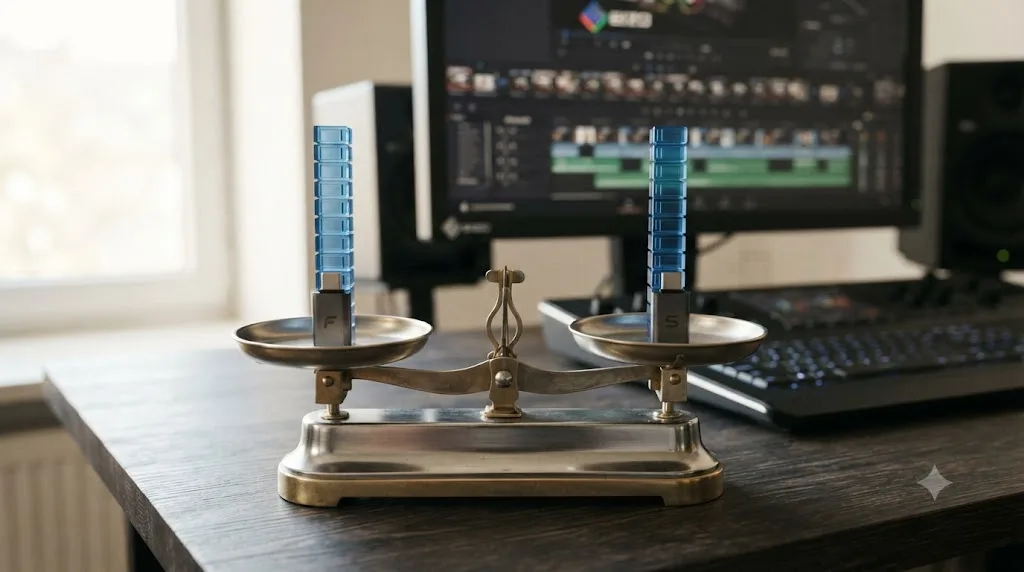
Should you split a growing project into shorter timelines?
Once a single project's track and clip count keeps climbing without an end in sight, yes, and this is a workflow decision as much as a performance one. A separate Blackmagic Forum thread specifically addressing large media pools and slow timelines pointed toward the same underlying idea: rather than letting one project grow indefinitely, chop it down into more manageable, shorter timelines and clear out clips you're genuinely not using anymore, per the thread on large media pool slowness. A weekly podcast that keeps every episode's tracks in one master project, or a multicam documentary edit that never splits into scenes, is building toward exactly the kind of long, dense, many-track timeline where this entire guide's problems compound hardest.
This isn't about hitting some hard number and stopping. It's about recognizing when a timeline has grown past the point where any single fix in this guide, disabling tracks, caching, flattening audio, buys you much headroom before the project grows again next week. Splitting into per-episode or per-scene timelines resets that growth, keeps each individual timeline's track and clip count in a range your specific hardware handles comfortably, and it's genuinely reversible: you can always combine or reference across timelines later if you need to.
A timeline that keeps growing every week eventually outgrows every settings-level fix, and at that point the fix is structural, not another checkbox. If you've worked through disabling tracks, caching, and flattening audio and you're still fighting the same slowdown on a project that's been open for months, that's less a settings problem than a sign this particular timeline has simply outgrown its own scope.
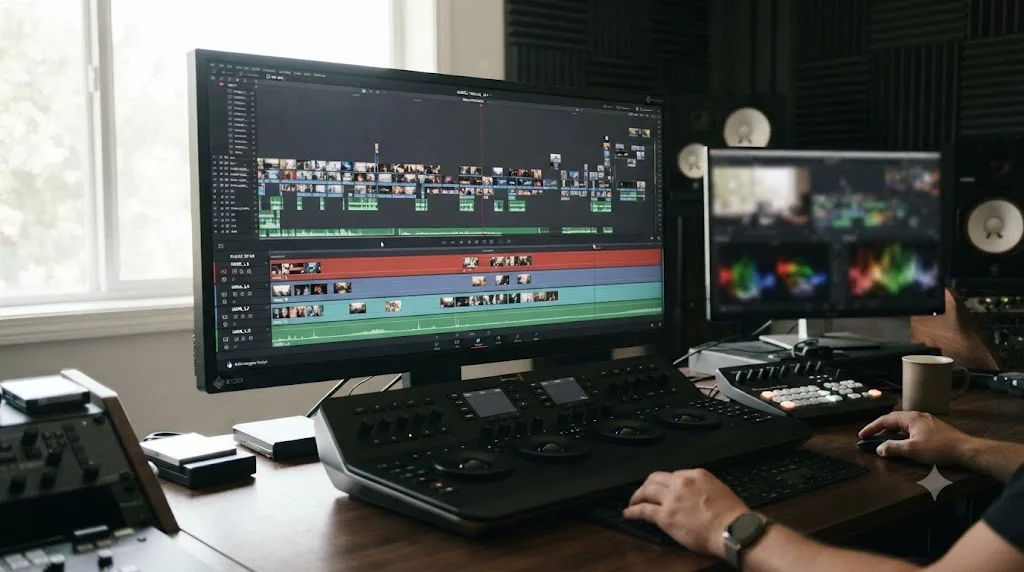
What's different on a laptop versus a desktop with a heavy multi-track project?
The underlying causes are the same, but a laptop hits its ceiling sooner and in ways a desktop tower doesn't. Per Blackmagic's own tech specs, DaVinci Resolve wants at least 16GB of system RAM and a GPU with 4GB of VRAM or more, and those are minimums, not comfortable numbers, per Blackmagic's tech specs page. A laptop with integrated graphics sharing that RAM pool between the CPU and GPU reaches a many-track project's ceiling far faster than a desktop with a dedicated card and its own separate VRAM.
Thermal throttling adds a laptop-specific wrinkle that a desktop tower simply doesn't experience. Sustained compositing and Fairlight processing across many tracks generates real heat, and a laptop chassis has a fraction of a desktop's airflow to dissipate it. A laptop that plays smoothly for the first few minutes of a dense multi-track timeline and gradually bogs down over ten or fifteen minutes, fans audibly working harder, is showing thermal throttling in action, not a settings problem this guide's other fixes will solve.
Every fix covered above still applies on a laptop, disabling tracks, deleting empty ones, caching, flattening audio, but they buy proportionally less headroom on hardware that's already close to its ceiling. If you're regularly editing many-track podcast or multicam projects on a laptop, elevate it off soft surfaces so intake vents can breathe, confirm Windows has assigned Resolve to the discrete GPU rather than the integrated one under Display, Graphics settings, and treat every fix in this guide as more load-bearing than it would be on a desktop with real headroom to spare.
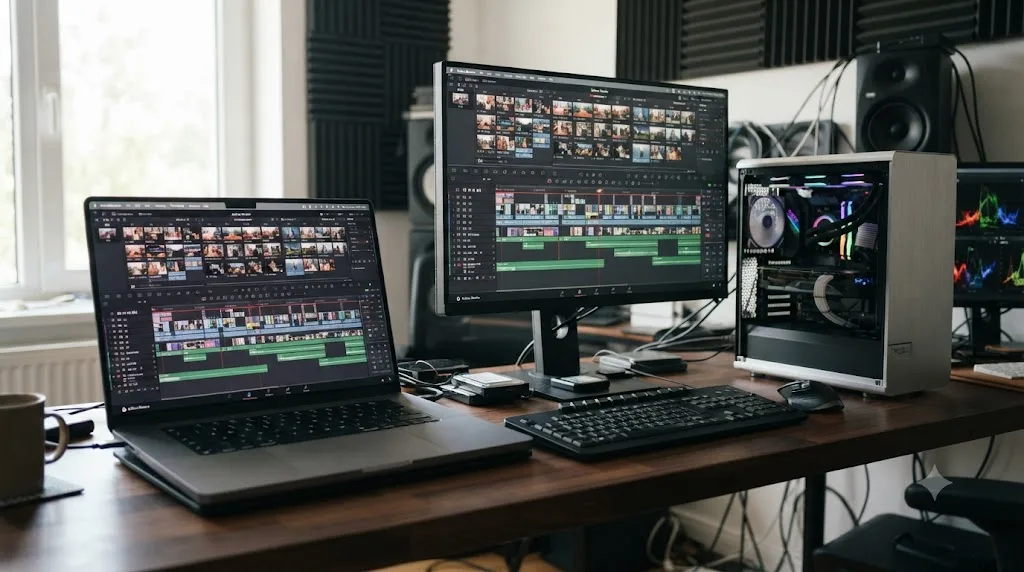
What does a real fix look like on a heavy podcast timeline?
Put the pieces together on a common case: a weekly video podcast with four camera angles cut as a multicam clip, four guest microphone tracks each carrying Voice Isolation and EQ, a music bed, and a room-tone track underneath, all inside a single project that's been growing episode after episode for four months.
The diagnosis, worked through in order: muting all four microphone tracks and testing playback smooths things out noticeably, which points at audio processing as the primary drag rather than the multicam video. Disabling the mute test and instead disabling each mic track's Track Level Audio Effects one at a time confirms it further. Voice Isolation, running live on all four tracks simultaneously, is the single biggest cost in the project, exactly the pattern documented in the Blackmagic Forum thread on Track Level Audio Effects earlier in this guide.
The fix: with each mic's levels and processing already dialed in from previous episodes, select each track and bounce it to a new audio file through a track-level render, then bring those four flattened files back in and swap them for the live-processed originals. That single move removes the continuously recomputing cost from all four tracks at once, and playback smooths out immediately, without touching the multicam video at all.
Two supporting moves finish the job. First, right-click the empty track space and run Delete Empty Tracks, clearing out three leftover tracks from an earlier episode's structure that never held content in this project. Second, since this project has been the single home for sixteen straight weekly episodes and keeps growing, the editor splits it going forward: each new episode gets its own timeline inside the project, referencing a shared bin of recurring assets like the intro and outro, rather than every episode's full track stack living inside one ever-lengthening timeline.
The end state: four flattened audio tracks instead of four live-processing ones, no leftover empty tracks dragging on the UI, and a project structure that resets its growth every week instead of compounding it. Total cost: one afternoon bouncing four audio tracks and reorganizing a project file. That's a fundamentally different editing experience than fighting the same slowdown fresh every Monday morning.
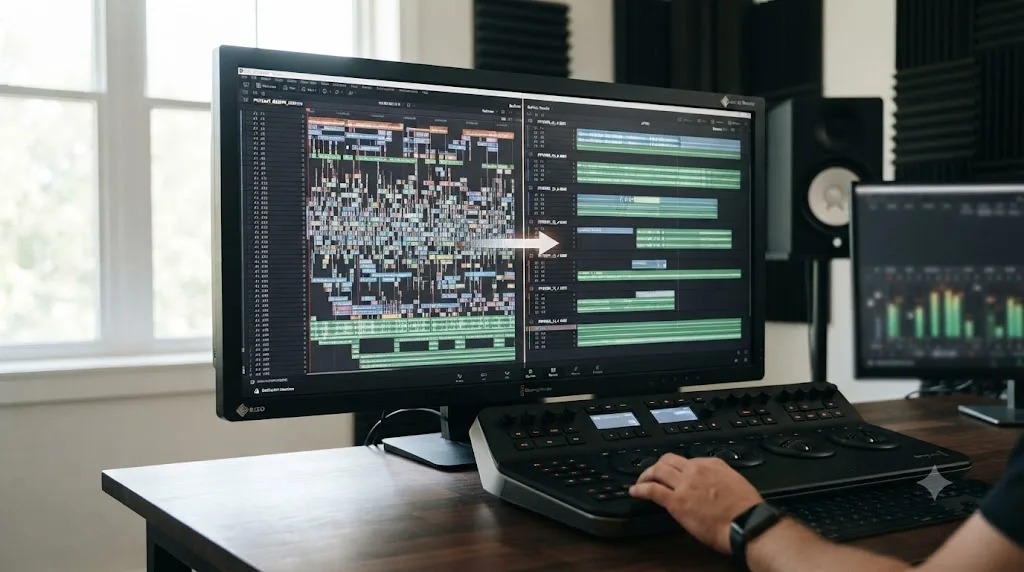
If hunting through Fairlight's track headers and effects menus to find which one is actually running live is the part eating your evening, that's worth knowing about on a Mac specifically: TryUncle is the on-screen assistant for DaVinci Resolve on macOS, ask in plain words and Uncle points at the exact control on your screen, instead of you clicking through six track headers guessing which one has Voice Isolation still switched on.
What's the fastest checklist to try right now?
Work through these in order before you assume your project or your machine is broken:
- Check the Performance Indicator in the viewer's top-left corner, and mute all audio tracks, then disable all video tracks but one, to isolate which side is actually costing you performance.
- Right-click the empty track space and choose Delete Empty Tracks to clear out anything left over with zero clips on it.
- Open Timeline View Options and turn off Show Thumbnails and Show Audio Waveforms while you're actively cutting a dense, many-track project.
- If a specific track's live audio effect, Voice Isolation, noise reduction, a third-party VST, is dialed in and you're happy with it, bounce that track to a new file and swap out the live version.
- Fold finished, locked sections into a compound clip to remove their individual compositing cost from the rest of the timeline.
- Turn on Render Cache for sections carrying real grading or Fusion work, and generate Optimized Media if heavy camera codecs are stacking on multiple video tracks at once.
- Confirm your system clears Blackmagic's stated minimums, 16GB of RAM and 4GB of GPU memory, since a heavy multi-track composite can blow past those numbers fast.
- If the project keeps growing indefinitely week after week, split it into shorter timelines instead of letting one timeline absorb everything forever.
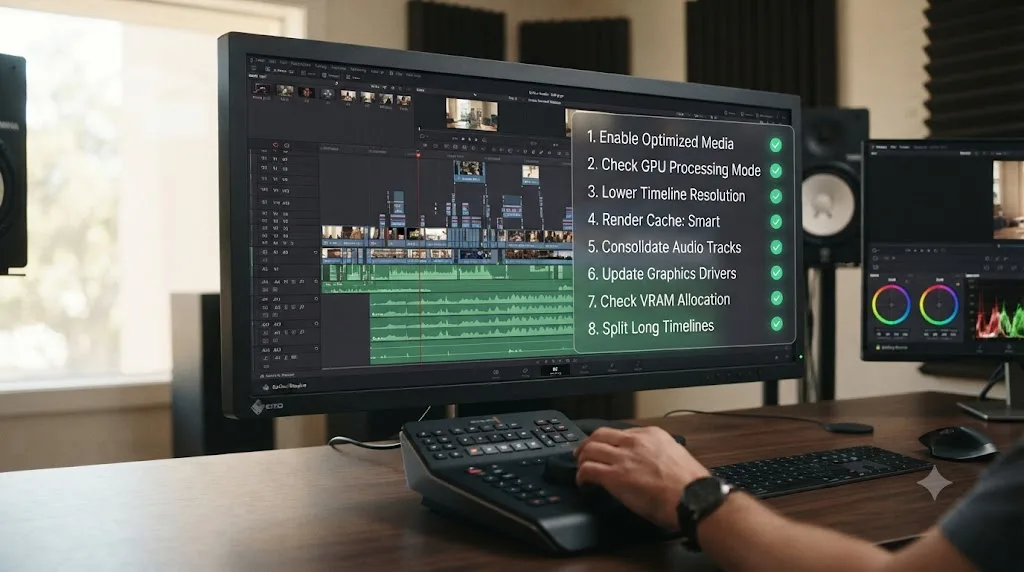
DaVinci Resolve slowing down after you add tracks isn't a sign you've overloaded some hidden limit Blackmagic built into the software. It's the sum of real, individually small costs, decode, compositing, live audio processing, waveform rendering, that scale with what's actually running, not with the raw number sitting in your track header count. Work the diagnostic steps first, fix the specific cost you actually find, and a project that felt unworkable at twenty tracks often ends up running clean at forty, once the tracks that were carrying the weight get the fix built for them instead of a guess.
Frequently asked questions
- Why does DaVinci Resolve get slower every time I add a new track?
- Every enabled video track has to be decoded and composited into the frame you see, and every audio track with a plugin, EQ, or dynamics processor recomputes its output continuously during playback. None of that is free. Ten clean tracks might cost nothing your GPU and CPU notice. Ten tracks carrying noise reduction, Voice Isolation, or a Fusion composition each will drag a fast machine down, because the cost scales with what's running on each track, not the track count on its own.
- Does disabling a track in DaVinci Resolve actually improve performance, or does it just mute it?
- Disabling a track through the Enable Track toggle on its header does more than muting. A disabled track's clips aren't decoded, composited, sent to the Color page, or included in a render, so the GPU and CPU stop doing work for it entirely. Muting an audio track, by contrast, only silences it. Fairlight's mixer often keeps processing a muted track's plugins in the background, so muting alone doesn't reliably reclaim the performance a disabled track does.
- How many tracks can DaVinci Resolve actually handle before it gets slow?
- There's no fixed software ceiling. Blackmagic's own Fairlight page ties track capacity directly to "the available processing power and memory in your computer," and a Fairlight Audio Core hardware setup pushes that as high as 2,000 real-time tracks on one system. A laptop with 16GB of RAM will feel the strain at a fraction of that. The honest answer is that your track budget is your hardware's budget, not a number Blackmagic wrote into the software.
- Does deleting unused or empty tracks speed up DaVinci Resolve?
- It can, especially past the one-hour timeline mark, where editors on Blackmagic's own forum have reported sluggish scrolling and zooming even on tracks holding no clips at all. Right-click the gray space below your lowest track header and choose Delete Empty Tracks to clear them in one pass. It's a five-second cleanup with no real downside, and it removes UI overhead that a hidden or disabled track alone doesn't.
- Why is my podcast timeline in DaVinci Resolve so much slower than a regular edit with a similar clip count?
- Because a podcast timeline usually stacks several camera angles with several live-processed audio tracks at once: one mic per guest, each carrying Voice Isolation, EQ, or noise reduction that recomputes in real time, plus music and room-tone beds on top. A narrative edit with the same clip count rarely runs that many simultaneous real-time processes. The fix isn't fewer tracks, it's flattening the ones doing the most continuous work.
- Do compound clips actually fix a slow timeline with many tracks?
- Yes, for the tracks you fold into them. A compound clip collapses several stacked video or audio tracks into a single clip that Resolve treats as one unit during playback of the rest of the timeline, which removes their individual compositing cost from every frame. The tradeoff is that editing inside the compound clip reopens that cost while you're working on it, so it's best used on sections you've finished, not ones you're still actively cutting.
- Is DaVinci Resolve Studio faster than the free version with a lot of tracks?
- Not because of track handling itself. Track compositing, Fairlight processing, disabling, and deleting tracks work identically in both editions. Where Studio genuinely helps is hardware-accelerated H.264 and H.265 decoding on Windows and Linux, which matters if your many tracks are also heavy camera codecs. On a project built from ProRes or DNxHR with the free version on a Mac, Studio wouldn't change your multi-track performance at all.
- Will more RAM or a better GPU fix a slow timeline with a lot of tracks?
- It raises your ceiling, but it won't fix a project that's doing unnecessary work. A machine with more VRAM handles a bigger stack of composited video tracks before it hits the wall, and Blackmagic's own stated minimums, 16GB of system RAM and 4GB of GPU memory, are a floor most heavy multi-track projects will blow straight past. But if the actual drag is three tracks of live Voice Isolation nobody's listening to right now, a hardware upgrade just delays the same problem at a higher track count.
Sources
- DaVinci Resolve - Fairlight (Blackmagic Design)
- DaVinci Resolve - Tech Specs (Blackmagic Design)
- DaVinci Resolve - Studio (Blackmagic Design)
- DaVinci Resolve Reference Manual: Enabling and Disabling Tracks (VFXPedia mirror)
- DaVinci Resolve Reference Manual: Compound Clips (VFXPedia mirror)
- Blackmagic Forum: Bad performance with 1 hour+ timelines
- Blackmagic Forum: Timeline lags with no reason, even with empty tracks
- Blackmagic Forum: Need recommendations to solve timeline perf issue
- Blackmagic Forum: Improve timeline switch speed
- Blackmagic Forum: Large media pool and timeline, slowness
- Blackmagic Forum: Sudden and inexplicable playback lag (Marc Wielage, Certified DaVinci Resolve Color Trainer)
- Blackmagic Forum: DaVinci Resolve 19 - Your GPU memory is full
- Niwa: DaVinci Resolve, Speed up that sluggish Timeline (Nikolai Waldman)
- XDA Developers: 12 DaVinci Resolve settings to change for faster editing (Nolen Jonker)
- Hardware Recommendations for DaVinci Resolve (Puget Systems)
Keep reading

Fixes · Jul 7, 2026 · 25 min
DaVinci Resolve Playback Choppy or Stuttering? The Real Fix
Fix choppy DaVinci Resolve playback with Optimized Media, Proxy Media, Render Cache, Timeline Proxy Mode, and the Resolve 21.0.2 NVIDIA decode fix.
Guides · Jul 13, 2026 · 18 min
DaVinci Resolve Render Cache Explained: Smart vs. User Mode
How DaVinci Resolve's render cache works, and how Smart mode differs from User mode: cache formats, disk space, per-clip flags, and when to use each.
Fixes · Jul 7, 2026 · 25 min
DaVinci Resolve GPU Memory Is Full: Every Real Fix
Why DaVinci Resolve throws 'GPU memory is full,' and which fixes actually work: timeline resolution, drivers, effects, and how much VRAM you need.