Articles / Fixesupdated for DaVinci Resolve 21.0.2 (July 2026)
DaVinci Resolve Playback Choppy or Stuttering? The Real Fix
Quick answer
Choppy DaVinci Resolve playback almost always comes from your GPU or CPU decoding high-bitrate footage in real time. Generate Optimized Media or Proxy Media in DNxHR or ProRes, enable Render Cache, and drop Timeline Proxy Mode to half resolution while editing. Also update your GPU driver: Resolve 21.0.2 fixed an NVIDIA H.264/H.265 decode bug that caused this exact stutter.
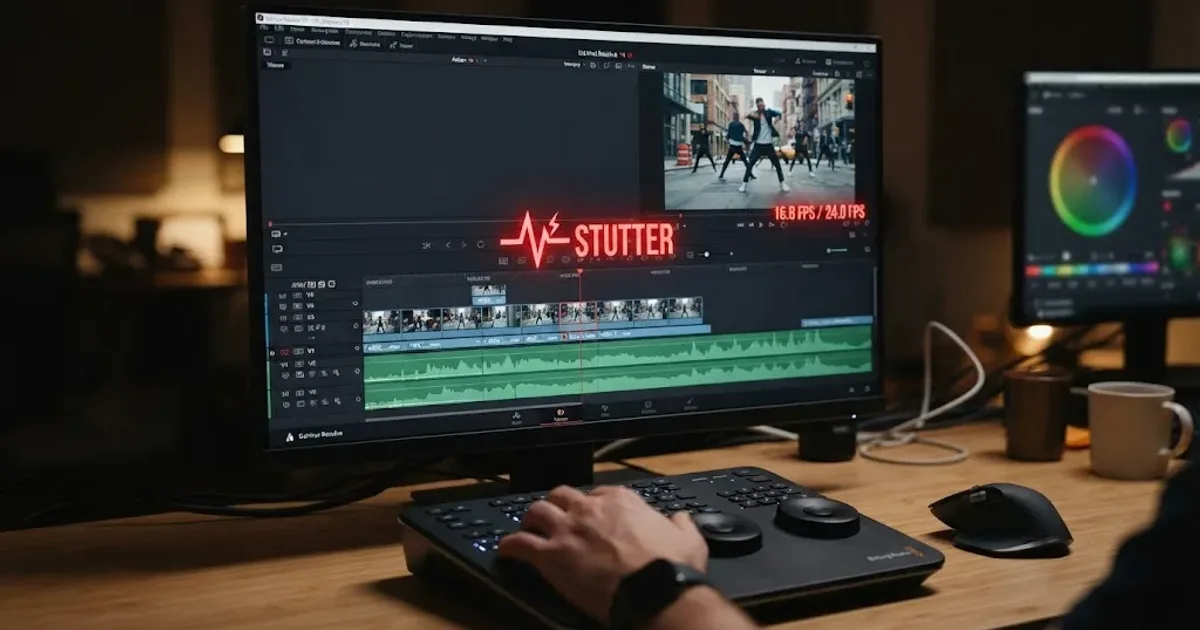
Your timeline looks perfect in the export. It just won't play smoothly while you're cutting it. That gap between what Resolve can render and what it can show you in real time is almost always the same problem: your computer can't decode the footage fast enough to keep up with playback.
Here's what actually causes it, and the settings that fix it, roughly in order of how much effort each one takes.
What causes choppy or stuttering playback in DaVinci Resolve?
Most modern cameras record in H.264 or H.265, which are interframe codecs. They don't store a full picture for every frame. Instead they store one full frame, then a string of frames that only describe what changed since the last one, and your GPU has to reconstruct every frame from that chain before it can show it to you. That math is cheap once, on export. It's expensive twenty-four or thirty times a second, on a timeline with multiple tracks, while you're also scrubbing, applying a grade, or previewing a Fusion effect.
Choppy playback in DaVinci Resolve is a decoding problem, not a broken computer. Your GPU isn't failing, it's just being asked to unpack a compressed camera format in real time, on top of everything else Resolve is already doing on that frame.
Is it the codec, your effects, or your drive?
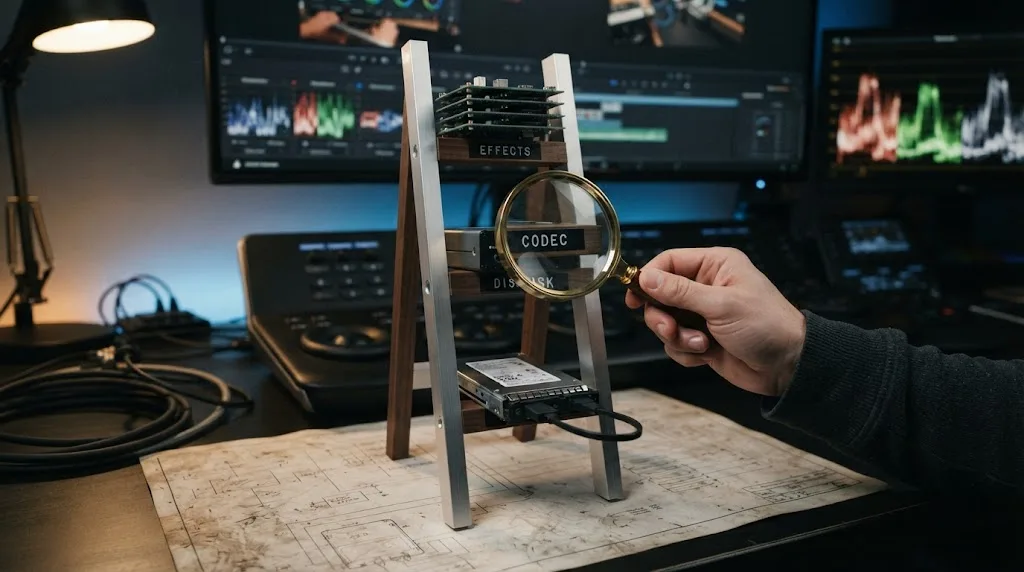
Before you change a single setting, spend two minutes finding out which bottleneck you actually have. Choppy playback has three common causes: the footage is too expensive to decode, the effects stacked on top are too expensive to compute, or the drive can't deliver the data fast enough. Each has a different fix, and applying the wrong one wastes an evening.
Run these three tests in order:
- Bypass your grades and effects. Click the bypass toggle at the top right of the viewer, or press Shift-D on the Color page. If playback smooths out, your source files are innocent and the effects are the load. Jump to the Render Cache section below.
- Drop Timeline Proxy Mode to Quarter Resolution from the Playback menu. If that cures it, decoding is the bottleneck, and Optimized Media or Proxy Media is your fix.
- Copy one stuttering clip to your fastest internal drive and play it from the Media Pool. If it suddenly behaves, storage is the ceiling, not your computer.
The symptoms point the same way:
| Symptom | Likely bottleneck |
|---|---|
| Stutters everywhere, even on untouched clips | Decoding |
| Stutters only on graded or effect-heavy sections | Effects |
| Starts smooth, then periodic hiccups, worse in multicam | Disk throughput |
| Fine on the Edit page, dies on Color or Fusion | Effects, per-page load |
Two of these can be true at once. A 10-bit H.265 multicam on a USB hard drive is losing on all three fronts. But testing in this order means you fix the biggest cost first instead of caching your way around a codec problem.
Why does 10-bit 4:2:2 footage stutter even on a fast GPU?
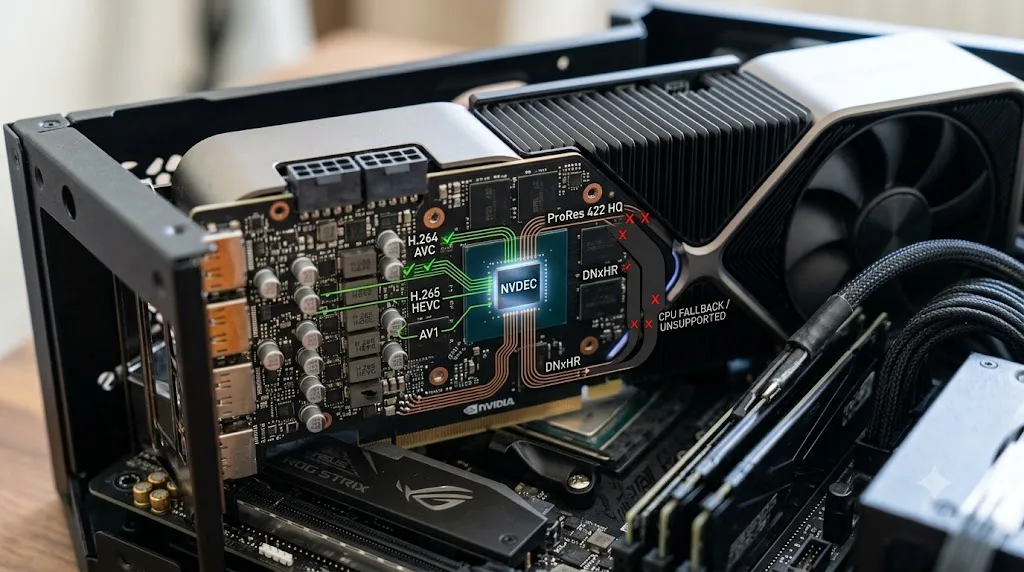
Because raw GPU power isn't what decodes video. Every modern GPU carries a small dedicated hardware block for decoding, separate from the cores that render your grade. NVIDIA calls its block NVDEC, Intel has Quick Sync, and Apple builds media engines into its M-series chips. When your footage matches what that block supports, playback is nearly free. When it doesn't, the whole job falls back to the CPU, and that's when frames start dropping.
A GPU decodes video in a small dedicated hardware block, so playback smoothness depends on whether that block supports your exact codec flavor, not on how powerful the graphics card is.
The catch is chroma subsampling. Nearly anything made in the last decade decodes 8-bit 4:2:0 H.264 and H.265 in hardware. The 10-bit 4:2:2 flavor that recent mirrorless cameras from Sony, Canon, Fujifilm, and Panasonic record is a different story. Per NVIDIA's own decode support matrix, RTX 30 and RTX 40 series cards don't decode H.265 4:2:2 in hardware at all. The capability only arrived with the RTX 50 series. Intel's Quick Sync and Apple's media engines have handled it for years, which produces the odd situation where a thin laptop plays footage smoothly while a desktop with a far more expensive GPU chokes on the same clip.
| Hardware | 8-bit 4:2:0 H.264/H.265 | 10-bit 4:2:2 H.265 |
|---|---|---|
| NVIDIA RTX 30 and 40 series | Hardware decode | No hardware decode, falls to CPU |
| NVIDIA RTX 50 series | Hardware decode | Hardware decode |
| Intel Quick Sync (recent iGPUs) | Hardware decode | Hardware decode |
| Apple M-series media engine | Hardware decode | Hardware decode |
There's a licensing wrinkle too. On Windows and Linux, Blackmagic reserves hardware-accelerated H.264 and H.265 decoding for the paid Studio edition, so the free version decodes those codecs on the CPU no matter what GPU you own. On a Mac, the free version gets hardware decode as well. If you're running free Resolve on Windows with H.265 footage, that alone explains the stutter, and our free vs Studio comparison breaks down what else the license changes. Either way, transcoding makes the whole question moot: DNxHR and ProRes are intraframe formats that decode cheaply on any CPU, no special hardware required.
What about RAW formats like BRAW and R3D?
RAW footage flips the intuition. The files are enormous, so people expect them to be the hardest thing on the timeline, and often they're the easiest.
File size is not decode cost: a Blackmagic RAW file is far larger than an H.265 file from the same scene, and far cheaper to play back.
Blackmagic designed BRAW so that part of the demosaic work happens in the camera and the rest is accelerated on the GPU, which is why timelines full of BRAW tend to play smoothly on machines that choke on mirrorless H.265. H.265 optimizes for small files at the cost of decode work. BRAW spends disk space to buy playback. Different budget, different bottleneck: with BRAW your drive matters more and your decoder matters less, so reread the storage section if BRAW is what stutters.
Other RAW flavors are heavier. RED's R3D in particular asks for serious compute to debayer at full quality, and that's what the Camera RAW decode quality setting exists for. In Project Settings, under Camera RAW, drop the decode quality to half or quarter resolution for playback. It works like Timeline Proxy Mode's cousin for RAW sources: the viewer gets a lighter debayer while you cut, and your export settings still control the quality of the final render. If a RAW timeline stutters and you've never touched that setting, it's the first thing to check, before proxies and before caches.
And if none of that is enough, RAW clips take Optimized Media like anything else. A half-resolution DNx or ProRes stand-in doesn't care how exotic the source was.
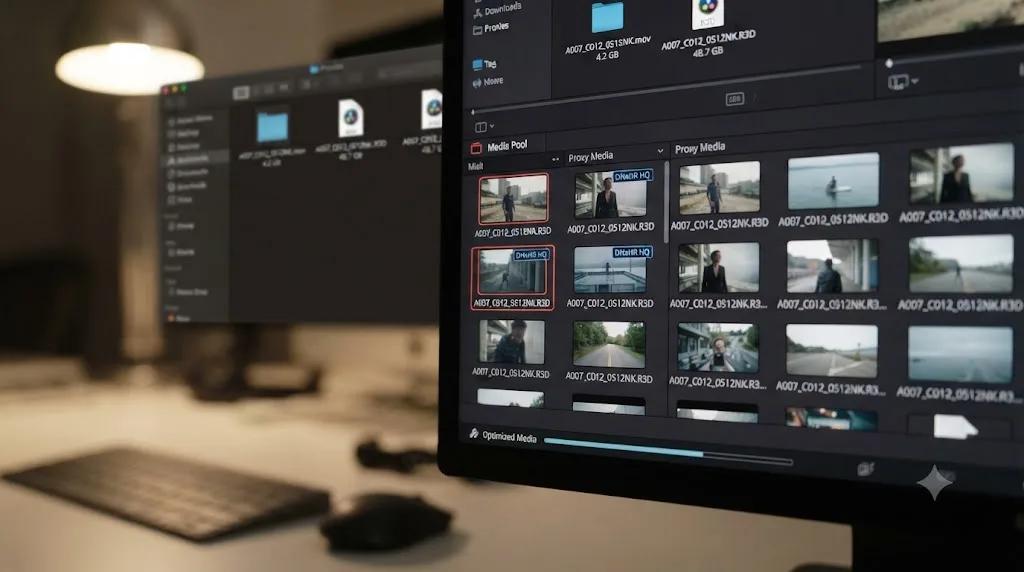
How do you fix it with Optimized Media or Proxy Media?
This is the fix that actually removes the decoding bottleneck instead of working around it. Both features do the same core job: swap your hard-to-decode camera files for an easier-to-decode format during editing.
| Optimized Media | Proxy Media | |
|---|---|---|
| Where the files live | Managed inside Resolve's cache | Separate, portable files you point to |
| Created by | Resolve only | Resolve, or any other app |
| Switching | Automatic via a Playback checkbox | Manual, via Proxy Media settings |
| Best for | Solo editing on one machine | Shared projects, cross-platform teams |
Per DaVinci Resolve's reference manual, Proxy Media "is independent, portable, and can be created by applications outside of DaVinci Resolve, if desired," which is the whole reason it exists as a separate feature from Optimized Media rather than a redundant one.
The howto panel above walks through turning Optimized Media on. Set the format to DNxHR SQ (Windows) or ProRes 422 (Mac), generate it for your clips, and check Use Optimized Media if Available in the Playback menu. Both formats are intraframe, meaning every frame is a full picture on its own, which is exactly why they're cheap to decode compared to your camera's H.264 or H.265.
This is also the advice Blackmagic's own certified trainers give when a stutter shows up mid-project. Answering a forum thread titled "Sudden and inexplicable playback lag," Marc Wielage, a Certified DaVinci Resolve Color Trainer, told the poster to "consider editing half-res 1080p proxies in DNxHR SQ, and then switching back to 4K camera files for your final render." Edit light, render heavy. That's the whole strategy.
What does Timeline Proxy Mode do, and is it different from Proxy Media?
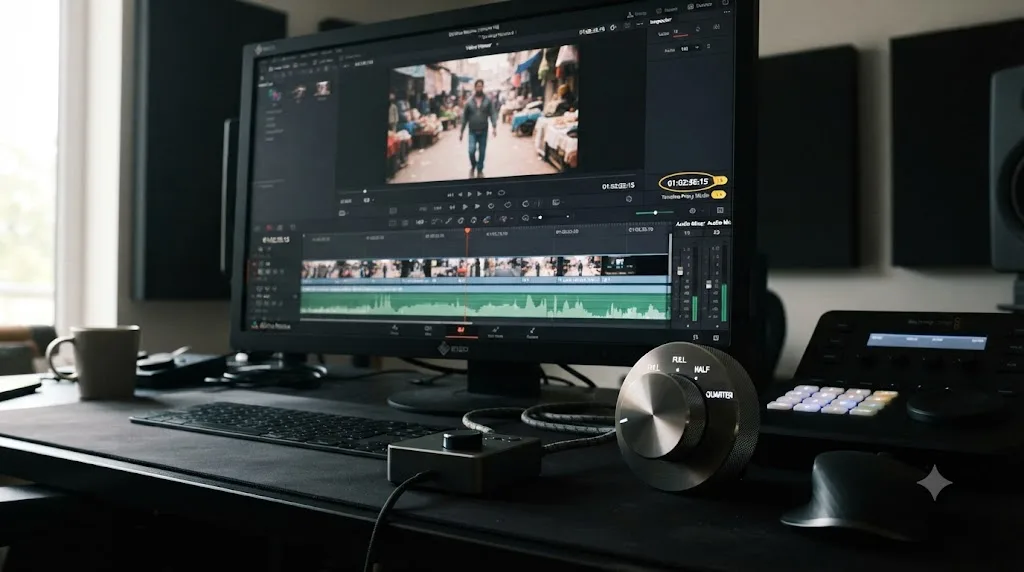
Yes, and confusingly, the name overlaps. Timeline Proxy Mode doesn't create any files. It just tells Resolve to decode your clips at a lower resolution on the fly, for playback only, then switch back for anything that needs full resolution.
| Setting | Resolution (from a 4K source) |
|---|---|
| Full Resolution | 3840 x 2160 |
| Half Resolution | 1920 x 1080 |
| Quarter Resolution | 960 x 540 |
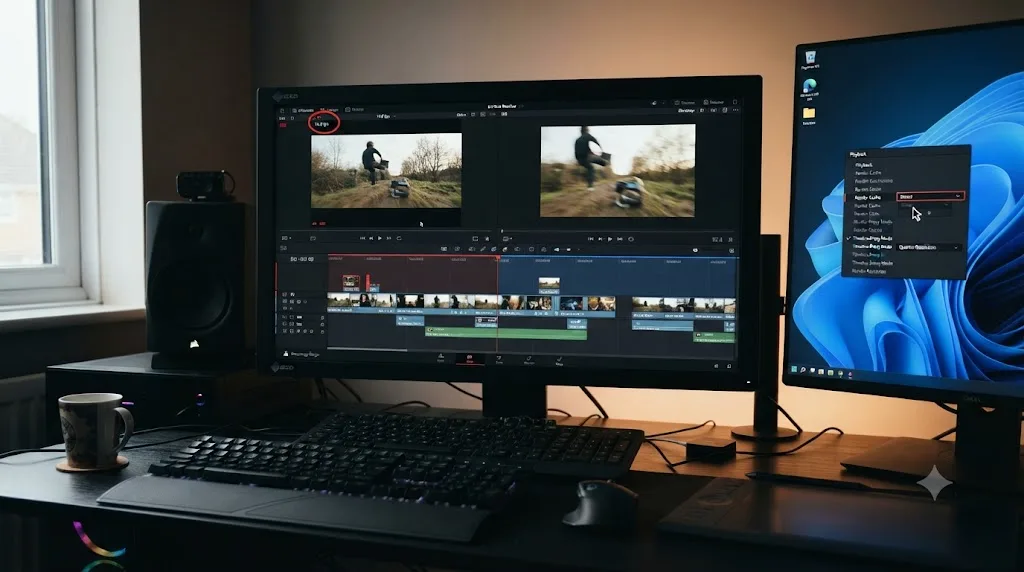
The manual is blunt about the distinction, noting three separate times that "Timeline Proxy Mode is entirely different and independent of the creation of Proxy Media." No transcoding, no waiting, no disk space. Turn it on from the Playback menu or a T-bar panel button, drop to Half or Quarter Resolution while you're cutting, and switch back to Full before you judge color or check focus.
Timeline Proxy Mode costs you nothing to try and nothing to undo. If your stutter disappears the moment you drop to Half Resolution, you've confirmed the problem is decoding load, and Optimized Media will fix it permanently instead of just for the current session.
Does Render Cache help too, or is it the same thing?
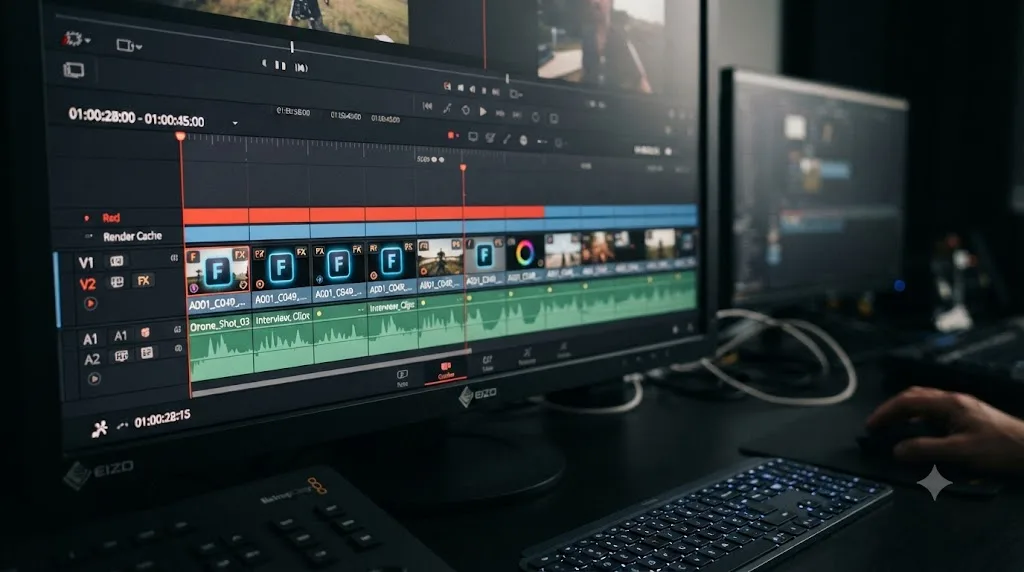
It's a different fix for a different cause. Optimized Media and proxies solve stutter that comes from the source footage itself. Render Cache solves stutter that comes from what you added on top of it. Per the same reference manual, Render Cache addresses performance issues from "computationally intensive effects (such as Resolve FX, color corrections, noise reduction, compound clips, fusion compositions)", not from the codec the clip was shot in.
There's a real tradeoff, though. Render Cache files aren't portable. The manual notes plainly that this cache "is not designed to be moved or interacted with externally and only works with the project it was made for." So if playback stutters mainly on plain, ungraded clips, skip Render Cache and fix the source with Optimized Media instead. If it stutters specifically where you've stacked a heavy grade or a Fusion composition, Render Cache is the right tool.
Should you use Proxy Media, Optimized Media, or Render Cache?
They stack, so this isn't either-or. But each one earns its disk space in a different situation, and generating all three for every project burns storage and render time for nothing.
| Your situation | Best tool | Why it wins |
|---|---|---|
| Camera files stutter everywhere, solo project, one machine | Optimized Media | One checkbox to toggle, Resolve manages the files, zero relinking |
| Team project, shared storage, or you cut on a laptop and finish on a desktop | Proxy Media | The files are portable and survive project moves |
| Plain clips play fine, graded or Fusion-heavy sections don't | Render Cache | The effects are the cost, so caching effect output attacks the actual problem |
| Heavy codec and heavy effects at once | Optimized Media first, then Render Cache on sections that still drop frames | Fix decode before compute, or you'll cache far more than you need |
Two operational details matter more than most guides admit. First, format: Project Settings sets the Optimized Media format and the Render Cache format separately, and picking a 10-bit cache format like DNxHR HQX keeps cached grades faithful to what you'll export. Second, location: the cache lives wherever your project's cache files location points, and it belongs on your fastest drive. A cache your disk can't play back in real time solves nothing.
Render Cache also has two modes, and the choice changes how much babysitting you do. Smart mode decides on its own which clips need caching, mostly transitions and effect-heavy sections, and quietly renders them during pauses. User mode caches only what you flag, which keeps the cache small on long timelines. Whichever you pick, clear it when the project ships: Playback, then Delete Render Cache. Cache folders from finished projects are the classic mystery disk hog.
Why is playback slow only on the Color or Fusion page?
Because each page asks for a different amount of work per frame. The Edit page mostly decodes and composites. The Color page runs your full node graph on every frame, so playback cost grows with every node you add. And the Fusion page doesn't even pretend to play in real time: it renders your composition into a RAM cache first, and only the frames under the green line play at speed. If the Edit page is smooth and Color isn't, your problem was never the codec.
Some tools cost far more than others:
| Effect | Why it's heavy | What to do while editing |
|---|---|---|
| Temporal noise reduction | Compares several frames to denoise one | Cache the node, or grade with it off and enable it before export |
| Magic Mask | Runs AI segmentation and tracking per frame | Cache the node after tracking finishes |
| Speed Warp retimes | Optical flow invents in-between frames | Render Cache the clip |
| Super Scale | Rebuilds every frame at a higher resolution | Apply it late, cache it immediately |
| Fusion compositions | Full comp render per frame on the Edit page | Right-click the clip and choose Render in Place |
Temporal noise reduction deserves its own warning. One node can take a timeline that played at full speed and drag it well below real time, especially on older GPUs, and new colorists blame the whole grade when a single setting is responsible. Bypass the node once before you tear anything else apart.
Heavy effects also eat video memory, and when VRAM runs out Resolve doesn't just stutter, it stops with a GPU memory error. That's a separate failure mode with its own fixes, but the prevention is the same: cache the expensive nodes instead of computing them live.
On the Fusion page, how many frames fit in the RAM cache depends on the Fusion memory allowance in Preferences, under Memory and GPU, and a 4K comp eats it fast. The Prox button in the Fusion transport controls drops the comp's render resolution while you build it, which is Timeline Proxy Mode's spiritual twin for compositing work.
Is your drive fast enough to feed the timeline?
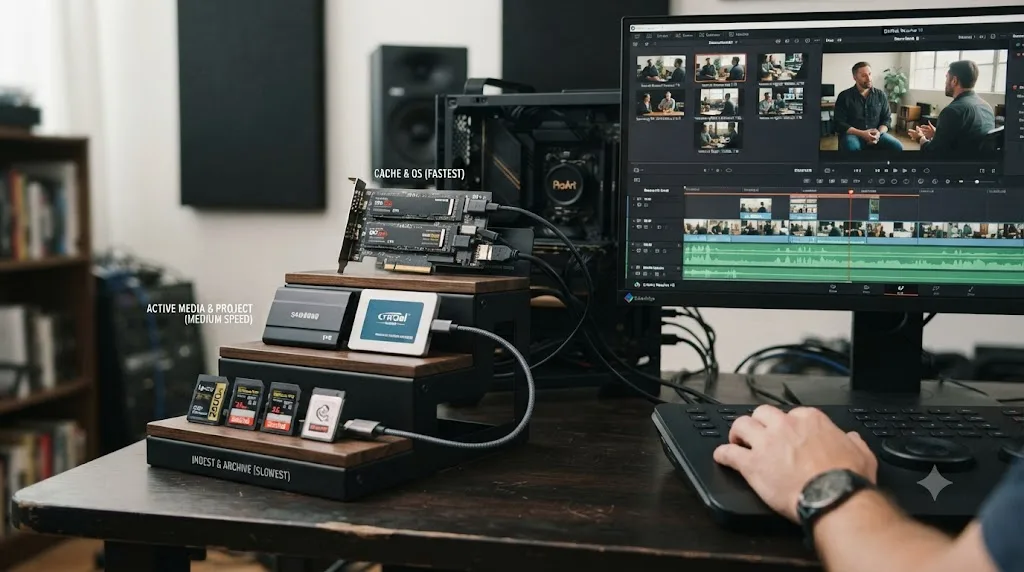
Codec math means nothing if the bytes can't reach the GPU. Every stream on your timeline has a data rate, and your drive has to sustain the sum of all of them at once, plus whatever your cache files add on top.
The numbers are bigger than most people expect. Apple's ProRes white paper puts ProRes 422 at about 471 Mbps for UHD at 29.97 fps, and ProRes 422 HQ at about 707 Mbps. That's roughly 59 and 88 MB/s per stream. One stream is easy for almost any drive. A four-angle multicam in ProRes HQ needs around 350 MB/s sustained, and suddenly the drive is the whole story.
| Drive type | Typical sustained read | Realistic for |
|---|---|---|
| Spinning hard drive, internal or USB | 100 to 200 MB/s | One or two streams of compressed 4K, no multicam |
| SATA SSD | Up to about 550 MB/s | Most single-timeline 4K work, light multicam |
| NVMe SSD | Several thousand MB/s | Multicam, ProRes HQ, 6K and 8K, cache files |
| SD card in a reader | Often under 100 MB/s on UHS-I | Offloading footage, never editing from it |
| NAS over gigabit Ethernet | Around 110 MB/s | Same ceiling as a hard drive, because the network is the pipe |
Those are ballpark figures for healthy drives reading sequentially, not benchmarks of specific models. Real-world numbers drop when a hard drive is nearly full or the files are fragmented, and they crater when the drive has to seek between many small files, which is exactly what a timeline full of short clips makes it do.
The disk signature is distinctive: playback starts smooth and degrades, or the hiccups land on cuts, where the drive has to jump to a new file. If that's your pattern, no amount of transcoding fixes it. Move the media, or at least move the cache, to the fastest storage you own.
Do Performance Mode and the decode preferences actually help?
They're worth thirty seconds each. Performance Mode lives in Preferences, under the User tab's playback settings. Set to Automatic, it analyzes your CPU, GPU, and memory and tunes Resolve's internal image processing to favor real-time playback on that specific machine. It ships enabled, but it's worth confirming nobody switched it off while troubleshooting something else. Leave it on Automatic unless you have a concrete reason not to.
The decode preferences matter more on Windows. In Preferences, under Decode Options, Studio exposes checkboxes for hardware-accelerated H.264 and H.265 decoding. If those are unchecked, the decode block you paid for sits idle while your CPU grinds. Check them, restart Resolve, and test again.
One more quiet win: Project Settings has a background caching option that starts filling the Smart cache after a few idle seconds. With it on, Resolve caches your heavy sections while you're reading an email, so the timeline is ready when you come back to it.
How do you check whether hardware decoding is actually working?
Don't guess, watch it happen. On Windows, open Task Manager, click the Performance tab, and select your GPU. One of the engine graphs is labeled Video Decode. Play your timeline and keep an eye on it. If that graph climbs while your CPU stays calm, the decode block is doing its job. If Video Decode stays flat while the CPU pins near its ceiling, Resolve is decoding your footage in software, and now you know exactly why frames are dropping.
If the CPU is pegged during playback while the GPU's Video Decode engine sits idle, DaVinci Resolve is software-decoding the footage.
There are only three common reasons for that on Windows: you're on the free edition, which doesn't get hardware H.264/H.265 decode there; the hardware decode checkboxes in Preferences are switched off; or the footage is a flavor your GPU's decoder doesn't support, like 4:2:2 on an RTX 30 or 40 card. Each of those came up earlier in this guide, and the graph tells you which section applies to you.
On a Mac the tooling is fuzzier. Activity Monitor shows a GPU history window under the Window menu, but it doesn't chart the media engine separately. The usable signal is the CPU: if H.264 or H.265 playback barely registers there, the media engine is carrying it. If the fans spin up the moment you press play on a plain, ungraded clip, it isn't, and transcoding is your way out.
Two minutes with a system monitor turns a vague complaint into a specific diagnosis. Do it before you spend money on anything.
Is your footage variable frame rate or mismatched to the timeline?
Some clips stutter no matter how much hardware you throw at them, because the file itself breaks Resolve's assumptions.
The first offender is variable frame rate. Phones, drones, and screen recorders like OBS often record VFR video, where the gap between frames shifts moment to moment with load and light. An editing timeline runs at one fixed rate, so a VFR clip plays back unevenly and its audio drifts further out of sync the longer it runs. No proxy, cache, or GPU fixes this, because the frames genuinely aren't where the timeline expects them to be.
DaVinci Resolve expects every clip to run at a constant frame rate, and variable frame rate recordings from phones and screen recorders break that assumption.
Checking takes a minute. Open the clip in the free MediaInfo utility and look for the frame rate mode field. If it says Variable, re-encode the clip to a constant frame rate before you cut with it. HandBrake does this: load the clip, set the frame rate to constant at the source's nominal rate, and export. Import the transcode instead of the original, and both the stutter and the sync drift are gone at the source.
The second offender is a frame rate mismatch between clip and timeline. Drop a 24 fps clip into a 30 fps timeline and Resolve has to invent six frames every second. How it invents them is a project-wide setting: Project Settings, under Frame Interpolation, sets the Retime Process. Nearest duplicates existing frames, which is cheap but leaves a subtle repeating hitch in motion. Optical Flow synthesizes new in-between frames, which looks smoother and costs enormously more per frame. Set Optical Flow project-wide and every rate-mismatched clip on your timeline quietly becomes an effects shot, with playback paying the bill. Keep the default on Nearest and reserve Optical Flow for the specific clips that earn it.
And if a clip was shot at high speed on purpose, don't let it play mismatched at all. Right-click it in the Media Pool, open Clip Attributes, and set its video frame rate to match the timeline. A 120 fps clip reinterpreted at 30 fps becomes clean quarter-speed slow motion with no interpolation cost at all.
One distinction is worth naming while we're here: judder isn't stutter. Stutter is irregular, worsens under load, and responds to everything else in this guide. Judder is a perfectly regular pulsing in pans and motion, and it points at cadence, a rate mismatch or a Nearest retime, not at performance. If the hiccup is metronome-regular, stop optimizing and check your frame rates.
What else can steal playback performance?
A handful of things outside your project can drag playback down, and they're worth ruling out before you blame Resolve.
Laptop GPU selection comes first. Many Windows laptops carry two GPUs, a power-sipping integrated one and the discrete card you paid for, and Windows decides per application which one an app gets. If Resolve was assigned the integrated GPU, everything in this guide runs on the wrong chip. Open Windows Settings, then Display, then Graphics, find DaVinci Resolve, and set it to High performance. You can confirm which GPU Resolve is actually using in Preferences, under Memory and GPU.
Power state is next. Laptops throttle hard on battery, on both platforms, so plug in and set the power mode to best performance before you judge playback. Thin machines can also throttle on heat: playback that starts smooth and gradually degrades over ten minutes, fans at full, points at temperature rather than settings. That gradual decay is different from the disk signature, where hiccups land on cuts from the first minute.
Right after an import, give Resolve a moment. It builds thumbnails and audio waveforms for new media in the background, and the timeline can hiccup until that finishes. If playback is rough only in the first minutes after you bring in a big card of footage, the problem may solve itself before you finish opening the Playback menu.
Scopes cost real GPU time too. Every open video scope recomputes on each frame you play, so a four-up scope layout is a permanent tax on playback. Close the scopes while you're cutting and open them when you grade.
And spare a thought for what else is running. A browser with hardware acceleration and thirty tabs holds video memory. Streaming overlays, game launchers, and screen recorders sit on the same GPU that Resolve is trying to saturate. Quitting them isn't superstition; it's reclaiming the hardware your timeline needs.
Could your GPU driver or the Resolve version itself be the bug?
Sometimes, yes. Not every stutter is a settings problem. Blackmagic shipped DaVinci Resolve 21.0.2 in the first week of July 2026, and its release notes specifically address H.264 and H.265 NVIDIA decode performance, as covered by No Film School and confirmed independently by Newsshooter, which quoted the update as having "improved H.265 playback performance on NVIDIA GPUs." If you're on an NVIDIA card and your stutter is specific to H.265 footage, updating Resolve may fix it before you touch a single project setting.
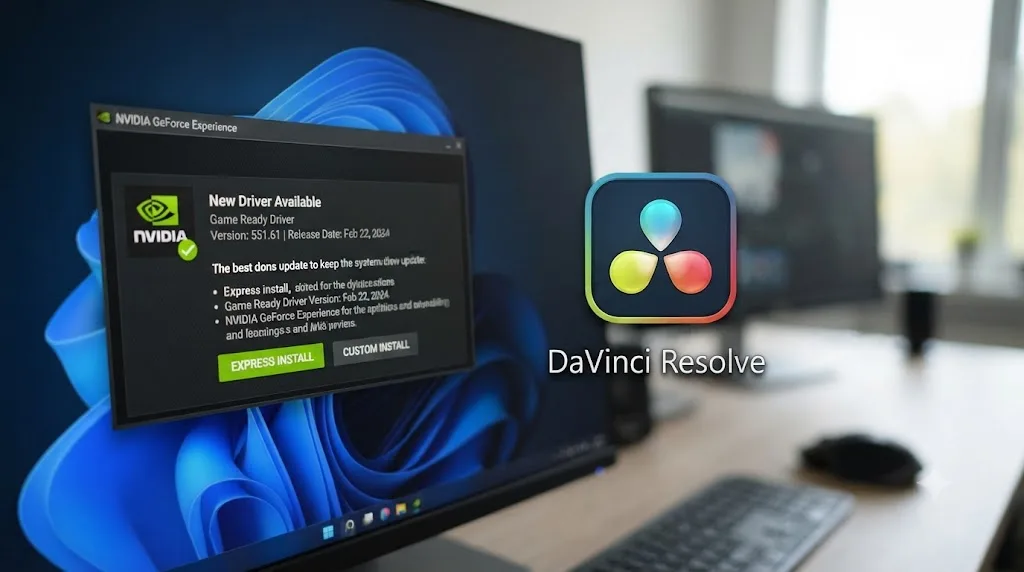
If updating Resolve doesn't help, the driver underneath it might be the actual problem. Update your graphics driver directly from NVIDIA, AMD, or Intel, not through Resolve or a generic driver-updater tool. Our DaVinci Resolve export settings guide covers the H.265 encoder options Resolve 21 added on the render side, which is worth a look if your stutter only happens on H.265 timelines specifically. For the full list of what else changed since launch, our DaVinci Resolve 21 review tracks the point releases.
If hunting through Preferences menus for the right driver or decode setting is the part that eats your evening, that's the specific gap TryUncle is built for. It looks at your actual Resolve window and points at the control you're asking about, instead of sending you to a forum thread to guess.
Does your computer even meet DaVinci Resolve's minimum requirements?
Worth checking before you touch any setting. Per Blackmagic's own tech specs, Resolve wants at least 16 GB of system RAM and a GPU with 4 GB of VRAM or more. Those are minimums, not comfortable numbers. A laptop with integrated graphics and 8 GB of RAM will open Resolve fine and then stutter the moment you add a second video track or a color node, no proxy workflow required to explain it.
Our DaVinci Resolve beginner's guide covers the full spec table if you're not sure your machine clears the bar. If it doesn't, proxies and Render Cache will help, but they're working around a hardware ceiling, not raising it.

What does the whole fix look like on a real setup?
Put the pieces together on a common rig: a Windows machine with an RTX 3070, the free edition of Resolve, and 4K 10-bit 4:2:2 H.265 footage from a recent mirrorless camera.
The diagnosis ladder says the stutter is decode. It shows up everywhere, even on clips with no grade, and dropping Timeline Proxy Mode to Quarter Resolution smooths it out. The decode table explains why the GPU can't save you: an RTX 30 series card has no 4:2:2 hardware decode, and even if it did, free Resolve on Windows wouldn't use it. Every frame is being rebuilt on the CPU, and Task Manager confirms it, with the Video Decode graph flat and the processor pinned.
So the fix is Optimized Media, and one setting makes it decisive. In Project Settings, set the Optimized Media resolution to Half rather than Original. From 4K sources that produces 1080p DNxHR SQ files, exactly the workflow Blackmagic's trainer recommended earlier in this guide, and a light decode load even for a modest CPU. Generating it is a one-time cost. Kick it off before dinner on a big project and it's done when you are.
Check the disk before celebrating, though. DNxHR trades compression efficiency for decode speed, so optimized files run far larger than the H.265 originals. At half resolution the data rate stays modest and almost any drive keeps up, but if you generate full-resolution 4K optimized media instead, you're in the same data-rate territory as the ProRes figures quoted above, and a USB hard drive quietly becomes the new bottleneck. Point the cache at your fastest drive and keep an eye on free space.
The end state is the one this whole guide aims at: cutting happens against half-resolution DNx files that any CPU can feed, the Use Optimized Media checkbox flips off before export, and the render pulls from the untouched camera originals. Total spend: disk space and one unattended render. If that same editor later buys a Studio license or an RTX 50 series card, native H.265 playback becomes viable and the proxies become optional. Until then, they're the difference between editing and waiting.
What hardware upgrade actually fixes it for good?
If you've decided to spend money, spend it in this order. It's not the order most people expect.
- Storage first. An internal NVMe drive for active media and cache files is the cheapest upgrade on this list and removes the disk bottleneck entirely for most projects.
- A GPU with the right decode block, not the biggest one. If you shoot 10-bit 4:2:2 H.265, a midrange current-generation card that decodes it in hardware will play your footage better than a flagship from two generations back that can't. Check the codec column before the benchmark charts.
- Video memory. Blackmagic's 4 GB minimum is survival, not comfort. For 4K timelines with noise reduction or Magic Mask in play, 8 GB is a sensible floor and more is better.
- System RAM. 16 GB meets the spec sheet; 32 GB stops Resolve from fighting your browser for memory on 4K work.
On the Mac side the calculus is simpler. Every M-series chip includes a media engine that decodes H.264, H.265, and ProRes in hardware, so even base-model Apple silicon punches above its price for playback specifically. The upsell to Pro and Max chips buys rendering and Fusion speed more than it buys smooth playback.
And there's a zero-dollar option that beats all of it: change the codec, not the computer. Record ProRes, DNx, or an All-Intra mode if your camera offers one, or transcode once on ingest with Optimized Media. A proxy workflow will carry hardware you'd assumed was retired. Buy new gear because you want faster exports and heavier comps, not because playback stutters. Playback stutter is almost always cheaper than that.
What's the fastest thing to try first?
Work through these in order before you assume your project is broken:
- Drop Timeline Proxy Mode to Half Resolution. Free, instant, fully reversible. If the stutter vanishes, decoding load is confirmed as the cause.
- Update DaVinci Resolve to 21.0.2 or later, especially on an NVIDIA GPU editing H.265 footage.
- Update your GPU driver directly from NVIDIA, AMD, or Intel.
- Generate Optimized Media in DNxHR SQ or ProRes 422 for your source clips, and enable it under Playback.
- Turn on Render Cache, set to cache effects-heavy clips, if the stutter is specific to graded or Fusion-heavy sections.
- Move your media and cache files off external hard drives, SD cards, and network shares onto an internal SSD.
- On Windows or Linux with Studio, open Preferences, then Decode Options, and confirm hardware-accelerated H.264/H.265 decoding is checked.
- If one specific clip stutters and its audio drifts, check it for variable frame rate in MediaInfo and transcode it to a constant rate.
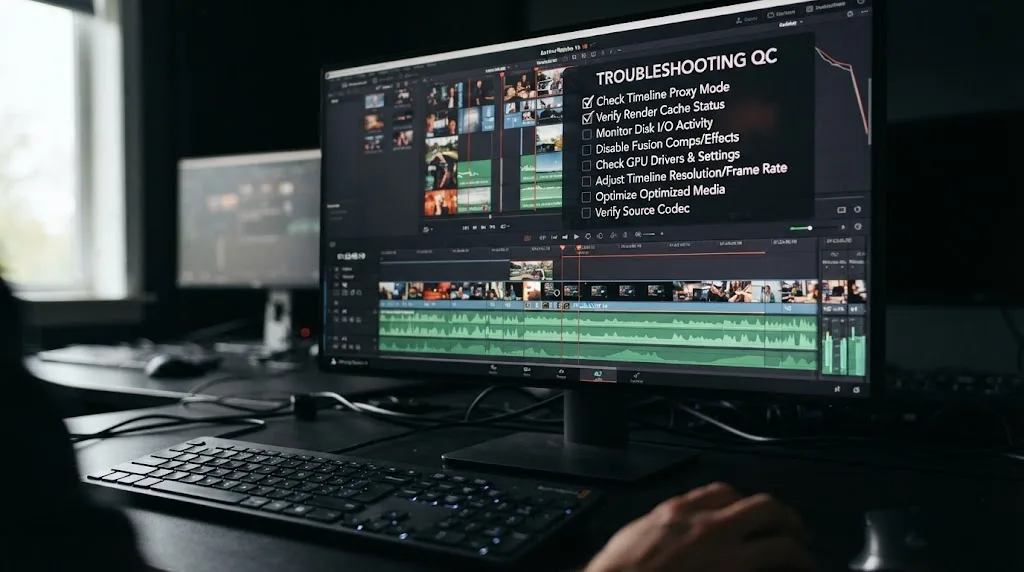
Most stutter complaints get solved by step one or two, not the whole list. Confirm the cause with Timeline Proxy Mode before you spend time transcoding anything, and check your Resolve version before you blame your hardware. The fix is almost never a new computer. It's almost always one setting that was never turned on.
Frequently asked questions
- Why does DaVinci Resolve playback stutter even though export renders fine?
- Because export doesn't have to happen in real time. Rendering can decode a frame, process it, and write it out at whatever speed your hardware allows. Playback has to hit a fixed frame rate. If your GPU or CPU can't decode your camera's codec fast enough to keep pace, you get dropped frames on the timeline even though the exact same footage renders cleanly.
- What's the difference between Optimized Media and Proxy Media in DaVinci Resolve?
- Optimized Media transcodes your original clips into an easier-to-decode format like DNxHR or ProRes and switches automatically between the original and the optimized version. Proxy Media creates separate, portable proxy files that stay linked even outside Resolve. Both fix the same decoding bottleneck. Optimized Media is simpler to turn on, Proxy Media is more flexible for shared or cross-platform projects.
- Does Timeline Proxy Mode lower my export quality?
- No. Timeline Proxy Mode only reduces the resolution Resolve decodes for on-screen playback while you edit. It has no effect on your render settings, which still pull from the full-resolution source files at export.
- Will updating to DaVinci Resolve 21.0.2 fix my stuttering?
- It might, if you're on an NVIDIA GPU editing H.264 or H.265 footage. Blackmagic's 21.0.2 release notes specifically list a fix for H.264 and H.265 NVIDIA decode performance, which is exactly the kind of bug that shows up as stutter or dropped frames during playback.
- Do I need DaVinci Resolve Studio to fix choppy playback?
- Not usually. Optimized Media, Proxy Media, Render Cache, and Timeline Proxy Mode are all in the free version. The one exception is hardware-accelerated H.264 and H.265 decoding on Windows and Linux, which Blackmagic reserves for Studio. On those platforms the free version decodes camera codecs on the CPU, so transcoding to Optimized Media matters even more.
- Why does 10-bit 4:2:2 H.265 footage stutter when 8-bit H.264 plays fine?
- Because GPU hardware decoders support specific codec flavors, not codecs in general. Most GPUs decode 8-bit 4:2:0 H.264 and H.265 in a dedicated hardware block, but per NVIDIA's own support matrix, RTX 30 and 40 series cards can't decode 4:2:2 in hardware at all. That footage falls back to the CPU. Transcoding to DNxHR or ProRes sidesteps the gap entirely.
- Why does phone or screen-recorder footage stutter and drift out of sync in Resolve?
- Phones, drones, and screen recorders like OBS often record variable frame rate video, where the time between frames changes constantly. Resolve conforms every clip to a fixed frame rate, so VFR clips play back unevenly and their audio slowly drifts. Transcode them to a constant frame rate before importing and both problems disappear at the source.
- Does editing 4K footage on a 1080p timeline make playback smoother?
- Not by itself. Resolve still decodes the full 4K source before scaling it down to the timeline, so the expensive part of the work is unchanged. To actually cut the decode cost, use Timeline Proxy Mode or generate Optimized Media at half resolution, so playback pulls from genuinely smaller files.
Sources
- DaVinci Resolve Reference Manual: Proxy Media vs. Render Cache
- DaVinci Resolve Reference Manual: Timeline Proxy Mode
- Blackmagic Forum: Sudden and inexplicable playback lag (Marc Wielage, Certified DaVinci Resolve Color Trainer)
- No Film School: DaVinci Resolve Update 21.0.2 Adds Faster Image Bypass Switching, Improved H.265 Playback, and More
- Newsshooter: DaVinci Resolve 21.0.2 Update
- DaVinci Resolve - Tech Specs (Blackmagic Design)
- NVIDIA Video Encode and Decode GPU Support Matrix
- Apple ProRes White Paper (data rates)
Put this guide to work with TryUncle.
Ask about the step you’re on. TryUncle sees your screen and points at the control you need, so you can keep learning in your own project.
Get TryUncle for Mac or WindowsKeep reading
Guides · Jul 7, 2026 · 32 min
DaVinci Resolve for Beginners: The Complete Starter Guide
Learn DaVinci Resolve from zero: what it costs, what it needs to run, the seven pages you'll actually use, and the steps to cut your first project.
Guides · Jul 7, 2026 · 23 min
DaVinci Resolve Export Settings: Numbers That Actually Work
The exact DaVinci Resolve export settings for YouTube, client handoffs, and ProRes archives, plus what changed with Resolve 21's H.265 encoder.
Reviews · Jul 7, 2026 · 22 min
DaVinci Resolve 21 Review: What's New and Is It Worth Upgrading?
A close look at DaVinci Resolve 21: the new Photo page, IntelliSearch, CineFocus, Krokodove, what Blackmagic actually shipped, and who should upgrade now.