Articles / Guidesupdated for DaVinci Resolve 21.1 (October 2026)
DaVinci Resolve Take Selector for Multiple Angles: How to Use It
Quick answer
In DaVinci Resolve 21, right-click a timeline clip and choose Take Selector, then drag alternate clips from the Media Pool into its stack. Click a take to choose it, and turn on Ripple Take if changing duration should move the rest of the timeline. Use multicam instead when you need to cut between synchronized angles during playback.
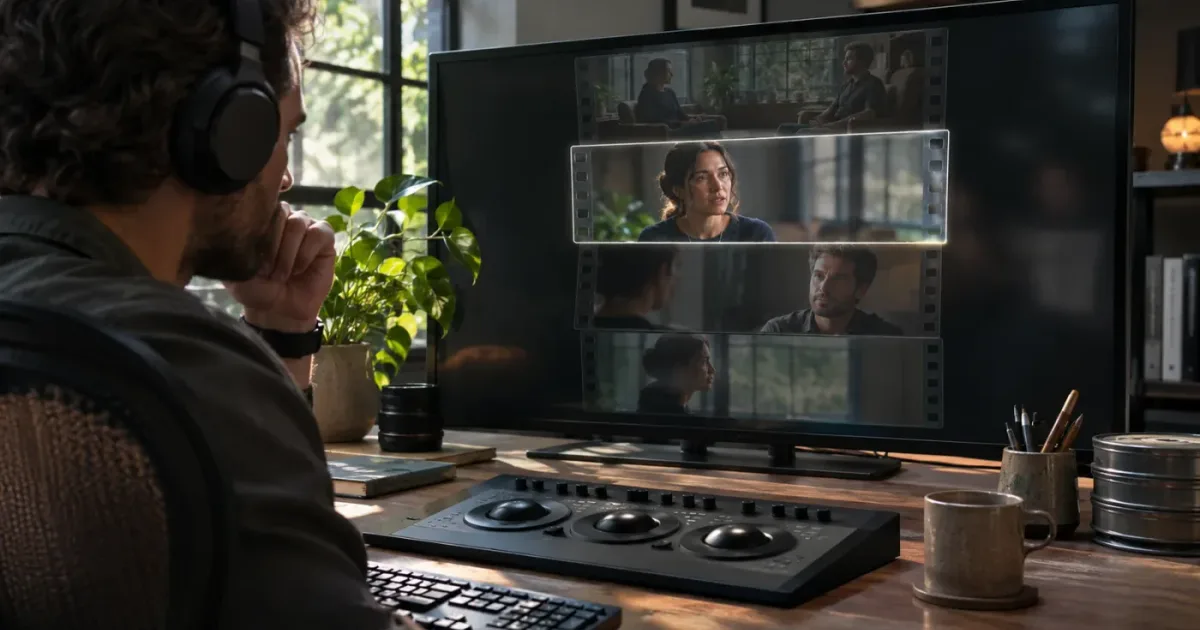
I use “multiple angles” to mean a handful of alternative shots competing for the same place in an edit. That’s not quite the same job as cutting a synchronized multicamera performance. Pick the wrong tool and you can end up with a cluttered timeline, or a selector that doesn’t behave the way you expected.
As of October 2026, the current DaVinci Resolve release listed by Blackmagic Design is Resolve 21.1. The Take Selector workflow is documented in Blackmagic’s Editors Guides, including its Resolve 18 guide; the current Resolve reference manual is available through the Blackmagic Design Support Center. This guide focuses on the selector’s practical job in Resolve 21: keeping alternate clips together while you decide which one belongs at an edit point.
What does the DaVinci Resolve Take Selector do with multiple angles?
The DaVinci Resolve Take Selector is a container for alternate clips that occupy one position in the timeline, with one selected clip visible at a time. You can use it for different camera angles, performances, or versions of a visual-effects shot, then switch which clip appears without placing every option on a separate timeline track. Blackmagic’s Editors Guide describes Take Selectors as a way to compare different takes and explains that the closed selector appears as a regular timeline clip.
That distinction matters. A Take Selector stores alternatives; it doesn’t show all its angles at once, synchronize cameras, or make a live multicamera cut. You pick one candidate for that timeline position. The alternatives stay inside the selector until you remove them or finalize the choice.
A Take Selector keeps alternatives together, but only one selected take appears in the timeline.
A practical example: you have a wide shot, a close-up, and a side angle of the same line. You want to decide later which one plays best in a scene. A Take Selector lets you keep those choices together instead of leaving three clips stacked on video tracks. If, instead, the cameras recorded continuously at the same time and you want to cut between them throughout a performance, consider a multicam clip.
Gedaly Guberek, a Blackmagic Design Certified Master Trainer, notes that “You could stack multiple clips on the timeline, which is one easy method.” The alternative he presents is the Take Selector, which keeps the timeline cleaner when comparing shots. Guberek’s Take Selector tutorial also covers adding clips, slipping them, ripple behavior, and finalizing a choice.
Should I use Take Selector or multicam for multiple angles?
Use Take Selector when you’re choosing among a few alternative clips for one edit point; use multicam when you’re switching among synchronized camera angles across a continuous sequence. They solve different editing problems, even though both involve multiple views of a subject.
| Editing situation | Better fit | Why |
|---|---|---|
| Three alternate shots of one reaction | Take Selector | Keep the alternatives together at one timeline position and choose one. |
| A scene recorded by several synchronized cameras | Multicam clip | Cut among synchronized angles across the scene. |
| Two versions of a VFX shot | Take Selector | Keep candidate versions together and swap the visible version. |
| Several unsynchronized clips of the same event | Take Selector or ordinary edits | Compare candidates; the clips don’t become synchronized merely because they’re in a selector. |
| A live performance you’ll cut between repeatedly | Multicam clip | Use a multicamera workflow instead of creating a separate selector at every cut. |
| A short list of shots, with no need to cut during playback | Take Selector | Store and review the options at the one point where you need a decision. |
The key question is not “How many cameras did I use?” It’s “Do I need to make cuts among synchronized sources over time, or choose one alternate clip at this position?” The first points to multicam. The second points to Take Selector.
Resolve 21’s multicam features and viewer behavior are separate from the Take Selector workflow. If you’re setting up a multicam edit, first check that the angles are synchronized and assigned as intended. Our guides to a multicam angle viewer that doesn’t show all cameras and multicam sync that’s off by frames cover those separate problems.
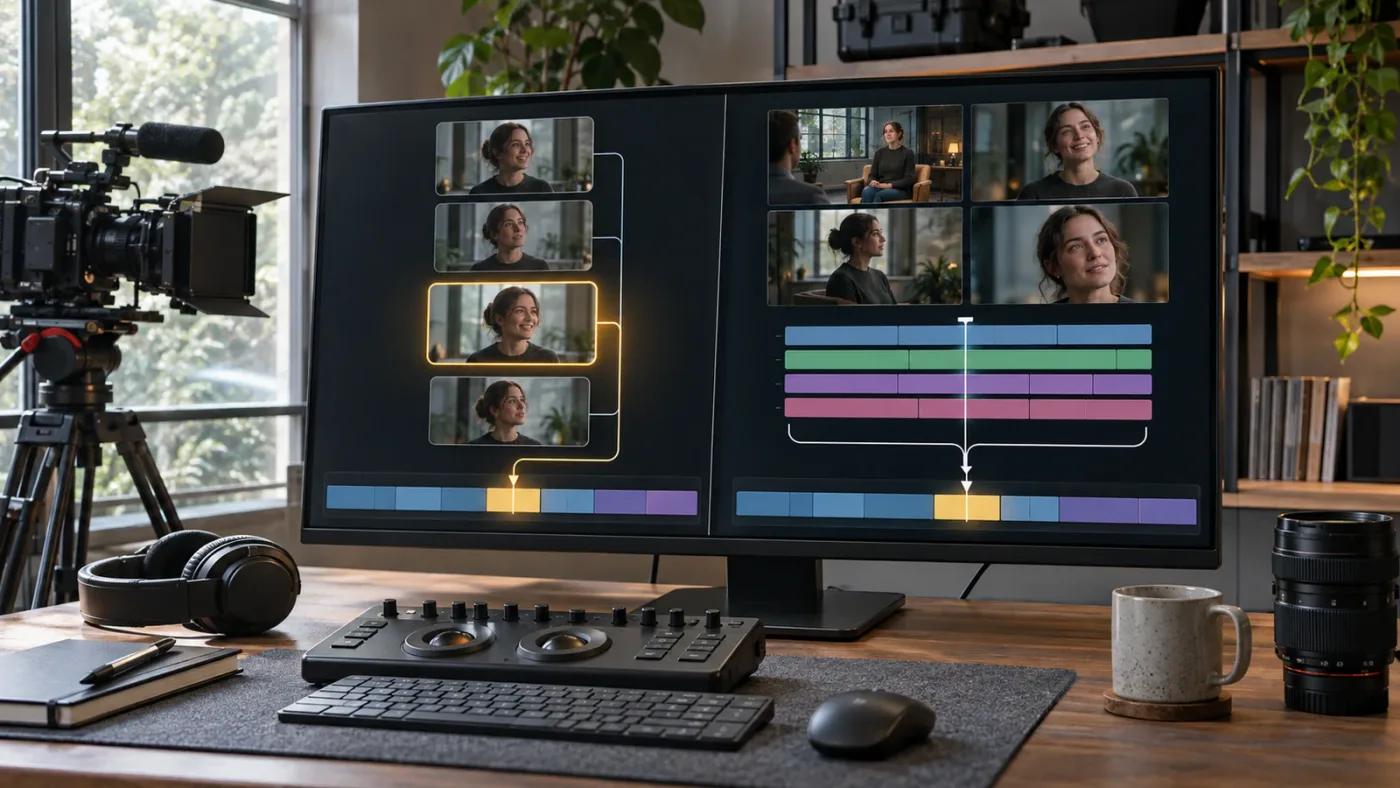
How do I create a Take Selector in DaVinci Resolve 21?
Create a Take Selector from a clip already on the Edit page timeline by right-clicking that clip and choosing Take Selector. You can also access it from the Clip menu, as shown in Blackmagic’s DaVinci Resolve Editors Guide.
Here’s a clean way to start:
- Import the candidate angles into the Media Pool.
- Add the shot you currently expect to use to the timeline.
- Right-click that timeline clip and choose Take Selector.
- Drag the alternative clips from the Media Pool into the open selector.
- Click the take you want to review, then close the selector.
When the selector opens, Resolve temporarily disables the rest of the timeline so you can work with its contents. That is why you should prepare the alternatives in the Media Pool before opening it. The documented workflow adds clips from the Media Pool into the selector, not by dragging an existing clip from another timeline track after the selector is open.
In the selector, the clips appear stacked. Click a candidate to select it. Close the selector to return to the timeline with that candidate visible as the active clip. Blackmagic’s Editors Guide describes the chosen take becoming the visible timeline clip after closing the stack, and explains that you can reopen the selector to keep comparing options. Read the guide’s lesson on comparing takes.
A selector starts with the clip you right-clicked. If that is your wide angle, the wide is your initial option. Add the close-up and side angle after opening the selector, then select whichever shot you want Resolve to show when you close it.
Prepare the alternatives in the Media Pool before opening the Take Selector.
What should I prepare before opening the selector?
Prepare only the clips that genuinely compete for the same edit point. Give them names you can recognize, check that the intended source media is online, and decide whether each candidate should include its linked audio.
The selectors are easiest to review when each clip has a clear identity, such as Scene 12 - Wide, Scene 12 - Close, or Scene 12 - Side. Those are sample labels, not a required Resolve naming format. Descriptive names reduce the chance of choosing the wrong shot when thumbnails look similar.
Also decide whether you’re comparing camera coverage or whole audiovisual takes. A camera angle may share a single clean audio recording with the other options. A separately recorded take may include its own sound. Don’t assume the selector has isolated the dialogue audio just because the picture changed. After switching clips, listen to the result and inspect the audio tracks you intend to keep.
If the clips are already arranged as a stack of timeline edits, it’s tempting to open the selector and pull them into it. But once the selector opens, the rest of the timeline is temporarily disabled. Plan to add candidates from the Media Pool instead, or decide in advance which timeline clip should become the base of the selector.
How do I add multiple camera angles to the Take Selector?
Open the selector from the timeline clip, then drag each alternate clip from the Media Pool into the Take Selector panel. Resolve adds each clip as another candidate in the stack; the selected candidate is the one that appears in the timeline after you close the panel. This is the population workflow in Blackmagic’s Resolve 18 Editors Guide.
Use this sequence for each edit point:
- Identify the current timeline clip that will anchor the alternatives.
- Open its Take Selector.
- Drag the first alternative from the Media Pool into the panel.
- Repeat for any other alternatives.
- Click each candidate in turn to preview it in the timeline.
- Close the selector when you’ve chosen what to review next.
There’s no need to put every angle from an entire shoot into one selector. The selector is for related alternatives at a particular position. Keep the stack small enough that the options still make editorial sense together. A wide shot and two close-ups of the same line may belong together; an unrelated establishing shot probably doesn’t.
How do I compare angles without losing the original clip?
A Take Selector preserves the original clip as one of the options when you create the selector from that clip. Add alternatives rather than deleting the base clip, and click back to the original candidate whenever you want to compare against it.
A useful review routine is to select one take, close the selector, play the scene around that cut, and note what works. Reopen the selector, choose the next option, and review the same surrounding moment again. You’re not just comparing still frames. Timing, eyelines, gesture, continuity, and the sound of the transition may change how an angle feels in context.
You can also make a written note before choosing. For a dialogue scene, the wide may preserve the speaker and listener together, while a close-up may make a reaction more legible. For an interview, one angle might be useful for the main answer and another for a pause or emphasis. These are editorial criteria, not automatic rules; the better choice depends on the scene.
If a candidate looks blank or unrelated, don’t assume the selector has synchronized it to the other options. The clips are alternatives, not synchronized multicam sources. Scrub or play each candidate, check its source in the Media Pool, and make sure the clip you dragged is the intended section of media.
Why does DaVinci Resolve show only one angle in the Take Selector?
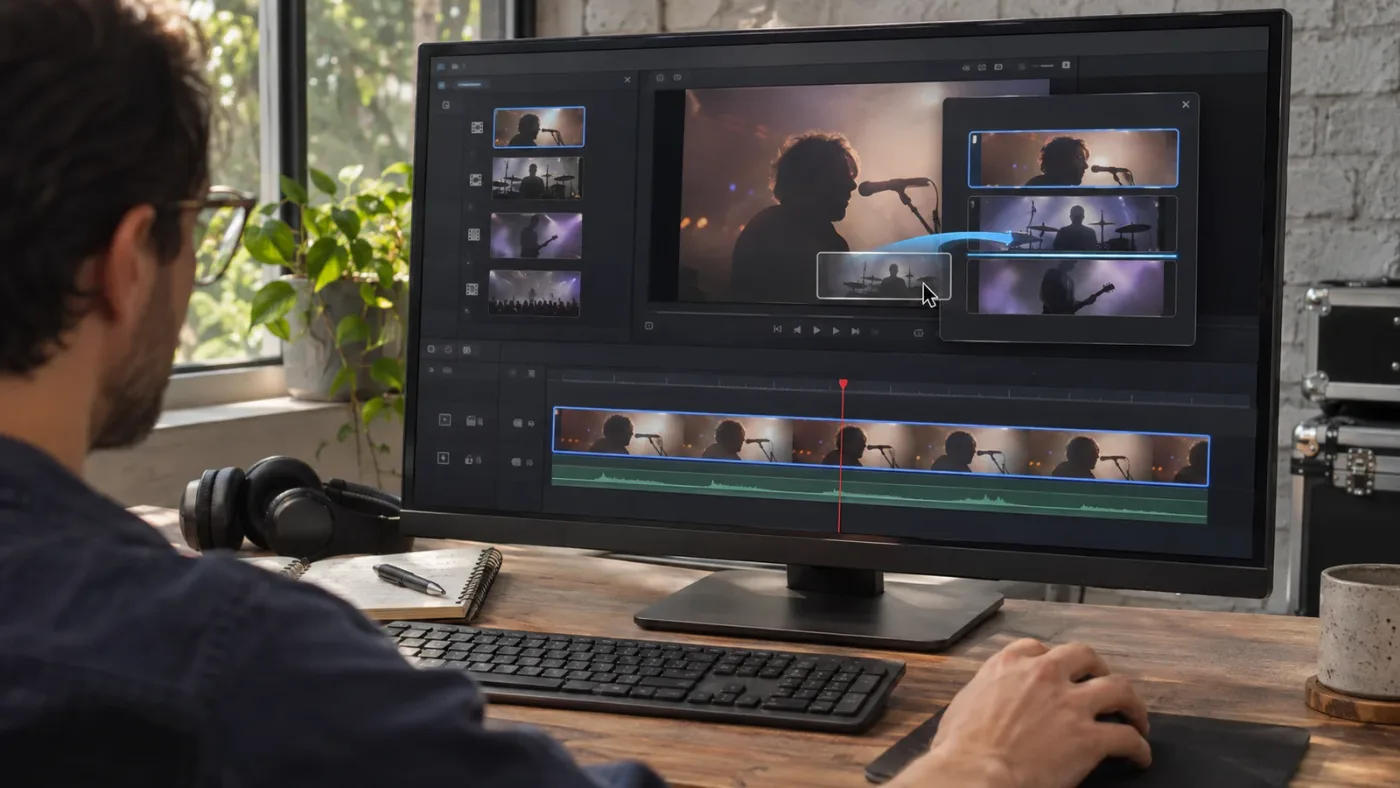
A Take Selector is designed to show one selected clip in the timeline, so seeing one angle there is normal. The other clips are stored as alternatives in the open selector; they do not appear simultaneously in the finished timeline image. Blackmagic’s Resolve Editors Guide describes this one-visible-clip behavior.
If you expected a grid of camera feeds or wanted to see every angle while playing, you’re looking for a multicam view, not a Take Selector. Close the selector and confirm that you created or opened a multicam clip for the synchronized sources. The multicam angle viewer is the workspace for switching among its camera angles during playback or editing.
If you wanted a split-screen comparison, the Take Selector won’t create one either. It chooses the clip that appears at the current position. A split screen requires a different timeline or compositing setup. Keep the tools separate: selector for alternatives, multicam for synchronized coverage, and a split-screen workflow when simultaneous viewing is the goal.
Why can’t I drag clips from the timeline into the open selector?
The rest of the timeline is temporarily disabled while the Take Selector is open, so you can’t interact with other timeline clips in the usual way. Blackmagic’s documentation says to populate the selector by dragging clips from the Media Pool. The Editors Guide explains the workflow.
If your alternatives are already on the timeline, close the selector first. Identify their source clips in the Media Pool, then add those candidates from there. If you need a particular section from a long source file, set the intended source range before adding it, and verify the result after it appears in the selector. Don’t rely on the selector to infer which timeline range you meant.
A common source of confusion is assuming that opening the selector leaves the rest of the timeline editable behind it. It doesn’t. The selector temporarily takes over the editing focus. This is a useful constraint when you’re switching among stored candidates, but it means a little preparation prevents a frustrating detour.
What does Ripple Take do when angles have different durations?
Ripple Take controls whether Resolve adjusts the timeline when you select a candidate with a different duration from the current take. With Ripple Take enabled, the timeline ripples to accommodate the longer or shorter clip; with it disabled, the replacement can overwrite the next clip or leave a gap. Blackmagic’s Editors Guide demonstrates the control and the change in timeline duration.
The Ripple Take button is in the upper-right area of the Take Selector. The Resolve 18 guide places it beside the trash control and shows the timeline adjusting when the editor chooses a shorter alternative. As the exact panel layout can vary with workspace and version, look for the ripple control in the selector rather than assuming it is a general timeline ripple setting.
| Your goal | Ripple Take setting | What to check after switching |
|---|---|---|
| Keep later edits in place and accept a gap or overwrite if durations differ | Off | Inspect the next clip and any gap at the selector’s end. |
| Let later timeline content move to accommodate the selected duration | On | Review later picture, audio, and sync after the ripple. |
| Compare takes with matching durations | Either setting may preserve the same visible length | Confirm the source ranges and audio still suit the scene. |
| Choose a longer take in a tightly assembled edit | On if the later edit should move | Check the new end point and the sync of affected material. |
| Choose a shorter take under music or dialogue | Choose based on whether later material should move | Listen for a gap, overlap, or altered sync relationship. |
Ripple is not a harmless preview toggle. A duration change can affect what follows the selector, and a project may have music, dialogue, titles, or other tracks that need to stay aligned. Before turning it on, decide what should move. After choosing a different-duration take, play across the edit and inspect related tracks. Resolve’s ripple behavior is intended to move timeline material according to its editing rules, but you still need to check the result in your particular sequence.
Turn on Ripple Take only when the timeline should change to fit the selected duration.
Will Ripple Take move every track?
Don’t assume every track will respond identically in every project. Ripple operations can affect timeline duration and sync relationships, and track settings influence what participates in those operations. Blackmagic’s reference material on trimming warns that ripple operations can alter sync relationships and explains the role of Sync Lock. For a Take Selector duration change, inspect the surrounding sequence instead of trusting a global assumption.
A safe review pass is simple: note the cut’s original position, choose the different-duration take, then check the clips immediately before and after it. Also inspect the audio track that carries dialogue or music. If a later clip has moved, confirm its relationship with the soundtrack and any markers or titles. Undo is available if the result is not what you intended, but it’s better to know what the ripple is supposed to do before committing to a change.
For a locked-down sequence with tightly timed music or narration, you may prefer to compare same-duration candidates first. If the options differ in length, use Ripple Take only after deciding whether the sequence should expand or contract. That editorial decision is yours; the selector cannot know whether your soundtrack, pacing, or downstream cut is more important.
How do I slip an angle inside a Take Selector?
Drag a candidate left or right within the Take Selector to slip which part of its source media appears in the selector’s timeline duration. A slip changes the visible source range without turning the candidate into a different angle. Blackmagic’s Resolve Editors Guide describes dragging a take to slip its media range and synchronize it with the other takes.
This is useful when two clips cover the same action but the selected source ranges don’t begin at the same moment. For example, one angle may show the start of a gesture while another begins after it. Slipping can help you align the visible moment within the selector’s duration, provided the source footage contains the frames you need.
Don’t confuse slipping with syncing. A slip changes a clip’s in-point relative to its timeline position; it does not analyze audio or automatically synchronize cameras. If the source clips are genuinely out of sync, fix the synchronization using an appropriate sync workflow, then decide whether you need a multicam clip or a Take Selector. Our guide to multicam sync that’s off by frames addresses that problem separately.
After slipping, review the action at both ends of the clip. Make sure the important gesture, line, or movement still fits the edit, and check that the source doesn’t run out before the intended out-point. The point is to compare equivalent moments, not just to move thumbnails until they look aligned.
How do I remove an angle or finalize a Take Selector?
To remove one candidate, select it in the open Take Selector and use the trash control. To remove the selector entirely while keeping the chosen clip, close the selector, right-click the timeline clip, and choose Finalize Take. Blackmagic’s Editors Guide describes finalizing as removing the selector and its alternate takes from the timeline.
These are different actions. Removing a candidate deletes that alternative from the selector. Finalizing removes the selector structure and leaves the selected take as a regular timeline clip. If you finalize too early, you lose the convenience of reopening the stack to compare the stored alternatives.
Before finalizing, play the selected take in context and verify the following:
- The intended picture is active.
- The chosen source range starts and ends where you expect.
- The dialogue or production audio is the one you intend to keep.
- Any duration change has not created an unwanted gap or overwritten the next clip.
- The surrounding edits still play as intended.
- You no longer need the alternate candidates available at that timeline position.
There’s no need to finalize just because you’ve closed the selector. Closing it returns you to the timeline with the current candidate selected; it doesn’t, by itself, mean the alternatives are gone. Keep the selector open to future revisions if the decision is still provisional.
How do I reopen a selector after I close it?
Reopen it by double-clicking the Take Selector badge on the timeline clip or by right-clicking the multi-take clip and choosing Take Selector. The badge marks a clip that still contains a selector. Blackmagic’s Resolve Editors Guide documents reopening the selector from that badge or the context menu.
If you can’t find the badge, check whether you finalized the take. A finalized clip no longer has the take alternatives stored in the selector. Also make sure you’re right-clicking the multi-take clip itself rather than an adjacent clip, audio item, or empty area of the timeline.
Keeping a selector open has a practical advantage during client or director review: you can try an alternative without rebuilding the group of candidates. It also leaves a clear path back to the other options when feedback changes. Finalize when you want a single clip in place of that comparison structure, not just because you need to close the panel and continue editing.
Why does a different take change the grade or effect?
A Take Selector behaves as a single timeline clip for grading and compositing, so a grade or composite applied to the selector can affect whichever take is selected. Blackmagic’s manual describes the Take Selector’s grade or composite as applying to the selector itself, which means a later take may inherit the same treatment.
That can be exactly what you want when the candidates are different framings of the same scene and should share a basic look. But it can be a problem if the angles need different exposure corrections, white balance, or framing adjustments. A grade suitable for the wide may not suit a close-up from a different camera. Check the selected take after switching, rather than assuming its image will match the previous one.
Keyframed effects need particular care. Blackmagic notes that keyframing is relative to the timeline of the overall Take Selector, so changing to an alternate take may put an effect at a different point in that source clip. If an animation or effect depends on a subject’s movement, preview it on each candidate and adjust as needed.
The practical rule is to distinguish shared treatment from shot-specific treatment. A common creative look may belong at the selector level. A correction that compensates for a particular camera or shot may need to be handled differently for each option. Don’t finalize the take until you’ve checked the grade, composite, and any timed effects on the selected clip.
When should I use Source Tape, stacked clips, or Take Selector?
Use Take Selector when you need a compact group of alternatives at one timeline position. Use stacked clips when you want to see several edits on separate tracks, and use Source Tape when you want to review source material quickly before choosing what to edit. These are alternatives for different stages of the job, not interchangeable names for the same feature.
| Method | Best use | Main trade-off |
|---|---|---|
| Take Selector | Keep a small set of candidate clips attached to one edit point | Only one candidate appears in the timeline at a time. |
| Stacked timeline clips | Compare options visibly on separate tracks or preserve a bespoke arrangement | The timeline can become harder to read as the number of alternatives grows. |
| Source Tape | Browse or audition source clips before assembling an edit | It’s a source-review workflow, not a selector embedded at a particular timeline cut. |
| Multicam clip | Cut among synchronized camera angles over a sequence | Requires a multicamera setup rather than a simple set of unrelated alternatives. |
Gedaly Guberek’s Take Selector tutorial explicitly presents stacking clips as one possible way to compare alternatives, then introduces the Take Selector as a cleaner option for keeping the timeline manageable. Neither method is universally better. A visible stack can be easier to understand when you need to compare several timeline arrangements. A selector is tidier when the alternatives are all candidates for the same shot.
If you’re browsing a large collection of footage before making a cut, a Source Tape workflow may be a better starting point. Once you know which clips compete for one timeline position, a Take Selector can keep that short list together. And if the clips were recorded at the same time from different cameras, use multicam rather than treating the selector as a sync tool.
Choose Take Selector for alternatives at one edit point, and multicam for synchronized angle changes across a sequence.
What should I check if the Take Selector workflow isn’t working?
First check whether the selector is open, whether the clip you right-clicked is a supported timeline clip, and whether you’re trying to add candidates from the Media Pool. These checks address the most common workflow misunderstandings without changing project settings.
| Symptom | Check first | Next step |
|---|---|---|
| The rest of the timeline won’t respond | The Take Selector may be open and holding editing focus | Close the selector, then return to the timeline. |
| A clip won’t enter the selector | You may be dragging an existing timeline clip instead of a Media Pool item | Close the selector and add the candidate from the Media Pool. |
| Only one angle is visible | That is normal for a Take Selector | Click another candidate, or use multicam if you need to see synchronized angles. |
| The next clip moved or a gap appeared | The selected candidate may have a different duration | Check Ripple Take and inspect the surrounding sequence. |
| The selector is no longer available | The take may have been finalized | Confirm whether the clip is now a regular timeline clip; finalizing removes the selector alternatives. |
| The selected angle starts at the wrong moment | Its source range may need a slip adjustment | Slip the take in the selector and review the action in context. |
| The image looks different after switching | The alternate shot may need its own correction or effect adjustment | Review the grade, composite, and keyframed effects on that candidate. |
If the menu option is missing, verify that you selected a timeline clip rather than a title, generator, empty gap, or unrelated object. Blackmagic’s Resolve manual describes creating a selector from an eligible clip and excludes titles and generators in its instructions. If you’re working in a different workspace or a different version, return to the Edit page and check the clip context menu or Clip menu.
If you’re following a video made in an older Resolve release, the labels or panel layout may not match exactly. Blackmagic’s Support Center lists the current 21.1 reference manual, while its Editors Guides document earlier versions of the same Take Selector concepts. Use the current manual for your installed release if a control appears in a different place.
If you’re stuck because the controls on your screen don’t match a tutorial, TryUncle can give on-screen guidance while you work. TryUncle is the on-screen assistant for DaVinci Resolve on Mac and Windows; ask in plain words and Uncle points at the exact control on your screen.
What’s the safest way to finish an angle decision?
Choose a candidate, close the selector, then review the cut in context before finalizing. The Take Selector makes it easy to preserve alternatives, but your edit still needs a playback check for continuity, timing, sound, and downstream changes.
Use this final pass:
- Choose the shot that best serves the scene, not just the one with the most attractive thumbnail.
- Close the selector and play through the edit before and after the selected clip.
- Listen to the audio that will carry through the cut.
- If the candidate has a different duration, inspect the timeline for movement, gaps, and sync changes.
- Check any grade, composite, or keyframed effect on the alternate take.
- Keep the selector if you may need to revisit the choice.
- Choose Finalize Take only when you want to discard the alternatives from that timeline selector.
Keep the selector until the editorial decision is firm; finalize only when you want one regular clip left.
A Take Selector is a small tool with a specific job: hold candidate clips together while you decide which one belongs at a particular point. Use it for alternate angles and takes, turn on Ripple Take only when you want a duration change to affect the timeline, and switch to multicam when the real task is cutting among synchronized cameras.
Frequently asked questions
- Can I use the DaVinci Resolve Take Selector for multiple camera angles?
- Yes. A Take Selector can hold alternate clips, including shots from different angles, and show one selected clip in the timeline. It is for choosing between alternatives at one timeline position, not for live multicamera cutting.
- How do I add an angle to a Take Selector in DaVinci Resolve?
- Open the selector from a timeline clip, then drag the alternate clip from the Media Pool into the Take Selector. The official workflow adds clips from the Media Pool; the rest of the timeline is temporarily unavailable while the selector is open.
- What does Ripple Take do in DaVinci Resolve?
- Ripple Take makes the timeline adjust when you choose an alternate take with a different duration. With Ripple Take off, Resolve can overwrite the next clip or leave a gap instead.
- Should I use Take Selector or multicam for multiple angles?
- Use Take Selector to keep a few alternate clips at one edit point and decide which single clip appears there. Use a multicam clip when the angles are synchronized and you want to cut among them across a sequence.
- Can I reopen a Take Selector after choosing a take?
- Yes. The selected take remains in the timeline when you close the selector. You can reopen it using the Take Selector badge or the clip’s context menu, unless you have finalized the take.
Sources
- DaVinci Resolve Support Center
- The Editor’s Guide to DaVinci Resolve 18
- The Editor’s Guide to DaVinci Resolve 17
- Finding the Best Shot with Take Selector Tool
- DaVinci Resolve Multicam Angle Viewer Not Showing All Cameras
- DaVinci Resolve Multicam Sync Off by Frames
- DaVinci Resolve Source Tape Mode: The Complete Tutorial
Put this guide to work with TryUncle.
Ask about the step you’re on. TryUncle sees your screen and points at the control you need, so you can keep learning in your own project.
Get TryUncle for Mac or WindowsKeep reading
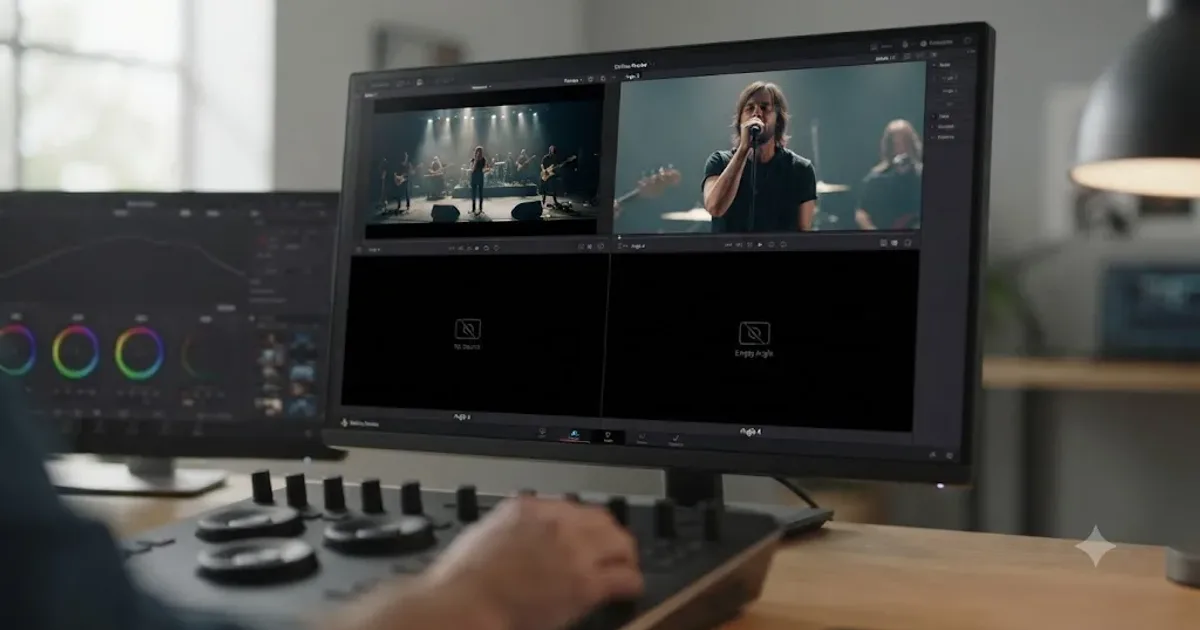
Fixes · Jul 31, 2026 · 24 min
DaVinci Resolve Multicam Angle Viewer Not Showing All Cameras
Multicam viewer only showing some of your DaVinci Resolve camera angles? Fix the grid size, duplicate camera metadata, and black angle bugs, one by one.
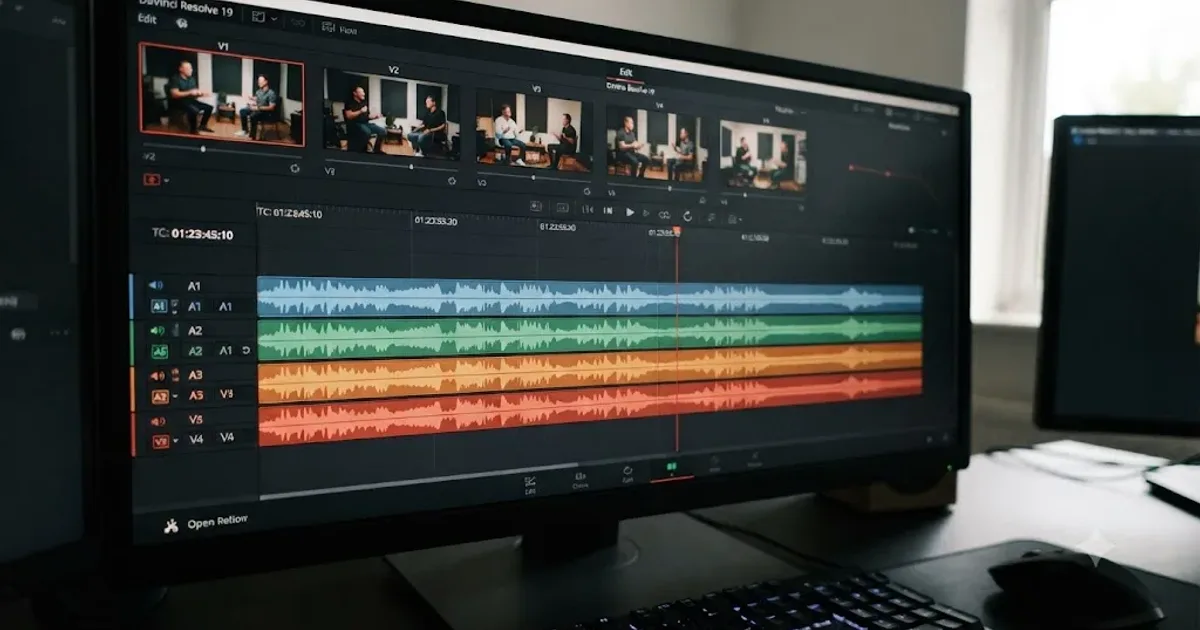
Fixes · Jul 8, 2026 · 26 min
DaVinci Resolve Multicam Sync Off by Frames: Every Fix
Multicam clip off by frames or drifting worse over time? Fix DaVinci Resolve's waveform mis-sync, frame rate drift, and timecode gaps, angle by angle.

Guides · Aug 2, 2026 · 39 min
DaVinci Resolve Source Tape Mode: The Complete Tutorial
How to use DaVinci Resolve's Source Tape mode on the Cut and Edit pages: enabling it, marking clips, shortcuts, and when it beats browsing the Media Pool.