Articles / Guidesupdated for DaVinci Resolve 21.0.3 (July 2026)
DaVinci Resolve Source Tape Mode: The Complete Tutorial
Quick answer
Source Tape mode turns every clip in a bin into one continuous strip you scroll instead of browsing. Click the Source Tape icon in the Viewer on the Cut page, or the Edit page since Resolve 20, mark in and out points with I and O, then press F9 to place the clip on your timeline without leaving the tape.
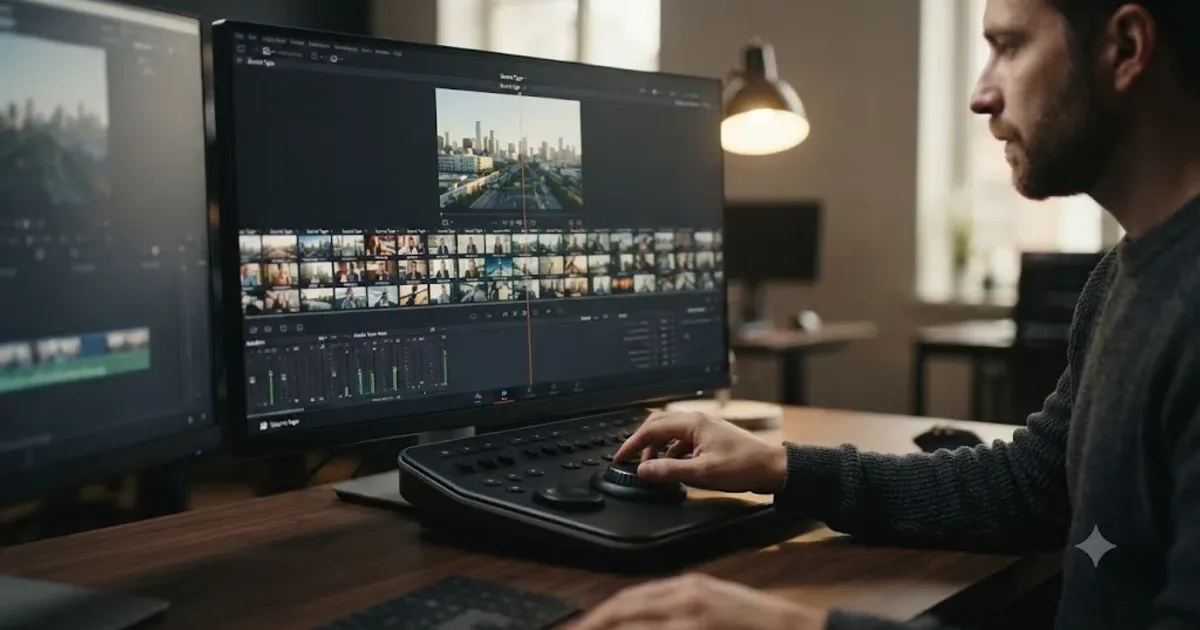
I used to think Source Tape was a gimmick, something Blackmagic bolted onto the Cut page to make DaVinci Resolve feel different from Premiere Pro for the sake of being different. Then I sat down with 40 minutes of unsorted b-roll and no time to tag a single clip, and Source Tape got me through it faster than the Media Pool ever would have. It's not a gimmick. It's a specific tool for a specific problem, and this guide covers exactly where it earns its keep and where it doesn't.
Source Tape turns a bin full of separate clips into one scrollable strip, so you preview footage the way you'd shuttle a videotape instead of double-clicking files one at a time. That's the whole idea, and everything below walks through using it on both the Cut and Edit pages, what changed since DaVinci Resolve 20, the shortcuts that make it fast, and the honest case for when a Media Pool search still beats it.
What is Source Tape mode in DaVinci Resolve?
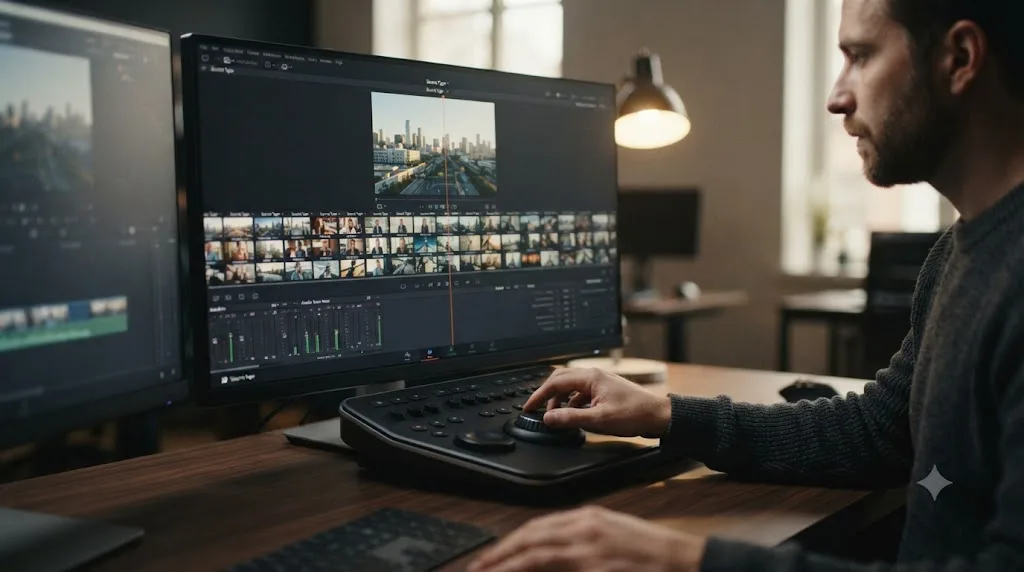
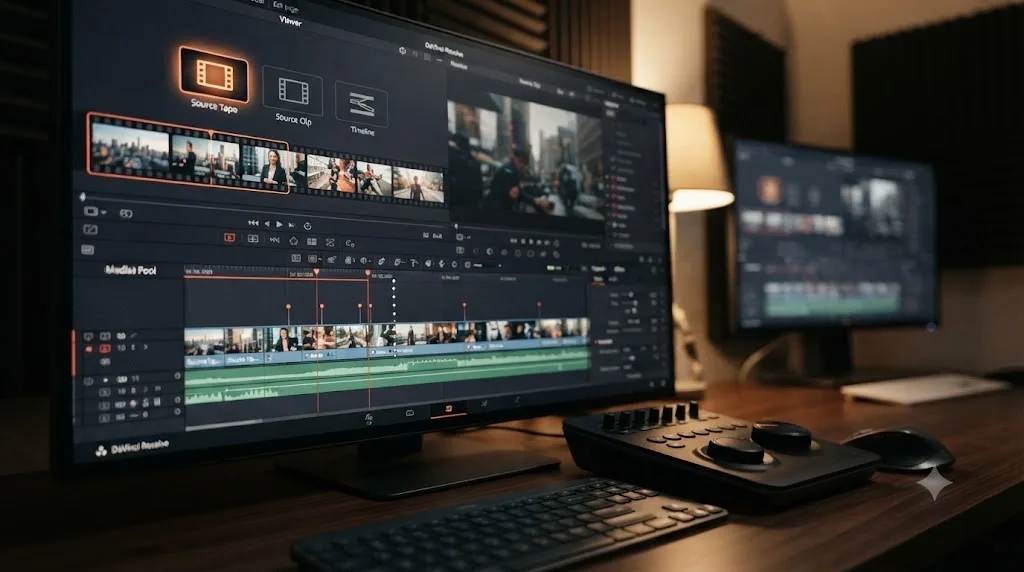
Source Tape mode is a Viewer setting, not a separate page or panel, that links every clip inside the currently selected Media Pool bin into one continuous strip of footage. Instead of opening a clip, watching it, closing it, and opening the next one, you scrub a single timeline that contains all of them back to back.
Blackmagic describes the payoff plainly on its own Cut page: "Simply scroll your media, find a shot you like, then edit it into the timeline! Plus it won't switch to the timeline after an edit, so you can keep scrolling the source tape and adding shots you like to the timeline," according to the official Cut page. That second sentence is the detail most tutorials skip past, and it's the one that actually changes how you work: a normal edit interrupts your browsing to show you the timeline. Source Tape refuses to interrupt you.
Under the hood it's simpler than it looks. Resolve concatenates the clips in your active bin and treats the result as a single virtual source clip. Scrubbing across a clip boundary in the tape feels identical to scrubbing across a cut point inside one clip. The Media Pool highlights whichever clip currently sits under your playhead, so you always know what you're looking at without leaving the Viewer.
Source Tape doesn't create a new file or a new sequence. It's a live, temporary view built from whatever's in the bin you've selected, and it updates the moment that bin's contents change. Add a clip to the bin while Source Tape is open and it appears in the tape. Remove one and it's gone. Nothing about the underlying media or the Media Pool structure changes because you scrolled through it this way.
How do you turn on Source Tape mode on the Cut page?
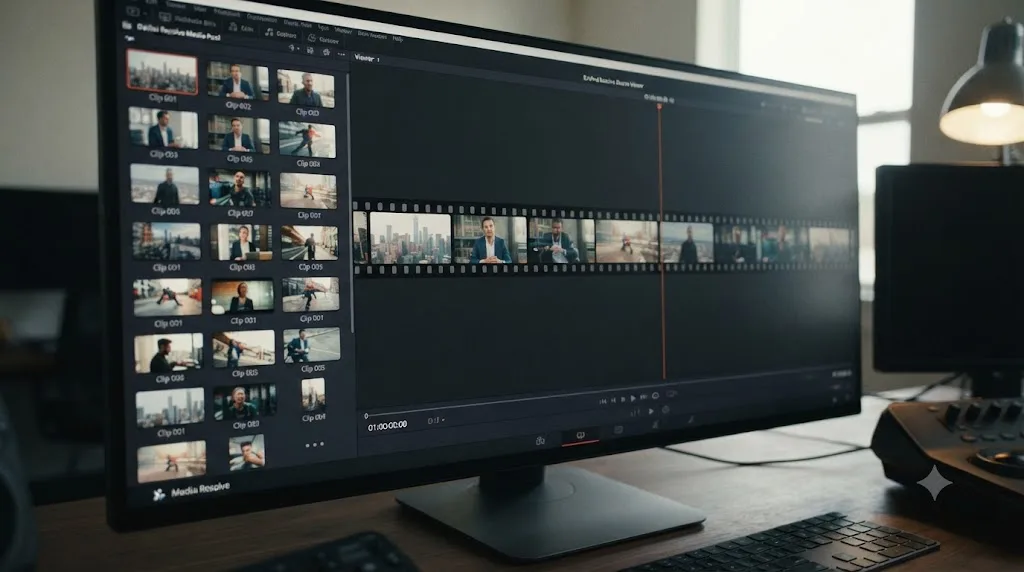
Click the Source Tape icon, a small filmstrip symbol at the top left of the Viewer, sitting between the Source Clip and Timeline view icons. On the Cut page you can also press Shift+3, according to a current DaVinci Resolve shortcuts cheat sheet from Pixflow, which skips the mouse entirely once you've built the habit.
Before you click anything, make sure the right bin is active in the Media Pool. Source Tape only loads whatever bin is currently selected, not your whole project and not a Smart Bin unless that Smart Bin is the one you clicked. This trips people up constantly: they expect Source Tape to show every clip in the project, click the icon, and see three clips instead of three hundred, because the bin they had selected wasn't the one they meant to browse.
Once Source Tape is active, the Viewer's timeline bar represents the entire concatenated tape rather than a single clip. Drag the playhead and you'll feel clip boundaries as the image and audio change, with a small tick mark in the scrub bar at each cut point. That's your only visual cue that you've crossed from one file into the next unless you're also watching the Media Pool's highlight.
The Cut page ships a dedicated "DaVinci Resolve Cut" keyboard preset that remaps a handful of keys around exactly this workflow, according to our complete keyboard shortcuts guide. If Shift+3 or another Cut-specific shortcut doesn't respond, check which preset is active in Keyboard Customization before assuming something's broken.
What changed with Source Tape in DaVinci Resolve 20 and 21?
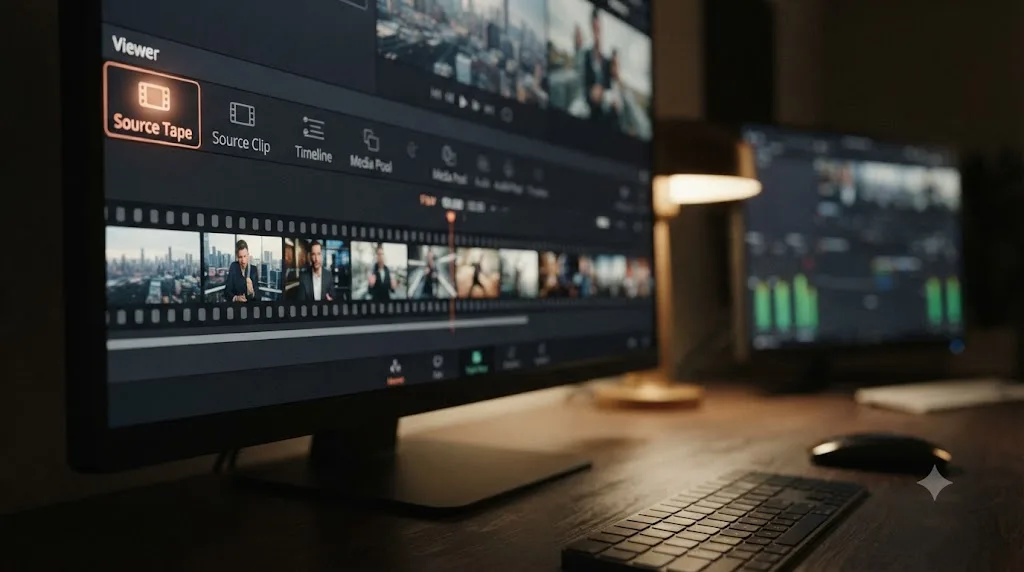
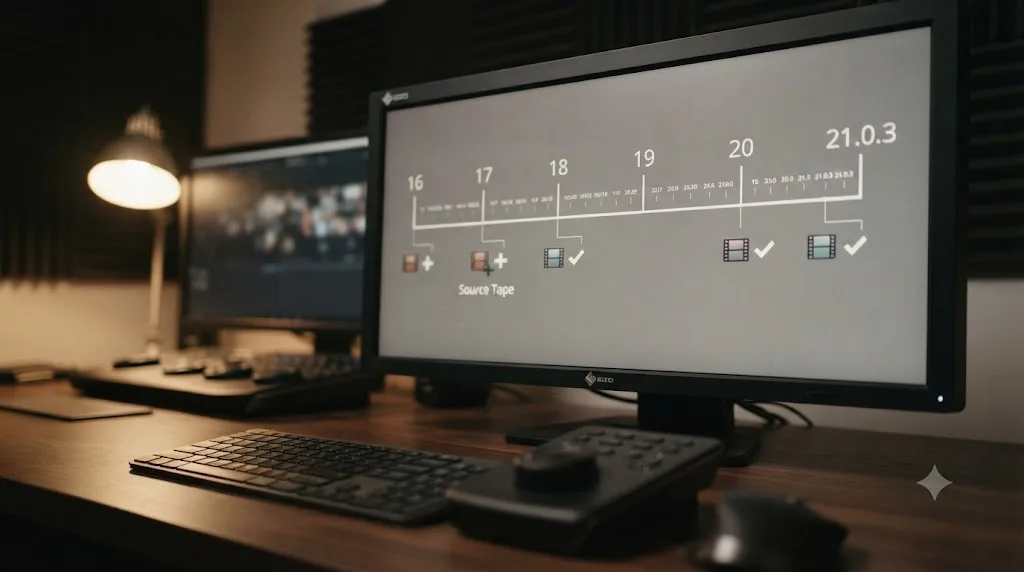
Source Tape stopped being Cut-page-only in DaVinci Resolve 20, released free on May 28, 2025. Before that release, if you wanted the continuous-scroll browsing behavior, you had to be on the Cut page. Resolve 20's Edit page release notes list "Support for source tape" directly, according to No Film School's coverage of the update, which also notes the practical upside: "the source tape function is also available on the edit page now, so you could start with source tape to pull selects on one timeline and use source timeline to go from there."
That's a bigger deal than a single feature checkbox. It means an editor who lives on the Edit page, the deep track stack, the full Inspector, the Effects Library, never has to detour through Cut just to get Source Tape's scroll-and-mark browsing. You get the fast-preview workflow and the full editing toolkit in the same window.
DaVinci Resolve 21, released free on June 3, 2026, didn't touch Source Tape's core behavior directly, according to Blackmagic's own What's New page, but it did add Smart Bins and quick-access bin creation to the Cut page's bin list dropdown, plus a Sync Bin with multiview for ATEM Mini ISO live-production projects. Both changes make it easier to get the right footage into the bin you're about to scroll through, which is the step that determines how useful Source Tape is for that session.
A feature this old, first shipping in DaVinci Resolve 16 back in April 2019, gained a second home on the Edit page six years later. That's not Blackmagic quietly deprecating it. It's the opposite: Source Tape earned enough daily use on Cut that Blackmagic extended it rather than let it stay a Cut-only curiosity.
The most recent point release, DaVinci Resolve 21.0.2 on July 1, 2026, is worth knowing about specifically because it touched Source Tape's reliability. Blackmagic's patch notes for that update address "inconsistent selection of source tape," according to Newsshooter's coverage. If you were on an earlier 21.0.x build and noticed the tape sometimes selecting the wrong clip or losing your mark points, that specific bug is what got fixed. The following release, 21.0.3 on July 21, 2026, added keyframe ease actions, a legacy speed mode retime option, and codec fixes, but no further Source Tape changes, per Newsshooter's write-up of that update.
| Version | Release date | What changed for Source Tape |
|---|---|---|
| DaVinci Resolve 16 | April 2019 | Source Tape introduced, Cut page only |
| DaVinci Resolve 20 | May 28, 2025 | Source Tape added to the Edit page |
| DaVinci Resolve 21.0 | June 3, 2026 | No direct Source Tape change; Cut page Smart Bins and Sync Bin multiview added |
| DaVinci Resolve 21.0.2 | July 1, 2026 | Fixed inconsistent source tape clip selection |
| DaVinci Resolve 21.0.3 | July 21, 2026 | No further Source Tape change (retime and codec fixes) |
If you're troubleshooting odd Source Tape behavior on an older build, updating to at least 21.0.2 is the first thing to try before you assume your project or your footage is the problem.
Is Source Tape available in the free version of DaVinci Resolve?
Yes, on both pages, with no watermark and no time limit. Cut, Edit, Color, Fairlight, Fusion, Deliver, and the newer Photo page are all included in the free version, according to Blackmagic's own product page, and Source Tape isn't gated behind Studio on either page it appears on.
That's worth stating plainly because Resolve's free-versus-Studio split trips people up constantly, and the pattern isn't obvious from outside: Studio's exclusive features cluster around AI-driven Neural Engine tools (Magic Mask, Speed Warp, some IntelliSearch functions), HDR grading (Dolby Vision, HDR10+ authoring), and higher delivery resolutions and frame rates. Everyday editing tools like Source Tape, the Sync Bin, Smart Bins, and the core trim and insert commands ship free because Blackmagic's business model runs on hardware and Studio licenses, not on gating the editor itself.
If you're brand new to Resolve and haven't installed it yet, our complete beginner's guide walks through the download, first project settings, and which of the seven pages to learn first. Nothing in this Source Tape guide requires anything beyond that free download.
How do you turn on Source Tape mode on the Edit page?
Select a bin in the Media Pool the same way you would on Cut, then click the Source Tape icon in the Edit page's Viewer. The icon sits in the same relative position, top left of the Viewer, among the view-mode options.
The Edit page doesn't ship a dedicated default keyboard shortcut for Source Tape the way Cut's Shift+3 does, since the feature arrived there later, as a Resolve 20 addition rather than part of the page's original design. If you want a one-key toggle on Edit, open Keyboard Customization (Ctrl+Alt+K on Windows, Cmd+Option+K on Mac), search for the Source Tape command under the Edit page's command list, and bind whatever key you'd rather use. Save it as a named preset so an update doesn't wipe the binding.
Once Source Tape is active on Edit, everything downstream works the same as on Cut: scrub or shuttle with J/K/L, mark in and out points with I and O, and insert the marked range onto your timeline. The difference is what surrounds it. Edit gives you the full Inspector for adjusting whatever you just placed, the complete Effects Library for titles and transitions, and explicit editing modes (Insert, Overwrite, Replace, and the rest) instead of Cut's one-click Smart Insert. Our full comparison of the Cut and Edit pages covers those structural differences if you're still deciding which page to make your default home.
Because Cut and Edit read from the same project database, a Source Tape selection you start on one page doesn't need to finish there. Pull selects fast on Cut, switch to Edit, and the timeline you built is sitting there exactly as you left it, ready for the deeper tools Cut doesn't have.
Does Source Tape exist on the Color, Fairlight, or Fusion pages?
No. Source Tape is a Viewer feature that belongs to the Cut and Edit pages specifically, according to Blackmagic's own descriptions of the Cut and Edit pages, neither of which appears on the Color, Fairlight, Fusion, or Deliver pages. Each of those pages solves a different problem than "browse a pile of raw clips fast," and none of them ship an equivalent continuous-scroll tool.
Color's closest relative is the Gallery, which stores still frames and PowerGrades, not a scrollable strip of source footage. You still browse clips on Color through the timeline strip at the bottom of the interface, one clip at a time in the order they already sit on your edit, which is a fundamentally different job: Color assumes you've already made your editorial decisions and is helping you grade what's left, not helping you find what to use in the first place.
Fairlight has no Source Tape equivalent either. Audio review on that page happens through the Mixer, the waveform tracks, and standard Media Pool browsing, none of which concatenate clips into one scrubbable tape the way Source Tape does on Cut and Edit. If you're hunting through raw production audio for a usable take, you're better off doing that hunt on Cut or Edit before you ever open Fairlight, then bringing the selects you've already marked into the audio mix.
Fusion works at the node level inside a single clip or composition, so the entire concept of "browsing a bin of separate source clips" doesn't really apply there. You open one clip's Fusion page to comp it; Fusion isn't built to scroll past the next forty clips looking for a better one.
If you're deep in a grading, mixing, or compositing session and realize you need to hunt for a different shot, Source Tape can't help you from where you're standing. You have to switch back to Cut or Edit, browse there, and then return to the page you were working on, which is one more reason it pays to do your rough selects with Source Tape before you ever open Color, Fairlight, or Fusion for a project.
How do you edit with Source Tape mode, step by step?
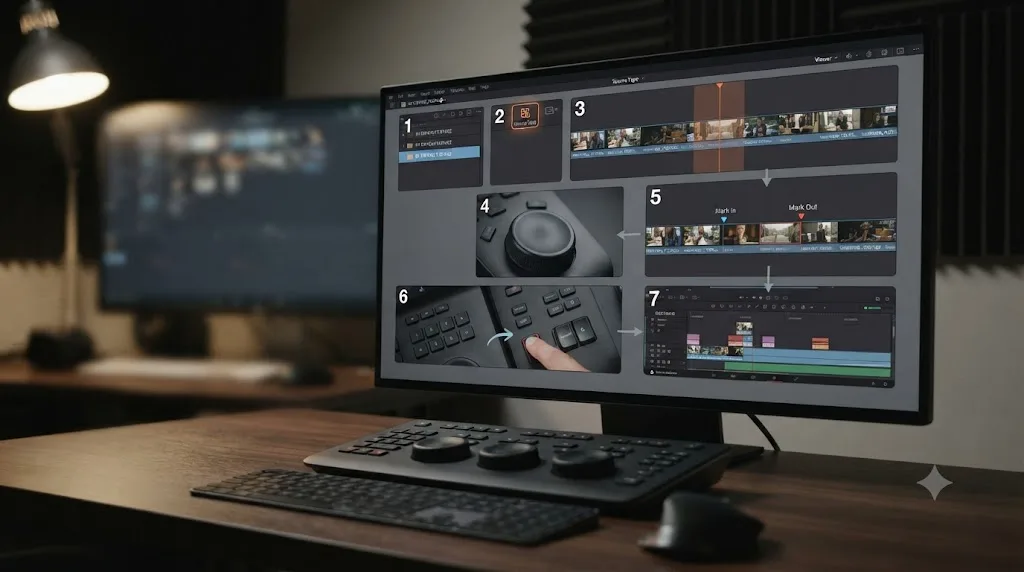
Here's the full workflow from an empty timeline to a placed clip, on either page.
- Select a bin in the Media Pool. Source Tape only loads the clips inside whichever bin is currently active. Pick the one that holds the footage you want to browse before you do anything else.
- Turn on Source Tape mode in the Viewer. Click the filmstrip icon at the top left of the Viewer, or press Shift+3 on the Cut page. Every clip in the bin now plays as one continuous strip.
- Scrub or shuttle through the tape. Drag the playhead across the Viewer's timeline bar, or use J, K, and L to shuttle backward, pause, and forward, speeding up with repeated presses. The Media Pool highlights whichever clip currently sits under the playhead.
- Mark an in point and an out point. Press I to mark where the shot starts and O to mark where it ends, or press X to mark the clip's full in and out points in one step, a shortcut listed in current Cut page shortcut references.
- Place the marked section on the timeline. Press F9 for a Smart Insert on the Cut page, or use the matching Insert/Overwrite command on Edit, and Resolve drops just the marked range onto your timeline at the playhead position.
- Keep scrolling without leaving the tape. Resolve doesn't cut over to the timeline view after the edit lands. You stay in Source Tape, ready to mark the next selection immediately.
- Switch pages any time. Since Cut and Edit share the same project data, you can pull selects fast in Source Tape on one page and finish trimming, titling, or color adjustments on the other without losing your place.
That loop, scrub, mark, insert, keep scrolling, is the entire reason Source Tape exists. Every other Media Pool browsing method interrupts it at least once per clip.
How does Source Tape compare to browsing the Media Pool normally?
Differently enough that the choice between them should depend on your footage, not habit. Here's the full comparison.
| Source Tape | Media Pool (thumbnail/list view) | |
|---|---|---|
| Browsing motion | Continuous scroll across all clips in a bin | Click or double-click individual clip thumbnails |
| Setup required | None; works on any bin as-is | Rewards prior organization: bins, Smart Bins, keyword tags |
| Best footage size | Small to moderate, roughly a few dozen clips | Any size, especially large or multi-day shoots |
| Marking clips | I/O or X while scrubbing, without leaving the Viewer | Open a clip, mark in/out, close, repeat per clip |
| After an edit lands | Stays in Source Tape, ready for the next mark | Returns to whichever view you were in |
| Filtering by metadata | Not built in; you see the whole bin in order | Full support via Smart Bins and column search |
| Learning curve | Immediate; no bin structure to learn first | Rewards a filing system you set up ahead of time |
The source tape rewards a small, unsorted pile of footage, and the Media Pool rewards a large, organized one. Forty clips scroll comfortably in a Source Tape session. Four hundred clips across a multi-day shoot don't, and that's exactly the situation Smart Bins and keyword tagging were built to handle instead.
If you already know you're facing a big archive, spend the ten minutes building bins and tags before you touch Source Tape at all. If you just imported a card from a single afternoon's shoot and want to start cutting now, skip the filing step and scroll.
How do you navigate Source Tape with a mouse, trackpad, or Speed Editor?
All three work, and each changes the feel of the same underlying tool.
With a mouse, drag the playhead directly across the Viewer's scrub bar for coarse scanning, or use J/K/L for controlled, speed-ramping playback. Larry Jordan, a longtime Apple- and Adobe-certified trainer who has taught editing software since before Resolve existed, called this one of "the VERY cool review features" in Resolve, adding that "you can then quickly skim every clip by dragging the playhead through the Viewer timeline," and summarizing it as "the speed benefit of editing clips from the Source Tape window," according to his own writeup of the Cut page.
With a trackpad, two-finger scrubbing across the Viewer works the same as a mouse drag, and Space still starts and stops playback from wherever the playhead sits, so you don't need a mouse at all for a full Source Tape session on a laptop.
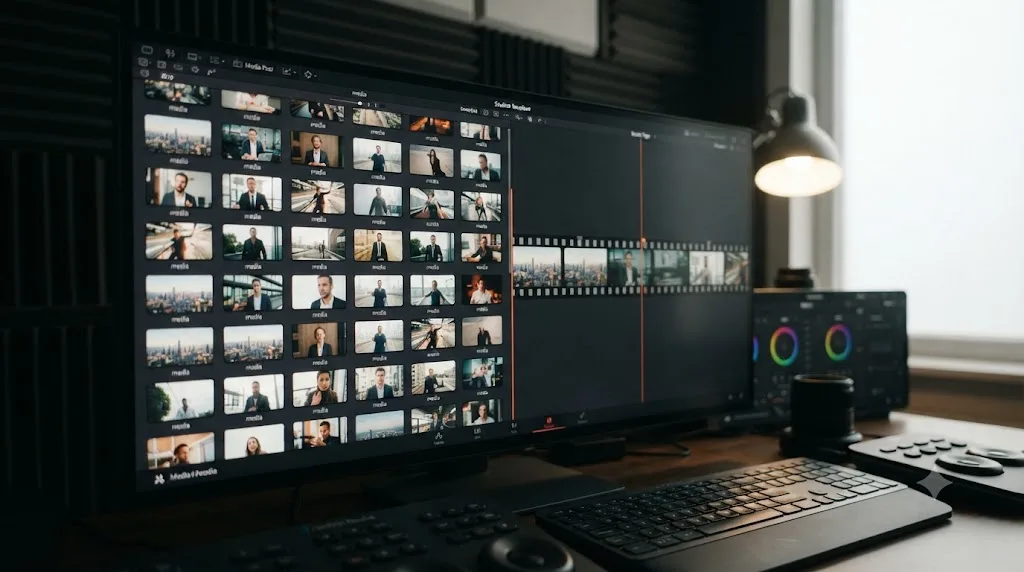
With a Speed Editor or Editor Keyboard, Blackmagic's dedicated hardware panels, the search dial takes over scrubbing entirely. Scott Simmons, reviewing the Speed Editor for ProVideo Coalition, described the two-handed rhythm this way: "your right hand can operate the Search Dial and toggle between the SOURCE media and the TIMELINE while the left-hand marks IN/OUT points." That's the workflow the hardware was built around, search dial for motion, keyboard buttons for marks, and it mirrors the two-handed feel of a physical tape deck more closely than a mouse ever will.
None of that hardware is required. Every Source Tape function works identically with a keyboard and mouse; the panels remove steps for editors who cut enough hours per week to feel the difference. Blackmagic sells the Speed Editor at $435 and the Editor Keyboard at $669, according to its own keyboard product page, and neither is a requirement to use anything covered in this guide.
What's the difference between Source Tape and the Sync Bin?
Source Tape plays every clip in a bin end to end for browsing and marking. Sync Bin, a separate Cut page tool, does something narrower: it shows only the clips synced to your current timeline position, built specifically for grabbing a cutaway or a second angle without hunting through a full multicam clip.
Think of the split this way: Source Tape answers "what footage do I have in this bin, and which part of it do I want?" Sync Bin answers "what else was happening at this exact moment on the timeline, and which of those angles do I want to cut to right now?" They solve adjacent but different problems, and a project with multiple synced cameras typically uses both, Source Tape for the initial rough assembly and Sync Bin once you're refining specific moments.
Neither replaces true multicam editing. For projects with three or more synced cameras that need live switching across a full grid, the Edit page's dedicated multicam viewer is the right tool, not Source Tape or Sync Bin. Resolve 21 extended Sync Bin specifically for live-production ATEM Mini ISO imports, adding a multiview option so you can fine-tune edits from the original broadcast, according to Blackmagic's What's New page, which shows Blackmagic is still actively developing this corner of the Cut page rather than treating it as finished.
Source Tape browses a pile of footage. Sync Bin browses a moment in time. Confusing the two is the single most common mistake new Cut page users make.
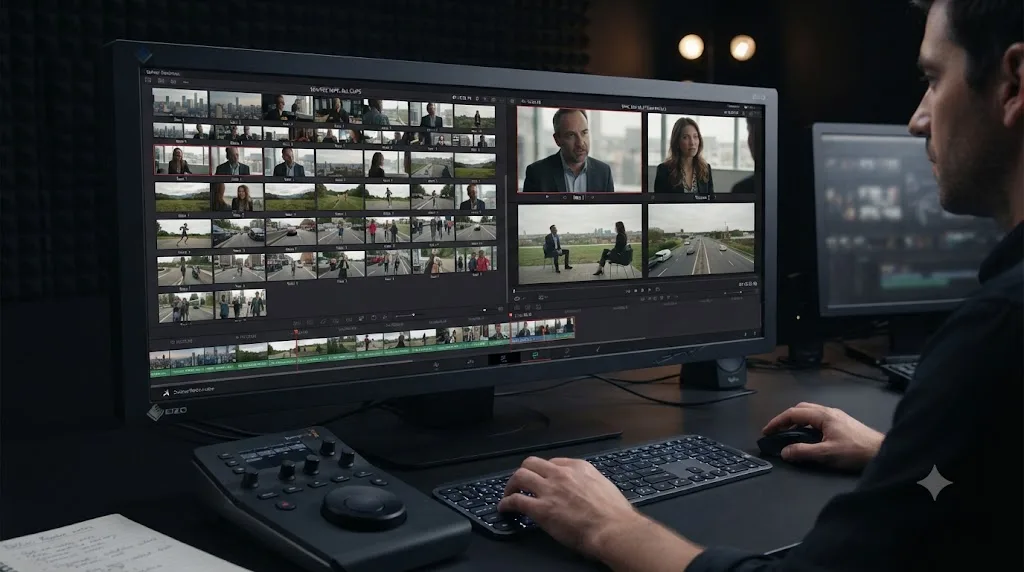
Does Source Tape work with multicam clips, compound clips, or subclips?
Partially, and it's worth knowing the rough edges before you rely on it for a multicam project. Editors troubleshooting this on Blackmagic's official user forum report that a bin holding multicam (multisource) clips shows an angle number in the corner of each clip inside Source Tape, and you can step into a specific angle to edit from just that camera, according to a Blackmagic Forum thread on Source Tape and multisource observations. Cutting straight from a multisource tape into a timeline can also produce what looks like an automatically generated compound clip grouping the angles together, which surprises editors who expected a flat cut rather than a nested group.
Compound clips and regular subclips behave more predictably: they play in the tape like any other clip, since Source Tape doesn't distinguish a compound clip from a standard camera file, it just treats whatever's in the bin as another piece of the concatenated strip. If a compound clip contains its own internal edits, scrubbing across it in Source Tape plays through that internal timeline exactly as it was cut.
The practical takeaway: Source Tape is a solid rough-assembly tool even on a bin that mixes multicam and regular clips, but if a project's core work is multicam switching rather than rough assembly, do that switching on the Edit page's dedicated multicam viewer, not by scrubbing multisource clips inside a Source Tape session. Source Tape is for finding and marking footage, not for the frame-accurate angle-switching decisions a real multicam cut needs.
If multicam sync is the actual problem you're chasing rather than rough assembly, that's a separate troubleshooting path entirely. Our guide to multicam clips syncing off by a few frames covers audio-based resync fixes that Source Tape has no part in. And if you're deciding whether that unexpected grouped clip belongs on your timeline as a compound clip or should be broken back out into a nested timeline, our comparison of compound clips vs. nested timelines walks through when each container is the right call.
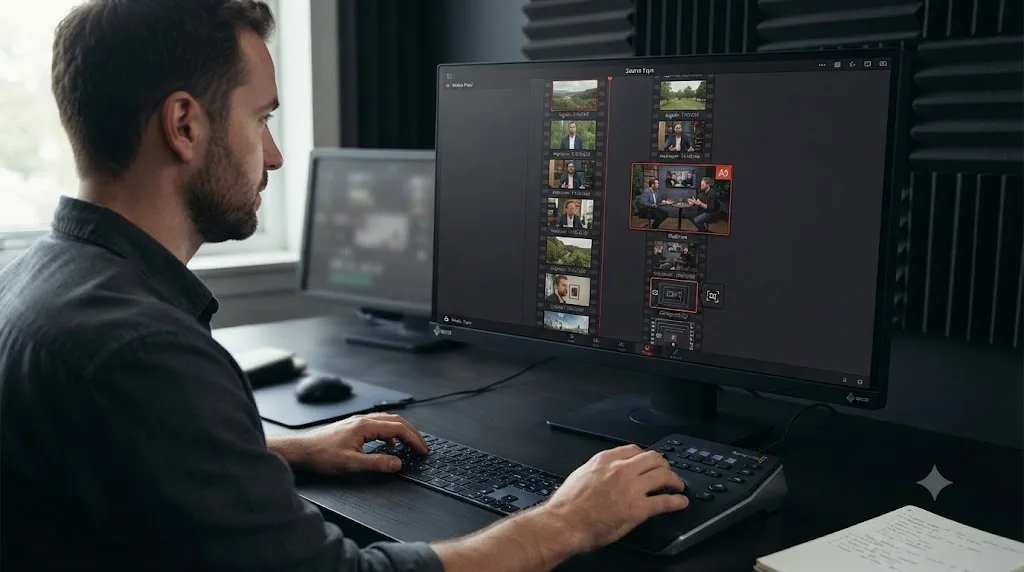
What happens with offline media, mixed frame rates, or audio-only clips in Source Tape?
Three edge cases account for most of the "why does my Source Tape look wrong" confusion that isn't covered by the bin-selection mistake above. None of them are things we've stress-tested clip by clip ourselves, so treat the framing here as informed by how Resolve's Viewer generally behaves, plus what other editors have reported, rather than a lab result.
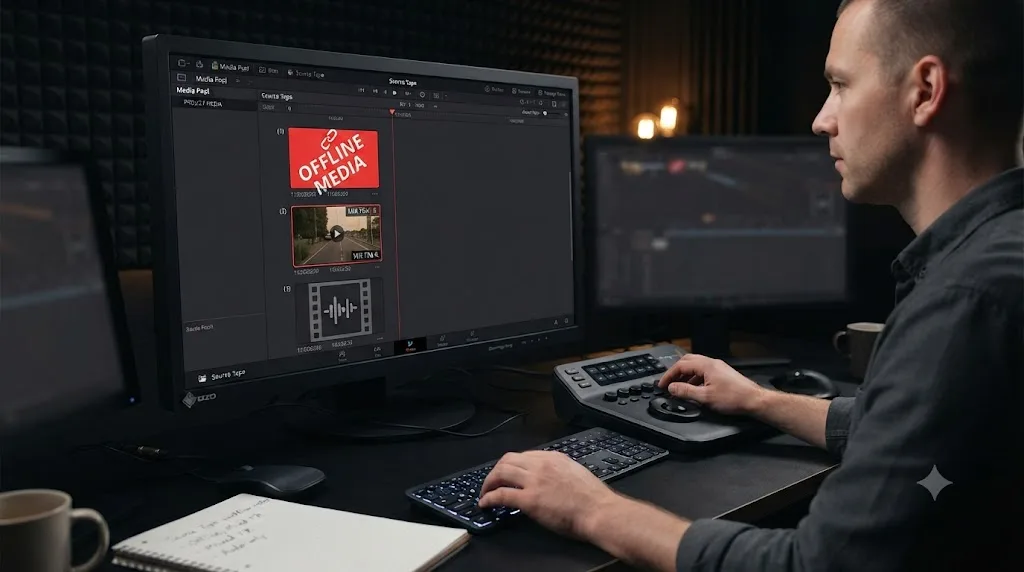
Offline or missing media. Source Tape doesn't have its own separate rendering path. It's the same Viewer engine that plays back everything else in Resolve, just fed a concatenated bin instead of a single clip. So when a clip in your bin is offline, because a drive disconnected, a file got moved, or the original was deleted, you'll see the same red "Media Offline" placeholder scrubbing through it in Source Tape that you'd see anywhere else in the app. Our full breakdown of every cause of a Media Offline error covers the fixes; nothing about being inside a Source Tape session changes which of those fixes applies.
Mixed frame rates or resolutions in the same bin. Resolve supports mixed frame rate and mixed resolution material at the project level, with a dedicated "Mixed frame rate format" option in Master Project Settings for reconciling footage shot at different rates, according to Blackmagic's own reference manual coverage of mixed frame rates. What that means practically inside Source Tape: if your bin mixes, say, 24fps interviews with 60fps slow-motion b-roll, expect the tape to play each clip at its own native rate as you cross the boundary between them, the same way any source viewer in Resolve handles a single clip's native frame rate. If you notice a clip suddenly looking sped up or slowed down as you scrub past a boundary, that's very likely a frame rate mismatch rather than a Source Tape bug. If a clip on your actual timeline (not just in the source tape) is playing at the wrong speed, our guide to clips playing too fast because of a wrong frame rate covers the project and clip settings that fix it.
Audio-only clips. This one's a genuine limitation, not just a settings mismatch. Editors on Blackmagic's own forum report that Source Tape can skip audio-only files sitting in an otherwise normal bin, even though those same files show up fine in the regular Media Pool, according to a Blackmagic Forum discussion on Source Tape and audio files. Blackmagic hasn't documented this as intended behavior anywhere we could find, so it reads like an unaddressed gap rather than a design choice. The workaround is simple: if a bin mixes video and standalone audio (a separate field recorder track, for instance), browse that bin's audio files in the normal Media Pool list view instead of trusting Source Tape to include them.
A bin's Source Tape session is only as complete as the bin itself, and three specific gaps, offline placeholders, native-rate playback across mixed footage, and dropped audio-only files, are the ones worth checking before you assume a clip is simply missing. None of them mean the underlying media is gone. They mean Source Tape is showing you exactly what it's built to show you, which isn't always the whole picture.
What order does Source Tape play your clips in?
Whatever order the bin is currently sorted in, not the clips' original camera timecode. If your Media Pool bin is sorted by name, Source Tape plays clips in that same name order. Sort the bin differently, by date, by duration, by a custom column, and the tape reorders to match before you even reopen it.
This matters more than it sounds like it should. Editors expecting Source Tape to play back in chronological shooting order, the order the clips actually happened on set, are sometimes surprised to find it following alphabetical filename order instead, especially with camera files that don't name themselves sequentially. If chronological order matters for a session, sort your bin by date or timecode before opening Source Tape, not after you notice the tape looks scrambled.
Bins in Resolve are also flat containers, not automatically recursive folders. Standard bin browsing shows only what's directly inside the bin you've selected, and reaching across subfolders requires a Smart Bin scoped to pull from multiple locations rather than a parent bin automatically including its children, based on how Resolve's Media Pool hierarchy is described in its own reference manual coverage of organizing media into bins. Source Tape inherits that same flatness: select a parent bin with three subfolders underneath it, and the tape shows whatever sits directly in the parent, not everything nested inside those subfolders. If you want one scrollable tape covering a multi-day shoot's worth of subfolders, build a Smart Bin filtered by date range or shoot day and open Source Tape on that instead of the parent folder.
Source Tape doesn't know or care what your clips are about. It only knows the order the bin is sorted in, so the sort column you pick before opening it is the only ordering control you actually have. Get that column right first and the rest of the session goes the way you expect.
Is Source Tape mode actually worth using, or is it outdated?
Depends who you ask, and the honest answer is that both camps are right about different footage.
Lewis McGregor, a certified DaVinci Resolve trainer who reviewed the Cut page for PremiumBeat shortly after its 2019 release, landed on the skeptical side: "I do feel like this is an archaic feature, and in reality, you're going to be spending more time trying to find the clip in the hours of material than just searching for it in the media pool." He's describing exactly the failure mode covered above: Source Tape on a large, unsorted archive, where scrolling genuinely does lose to a metadata search. McGregor did note one thing that still holds true today: "when you're using the source tape display, it intuitively highlights the current clip in the media pool," which makes it easier to jump back to normal browsing once you've spotted something.
Larry Jordan's take, quoted above, lands closer to enthusiastic. Arthur Ditner, writing for OWC's blog, demonstrated the practical payoff with a real example: he scrubbed through 19 clips totaling 4 minutes of footage and cut them down to 4 clips and 40 seconds using Source Tape, marking selects with X and inserting with F9 the whole way through, without ever leaving the tape view.
The throughline across all three opinions, one skeptical, two enthusiastic, is that they're not actually disagreeing about what Source Tape does. They're describing different footage volumes. On a handful of clips from one shoot, Source Tape is the fastest browsing tool in Resolve. On a sprawling multi-day archive, it becomes the slow option McGregor described, and a properly tagged Media Pool wins outright.
This is also one of the recurring questions in our 100,000+ member editing community: whether Source Tape is worth learning at all, given how much YouTube and LinkedIn Learning content already covers it in video form. Casey Faris has taught it as part of his CreativeLive course on every Resolve page, and Blackmagic runs its own free, certified trainer network that covers Cut page workflows in its editing track. That existing coverage is real and worth watching if you learn better by video. What's been missing, and what this page is built to be, is a clean text reference you can scan once instead of scrubbing through a 20-minute video to find the one setting you forgot.
A tool that's the fastest option on Monday's small shoot and the wrong option on Thursday's four-day archive isn't inconsistent. It's doing exactly what it was built for on both days.
How do you use Source Tape for a real B-roll edit?
Here's a worked example that mirrors the kind of session Source Tape was actually designed for: a single afternoon's b-roll, unsorted, no time to tag it before you cut.
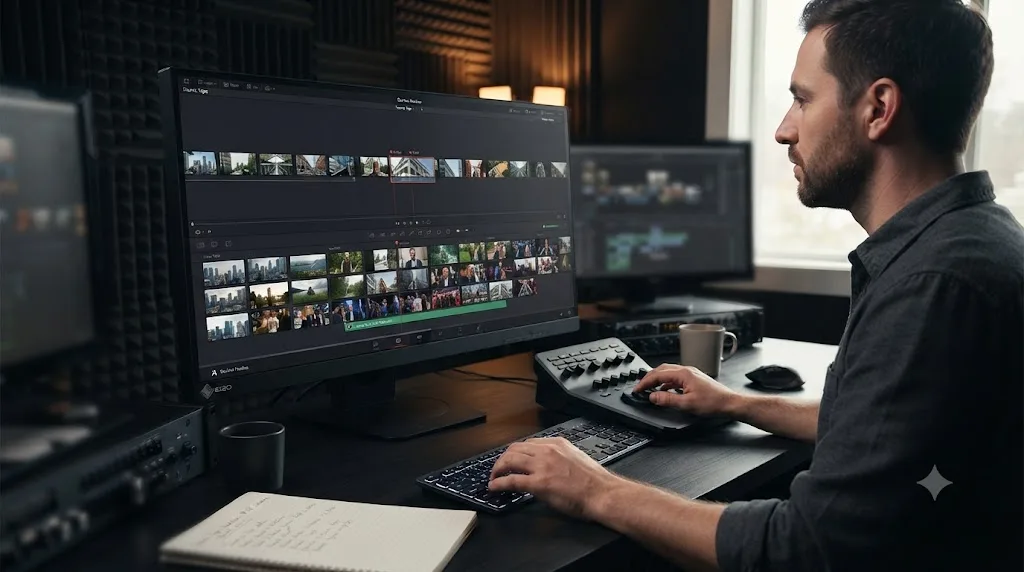
Start by importing your card into a single bin, no subfolders yet. Select that bin in the Media Pool, switch the Viewer to Source Tape, and do one full pass with L held down at 2x or 4x speed just to see everything once. Don't mark anything on this pass. You're building a mental map of what's on the card.
On the second pass, slow down to normal playback speed and start marking. Press I at the start of a usable shot, O at the end, and F9 to Smart Insert it onto your timeline. Because Source Tape doesn't cut over to the timeline after the edit lands, your next move is just to keep scrubbing forward from wherever your playhead already sits, no re-navigation required.
This is close to the exact workflow Ditner described in his OWC walkthrough: starting with a pile of clips, marking selects with X instead of separate I and O presses when a whole clip is usable, and inserting each one with F9 without a single detour through the Media Pool grid. His result, cutting 19 clips down to 4 usable selects in a few minutes of scrubbing, is a realistic expectation for a session like this, not an outlier.
Where this breaks down: if your b-roll spans more than one card or more than one day, stop and build at least basic subfolders before you start Source Tape scrubbing. A tape that spans 300 clips from three shoot days is unpleasant to scrub past the first fifty, and you'll lose more time re-scrubbing for a shot you remember seeing than you'd have spent tagging clips up front.
How would you use Source Tape to review dailies from a scripted, multi-take shoot?
Scripted footage is its own category, separate from both loose b-roll and interview soundbites, because the thing you're comparing isn't different shots, it's different attempts at the same shot. A wide, a medium, and a close-up of the same line, each shot three or four times, all sitting in one setup's bin. Source Tape can still help here, but the technique shifts.
Organize by setup, not by scene. A bin named for "Scene 4A, wide" holding just that angle's takes scrolls far more usefully in Source Tape than a bin holding an entire scene's coverage across three camera positions, because you're making one decision at a time, best take of this specific angle, rather than trying to hold four angles' worth of takes in your head simultaneously.
Name your files with a consistent scene, setup, and take number before you touch Source Tape. Remember, the tape plays in whatever order the bin is sorted, not shooting order, so "Scene4A_Wide_Take01," "Scene4A_Wide_Take02," and so on sorted by name will play back in take order, which is exactly what you want when comparing performances. A bin full of camera-default filenames like "A001_C003" scrambles that comparison the moment you sort by name instead of date.
Scrub each take at close to normal speed rather than the fast J/K/L pass you'd use on b-roll. Performance nuance, a line reading, a reaction, a piece of blocking that lands differently, doesn't survive a 4x scrub the way a visual b-roll shot does. This is closer to the interview workflow below than the b-roll one, in that pace matters more than volume.
Here's where dailies review actually diverges from both other worked examples: you often shouldn't commit a take to the timeline the moment you like it. Unlike b-roll, where F9 straight to the timeline is fine because you're building a rough assembly as you go, a scripted scene usually needs every setup's best take chosen before the scene assembly makes sense as a whole. Marking a clip with a color flag (right-click the clip, or the highlighted clip in the Media Pool, and choose a flag color) while staying inside Source Tape gives you a "maybe" pile you can reconsider once you've seen every angle, without prematurely building a timeline around a take you might replace an hour later. Save the F9 inserts for once you've actually decided the scene's cut order.
The payoff scales with how many takes a production shoots. A single-camera scripted short with three takes per setup turns Source Tape into a fast side-by-side comparison tool almost by accident: scrub past take one, past take two, straight into take three, and the difference in a performance is obvious in a way that opening three separate clip windows never quite is.
How would you use Source Tape for a documentary interview or talking-head shoot?
Interview footage is a different problem than b-roll, and Source Tape handles it differently too. Where b-roll rewards a fast, high-speed first pass, an interview rewards slowing down, because the thing you're hunting for is a specific sentence buried inside a long, mostly unremarkable take, not a visually obvious shot.
Put each subject's takes in their own bin rather than mixing interviewees together. Open Source Tape on one subject's bin and scrub at normal speed, not 2x or 4x, since dialogue is much harder to parse sped up than motion is. When you hit a usable soundbite, mark it with I and O around just the sentence or two you need, not the whole take, then F9 it onto a rough-assembly timeline you're using purely to collect candidate soundbites before you build a real edit order.
This is where Source Tape's "it won't switch to the timeline after an edit" behavior earns its keep the most. An interview session might involve marking twenty or thirty short soundbites out of forty minutes of raw dialogue, and if each one bounced you to the timeline and back, that's twenty or thirty unnecessary context switches. Staying inside the tape the whole session is a real time saver here, more than it is on a shorter b-roll pass.
One limitation worth flagging: Source Tape has no built-in transcript search. If a subject talked for two hours and you're hunting for one specific phrase, scrubbing by ear through Source Tape is slower than a transcript-based search would be, and Resolve's IntelliSearch and Smart Bins with metadata filters are better suited to that specific job. Source Tape is for browsing footage you're willing to listen to in order. It's not a search tool, and treating it like one on long-form interview footage is where the "archaic" criticism lands hardest.
Does Source Tape play back proxy or optimized media, or only full-resolution files?
Whatever your project's current playback setting has active, Source Tape doesn't have a setting of its own. If Proxy Media or Optimized Media is enabled and available for the clips in that bin, Source Tape scrubs the lighter proxy or optimized version, exactly as the Timeline view would. If neither is set up, it plays the full-resolution originals, decoding every frame in real time as you scrub.
That distinction matters because Source Tape's whole value proposition is fast, continuous scrubbing, and scrubbing is one of the most decode-intensive things you can ask a computer to do with heavy 4K or RAW footage. Proxy Media creates separate, lower-resolution sidecar files (commonly DNxHR LB or ProRes Proxy) you can scrub smoothly and later swap back to originals before export. Optimized Media does something similar but stores the transcoded files inside Resolve's own project cache instead of as portable files, per the DaVinci Resolve reference manual's comparison of proxy media and other playback optimizations.
If Source Tape stutters or drops frames on heavy footage, that's not a Source Tape bug. It's the same decode bottleneck that would slow down any Viewer scrubbing in Resolve, and the fix is the same one you'd apply anywhere else: generate proxies for that bin, or turn on Optimized Media, before you start a long scrubbing session. Our proxy media setup guide covers the exact resolution and codec settings that make the biggest difference on underpowered hardware, if scrubbing anywhere in Resolve, Source Tape included, currently feels sluggish on your machine.
What are common Source Tape problems and how do you fix them?
Seven issues account for most of the confusion editors report with Source Tape, and each has a specific, checkable cause.
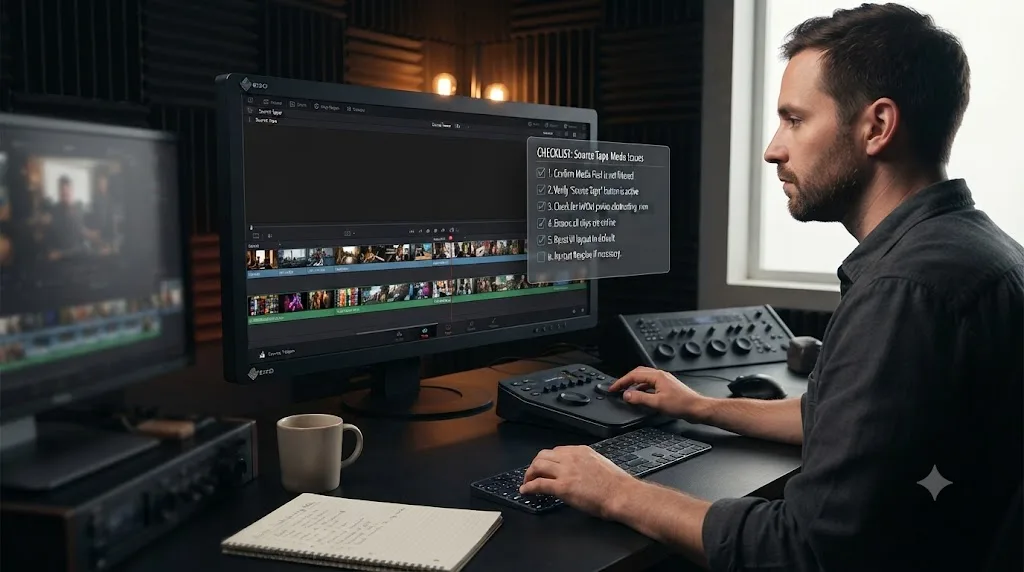
Source Tape shows the wrong clips, or too few. You have the wrong bin selected in the Media Pool, or you're inside a Smart Bin whose filter is excluding footage you expect to see. Click the specific bin that holds the clips you want before opening Source Tape, not a parent folder or a Smart Bin unless that's genuinely the set you meant.
Clip selection behaves inconsistently, marks land on the wrong clip, or a selection seems to jump. This matches a bug Blackmagic addressed directly. DaVinci Resolve 21.0.2, released July 1, 2026, fixed "inconsistent selection of source tape," according to Newsshooter's coverage of that update. If you're on an earlier 21.0.x build, update before troubleshooting further.
A Cut-specific shortcut like Shift+3 doesn't respond. Check which keyboard preset is active in Keyboard Customization. The "DaVinci Resolve Cut" preset maps Shift+3 to Source Tape; the default "DaVinci Resolve" preset, which some editors run even on Cut, may not carry the same binding, according to our keyboard shortcuts reference.
Scrubbing feels sluggish on high-resolution footage. As covered above, Source Tape still has to decode whatever codec your clips use, frame by frame, as you scrub. If you're working with heavy 4K or RAW footage and the tape stutters, generate proxy or optimized media for that bin before you start scrubbing, rather than treating it as a Source Tape-specific setting.
Clips play in an unexpected order. Source Tape follows the Media Pool bin's current sort order, not camera timecode or shoot chronology, and it only reads the selected bin's direct contents, not nested subfolders. Sort the bin by date or timecode first if session order matters, and use a Smart Bin instead of a parent folder if you need subfolders included.
You can't find Source Tape on the Edit page at all. Confirm your version. Source Tape only exists on Edit starting with DaVinci Resolve 20, released May 28, 2025. If you're running an older build, the icon simply isn't there yet, and updating is the only fix.
Source Tape skips audio-only clips in a bin. If a bin mixes video and audio-only files, the Source Tape scroll can silently leave the audio-only files out even though they're valid clips sitting right there in the Media Pool, a limitation raised by editors on Blackmagic's own forum, according to a Blackmagic Forum discussion on Source Tape and audio files. Blackmagic hasn't documented this as expected behavior, so treat it as a known limitation rather than something you're doing wrong: browse audio-only bins in the standard Media Pool list view instead of Source Tape.
If you get stuck mid-session trying to find where a specific Source Tape control lives on your screen, that's exactly the kind of moment TryUncle was built for. TryUncle is the on-screen assistant for DaVinci Resolve on macOS: ask in plain words and Uncle points at the exact control on your screen, whether that's the Source Tape icon, the Sync Bin, or a setting buried three menus deep. It's a paid app, currently at founder pricing according to TryUncle, and it's a different tool from chat-based assistants like Sottocut or PremiereCopilot, which answer in a side panel rather than pointing at your actual screen.
Cut page or Edit page: which one should you use Source Tape on?
Both give you identical Source Tape behavior now, so the real decision is about everything else on the page around it, not about the feature itself.
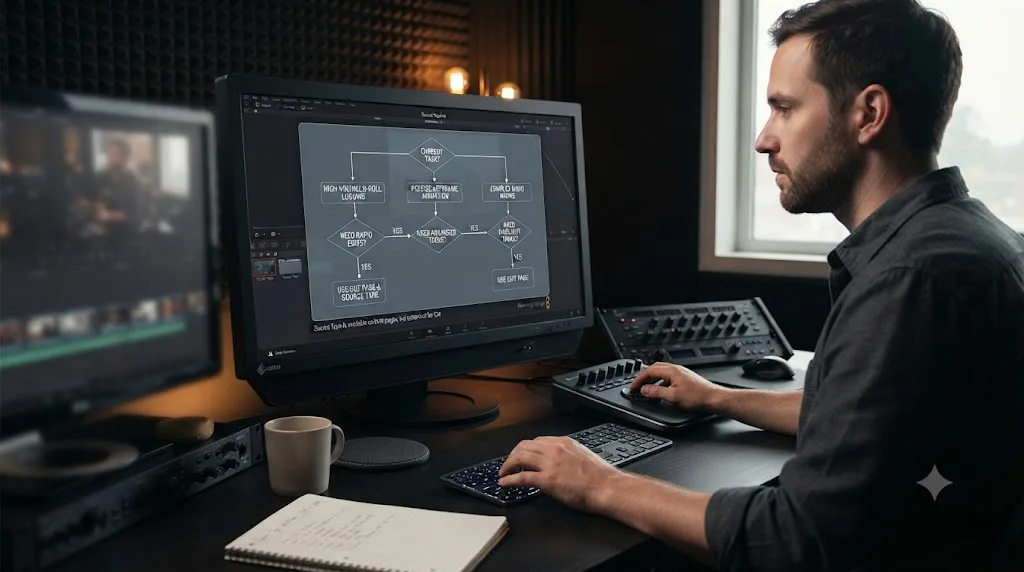
| Your situation | Use Source Tape on | Why |
|---|---|---|
| A quick rough assembly, no titles or grading yet | Cut | One-click Smart Insert and Quick Export get you to a finished pass fastest |
| You'll need the Inspector or Effects Library right after marking selects | Edit | No page switch required once your selects are placed |
| You own a Speed Editor and cut long-form daily | Cut | Hardware is co-designed around Cut's Source Tape and Smart Indicator |
| You're already deep in an Edit page session with tracks and titles built | Edit | Stay put; Source Tape works exactly the same without leaving your timeline |
| You're new to Resolve and want the fewest decisions before your first cut | Cut | Fewer setup steps between opening the app and placing your first clip |
| You're working a multicam or narrative project with a deep track stack | Edit | Everything else about that project belongs on Edit anyway |
Neither answer is permanent, because Cut and Edit share the same project data underneath. Pick whichever page fits the other work you're about to do in the same session, not which one "owns" Source Tape, since as of Resolve 20 neither one does exclusively.
What keyboard shortcuts matter most for Source Tape mode?
Beyond toggling the view itself, a small set of shortcuts do almost all the work once Source Tape is open. Learn these six before anything else.
| Shortcut | What it does | Page |
|---|---|---|
| Shift+3 | Switch the Viewer to Source Tape mode | Cut |
| Space | Play / stop from the current playhead position | Cut, Edit |
| J / K / L | Shuttle backward / pause / forward, speeding up with repeated presses | Cut, Edit |
| I / O | Mark an in point / mark an out point | Cut, Edit |
| X | Mark the current clip's full in and out points in one step | Cut |
| F9 | Smart Insert the marked selection onto the timeline | Cut |
These match the core shuttle-and-mark keys covered in our complete shortcuts guide, which also covers the Color, Fairlight, Fusion, and Deliver page shortcuts you'll need once your Source Tape selects are on the timeline. If you split time between Cut and Edit regularly, learning the default "DaVinci Resolve" preset as your baseline and switching to "DaVinci Resolve Cut" only for dedicated Cut sessions avoids the confusion of a shortcut doing nothing because the wrong preset is loaded.
Where else can you learn Source Tape mode?
Video coverage of this feature is genuinely strong, and pretending otherwise would be dishonest. Here's the honest landscape, so you can pick the format that fits how you learn.
| Resource | Format | Best for |
|---|---|---|
| Blackmagic's own certified trainer network | In-person or live, hundreds of trainers worldwide | Structured, official certification alongside Source Tape basics |
| Casey Faris (CreativeLive) | Full page-by-page video course | Watching every Resolve page taught in sequence, Cut and Source Tape included |
| LinkedIn Learning's Cut page course | Video course, one lesson dedicated to source tape editing | Subscribers who want a guided, narrated walkthrough |
| YouTube tutorials | Free, dozens of creators, varying depth | A quick five-minute demo or a specific workflow shown live |
| This guide | Text reference | Scanning for one setting, shortcut, or fix without scrubbing a video |
None of the video options are wrong to use, and if you learn better watching someone's hands move than reading steps on a page, go watch one of those. What this guide adds is what none of them are built to be: a single page you can scan in under a minute to check one setting, one shortcut, or one troubleshooting step, without scrubbing a video timeline to find the ten seconds that actually answer your question.
We built this after seven years of professional, commercial video editing and running a 100,000+ member editing community, where "how do I use Source Tape" and "why isn't my Source Tape working" both come up often enough to notice a pattern in what the video tutorials tend to leave out: the specific bug fixes, the exact version a feature landed in, and the honest tradeoff between Source Tape and just tagging your footage properly.
Watching a tutorial teaches you the motion once. A reference page like this one is for the sixth time you need the same answer and don't want to scrub a video to find it. Bookmark whichever format fits how you actually learn, and don't feel obligated to pick just one.
What are the most common mistakes editors make with Source Tape?
Six mistakes cover nearly everything that goes wrong, and each one has a one-line fix.
Treating Source Tape as a substitute for bin organization on a large shoot. It's fast on forty clips and genuinely unpleasant past a few hundred. If you already know a project spans multiple shoot days, build basic bins before you touch Source Tape, even if you plan to rough-cut with it once the footage is organized.
Forgetting which bin is active before opening Source Tape. The single most common "why isn't this working" report traces back to browsing the wrong bin, not a software bug. Glance at the Media Pool's selected bin before you click the Source Tape icon.
Expecting a Cut-specific shortcut to work on Edit, or vice versa. Shift+3 is a Cut page binding. The Edit page's Source Tape, added in Resolve 20, doesn't ship the same default key. Check Keyboard Customization rather than assuming Resolve is misbehaving.
Assuming Source Tape plays in shooting order. It follows the bin's sort column, not camera timecode, and it doesn't reach into subfolders on its own. Sort by date first if chronological order matters for the session, and use a Smart Bin if you need a multi-folder shoot in one tape.
Not updating past 21.0.1 before troubleshooting weird selection behavior. The inconsistent-selection bug fixed in 21.0.2 wasted real editing time for people who assumed their project file was corrupted rather than checking their version number first.
Assuming Source Tape shows everything in a mixed-media bin. Audio-only files can silently drop out of the scroll, and offline or missing clips just show the same red placeholder as anywhere else in Resolve. If a bin's contents don't match what Source Tape displays, check the Media Pool list view before assuming footage is actually gone.
So should you actually use Source Tape mode?
Yes, for the footage it was built for. Open a bin from a single shoot, unsorted, and Source Tape gets you scrubbing and marking selects faster than any amount of clicking through Media Pool thumbnails. That was true when it launched on the Cut page in 2019, and it's still true now that it works on Edit too.
No, not as your only browsing method. The moment a project outgrows a few dozen clips, Smart Bins and metadata search take over as the faster tool, and pretending Source Tape scales past that point just because it worked great on your last small shoot is how you lose an afternoon scrubbing past footage you've already seen twice.
Learn the shortcuts covered here (Shift+3, J/K/L, I/O, X, F9), try it on your next unsorted card, and notice for yourself where it stops being the fastest option. That's the point where the Media Pool takes back over, and knowing exactly when that switch happens is worth more than picking a side in the archaic-versus-essential debate this page has covered from both angles.
Frequently asked questions
- What is Source Tape mode in DaVinci Resolve?
- Source Tape mode is a Viewer setting that links every clip in the currently selected Media Pool bin into one continuous strip, so you scrub through footage the way you'd shuttle a videotape instead of double-clicking clips one at a time. It's built into the Cut page and, since DaVinci Resolve 20, the Edit page too.
- How do I turn on Source Tape mode in DaVinci Resolve?
- Select a bin in the Media Pool, then click the Source Tape icon at the top left of the Viewer (it looks like a filmstrip, next to the Source Clip and Timeline icons). On the Cut page you can also press Shift+3. Every clip in that bin now plays back as one continuous tape.
- Does Source Tape mode work on the Edit page, or only the Cut page?
- Both, as of DaVinci Resolve 20, released May 28, 2025. Before that update, Source Tape was Cut page only. Now you can pull selects with the tape on either page, and because Cut and Edit share the same project data, a selection made in Source Tape stays in sync whichever page you're viewing it from.
- Why isn't my Source Tape showing all the clips in my bin?
- Check four things: you have the right bin selected in the Media Pool (Source Tape only loads the active bin, not the whole project and not its subfolders), you're not looking at a Smart Bin with a filter that's excluding footage, your bin doesn't mix in audio-only files (Source Tape has a reported habit of skipping those), and you're on Resolve 21.0.2 or later, which fixed a reported bug with inconsistent source tape clip selection.
- What's the difference between Source Tape and the Sync Bin?
- Source Tape plays every clip in a bin end to end for browsing and marking selects. Sync Bin, a separate Cut page tool, shows only the clips synced to your current timeline position, built for grabbing a multicam cutaway fast. Use Source Tape to find a shot; use Sync Bin to swap an angle.
- Is Source Tape mode still useful, or is it outdated?
- Opinion is split, and both sides have a point. Some trainers call it an archaic way to browse footage now that Smart Bins and metadata search exist. Others call it one of the Cut page's best review tools for a small, unsorted pile of clips. It's fastest on footage you haven't organized yet and weakest once a shoot grows past a few dozen clips.
- What is the keyboard shortcut for Source Tape mode?
- Shift+3 switches the Cut page Viewer to Source Tape mode. The Edit page doesn't ship a default key for it since Resolve 20 added the feature there, so you click the Source Tape icon in the Viewer, though you can bind your own key in Keyboard Customization (Ctrl+Alt+K on Windows, Cmd+Option+K on Mac).
- Is there an app that helps while I'm using DaVinci Resolve's Source Tape mode?
- TryUncle is one option. It watches your screen on macOS and points at the Source Tape icon, the Sync Bin, or whatever control you're asking about, which is faster than pausing to search a manual mid-edit. It's a different category from chat-based tools like Sottocut or PremiereCopilot, which answer in a side panel rather than pointing at your actual screen.
Sources
- DaVinci Resolve - Cut (Blackmagic Design)
- DaVinci Resolve - Edit (Blackmagic Design)
- DaVinci Resolve product page (Blackmagic Design)
- DaVinci Resolve - What's New (Blackmagic Design)
- DaVinci Resolve - Keyboard (Blackmagic Design, Speed Editor, Editor Keyboard, Replay Editor)
- DaVinci Resolve - Training (Blackmagic Design)
- Blackmagic's New Cut Page for DaVinci Resolve 16 & DaVinci Editor Keyboard Announced (No Film School)
- Finally! DaVinci Resolve 20 is Officially Here (No Film School)
- DaVinci Resolve 21 Officially Released With New Photo Editing, AI Tools, and Much More (PetaPixel)
- DaVinci Resolve 21.0.2 Update (Newsshooter)
- DaVinci Resolve 21.0.3 Update (Newsshooter)
- Get Started Editing in the DaVinci Resolve Cut Page, by Larry Jordan
- Review: DaVinci Resolve 16's Cut Page, Is It Any Good? by Lewis McGregor (PremiumBeat)
- Review: DaVinci Resolve Speed Editor, Part 1, by Scott Simmons (ProVideo Coalition)
- How to Edit B-Roll and Stock Faster with DaVinci Resolve's Cut Page, by Arthur Ditner (OWC Blog)
- DaVinci Resolve Keyboard Shortcuts: 2026 Complete Cheat Sheet (Pixflow)
- 10 Best New non-AI Features in DaVinci Resolve 20 (Creative Video Tips)
- Blackmagic Forum: Source Tape / Multisource observations
- DaVinci Resolve Reference Manual: Proxy Media vs. Render Cache (VFXPedia mirror)
- Blackmagic Forum: Source Tape and audio-only clips
- DaVinci Resolve Reference Manual: Organizing Media into Bins (VFXPedia mirror)
- DaVinci Resolve Reference Manual: Mixed Frame Rates (VFXPedia mirror)
Keep reading
Comparisons · Jul 10, 2026 · 28 min
DaVinci Resolve Cut Page vs Edit Page: The Real Differences
A full side-by-side of DaVinci Resolve's Cut and Edit pages: timeline, trimming, multicam, and hardware differences, plus which one to use.
Guides · Jul 8, 2026 · 16 min
DaVinci Resolve Keyboard Shortcuts: The Complete Reference
Every essential DaVinci Resolve keyboard shortcut, organized by page: Edit, Cut, Color, Fairlight, Fusion, and Deliver, plus how to customize and share your own.
Guides · Jul 7, 2026 · 32 min
DaVinci Resolve for Beginners: The Complete Starter Guide
Learn DaVinci Resolve from zero: what it costs, what it needs to run, the seven pages you'll actually use, and the steps to cut your first project.