Articles / Guidesupdated for DaVinci Resolve 21.0.2 (July 2026)
How to Create a Custom LUT in DaVinci Resolve (Full Guide)
Quick answer
To create a custom LUT in DaVinci Resolve, build a grade using only Primaries, Curves, and Color Space Transform nodes, then right-click the clip or node range on the Color page, choose Generate LUT, pick a grid size (17, 33, or 65 point), and save the .cube file. Qualifiers, power windows, and blur effects get ignored, not baked in.
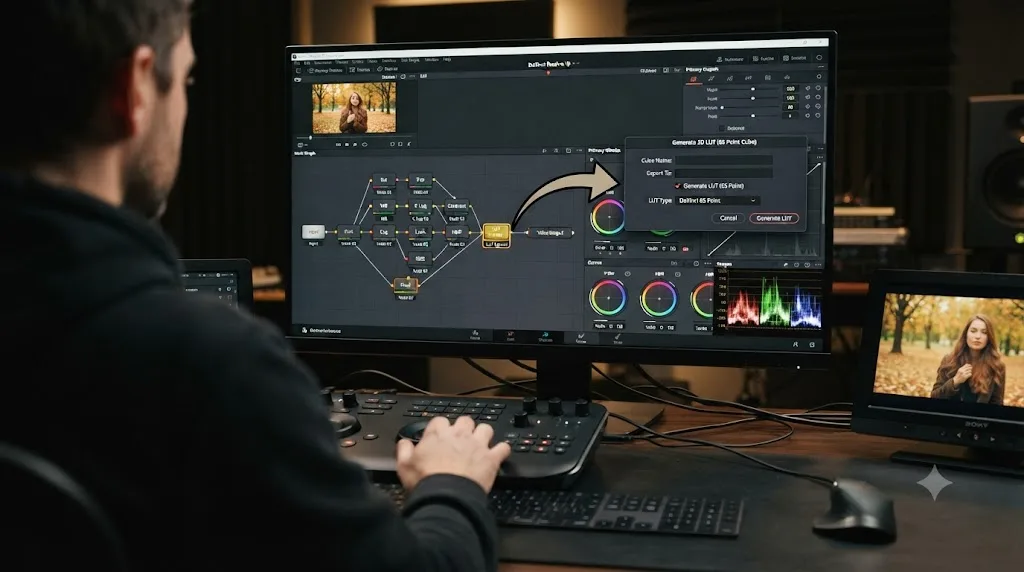
I built my first custom LUT the way most people do: graded a shot until it looked right, exported it, applied it to a different clip, and watched it do almost nothing useful. The grade had a power window in it. The LUT didn't know what a window was, so it quietly dropped that entire correction and kept only the part it could actually represent as a flat, global transform.
That's the one thing every tutorial glosses over. Generating a LUT in DaVinci Resolve is a two-click process. Building one that actually holds up on footage you haven't graded yet is a different skill, and it depends entirely on understanding what a LUT can and can't store. This guide covers both: the mechanical steps, and the part that actually determines whether your custom LUT is useful or just a file that looks like it should be.
What's the difference between creating a LUT and installing one?
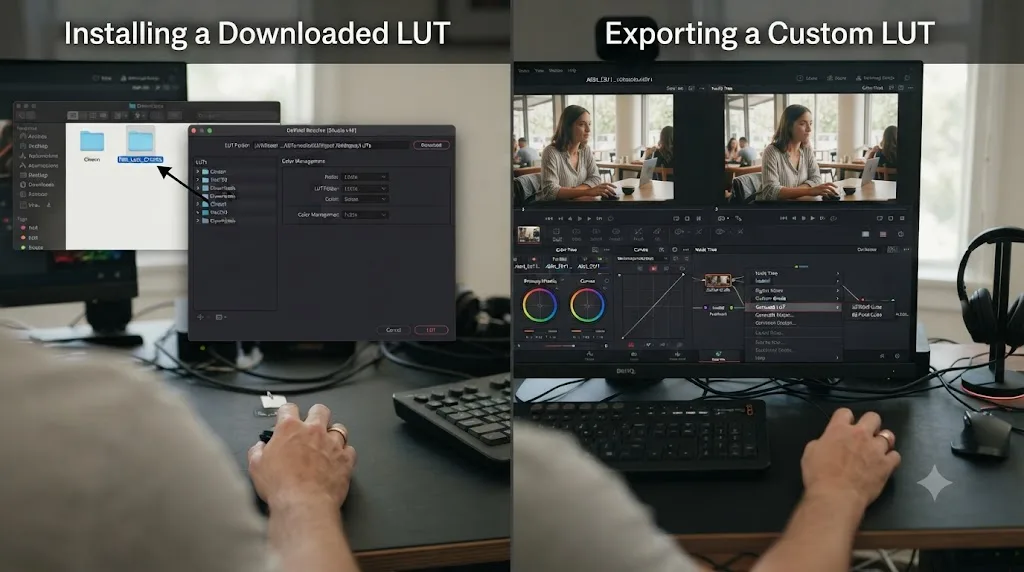
Installing a LUT means taking a file someone else built, dropping it into Resolve's LUT folder, and applying it to a node. Our guide to installing LUTs covers that whole process, the folder locations, the refresh step everyone forgets, and the node-versus-clip application question.
Creating a custom LUT is the opposite direction. You start with a grade you built yourself, in Resolve's own node system, and you bake it into a portable file. The output format is identical, a .cube file, 1D or 3D, at a grid size of your choosing. What's different is the source: instead of downloading someone else's creative decision, you're exporting your own.
A custom LUT is just your grade, flattened into a lookup table and given a filename. That's the entire concept, and it's worth holding onto as you read the rest of this guide, because every limitation covered below traces back to that one fact. A LUT can only store what a lookup table is mathematically capable of representing. Your grade, meanwhile, can do things a lookup table structurally cannot.
What are the two ways to generate a custom LUT in DaVinci Resolve?
Resolve gives you two entry points into the same feature, and the difference between them matters more than it looks like it should.
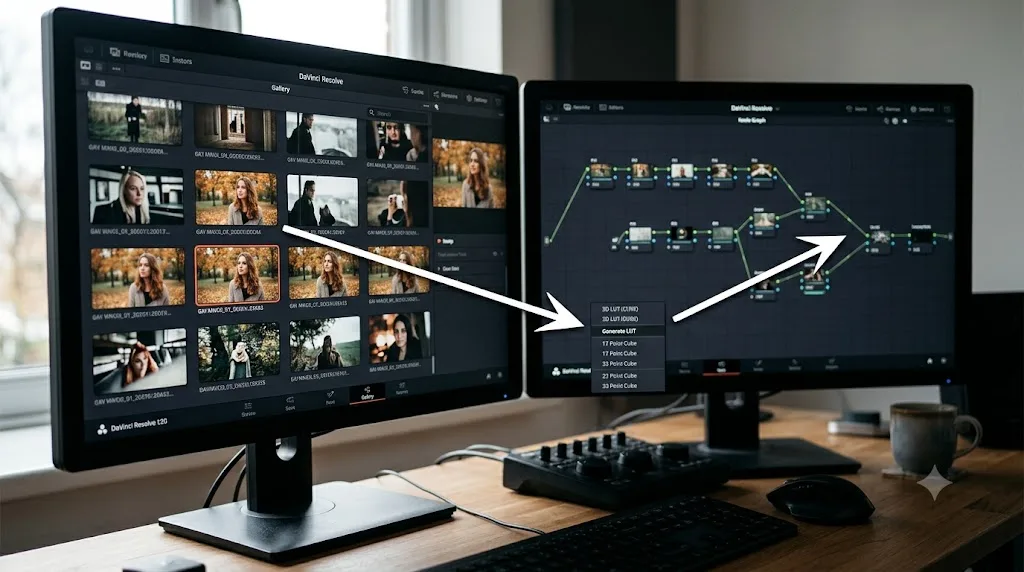
From a still. Grab a still of your finished, graded frame in the Gallery, right-click it, and generate the LUT from there. This bakes an exact, frozen snapshot of that one graded look. It's the right choice once a look is locked and you don't plan to keep adjusting it, since a still-based LUT captures a moment, not a live connection to the grade.
From the node graph directly. Right-click a node, a selected range of nodes, or the clip thumbnail itself on the Color page and choose Generate LUT from there. This captures whatever the grade is doing at that exact instant, which is faster while you're still iterating, since you don't need the extra still-grabbing step every time you want to test an export.
Both paths lead to the same Generate LUT submenu and the same grid-size choice. The still-based route just adds a deliberate checkpoint before you commit, useful when a look is genuinely finished, while generating straight from the node graph suits a workflow where you're testing exports repeatedly as the grade evolves.
How do you generate a 3D LUT from a grade, step by step?
Six steps, and once you've done it once the whole thing takes under a minute.
- Build your grade using compatible tools. Primaries wheels, Custom Curves, and Color Space Transform are the ones that survive the export. More on exactly which tools qualify in the next two sections, since getting this wrong is the single most common reason a custom LUT disappoints.
- Decide what to export. A single node captures just that correction. A range of adjacent, compatible nodes, selected together, combines mathematically into one LUT. The whole clip's chain, if every node in it qualifies, bakes the entire grade into one file.
- Right-click your target. On the Color page, right-click the specific node (or your selected node range) in the node editor, or right-click the clip's thumbnail in the timeline strip if you want the full chain.
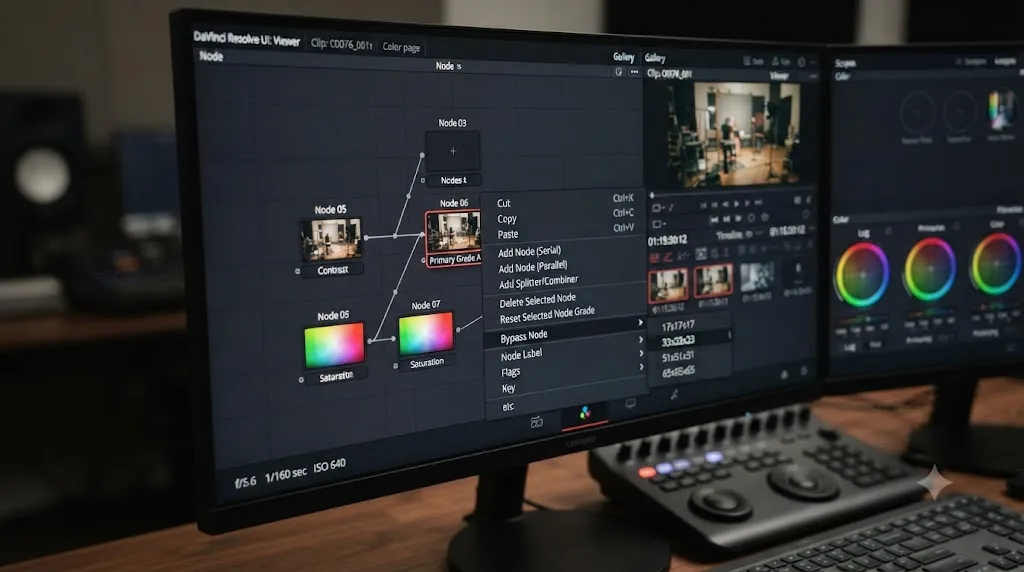
- Choose Generate LUT, then pick a grid size. The submenu offers 17, 33, and 65-point cube options, plus Panasonic's VLUT format for VariCam-specific workflows. The next section covers which size fits which destination.
- Name the file and choose a save location. The dialog opens by default in Resolve's own LUT folder for your operating system, the same folder covered in our LUT installation guide. Save there if you want the LUT available inside Resolve right away, or navigate elsewhere if it's headed straight to a camera, a client, or another app.
- Refresh Resolve's LUT list. Click Update Lists in Project Settings, Color Management, or right-click the LUT Browser panel and choose Refresh. Skip this and your own freshly exported LUT won't show up in the browser any more than a downloaded one would.
That's the whole mechanical process, according to Resolve's own reference manual on exporting LUTs. The mechanics were never the hard part. What actually determines whether the result is useful comes next.
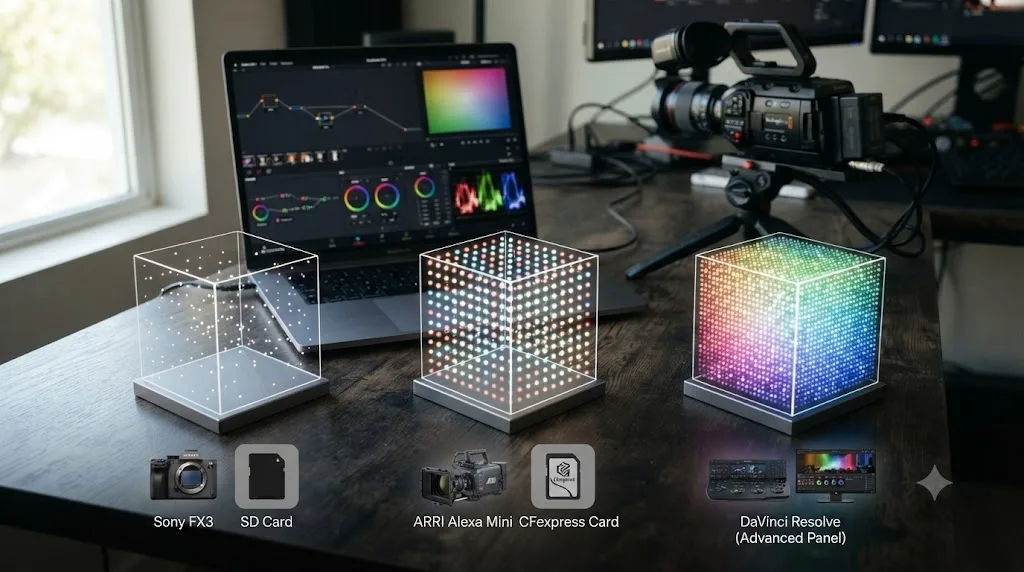
What grid size should you export: 17, 33, or 65 point?
The number describes how many evenly spaced sample points sit along each axis of the lookup cube, and it trades file size and precision against where the LUT is actually going to be used.
| Grid size | Reference points | Best destination |
|---|---|---|
| 17-point | 4,913 | A camera's LUT slot or a field monitor for on-set reference |
| 33-point | 35,937 | General use; the safest default for cross-app and cross-device compatibility |
| 65-point | 274,625 | A full-precision master handed to another colorist working inside an NLE |
A 65-point LUT packs roughly 7.65 times more reference points into the same color volume than a 33-point version, according to a breakdown of LUT grid sizes, which means less interpolation error in the final image. That extra precision doesn't travel well, though. Most cinema cameras, mirrorless bodies, and portable field monitors only read 17 or 33-point cube files, and a 65-point export typically won't even appear in a camera's own LUT browser.
The grid size you pick should match where the LUT is going, not how good you want it to look on your own monitor. A 65-point export looks marginally cleaner in Resolve's own viewer than a 33-point one, in exactly the situations where nobody will ever notice, because it's not headed anywhere that benefits from the extra precision. Default to 33-point unless you have a specific reason to reach for one of the other two: a camera or monitor destination for 17-point, or a colleague's high-precision NLE workflow for 65-point.
Which grading tools actually bake into a LUT, and which get ignored?
This is the question that decides whether your custom LUT works, and it's the part most tutorials skip past to get to the satisfying right-click.
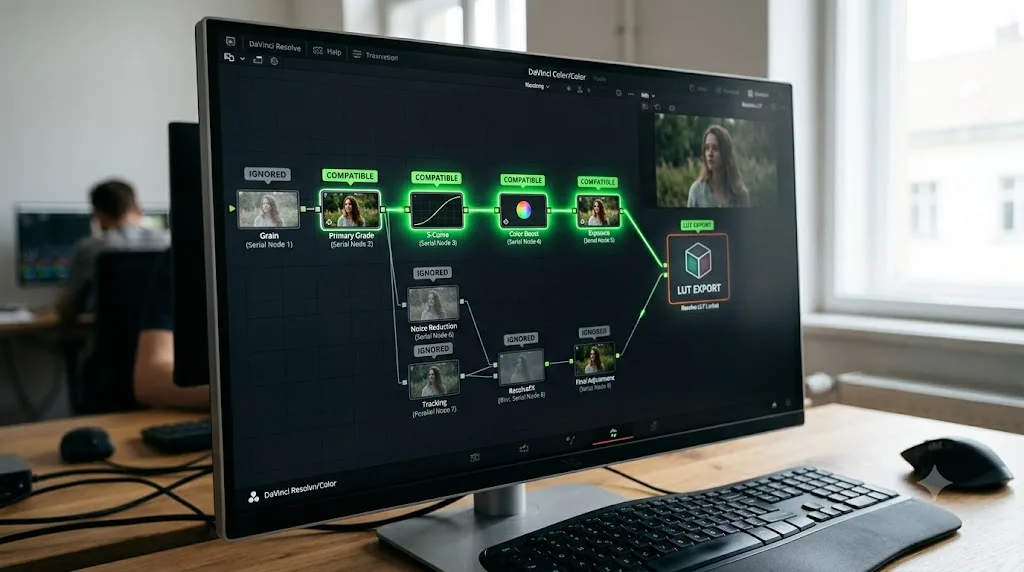
According to DaVinci Resolve's own manual, a LUT export can combine grades containing "only Primaries palette adjustments, Custom Curves palette adjustments, and compatible ResolveFX plugins that include Color Space Transform, ACES Transform, and Gamut Mapping." Everything in that list is a global, per-pixel transform. Given a specific input color, it always produces the same output color, everywhere in the frame, every time. That's exactly what a lookup table is built to store.
The same manual is just as direct about what doesn't survive: "Any nodes that use Qualifiers, Windows, incompatible filtering operations (such as sharpening or blurring), or incompatible Resolve FX or Open FX will be completely ignored." Not warned about. Not partially applied. Ignored, as if that node never existed.
| Tool | Bakes into a LUT? | Why |
|---|---|---|
| Primaries (Lift, Gamma, Gain, Offset) | Yes | Global, per-pixel color transform |
| Custom Curves | Yes | Global, per-pixel color transform |
| Color Space Transform | Yes | Global, mathematical color space conversion |
| ACES Transform | Yes | Global, mathematical color space conversion |
| Gamut Mapping | Yes | Global, mathematical transform |
| Qualifiers (keys) | No | Depends on pixel position and neighboring values, not a fixed per-color mapping |
| Power Windows | No | Spatial, defined by shape and position, not color value |
| Blur, sharpen, and similar filters | No | Reads neighboring pixels, which a per-pixel lookup table has no concept of |
| Most third-party ResolveFX and OpenFX plugins | No, unless explicitly compatible | Varies by plugin; most aren't built for this |
A LUT can only store a correction that maps one exact input color to one exact output color, every single time, with no exceptions for where in the frame that color happens to sit. That single sentence explains every entry in the table above. A qualifier's whole job is treating the same color differently depending on what's around it or where it sits in the frame. A LUT has no mechanism for that distinction, so it drops the correction rather than approximating it.
Should you ever bake a qualifier or power window into a LUT anyway?
Here's where colorists genuinely disagree, and it's worth hearing both sides before you decide how careful to be.
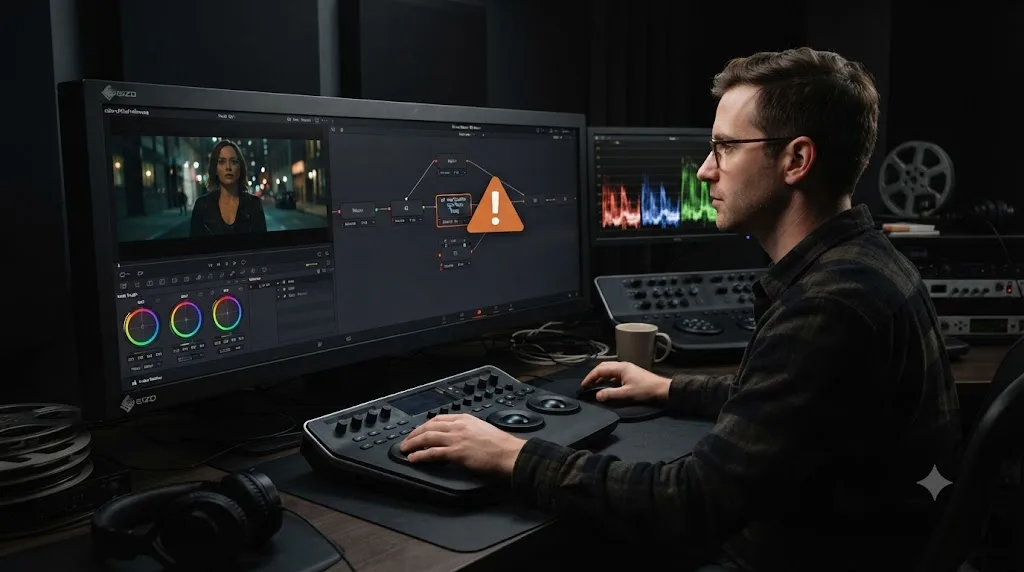
Veteran colorist Marc Wielage, discussing this directly on the Lift Gamma Gain forum, argues you shouldn't even try: "Don't use keys or qualifiers when creating a LUT, because they don't belong there." His reasoning is practical, not theoretical: "Keys have to be fine-tuned on every single shot, sometimes within the show, so one key setting will not work." A qualifier tuned to one actor's skin tone under one lighting setup is, by definition, wrong for the next shot, and baking that mismatch into a portable file just moves the problem downstream to whoever applies it next.
Colorist Ryan McNeal backs that up with a specific story from the same thread: "I made a keyed LUT for a commercial project and found the editor using it on other projects, introducing artifacts from the key." That's the real-world failure mode. A LUT travels. Once it leaves your session, you lose control over where it gets applied, and a key that made sense on one shot can actively damage a completely different one.
There's also a hard technical ceiling on what's even representable. Colorist Mazze Aderhold, in the same discussion, points out where a qualifier-based correction breaks down structurally: "Once you blur the selection, any hue/sat/lum shift for the selected color range will not be able to be translated into a LUT-transform anymore." Feather a key even slightly, which nearly every real qualifier does, and you've introduced a spatial, neighbor-dependent element that no per-pixel lookup table can represent, technical limitation or not.
Not everyone in that thread agrees a qualifier is automatically off the table. Colorist Scott Mclean pushed back on the idea that qualifiers get flatly ignored: "They will not be ignored, they may just not work quite as expected." His point is narrower than Wielage's: under specific conditions, a qualifier-driven correction can partially translate, just not reliably or predictably, which is a different claim from "never works at all."
The honest takeaway from working colorists isn't that a qualifier can never touch a LUT. It's that even where it technically can, the result is too fragile to trust once the file leaves your hands. Keep qualifiers and windows out of anything you plan to export, share, or reuse across multiple shots. If a correction genuinely needs to be selective, that's exactly the kind of adjustment that belongs in the live grade, applied fresh on the shot it's built for, not baked into a file that pretends to be a universal fix.
What's the difference between a technical LUT, a creative LUT, and a hybrid LUT?
Knowing this distinction changes what you build and in what order, and it's the same framework colorist Cullen Kelly lays out in Frame.io's guide to building your own LUTs.
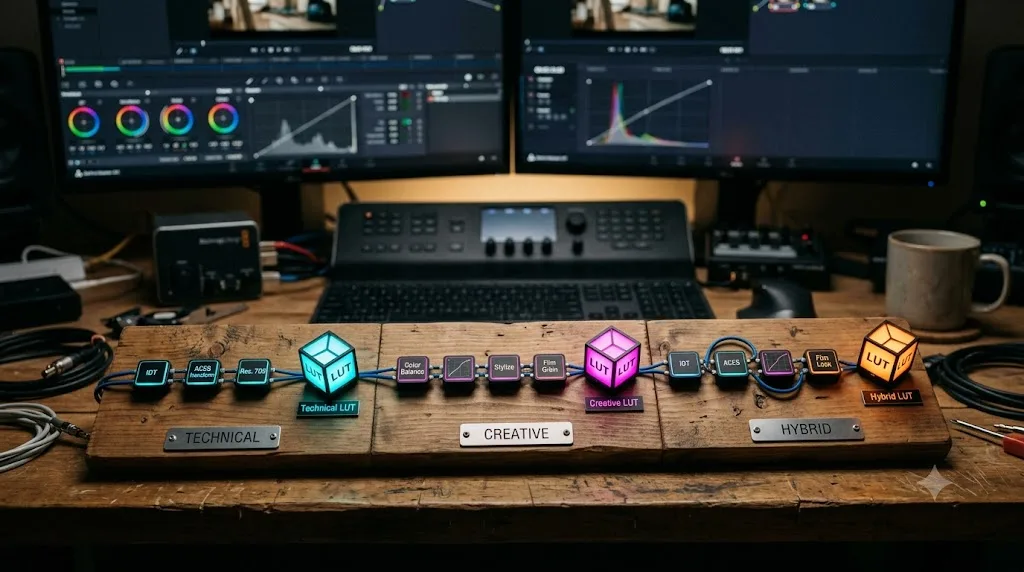
A technical LUT does a defined, mathematical conversion, log or RAW footage into a standard viewing space, with no aesthetic opinion involved. Kelly writes that "A technical LUT is designed to produce an accurate, non-subjective transformation from one color space to another." Build one of these with Color Space Transform, using your camera's exact input profile, and it belongs early in a node chain, before any creative decision.
A creative LUT, sometimes called a look LUT, is the opposite. Kelly's definition: "A creative or 'look' LUT doesn't care about accuracy, it cares about aesthetics." This is the kind of LUT built from Primaries wheels and Curves, an opinion about mood and color rather than a conversion between defined standards, and it assumes the footage feeding into it is already normalized.
A hybrid LUT combines both jobs into a single file. Kelly again: "A hybrid LUT, is simply a combination of a technical and creative LUT." Build one by exporting a node range that includes both your Color Space Transform node and your creative grading nodes together, which produces a single .cube that takes raw log footage straight to a finished look in one step. That's convenient for handing off to someone who just needs the look, but it costs flexibility: a hybrid LUT locks the technical conversion and the creative choice together, so if either one changes, you're rebuilding the whole file rather than adjusting one piece of it.
Building a technical LUT first and a creative LUT second isn't just tidier organization, it's what makes the creative half of the work possible in the first place. Kelly frames it exactly that way: "You've set up your working environment, gotten your technical transform out of the way, and you're free to start experimenting." Skip that order and a creative LUT built on unnormalized footage bakes in whatever color science quirks your specific camera happened to have, which is precisely the kind of mistake that makes a downloaded look pack disappoint on different footage.
How do you build a LUT that actually works on footage you haven't graded yet?
This is the step every rushed tutorial skips, and it's the difference between a LUT you can reuse and one that only ever worked on the single frame it was built from.
A grade that looks perfect on one shot can fall apart the moment you apply its exported LUT to a different exposure, a different skin tone, or a different lighting setup, for reasons that have nothing to do with whether you followed the export steps correctly. Kelly's advice on this is blunt: "The best way to dial in a robust LUT is to do lots of testing and lots of adjusting." That's not a throwaway line. It's the entire difference between a LUT that ships and one that quietly gets abandoned after the first complaint.
A practical testing pass looks like this:
- Apply the exported LUT to a shot you didn't grade it on, ideally from a different scene, different time of day, or different lighting setup than the one it came from.
- Check skin tones specifically. A creative LUT tuned against one performer's skin tone can shift a different performer's face in a way that reads as obviously wrong, even when the rest of the frame looks fine.
- Check both ends of the exposure range. Try it on something noticeably brighter and something noticeably darker than your original grade. A LUT that clips highlights or crushes shadows on anything outside its original exposure window needs a gentler curve, not a harder one.
- Watch for banding in gradients, skies especially. A LUT built from an aggressive contrast push can introduce visible steps in a smooth gradient that weren't there in the source footage.
- Adjust the source grade, not the exported file. A .cube file itself isn't something you tweak directly; if the test reveals a problem, go back into the node graph, adjust the grade, and re-export.
A custom LUT that only looks right on the exact frame you built it from isn't finished, it's a first draft you haven't tested yet. Building for reuse means grading with restraint, since a subtle, well-behaved correction generalizes across footage far better than an aggressive one tuned to a single shot's specific quirks.
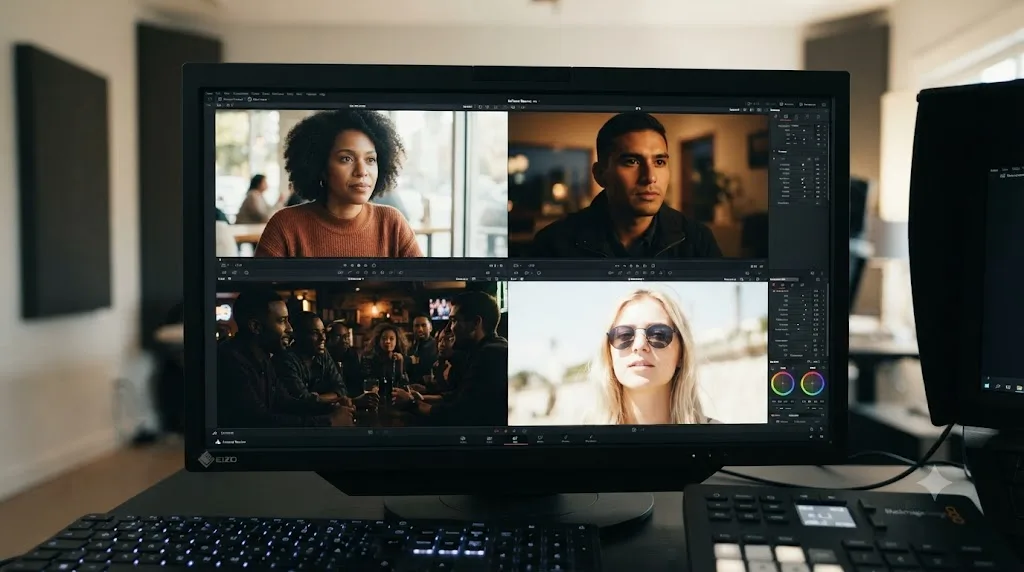
Where does DaVinci Resolve save your exported LUT, and how do you get it into the Browser?
The save dialog for Generate LUT defaults to Resolve's own LUT folder for whichever operating system you're running, the exact locations covered in full in our guide to installing LUTs. Save there and the file lands in the same place Resolve already searches for every other LUT.
Saving into the default folder doesn't make the new file appear automatically, though. Resolve caches its LUT menu, the same way it does for a downloaded file, and a freshly exported LUT needs the identical refresh step as an installed one: click Update Lists in Project Settings, Color Management, or right-click inside the LUT Browser panel on the Color page and choose Refresh.
If you'd rather organize your own exported LUTs somewhere outside the default system folder, a folder inside your Documents, a project-specific directory, or a synced cloud location, Resolve's Preferences lets you add extra LUT locations under System, General, LUT Locations. That's the same mechanism covered in our install guide for organizing a downloaded LUT collection, and it works exactly the same way for LUTs you build yourself.
Saving an exported LUT into the wrong folder doesn't produce an error. It just means Resolve never finds the file, and you spend ten minutes convinced the export itself failed. Confirm the save dialog is actually pointed at a folder Resolve searches, either the default location or one you've added under Preferences, before assuming anything about the export process is broken.
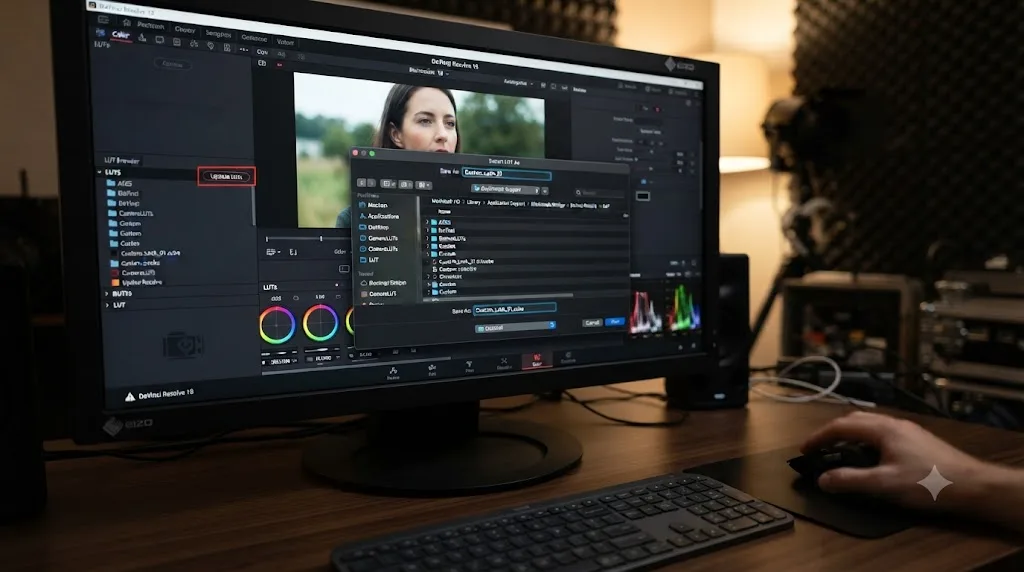
Can you use a LUT you built in DaVinci Resolve in other software?
Yes, and this is one of the real advantages of building your own instead of relying on Resolve-specific grade files like PowerGrades. A .cube file is a plain, portable format, not something Resolve invented for its own private use, according to Boris FX's overview of the LUT format. Once exported, it works in Premiere Pro's Lumetri Color panel, Final Cut Pro, After Effects, most other NLEs, and any hardware, camera, monitor, or LUT box, that reads standard .cube files at a matching grid size.
That portability is exactly why exporting a LUT is different from saving a PowerGrade or a still. A PowerGrade carries Resolve's full node graph, editable, reversible, tied to the app's own gallery system, and it only means anything inside Resolve itself. An exported LUT is a one-way, flattened snapshot that travels anywhere a lookup table is accepted, at the cost of losing the ability to edit it as a node graph once it's baked.
A few practical notes for cross-app use:
- Match the grid size to the destination. 33-point is the safest universal choice; nearly every app and device reads it without complaint.
- Check the destination app's own color management assumptions. A LUT built from a Rec.709-normalized grade in Resolve behaves as expected applied to similarly normalized footage elsewhere, but a destination app with its own color management layer, like Premiere's, can interact with an imported LUT differently than Resolve's own node system does.
- Test on the actual destination app, not just in Resolve's viewer, before calling the export finished. A LUT that reads correctly in Resolve and looks subtly different in another editor usually points to a color management mismatch in the destination app, not a broken file.
A .cube file exported from DaVinci Resolve carries no dependency on Resolve at all once it's saved, which is the entire reason the format exists. That portability is worth building toward deliberately: keep your source grade clean of Resolve-only tricks, qualifiers and windows included, and the resulting LUT genuinely works anywhere a .cube is accepted, not just inside the app that made it.
Should you build a DCTL instead of a LUT?
Sometimes, and it depends entirely on what your grade actually needs to do.
A LUT is a stored result: a fixed table of input-to-output color mappings, calculated once and looked up afterward. DCTL, DaVinci Color Transform Language, is a fundamentally different technology. Blackmagic's own Studio product page draws the line directly: "Unlike LUTs, which rely on simple lookup tables, DaVinci color transformation scripts are GPU accelerated bits of code that directly transform images using combinations of math functions." A DCTL is code, executed fresh on every frame, not a table of pre-baked values.
That difference in mechanism produces real practical differences. Per an explainer on DaVinci Color Transform Language, a DCTL processes each pixel individually using full floating-point math, with no fixed grid at all, where even a 65-point LUT tops out at 274,625 discrete reference points. That gives a DCTL two things a LUT structurally cannot offer: infinite interpolation precision, and the ability to expose adjustable controls, sliders, checkboxes, dropdowns, inside Resolve, because the underlying transform is math being calculated live rather than a static table being read.
| LUT | DCTL | |
|---|---|---|
| What it stores | A fixed table of color mappings | Executable code, calculated per pixel |
| Precision | Grid-limited (up to 274,625 points at 65-point) | Effectively infinite, full floating-point |
| Adjustable after export | No, fixed at export time | Yes, can expose live sliders and controls |
| Handles qualifiers or windows | No, ignored during export | Depends entirely on how the code is written |
| Portable outside DaVinci Resolve | Yes, standard .cube format | No, Resolve-specific |
| Free version support | Yes, full support | No, Studio only |
That last row is the practical deciding factor for most people reading this guide. DCTL requires DaVinci Resolve Studio; the free version has no native DCTL support at all. If your grade fits inside a fixed color mapping, a look, a technical conversion, anything a LUT structurally can represent, there's no reason to reach for the Studio-only tool. Build a LUT instead, since it's free, portable to other software, and simpler to hand off. Reach for a DCTL specifically when you need something a LUT can't do: a control the user adjusts live, math that has to branch on the image's actual content, or precision beyond what a 65-point grid offers.
Does DaVinci Resolve 21 change anything about creating custom LUTs?
The core mechanics, the compatible tools, the grid-size choice, the refresh step, are unchanged from previous versions. What's new in Resolve 21 is where you can put a custom LUT to use once it exists.
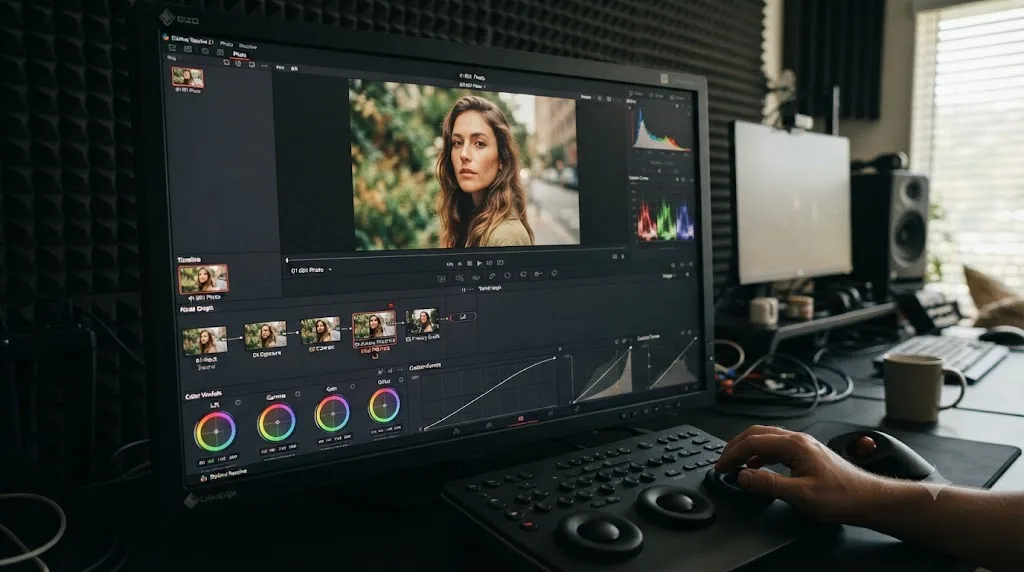
Resolve 21 added a full Photo page for grading still images, and per Blackmagic's own What's New page, it lets you "generate LUTs to later apply looks in-camera or while monitoring," using the same node system video grading has always relied on. That means a LUT you build for video work is equally usable for photo grading, and a LUT you generate from a photo edit works exactly the same way applied back to footage, since it's the identical .cube format either way.
The Photo page also brought DCTL support to still images specifically. Blackmagic's release notes state that "Resolve FX and Open FX plug-in support is available for still images on the Photo page, allowing you to apply effects, graphics, transforms and DCTLs," per PetaPixel's coverage of the Resolve 21 release. If you shoot both stills and video for a project, this closes a real gap: a single custom LUT library, and a single set of DCTLs where you have Studio, now covers both halves of the work.
The other change worth knowing about is smaller but genuinely useful once your node graphs grow: Resolve 21's layers view lists a clip's nodes in rows instead of a scattered flowchart, per the same release notes, which makes it much easier to see exactly which nodes are feeding a Generate LUT selection before you commit to an export. Selecting the right node range for a LUT was always a matter of knowing your own graph; the layers view just makes that graph easier to read at a glance.
Do you need DaVinci Resolve Studio to create a custom LUT?
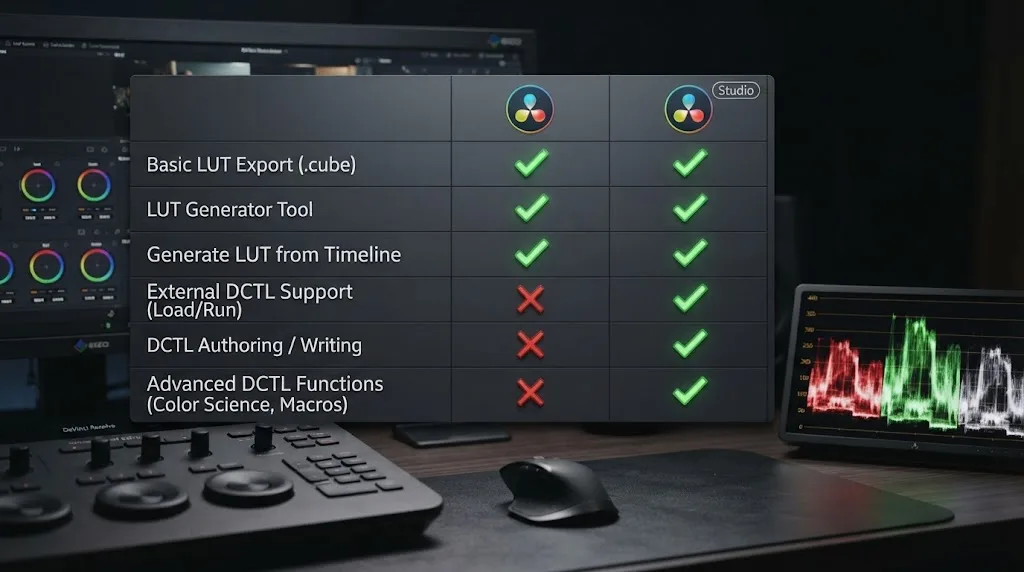
No, not for the core workflow. Generating a 3D LUT from a grade, right-click, choose Generate LUT, pick a grid size, works identically in the free version and Studio. Neither Blackmagic's free-version product page nor its Studio page lists LUT generation as a paid feature, and every step covered in this guide runs the same regardless of which version you're on.
| Capability | Free version | Studio |
|---|---|---|
| Generate 3D LUT from a grade (17/33/65-point) | Yes | Yes |
| Primaries, Curves, Color Space Transform | Yes | Yes |
| ACES Transform, Gamut Mapping | Yes | Yes |
| Color Match, Shot Match, and other matching tools | Yes | Yes |
| DCTL creation and native support | No | Yes |
| Advanced HDR grading and metadata tools | No | Yes |
| Neural Engine AI tools (Magic Mask, and others) | No | Yes |
Every tool needed to build, test, and export a custom LUT runs in the free version of DaVinci Resolve, with the single exception of DCTL. Where Studio actually matters for this specific task is the moment your idea outgrows what a fixed lookup table can represent, at which point you're no longer building a LUT at all, you're writing a DCTL, and that's a genuinely different tool behind a genuinely different license.
A worked example: building a creative look LUT from a documentary interview grade
Theory holds up better against a concrete case. Say you've graded a short documentary interview, a warm, slightly desaturated look you built over an afternoon, and a colleague on a different project wants the same look applied fast, without rebuilding your node chain from scratch.
- Review your node chain before exporting anything. Open the node editor and check every node feeding your final look. If any of them carry a qualifier or a power window, for instance a subtle skin tone adjustment isolated with a key, note it now, since it won't survive the export.
- Decide whether the isolated correction matters enough to keep. If the qualifier-based skin adjustment was subtle and mostly cosmetic, accept that it drops out of the LUT version and the recipient gets a slightly less refined but genuinely close look. If it was doing real, necessary work, that correction needs to travel separately, as a note or a matching PowerGrade, not folded into the LUT.
- Select the compatible node range. Shift-click to select every node built from Primaries, Curves, and Color Space Transform, the ones actually feeding your creative look, leaving out anything you identified in step 1.
- Right-click the selection and choose Generate LUT. Pick 33-point, since this LUT is headed into another NLE session, not onto a camera or into a technical master pass.
- Name it clearly. Something like "Interview_WarmDesat_v1," with a version number, since you'll likely revise it once your colleague reports back on how it holds up on their footage.
- Test it yourself first, on at least two shots you didn't originally grade, before handing it off. Check skin tones and highlight rolloff specifically, the two places a creative look most often reveals its limits on unfamiliar footage.
- Hand off the .cube file along with a one-line note about what got dropped, the skin qualifier from step 1, so your colleague isn't confused later about why the applied LUT looks slightly different from your original grade.
That last step matters more than it looks like it should. A custom LUT handed off without a note about what it can't reproduce sets up its recipient to blame the file for a limitation that was baked into the export process itself, not a mistake anyone made. A single sentence about what got left behind saves a confused follow-up conversation later.
A worked example: building a technical camera-to-Rec.709 LUT for on-set monitoring
Here's a different case: you're heading into a multi-day shoot on a camera whose native log profile the on-set director and DP find hard to judge on a normal monitor, and you want a clean, technical conversion LUT loaded onto the field monitor before day one.
- Confirm the camera's exact recording profile from its manual or a test clip's metadata, not a guess. A technical LUT built on the wrong input profile is worse than no LUT at all, since it distorts the color relationships rather than simply leaving them flat.
- Build a Color Space Transform node with the correct input and output settings. Input Color Space and Input Gamma matched exactly to the camera's log profile, output to Rec.709 Gamma 2.4 for standard monitoring. This node alone, with no Primaries or Curves adjustments layered on top, is the entire grade.
- Do not add any creative correction to this chain. The whole point of a technical LUT is a defined, non-subjective conversion. A creative tweak added here turns a monitoring reference into a misleading preview of a look nobody has actually approved yet.
- Right-click the Color Space Transform node and choose Generate LUT.
- Pick 17-point specifically, since this file is going onto a field monitor's own LUT slot, and most hardware monitors only read 17 or 33-point cube files.
- Save it, then load it onto the monitor following that specific device's own LUT import process, since every monitor manufacturer handles this slightly differently.
- Verify on set, on the actual monitor, under the actual lighting, not just in Resolve's viewer. A technical conversion that looks correct on your grading suite's calibrated display should look correct on the field monitor too; if it doesn't, recheck the input profile match before assuming the monitor itself is at fault.
- Keep a 33-point copy of the same LUT for anyone reviewing footage on a laptop or in another app during the shoot, since 17-point is the right choice for the monitor specifically, not a universal default for every use.
The shape of this example differs from the documentary case in one important way: there's no creative decision to protect or drop, because a technical LUT was never carrying one in the first place. A technical conversion LUT built with no creative correction layered in has nothing to lose in the export process, which is exactly why it's the safest kind of custom LUT to build and hand off without a second thought.
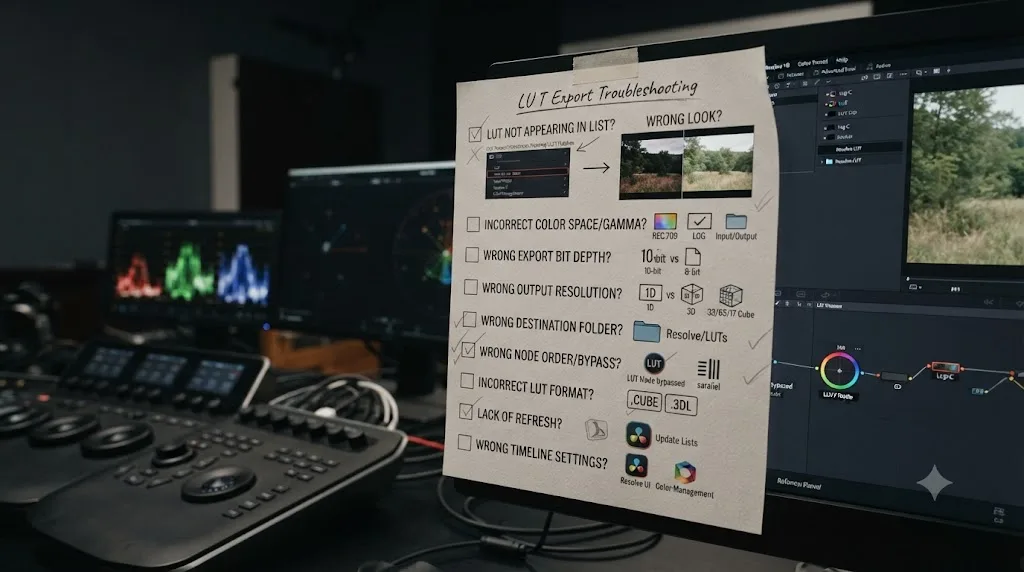
What mistakes ruin a custom LUT before you even export it?
These cover nearly every "my custom LUT doesn't work right" report, roughly in the order they come up.
| Mistake | What actually happens | The fix |
|---|---|---|
| A qualifier or power window in the exported node chain | The correction is silently dropped, not partially applied | Remove it before export, or accept the LUT won't include that adjustment and note it for whoever receives the file |
| Blur or sharpen layered into the graded node | Ignored entirely during export, per Resolve's own manual | Keep filtering effects on a separate node outside the export selection |
| Only tested on the shot it was built from | The LUT looks great on one frame and falls apart on different exposures or skin tones | Test on at least two or three unrelated shots before trusting or distributing it |
| Wrong grid size for the destination | A 65-point LUT doesn't appear in a camera's own LUT browser at all | Match the grid size to where the file is actually going: 17-point for hardware, 33-point for general use |
| Wrong Input Color Space on a technical LUT's Color Space Transform node | Produces a transform that's close but visibly off, especially in skin tones | Confirm the exact camera profile from its manual or metadata before building the node, never guess |
| Creative and technical corrections combined without meaning to | The resulting hybrid LUT locks a specific camera's normalization to a specific look, so it only works on matching footage | Build separate technical and creative LUTs when you want either one reusable independently |
| Saved to a folder Resolve doesn't search | The export appears to succeed but the file never shows up in the Browser | Save to the default LUT folder, or add your custom folder under Preferences, System, LUT Locations |
| Skipped the refresh step after saving | Same cache issue as any downloaded LUT | Click Update Lists in Project Settings, or right-click the LUT Browser and choose Refresh |
A custom LUT that looks wrong after export is almost never a broken file. It's a node that didn't survive the export, and identifying which one is usually a two-minute fix once you know to look for it. Work down this table before assuming anything about the export process itself is broken, since a genuinely corrupted .cube file from Resolve's own export is rare compared to these more common causes.
How do you share or distribute a custom LUT once it's finished?
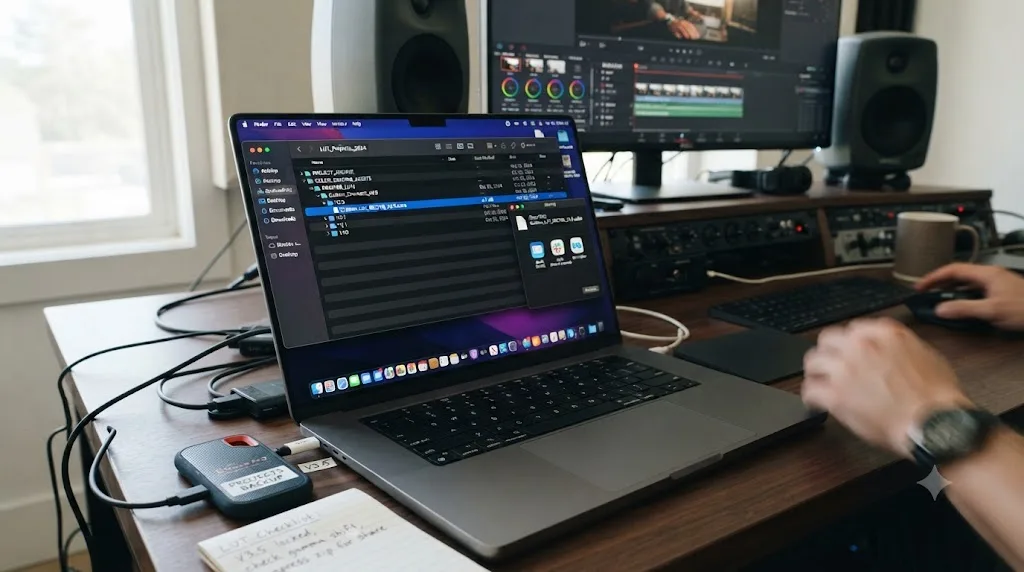
Once you've built and tested a LUT that holds up across multiple shots, sharing it is just a matter of moving the .cube file, but a few habits make that handoff smoother.
Name files descriptively and version them. "TealSummer_v3.cube" tells a recipient more than "LUT1.cube" ever will, and a version number saves confusion the moment you revise the look after feedback.
Include the grid size in the filename or a note, especially if you've exported the same look at multiple sizes for different destinations. A recipient loading a 65-point file onto a camera that only reads 33-point cubes will assume the LUT is broken rather than realize it's simply the wrong size for that device.
Note what got left out, the way covered in the documentary worked example above. Any qualifier, window, or filter that lived in your original grade but couldn't travel into the export is worth one sentence of explanation, so nobody mistakes a structural limitation for a mistake in the file itself.
Keep the source grade, not just the exported LUT. A .cube file is a one-way, flattened output; you can't reopen it as an editable node graph the way you can a PowerGrade. If you'll need to revise the look later, hold onto the actual DaVinci Resolve project or a saved PowerGrade of the grade that produced it, not just the final export.
If you're planning to sell or publicly distribute a look pack built this way, the same testing discipline from earlier in this guide matters even more. A LUT tested only against your own footage and released to strangers shooting on different cameras, in different lighting, is the exact scenario Kelly's advice about "lots of testing and lots of adjusting" is built for. Cultivating the ability to build and share your own LUTs is, in Kelly's own words, "one of the best investments you can make in yourself as a filmmaker," and that investment pays off fastest when the LUTs you hand out actually hold up on footage you never saw.
Where do you go from here?
Build the grade with tools a LUT can actually represent: Primaries, Curves, Color Space Transform, nothing spatial, nothing keyed. Right-click the node, the range, or the clip. Pick the grid size that matches where the file is actually going, not the one that sounds most impressive. Refresh Resolve's list so you can see what you just made. Then test it on footage you didn't grade, because that's the step that turns an export into something you can actually reuse.
The gap between a custom LUT that works and one that quietly disappoints almost always comes down to one thing: whether you tested it on something other than the shot it came from. Every mechanical step in this guide takes seconds. That one habit is the one that determines whether the file you just built is worth keeping.
If you're mid-grade and can't remember which menu holds the node range you built, or whether a specific effect will survive an export, TryUncle is an AI tutor that looks at your actual Resolve window and points at the specific control you're hunting for, instead of sending you back through a guide to reread one section. And once you've built your first working LUT, our color grading basics guide covers the node discipline, one task per node, that makes a grade easy to export cleanly in the first place, along with our guide to matching different cameras if the LUT you're building needs to normalize footage from more than one source before the creative look ever gets applied.
Frequently asked questions
- How do I create my own LUT in DaVinci Resolve?
- Build a grade on the Color page using Primaries wheels, Custom Curves, and Color Space Transform, then right-click the clip thumbnail or the node itself and choose Generate LUT. Pick a grid size, 17, 33, or 65 point, name the file, and save it. Resolve bakes every compatible correction into a single .cube lookup table you can reuse on other footage or in other software.
- Why doesn't my qualifier or power window show up in the exported LUT?
- Because a LUT is a global, per-pixel color transform with no idea what a mask or a spatial selection is. DaVinci Resolve's own manual states that nodes using Qualifiers, Windows, or filtering effects like blur and sharpen are completely ignored during LUT export. Only Primaries, Custom Curves, Color Space Transform, ACES Transform, and Gamut Mapping get baked in.
- What grid size should I use when generating a custom LUT?
- Use 33-point for general work; it's the industry default and every app and most cameras read it. Use 17-point specifically for loading onto a camera or field monitor's LUT slot, since most hardware only accepts that size. Reserve 65-point for a final master-grade LUT handed to another colorist working at full precision inside an NLE, not for anything going onto a device.
- Do I need DaVinci Resolve Studio to create a custom LUT?
- No. Generating a 3D LUT from a grade works identically in the free version and Studio. What needs Studio is DaVinci Color Transform Language, DCTL, which is a different technology entirely, GPU-executed code rather than a lookup table, and it isn't available in the free version at all.
- Can I use a LUT I made in DaVinci Resolve inside Premiere Pro or another editor?
- Yes. A .cube file exported from Resolve is a standard format that Premiere Pro's Lumetri Color panel, Final Cut Pro, After Effects, and most other color tools all read natively. Nothing about the export ties it to Resolve specifically, which is exactly why the format exists.
- Should I generate a LUT from a still or directly from a node?
- Generating from a still bakes an exact, frozen snapshot of one graded frame, useful for a look you've locked and never plan to touch again. Generating directly from a node or node range captures whatever the current grade is doing right now, which is faster while you're still iterating and want to keep testing a look-in-progress on fresh footage.
- Why does my exported LUT look completely different from the grade I built?
- Almost always because part of that grade lived inside a qualifier, a window, or a plugin the LUT export ignores outright. Check which nodes carried spatial or keyed corrections before you export, since those corrections simply vanish from the resulting file rather than producing an error or a warning.
Sources
- DaVinci Resolve 18.6 Reference Manual: Exporting LUTs (Blackmagic Design, mirrored)
- DaVinci Resolve 18.6 Reference Manual: Supported LUT Formats (Blackmagic Design, mirrored)
- DaVinci Resolve - Studio (Blackmagic Design)
- DaVinci Resolve - What's New (Blackmagic Design)
- DaVinci Resolve product page (free version)
- DaVinci Resolve - Color (Blackmagic Design)
- How and Why You Should Build Your Own LUTs, by Cullen Kelly (Frame.io Insider)
- Lift Gamma Gain forum: Yes you can create a LUT in Resolve with qualifiers*
- How to Make a Custom LUT from Your Grade in Resolve (Envato Tuts+)
- 33-Point vs 65-Point LUTs: Grid Size and Accuracy Explained (Ale Stemple)
- How to Add LUTs to DaVinci Resolve in 4 Steps (Boris FX)
- What Is a DCTL? Complete Guide to DaVinci Color Transform Language (PassionFuelsAmbition)
- PetaPixel: DaVinci Resolve 21 Officially Released With New Photo Editing, AI Tools, and Much More
- DaVinci Resolve Manual: LUT Controls in the Project Settings (VFXPedia mirror)
Put this guide to work with TryUncle.
Ask about the step you’re on. TryUncle sees your screen and points at the control you need, so you can keep learning in your own project.
Get TryUncle for Mac or WindowsKeep reading
Guides · Jul 10, 2026 · 26 min
How to Install LUTs in DaVinci Resolve: Folders and Fixes
Install LUTs in DaVinci Resolve: find the real LUT folder, apply them to a node instead of a clip, and fix the LUT-not-showing-up refresh bug for good.

Guides · Jul 7, 2026 · 35 min
How to Color Grade in DaVinci Resolve: The Basics
Learn how to color grade in DaVinci Resolve: build a node chain, balance shadows and highlights with Lift, Gamma, and Gain, and read the scopes.
Guides · Jul 12, 2026 · 39 min
How to Color Match Different Cameras in DaVinci Resolve
Match footage shot on different cameras in DaVinci Resolve with Color Space Transform, Color Match, and Shot Match, plus settings by camera brand.