Articles / Guidesupdated for DaVinci Resolve 21.0.1 (June 2026)
How to Install LUTs in DaVinci Resolve: Folders and Fixes
Quick answer
Drop .cube files into DaVinci Resolve's LUT folder, found via Project Settings, Color Management, Open LUT Folder, then click Update Lists. Apply the LUT to a node on the Color page, not the clip, and it works the same in the free version as in Studio. If a LUT won't appear, right-click the LUT Browser and hit Refresh.
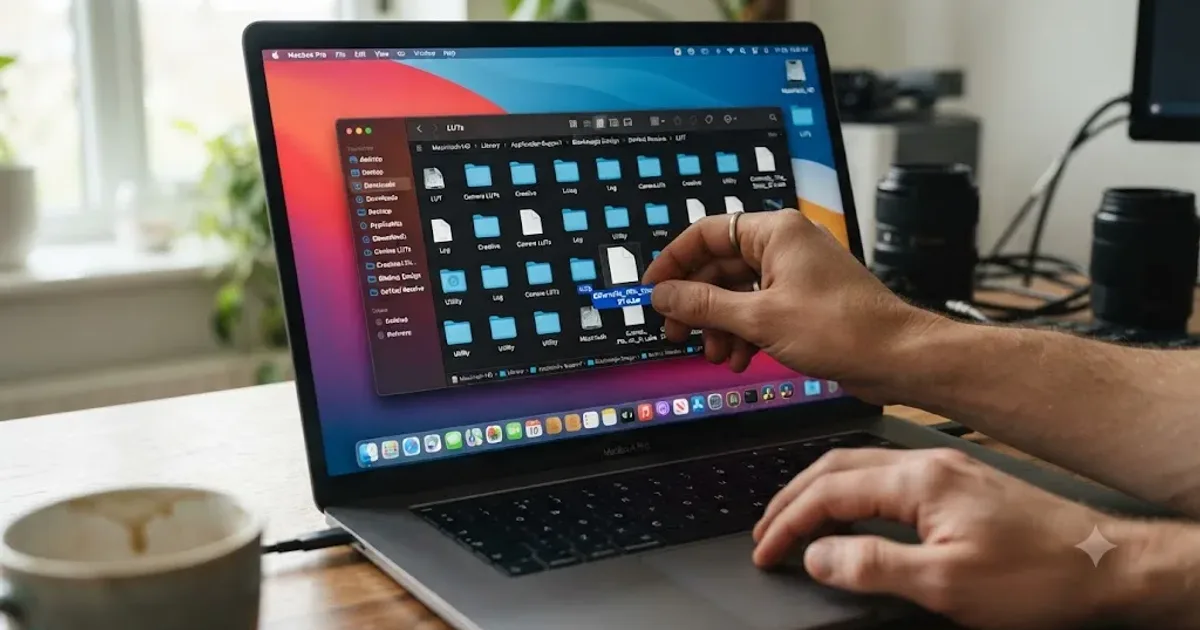
I installed my first LUT the way most people do: dragged a .cube file onto a clip, watched nothing happen, and spent twenty minutes convinced I'd broken something. I hadn't. I'd just skipped a refresh step nobody warns you about.
This guide covers the part everyone glosses over: where the LUT folder actually lives on your machine, why a perfectly good LUT sometimes refuses to show up, and how to apply it in a way that doesn't fight you six weeks into a project.
What is a LUT, and do you actually need to install one?
A LUT, short for lookup table, is a file that maps every possible input color to a specific output color. Drop one on a clip and the image transforms instantly, no manual grading required. Colorist Cullen Kelly puts the definition plainly in Frame.io's guide to the format: a LUT is "a list of numerical values used to transform an image's contrast and/or color."
Two kinds exist, and confusing them is where most beginner LUT problems start. A technical LUT converts between known, defined color spaces, log to Rec.709, S-Log3 to standard video gamma, and it's math, not opinion. A creative LUT, the kind you download in packs with names like "Teal Summer" or "Kodak Portra Emulation," bakes in an aesthetic choice with no obligation to be technically accurate. Kelly draws that same line: a technical LUT "accurately reproduces one or more mathematical translations between established image standards," while creative LUTs are "aimed at providing one or more aesthetic adjustments to your footage, without particular concern for technical accuracy."
You don't need to install anything to grade in DaVinci Resolve. The node system, covered in full in our color grading basics guide, does everything a LUT does and more, by hand, with total control. LUTs earn their place for two real reasons: speed, when you want a starting look in one click instead of ten node adjustments, and consistency, when a camera manufacturer's own conversion LUT is the fastest way to normalize footage from a specific sensor. Install one when either of those applies. Skip it when you're still learning the wheels, because a LUT applied too early hides the very adjustments you're trying to practice.
Where is the DaVinci Resolve LUT folder?
Three default paths, one per operating system, according to installation guides from Boris FX, Mastin Labs, and Gamut:
| OS | Default LUT folder |
|---|---|
| macOS | /Library/Application Support/Blackmagic Design/DaVinci Resolve/LUT/ |
| Windows | C:\ProgramData\Blackmagic Design\DaVinci Resolve\Support\LUT |
| Linux | /opt/resolve/LUT |
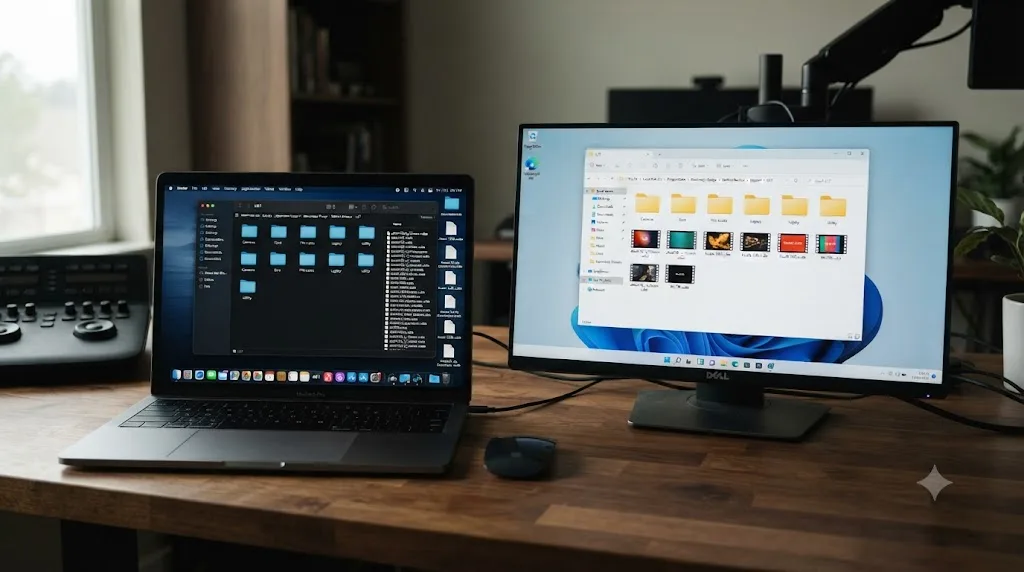
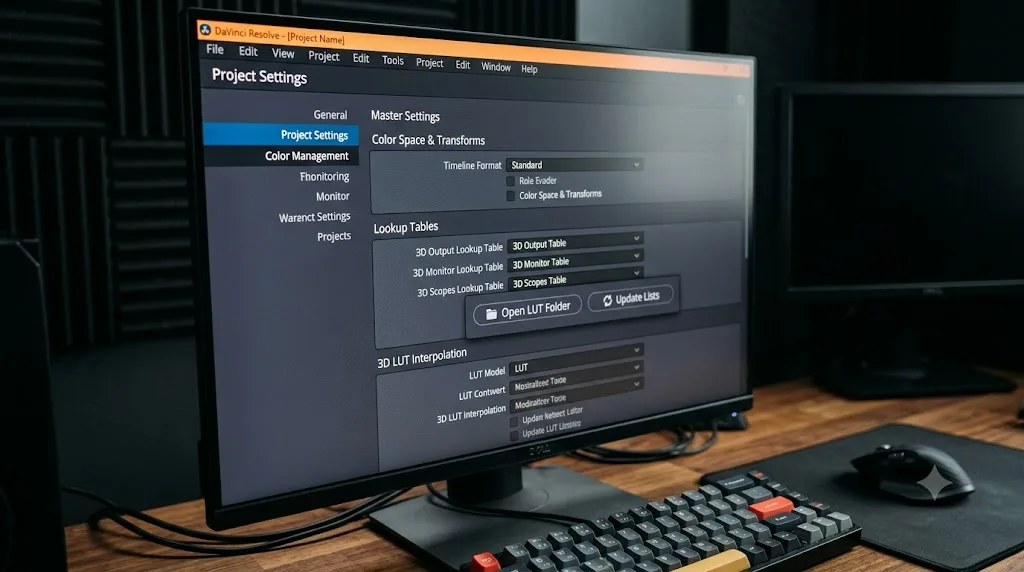
Never navigate to these folders by memory. Let Resolve open the real one for you. Go to File > Project Settings > Color Management, find the Lookup Tables section, and click Open LUT Folder. That button opens a Finder or File Explorer window pointed at the exact directory your installed copy of Resolve is currently reading from, which matters more than it sounds like it should.
Two reasons the memorized path can betray you. First, Windows hides the ProgramData folder by default, so typing the path from memory into a search bar that isn't showing hidden items looks like the folder doesn't exist. Second, and more consequential, if you installed the free version through the Mac App Store instead of downloading it directly from Blackmagic, Apple's sandboxing rules move the folder into the app's own private container, at a path that has nothing to do with the standard Library location. That distinction gets its own section below, because it trips up more people than any other step in this guide.
How do you install a LUT in DaVinci Resolve, step by step?
Five steps, and the whole thing takes under a minute once you've done it once.
- Open Project Settings. Click the gear icon in the bottom-right corner of the Resolve window, use File > Project Settings, or press Shift+9.
- Go to Color Management. It's in the left sidebar of the Project Settings window.
- Click Open LUT Folder. It sits under the Lookup Tables heading. Resolve opens a system file browser at the exact folder it reads LUTs from.
- Copy your .cube files into that folder. Drag them in from wherever you downloaded them. Subfolders work fine, and organizing by vendor or category, "camera conversions" versus "creative looks," pays off the moment your collection passes thirty files.
- Click Update Lists, then Save. Back in the Color Management panel, click Update Lists above the Open LUT Folder button, then click Save to close Project Settings.
That fifth step is the one people skip, and it's also the entire subject of the next section, because it's the single biggest reason people think LUT installation is broken when it isn't.
One clarification worth making before you copy a single file: this is a per-project setting, but the folder itself is shared across every project on the machine. Set it up once and every new project you create sees the same LUT library, no re-copying required.
Why won't your new LUT show up in DaVinci Resolve?
This is the question that sends people searching in the first place, and the answer is almost always the same: a missed refresh. Copying a file into the LUT folder doesn't tell Resolve anything changed. The app cached its LUT menu when it launched, or the last time you refreshed it, and it keeps showing you that cached list until you tell it to look again.
Copying a LUT file into the folder and refreshing Resolve's LUT list are two separate steps, and skipping the second one is the most common reason a LUT never appears. Two ways to force the refresh, and either one works from wherever you're currently working:
| Where you are | How to refresh |
|---|---|
| Project Settings, Color Management panel | Click Update Lists |
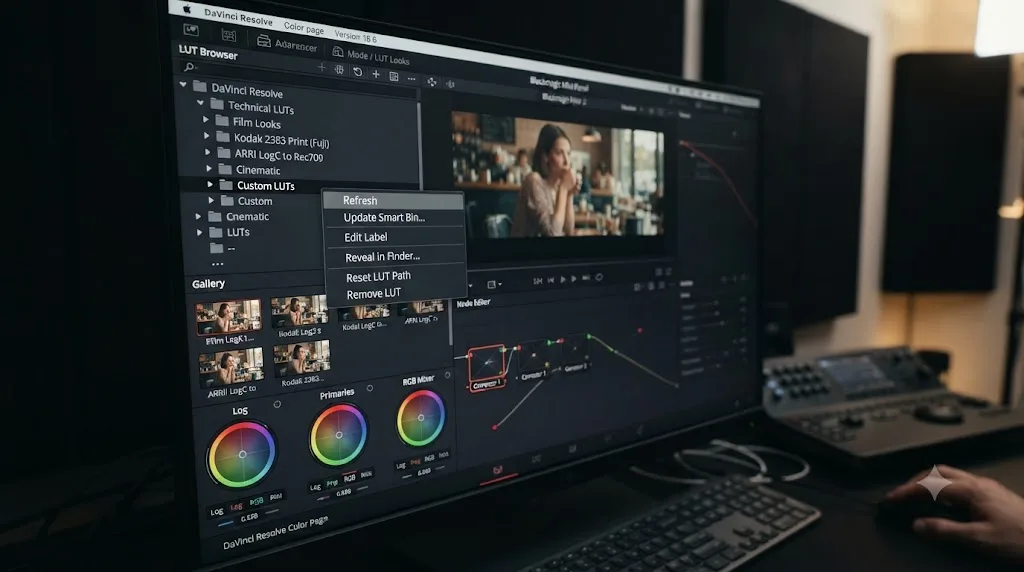
| Color page, LUT Browser panel | Right-click anywhere inside the panel, choose Refresh |
If neither refresh brings your LUT into view, work down this list before assuming something's broken:
- Confirm the file extension. Resolve wants a genuine .cube file. LUTs exported from some photo apps carry a .look, .3dl, or vendor-specific extension that needs converting first. Rename-to-.cube tricks don't work; the internal format has to match.
- Confirm you copied into the right folder. If you have a custom LUT location set in Preferences, covered later in this guide, a file dropped into the default folder won't show up if Resolve is only watching your custom path that session.
- Check for a corrupted download. A .cube file is plain text. Opening it in a text editor should show readable rows of RGB values and a header line like LUT_3D_SIZE. A file that opens as binary garbage downloaded incorrectly.
- Restart Resolve as a last resort. It shouldn't be necessary, but a small number of users report a full restart clearing a refresh that Update Lists alone didn't fix, particularly right after a version upgrade.
The refresh habit is worth building into muscle memory: every time you add new LUTs mid-session, whether from a new pack or a client sending over a reference look, refresh before you go looking for them in the browser. It removes an entire category of "is this broken" moments from your workflow.
How do you apply a LUT once it's installed?
Two ways exist, and only one of them belongs in a serious workflow.
Clip-level application lets you right-click a clip in the Media Pool or timeline and assign a LUT directly to it, before the node graph even starts. It sits underneath everything else you do in the Color page, invisible in the node editor, hard to spot later, and awkward to adjust in strength.
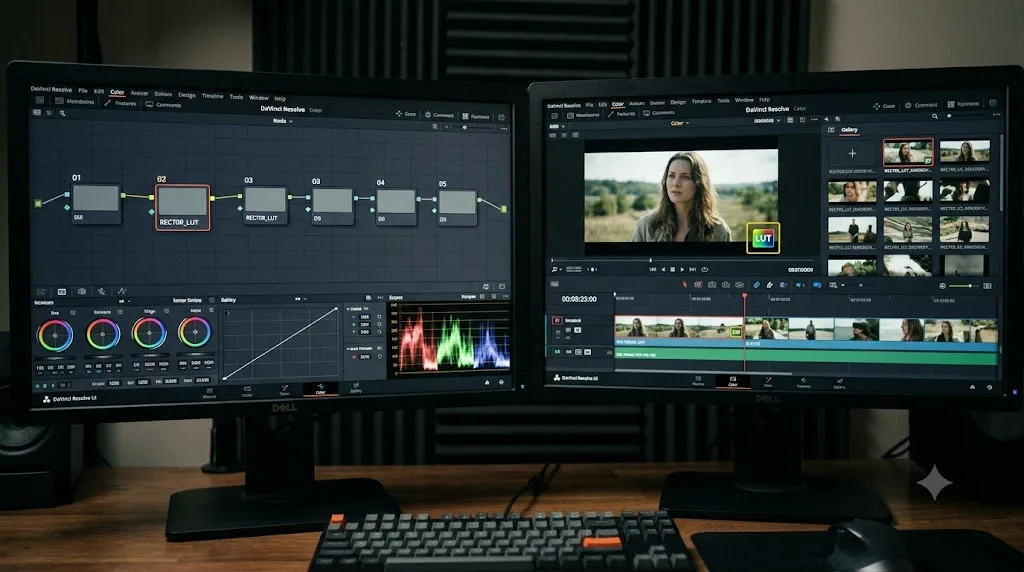
Node-level application is the one worth building the habit around. Add a dedicated serial node, right-click it, open the 3D LUT submenu, and pick your LUT, or simply drag the LUT from the LUT Browser panel straight onto the node. Now it's a visible step in the chain, like any other correction.
A LUT applied to its own node is easy to bypass, blend, reorder, or delete. A LUT applied to a clip is none of those things. Toggle a node off with Ctrl+D (Windows) or Cmd+D (Mac) to compare before and after in one click. Drag it earlier or later in the chain if you decide the look should apply before a secondary correction instead of after. None of that is available when the LUT lives on the clip itself.
There's a workflow reason this matters beyond convenience. Our color grading basics guide walks through why a grade should be built as a chain of single-purpose nodes rather than one giant stack of adjustments, so an undo six months from now touches one thing instead of untangling five. A LUT node follows that same rule. Give it its own node, label it, and it becomes a step you can reason about instead of a black box baked into the clip.
How do you control how strong a LUT looks?
A LUT is an all-or-nothing transform by design, full strength or nothing, which is exactly the problem when a downloaded look is too aggressive for your footage. The fix lives in the Key palette, not in the LUT menu itself.
Select the node carrying your LUT, open the Key tab, and find Key Output. Lowering the Gain value there blends the LUT's output back toward the image underneath it, the same trick used to dial back any node's intensity. A LUT at Key Output Gain 1.0 is applying at full strength; drop it to 0.5 and you're seeing an even mix of the graded and ungraded image.
Film emulation LUTs, the kind with heavy contrast and color casts baked in, usually want less strength than you'd guess from the preview thumbnail. A good starting range for most creative packs sits somewhere between 0.3 and 0.5 Key Output Gain, adjusted up or down once you can see it on your actual footage rather than the pack's marketing sample. Push much past 0.55 on a skin-heavy shot and most looks start reading as obviously processed rather than intentional.
This is also where the technical-versus-creative distinction from earlier pays off again. A technical conversion LUT, camera log to Rec.709, should generally stay at full strength, since diluting a mathematical conversion just introduces an error you didn't intend. Blending strength is a creative-LUT tool, not a technical-LUT one.
Do you need DaVinci Resolve Studio to use LUTs?
No. This is one of the more persistent myths floating around LUT tutorials, probably because so many of Resolve's other color tools, noise reduction, Magic Mask, Dolby Vision mastering, are genuinely Studio-only. LUTs aren't one of them.
LUT installation, application, and adjustment work identically in the free version and DaVinci Resolve Studio. Neither Blackmagic's free-version product page nor its Studio product page lists LUT support as a paid feature, and the installation steps in this guide are the same regardless of which version is running. If you've read our breakdown of the free-versus-Studio decision, you already know the pattern: Studio's color-specific additions cluster around Dolby Vision and HDR10+ mastering and the DaVinci Color Transform Language, not the basic lookup table workflow every editor uses.
Worth understanding that last piece, because it's easy to conflate. DCTL, DaVinci Color Transform Language, is a Studio feature, and it's a genuinely different technology from a LUT. Blackmagic's own Studio page draws the distinction directly: "Unlike LUTs, which rely on simple lookup tables, DaVinci color transformation scripts are GPU accelerated bits of code that directly transform images using combinations of math functions." A DCTL can do things a fixed lookup table structurally can't, adapt its math based on pixel values rather than a static grid, but it's a separate tool from the .cube LUT this guide covers, and it lives behind the Studio license. Your .cube LUTs don't.
What LUT file format does DaVinci Resolve actually use?
.cube, in the overwhelming majority of cases, but Resolve's manual lists a handful of formats worth knowing about if you're troubleshooting a file that won't load:
| Format | What it is | Notes |
|---|---|---|
| .cube | The standard 3D or 1D LUT format, in 17, 33, or 65-point grid sizes with 32-bit float processing | What nearly every downloaded LUT pack ships as |
| Panasonic VLUT | A format tied to the VariCam camera ecosystem | Resolve can both read and generate it |
| CLF (Common LUT Format) | An XML-based standard with mathematical transforms | Promoted by the Academy for use with the ACES color pipeline |
| DCTL | GPU-accelerated color transform scripts, not a lookup table at all | Studio-only, covered above |
Source: DaVinci Resolve's manual on supported LUT formats.
The 1D versus 3D distinction inside .cube matters more than the file extension does. A 1D LUT maps each color channel, red, green, blue, independently, which is enough for a simple brightness curve or a basic tone adjustment but can't describe a hue shift, since that requires the channels to interact. A 3D LUT maps combinations of all three channels together, which is why every creative look pack and every camera manufacturer's log-to-Rec.709 conversion ships as 3D. If a file you've downloaded refuses to produce the color shift you expected, check whether it's actually a 1D LUT mislabeled as a full creative look.
If someone hands you a LUT in a format Resolve won't read at all, a Premiere-native .look file or a proprietary plugin format, the honest answer is that you convert it before installing, not that you troubleshoot the install process further. Several free online LUT converters handle the common cases, and a 3D LUT converted to .cube behaves identically to one that started life in that format.
What's a technical LUT versus a creative LUT, and does it change how you install one?
Installation is identical either way, same folder, same refresh, same node application. What changes is where in your grade the LUT belongs, and getting that order backwards is the most common reason a correctly installed LUT still looks wrong.
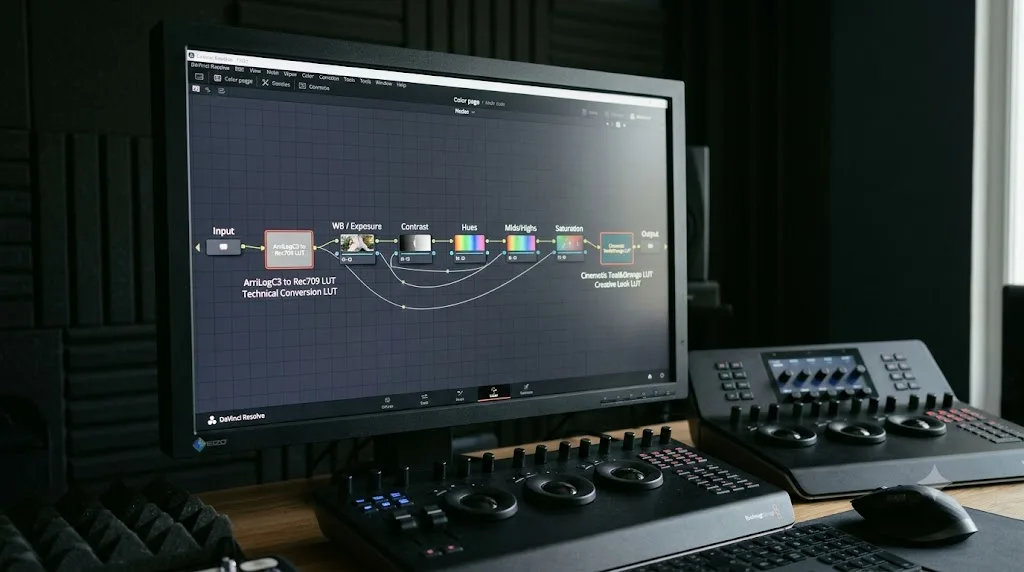
A technical LUT does a defined conversion: your camera's log profile into a standard viewing space. Apply it early, on log or RAW footage, before any creative decisions. This is the same role the Color Space Transform effect plays, covered in depth in our color grading basics guide, and for straightforward single-camera projects either tool gets you to the same normalized starting point.
A creative LUT is an opinion, not a conversion. It assumes it's being applied to footage that's already normalized and roughly balanced. Drop a creative look LUT directly onto raw log footage and it amplifies whatever's wrong underneath it instead of hiding it, which is exactly why so many downloaded looks never resemble the polished preview image they're sold with.
Cullen Kelly, the Los Angeles-based senior colorist whose credits include Netflix, HBO, and Hulu, describes exactly where he places creative LUTs in his own process, in Frame.io's guide to the format:
"As a colorist, I almost always have a hand-built look LUT at the very end of my processing chain."
That's the rule worth internalizing: technical LUT first, balancing nodes in the middle, creative LUT last. A LUT applied at the wrong point in the node chain can look like a broken install when the installation was never the problem. If a look LUT reads muddy, oversaturated, or nothing like its preview thumbnail, check the node order before you check the file.
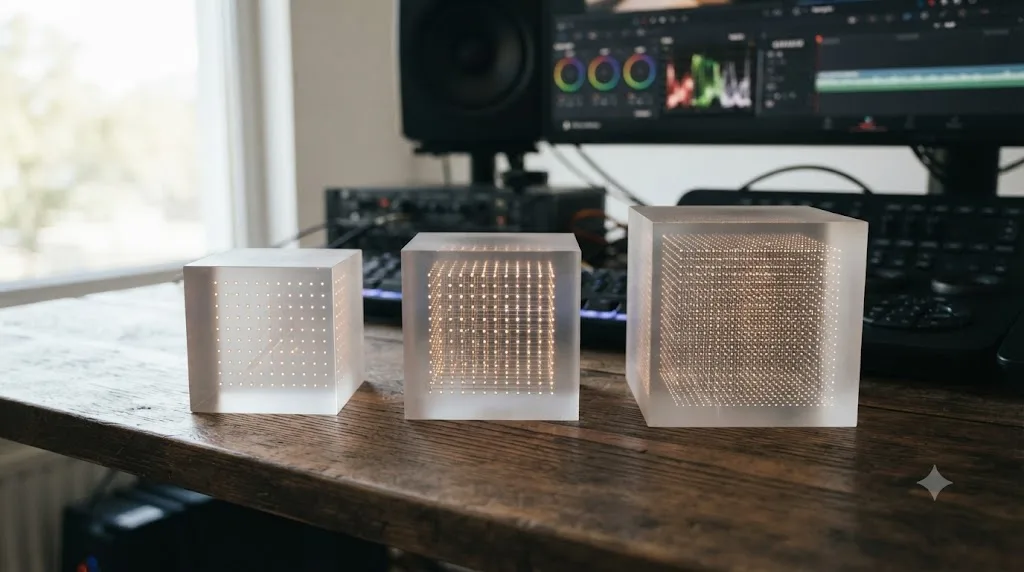
Should you use a 17-point, 33-point, or 65-point LUT?
The number describes how many evenly spaced sample points sit along each axis of the cube, and it directly trades file size and precision against hardware compatibility.
| Grid size | Reference points | Best for |
|---|---|---|
| 17-point | 4,913 | On-set monitoring, loading onto a camera or field monitor |
| 33-point | 35,937 | Universal compatibility; the standard most camera manufacturers and look-pack vendors ship as default |
| 65-point | 274,625 | Maximum precision for a final grade inside an NLE on a workstation |
A 65-point LUT packs roughly 7.65 times more reference points into the same color volume than a 33-point version, according to a breakdown of LUT grid sizes, which means less interpolation between defined points and smaller estimation error in the final image. That precision has a real-world cost, though: most cinema cameras, mirrorless bodies, and portable field monitors only support 17 or 33-point cube files. Load a 65-point LUT onto a camera's LUT slot and it typically won't even appear in the device's own browser.
For DaVinci Resolve installation specifically, the practical answer is simpler than the table above suggests: use whatever the vendor gives you. Most commercial LUT packs, camera manufacturer conversions, and free downloads ship at 33-point, which is more than adequate for grading inside Resolve on a workstation. Reach for 65-point specifically when a colorist has provided one for a final master, and reserve 17-point files for their actual purpose, loading onto a camera or monitor rather than grading inside the app.
What does "Missing LUT" mean, and how do you fix it?
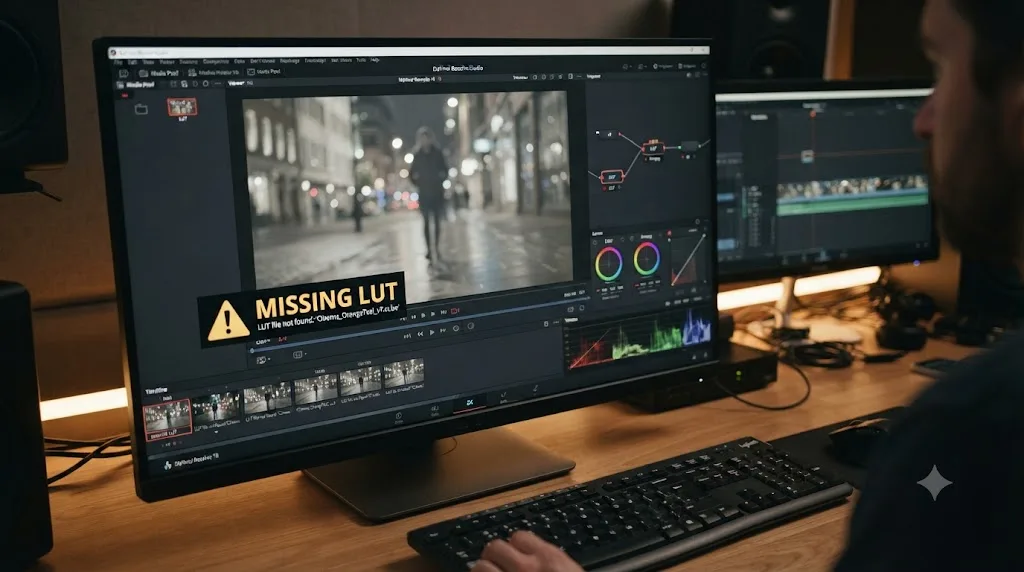
You open a project, and instead of your grade, you see a warning: a name, or a count of names, overlaid at the bottom right of the clip in the viewer. According to DaVinci Resolve's manual, "clips with missing LUTs show an overlay at the bottom right of the screen indicating the name of the LUT if a single LUT is missing, or an indicator that multiple LUTs are missing." The LUT Browser gains a Missing LUTs tab the moment any node in the project references a file Resolve can't currently find.
This is a different problem from the refresh issue covered earlier. A refresh problem means the LUT is in the folder and Resolve just hasn't reloaded its list. A missing LUT means the file the project is looking for genuinely isn't in any folder Resolve currently searches. Three situations cause it in practice:
The project moved to a different computer. The most common cause by far. You graded on your desktop, opened the project on a laptop, and the laptop's LUT folder never received a copy of the LUTs you used. The fix is straightforward but manual: copy the missing files into the new machine's LUT folder, using Project Settings > Color Management > Open LUT Folder to confirm exactly where that is on this machine, then click Update Lists.
Someone deleted or renamed the original file. LUT collections get reorganized. A LUT referenced by name in a project stays broken if that exact filename disappears, even if a functionally identical file exists elsewhere with a different name.
A custom LUT path points at a folder that no longer exists. Studios and larger teams sometimes redirect Resolve's LUT search away from the default folder entirely, using the BMD_RESOLVE_LUT_DIR environment variable, covered in the next section. If that variable points at a network drive or shared folder that's offline or was moved, every LUT in the project shows as missing, even though nothing about the LUTs themselves changed.
Whichever cause applies, the recovery path is the same: get the actual .cube file back into a folder Resolve is searching, refresh the list, and the Missing LUTs tab clears itself once the name resolves.
How do you install LUTs on the Mac App Store version of Resolve?
Differently, and this single distinction causes more confusion than any other part of LUT installation on Mac.
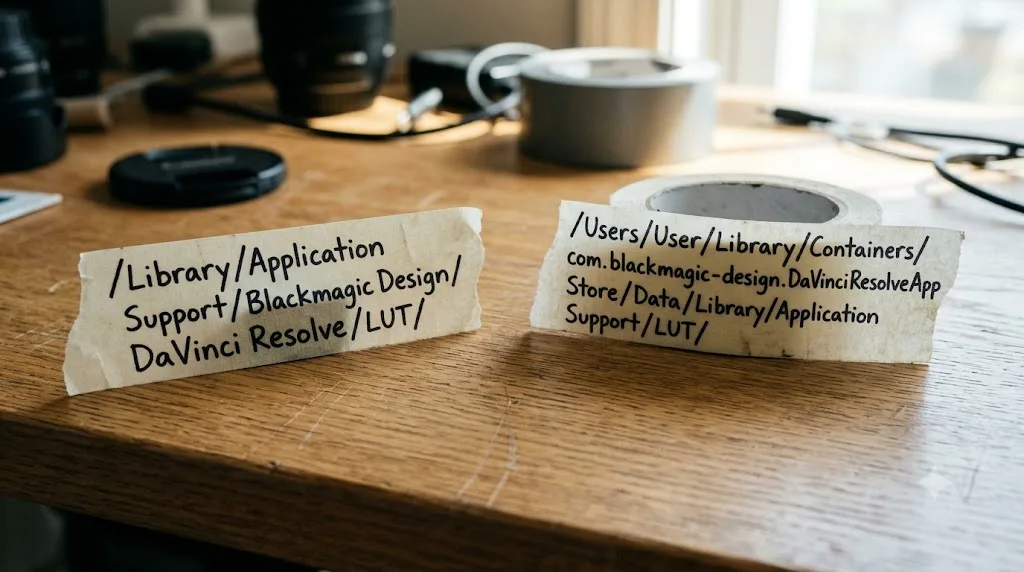
Blackmagic distributes the free version of Resolve two ways on Mac: a direct download from its own website, and a listing on the Mac App Store. The direct download installs like ordinary Mac software, and its LUT folder sits at the standard path, /Library/Application Support/Blackmagic Design/DaVinci Resolve/LUT/. The Mac App Store version is different because Apple requires App Store apps to run inside a security sandbox, which walls off the app's files, including its LUT folder, into a private container path that isn't the Library folder anyone expects.
If you copy LUT files into the standard Library path and you're running the Mac App Store build, Resolve will never see them, because it isn't reading from that folder at all. Resolve's own manual acknowledges this directly for macOS App Store users specifically: clicking Open LUT Folder in the Lookup Tables panel of Project Settings "open[s] up a Finder window at the location these LUTs are stored," which is the sandboxed container, not the Library path.
The fix is the same instinct this whole guide keeps returning to: stop guessing the path, and let the software show you. Open Project Settings > Color Management > Open LUT Folder from inside Resolve itself, every time, on every machine, regardless of which version you installed. That button always opens the correct folder for your specific install, sandboxed or not, and it removes the entire class of "I copied it to the right place and it still doesn't work" problems that the standard path assumption creates.
How do you add a custom LUT folder instead of using the default one?
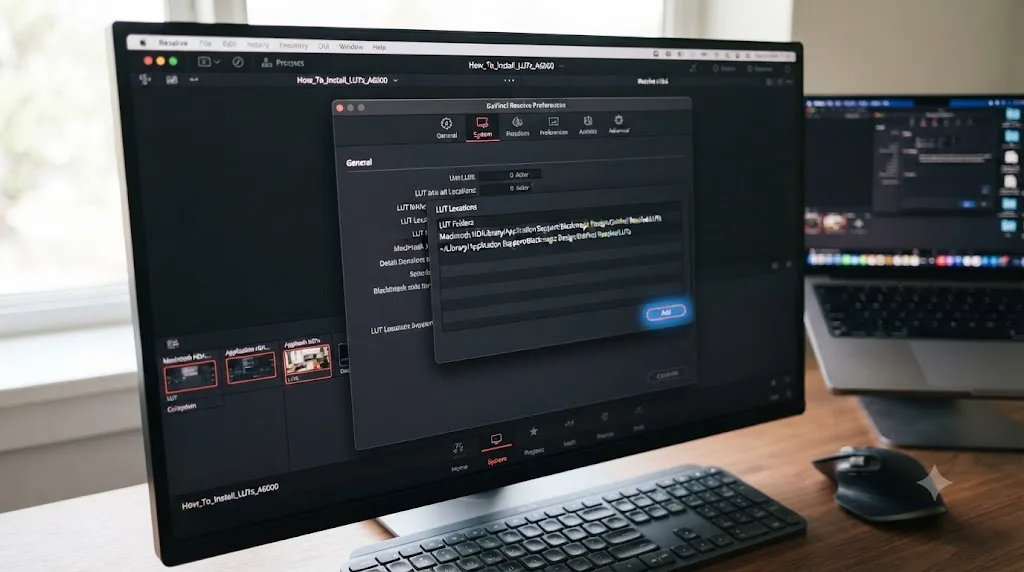
Resolve doesn't limit you to one folder. A second, independent setting lets you point the app at any additional location on your drive, useful the moment your LUT collection is large enough that you'd rather organize it somewhere outside a system folder buried three directories deep.
Go to DaVinci Resolve > Preferences on Mac, or DaVinci Resolve > Preferences from the menu bar on Windows and Linux, open the System tab, and find the General panel. Under LUT Locations, click Add and navigate to whatever folder holds your LUTs, a Dropbox-synced library, an external drive, or just a more sensible spot in your Documents folder than the default path offers. Resolve's own manual confirms this is by design, not a workaround: "A list in the General panel of the System Preferences lets you add multiple locations."
This solves a real organizational problem. The default LUT folder lives inside a system directory, ProgramData on Windows or the top-level Library folder on Mac, both of which are the kind of place you'd rather not manually manage a growing library of hundreds of downloaded looks. Point Resolve at a folder you actually control, and you get the same installation and refresh workflow covered earlier, just pointed somewhere more convenient.
One consequence worth planning around: a LUT folder added this way is a per-machine Preferences setting, not something that travels with the project file. Move to a second computer and you'll need to add the same custom path there too, or the LUTs referencing it will show up as missing under the exact mechanism covered in the previous section.
How do you share a LUT folder across a whole team?
Individual editors can get away with copying files by hand. A team can't, not without every missing-LUT headache from earlier multiplying by the number of seats in the studio.
The most direct answer, for Linux and Mac users comfortable with a terminal, is an environment variable Resolve has supported since version 16: BMD_RESOLVE_LUT_DIR. Set it to a shared network location, and every machine reading that variable searches the same folder instead of its own local one. A contributor on the Lift Gamma Gain colorist forum, discussing exactly this setup, described the requirement plainly: "The location of the LUTs directory. The location needs to be accessible by all users." That last part is the part people get wrong: point the variable at a path only your machine can see, and everyone else's Resolve install will report every LUT in the project as missing the moment they open it.
A few implementation options, gathered from the same forum discussion, depending on your infrastructure:
| Approach | How it works | Best for |
|---|---|---|
| BMD_RESOLVE_LUT_DIR environment variable | Redirects Resolve's LUT search to a shared path directly | Teams on a consistent network share |
| Symbolic links | Point the local LUT folder at a shared location with a symlink | Studios that want to keep the default folder path working normally |
| Cloud sync (Dropbox, Nextcloud) | Keeps LUT folders identical across machines that aren't always on the same network | Remote or hybrid teams |
On Mac, setting an environment variable that a GUI app like Resolve can actually see requires more than a shell profile edit, since Terminal environment variables don't automatically propagate to apps launched from the Dock or Finder. The forum thread's suggested workaround is an environment.plist file placed in ~/Library/LaunchAgents, which sets the variable at login in a way GUI apps do pick up.
For most small teams, the honest recommendation is simpler than any of this: keep a single shared folder in cloud storage, and have everyone use the custom LUT Locations setting from the previous section to point at their local sync of it. It's less elegant than an environment variable, but it doesn't require anyone to touch a terminal, and it fails in a way that's easy to diagnose, an out-of-sync folder, rather than an invisible misconfigured variable.
What mistakes make an installed LUT look wrong anyway?
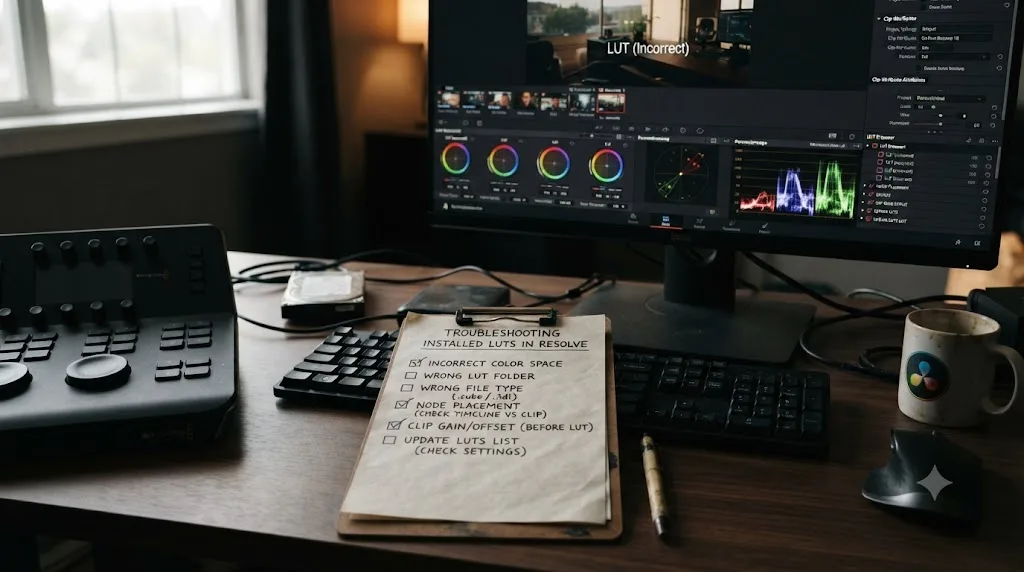
Installation succeeded, the LUT shows up in the browser, it's on a node, and the shot still looks wrong. Usually it's one of these, not a broken install.
| Mistake | Why it happens | The fix |
|---|---|---|
| A creative LUT applied to raw log footage | The LUT expects a normalized image and amplifies the flat, gray starting point instead | Normalize with a technical LUT or Color Space Transform first, creative LUT last |
| The LUT applied twice | Once at the clip level, once again on a node, stacking the transform | Pick one application method, node-level, and remove the clip-level assignment |
| A 1D LUT mistaken for a full creative look | 1D LUTs can't produce hue shifts, only tonal ones | Check the file's header; a genuine creative look needs a 3D LUT |
| Wrong input color space assumption | A LUT built for S-Log3 applied to Rec.709-already-graded footage, or vice versa | Match the LUT's intended input space to what the clip actually is before the node |
| Stale render cache showing an old preview | Resolve is displaying a cached frame from before the LUT was added | Right-click the clip and clear the render cache, or toggle Playback > Render Cache off and on |
| The LUT node placed after the look node instead of before it | Order in a serial chain matters; a technical conversion after a creative grade reprocesses an already-styled image | Reorder the nodes so technical conversions sit upstream of creative ones |
A correctly installed LUT that looks wrong is almost never a software bug. It's a node-order or input-assumption problem, and both are fixable in under a minute once you know which one it is. Work down this table before assuming the file itself is broken; a genuinely corrupted .cube file is rare compared to these ordering mistakes.
Can you export your own LUT from a DaVinci Resolve grade?
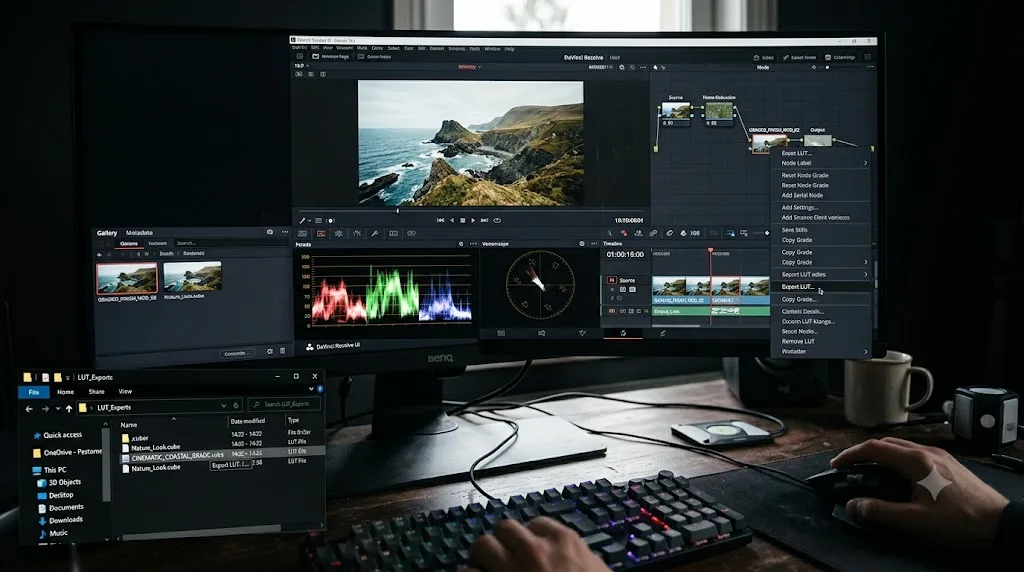
Yes, and it's worth knowing once you're comfortable installing other people's LUTs, because it closes the loop: build a look by hand in nodes, then bake it into a portable file you can reuse anywhere a LUT is accepted, including outside Resolve entirely.
Build the look on a node or a short chain of nodes the way you normally grade, then right-click the node, or select the range of nodes, and look for the Generate 3D LUT or Export LUT option in the context menu. Resolve asks for a grid size, 17, 33, or 65-point, matching the same tradeoffs covered earlier: pick 65-point for a workstation master, 33-point if the LUT needs to travel to a camera or field monitor too.
This is different from saving a PowerGrade, covered in our color grading basics guide, in one important way. A PowerGrade or exported still carries the full node graph, editable, reversible, tied to Resolve's own gallery system. An exported LUT is a flattened, one-way snapshot, a lookup table baked from that node's math at export time. Use PowerGrades for looks you expect to keep adjusting inside Resolve. Export an actual LUT file when the destination is somewhere else entirely, a client's NLE, a camera, a field monitor, or another colorist's toolkit who doesn't use Resolve at all.
Does DaVinci Resolve 21 change anything about how LUTs work?
Not the mechanics. The folder, the refresh step, the node-level application, all of it is the same in Resolve 21 as it's been for several major versions. What did change is where you can use a LUT once it's installed.
Resolve 21 introduced a full Photo page for editing and grading still images, and it reuses the same node system video grading has always used rather than building a separate tool for stills. That means a LUT you've already installed for video grading is available on the Photo page too, applied the same way, on the same kind of node, with the same LUT Browser panel. If you shoot both video and stills for a project, a single LUT library now serves both without any extra setup.
The other relevant change is smaller but useful once your node graphs grow: Resolve 21's new layers view lists a clip's nodes in rows instead of a scattered flowchart, which makes a LUT node easier to find and label correctly once a grade has six or eight nodes stacked around it. Neither change affects installation itself; both just make a LUT easier to manage once it's part of a real project.
What if you're still stuck after all of this?
Rebuild from zero rather than debugging a project that's already tangled. Nine times out of ten, starting clean surfaces the actual problem in under two minutes, faster than continuing to poke at a broken state.
- Open Project Settings > Color Management > Open LUT Folder and confirm your .cube file is physically sitting inside the folder that opens. Not a folder you think is the right one. The one that actually opened.
- Click Update Lists, then open the Color page and check the LUT Browser directly, right-clicking to Refresh if it's still not there.
- Create a brand-new, empty project, drop in any single clip, add one serial node, and apply the LUT to it. If it works here and not in your real project, the problem is something specific to that project, most likely a stale render cache or a conflicting clip-level LUT already assigned.
- If it fails even in the clean project, the file itself is the problem. Open it in a plain text editor and confirm it's readable .cube syntax, not a renamed file in a different format.
If you get this far and you're still stuck on a control somewhere in Resolve's interface rather than the LUT itself, TryUncle is an AI tutor that looks at your actual Resolve window and points at the specific control you're missing, instead of sending you back through a video tutorial looking for a ten-second answer. And if the LUT itself is doing something unexpected once it's clearly installed and applying, our color grading basics guide covers the node-order and normalization habits that make a LUT behave predictably inside a real grade rather than fighting the rest of your correction. Heavy LUT stacks alongside other effects can also strain your GPU at 4K; if playback stutters once several LUT and correction nodes are active, our GPU memory guide covers the fixes.
Where do you go from here?
Open LUT Folder, copy the file, Update Lists, apply it to its own node, never to the clip. That's the entire mechanical process, and everything else in this guide is what to do when one of those five steps quietly fails.
Install one real LUT today, a camera manufacturer's conversion or a look pack you've been meaning to try, and watch where it actually lands in Project Settings before you touch anything else. Once you've done that once, deliberately, the folder stops being a mystery and starts being a place you manage on purpose, on every project after this one.
Frequently asked questions
- Where is the DaVinci Resolve LUT folder?
- On Mac it's /Library/Application Support/Blackmagic Design/DaVinci Resolve/LUT/, on Windows it's C:\ProgramData\Blackmagic Design\DaVinci Resolve\Support\LUT, and on Linux it's /opt/resolve/LUT. The reliable way to find it on your specific machine is Project Settings > Color Management > Open LUT Folder, which opens the exact folder Resolve is reading from.
- Why isn't my new LUT showing up in DaVinci Resolve?
- Almost always a missed refresh. Copying a .cube file into the LUT folder doesn't update Resolve's menus by itself. Click Update Lists in Project Settings > Color Management, or right-click inside the LUT Browser on the Color page and choose Refresh. Check the file is a genuine .cube before anything else.
- Do I need DaVinci Resolve Studio to use LUTs?
- No. LUT installation, application, and adjustment work identically in the free version and Studio. Neither Blackmagic's free-version product page nor its Studio page lists LUT support as a paid feature. Studio's color-only additions are Dolby Vision/HDR10+ mastering and DaVinci Color Transform Language scripts, not LUTs.
- Should I apply a LUT to a clip or to a node?
- To a node, on its own, added specifically for that purpose. A node-level LUT is easy to bypass, blend with the Key Output Gain slider, reorder in the chain, or delete without touching anything else. Clip-level LUT application still exists in Resolve but gives you none of that control.
- What LUT file format does DaVinci Resolve use?
- Mainly .cube, in both 1D and 3D variants, at 17, 33, or 65-point grid sizes with 32-bit float processing. Resolve also reads Panasonic's VLUT format, CLF (Common LUT Format, an XML-based standard used with ACES), and DaVinci Color Transform Language (DCTL) files, which are GPU scripts rather than lookup tables.
- Why does DaVinci Resolve say a LUT is missing?
- The LUT referenced by that node isn't in a folder Resolve currently searches. This happens most often when a project moves to a different computer, when someone deletes or renames the original file, or when a custom LUT path set with the BMD_RESOLVE_LUT_DIR environment variable points at a folder that doesn't exist on this machine.
- Should I use a 17-point, 33-point, or 65-point LUT?
- For grading inside Resolve on a workstation, use 33-point or 65-point; most downloaded look packs ship at 33-point and that's fine for finishing web and broadcast work. Reserve 17-point files for loading onto a camera or field monitor for on-set reference, since most hardware LUT boxes only read 17 or 33-point cubes.
- Can I install LUTs on the Mac App Store version of DaVinci Resolve?
- Yes, but the folder is different because Apple's sandboxing rules move it into the app's own container instead of the standard Library path. Don't assume the usual Mac path applies. Open Project Settings > Color Management > Open LUT Folder inside Resolve itself and copy your files into whatever Finder window that button opens.
Sources
- DaVinci Resolve product page (free version)
- DaVinci Resolve Studio product page (DaVinci Color Transform Language, Dolby Vision, HDR10+)
- DaVinci Resolve - Color (Blackmagic Design)
- How to Add LUTs to DaVinci Resolve in 4 Steps (Boris FX)
- How To Install LUTs in DaVinci Resolve, Step-by-Step Guide (Mastin Labs)
- How to Install LUTs in DaVinci Resolve in Under One Minute (Gamut)
- How to Use LUTs in DaVinci Resolve: Install, Apply & Fix (DaVinci Resolve Club)
- The Essential Guide to LUTs, featuring colorist Cullen Kelly (Frame.io Insider)
- DaVinci Resolve Manual: Supported LUT Formats (VFXPedia mirror)
- DaVinci Resolve Manual: LUT Controls in the Project Settings (VFXPedia mirror)
- DaVinci Resolve Manual: Missing LUTs (VFXPedia mirror)
- LUT folder syncing across machines (Lift Gamma Gain colorist forum)
- 33-Point vs 65-Point LUTs: Grid Size and Accuracy Explained (Ale Stemple)
- Where Are DaVinci Resolve LUTs Stored? (FreeVisuals)
Put this guide to work with TryUncle.
Ask about the step you’re on. TryUncle sees your screen and points at the control you need, so you can keep learning in your own project.
Get TryUncle for Mac or WindowsKeep reading

Guides · Jul 7, 2026 · 35 min
How to Color Grade in DaVinci Resolve: The Basics
Learn how to color grade in DaVinci Resolve: build a node chain, balance shadows and highlights with Lift, Gamma, and Gain, and read the scopes.
Comparisons · Jul 7, 2026 · 28 min
DaVinci Resolve Studio Price: Free vs. Studio Cost, Explained
DaVinci Resolve Studio costs $295, paid once, not monthly. Here's exactly what that buys, how it stacks up against Premiere Pro and Final Cut Pro, and who needs it.
Guides · Jul 7, 2026 · 32 min
DaVinci Resolve for Beginners: The Complete Starter Guide
Learn DaVinci Resolve from zero: what it costs, what it needs to run, the seven pages you'll actually use, and the steps to cut your first project.