Articles / Guidesupdated for DaVinci Resolve 21.1 (September 2026)
How to Use DaVinci Resolve 21 Photo Page
Quick answer
To learn how to use DaVinci Resolve 21 Photo page, import stills, create a Photo Album, select a photo, adjust RAW and photo controls, then use Color page nodes, ratings, flags, and Lightbox to refine the set. Export one image or the album from Quick Export or Deliver. Resolve 21.1 is the September 2026 reference.
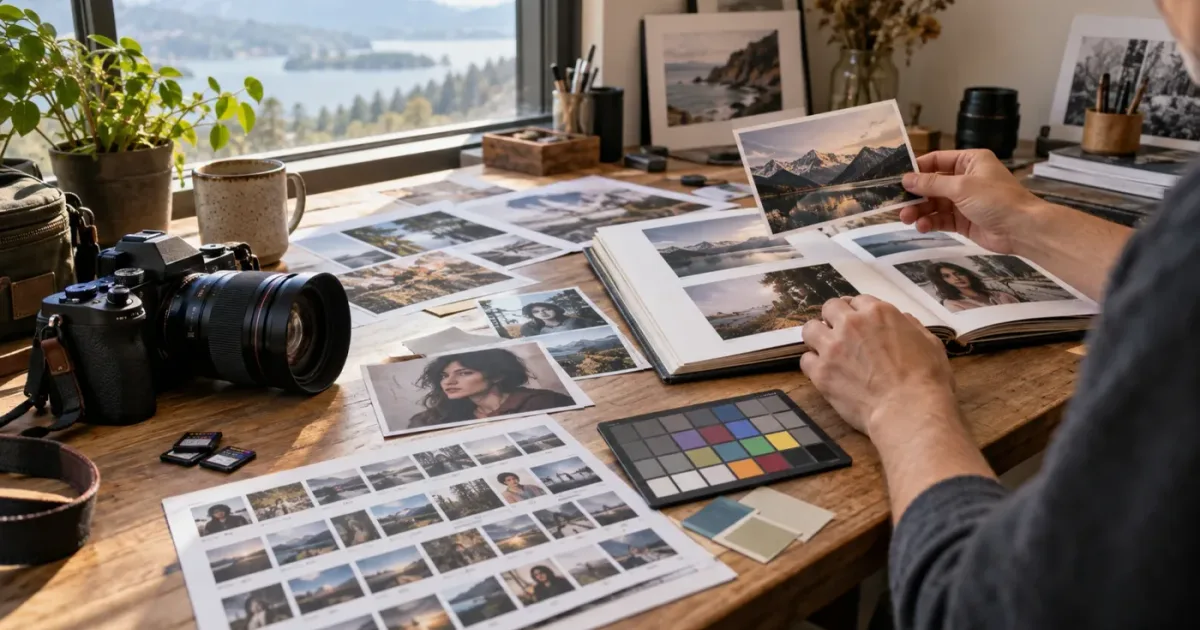
DaVinci Resolve 21 finally gives still photographers a first-class home inside the same application used for editing, color, Fusion, and delivery. The useful part isn't the novelty of another page. It's the way a Photo Album lets you move from a folder of images to a consistent, repeatable grade.
As of September 2026, this guide uses DaVinci Resolve 21.1 as the reference point. We run a 100,000+ member professional video-editing community, and we've spent 7+ years in commercial video editing. That gives us a simple rule for this feature: learn the container first, then the controls.
What is the DaVinci Resolve 21 Photo page for?
The DaVinci Resolve 21 Photo page is a still-image workspace for importing, organizing, adjusting, grading, and exporting photographs inside a Resolve project. It is built around Photo Albums, while the Color, Edit, Cut, and Fusion pages remain available for deeper work.
Blackmagic's DaVinci Resolve 21 New Features Guide describes the Photo page as a place to manage, organize, and grade photo projects with Resolve's native color tools. Its list includes primary correction, curves, qualifiers, Power Windows, and the node editor. The Photo page also passes full-resolution stills into the Cut, Edit, Color, and Fusion pages.
DaVinci Resolve 21's Photo page is a still-image workspace built around Photo Albums, not a video timeline.
That distinction matters. A timeline assumes a frame rate and a sequence of time. A Photo Album is a curated collection of stills. Blackmagic's guide says photos are resolution and frame-rate independent, while timelines are not. So if your task is to make twenty wedding portraits feel like one set, start with an album. If your task is to animate those portraits into a video, move the selected stills to the Edit page after the grade.
The Photo page is a good fit for four jobs:
- A photographer who wants consistent color across a collection.
- A colorist who wants to apply a familiar node workflow to stills.
- A filmmaker who needs stills for a title sequence, slideshow, or reference board.
- A team that wants photo metadata, ratings, flags, and grades to travel with the project.
It is not a replacement for every dedicated photo application. If you mainly need catalog management, retouching, or a mature print workflow, compare the Photo page with the application you already trust. Resolve's advantage is the bridge between stills and post-production.
How do you open and set up the Photo page?
Open a desktop DaVinci Resolve 21 project, then choose Photo from the page bar. Start with a new project for a new photo job, or use an existing project when the stills need to join a video edit, grade, or Fusion composition.
The Photo page toolbar controls the workspace. Blackmagic's guide identifies controls for the Media Pool, Effects Library, Photo Album, Quick Export, Metadata, Capture, and Inspector. You don't need every panel open at once. For a first pass, keep the Media Pool, Album, Viewer, and Inspector visible. Open Effects only when you know what you want to search for.
Before importing, make three decisions:
- What is the deliverable? Decide whether you are making finished stills, a video slideshow, a graded reference set, or a handoff to another person.
- What is the source? Decide whether you are importing rendered images, camera RAW files, a Lightroom catalog, a macOS Photos selection, or a Blackmagic Cloud folder.
- What is the unit of organization? Decide whether an album represents a shoot, a client selection, a scene, a product line, or a final delivery batch.
That third decision saves time later. A bin is a general Media Pool container. An album is the working set you will browse, grade, filter, version, and export.
The Photo page has a focused Media Pool. The Resolve 21 guide says it shows still images and albums for the current project, while video, audio, timelines, and effects clips are hidden from this page. Those items still exist in the project. They are simply outside the Photo page's focus.
How do you import photos into DaVinci Resolve 21 Photo page?
To import photos into the DaVinci Resolve 21 Photo page, click the import icon at the top of the Media Pool and choose Import Media or Import Media Folder. You can also right-click in the Media Pool and choose Import Media.
The quickest path is:
- Open the Photo page.
- Click the Import Media list icon in the Media Pool.
- Choose Import Media for selected files or Import Media Folder for a folder of images.
- Select the files or folder in the file dialog.
- Confirm the import and wait for the thumbnails to appear.
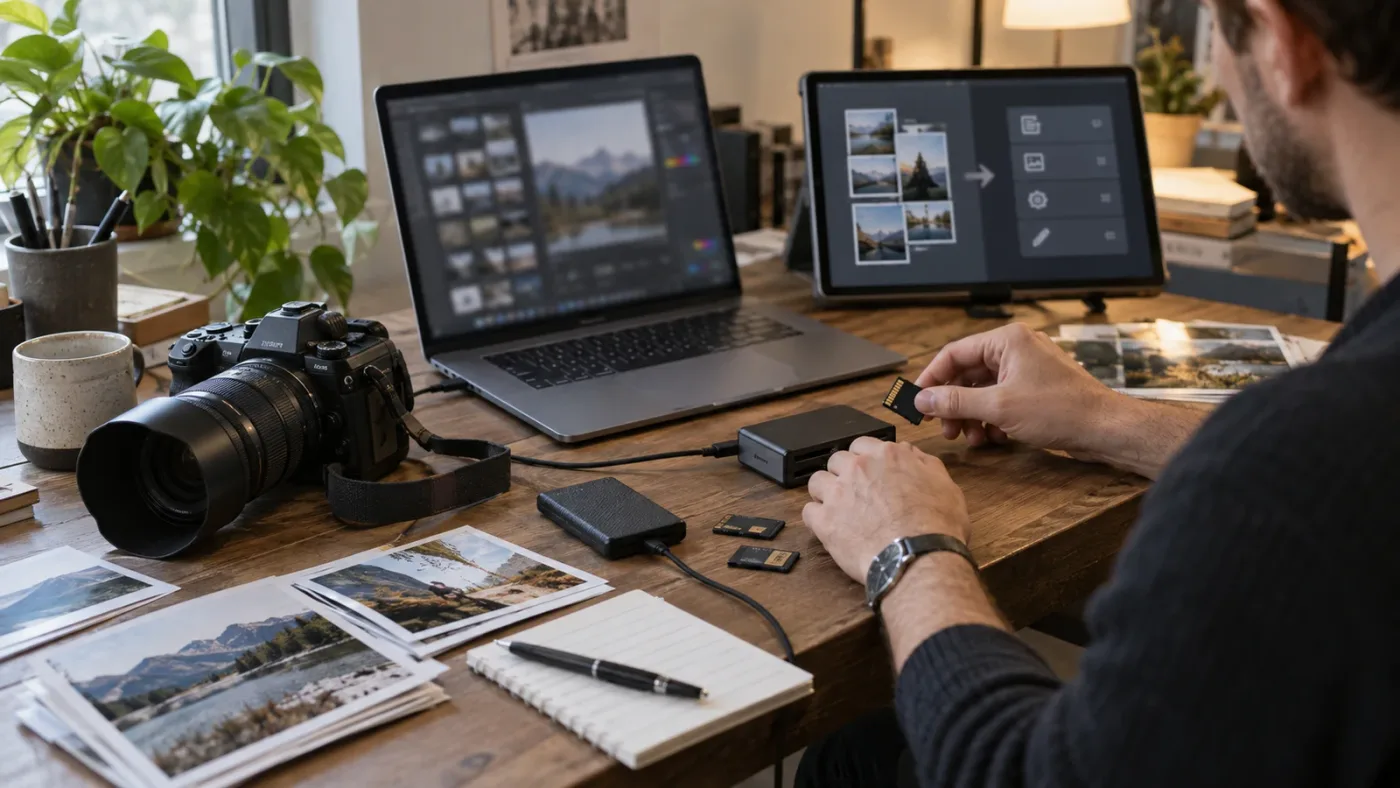
The Resolve 21 guide lists extra import routes. On macOS, Import from Photos opens Apple's Photos app for selection. Import from Lightroom imports an Adobe Lightroom Catalog. Import Blackmagic Cloud Folder links a Cloud folder and imports the photos stored there. These options are useful, but they don't change the main idea: the imported stills become project media before you make an album.
Don't make your first album while you are still deciding whether the files belong in the project. Import the candidates into the Media Pool, remove obvious mistakes, then create the album from the final working set. This keeps your album meaningful and makes later filters easier to understand.
RAW files deserve one pause before you start grading. The Inspector exposes RAW and debayered photo parameters, and the Metadata panel can show fields such as ISO, shutter speed, aperture, white balance, image format, resolution, and color space. Resolve 21.1 also expanded native photo camera support to include Fujifilm GFX and X series, Leica SL, and Sony A7R V1 formats, according to Blackmagic's September 8, 2026 announcement. Check the current 21.1 manual and your camera's support status before building a paid workflow around a new format.
If you import a folder and the images appear in the wrong project, stop and verify the active project before making adjustments. The Photo page stores the work in the Resolve project. It does not create a separate hidden catalog that you can safely move between projects without planning.
How do you build a Photo Album that stays organized?
Create a Photo Album by right-clicking in the Media Pool and choosing New Photo Album, or by choosing File > New Photo Album. Then select photos in the Media Pool, right-click, and choose Add Photo(s) to Album.
Use this eight-step culling pass:
- Create one album for the job or delivery set.
- Add only the photos that belong to that set.
- Mark rejects with the reject flag.
- Mark usable images with a good-take or favorite tag.
- Assign one-to-five stars to images you may deliver.
- Use clip colors for broad visual groups such as location or lighting.
- Add keywords for searchable subjects, people, or scenes.
- Sort and filter before starting the grade.
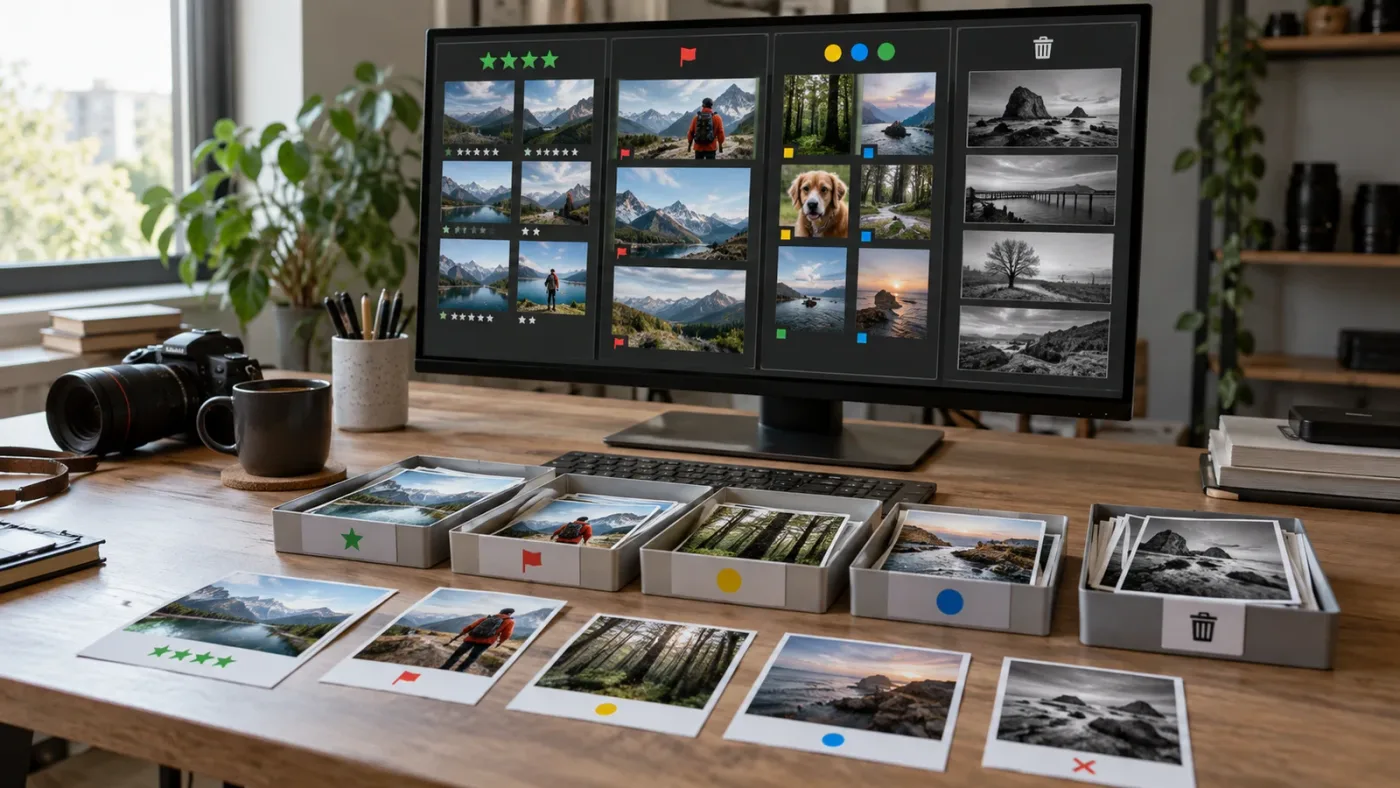
The exact tools are useful because they answer different questions. A reject flag answers, “Should this stay in the working set?” A star rating answers, “How strong is this choice?” A color tag answers, “Which group does it belong to?” A keyword answers, “How will I find it later?”
The guide documents filters for tags, ratings, flags, clip colors, keywords, and sort order. It also documents more advanced filtering by attributes such as graded versus ungraded, people, and photos modified in the last X hours. That is enough to build a small contact sheet, a shortlist, or a delivery batch without dragging images through the Media Pool one by one.
A 1-to-5 star rating can be used to filter Photo Albums and Smart Bins.
Lightbox is the review view. It replaces the single-photo view with resizable thumbnails for the current album, so you can compare the collection at a useful scale. You can select an image in Lightbox, grade it, and see the results update across the collection in real time, according to Blackmagic's guide. That makes Lightbox more than a contact sheet. It is a way to judge consistency.
Use an album name that describes the decision, not only the date. “June 14” tells you when the files arrived. “June 14 selects for client review” tells you what the album is for. That small distinction becomes valuable when the project contains multiple shoots, versions, or exports.
How do you make a first correction on a photo?
Make the first correction in the Inspector by fixing RAW interpretation, exposure, white balance, crop, and transform before you build a look in the Color page. This order keeps technical corrections separate from creative choices.
For a RAW still, begin with the camera and debayer controls that Resolve exposes for that file. Then move through this practical order:
- Correct white balance and tint.
- Set exposure and recover obvious highlight or shadow problems.
- Choose the crop ratio, or keep the native “As Shot” ratio.
- Reframe with transform controls.
- Add local corrections with masks or windows only when the global balance is stable.
- Build the look in the Color page.
The Photo page's crop controls include common still and video ratios, a custom ratio, an aspect-ratio lock, and separate left, right, top, and bottom crop values. The guide says the default is “As Shot,” which uses the camera's native ratio. That is the safest default when you are still deciding whether an image will be printed, delivered as a still, or placed in a video timeline.
The transform controls handle zoom, position, rotation, pitch, yaw, and flipping. When you adjust the image in the Viewer, Resolve continues to show the original photo size underneath the transform grid. That matters when you are checking whether a crop has thrown away useful edge detail.
You can also use the photo effects library. Pressing Shift-Space opens the Effects Search dialog in the Photo page. If a photo is selected, choosing an effect from the search list applies it to that photo. Search by a category such as “Stylize” when you want to browse the Resolve FX in that section rather than remember a specific effect name.
Be careful with effects early in the process. A strong effect can make a weak exposure look exciting for thirty seconds and make a whole album impossible to match. Correct the image, create a restrained base grade, and only then decide whether an effect belongs in the final look.
How do you use Color page nodes on still images?
Use the Color page when a still needs the full node-based grading workflow: serial corrections, parallel corrections, qualifiers, Power Windows, curves, shared nodes, and a deliberate separation between balance and look.
The useful workflow is simple:
- Select a photo in the Photo Album.
- Switch to the Color page.
- Create a node for balance.
- Create separate nodes for skin, sky, product, or other local areas.
- Add the look in a later node.
- Compare the result with the original.
- Return to the Photo page and check the whole album in Lightbox.
If the Color page feels unfamiliar, our guide to how to color grade in DaVinci Resolve covers the underlying ideas behind primary controls, scopes, and node structure. The Photo page adds a different kind of discipline because stills are often judged as a collection rather than as a sequence.
Resolve 21 applies grades and effects for still images at the source level. The New Features Guide says that the grades for stills are shared across all albums within a project, similar to remote grades. This is powerful and easy to misunderstand. If you reuse the same source photo in more than one album, a source-level change can affect every album that contains it.
That behavior suggests a safe working rule: use one source image for shared corrections, and save a named version before making a special treatment for one album. If a client wants a warm web version and a neutral archive version, don't casually overwrite the only grade that both albums rely on.
Photo Albums move stills at native resolution between Photo, Cut, Edit, Color, and Fusion pages.
You can also apply LUTs. Blackmagic's guide says an installed LUT can be applied to a photo in the Media Pool or Photo Album by right-clicking its thumbnail and choosing the LUT from the context menu. A LUT is a starting point, not a replacement for checking exposure, white balance, skin tone, and output intent.
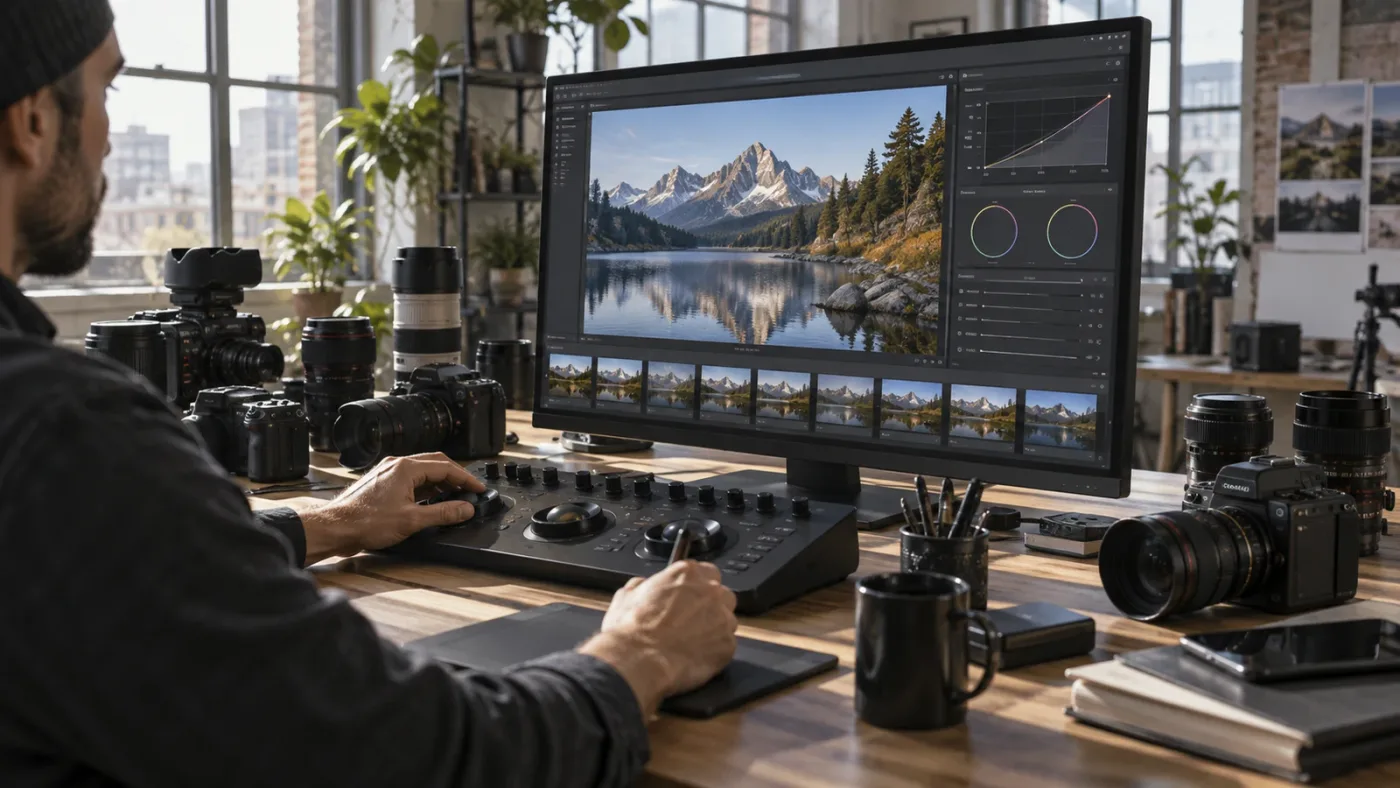
The Photo page can work with a DaVinci color panel as well. Blackmagic's product description says the Photo page supports the DaVinci color tools, including primary adjustments, curves, qualifiers, Power Windows, and the node editor. The 21.1 release announcement also says image settings can be adjusted in the Inspector with DaVinci Resolve color panels, including the Micro Color Panel.
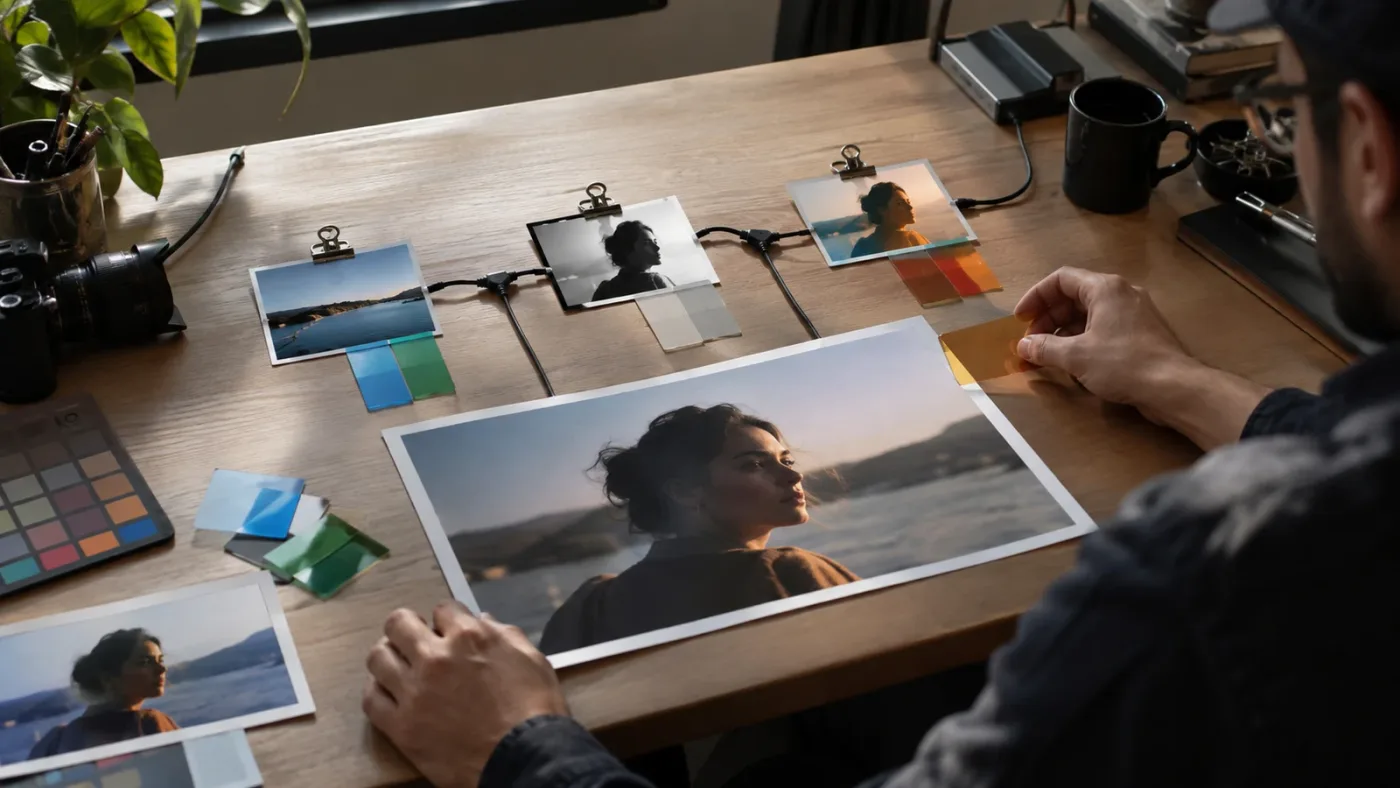
Don't grade by memory. Keep the album visible in Lightbox, use a reference image when you have one, and check both the single image and the collection. A grade can look good on one portrait and still fail as a set because contrast, white balance, or saturation drifts from one frame to the next.
How do you compare, rate, and version photos?
Compare photos in Lightbox, use ratings and flags to make decisions, and save named versions when one source needs more than one treatment. Resolve 21's version selector is the safety net that keeps creative experiments from replacing the working grade.
The Photo Viewer includes a version selector, rating control, color tag, flag, favorite marker, and reject control. The Viewer also includes a zoom percentage and a hand mode. Holding H enters hand mode, which displays the image at 100 percent so you can move around it. Double-click an area to inspect individual pixels, then double-click again to return to fit view, according to the New Features Guide.
Use the Viewer for detail and Lightbox for consistency. At 100 percent, you can inspect texture, sharpening, dust, or small edges. In Lightbox, you can see whether a collection has the same visual weight. Neither view replaces the other.
To create a version:
- Make the current corrections.
- Right-click the photo in the Photo Album.
- Choose New Version.
- Give the version a descriptive name.
- Continue experimenting on the new version.
- Use the Viewer version dropdown to choose which version you want to inspect or export.
Useful names describe intent: neutral-archive, warm-client-review, bw-social, or crop-4x5. Avoid names like final2 and final-final. The name is there to help you make a decision later.
The critical export rule is easy to miss. Blackmagic's guide states that only the currently selected version is exported in Quick Export and the Deliver page. Every other saved version is ignored. That means a saved version protects your work, but it does not create multiple output files automatically.
DaVinci Resolve exports only the currently selected photo version.
If you need multiple treatments, select each version, export it, and verify the filename before moving to the next. If you need multiple output formats from the same selected version, Deliver can add different render jobs to the queue.
Why is the DaVinci Resolve 21 Photo page soft or slow?
The Photo page can look soft during editing because preview resolution is a performance setting, while final export uses the original full-sized image. Slow response can also come from RAW processing, effects, a large album, or an analysis task such as IntelliSearch.
First, separate preview softness from export softness. The Resolve 21 guide documents Full, Half, and Quarter preview settings. Full forces the Photo page to use the full preview resolution, while Half and Quarter reduce the preview size. Blackmagic also says the preview setting does not reduce the final export, which uses the original full-sized image.
If the Viewer looks soft but the export is sharp, the preview setting is the first thing to check. If the export is also soft, check the Deliver size settings, the selected version, and the source file itself.
If the Photo page responds slowly, simplify the working view:
- Close Effects Library when you are not searching it.
- Work with a smaller album while making a first grade.
- Reduce the preview resolution temporarily.
- Disable heavy effects while balancing the image.
- Check whether RAW processing or a background analysis is still running.
IntelliSearch is useful when the problem is finding an image rather than grading one. Resolve 21 requires an AI model from the Extras Download Manager, then requires the Media Pool to be analyzed before you search for people or objects. The guide lists Faster and Better modes. Faster favors a shorter analysis time, while Better can take significantly longer and aims for more accurate results.
That means IntelliSearch is not an instant search box for an unprepared folder. Download the model, analyze the media, then search. If you are only grading a dozen portraits, skip the analysis and use ratings, flags, keywords, and Lightbox instead.
The 21.1 release also matters when a camera file will not import. Blackmagic says 21.1 expanded Photo page camera support for Fujifilm GFX and X series, Leica SL, and Sony A7R V1 files. If a file still fails, check the exact camera model, file type, operating system, and Resolve build before converting the entire shoot.
How do you export photos without losing control?
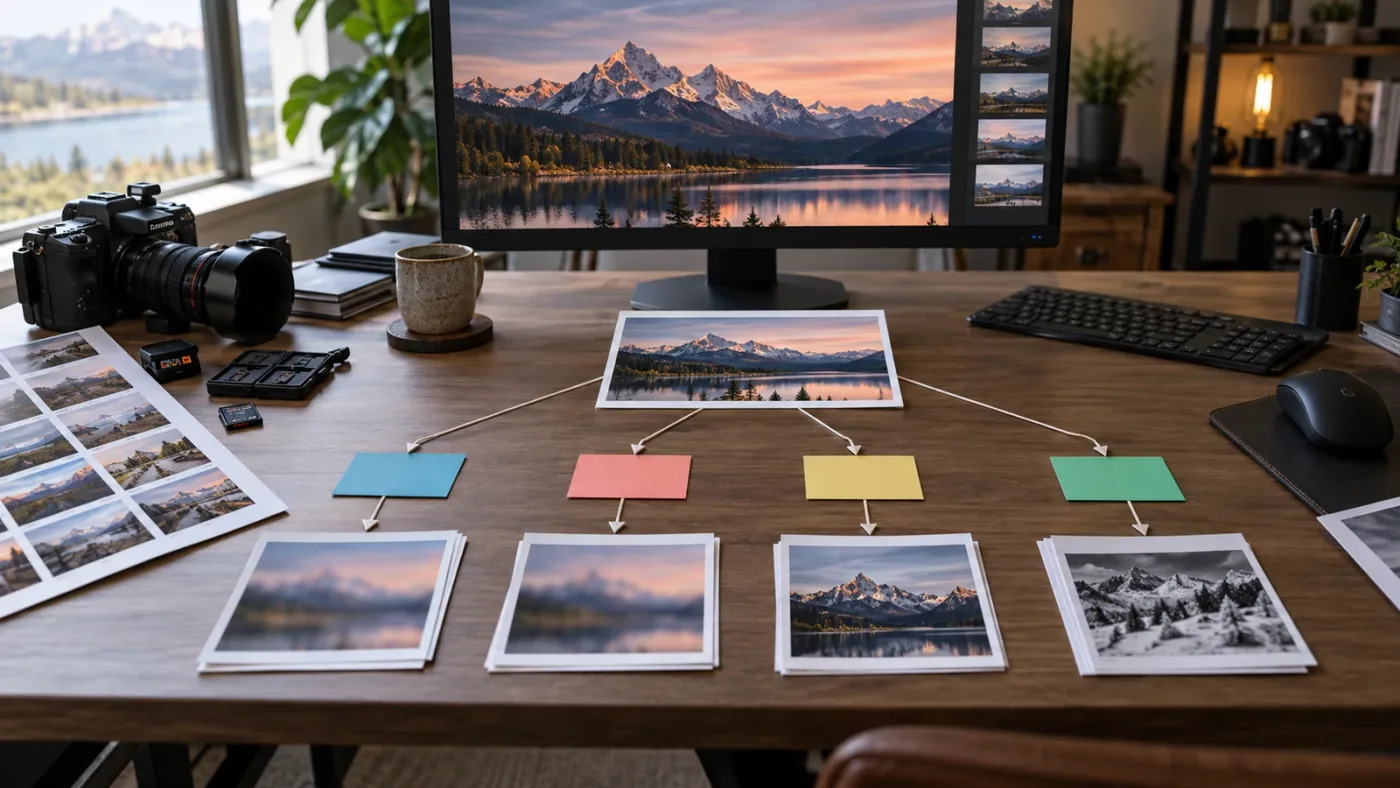
Use Quick Export when you need a straightforward still export, and use Deliver when you need exact format, size, metadata, naming, or multiple render jobs. Both paths operate on the active Photo Album or the selected photos.
Quick Export is the short route:
- Open the Quick Export button in the Photo page toolbar.
- Choose an image format.
- Choose the entire album or selected photos.
- Choose original resolution or a reduced percentage.
- Decide whether to include metadata.
- Enter a filename prefix if needed.
- Export the selected version.
Blackmagic's guide says Quick Export can export the entire album or only selected photos, choose original resolution or a reduced resolution percentage, include metadata, and add a filename prefix.
Deliver is the control route. With an album active, switching to Deliver opens a still-photo export view. Select a filename, location, image format, and either the entire album or selected photos. Add the job to the render queue, change the settings, add another job if needed, and choose Render All.
The Resolve 21 guide lists HEIF, JPEG, PNG, and TIFF as Deliver format choices. It also lists original dimensions, explicit width and height, short side, long side, percentage, and megapixel sizing. Percentage scaling runs from 25% to 100% in the documented settings. Use those numbers as controls, not as a promise that every format exposes every option.
The practical choices look like this:
| Decision | Use this setting | Why |
|---|---|---|
| Keep camera dimensions | Original | The output keeps the source dimensions. |
| Fit a consistent web width | Long Side | The other dimension follows the aspect ratio. |
| Fit a consistent portrait height | Short Side | The other dimension follows the aspect ratio. |
| Create a smaller review set | Percentage | The guide documents 25% to 100%. |
| Preserve transparency where supported | Include Alpha Channel | The option appears only for formats that support alpha. |
| Preserve location or lens metadata | Include Metadata | Resolve can include metadata in the exported photo. |
| Produce several deliverables | Render Queue | Add different settings as separate jobs, then Render All. |
Quick Export is the fast path, while Deliver is the control path for still-image output.
Keep the source album intact. Export to a new folder with a name that says what the files are, such as client-review-2026-09-29 or archive-neutral. Then open at least one exported file outside Resolve and check the dimensions, color appearance, filename, and metadata behavior you actually need.
If the photo is heading into a video slideshow, don't over-export it too early. Keep a full-resolution master and make the slideshow-sized output as a separate render job. For a slideshow project, our guide to the best DaVinci Resolve slideshow templates for photo videos is the more relevant next read.
What changed in Resolve 21.1 for photo workflows?
Resolve 21.1 keeps the core Photo page workflow intact and expands camera support and Inspector control. If you learned the Photo page from the April 2026 Resolve 21 guide, the basic flow remains import, album, adjust, grade, version, and export.
Blackmagic's September 8, 2026 announcement says Resolve 21.1 is available as a free download and adds wider camera-format support for Fujifilm GFX and X series, Leica SL, and Sony A7R V1. It also says image settings on the Photo page can be adjusted in the Inspector using DaVinci Resolve color panels, including the Micro Color Panel. The same release mentions expanded ResolveFX support for still-image sky replacement on the Color page.
Grant Petty, Blackmagic Design CEO, described the update this way:
“We've also expanded camera support on the Photo page, added new multi-cam workflows and over 25 new Krokodove tools in Fusion and improved the performance of over 100 features.”
- Grant Petty, Blackmagic Design CEO, Blackmagic Design's Resolve 21.1 announcement
The quote is about the whole 21.1 update, not a promise that every Photo page camera feature works identically on every operating system. For a current job, confirm the installed version in Resolve and check the current camera support details before you ingest a new RAW format.
Is an AI tool to learn DaVinci Resolve useful for the Photo page?
An AI tool can help when you are stuck on a control in the current Photo page, while an AI editing agent is a better fit when you want media organization or timeline work automated. Those are different jobs, so compare them honestly.
TryUncle is the on-screen assistant for DaVinci Resolve on Mac and Windows. You ask in plain words, and Uncle points at the exact control on your screen. It is useful for questions such as “where do I change the crop ratio?” or “why did this version export instead of the one I meant?” It does not choose the grade for you.
The alternatives below are real, but they solve different problems:
| Tool or path | Best use | Trade-off for this Photo page task |
|---|---|---|
| Blackmagic official training | Learn color concepts, scopes, and Resolve's core pages from the software maker | Strong foundation, but the published training catalog is not a dedicated Resolve 21 Photo page course. |
| Casey Faris on YouTube | Watch a broad, free beginner walkthrough and see a complete Resolve workflow | Useful context, but a long video cannot see your current album or point to the exact control on your screen. |
| Sottocut | Local-first assistant-editor work such as scoring footage, proposing cuts, captions, and verified timeline changes | Resolve editing automation is its center of gravity, not still-photo grading. |
| Eddie AI | Log footage, create rough cuts, and send edit sequences back to Resolve | Better for footage and rough cuts than for learning a Photo page grade. |
| CutAgent | Natural-language Resolve tasks, edit planning, tool execution, and verification | It is built to hand off editing work to an agent, not to teach every still-image adjustment. |
| PremiereCopilot | Text-to-edit workflows inside Adobe Premiere Pro | It is for Premiere Pro, not for controlling or teaching the DaVinci Resolve Photo page. |
The official learning route is still worth naming. Blackmagic's training page lists an Introduction to Color video at 1 hour 33 minutes, Advanced Color at 57 minutes, Color Management at 31 minutes, and a DaVinci Resolve Mini Panel lesson at 31 minutes. Those lessons don't replace Photo page practice, but they explain the color language the Photo page uses.
Casey Faris's full beginner Resolve course on YouTube is another useful baseline. Its published chapters cover the Media, Edit, Cut, Fusion, Color, Fairlight, and Deliver pages, with the Color page beginning at 2:50:20. It is broad by design. Use it to understand Resolve's map, then return to the Photo page and practice on your own images.
If a structured course is your best learning style, our comparison of the best DaVinci Resolve courses can help you choose a longer path. If the problem is one missing control in a live project, a screen-aware assistant is usually a better match than replaying an entire course.
Should you use the Photo page or a dedicated photo application?
Use the Photo page when your photographs need to share a Resolve project, a node-based grade, a Fusion treatment, or a video deliverable. Use a dedicated photo application when cataloging, retouching, printing, or photo-first asset management is the real center of the job.
The decision is clearer when you name the handoff:
| Your actual goal | Better starting point | Reason |
|---|---|---|
| Grade a portrait set with a Resolve node tree | Photo page | The stills can use Photo and Color page tools in one project. |
| Turn stills into a video montage | Photo page, then Edit | Grade and organize stills first, then build the timed sequence. |
| Compare many selects quickly | Photo Album and Lightbox | Ratings, flags, keywords, and album filters support culling. |
| Apply a special effect to a few images | Photo page Effects Library | Search the effects and apply them to selected photos. |
| Prepare a print-centered catalog | Dedicated photo application, or a combined workflow | Resolve's strength is post-production integration, not every print workflow. |
| Capture tethered images into a grading project | Photo page Capture | Resolve 21 documents tethered live capture and camera controls, with support details depending on the camera and operating system. |
The tethering edge case deserves caution. The Resolve 21 New Features Guide was written around the 21 release and says that, at that stage, tethered live capture supported Canon and Sony cameras. It says macOS supports both natively, Windows supports Canon natively while Sony requires additional software, and Linux and iPad do not support tethering. Resolve 21.1 expanded camera support in other Photo page areas, but don't assume that every tethering limitation changed with the point release.
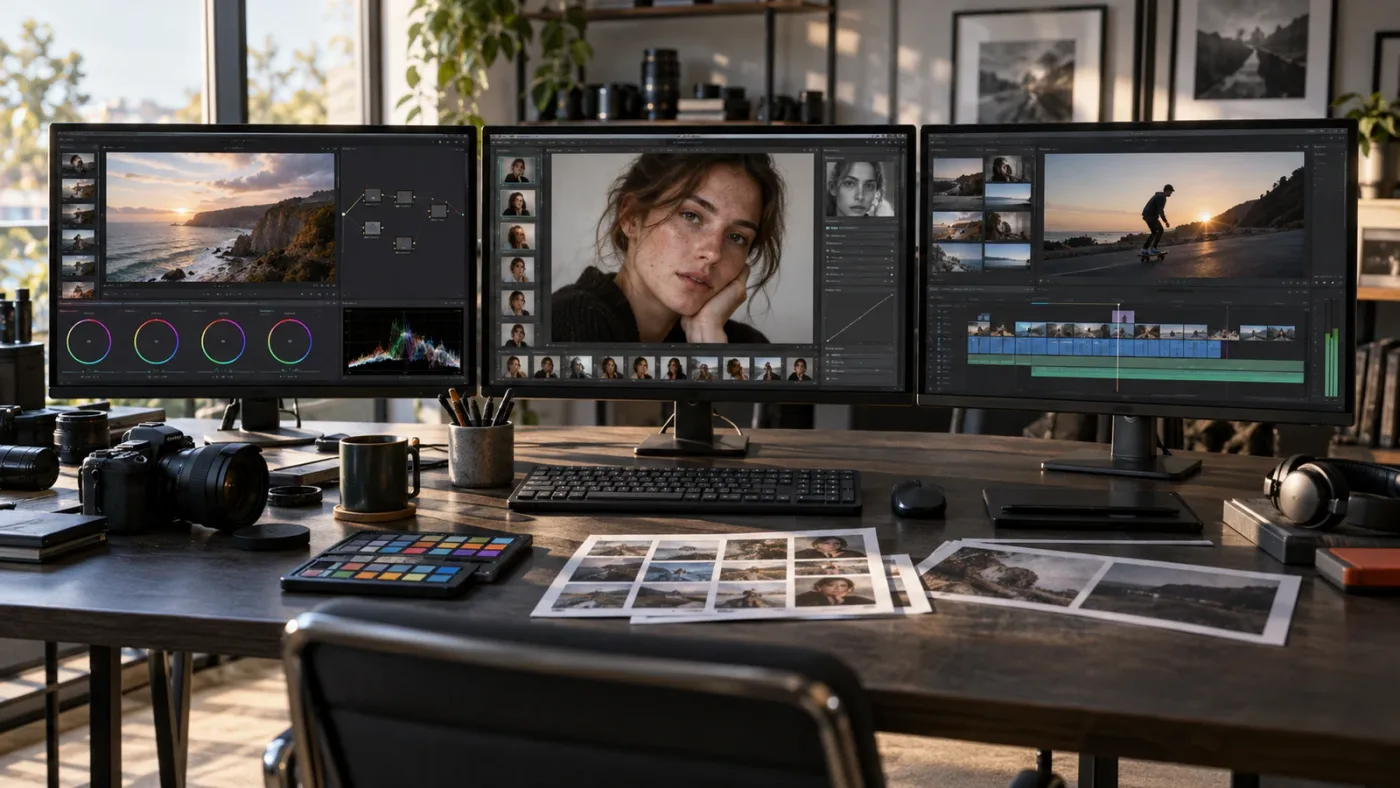
If the Photo page becomes the start of a video workflow, keep the album as the source of truth. Pass the stills to Edit or Cut only after you have decided which versions and grades belong in the sequence. That separation makes it easier to create a second montage later without rebuilding the photo decisions.
What should you do when the Photo page workflow breaks?
When the workflow breaks, identify whether the problem is import, organization, grading, version selection, preview performance, or export. Each problem has a different fix, and repeating the same export command won't solve an album or version issue.
Use this quick diagnosis:
- Photos won't appear: Confirm the active project, import location, file selection, and file format. Try importing one file before importing the full folder.
- The album is empty: Select images in the Media Pool and choose Add Photo(s) to Album. Importing a photo does not automatically add it to every album.
- The wrong images show: Clear active filters for tags, ratings, flags, color, keywords, or graded status.
- A grade changed in another album: Remember that still-image grades and effects apply at the source level across albums in the project.
- The crop looks wrong: Check the aspect-ratio choice, the lock, and whether the current job expects native “As Shot” dimensions.
- The export ignores a saved look: Select that version in the Viewer or album before opening Quick Export or Deliver.
- The image looks soft: Check preview resolution first, then verify the Deliver size and the source file.
- Resolve feels slow: Lower preview resolution, close unused panels, and test without heavy effects.
- IntelliSearch finds nothing: Confirm that a model is installed and that the Media Pool has been analyzed.
- A camera file won't import: Check the Resolve 21.1 build and the supported camera formats before converting the originals.
When an image is important, save the project before changing a shared source-level grade or creating a new version. A backup is not exciting, but it turns a bad experiment into a reversible one.
What is the best first practice project for the Photo page?
The best first practice project is a small album with a clear decision: import ten to twenty stills, reduce them to a shortlist, create two versions of one image, build a simple node grade, and export both a review set and a master.
Don't begin with a 2,000-image archive. You are learning the relationship between the Media Pool, album, Viewer, Inspector, Color page, version selector, and Deliver page. A small set lets you see cause and effect.
Use this practice brief:
- Import one folder of stills.
- Create an album called
practice-selects. - Add a small selection.
- Assign ratings and reject tags.
- Use Lightbox to compare the collection.
- Correct one image in the Inspector.
- Build a simple balance node and a look node in Color.
- Save a second version called
warm-look. - Select
warm-lookand export a JPEG review set. - Select the original version and export a full-resolution TIFF or other appropriate master format.
That exercise forces you to learn the part people skip: version selection. It also shows why a Photo Album is not just a folder with nicer thumbnails. It is the bridge between culling, grading, and delivery.
If your end goal is a slideshow, use the same practice set as the source for the Edit page. Resolve's official guide says Photo Albums can move stills at native resolution between Photo, Cut, Edit, Color, and Fusion. That is the feature to practice until it feels ordinary.
What is the next step after learning the Photo page?
The next step is to finish one small, honest deliverable. Import a manageable set, create an album, make a technical correction, build a simple node grade, save a second version, and export it through the path that matches the job.
The Photo page is easiest to learn when you stop treating it as a collection of hidden buttons. Think in decisions: what belongs in the album, what needs correction, what should be shared, which version is selected, and what the recipient actually needs.
Once that sequence is comfortable, add one complication at a time. Try a RAW workflow. Try a shared look. Try a slideshow. Try a tethered camera only after checking the current camera and operating-system support. Keep the project small enough that you can see what changed.
The verdict is straightforward. DaVinci Resolve 21's Photo page is worth learning when your stills need to live beside a color grade, edit, Fusion treatment, or delivery pipeline. Start with the album. Finish with the export.
Frequently asked questions
- How do you use the Photo page in DaVinci Resolve 21?
- Open a Resolve 21 project, import stills into the Photo page Media Pool, create a Photo Album, add images, make adjustments in the Inspector and Color page, then export the selected photo or album from Quick Export or Deliver.
- Why is the DaVinci Resolve 21 Photo page missing?
- The Photo page is a DaVinci Resolve 21 feature. Confirm that DaVinci Resolve 21 or 21.1 is installed and that you are opening a project in the desktop application, not an older Resolve version or an iPad workflow.
- How do I import photos into DaVinci Resolve 21 Photo page?
- With the Photo page open, use the Media Pool import icon and choose Import Media or Import Media Folder. You can also right-click in the Media Pool and choose Import Media.
- How do I export photos from DaVinci Resolve 21 Photo page?
- Use Quick Export for a simple still-image export, or open Deliver with an active Photo Album for format, size, metadata, file naming, and render-queue control.
- Why does my exported photo look unchanged in DaVinci Resolve 21?
- Check that the intended photo version is selected before export. DaVinci Resolve exports only the currently selected version and ignores the other saved versions.
Sources
Put this guide to work with TryUncle.
Ask about the step you’re on. TryUncle sees your screen and points at the control you need, so you can keep learning in your own project.
Get TryUncle for Mac or WindowsKeep reading

Guides · Jul 7, 2026 · 35 min
How to Color Grade in DaVinci Resolve: The Basics
Learn how to color grade in DaVinci Resolve: build a node chain, balance shadows and highlights with Lift, Gamma, and Gain, and read the scopes.

Comparisons · Jul 13, 2026 · 34 min
Best DaVinci Resolve Courses in 2026: 6 Real Options Compared
We compared six real DaVinci Resolve courses for 2026, from Blackmagic's free certification to color grading and Udemy bootcamps, to find the best fit.

Guides · Sep 6, 2026 · 8 min
Best DaVinci Resolve Slideshow Templates for Photo Videos
Find the best DaVinci Resolve slideshow templates for photo videos, with checks for pacing, aspect ratio, resolution, compatibility, and licensing.