Articles / Guidesupdated for DaVinci Resolve 21 (September 2026)
How to Use Reverse Reverb in DaVinci Resolve 21
Quick answer
To use reverse reverb in DaVinci Resolve 21, duplicate the audio, reverse the duplicate, add reverb, bounce the wet result to a new track, reverse that rendered clip again, and place it before the original sound. Keep the swell 100% wet and mix it quietly under the dry clip.
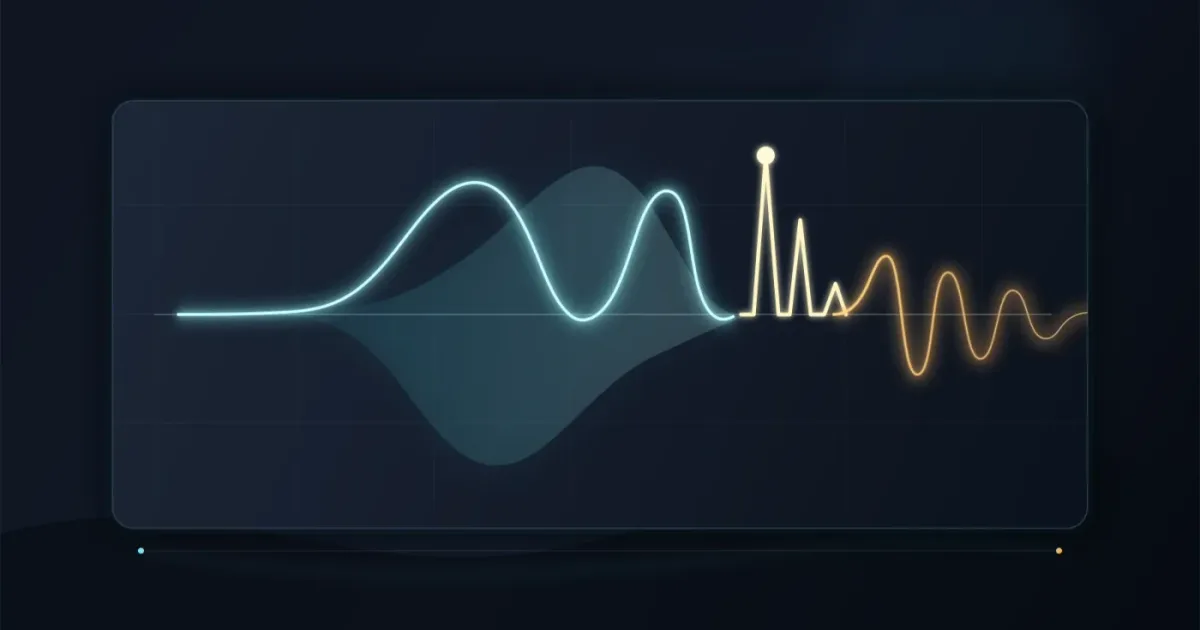
Reverse reverb sounds like a breath pulling the viewer toward a cut. The trick is to reverse the sound before applying reverb, then reverse the wet result again so the decay leads into the original hit. We built and run a 100,000+ member professional video-editing community, and this is one of the recurring Resolve questions we answer.
As of September 2026, this workflow applies to DaVinci Resolve 21, whose Fairlight page is the audio workspace in the current release. Blackmagic Design lists Resolve 21 as available in a free edition, with Studio adding extra Fairlight FX.
What is reverse reverb in DaVinci Resolve?
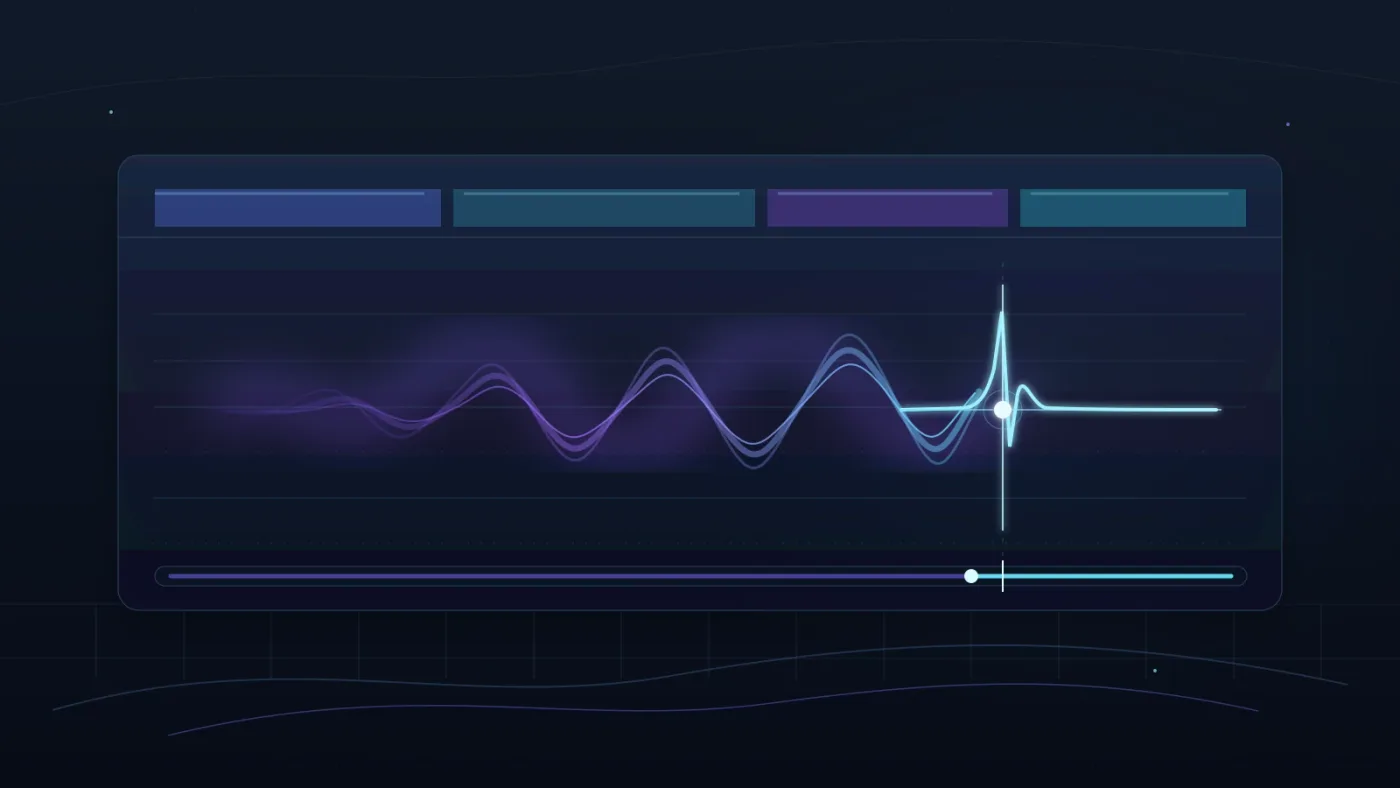
Reverse reverb is a printed reverb swell that rises before a dry sound instead of decaying after it. DaVinci Resolve does not need a special one-click reverse-reverb command because the effect comes from a short sequence of ordinary Fairlight operations.
Reverse reverb is a swelling tail placed before the dry sound, not a backward copy of the finished vocal.
If you reverse a vocal and add reverb, you hear a backward vocal. If you reverse that reverberated result again and keep the original vocal forward on its own track, the intelligible sound stays normal while the ambience pulls into it. That is the whole idea.
Grant Petty described Fairlight this way in the foreword to Blackmagic Design's Fairlight guide: “From advanced surround sound mixing to recording, sound design, and more, Fairlight is a complete professional digital audio workstation built right into your editor.” The Fairlight Audio Guide is older than Resolve 21, but the principle still fits this workflow.
What do you need before you start?
You need one dry source clip, one duplicate, a reverb effect, and a way to print the effect to a new audio clip. Two audio tracks make the routing obvious: keep the dry source on A1 and build the wet reverse layer on A2.
| Part of the setup | Choice | Why it matters |
|---|---|---|
| Dry source | Original clip on A1 | Keeps the words or impact forward and intelligible |
| Working copy | Duplicate on A2 | Gives you a separate layer to reverse and process |
| Reverb | Fairlight FX Reverb | Resolve's official Fairlight lessons use the Reverb effect and expose controls such as Reverb Time, Pre-Delay, Dry/Wet, Direct, ER, and Reverb |
| Printed effect | Bounce Audio Effects or Bounce Mix to Track | Turns the processed sound into a clip that can be reversed again |
| Starting mix | 100% wet on A2, dry clip unchanged | Makes the swell easy to trim and balance |
Blackmagic's Fairlight materials document both relevant ideas: a Reverse control inside Audio Speed Change, and bouncing audio to render plug-in effects into new media. The guide also documents Timeline > Bounce Mix to Track for creating a new destination track. Use those official instructions if your panel layout differs.
How do I use reverse reverb in DaVinci Resolve 21?
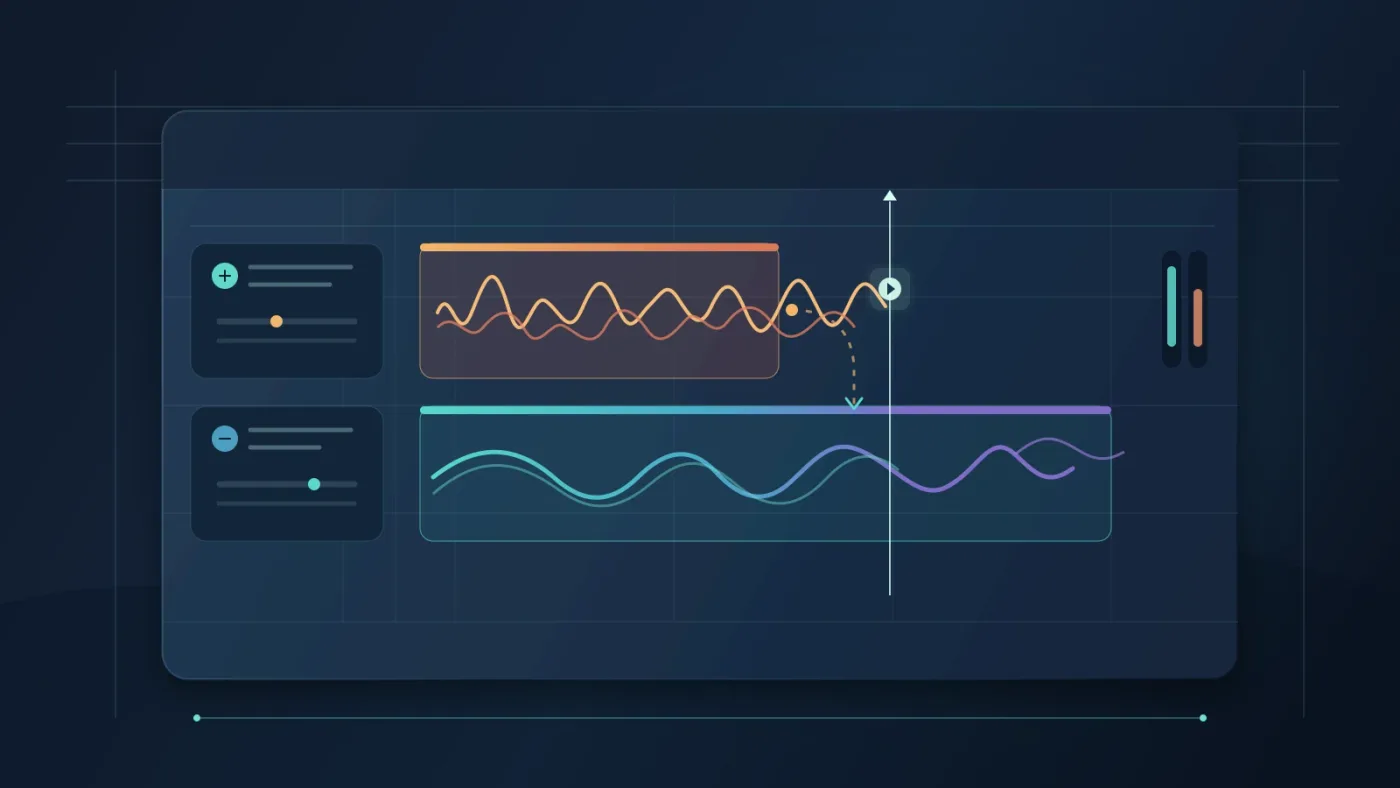
The reliable DaVinci Resolve workflow is reverse, reverberate, render, reverse again, then align. Work on a short copy first so you can hear the timing before committing to the full scene.
-
Duplicate the sound. Put the original clip on A1. Duplicate it to A2 with Option-drag on macOS or Alt-drag on Windows, then keep the original untouched. Blackmagic's Fairlight guide uses the same duplicate-first logic for reversed sound design.
-
Reverse the duplicate. Select the A2 clip and open the Inspector's Audio controls. Expand Speed Change and choose Reverse. In Resolve's Fairlight training material, the Speed Change controls include direction, speed, frame rate, duration, and pitch correction. You can also use the clip's reverse command if that is how your current workspace exposes it.
-
Trim the working copy. Keep the sound you want to pull toward the event and leave enough room for the reverb to build. For dialogue, use a word or consonant rather than a full paragraph.
-
Add Fairlight reverb. Open the Fairlight page and apply Fairlight FX Reverb to A2. The official exercise uses
Add Effect > Reverb > Fairlight FX > Reverb. Start with a moderate room or plate, make A2 fully wet, and let A1 supply the intelligible sound. -
Print the wet result. Right-click the processed clip and choose Bounce Audio Effects when you want to bake the clip effect into new media. If you routed the reverb through an auxiliary bus, mark the range and choose
Timeline > Bounce Mix to Track, then send the result to a new track. The bounce matters because you need a normal audio clip that can be reversed again. -
Reverse the bounced clip again. Select the new wet clip and choose Reverse a second time. Now the reverb rises toward the sound instead of trailing behind it. If you can still hear a backward vocal or impact, mute A2 and check that A1 is the only dry source.
-
Move the swell into place. Slide the second-reversed clip left until its loudest point meets the original sound. Trim the tail, add short fades if needed, and lower A2 until the effect supports the edit.
A 100% wet printed layer keeps the original performance clear and the reverse swell easy to mix.
Why does reverse reverb sound wrong?
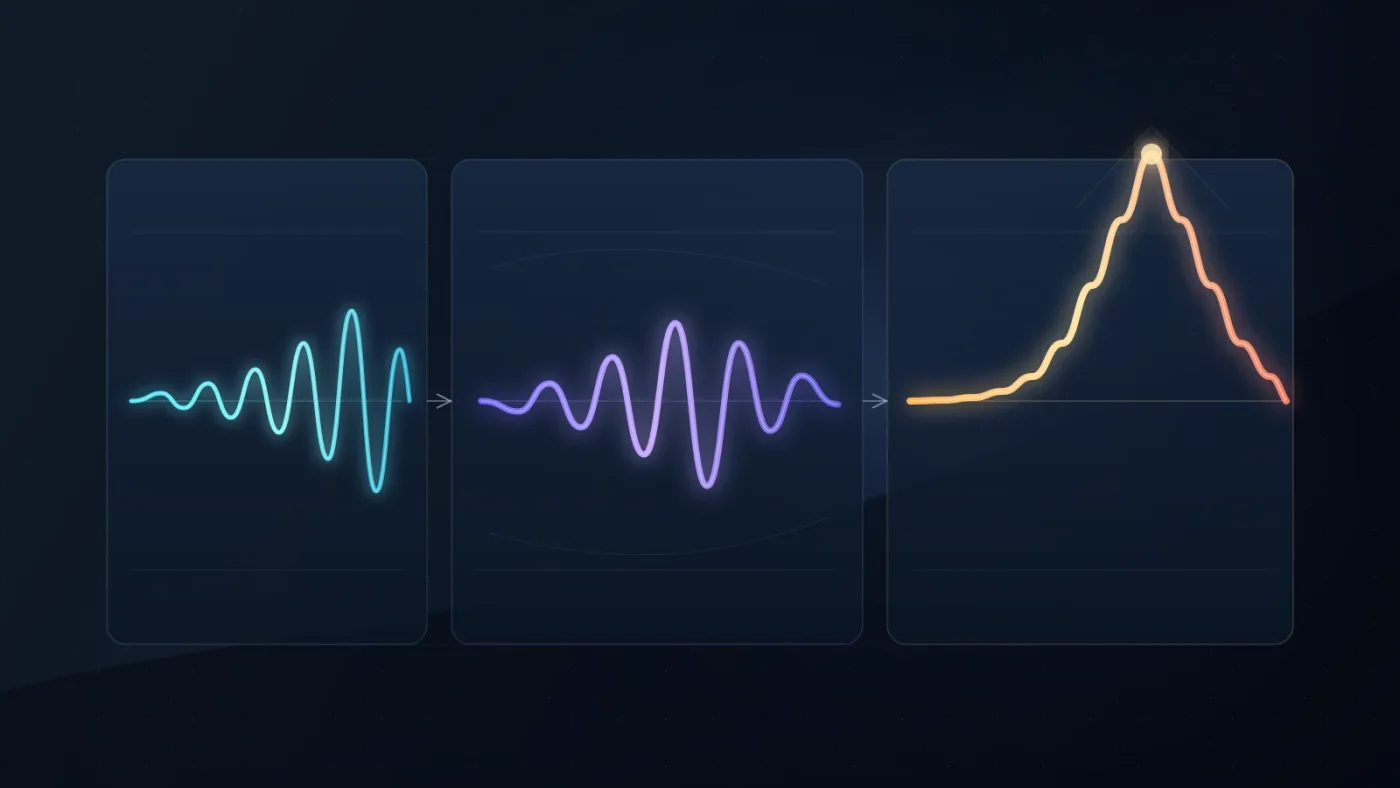
Reverse reverb usually sounds wrong because the dry and wet layers were reversed together, the wet clip was reversed only once, or the printed tail is lined up on the wrong side of the event.
| What you hear | Likely cause | Fix |
|---|---|---|
| The whole word is backward | The original dry clip was reversed | Restore A1 and reverse only the duplicate layers |
| The swell happens after the hit | The final wet clip is still in its first reversed state or is too far right | Reverse the bounced clip again and move it left |
| The effect is muddy | Too much low-frequency reverb or too much wet level | Shorten the tail, filter the low end, and reduce A2 |
| The effect clicks | A cut lands on an abrupt waveform edge | Add short fades at the printed clip's start and end |
| Nothing changes after adding reverb | You are listening to the dry track or the effect is bypassed | Solo A2, confirm the plug-in is active, then bounce the effect |
Do not chase a magic preset. Reverse reverb is a timing effect first. A short, bright tail can feel like a transition, while a longer, darker tail can create suspense.
The best reverse reverb is heard before the event and felt after it.
Should I use Fairlight reverb, a plug-in, or a sound library?
Fairlight reverb is enough for learning and many edits. A third-party plug-in can offer different room models, but it does not remove the core sequence.
| Choose this | If you need | Trade-off |
|---|---|---|
| Fairlight FX Reverb | A self-contained Resolve workflow | You shape the sound manually |
| Third-party reverb | A specific color or impulse response | You add compatibility, cost, and another preset system |
| A licensed sound library | A riser, whoosh, drone, or musical texture to process | You still need to check the license for your project and publishing use |
Disclosure: this paragraph contains a paid referral link. It does not change the workflow or the verdict. If you need a source sound beyond your own recordings, Epidemic Sound is one practical option for licensed music and sound effects, alongside free libraries and custom recordings. Choose it for the source material, not because reverse reverb requires a subscription.
For more control, read our guides to layering sound effects in DaVinci Resolve and making sound effects realistic in DaVinci Resolve. Both skills help place the swell in a believable scene.
What is the best way to learn DaVinci Resolve audio when a control is hard to find?
The best way to learn DaVinci Resolve audio is to repeat a small effect while checking the official Fairlight vocabulary, then use follow-along teachers for broader practice. Blackmagic's free training page lists a 1 hour 28 minute Introduction to Audio, a 58 minute Introduction to Sound Design, and a 1 hour 16 minute Introduction to Mixing, plus a Fairlight Audio Guide for Resolve 20. Its training hub is the strongest starting reference for page names and routing concepts.
Casey Faris's DaVinci Resolve YouTube channel is useful when you want to watch someone move through the interface. Reddit and the Blackmagic forum can help with edge cases, but they should supplement official terminology. After seven years of professional, commercial editing, our advice is simple: make one effect, change one variable, and make it again.
TryUncle is the on-screen assistant for DaVinci Resolve on macOS. Ask in plain words, and Uncle points at the exact control on your screen.
What should you do next?
Make a 3 to 5 second test around one word, impact, or footstep. Keep the dry source forward, build the wet layer separately, and listen with the picture before lengthening the tail. Once it lands cleanly, reuse the pattern in the edit.
A short repeatable exercise teaches reverse reverb faster than a complicated preset hunt.
Use Fairlight's built-in tools first. Reverse the duplicate, add reverb, bounce it, reverse it again, and place the swell before the original. You get the effect without extra software and a workflow you can hear, adjust, and reuse.
Frequently asked questions
- How do I use reverse reverb in DaVinci Resolve?
- Duplicate the sound, reverse the duplicate, add reverb, bounce the wet effect to a new clip, reverse that bounced clip again, and place the swell before the original sound.
- Why does my reverse reverb sound backward?
- The wet layer was probably reversed only once, or the dry source was reversed too. Keep the original dry clip forward, and reverse the reverberated duplicate a second time before lining it up.
- How long should reverse reverb be?
- Start with a short tail for a transition and a longer tail for suspense, then trim the printed layer until the swell reaches the original sound without masking it.
- Does reverse reverb work in the free version of DaVinci Resolve 21?
- The workflow uses a duplicate clip, Fairlight reverb, clip reversal, and a bounced audio layer. Resolve 21 is available in a free edition, while Studio adds extra Fairlight FX.
- What is the best way to learn DaVinci Resolve audio?
- Use Blackmagic Design's free Fairlight training for the official workflow, then repeat this effect on a short clip. Casey Faris's channel is a useful follow-along option for broader Resolve practice.
Sources
- DaVinci Resolve 21 product page
- DaVinci Resolve official training
- The Fairlight Audio Guide to DaVinci Resolve 20
- The Fairlight Audio Guide to DaVinci Resolve 18
- The Fairlight Audio Guide to DaVinci Resolve 16, foreword by Grant Petty
- Casey Faris on YouTube
- Epidemic Sound for licensed music and sound effects
Put this guide to work with TryUncle.
Ask about the step you’re on. TryUncle sees your screen and points at the control you need, so you can keep learning in your own project.
Get TryUncle for Mac or WindowsKeep reading
Guides · Aug 24, 2026 · 8 min
How to Layer Sound Effects in DaVinci Resolve 21
Learn how to layer sound effects in DaVinci Resolve 21 with a clean Fairlight track layout, precise sync, volume shaping, and practical mix checks.
Guides · Aug 28, 2026 · 8 min
How to Make Sound Effects Realistic in DaVinci Resolve 21
Make sound effects realistic in DaVinci Resolve 21 with layering, EQ, reverb, panning, automation, and room-aware mixing in Fairlight.
Comparisons · Oct 21, 2026 · 26 min
DaVinci Resolve Course for People Who Hate Tutorials: What Works?
A practical comparison of courses, official training, short lessons, project-first practice, and in-app help for learning DaVinci Resolve without tutorial marathons.