Articles / Guidesupdated for DaVinci Resolve 21.0 (June 2026)
How to Use Magic Mask in DaVinci Resolve (Complete Guide)
Quick answer
Magic Mask, on the Color page in DaVinci Resolve Studio, uses the Neural Engine to build a mask from a single brush stroke you draw over a person or object, then tracks it across the clip. Refine with add and subtract strokes, then use Resolve 21's Render in Place to cache the matte for smoother playback.
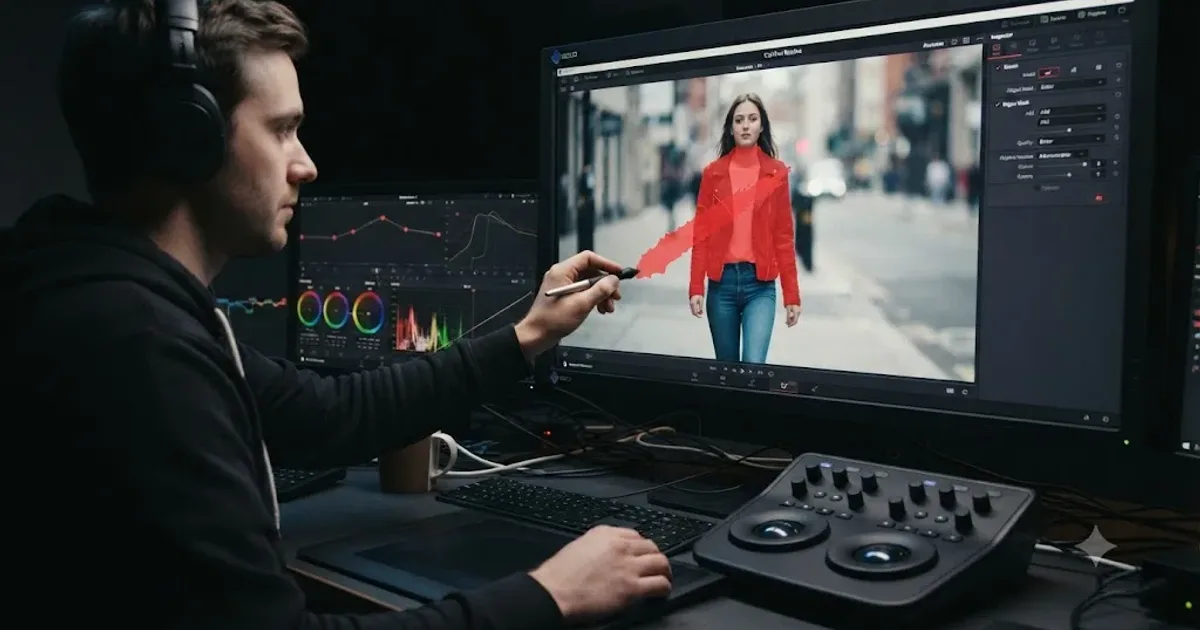
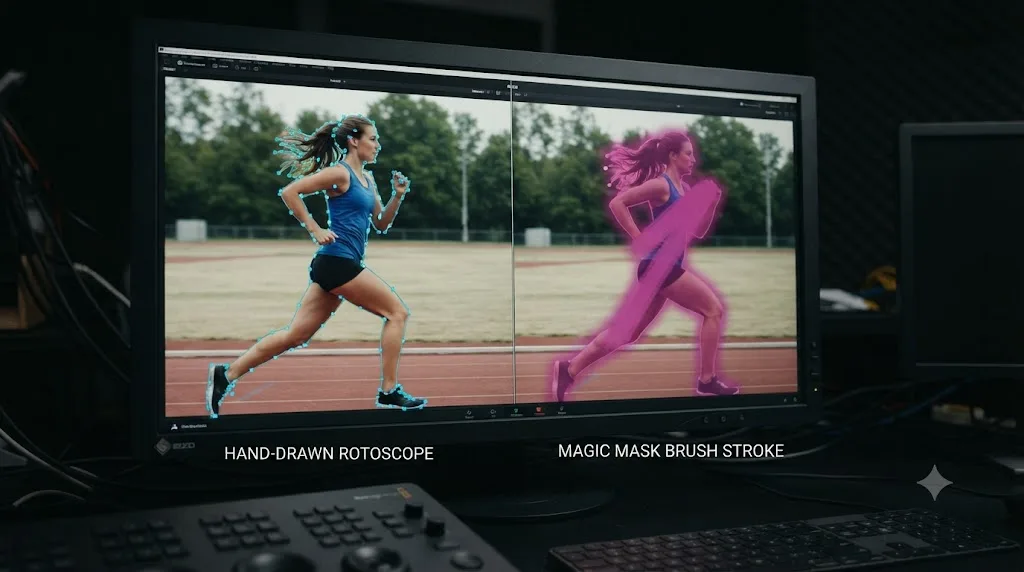
Magic Mask lets you isolate a person or an object in DaVinci Resolve with one brush stroke instead of a rotoscoped outline. You paint over the subject, the Neural Engine figures out the edges, and you track it across the clip. It's a Studio-only tool, and it still struggles with hair, motion blur, and low-contrast footage, but for most talking-head and product shots it replaces a job that used to eat an afternoon.
What is Magic Mask in DaVinci Resolve?
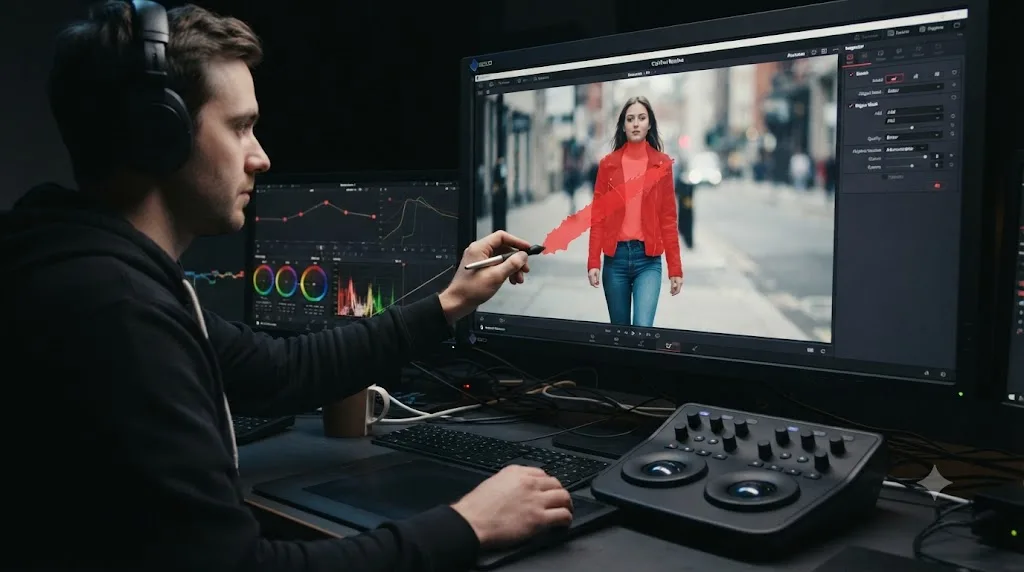
Magic Mask is a palette on the Color page that uses DaVinci Resolve's Neural Engine, the software's built-in set of machine learning models, to build a mask around a subject from a rough stroke instead of a hand-drawn shape. According to a guide to Resolve's Neural Engine tools from Vagon, the basic workflow is to "jump into the Color page, open Magic Mask, paint over your subject, and track forward or backward," then clean up the result by adding or subtracting strokes.
The tool first shipped in DaVinci Resolve 17, and colorist Lewis McGregor described its appeal plainly at the time: "The Magic Mask quashes that process into a simple tool," comparing it to the older, multi-step approach of isolating a subject with color qualifiers and keyframed windows, in his breakdown of the original release for PremiumBeat. That's still the core pitch five years later: less manual shape-drawing, more painting and tracking.
The conceptual jump from the older tools is worth spelling out. A qualifier selects pixels that look alike. A Power Window selects a region of the screen. Magic Mask selects a thing. It doesn't care that your subject's shirt matches the wall behind him, or that he walks across the entire frame, because the model tracks the idea of him rather than a color range or a shape. Almost every workflow choice in this guide flows from that difference, including the tool's costs, because understanding a subject takes far more GPU than matching a color ever will.
Do you need DaVinci Resolve Studio to use Magic Mask?
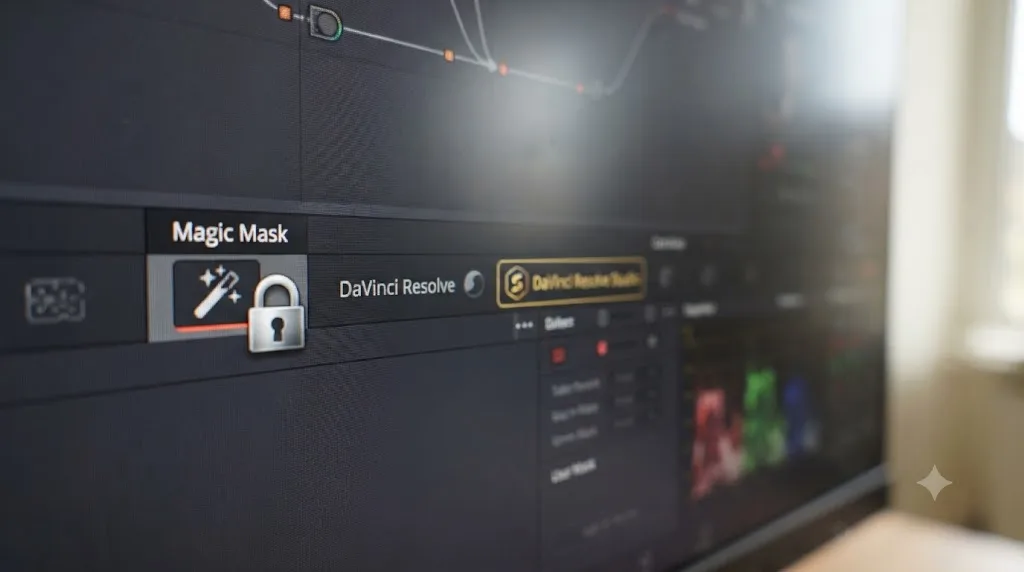
Yes. Magic Mask is a DaVinci Resolve Studio feature, and the free version does not include it at all. Per Toolfarm's comparison of the free and Studio versions, Magic Mask and Face Refinement are both Neural Engine tools reserved for the $295 Studio license, alongside noise reduction, full HDR grading, and resolutions above 4K UHD. If you're editing on the free version and Magic Mask isn't showing up in your Color page toolbar, that's not a bug. It's the license.
Blackmagic's own Studio feature page files it the same way, listing "magic mask for object isolation and tracking" among the DaVinci Neural Engine tools next to Super Scale, Smart Reframe, and Speed Warp retiming, all of them Studio-only. The company pitches the whole group as AI tools that "solve complex, repetitive and time consuming problems," and whatever you think of the framing, the grouping tells you where Magic Mask sits: it's one of the features Blackmagic expects people to buy the license for.
If you're still deciding whether the Studio upgrade is worth it for your workflow, our DaVinci Resolve 21 review walks through what else the paid tier unlocks beyond masking.
How do you create a mask with Magic Mask?
The process is the same whether you're isolating a person, an animal, or a product:
- Select your clip on the Color page and open the Magic Mask palette.
- Draw a stroke down the center of the subject. You don't need to trace its outline, just mark it.
- Watch the red overlay Resolve generates. If it bleeds into the background, switch to the subtract eyedropper and stroke the unwanted area.
- Move the playhead to the start of the range you need masked, then click Track Forward (or Track Backward from the end).
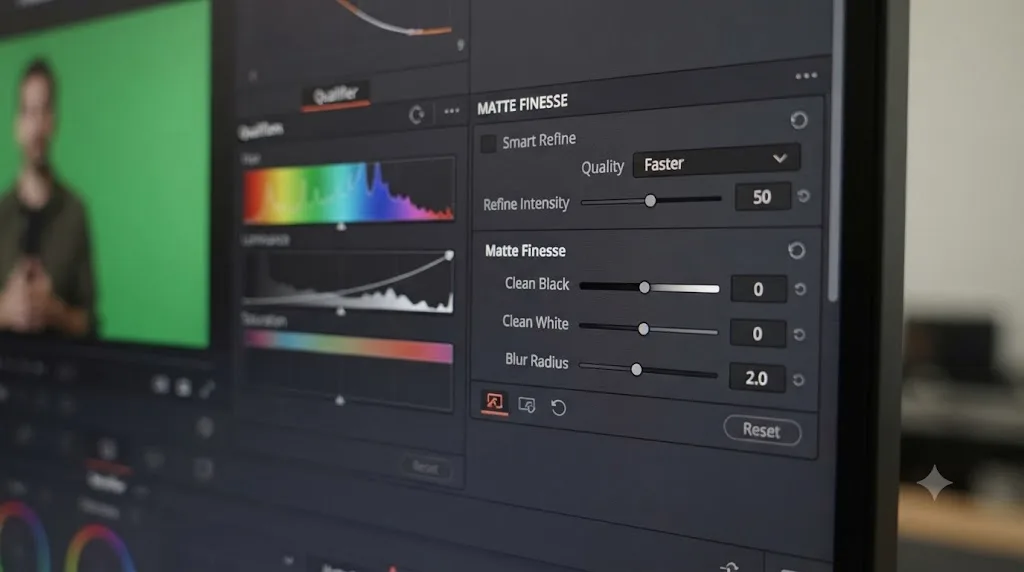
- Use the Matte Finesse controls, Smart Refine, Blur Radius, and Clean Black and White, to soften the edge and remove flicker before you grade against it.
Magic Mask v2 simplified step one further. As colorist Justin Robinson put it in his walkthrough of the update, "No more separate 'Person' and 'Object' modes. It intelligently handles both," and the same neural model is now "better at handling complex situations like occlusions (things passing in front) and depth," according to his explainer at JayAreTV.
What's new in Magic Mask for DaVinci Resolve 21?
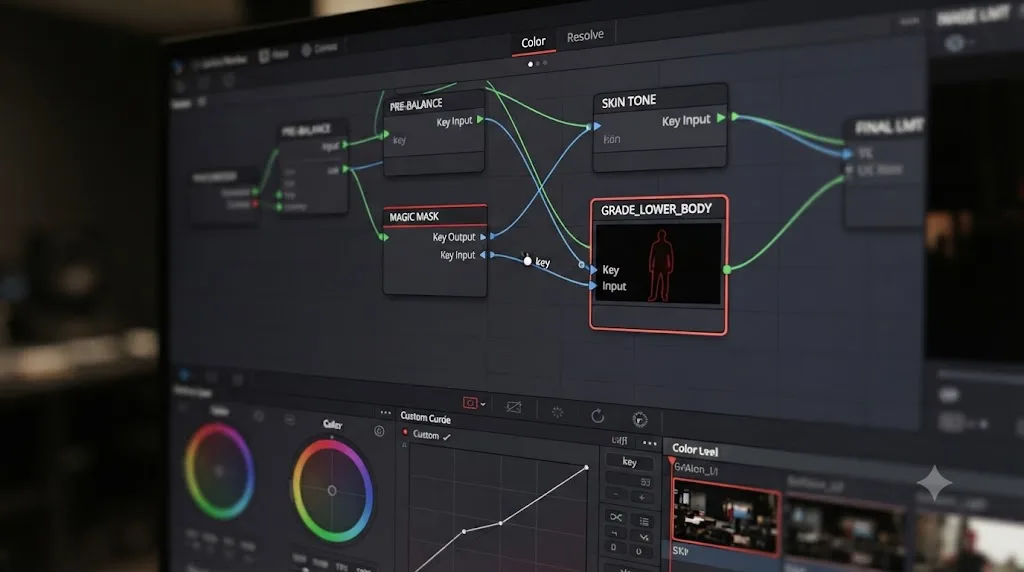
The headline addition is Render in Place. Blackmagic Design's DaVinci Resolve 21 announcement describes a render in place option that caches a tracked Magic Mask as a traveling matte node, which links automatically back to your active node so you can keep grading in real time with a much lighter GPU load, per the official Resolve 21 launch coverage. The matte survives even after you clear the mask cache, which matters because Magic Mask tracking is one of the more GPU-hungry operations on the Color page and re-tracking a long clip from scratch is slow.
The other change is where Magic Mask shows up. Resolve 21 introduced a Photo page for grading still images with the same node-based tools used on video, and Magic Mask is part of it, letting you make one-click selections on a photo to grade elements separately. CEO Grant Petty framed the whole page around exactly that idea: "The new Photo page in DaVinci Resolve 21 brings Hollywood's most advanced color tools to still photography for the first time," he said in the announcement. If you're new to Resolve 21 generally, our beginner's guide to DaVinci Resolve covers where the Photo page sits alongside the pages you already know.
Where does Magic Mask still struggle?
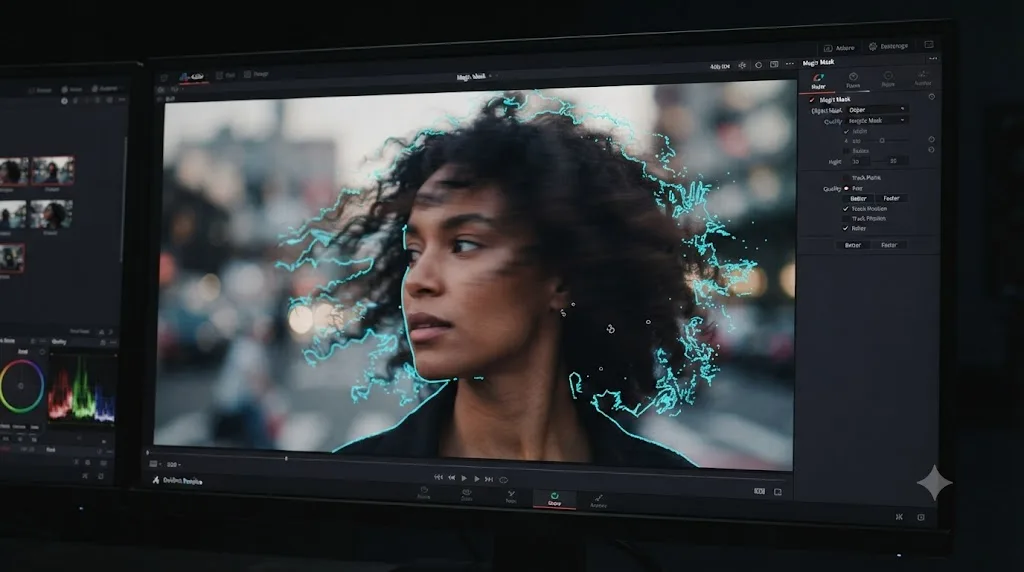
Three things reliably trip it up, per Vagon's guide to the Neural Engine tools: "Hair can still be tricky. Motion blur confuses it. Low contrast scenes? Yeah, you'll spend more time fixing those." None of that is surprising once you know how the mask is built. The Neural Engine is inferring an edge from pixel data, and fine, moving, or low-contrast edges are exactly where any edge-detection model gets less confident.
Performance is the other limit. Magic Mask tracking is GPU-intensive, and on a weaker graphics card it "can slow down enough to break your flow" on longer clips, though "on a strong machine, it flies," the same guide notes. If your system is already stretched on 4K or 8K timelines, tracking a long Magic Mask range compounds that load. Our guide to DaVinci Resolve playback and export slowdowns covers the broader GPU bottlenecks that show up the same way.
Should you use Magic Mask instead of Power Windows or a green screen key?
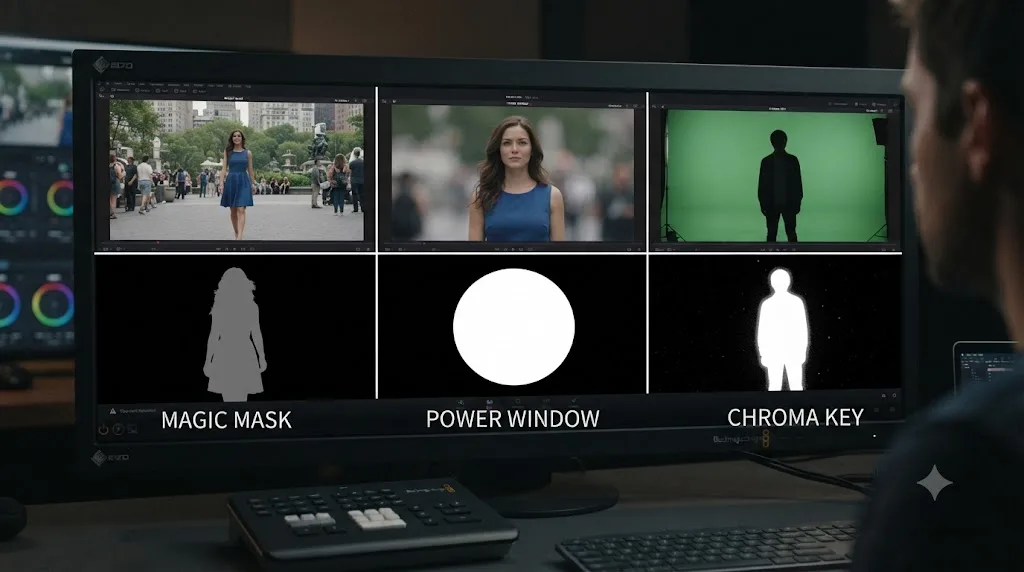
Not automatically. Each tool wins in a different situation.
| Tool | Best for | Tradeoff |
|---|---|---|
| Magic Mask | A moving person, animal, or irregular object with no green screen | GPU-heavy; struggles on hair, motion blur, low contrast |
| Power Window | A simple geometric area (a window, a sign, a static face) | Lighter on the GPU; needs manual keyframing for complex motion |
| Chroma key | A subject shot on a real green or blue screen | Cleanest, hardest edge available, but only works if you shot it that way |
If you already have a clean key, use it. Magic Mask earns its place when there's no green screen and the subject moves in ways that would take real time to keyframe by hand, which is the exact gap it was built to close.
Getting the most out of Magic Mask
Paint one honest stroke, track it, then spend your refinement time on add and subtract strokes rather than trying to nail the first pass. Expect to spend extra time on hair, motion blur, and low-contrast frames, since that's where the Neural Engine's confidence drops the most. And in Resolve 21, use Render in Place as soon as a mask is locked in, so you're not paying the tracking GPU cost every time you scrub the timeline. If you're still working out which menu does what on the Color page in general, our DaVinci Resolve tutorial walks through the page order most editors learn in, and TryUncle is built for exactly the moment you're staring at a mask that won't refine right and don't know which slider to touch next, since it looks at your actual Resolve window instead of sending you to a forum thread.
Frequently asked questions
- What is Magic Mask in DaVinci Resolve used for?
- Isolating a person or object from the rest of the frame without hand-drawn rotoscoping. You paint a stroke over the subject, the Neural Engine builds a mask from it, and you track that mask across the clip to grade, blur, or replace the background independently from everything else in the shot.
- Is Magic Mask available in the free version of DaVinci Resolve?
- No. Magic Mask runs on the DaVinci Neural Engine, and Blackmagic Design restricts Neural Engine features, Magic Mask included, to DaVinci Resolve Studio. The free version does not have the palette at all, not even a limited version of it.
- What's the difference between Magic Mask's old Person and Object modes?
- In Magic Mask v2, Blackmagic merged the separate Person and Object modes into one. You no longer pick a mode before you start; the same brush stroke and tracking workflow now handles a face, a full body, or a product on a table.
- Why does my Magic Mask tracking break or slow down?
- Hair, motion blur, and low-contrast footage are the three most common causes of a mask losing its edge mid-track. Magic Mask is also GPU-intensive, so on a weaker graphics card, tracking through a long clip can slow down even when the mask is accurate. The fix for drift is local: park the playhead on the first bad frame, add or subtract a corrective stroke there, and track forward again from that point.
- What is Render in Place for Magic Mask in DaVinci Resolve 21?
- A new option that bakes a tracked Magic Mask into a traveling matte node, which links automatically back to your active node. It lets you keep grading and adding effects in real time with a much lighter processing load, and the matte survives even after you clear the mask's cache.
- Can Magic Mask replace Power Windows or traditional keying entirely?
- Not entirely. Magic Mask is faster for a moving, irregularly shaped subject like a person or an animal, but Power Windows still track simple geometric shapes with less GPU overhead, and a proper green screen key still beats Magic Mask for a clean, hard-edged matte when you have one available.
- How many strokes should you use with Magic Mask?
- Start with one short stroke down the center of the subject and look at the mask before adding more. Colorist Lewis McGregor's advice from the tool's original release still holds: very long strokes can be counterproductive once the subject moves, and around four strokes is a practical maximum.
- Can you use Magic Mask in Fusion?
- Yes. DaVinci Resolve 20.1 brought Magic Mask v2 support to Fusion composites, which Blackmagic says improves masking precision there. Use the Fusion version when the matte feeds compositing work like background replacement, and the Color page palette when the matte feeds a grade.
Sources
- Blackmagic Design: DaVinci Resolve 21 announcement (Grant Petty quote, Photo page, Magic Mask Render in Place)
- Vagon: DaVinci Resolve Neural Engine Guide, How to Use Magic Mask and Voice Isolation
- JayAreTV (Justin Robinson): DaVinci Resolve AI Magic Mask v2 Explained
- PremiumBeat (Lewis McGregor): A Focus on Resolve 17's New Masking Tool, Magic Mask
- Toolfarm: In Depth, DaVinci Resolve Studio vs Free (Updated for 21)
- Blackmagic Design: DaVinci Resolve Studio (official Neural Engine feature list)
- Digital Production: Resolve 20.1, Apple Vision Pro, Magic Mask V2, and a Few More Reasons to Backup
Put this guide to work with TryUncle.
Ask about the step you’re on. TryUncle sees your screen and points at the control you need, so you can keep learning in your own project.
Get TryUncle for Mac or WindowsKeep reading
Guides · Jul 7, 2026 · 32 min
DaVinci Resolve for Beginners: The Complete Starter Guide
Learn DaVinci Resolve from zero: what it costs, what it needs to run, the seven pages you'll actually use, and the steps to cut your first project.
Guides · Jul 7, 2026 · 36 min
DaVinci Resolve Tutorial: The Complete Guide to Every Page
Learn DaVinci Resolve step by step: which page to start on, how to cut, grade, mix, and export your first project, plus shortcuts and free training.
Reviews · Jul 7, 2026 · 22 min
DaVinci Resolve 21 Review: What's New and Is It Worth Upgrading?
A close look at DaVinci Resolve 21: the new Photo page, IntelliSearch, CineFocus, Krokodove, what Blackmagic actually shipped, and who should upgrade now.