Articles / Guidesupdated for DaVinci Resolve 21.0.2 (July 2026)
Best Budget Microphone for DaVinci Resolve Voiceovers (2026)
Quick answer
The Samson Q2U ($99.99) is the best all-round budget microphone for DaVinci Resolve voiceovers: a USB/XLR dynamic mic that plugs straight into Fairlight with no interface needed. The Fifine K669B ($29.99) works as a starter pick, and the Shure MV7+ ($279) adds real-time denoising and auto-leveling if you can spend more.
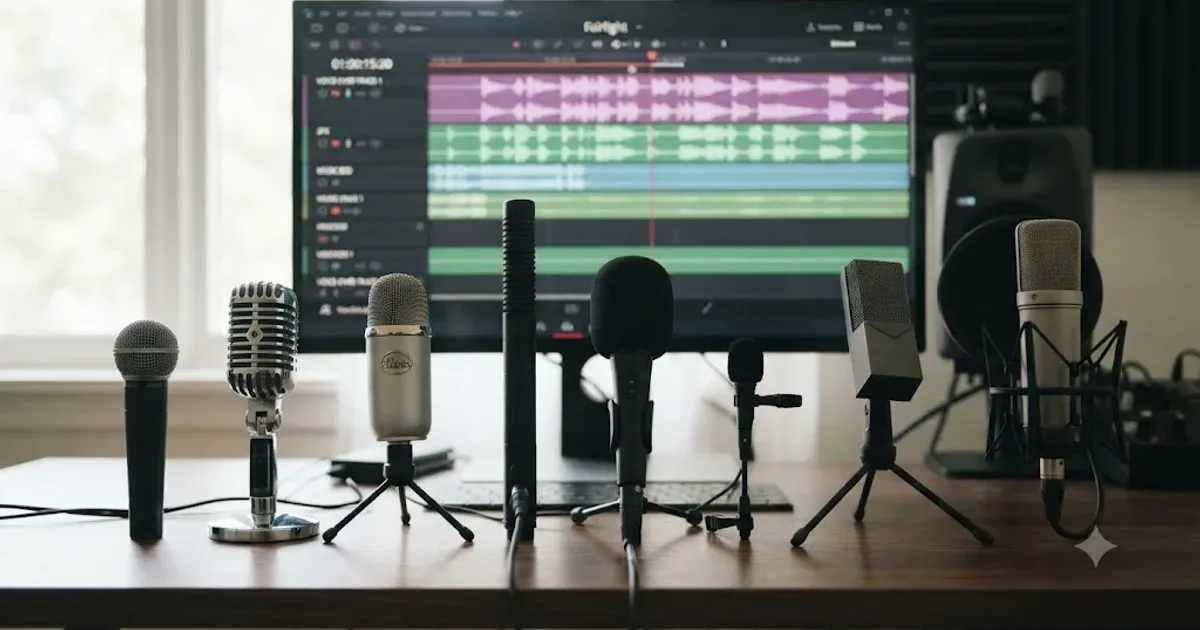
I've recorded voiceover on a $30 mic in a closet and on a $279 one in a treated room, and the closet recording, done right, beat a bad recording on expensive hardware every time. That's not a excuse to buy the cheapest thing on the shelf. It's the honest starting point for this guide: the microphone matters less than most gear videos want you to believe, and DaVinci Resolve's Fairlight page will treat a $30 mic and a $300 one exactly the same once the signal hits your track.
In seven years of professional commercial editing, and inside a 100,000-plus member editing community where "what mic should I buy" comes up on a loop, we've watched beginners agonize over a $50 price gap between two mics that would sound nearly identical in their room, while ignoring the blanket-covered closet that would have fixed their actual problem for free. This guide covers eight real budget microphones, what each one actually costs as of July 2026, how to wire any of them into DaVinci Resolve's Fairlight page, and which one fits your situation instead of which one has the best unboxing video.
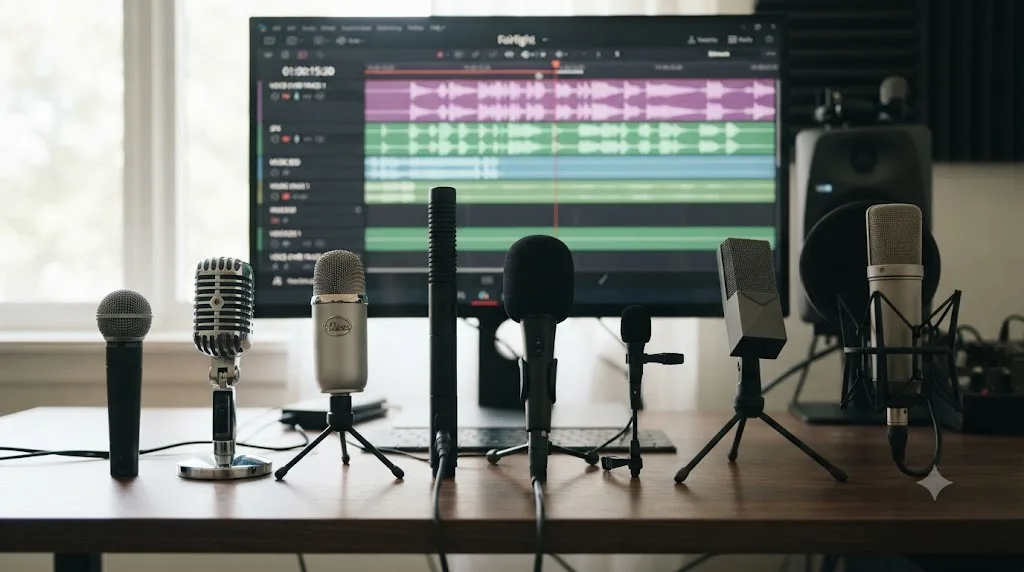
What's the best budget microphone for DaVinci Resolve voiceovers right now?
The Samson Q2U is the best all-round budget microphone for DaVinci Resolve voiceovers as of July 2026. It's a $99.99 dynamic mic with both USB and XLR outputs, so it plugs straight into your computer today with no extra hardware, and it still works if you add a mixer or audio interface later. For less money, the $29.99 Fifine K669B is a genuine starter pick. For more, the $279 Shure MV7+ adds real-time denoising and auto-leveling built into the mic itself.
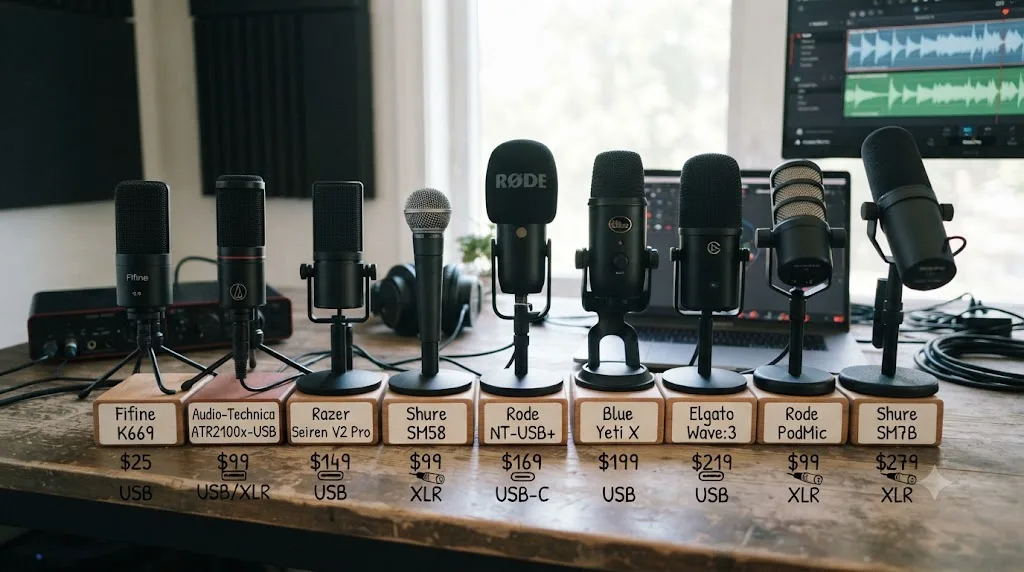
Here's the full shortlist, priced and specced as of July 2026, straight from each manufacturer's own product page.
| Microphone | Price | Type | Connection | Best for |
|---|---|---|---|---|
| Fifine K669B | $29.99 | Condenser | USB | Cheapest usable starting point |
| Behringer XM8500 (+ interface) | ~$25 mic, ~$160 interface | Dynamic | XLR | Growing into a real audio setup |
| Samson Q2U | $99.99 | Dynamic | USB and XLR | Best all-round budget pick |
| Audio-Technica ATR2100x-USB | ~$69.99 | Dynamic | USB and XLR | Budget alternative to the Q2U |
| Maono PD200X | $79.99 | Dynamic | USB-C and XLR | Modern features on a budget |
| Rode NT-USB Mini | $109.00 | Condenser | USB | Best sound quality per dollar |
| Elgato Wave:3 | $149.99 | Condenser | USB | Streamers who also do voiceover |
| Shure MV7+ | $279.00 | Dynamic | USB-C and XLR | Splurge pick with built-in processing |
A $99 dynamic mic with a USB cable will get you recording in DaVinci Resolve faster than a $300 XLR setup you still have to configure. That's the practical argument for starting with a USB or USB/XLR hybrid mic, and it's why five of the eight picks above connect over USB with no interface required. The rest of this guide walks through each one, what makes it different from the others, and exactly how to wire whichever one you land on into Fairlight.
Do you need a USB mic or an XLR mic for DaVinci Resolve voiceovers?
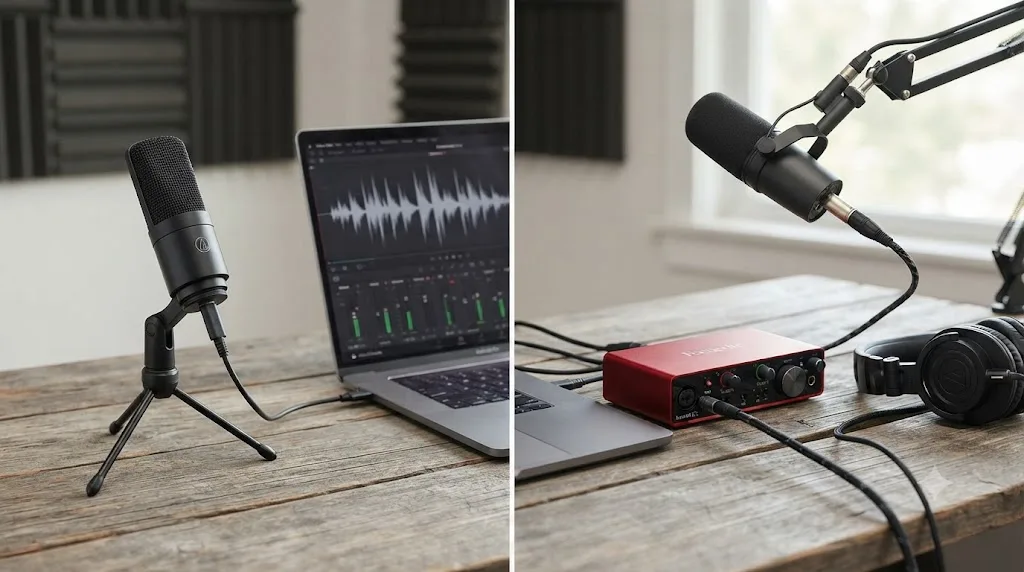
Use a USB or USB/XLR hybrid mic unless you already own or plan to buy an audio interface. DaVinci Resolve has no built-in XLR input, so a pure XLR microphone like the Behringer XM8500 is unusable with Resolve on its own. It needs an audio interface, a small box like the Focusrite Scarlett Solo, wired between the mic and your computer, converting the analog XLR signal into something your USB port and Resolve can read.
This is the single most common point of confusion for anyone shopping for a first voiceover mic. A USB microphone solves it by putting a tiny audio interface inside the mic itself. Plug the cable into your computer, set it as your input device in your operating system's sound settings, and DaVinci Resolve sees it the moment you open the Fairlight page's Patch Input/Output menu. No mixer, no interface, no extra cable run.
| Setup | What you need | Total pieces |
|---|---|---|
| Pure USB mic (Fifine K669B, Rode NT-USB Mini, Elgato Wave:3) | Mic, USB cable | 1 device |
| USB/XLR hybrid (Samson Q2U, ATR2100x-USB, Maono PD200X, Shure MV7+) | Mic, USB cable (XLR cable optional later) | 1 device |
| Pure XLR mic (Behringer XM8500) | Mic, XLR cable, audio interface, USB cable | 3 devices |
A USB/XLR hybrid mic is the middle path most people should actually take. You buy it once, run it over USB the day it arrives, and if you ever add an audio interface or a mixer for a multi-mic podcast setup, the same physical microphone switches over to XLR without buying a second mic. Four of the eight picks in this guide, the Samson Q2U, the Audio-Technica ATR2100x-USB, the Maono PD200X, and the Shure MV7+, work this way.
Every pure XLR microphone needs a separate audio interface before DaVinci Resolve can hear it at all. That's not a downside of XLR mics, professional studios wire everything through interfaces and mixers on purpose, but it does mean the sticker price on an XLR-only mic isn't the real price of getting sound into Resolve. Add the interface cost before comparing it to a USB or hybrid option.
What's the best all-round budget mic: the Samson Q2U or the Audio-Technica ATR2100x-USB?
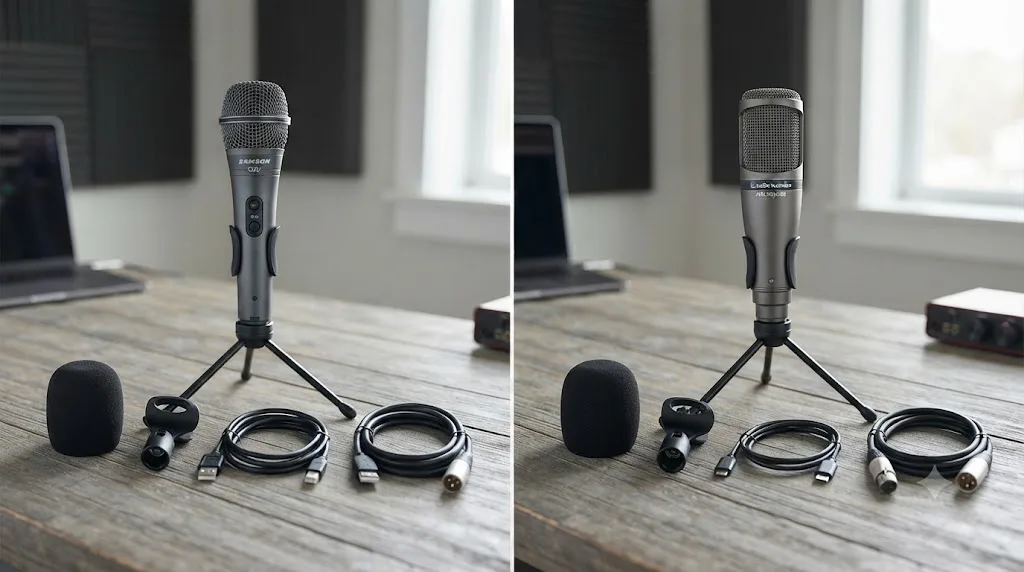
The Samson Q2U at $99.99 is the stronger all-round pick between these two, mainly because of its included accessory bundle, not a dramatic difference in sound. Both are cardioid dynamic mics with USB and XLR outputs, both include a headphone jack for zero-latency monitoring, and both are widely recommended as entry-level podcast and voiceover mics for the same reason: they cost less than $100, need no interface to start, and don't pick up much room noise thanks to their dynamic capsules.
The Q2U ships with a mic clip, a desktop tripod stand, a windscreen, and both USB and XLR cables in the box, according to Samson's own Q2U product page. That's a full starter kit for one price. The Audio-Technica ATR2100x-USB, priced around $69.99 to $80 depending on retailer, includes two USB cables (USB-C to USB-C and USB-C to USB-A) and an XLR cable, per Audio-Technica's ATR2100x-USB product page, but doesn't include a stand in the base package, which is a real cost difference if you don't already own a mic arm or tripod.
Both mics record at 24-bit resolution through their USB output, far more than a voiceover track needs, and both are dynamic capsules, meaning they reject more off-axis room noise than a condenser mic at the same price point. A dynamic mic under $100 will forgive a mediocre room in a way a similarly priced condenser mic never will. That's the single biggest reason both of these show up on nearly every budget podcasting recommendation list, including from voice actors who record in home offices rather than treated booths.
If you're choosing between just these two, price and included accessories decide it more than sound quality. The Q2U's included stand and slightly lower street price after regular sales make it the safer default. The ATR2100x-USB is the pick if you already own a mic stand and want to save $20 to $30, or if you specifically want the newer USB-C connector over the Q2U's micro-USB.
What's the cheapest microphone that still sounds good for voiceover, the Fifine K669B?
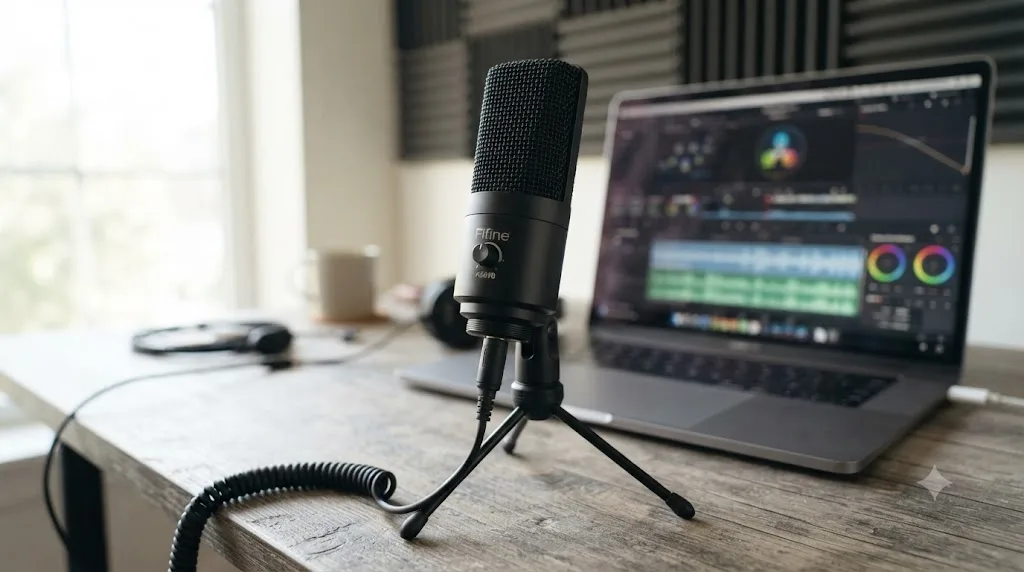
The Fifine K669B, at $29.99, is the cheapest microphone in this guide that's still genuinely usable for DaVinci Resolve voiceover work, not just technically functional. It's a USB condenser with a metal body, a cardioid pattern, and a 20Hz to 20kHz frequency response, according to Fifine's own K669B product page. At a third of the price of the Samson Q2U, it's the mic to buy if you're testing whether voiceover work is something you'll stick with before spending $100 or more.
The catch is the same one that applies to every condenser mic at this price: a condenser capsule is more sensitive than a dynamic one, which means it also picks up more of whatever's happening around you. A cheap condenser in an untreated room with a hard floor and bare walls will sound noticeably roomier than the same voice recorded on a dynamic mic in the exact same space. That's not a flaw specific to the K669B. It's a property of condenser microphones generally, and it's the tradeoff you're accepting for the lower price and the brighter, more detailed top end condensers tend to deliver.
If your recording space is genuinely quiet, a closed door, carpet, soft furniture, no hard parallel walls facing each other, the K669B is a legitimate starting mic that will sound better than most people expect from a $30 purchase. If your space is a bare bedroom or a shared apartment with hard floors, a dynamic mic like the Fifine K669B's price-equivalent alternative, a basic Behringer XM8500 paired with a used or entry-level interface, will likely sound more controlled despite costing about the same once you add the interface.
A $30 microphone in a quiet room will beat a $300 microphone in a noisy one. That's worth sitting with before you spend anything, since it's the opposite of what most gear marketing implies. Room first, mic second, always in that order for voiceover work specifically, where a listener's ear is trained on nothing but your voice with no music or sound effects to hide behind.
Is the Rode NT-USB Mini worth the extra money over a $30 mic?
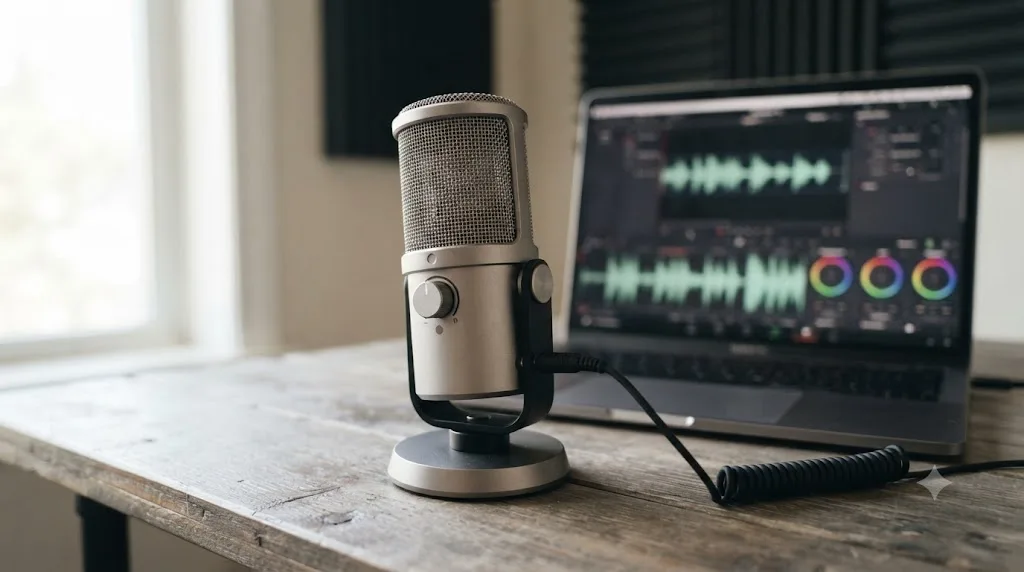
Yes, if sound quality per dollar matters more to you than raw price, and you're recording in a reasonably treated space. The Rode NT-USB Mini costs $109.00 and is a cardioid condenser with a built-in pop filter, a studio-grade headphone amplifier for zero-latency monitoring, and onboard digital signal processing including a noise gate and compressor, according to Rode's own NT-USB Mini product page. It sits in an odd spot price-wise, above the Samson Q2U's $99.99 but still under $110, and it's a condenser rather than a dynamic mic, so the room-sensitivity tradeoff from the previous section still applies.
What the extra money buys over the Fifine K669B is real: Rode's condenser capsule, the compact all-in-one build with an integrated pop filter (most budget condensers need a separate external pop filter to control plosives), and the zero-latency monitoring switch that lets you hear yourself through headphones without the small delay some cheaper USB mics introduce. For voiceover work specifically, where plosives on words starting with P and B are a constant annoyance, having pop protection built into the mic rather than bought separately is a genuine convenience.
The NT-USB Mini's fixed cardioid pattern, meaning you can't switch polar patterns the way some more expensive condensers allow, keeps the design simple and the price down. That's the right tradeoff for a dedicated voiceover mic, since you're recording one voice from one position almost every time, and a fixed cardioid pattern is exactly the pattern you'd choose anyway.
A built-in pop filter and zero-latency monitoring are the two features that separate a $109 mic from a $30 one, not some mysterious jump in raw audio fidelity. Both mics will record a clear, usable voice track. The Rode just removes two extra purchases (a pop filter, decent monitoring) and two extra points of friction from your setup.
Is the Maono PD200X a good budget pick for voiceover work?
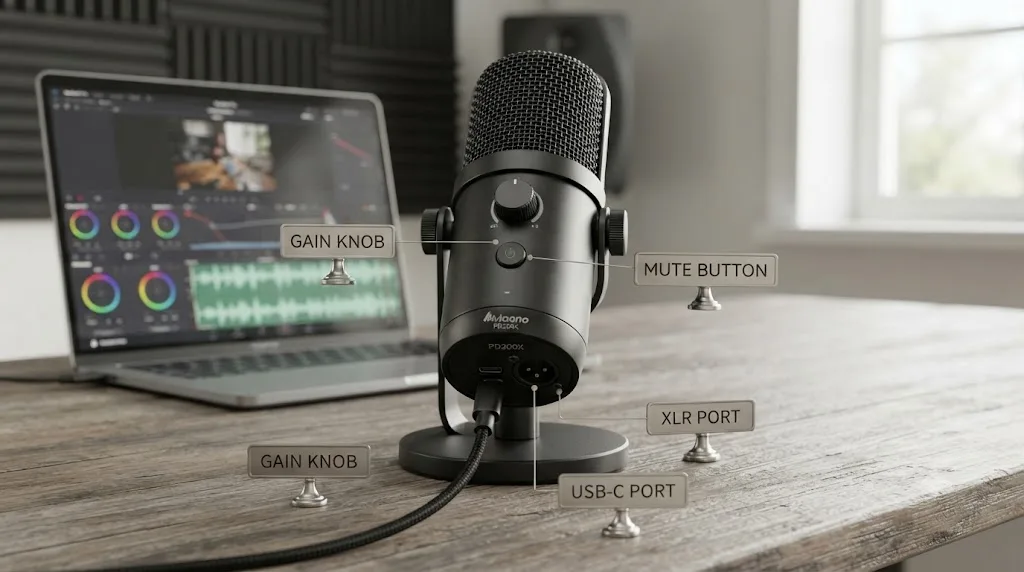
Yes, and it's worth a closer look than its relatively low profile compared to Samson or Audio-Technica suggests. The Maono PD200X costs $79.99, sits between the Fifine K669B and the Samson Q2U in price, and packs in features neither of those two mics offers: a USB-C and XLR dual connection, an adjustable gain range of 0 to +42dB, a one-click mute button with an LED indicator, and companion software for tuning the sound, according to Maono's own PD200X product page.
Matthew McLean reviewed the PD200X for The Podcast Host, a podcasting-focused publication, and put it through a real recording test in an untreated room. His conclusion lands squarely on the honest, no-hype end of the spectrum this kind of budget gear needs: "If you're a beginner on a budget, then the Maono PD200X is well worth your consideration," McLean wrote in his review of the Maono PD200X. He was specific about the room test too, noting it "picks up the voice pretty well and without any reverb, considering it's just a 'normal' room," which matters more for a dynamic mic aimed at people recording at home rather than in a studio.
McLean's bottom line, after actually using the mic rather than just listing specs, was direct: "Ultimately, would I use this mic for podcasting? Without a doubt." That's the kind of hands-on verdict worth more than a spec sheet, since it comes from someone who put the mic through the exact use case this guide is written for, a beginner recording spoken word at home on a budget.
The Maono PD200X packs USB-C, XLR, adjustable gain, and a mute button into $79.99, which is more functionality per dollar than either the Fifine K669B or the plain Audio-Technica ATR2100x-USB offers at similar prices. The tradeoff is brand recognition. Samson and Audio-Technica have decades of reputation behind them; Maono is a newer company competing mostly on features and price, and its long-term durability hasn't been tested by the same years of professional use its older competitors have.
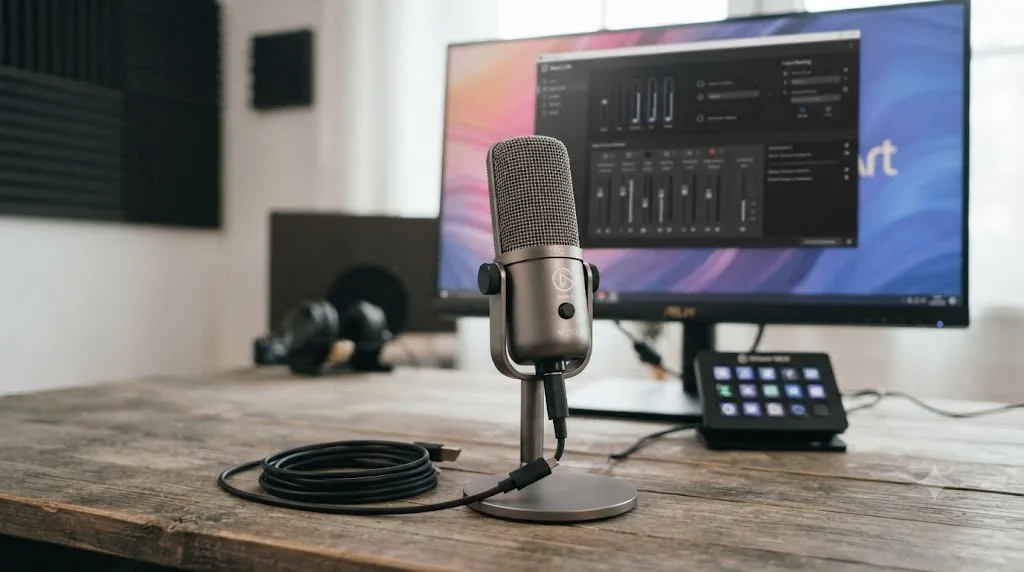
Is the Elgato Wave:3 better than the cheaper USB condensers?
It's more polished, not dramatically better for pure voiceover recording. The Elgato Wave:3 costs $149.99, records at 24-bit/96kHz, well above the 44.1kHz or 48kHz most voiceover work actually needs, and includes Elgato's Clipguard anti-distortion technology and a steel grille designed to reduce plosive noise, according to Elgato's own Wave:3 product page. It's built primarily for streamers who need to mix multiple audio sources live, which is where its companion Wave Link software, capable of managing up to eight audio sources at once, actually earns its keep.
For a pure voiceover workflow in DaVinci Resolve, where you're recording one voice, one track, and mixing it afterward inside Fairlight rather than live, most of the Wave:3's streaming-focused feature set goes unused. You're paying $40 more than the Rode NT-USB Mini for a higher sample rate your final export will likely downsample anyway, and for a live-mixing tool you don't need if all your mixing happens inside Resolve after the fact.
Where the Wave:3 does pull ahead is build quality and Clipguard specifically. If you tend to get loud or excited on certain lines and worry about clipping mid-take, Clipguard's automatic level protection is a genuine safety net that the cheaper condensers in this guide don't offer. That's a real, specific reason to pay the premium, not a vague "it's just better" argument.
Pay for the Elgato Wave:3 if you're also streaming or managing multiple live audio sources, not purely for a cleaner voiceover track. If voiceover is your only use case, the Rode NT-USB Mini gets you 90 percent of the sound quality for $40 less, and the Samson Q2U gets you a more room-forgiving dynamic capsule for $50 less.
Should you avoid the Blue Yeti for DaVinci Resolve voiceovers?
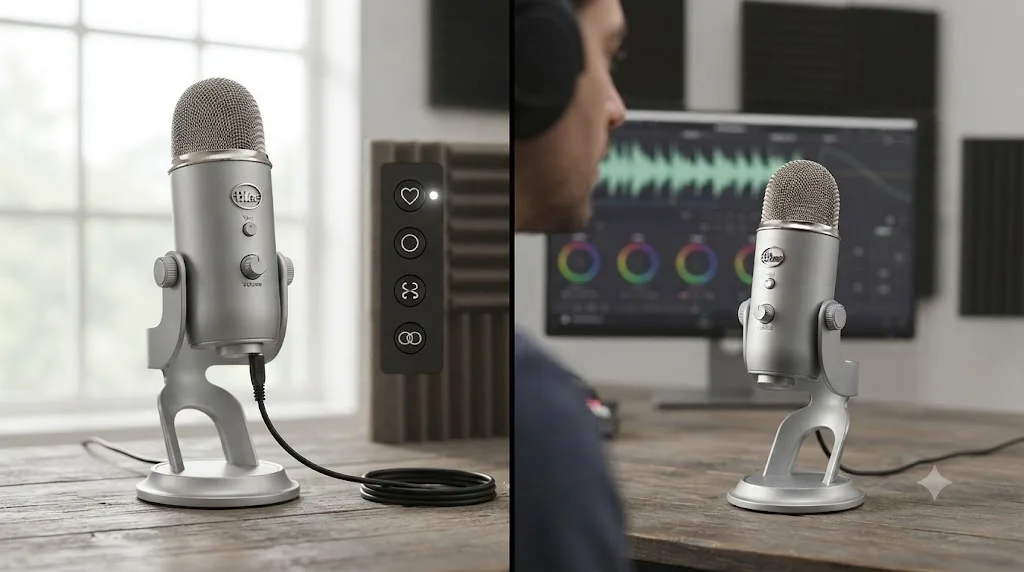
Not avoid, but go in with the right expectations, since the Blue Yeti is the mic most beginners already know by name and it's worth addressing directly rather than pretending it doesn't exist. The Blue Yeti, now sold under Logitech G, runs around $129 to $149 and uses a three-capsule array offering four polar patterns: cardioid, omnidirectional, bidirectional, and stereo, according to Logitech's own Yeti product page. It's the single most recognized USB microphone on the market, and that recognition is earned. It's also not the most efficient choice specifically for voiceover in an untreated home space.
The Yeti's size and multi-pattern flexibility are built for a use case broader than voiceover, recording a band in a room, capturing a group interview, streaming with adjustable pickup width. For a single voice recording narration, only cardioid mode matters, and in cardioid mode the Yeti costs $30 to $50 more than the Rode NT-USB Mini or Samson Q2U while offering three polar patterns you'll likely never switch to for this specific job. Its condenser capsule also shares the same room-sensitivity tradeoff every condenser in this guide has, and at the Yeti's larger physical size, it's genuinely harder to position close and off-axis the way you would with a compact mic to minimize plosives and room pickup.
None of that makes the Yeti a bad microphone. It's a legitimately good, versatile one, and if you already own one from a previous project, there's no reason to replace it for voiceover work specifically. The point is narrower: if you're buying new, specifically for narration and voiceover in DaVinci Resolve, you're paying for flexibility (four polar patterns, a larger, more universal use case) that a dedicated voiceover mic doesn't need and a purpose-built pick like the Samson Q2U or Rode NT-USB Mini doesn't ask you to pay for.
The Blue Yeti's four polar patterns solve a problem voiceover recording doesn't have, since you only ever need cardioid for a single voice. That's the honest read on why it's not on this shortlist as a top pick, not a knock on its sound quality, which remains genuinely solid for the price.
Is the Shure MV7+ worth $279 for voiceover work?
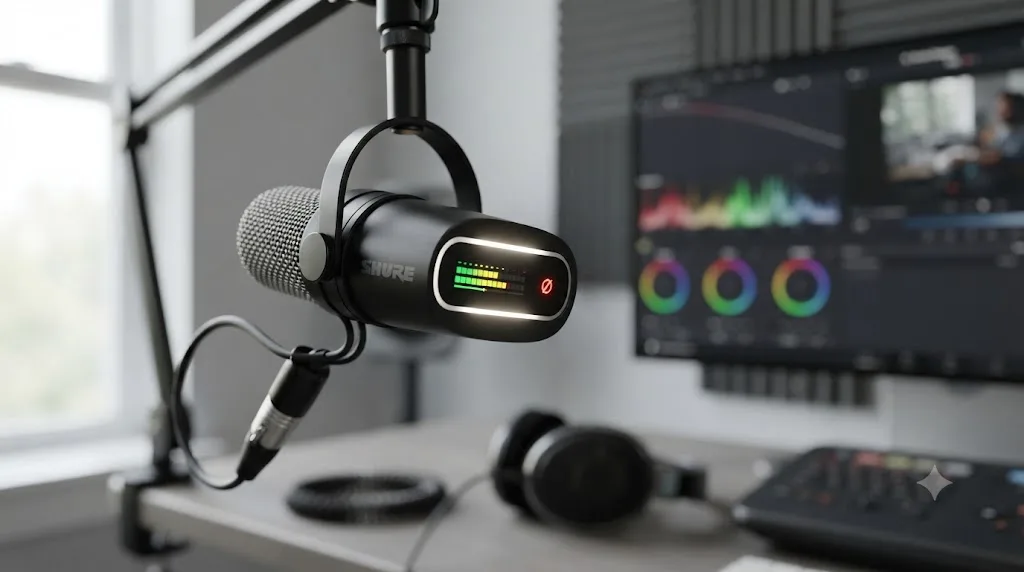
If you can genuinely afford it and want built-in processing that reduces post-production work in Fairlight, yes. The Shure MV7+ costs $279 and pairs a dynamic cardioid capsule with USB-C and XLR outputs, a customizable LED touch panel for level metering and muting, and onboard DSP including Auto Level Mode, a digital pop filter, and a real-time denoiser, according to Shure's own MV7+ product page. At close to three times the price of the Samson Q2U, it's the most expensive pick in this guide, and it's here because it earns its place rather than because every budget list needs a splurge option.
The real-time denoiser and Auto Level Mode are the two features that separate the MV7+ from everything else on this list. Instead of recording a raw take and fixing noise and level swings afterward inside Fairlight's Dialogue Leveler or a noise reduction pass, the MV7+ does a version of that processing before the signal even reaches your computer. For someone recording voiceovers in a room they can't fully treat, apartment noise, a shared workspace, a room with a noisy HVAC system, that's a genuine time-saver on every single take, not just a marketing bullet point.
It's worth being clear about what "budget" means at this price point. $279 is roughly the top edge of what most creators starting out would call a reasonable microphone spend, and it's more than double every other pick in this guide except the Behringer-plus-interface combo. If you're recording voiceover as a hobby or testing whether it's a path you want to pursue, this isn't the mic to start with. If you're already committed, recording regularly, and specifically fighting a room you can't improve, the MV7+'s built-in processing is a legitimate reason to spend the extra money rather than buying a cheaper mic and a $200 acoustic treatment kit instead.
Built-in real-time denoising on the Shure MV7+ moves noise cleanup from a post-production step in Fairlight to something the microphone handles before Resolve ever sees the signal. That's the specific $180 difference between this mic and the Samson Q2U, not a vague claim about better sound.
Should you buy a dynamic XLR mic and an audio interface instead?
Consider it only if you're planning to grow into a multi-mic setup, a podcast with co-hosts, or general music and voice recording beyond just DaVinci Resolve voiceover work. For voiceover alone, a USB or USB/XLR hybrid mic gets you to the same recorded result for less money and less setup. But the XLR-plus-interface path is real, and it's worth pricing out honestly rather than glossing over.
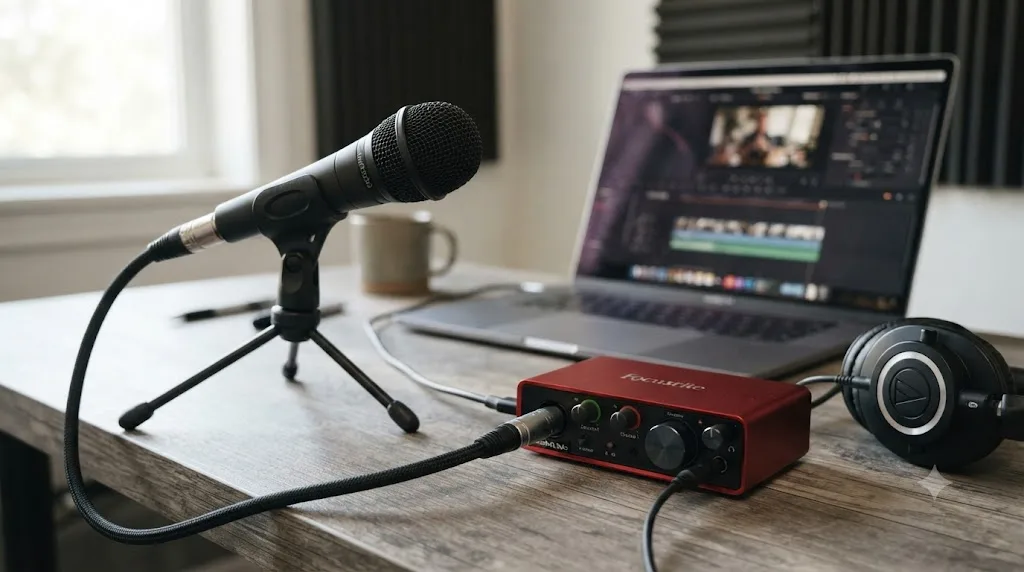
The Behringer XM8500, a cardioid dynamic microphone with a flat 50Hz to 15kHz response and a tuned mid-presence lift, according to Behringer's own XM8500 product page, typically sells for around $19.90 to $25. On its own, it's useless with DaVinci Resolve, since it has no USB output and Resolve has no XLR input. Pair it with a Focusrite Scarlett Solo, a $159.99 audio interface with one mic preamp and studio-grade AD/DA converters, according to Focusrite's own Scarlett Solo product page, and the combined cost lands around $180 to $185, close to the Shure MV7+'s single-mic price but split across two separate pieces of hardware.
| Path | Total cost | What you get |
|---|---|---|
| Samson Q2U alone | $99.99 | One mic, USB today, XLR later if you add an interface |
| XM8500 + Scarlett Solo | ~$180-185 | A real interface you can add more mics to later, plus a genuinely good dynamic capsule |
| Shure MV7+ alone | $279.00 | One mic, built-in processing, no separate interface needed |
The interface route makes the most sense if the Focusrite Scarlett Solo, or any similar interface, is a purchase you'd want regardless of which mic you land on, because you're planning to record a second mic, an instrument, or a co-host down the line. The interface, not the mic, is the part of that setup with room to grow. Buying it purely to run one voice into DaVinci Resolve is more hardware and more cable management than the job strictly requires, when a $99.99 Samson Q2U does the same job with one cable.
An audio interface is worth buying when you're planning to grow past one microphone, not as the default path to record a single voiceover track. If a second mic, an instrument input, or a full podcast setup with co-hosts is on your roadmap, buy the interface now and treat the mic as the cheap part of that purchase. If it's just you, one voice, one track, skip the interface entirely.
How do you set up a budget microphone in DaVinci Resolve's Fairlight page?
Setting up any microphone in DaVinci Resolve, whether it cost $30 or $279, follows the same five steps: connect it, patch it to a track, arm that track, set your gain, and record. None of these steps change based on which mic from this guide you bought, and none of them require DaVinci Resolve Studio.
- Connect the microphone and confirm it's detected. Plug a USB mic straight into your computer, or connect an XLR mic to an audio interface first, then the interface to your computer over USB. Set your operating system's default input device to the mic or interface before you open Resolve, since Resolve reads whatever your OS reports as available.
- Patch the mic to a track in Fairlight. Open the Fairlight page and go to Fairlight > Patch Input/Output. Choose your microphone under Input on the left side, and select the audio track you want to record onto on the right, per the setup steps documented by Motion Array's guide to recording a voice-over in Fairlight and DVResolve's tutorial on recording voice over in Fairlight.
- Arm the track for recording. Click the Arm for Record button on the voiceover track's header. Resolve will not capture anything to that track until it's armed, which is the single most common reason a first recording attempt comes back silent.
- Set your gain so peaks land between -12 and -6 dBFS. Speak at your normal recording volume and watch the track meter on the right side of the screen. Adjust the physical gain knob on your mic or interface first. If your mic has no gain knob, like the Fifine K669B or Rode NT-USB Mini, fine-tune the level inside Resolve's Mixer tab under Input > Path Settings instead.
- Position the playhead and record. Click the timeline ruler or type an exact timecode to set where the take should start, then hit Record. Always do a short test take first and listen back through headphones, since a level that looks right on the meter can still sound wrong through actual monitoring.
Arming a track is the one step every first-time Resolve user forgets, and it's the reason a "silent recording" almost always turns out to be a workflow mistake, not a broken microphone. Check that button before you assume your $99 mic is defective.
If your mic doesn't show up in the Patch Input/Output list at all, the fix is usually one level up, in Resolve's own audio engine settings. Go to Preferences > System > Video and Audio I/O and confirm the I/O Engine matches your platform, ASIO on Windows for the lowest latency, Core Audio on Mac, per Blackmagic's own manual on Video & Audio I/O. Changing the I/O Engine requires a restart of Resolve before the new setting takes effect and your mic reappears in the device list.
If you're stuck staring at a menu that doesn't match what a tutorial video showed you, that's usually a version or platform difference, not something wrong with your install. TryUncle is the on-screen assistant for DaVinci Resolve on macOS - ask in plain words and Uncle points at the exact control on your screen, which beats pausing a video and hunting for a menu that may have moved since the video was recorded. It's a paid app at founder pricing, worth checking directly at TryUncle for the current rate.
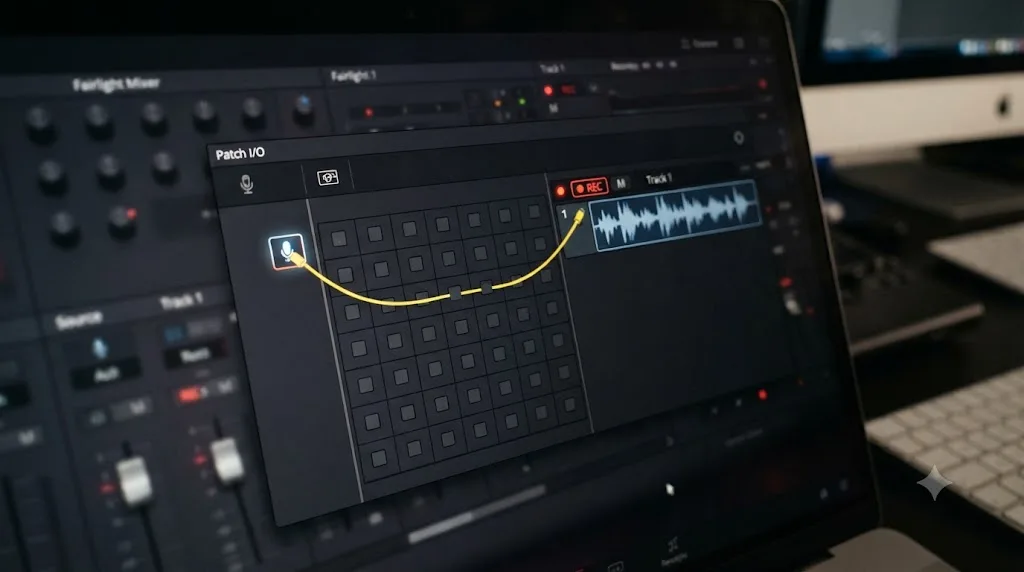
What input gain and DaVinci Resolve settings actually matter for a clean voiceover?
Two things matter more than any other setting: recording at the right gain level, and matching your project's sample rate to your mic's output. Everything else, buses, EQ, compression, is a mixing decision you make after the take is already recorded, which our full guide to mixing audio in Fairlight covers in depth.
Gain first. Aim for peaks between -12 and -6 dBFS on your loudest lines, leaving headroom before the 0 dBFS ceiling where digital audio clips and distorts permanently, a target echoed by colorist and editor resources including Larry Jordan's guide to optimizing dialog quality and levels in DaVinci Resolve. Recording too quiet and boosting the level afterward raises the noise floor along with your voice, which is a worse trade than it sounds, since noise you can't hear while recording becomes obvious once you turn the whole track up in the mix.
Sample rate second. Every mic in this guide records at either 44.1kHz or 48kHz, and DaVinci Resolve's project settings should match whichever your mic outputs, set under Project Settings > Master Settings > Timeline frame rate and Audio sample rate, before you start recording rather than after. A mismatch doesn't always break playback outright, but it can introduce subtle pitch or sync drift that's far more annoying to fix after the fact than to prevent up front.
Once the raw take is recorded cleanly, DaVinci Resolve's free Fairlight tools handle almost everything else. The Dialogue Leveler, a Track FX plugin covered in our dedicated Dialogue Leveler settings guide, automatically evens out volume swings between quiet and loud lines without you manually riding a fader through the whole take. It ships in the free version, same as the 6-band EQ and full Dynamics section covered in the Fairlight mixing guide.
DaVinci Resolve's free version includes the same EQ, Dynamics, and Dialogue Leveler tools as Studio, so a $30 mic paired with correct gain staging will out-record a $279 mic that's clipping on every loud line. The gap between free and Studio in audio specifically is one feature: Voice Isolation, an AI repair tool covered next, not the everyday mixing toolkit this section relies on.
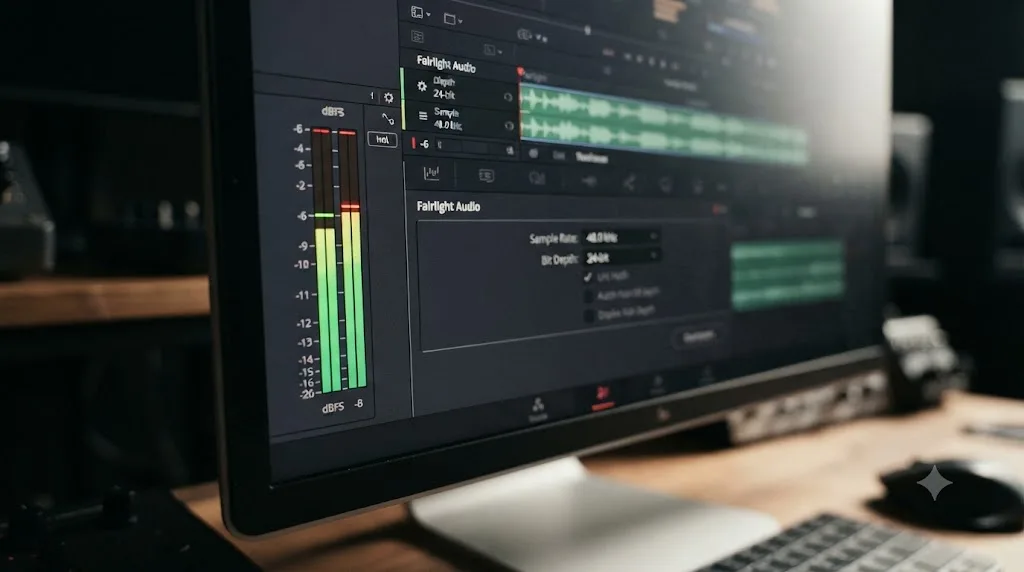
Why does your voiceover still sound bad even with a good microphone?
Almost always, it's the room, not the mic, and this is worth stating plainly because it's the single most common frustration beginners bring to any budget mic guide. A cardioid microphone, which every pick in this guide uses, rejects sound arriving from its sides and rear. It does nothing to reject sound reflecting off the walls, ceiling, and floor directly in front of it, which is exactly what a hard-surfaced, untreated room produces in abundance.
That reflected sound is what makes a recording sound "roomy," echoey, or distant even when the mic itself is picking up your voice clearly at close range. It's a physics problem, not a gear problem, and no amount of money spent on the microphone itself fixes it. The Shure MV7+'s $279 price tag buys real-time denoising for background hiss and hum, but it does not remove room reflections, because that processing happens after the reflected sound has already been captured along with your voice.
The fix costs far less than upgrading your mic. A small, heavily furnished room with carpet, curtains, and soft furniture absorbs far more reflected sound than an empty room with hard floors and bare walls, regardless of which microphone is recording it. Recording inside a closet full of hanging clothes, a genuinely popular trick among voiceover beginners for good reason, surrounds the mic with sound-absorbing material on every side. A blanket fort, thick moving blankets draped over a clothes rack or a few chairs, does something similar for less commitment than converting an actual closet into a recording booth.
A $30 microphone recorded inside a closet full of clothes will sound cleaner than a $279 microphone recorded in a bare, hard-surfaced room. That's not a knock on expensive mics. It's a reminder that acoustic treatment, even the free, improvised kind, solves a problem no microphone price point can solve on its own.
If your room is already reasonably quiet and you're still hearing a persistent hum, hiss, or fan noise underneath your voice after recording, that's a different problem than room reflections, and it's the one place Resolve's software can genuinely rescue a bad take. Our guide to removing background noise from audio in DaVinci Resolve covers the specific tools for that, separate from the room-treatment fix covered here.
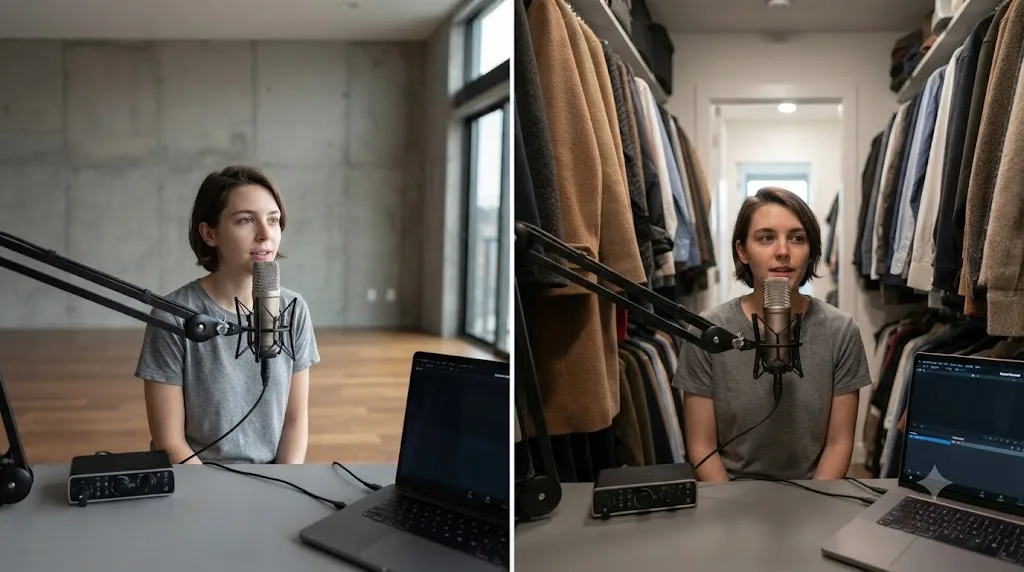
What if you already own wireless lavs like the Rode Wireless GO?
Use them, and skip buying anything from this guide, at least for now. A wireless lavalier system like the Rode Wireless GO is built for a different job than the desk mics covered here, on-body dialogue and interview audio where a boom or desk mic can't reach, but it's fully capable of recording clean, close voiceover narration if you already own one from a video shoot.
The one thing that changes is the import workflow. A wireless lav records to its own onboard storage or transmits directly to a camera, not to your computer's audio input the way a USB desk mic does, so the file has to be pulled off the device and brought into your DaVinci Resolve project separately. Our dedicated guide to the Rode Wireless GO audio import workflow walks through that process specifically, including matching sample rates and syncing the lav's audio to your video timeline.
If you're starting from zero and specifically shopping for a voiceover mic, a wireless lav system isn't the pick to reach for. They're priced for their portability and body-worn use case, not for cost efficiency as a static desk mic, and every option in this guide's shortlist gets you cleaner desk-recorded narration for less money. But if a Wireless GO or similar system is already sitting in your gear bag from a video shoot, there's no reason to buy a second microphone just for voiceover work. Use what you have.
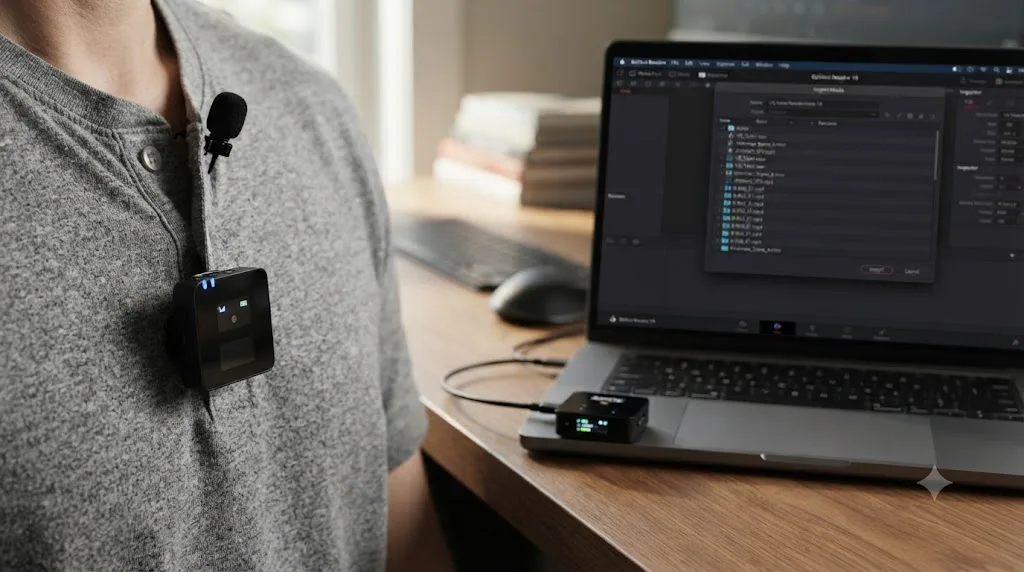
How do you fix a voiceover that already sounds rough in DaVinci Resolve?
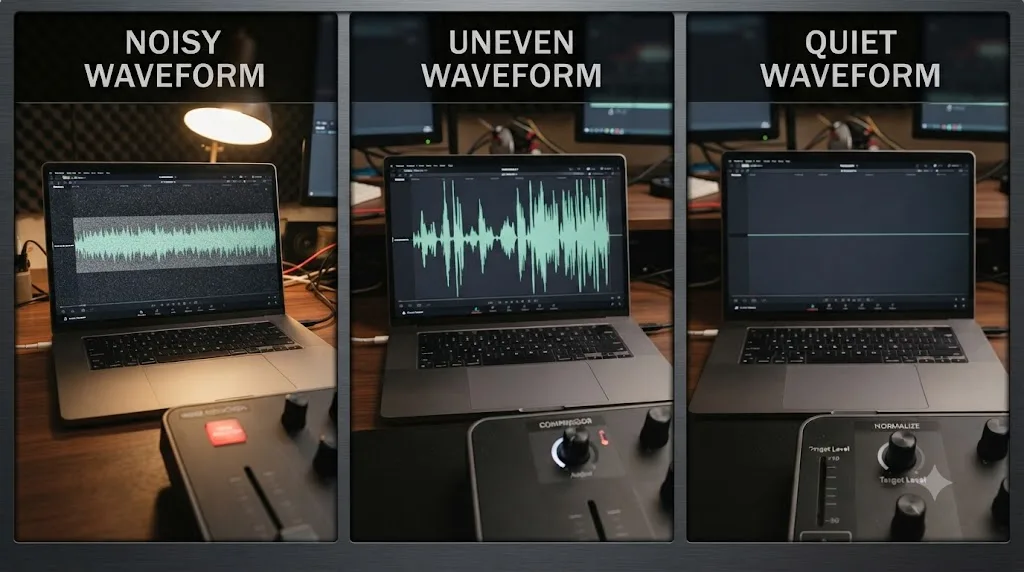
Start with what's actually wrong before reaching for a tool, since noise, unevenness, and low loudness are three separate problems with three separate fixes inside Fairlight, none of which involve buying new hardware.
If the recording has a constant hum, hiss, or fan noise underneath your voice, that's a noise problem, and Resolve's free Fairlight tools plus, if you're on Studio, the AI-powered Voice Isolation tool are the right fix, covered step by step in our background noise removal guide. Voice Isolation is the one audio feature genuinely gated behind the $295 Studio license, according to Blackmagic's own DaVinci Resolve Studio product page, and it's worth knowing that gate exists before you spend an afternoon hunting for a free-version equivalent that isn't there.
If your voice swings between quiet and loud across a take, some lines whispered, some lines emphasized, that's an unevenness problem, and the Dialogue Leveler, covered in our Dialogue Leveler settings guide, automatically smooths that out. It ships free, no Studio license required, and it's usually a faster fix than manually riding gain through an entire take by hand.
If the finished mix sounds quiet or loud compared to other content on the same platform, that's a loudness problem, not a noise or unevenness one, and it's solved by checking your Integrated LUFS reading against the target for wherever the file is headed, covered in our loudness normalization LUFS guide. YouTube, podcast platforms, and social platforms each expect a slightly different target, and matching it is a final export-stage step, not something you fix by re-recording.
Noise, unevenness, and loudness are three different problems, and treating them as one "make it sound better" task is how a five-minute Dialogue Leveler pass gets replaced by an hour of manual fader-riding that solves the wrong thing. Diagnose which one you actually have before opening any tool.
Best budget microphone for DaVinci Resolve voiceovers: the final decision table
Here's every pick from this guide in one place, sorted by who should actually buy each one, since the "best" mic depends entirely on your room, your budget, and how far you plan to grow the setup.
| Your situation | Buy this |
|---|---|
| Testing whether voiceover work is for you, lowest possible spend | Fifine K669B ($29.99) |
| Want the safest, most balanced all-round pick | Samson Q2U ($99.99) |
| Already own a mic stand, want to save $20-30 over the Q2U | Audio-Technica ATR2100x-USB (~$69.99) |
| Want the most features per dollar at a mid-range price | Maono PD200X ($79.99) |
| Want the cleanest sound in a treated room, plus a built-in pop filter | Rode NT-USB Mini ($109.00) |
| Also streaming or managing multiple live audio sources | Elgato Wave:3 ($149.99) |
| Already own a Blue Yeti from a past project | Keep it, set it to cardioid mode, don't replace it |
| Planning to grow into a multi-mic podcast or interface setup | Behringer XM8500 + Focusrite Scarlett Solo (~$180-185) |
| Recording regularly in a room you can't treat, budget allows | Shure MV7+ ($279.00) |
| Already own a wireless lav from video work | Use what you have, skip buying anything new |
Choose a mic under $100 if this is your first voiceover setup and you haven't yet confirmed how much this work matters to you long-term. Choose the Shure MV7+ specifically if built-in processing genuinely replaces work you'd otherwise be doing by hand in Fairlight every single session, not because it's simply the most expensive option on the list. And before any of that, spend twenty minutes with blankets, clothes, and soft furniture arranging whatever room you're recording in, because that twenty minutes will do more for your voiceover than the $50 gap between any two mics on this table.
The mic is the easy decision. It's a spec sheet and a price tag, and every option here will record a usable, clean voice track the moment it's wired into Fairlight correctly. The room is the part that actually takes judgment, testing, and a little trial and error, and it's the part most gear guides skip because a blanket fort doesn't come with an affiliate link.
Frequently asked questions
- What is the best budget microphone for DaVinci Resolve voiceovers?
- The Samson Q2U at $99.99 is the strongest all-round pick. It's a dynamic mic with both USB and XLR outputs, so it plugs directly into a computer for DaVinci Resolve's Fairlight page today and works with a mixer or audio interface later if you upgrade. For half the price, the $29.99 Fifine K669B is a real starter option, and the $279 Shure MV7+ is the upgrade pick if budget stretches that far.
- Do I need an audio interface to use an XLR mic with DaVinci Resolve?
- Yes, unless the mic has a built-in USB output. DaVinci Resolve has no XLR input of its own. A pure XLR mic like the Behringer XM8500 needs an audio interface, such as the $159.99 Focusrite Scarlett Solo, wired between the mic and your computer before Resolve ever sees the signal. USB/XLR hybrid mics like the Samson Q2U or Audio-Technica ATR2100x-USB skip that step entirely by running their USB cable straight into your computer.
- Is a USB microphone good enough for professional voiceover work in DaVinci Resolve?
- For most creators, yes. Every mic in this guide, including the $29.99 Fifine K669B, records at 16-bit or 24-bit resolution well above what a podcast, YouTube video, or client voiceover actually needs. The gap between a $30 USB mic and a $279 one shows up in noise rejection, build quality, and built-in processing, not in whether the audio is technically usable. Room treatment and mic technique affect the final result more than the price tag does.
- Why does my voiceover sound echoey in DaVinci Resolve even with a good microphone?
- That's almost always the room, not the mic. A cardioid microphone rejects sound from the sides and rear, but it still captures whatever bounces off hard walls, windows, and bare floors in front of it. Recording inside a closet full of clothes, under a blanket fort, or in a small carpeted room with soft furniture cuts reflections far more than swapping a $99 mic for a $279 one ever will.
- What input gain level should I record voiceover at in DaVinci Resolve?
- Aim for peaks between -12 and -6 dBFS on the Fairlight meters during your loudest lines. That leaves enough headroom to avoid clipping while keeping the noise floor low. Set the level using your microphone's own gain knob or your audio interface's preamp first; only use Resolve's Mixer > Input > Path Settings gain as a fine-tune, since pushing digital gain too hard adds hiss instead of volume.
- Can I use a gaming headset mic for DaVinci Resolve voiceovers?
- You can, but you shouldn't for anything client-facing. A headset mic's tiny capsule is built for intelligibility over Discord and game voice chat, not tonal quality, and it sits close enough to your mouth to catch breath noise and plosives a dedicated mic's pop filter would block. It works fine for a quick scratch narration track while you're still editing, but swap it for a real mic, even the $29.99 Fifine K669B, before you record the version that ships.
- Does DaVinci Resolve Studio improve voiceover recording quality over the free version?
- No, not the recording itself. Fairlight's buses, 6-band EQ, full Dynamics section, and Dialogue Leveler are all in the free version, and none of them care which microphone fed them. Studio's one audio-specific advantage is Voice Isolation, an AI repair tool for rescuing dialogue recorded in genuinely bad conditions. If you're already using a decent mic in a treated space, Voice Isolation is a safety net you'll rarely need, not a quality upgrade you're missing.
Sources
- ATR2100x-USB Cardioid Dynamic USB/XLR Microphone (Audio-Technica)
- Q2U USB/XLR Dynamic Microphone (Samson)
- NT-USB Mini | Studio Quality USB Microphone (RODE)
- MV7+ Podcast Microphone (Shure)
- FIFINE K669B USB Condenser Microphone with Tripod Stand (FIFINE Official)
- XM8500 Cardioid Dynamic Microphone (Behringer)
- Scarlett Solo 4th Generation Audio Interface (Focusrite)
- Wave:3 USB Condenser Microphone (Elgato)
- PD200X Dynamic Microphone (Maono)
- Yeti Premium USB Microphone (Logitech G / Blue)
- Maono PD200X Review: Cheap Price, Cheap Sound?, by Matthew McLean (The Podcast Host)
- DaVinci Resolve - Fairlight product page (Blackmagic Design)
- DaVinci Resolve Studio product page (Blackmagic Design)
- DaVinci Resolve Manual - Video & Audio I/O (Blackmagic Design)
- How to Record a Voice-Over in Fairlight (Motion Array)
- How to Record Voice Over in Fairlight (DVResolve.com)
- Larry Jordan: Optimizing Dialog for Quality and Levels in DaVinci Resolve
- DaVinci Resolve - Tech Specs (Blackmagic Design)
Keep reading
Guides · Jul 11, 2026 · 31 min
How to Mix Audio in DaVinci Resolve Using Fairlight
Mix audio in DaVinci Resolve's Fairlight page: build a dialogue/music/effects bus structure, gain-stage your clips, EQ and compress dialogue, then duck music under it.
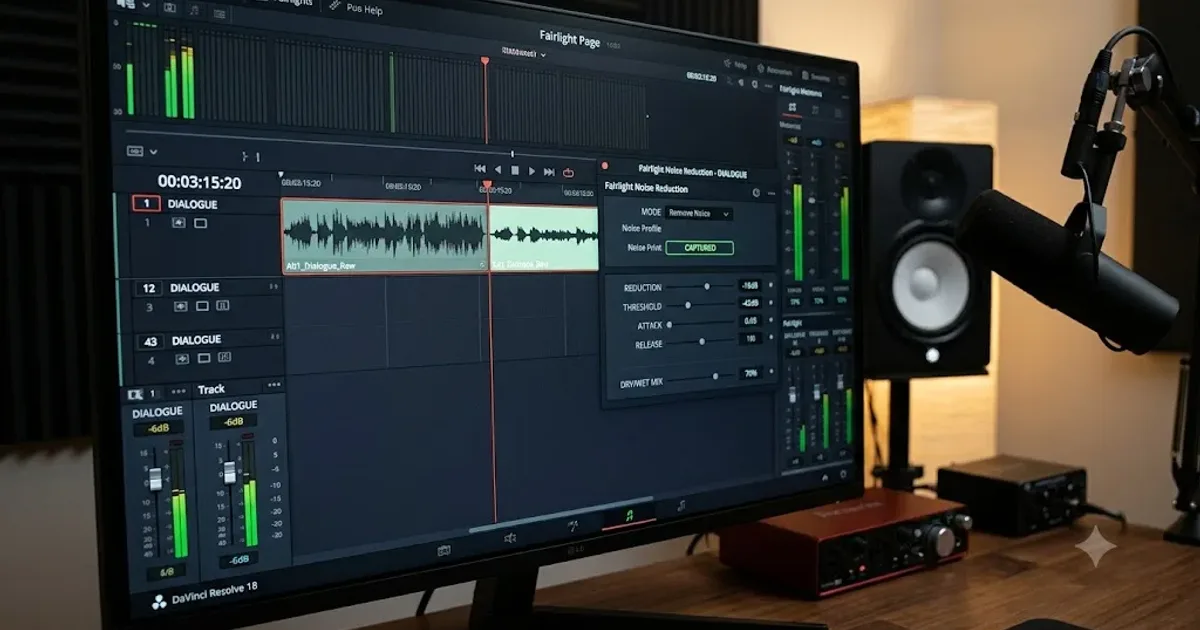
Fixes · Jul 10, 2026 · 29 min
How to Remove Background Noise from Audio in DaVinci Resolve
Remove background noise from audio in DaVinci Resolve with the Fairlight Noise Reduction plugin, De-Hummer, Gate, or Voice Isolation. Exact settings, in order.
Guides · Jul 8, 2026 · 33 min
DaVinci Resolve Loudness Normalization: The Right LUFS Target
The exact LUFS target for every platform in DaVinci Resolve: -14 for YouTube and Spotify, -16 for podcasts, -23 EBU R128 broadcast. Plus how to set and hit it.