Articles / Guidesupdated for DaVinci Resolve 21.1 (October 2026)
Best Way to Practice DaVinci Resolve With a Client Brief
Quick answer
The best way to practice DaVinci Resolve with a client brief is to turn the brief into a small production: define the audience and deliverable, organize supplied media, make a rough cut, finish picture and sound, export a review file, apply one revision, and deliver the required master. This builds judgment and workflow, not just button memory.
Best Way to Practice DaVinci Resolve With a Client Brief
The fastest way to discover what you do not yet know in DaVinci Resolve is to give yourself a decision to make. A client brief does that immediately. It tells you who the video is for, what the viewer should understand, what the finished file must be, and what cannot be changed.
As of October 2026, this guide is written for DaVinci Resolve 21 and 21.1. Blackmagic's current support material lists the Resolve 21 and 21.1 manuals, while the 21 release adds a Photo page, new AI tools, Fairlight folders, keyframing improvements, MultiMaster trim passes, layer list node graphs, and more. You do not need to practice every new feature to become useful. You need to practice choosing the right feature for a stated outcome.
After seven years of cutting commercial work in Resolve, teaching more than 100,000 students on Udemy as an official Udemy Business Partner, and working with Fortune 500 companies, our advice is simple: train on the shape of the job. The software matters. The brief, the clock, the review, and the delivery matter just as much.
This is one of the recurring questions in our 100,000+ member professional video-editing community: how do you move from knowing Resolve controls to making decisions another person can approve?
What is the best way to practice DaVinci Resolve with a client brief?
The best way to practice DaVinci Resolve with a client brief is to complete a small project from brief to delivery, with one review round between the first export and the final export. That sequence forces you to organize media, make editorial choices, solve technical problems, explain decisions, and protect the deliverable.
A tutorial can show you where a button is. A brief makes you decide whether pressing that button helps. That difference is the reason brief-based practice transfers better to paid work, internships, portfolio projects, and any situation where another person cares about the result.
The exercise does not need a complicated story. Use a 30 to 90 second social video, a short interview excerpt, a product demonstration, a local event recap, or a simple before-and-after piece. The practice value comes from the constraints, not the spectacle.
Write the exercise as a small production order:
- Audience: Who should watch this?
- Objective: What should the viewer understand, feel, or do?
- Message: What is the single idea the edit must communicate?
- Deliverable: What duration, aspect ratio, frame rate, resolution, codec, and audio expectation are required?
- Materials: Which video, stills, voiceover, music, logos, fonts, and references are available?
- Must-haves: Which words, shots, colors, names, or calls to action must appear?
- Exclusions: What must not appear, even if it is technically attractive?
- Review: Who gives notes, and how many rounds are you simulating?
- Deadline: When does the review export need to exist, and when is the final due?
Do not start by choosing an effect. Start by writing the acceptance test. If the brief says the viewer must understand a three-step process, your first cut fails if the steps are unclear, even if the transitions are impressive. If the brief says the video must feel calm, an overdriven music bed is a miss, even if the mix is technically clean.
Blackmagic's official training already uses a project-based approach. Its training page describes lessons in editing, multicam work, visual effects, color, Fairlight audio, and delivery, with downloadable lesson files. That is a strong foundation. Your brief adds the part that a lesson file cannot: prioritization.
The best DaVinci Resolve practice project has a brief, a deadline, a review, and a delivery requirement.
How do I turn a client brief into a practice project?
Turn a client brief into a practice project by reducing it to a one-page production sheet and separating requirements from preferences. Requirements determine whether the work passes. Preferences help you decide between two acceptable options.
Use this template:
| Brief field | Your practice decision | What counts as complete |
|---|---|---|
| Audience | One clearly named viewer group | You can explain why each major shot serves that group |
| Objective | One action or understanding | The first cut communicates it without your explanation |
| Runtime | A hard maximum, such as 45 seconds | The review export stays within the limit |
| Format | One primary format, such as 16:9 or 9:16 | The timeline and export match the intended destination |
| Source media | A fixed folder of clips and assets | You do not keep searching for new material to avoid a hard choice |
| Must-have content | A short checklist | Every item is visible or audible in the review export |
| Tone | Three descriptive words | Pacing, image treatment, graphics, and sound support those words |
| Approval rule | One simulated review round | You make notes, decide what is in scope, and export again |
| Delivery | A named master and a review copy | Both files open and are identified without guesswork |
The format field deserves special care. A vertical social cut and a widescreen presentation are not the same edit placed inside two frame sizes. The composition, text scale, eye trace, and pacing can all change. Practice one main deliverable first. Make a second version only when the brief says the second version is part of the job.
Make a distinction between the client's stated request and the problem underneath it. “Make a video about the new service” is a topic. “Get busy café owners to understand the service in 45 seconds and remember the booking URL” is a communication problem. The second version gives you something to edit toward.
Now turn adjectives into observable tests. “Modern” is vague. “Clean typography, quick opening, restrained color, and no decorative transitions” is testable. “Cinematic” is vague. “Controlled highlights, deliberate shot duration, room tone under the dialogue, and a clear ending” is a direction you can evaluate.
Choose media that creates a small amount of pressure. Six clips with obvious continuity may teach less than twelve clips with repeated angles, uneven exposure, a distracting background, and one clip with unusable sound. Do not manufacture a disaster. Just avoid giving yourself a puzzle that solves itself.
Set a timebox before you open Resolve. The timebox is not a prediction of professional speed. It is a way to reveal where the process expands. You might reserve a first session for ingest and organization, a second for the rough cut, a third for sound and picture finishing, and a fourth for review and delivery. If one task consumes the entire exercise, that is useful evidence about your next learning target.
Keep a decision log. Record the choices that changed the result:
- Why did you open with this shot?
- Why did you cut away here?
- Why did you remove the music for this line?
- Why did you choose this crop?
- Why did you use a title instead of a spoken explanation?
- Why did you leave an imperfect take in the cut?
The point is not to defend every choice like a courtroom argument. The point is to make invisible instincts visible. Once you can name a decision, you can repeat it, revise it, or replace it.
Why does a client brief teach more than another DaVinci Resolve tutorial?
A client brief teaches more than another tutorial when your bottleneck is judgment rather than access to instructions. Tutorials are excellent for learning a page, tool, or workflow. They are weaker at teaching what to do when several choices are valid and time is limited.
Blackmagic's training library is worth using because it is structured and official. The training page offers lesson videos and books, including the Beginner's Guide, Editor's Guide, Fairlight Audio Guide, Colorist Guide, and Visual Effects Guide. The lessons and files give you a controlled environment where you can repeat a technique without searching for footage.
YouTube adds range and personality. Casey Faris is a useful example for learners who want Resolve-focused demonstrations and longer workflow explanations. You can use a video to answer a specific question, then close it and reproduce the technique inside your brief. Watching three more videos before attempting the task can feel productive while leaving the real decision untouched.
Courses on platforms such as Udemy and Coursera can help when you want a sequence, exercises, and a teacher's explanation. Their weakness is not that they are too structured. It is that the project constraints are usually selected for you. That makes them a good curriculum and an incomplete simulation of client work.
Community advice can solve problems quickly, especially when the problem is a version-specific control, a codec, or an unusual error. The trade-off is that a forum answer may assume a different version, operating system, project setting, or source format. Check the version and reproduce the answer in a disposable copy of your practice project.
| Learning route | Best use | What it teaches well | What you still need to practice |
|---|---|---|---|
| Blackmagic official training | Build a reliable foundation | Page structure, core workflows, guided exercises, terminology | Prioritization and client communication |
| Casey Faris and other Resolve-focused YouTube lessons | Solve a narrow technique or see a workflow | Demonstration, alternate explanations, speed and shortcuts | Whether the technique belongs in your brief |
| Udemy or Coursera course | Follow a planned curriculum | Sequence, repetition, and assignment rhythm | Working from ambiguous requirements |
| Community forums and discussions | Investigate a stuck point | Edge cases, version differences, practical troubleshooting | Source checking and consistent process |
| Brief-based practice | Simulate a real job | Judgment, scope, review, revision, delivery | Specific tools you have never learned |
| On-screen assistance | Recover when the control is hard to locate | Connecting a plain-language question to the visible control | Creative judgment and project taste |
The strongest routine combines them. Use a course or official lesson to learn a tool. Use a brief to decide when the tool belongs. Use a review to find out whether the result communicates. Use the manual or community when a technical question remains.
Blackmagic's Resolve 21 new features guide includes a line that is easy to agree with: “I think one of the most exciting things about DaVinci Resolve 15 is that it brings together editing, color correction, audio post, and now, visual effects in the same software application!” The quote is from Grant Petty, Blackmagic Design's CEO, in the guide's foreword. The version is old, but the learning implication remains useful: Resolve invites you to practice the complete finish, not only the cut.
That does not mean every exercise needs a professional color grade, a Fusion composite, and a complex Fairlight mix. It means the brief should tell you which parts of the finish matter. A short interview may need careful dialogue and restrained picture work. A product montage may need timing, graphics, and music. A documentary excerpt may need structure, room tone, and an honest treatment of mixed footage.
A course teaches a path through Resolve; a client brief teaches you which path the job requires.
How do I set up the DaVinci Resolve project before editing?
Set up the DaVinci Resolve project by deciding the timeline, media structure, and naming system before the first serious edit. Good setup removes avoidable uncertainty. It does not replace editorial thinking.
Create a project copy for the exercise. Name it with the project, version, and date. Use a name that remains understandable outside your own head, such as cafe-service-social_v01_2026-10-03. If you make a major structural change, save a new version instead of relying on memory.
Create bins that match how you will search. A simple brief might need:
01_VIDEO02_AUDIO03_STILLS04_GRAPHICS05_MUSIC06_EXPORTS07_REVIEW
If the footage comes from multiple cameras, add bins by camera or scene only when that division helps you find things faster. A naming convention is a search tool, not a decorative filing system. Clear folder and bin naming becomes more useful when your practice project grows beyond a handful of files.
Inspect before you judge. Watch enough of each clip to know whether it contains usable action, clean dialogue, a useful reaction, or a problem you need to account for. Note the obvious facts in a paper or text log: shot type, subject, approximate content, audio condition, and any continuity concern. You do not need a complicated logging database for a short exercise.
Set the timeline based on the brief, not the first clip you happen to import. Resolve lets you create timelines with specific settings, and the correct choice depends on the intended deliverable and media. If the brief is silent about frame rate or resolution, choose a defensible option, write it in your decision log, and treat the assumption as a question for review.
Do not change the timeline every time a clip looks different. A mismatched source may be a creative or technical issue, but it is not automatically evidence that the timeline is wrong. Check the brief, the source media, and the intended output together.
Decide where temporary files belong. Cache, optimized media, and proxy choices can affect storage and performance. If the exercise is small and playback is fine, you may not need to add a proxy workflow. If playback struggles, treat the slowdown as a separate technical problem and learn that workflow deliberately. Do not obscure an editorial problem by endlessly changing performance settings.
Use markers for questions, not only decoration. Place one at a confusing story beat, one at a possible music entrance, one at an audio problem, and one at a review question. Give each marker a useful label. “Fix” is weak. “Does the service name need to appear before the demonstration?” is actionable.
The difference between a marker and a note is not the color. It is whether the note helps you take the next step.
Before cutting, duplicate the raw timeline or create a clean source sequence if that fits your workflow. Your goal is to preserve a point of comparison. It is easier to learn from a bad decision when you can still see the state before the decision.
How do I build a rough cut from a client brief?
Build the rough cut by solving comprehension and priority before polish. The rough cut should make the main message understandable with temporary gaps, simple trims, and only the essential graphics.
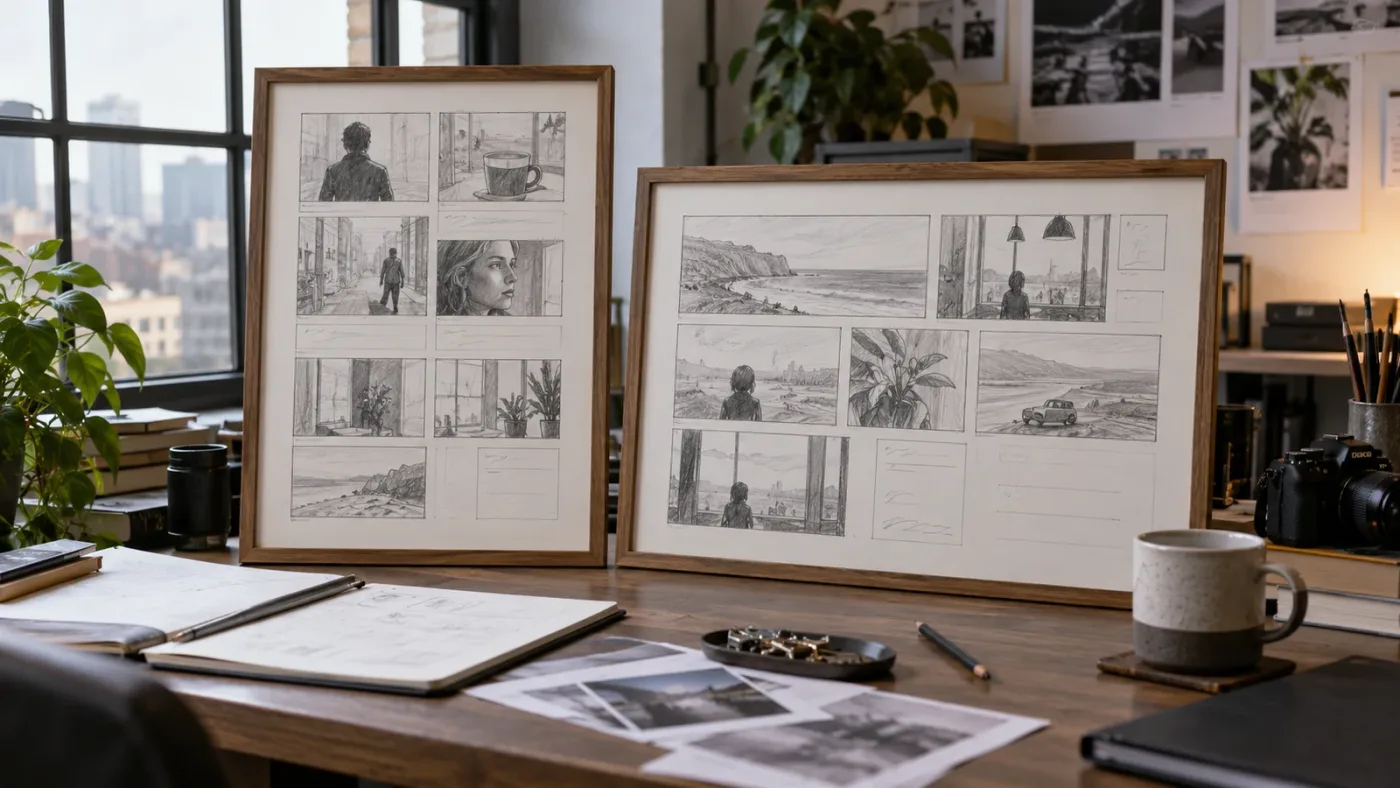
Start with a paper edit or a short written order of ideas. It might be:
- Establish the problem.
- Show the person or product.
- Demonstrate the solution.
- Prove the benefit.
- Give the viewer the next action.
That sequence is only a scaffold. Your footage may require a different order. What matters is that you decide why the viewer sees each beat.
Use the Edit page as a place to think in relationships. A shot is not good because it is beautiful in isolation. It is useful when it creates, answers, complicates, or releases a question. If a close-up repeats information already understood, remove it. If a wide shot explains where the action is happening, protect it even if it is less exciting.
Cut a first pass without trying to make every frame perfect. Mark uncertain choices. Keep a little extra material around an important moment so you can adjust timing without reopening the entire search.
Then watch the rough cut at normal speed with your hands away from the keyboard. Write down where attention drops or meaning becomes unclear. Do not stop every few seconds. The viewer does not experience your edit as a list of individual decisions. They experience a flow.
Use a three-pass approach:
Pass one: comprehension
Can a person unfamiliar with the material explain what happened? If not, repair the order, context, or missing visual information. A title can help, but it should not cover a structural hole that a better shot or shorter sequence would solve.
Pass two: intention
Does the rhythm match the brief? A calm message may need longer holds and fewer cuts. A demonstration may need precise visual timing. A serious subject may not benefit from a playful transition. These are not universal rules. They are choices you make against the stated objective.
Pass three: economy
What can leave without reducing understanding? Remove repeated phrases, redundant reaction shots, decorative pauses, and graphics that explain what the image already explains. Shortening a sequence is not automatically better, but every second should have a reason to stay.
When you practice, measure the cut against the brief instead of against your taste. Taste still matters. It just has a job inside a larger decision.
If the edit is for a vertical deliverable, check the composition early. Do not wait until export to discover that the subject, title, or product detail is trapped at the edge of the frame. A format decision affects shot selection, crop, graphic hierarchy, and sometimes the order of the story.
If the edit uses dialogue, make the words understandable before adding music. If the edit uses no dialogue, make the visual sequence understandable without a voice explaining it to you. Your own memory is a poor test because you already know what every shot means.
Ask a reviewer to describe the video in one sentence. If their description matches the objective, the rough cut is doing its job. If they describe a detail that was supposed to be secondary, adjust the emphasis.
A rough cut is successful when the viewer understands the brief before the editor starts polishing the pixels.
Why is my DaVinci Resolve practice project taking too long?
Your DaVinci Resolve practice project is taking too long when the exercise has no stopping rule, the brief contains too many deliverables, or you are solving advanced technical questions before the main message works. Reduce scope before adding tools.
Use a stoplight diagnosis:
| Symptom | Likely practice problem | Smallest useful correction |
|---|---|---|
| You keep searching for more footage | The media boundary is undefined | Lock the source folder and finish with what you have |
| You keep changing the opening | The objective is vague | Write the one sentence the opening must make clear |
| You polish clips before the story works | You are avoiding structural decisions | Return to the rough cut and remove effects temporarily |
| You create several formats at once | The deliverable is too broad | Choose one primary format and finish it |
| You watch lessons for hours | The learning question is not specific | Name the one control or concept blocking the next step |
| You restart the project often | There is no versioning habit | Save a numbered project copy before major changes |
| You cannot tell when it is done | Acceptance criteria are missing | Turn the brief into a pass or fail checklist |
The easiest practice project to finish is not always the one with the easiest footage. It is the one with a clear definition of done. Write the end state before you begin:
- The video is between the stated minimum and maximum duration.
- The required message appears in the intended order.
- The required words and visual elements are present.
- Dialogue is understandable at normal listening volume.
- The image treatment is consistent enough for the stated tone.
- The review questions have answers.
- The master export opens and is named clearly.
Do not invent a quality score unless you can define what the score means. A number can make a checklist look scientific while hiding the real question. “Does the viewer understand the call to action?” is better than “story: 8/10” if you cannot explain the difference between an 8 and a 9.
Separate learning time from production time. During production, choose a reasonable solution and keep moving. During learning time, revisit the tool and test alternatives in a duplicate timeline. If you pause the cut for every interesting possibility, your practice becomes research without a delivery.
Use the free version where it does the job. The purpose of the exercise is to learn workflow and judgment, not to collect paid-only features. If the brief genuinely requires a Studio feature, label it as a separate constraint and decide whether to substitute, upgrade, or change the exercise. Do not pretend a paid feature is available if it is not in your installation.
Scope also applies to Fusion and Fairlight. A short client-style exercise may need a clean title, a simple mask, and a clear dialogue mix. It may not need a full motion graphics package or a theatrical surround mix. Practice the smallest version that satisfies the brief, then create a second exercise when you want to isolate a more advanced skill.
If you are new, the companion guide on DaVinci Resolve practice projects for beginners is useful for choosing a manageable starting point. This article's extra requirement is that you make the project behave like a job, with a brief and a review.
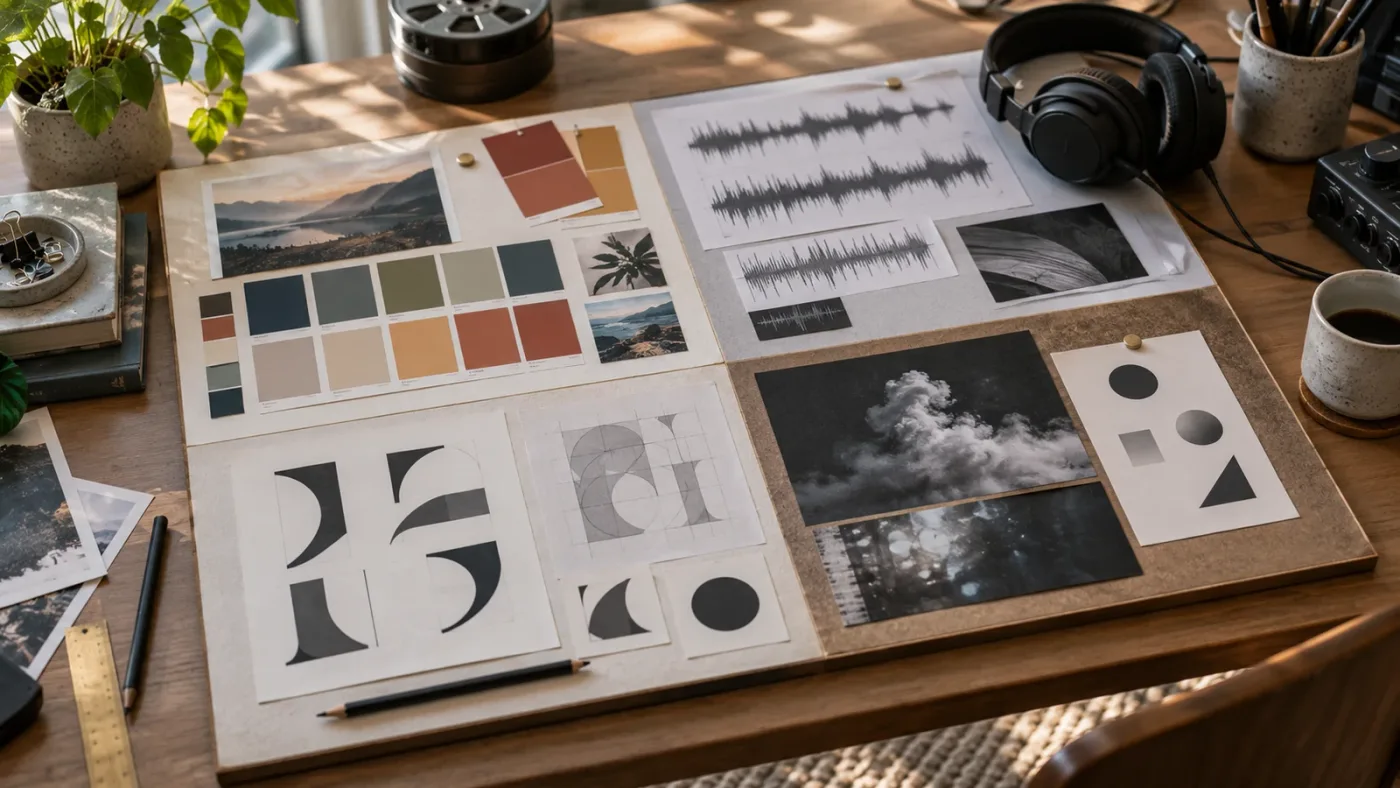
How do I practice color, audio, and graphics without overbuilding the edit?
Practice color, audio, and graphics by assigning each finishing task a communication purpose. A tool is worth using when it improves the viewer's ability to see, hear, understand, or feel the intended message.
Color
Begin with consistency. Compare adjacent shots and correct the problems that distract from the subject or interrupt continuity. Only then make a look choice. A dramatic grade cannot rescue an unclear sequence, and a beautiful still frame cannot excuse a distracting exposure jump across a cut.
Use scopes when they answer a question. Ask whether the exposure is consistent, whether skin or a key object is drifting, or whether the contrast suits the brief. Do not move a control simply because a tutorial moved it. The useful question is not “what setting gives a cinematic look?” It is “what image treatment supports this audience and message?”
Practice one controlled look at a time. Try a neutral correction, a warm commercial treatment, or a restrained high-contrast treatment. Save the version before the look so you can compare. If the brief says natural, the correct result may be less visibly stylized.
Audio
Put dialogue first when dialogue carries the message. Listen for clarity, consistent level, distracting noise, and the relationship between speech and music. A technically elaborate chain is not automatically a better mix. If the listener has to fight the music to understand a sentence, the mix is not serving the brief.
Check the beginning and end of every important line. Trim noise only when the result remains natural. Leave room for the viewer to process a key sentence. Let a sound effect explain an action only if the effect helps the action feel present rather than announcing that an effect was added.
Use Fairlight as part of the same practice project when audio is part of the deliverable. The official Blackmagic training library includes a Fairlight Audio Guide, which is useful for learning the page in a structured way. Your brief determines the depth. A social explainer may need clean dialogue and a controlled music bed. A short film may require room tone, perspective, and more detailed sound design.
Graphics
Give every title one job. It may identify a person, clarify a term, show a step, or make a call to action visible. If a title performs two or three jobs at once, split the information or simplify the wording.
Read the graphics without the video. If the text is too long, too small, or too dependent on the picture, you will notice faster. Then play the sequence and check whether the title arrives before the viewer needs it and leaves before it becomes a second paragraph to read.
Use consistent margins, alignment, capitalization, and timing. You do not need a full brand system to practice this. You need a few rules that stop every title from becoming a separate design decision.
Effects
Add an effect only after naming its purpose. “Make it more exciting” is not enough. “Hide a jump in the interview,” “direct attention to the product,” or “make the transition match the music phrase” gives you a test.
This is also where Resolve 21 can distract learners. The version introduces new pages, AI tools, graphics, and workflow changes. Treat new features as options, not assignments. If a new tool does not improve the brief, leave it alone and finish the edit with a simpler method.
The best finishing practice makes color, sound, graphics, and effects answer the brief instead of competing for attention.
How do I use review notes to practice a real client revision?
Use review notes by sorting them into required corrections, useful questions, and out-of-scope ideas before changing the timeline. A revision is not a chance to start the entire edit again. It is a test of whether you can preserve what works while addressing what matters.
Simulate the review with a person who has not watched your footage as many times as you have. Give them the brief, the review export, and three questions:
- What is the video asking the viewer to understand or do?
- Where did you lose attention or confidence?
- What information felt missing, repeated, or out of order?
Do not explain the edit while they watch. Explanation contaminates the test. Listen first. Ask follow-up questions only after they have finished.
Write notes in a table:
| Note | Type | Decision | Timeline action |
|---|---|---|---|
| The service name arrives too late | Required clarity | Accept | Move the identifier earlier |
| The opening feels slow | Directional | Investigate | Test a shorter first beat |
| Add three more animated icons | New idea | Out of scope for v01 | Record for a future exercise |
| Music covers a sentence | Required clarity | Accept | Lower or reshape the music around dialogue |
| The second shot feels repetitive | Editorial | Accept | Replace or remove the shot |
You can also review against the brief without another person. Put the acceptance checklist beside the player and tick only what the export proves. Do not tick an item because the timeline appears to contain it. The viewer needs to receive it.
This is a good use for markers. Put review questions at the frame where the question appears, then use the marker list as a revision agenda. The site has a separate guide on how to use markers in DaVinci Resolve for client review if you want a deeper marker workflow.
Keep the first version. Save the revised version separately. Compare them without deciding that the newer one must be better. Sometimes a note creates a local improvement and a global problem. A title may become clearer but arrive too early. A shorter opening may improve pace but remove context. The review is where you learn to assess the whole piece.
Ask whether the note changes the promise of the brief. “Can we make it more energetic?” might be a useful request, but it is less precise than “the first 10 seconds do not establish the problem quickly enough.” Translate the note into an observable behavior before editing.
When notes conflict, ask which requirement has priority. A shorter runtime and more explanation cannot both expand freely. A more energetic pace and a calm tone may pull in different directions. The solution is not always compromise. Sometimes you need to decide which brief requirement governs the choice.
One review round is enough to learn the pattern. More rounds can be useful, but they also create an opportunity for scope to drift. If you simulate several, label the project version and freeze the brief after the first review. That lets you distinguish revision from moving the goalposts.
How do I export a practice project so the exercise feels real?
Export a practice project as if another person must identify, play, review, and approve the file without your help. Delivery is part of editing practice, not an administrative step after the creative work.
Write the delivery specification before opening the Deliver page. Include:
- File purpose: review, approval, archive, or publication.
- Container and codec requirement, if the brief gives one.
- Resolution and frame rate.
- Aspect ratio.
- Audio configuration and expectation.
- File naming pattern.
- Destination folder.
- Whether a separate textless, captioned, or audio-only version is required.
If the brief does not specify a codec, do not pretend there is one universally correct answer. Choose a sensible review format, label the assumption, and ask what the real job would require. Delivery decisions depend on the destination and handoff, not just on the editor's preference.
Use names that make the state obvious. A pattern such as project_deliverable_v02_review_2026-10-03 tells a reviewer more than final-final-new.mov. The exact pattern is yours to choose. The principle is that version, purpose, and date should not be hidden.
Export a short review file first when the full master would take a long time to render. Check the review for obvious timing, framing, missing media, title errors, and audio problems. Then render the requested master. A fast review catches a mistake before you spend time on a file that cannot be delivered.
Open the exported file outside the timeline. Watch it from the beginning, including the first frame and last frame. Check the destination folder, the filename, the duration, the picture, the dialogue, and the relationship between music and speech. If the brief includes a visual call to action, confirm that it remains readable in the export, not only in the viewer.
Keep a delivery note with the project. Record the version, format, source timeline, assumptions, and any known limitation. This may feel excessive for a practice edit. It becomes valuable as soon as you practice a handoff, and it takes very little time.
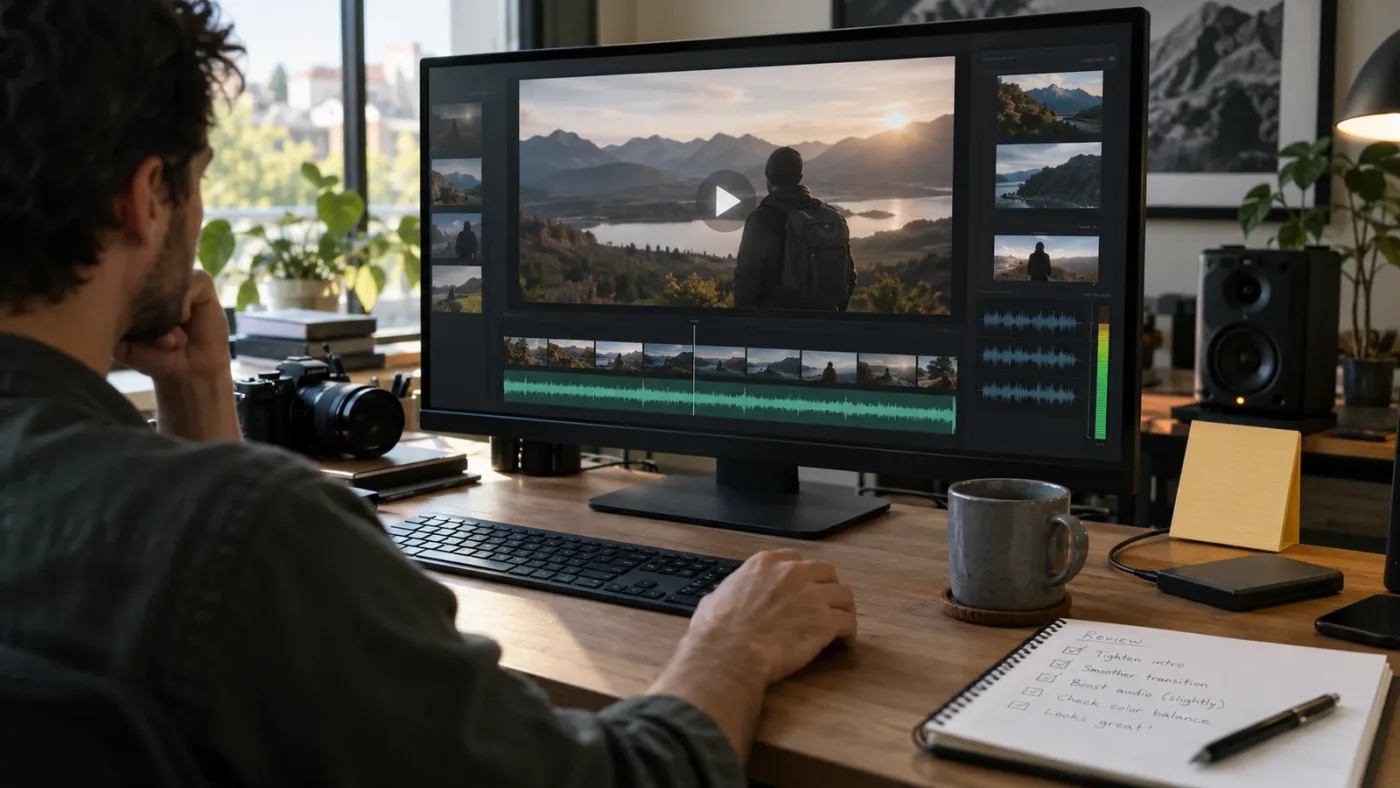
Blackmagic's official Resolve materials cover finishing and delivery as part of the application's complete workflow. The point of including delivery in your practice is not to imitate a facility's paperwork. It is to make the result verifiable.
If you are practicing social versions, export one primary version until you can explain what changes between formats. Then make the second cut as a deliberate adaptation. Do not simply resize the first version and call the work complete.
Why is my client-style Resolve exercise not improving my editing?
Your client-style Resolve exercise is not improving your editing if you repeat the same comfortable task, skip review, or measure progress by how many tools you touched. Change the constraint, the feedback, or the decision you are practicing.
Use a progression of briefs:
Brief one: clear assembly
Use a small number of clips. Practice importing, organizing, selecting, trimming, and exporting. The success test is clear order and clean delivery. Leave advanced effects out.
Brief two: message under time pressure
Give yourself a hard maximum duration and a single audience. Practice cutting repetition, choosing the opening, and protecting the essential message.
Brief three: interview and supporting picture
Build a short piece from dialogue plus B-roll. Practice covering cuts, preserving meaning, and balancing speech with music.
Brief four: brand consistency
Use a limited palette, a small type system, and a repeatable title treatment. Practice making several moments feel like one piece.
Brief five: mixed media
Combine camera footage, stills, a screen recording, and a simple graphic. Practice scale, crop, rhythm, and the transition between kinds of information.
Brief six: review and revision
Have another person give notes. Practice categorizing changes, saving versions, and protecting the accepted parts of the cut.
Brief seven: technical edge case
Choose one constrained problem, such as uneven dialogue, mixed frame rates, difficult aspect ratio, or a clip that needs a practical workaround. Practice troubleshooting without letting the technical problem consume the whole project.
Brief eight: multi-format adaptation
Finish one format first. Then adapt it for a second destination and document what changed. Practice editorial adaptation, not just resizing.
After each project, answer five questions:
- Which decision took longest?
- Which tool did I use without understanding its consequence?
- What did the reviewer notice before I did?
- Which requirement did I almost miss?
- What should the next brief force me to practice?
Choose the next exercise from the answer. If you struggled to find the right shots, practice logging and selects. If you struggled to make the message clear, practice structure. If the images were good but the export failed, practice delivery. If you could not respond to a note without breaking three other things, practice versioning and change isolation.
Progress is not a straight line from beginner tools to advanced tools. You can know a sophisticated effect and still need to practice the opening of a 30-second edit. Keep the exercise aligned with the actual weakness.
The best DaVinci Resolve courses page can help you choose structured instruction when a repeated weakness points to a missing foundation. The course is not the next step by default. The next step is the resource that answers the obstacle your last brief exposed.
What is the best way to learn DaVinci Resolve fast without skipping fundamentals?
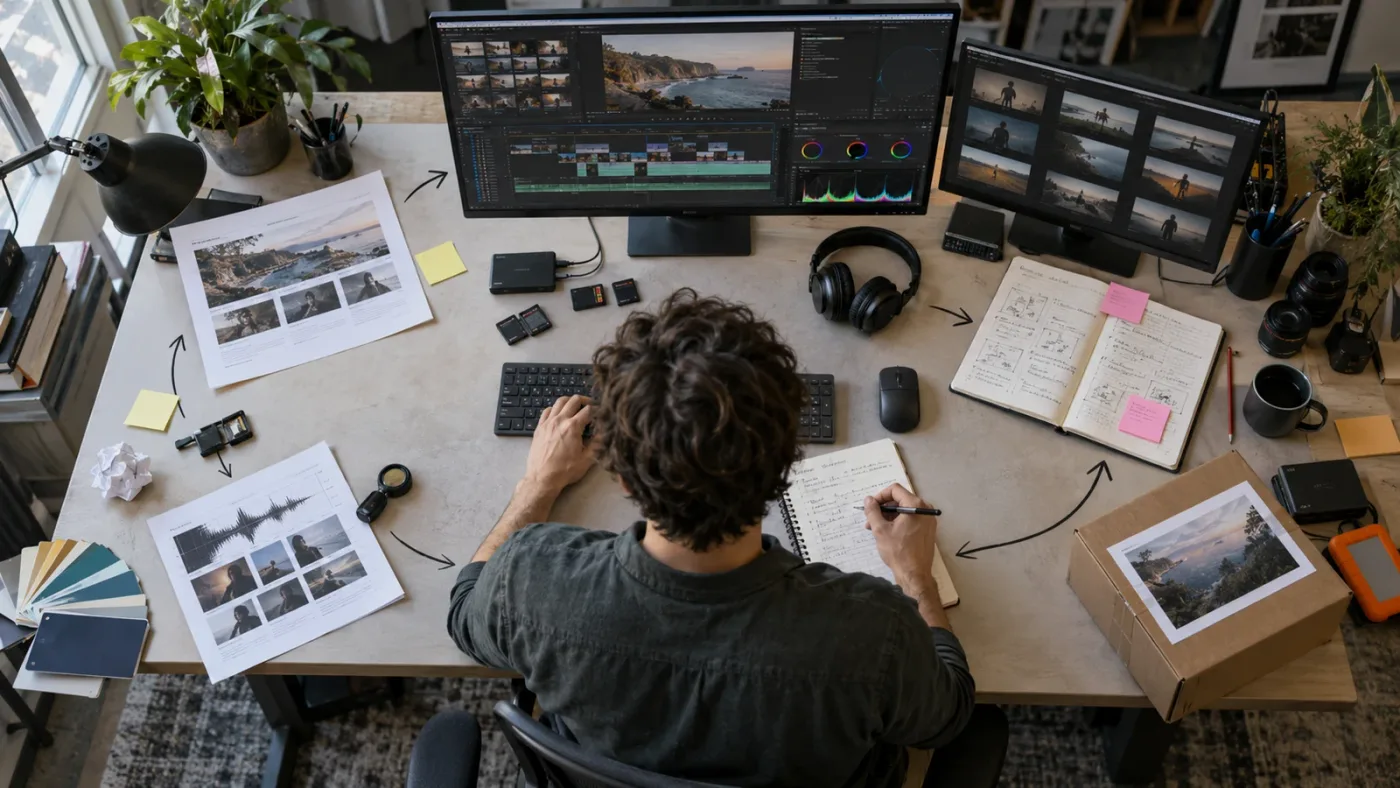
The best way to learn DaVinci Resolve fast is to narrow the loop between instruction, immediate practice, review, and repetition. Speed comes from reducing wasted exploration, not from rushing past the parts that make later decisions possible.
Use this loop:
- Choose one outcome from the brief.
- Learn only the control or concept needed for the next step.
- Apply it immediately in the project.
- Watch the result at normal speed.
- Record what changed and what did not.
- Repeat the decision in a second context.
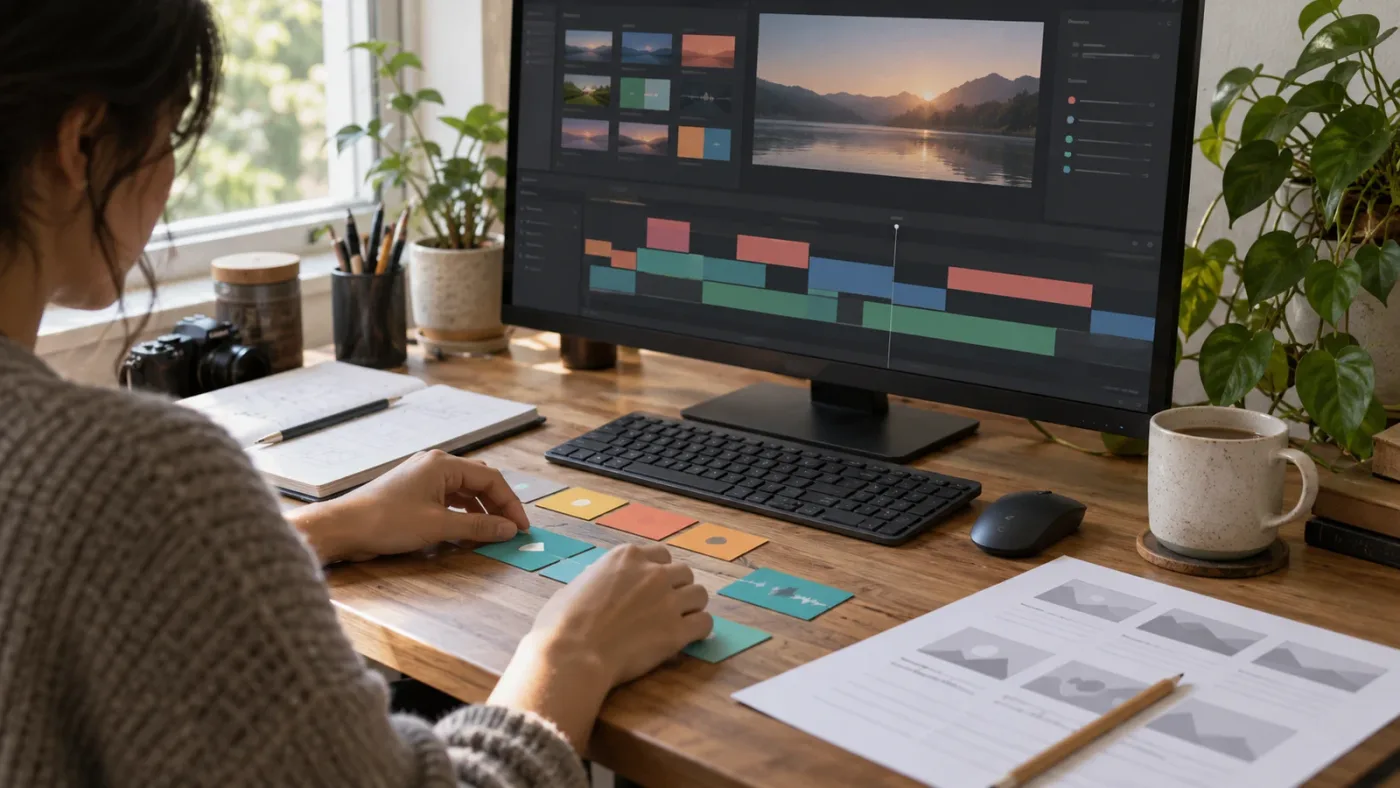
If you learn trimming, use it in the opening and the middle of the same project. If you learn a basic audio adjustment, use it on two different dialogue moments. If you learn a node workflow, apply it to two shots that need different treatment. The second use tells you whether you learned a concept or merely copied a sequence.
Keep a small glossary in your own words. Define a timeline, bin, clip, track, node, keyframe, marker, proxy, render, and master in language you would use to explain the term to a new editor. If a definition depends on a button location, it will age when the interface changes. If it describes the job the concept performs, it remains useful.
Resolve 21's new Photo page and expanded tools make it even more important to distinguish core workflow from optional surface area. The software can support editing, color, audio, Fusion, still photography, and delivery. A learner does not need all of those domains at once. Choose the one your brief requires and leave the rest visible but inactive.
Do not confuse familiarity with fluency. You may recognize a control in a tutorial and still be unable to find it when a different panel is open. Practice retrieval from the task: “I need to soften the transition between these two clips” is a better starting point than “I watched a transitions lesson.”
Use keyboard shortcuts when they support a repeated decision. The shortcut is valuable because it reduces friction in a known workflow. Memorizing a shortcut for a command you do not yet understand only makes confusion faster. Resolve's official manual remains the reference when shortcut behavior or page-specific commands matter.
Learn to search for answers with context. Include the Resolve version, page, task, media type, and exact symptom. “Color broken” is weak. “DaVinci Resolve 21.1 Edit page title is visible in viewer but missing in export” gives an answer a chance to match the real problem. Then verify the answer against the current manual or a reproducible test.
Is there an AI tool to learn DaVinci Resolve while I work?
There are several kinds of tools in this category, and they should not be treated as interchangeable. Some automate editing. Some answer questions in chat. Some help you locate a control while you remain inside Resolve and make the decision.
Sottocut, PremiereCopilot, heyeddie.ai, and cutagent.ai are examples of products that approach editing assistance or automation from different directions. Compare the current product descriptions before relying on any tool because capabilities, supported editors, and pricing can change. Do not assume that a tool made for Premiere Pro behaves like an assistant inside DaVinci Resolve.
The useful distinction for this practice workflow is placement and responsibility:
| Tool category | Useful when | Limitation to remember |
|---|---|---|
| Official Resolve training | You need a reliable foundation | It cannot choose your brief's priorities |
| Search or chat questions | You can describe the problem precisely | The answer may not match your version or visible workspace |
| Editing automation | You want help with repetitive assembly | Automation does not replace taste, review, or client interpretation |
| On-screen guidance | A control is hard to locate while you work | You still need to understand whether the suggested action serves the brief |
| Peer review | You need to test comprehension and impact | A reviewer may give preference rather than a requirement |
TryUncle is the on-screen assistant for DaVinci Resolve on Mac and Windows — ask in plain words and Uncle points at the exact control on your screen.
That can be useful when your practice question is concrete: “How do I create a marker here?”, “Where do I change this timeline setting?”, or “Which control affects this title?” The assistant can reduce the time spent hunting through menus, but it should not make the editorial decision for you. You still decide whether the marker, setting, or title solves the brief.
After you have solved the learning problem, you can check TryUncle for current platform and pricing information. The role is practical: on-screen guidance when a tutorial does not match the control you are looking at, not an automatic editor and not a replacement for practice.
How do I know when a DaVinci Resolve practice project is finished?
A DaVinci Resolve practice project is finished when the deliverable passes the brief, survives an uninterrupted watch, and can be handed off with its version and assumptions understood. “I am tired of looking at it” is not a completion rule.
Use four gates.
Gate one: brief
Read the brief without opening the timeline. List the audience, objective, duration, format, must-haves, exclusions, and delivery. Check whether the export proves each requirement.
Gate two: viewer
Watch without pausing. Write down where you lose the thread, question the meaning, or stop caring. If possible, get one person to describe the message after one viewing.
Gate three: craft
Check picture continuity, color consistency, dialogue clarity, music balance, graphic spelling, title timing, and visible edges. This is not a demand for perfection. It is a final inspection against avoidable distractions.
Gate four: handoff
Open the export. Confirm the filename, duration, format, playback, audio, and destination. Save the project state that produced it. Note any assumption or limitation that another person would need to know.
If the project fails a gate, make the smallest change that repairs the failure. Do not redesign the whole piece because one title has a spelling error. Do not ignore the spelling error because the grade is beautiful.
Keep an after-action note with three lines:
- Keep: the decision or workflow that worked.
- Change: the decision or workflow that caused friction.
- Practice next: the next brief constraint that will expose the weakness again.
The last line matters most. A finished practice project is not merely a file. It is a diagnosis for the next exercise.
Which client brief should I use for my next DaVinci Resolve practice project?
Use a brief that is small enough to finish but specific enough to force trade-offs. The strongest next brief usually contains one audience, one message, one primary deliverable, a fixed media boundary, and one review round.
Here are six brief seeds. They are prompts, not fake client stories:
- Service explainer: Make a 45-second video that explains one service to a busy audience. Use an interview, three supporting shots, one title style, and one call to action.
- Product demonstration: Show one product action clearly in under 30 seconds. Use a detail shot, an establishing shot, and sound that makes the action legible.
- Event recap: Build a 60-second recap from a fixed folder. The brief requires a beginning that establishes place, a middle that shows energy, and an ending that identifies the event.
- Interview excerpt: Cut a spoken answer to 60 seconds and cover the edit with supporting picture. The brief prioritizes meaning and clean dialogue over flashy pacing.
- Before and after: Show a change with matching visual logic. The brief requires the viewer to understand the difference without narration.
- Format adaptation: Finish a widescreen master, then adapt the same communication goal to a vertical version. Document what you changed and why.
Choose the brief that targets the weakness from your last project. If every project becomes a montage, choose dialogue. If every project is dialogue, choose visual explanation. If you keep making good timelines that fail at delivery, choose a delivery-led brief. If you keep adding effects, choose a brief that bans decorative effects.
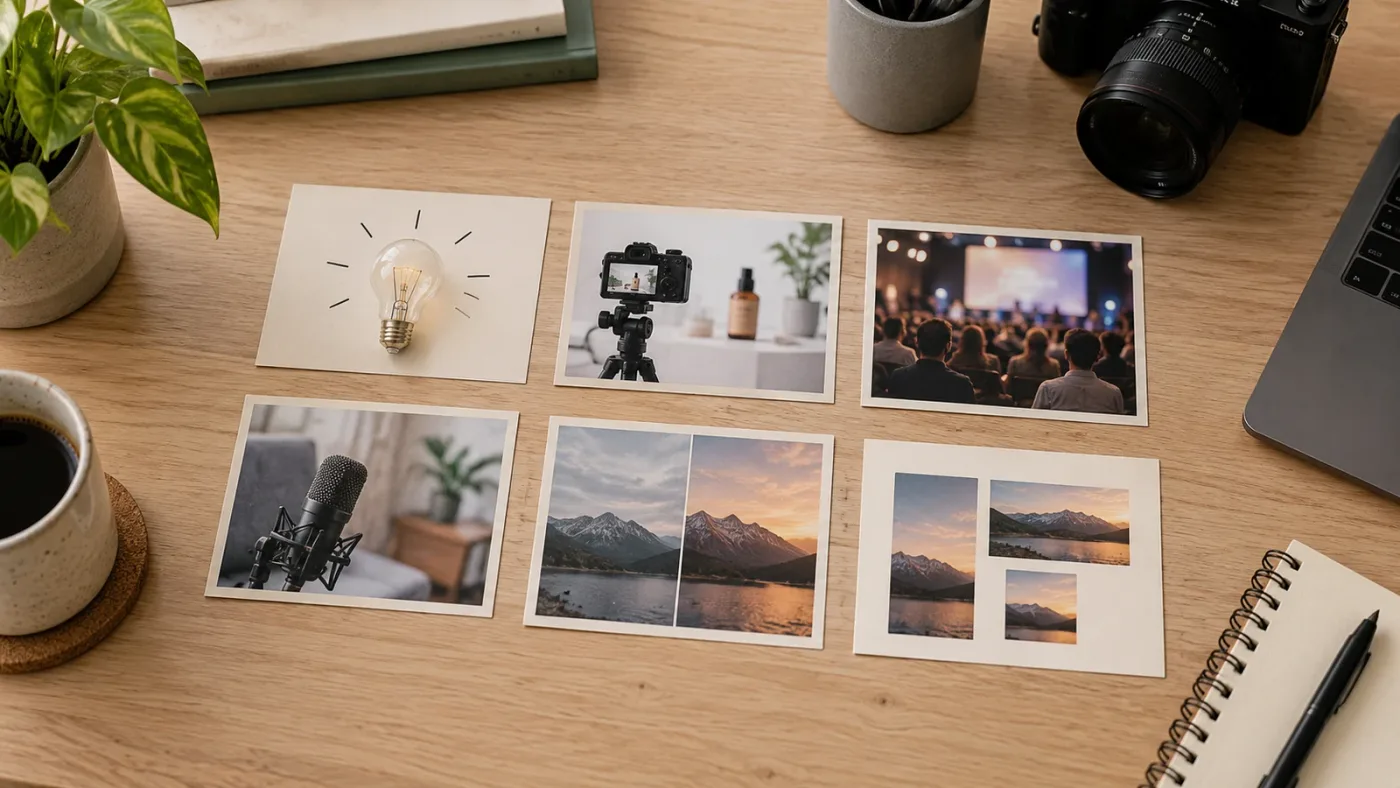
The best way to practice DaVinci Resolve with a client brief is therefore not a single exercise. It is a repeatable loop: brief, plan, organize, cut, finish, review, revise, deliver, diagnose. Blackmagic's official courses and manuals can teach the controls. Client-style constraints teach you when those controls deserve your attention.
Start with one short brief this week. Finish the review export before opening a new tutorial. Then write the next brief around the weakness that export revealed.
Frequently asked questions
- What is the best way to practice DaVinci Resolve with a client brief?
- Use a short brief as a complete production exercise. Turn the brief into acceptance criteria, make a rough cut, finish a review export, write down revision notes, make one controlled revision, and deliver a final file with a clear version name.
- How do I practice DaVinci Resolve like a real client project?
- Practice the decisions around the edit as well as the tools. Set a deadline, choose a target audience, limit the supplied media, define the required aspect ratio and audio expectation, and ask another person to review the result against the brief.
- What should I include in a DaVinci Resolve practice brief?
- Include the audience, objective, message, duration, format, source media, must-use elements, exclusions, delivery files, deadline, and revision rule. A brief is useful when it forces a decision and gives you a way to judge the result.
- What is the best way to learn DaVinci Resolve fast?
- Learn one workflow at a time, then use it immediately in a brief-based project. Start with media organization, the Edit page, basic audio, a simple grade, and delivery before adding Fusion or advanced automation.
- Is there an app that helps you while using DaVinci Resolve?
- An on-screen assistant can help when a tutorial does not match the control in front of you. It should explain the relevant control in the context of your current task, while you still make the creative decision and perform the work.
- Should I use Blackmagic's free training or practice with client briefs?
- Use both. Blackmagic's free training gives you structured demonstrations and lesson files, while a client brief gives you constraints, prioritization, review, and delivery practice that a lesson alone cannot supply.
Sources
- DaVinci Resolve 21.1 and 21 support center
- DaVinci Resolve training from Blackmagic Design
- What's new in DaVinci Resolve 21
- DaVinci Resolve 21 new features guide
- DaVinci Resolve product overview
- Grant Petty foreword in Blackmagic Design's Advanced Editing guide
- Casey Faris DaVinci Resolve training channel
- Sottocut
- PremiereCopilot
- heyeddie.ai
- cutagent.ai
Put this guide to work with TryUncle.
Ask about the step you’re on. TryUncle sees your screen and points at the control you need, so you can keep learning in your own project.
Get TryUncle for Mac or WindowsKeep reading

Guides · Jul 15, 2026 · 37 min
DaVinci Resolve Practice Projects for Beginners: 10 to Try
10 ranked DaVinci Resolve practice projects for beginners, from a 3-clip hard cut to a full capstone edit, plus where to find free practice footage.

Comparisons · Jul 13, 2026 · 34 min
Best DaVinci Resolve Courses in 2026: 6 Real Options Compared
We compared six real DaVinci Resolve courses for 2026, from Blackmagic's free certification to color grading and Udemy bootcamps, to find the best fit.
Guides · Jul 24, 2026 · 41 min
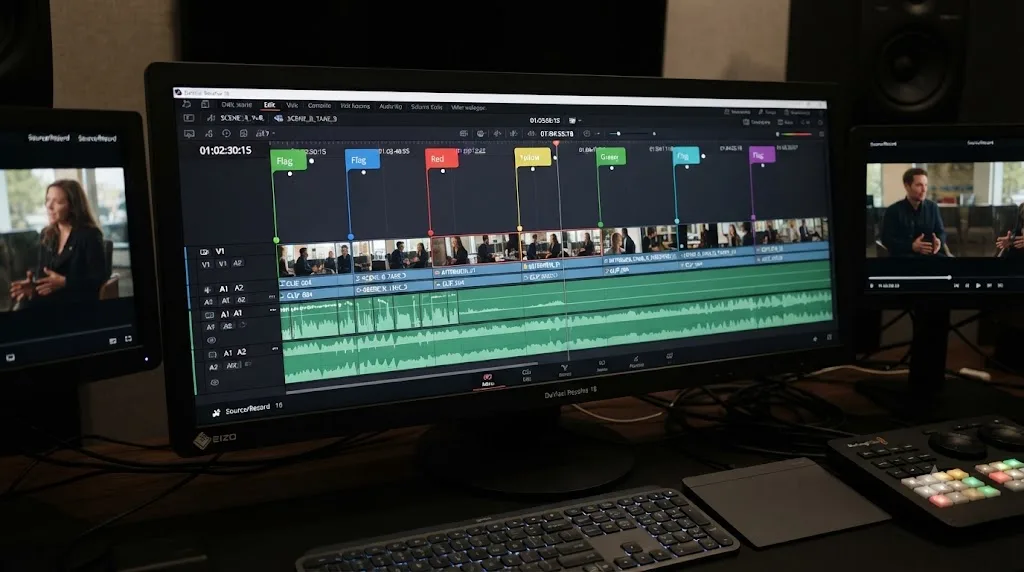
How to Use Markers in DaVinci Resolve for Client Review
Add, color-code, and export DaVinci Resolve markers for client review: the M key, marker colors, EDL export, and Blackmagic Cloud sync explained.