Articles / Guidesupdated for DaVinci Resolve 21.0.2 (July 2026)
How to Use Markers in DaVinci Resolve for Client Review
Quick answer
Press M to drop a marker at the playhead, double-click it to add a name, note, and color, then use Shift+Down Arrow to jump between markers. Color-code by feedback type so a client's notes read at a glance, export the list via Timeline > Export > Timeline Markers to EDL, or sync comments automatically with Blackmagic Cloud Presentations.
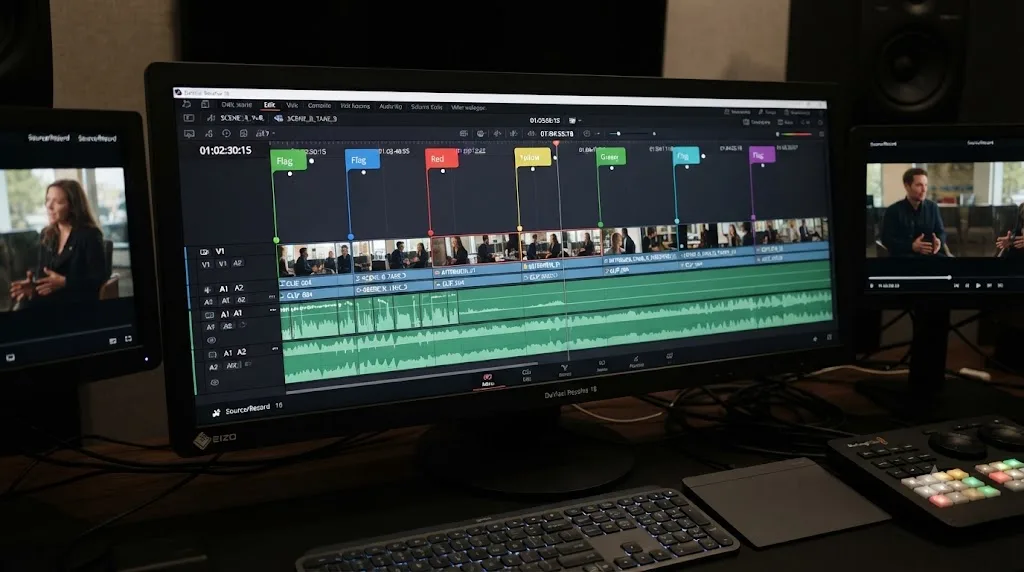
I used to take client notes on a legal pad next to the monitor, then spend the first ten minutes of the next session translating my own handwriting into timecodes. That system worked, technically, the same way carrying water in your cupped hands technically works. Markers are the bucket. They live on the timeline itself, at the exact frame the comment applies to, visible on every page of DaVinci Resolve from the moment you drop one.
After seven-plus years of professional, commercial video editing, the single habit that's saved the most back-and-forth with clients isn't a fancier cut or a faster machine. It's putting every piece of feedback exactly where it happened, in a color that tells me what kind of feedback it is, before I've even opened the note. This guide covers the whole system: adding markers, naming and coloring them, exporting the list, and the newer Blackmagic Cloud tools that turn a client's own comments into markers without you typing anything.
What is a marker in DaVinci Resolve, and why use one for client review?
A marker is a small flag you attach to a specific frame or a range of frames, carrying a color, a name, and a note, visible on every page of DaVinci Resolve at once. For client review specifically, a marker replaces the separate document, spreadsheet, or email thread most editors default to, because the note lives at the exact timecode it describes instead of pointing at one from a distance.
That distinction matters more than it sounds like it should. A timestamped comment in an email still requires you to manually park the playhead at 00:04:12:08 before you can act on it. A marker at that frame is already there when you scrub past it, showing its color from a glance and its full note the moment you double-click it. Per DaVinci Resolve's own reference manual, markers exist to "call attention to a particular frame within a specific clip," and they can be "individually colored" with "customized name and note text," per the manual's page on using markers.
A marker is a note that lives on the timeline itself, not in a separate document the editor has to cross-reference by hand. That single property is the entire case for using them instead of a shared doc, a spreadsheet, or a chain of "did you see my email" messages.
Markers also travel across pages. The same manual notes that markers "remain visible" across every page of Resolve, and per a separate breakdown of the feature, "any flags or markers made on the Edit page are reflected in the Color, Fusion, and Fairlight pages," according to Simon Says AI's guide to markers, flags, and keywords. A client's note left on the Edit page timeline is exactly where the colorist will see it once they open the Color page, no forwarding required.
How do you add a marker in DaVinci Resolve?
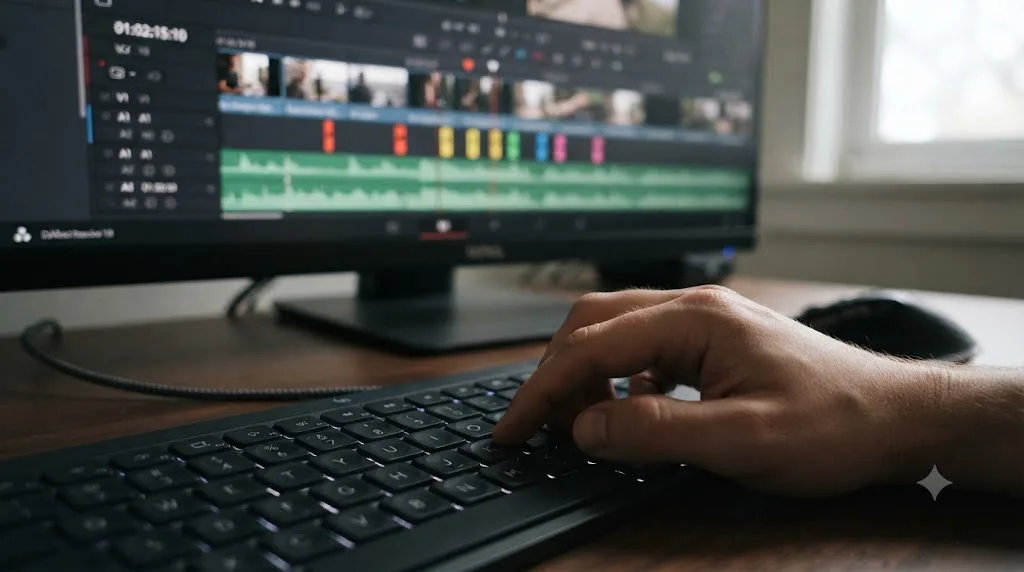
Press M. That single keystroke drops a marker at the playhead's current position, and it's the fastest, most reliable way to log a note the instant you or a client spots something worth flagging.
The exact behavior depends on what's selected when you press it. With the playhead parked over empty timeline space and no clip selected, M creates a timeline marker, visible on the ruler above your tracks. With a clip selected, some workflows attach the marker to that clip specifically instead. If you specifically want a timeline-level marker rather than one tied to a single clip, click into an empty part of the timeline first, then press M.
You've got two other routes to the same result:
- The Marker button in the toolbar. Above the timeline, a small marker icon adds one at the playhead with a single click, useful if your hand is already on the mouse rather than the keyboard.
- Right-click a clip's thumbnail. Per the reference manual's page on flags, clip colors, and markers, you can "right-click a clip's thumbnail and choose a marker color from the Marker submenu" to add a colored marker directly, per the manual, skipping the two-step process of adding a plain marker and then coloring it after.
Every marker starts as a single keystroke, which is exactly why it beats any note-taking system that requires you to look away from the screen. During a live review session, that speed is the whole point. A client says "wait, go back, what's that shadow on her face," you press M without even pausing playback, and the frame is logged before the conversation moves on to the next thing.
How do you add a name, note, and color to a marker?
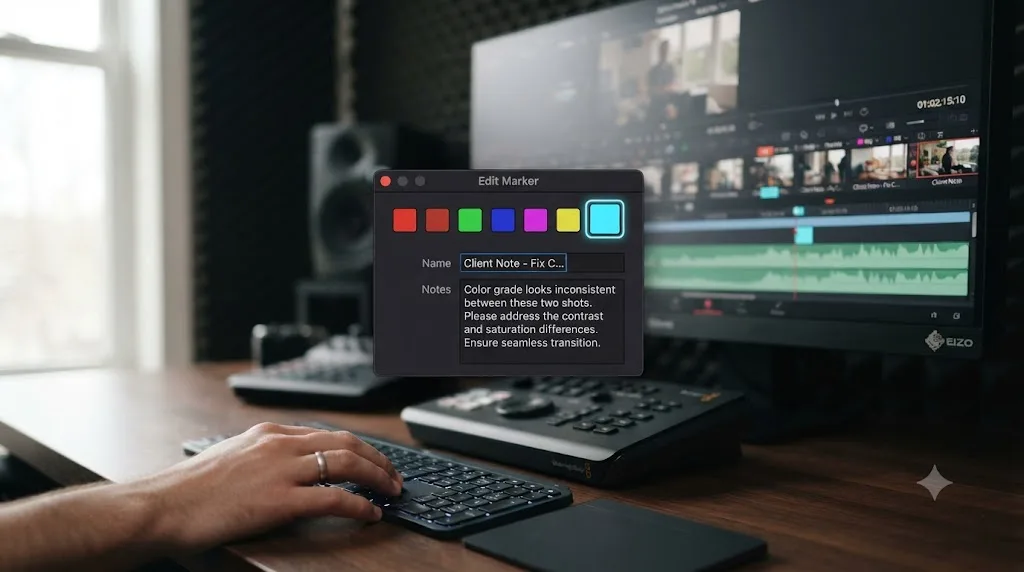
Double-click the marker's flag, on the timeline ruler or on a clip's thumbnail, to open its info box, where you can type a name, write a longer note, and pick a color, all in one dialog. That single action is what turns a bare colored flag into an actual piece of feedback someone else can act on without asking you what it meant.
Per DaVinci Resolve's scripting API, the underlying marker object stores exactly these fields, a frame position, a color, a name, a note, a duration, and an optional custom data field, with the method signature AddMarker(frameId, color, name, note, duration, customData), per the DaVinci Resolve Studio Python scripting reference. That's not just a developer detail. It confirms that every marker you place by hand through the interface is storing the same structured data a script would write automatically, which is exactly what makes markers exportable and searchable later.
Once you've typed a note into a marker, it shows a small dot on its flag, a visual signal that there's more information inside than just a color. Per the reference manual, "whenever you enter text into a marker, that marker displays a small dot that indicates there's more information inside of it," per the manual's page on using markers. That dot is how you tell, scanning a busy timeline, which markers are worth a second look and which are just a quick color flag with nothing typed into them yet.
A colored flag with no note attached is a question mark six weeks from now, even if you remember exactly what it meant today. Type the note the moment you place the marker, not after the session ends, the same discipline that keeps a labeled node graph legible long after you've forgotten your own reasoning.
A few practical notes on editing marker info once it exists:
- Double-clicking an existing marker reopens the same info box, letting you revise the name, note, or color at any point without deleting and recreating it.
- Markers snap to In and Out points, edit points, the playhead, and other markers whenever snapping is enabled, per the manual, which keeps a marker you nudge slightly from drifting off the exact frame you meant to flag.
- The color you pick becomes Resolve's default for the next marker you add during that session, per several tutorials covering the feature, so a run of same-category notes doesn't require reselecting the color every single time.
How do you mark a range instead of a single frame?
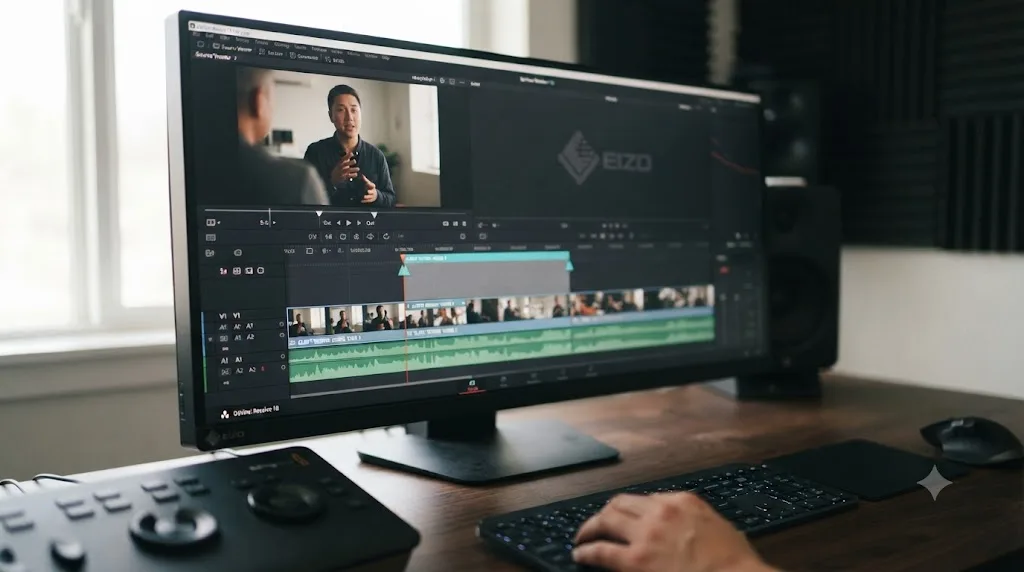
Set In and Out points around the section, then convert them into a duration marker instead of a single-frame flag, the right move whenever a note applies to several seconds rather than one exact instant, "the pacing drags through this whole section" instead of "fix this one frame."
Here's the exact path, per the reference manual's page on the feature:
- Set an In point and an Out point in the Source Viewer's jog bar, marking the start and end of the section you're flagging.
- Right-click the jog bar and choose Convert In and Out to Duration Marker, or use the menu path Mark > Convert In and Out Into Duration Marker.
- A single marker appears, spanning the entire range you marked, rather than a series of individual point markers scattered across it.
Per the manual, this lets you "log several regions within a single clip for future use," per the reference manual's page on turning in and out points into markers with duration. The process also runs in reverse: position the playhead over an existing duration marker and choose Mark > Set In and Out from Duration Marker to turn a logged region back into In and Out points, useful when a client's note about a range becomes a re-edit you're about to execute as a three-point edit.
Neither conversion command ships with a default keyboard shortcut, per the same manual page, so if you use ranged markers often, it's worth assigning one yourself through Keyboard Customization rather than reaching for the right-click menu every time.
A duration marker is the difference between flagging a frame and flagging a problem, and most client notes describe the second one, not the first. "The color shifts warm here" or "this transition feels rushed" are statements about a span of time, and a single-frame marker forces you to guess where that span actually starts and ends the next time you look at it.
What do the marker colors actually mean, and how should you use them for review?
Nothing, by default. DaVinci Resolve ships a full palette of named marker colors, including at minimum Blue, Cyan, Green, Yellow, Red, Pink, Purple, and Fuchsia across current and recent versions, but the software assigns no built-in meaning to any of them. Whatever a red marker means on your timeline is a convention you invented, not a rule Resolve enforces.
That blank slate is exactly why so many editors never build a color system at all: infinite options with no starting point tends to get ignored under deadline pressure, in favor of whichever color happens to be selected already. Here's a workable starting convention for client review specifically, distinct from a grading-node color system because the categories a client's feedback falls into are different from the categories a grade's structure falls into:
| Color | Suggested meaning for client review | Why this category earns its own color |
|---|---|---|
| Red | A confirmed problem that needs a fix before delivery | The color a reviewer's eye catches first, reserved for the highest-priority items |
| Green | Approved, locked, don't touch this again | Marks the boundary between "still open" and "done," so you stop re-litigating settled shots |
| Yellow | An open question that needs a decision before you can act | Distinct from red because it's not yet clear what the fix even is |
| Blue | A general note or observation, no action required | The catch-all for context worth keeping without implying urgency |
| Purple | An audio-specific note, music, dialogue level, sound effect | Separates audio feedback from picture feedback at a glance, useful once you hand a cut to a mixer |
| Pink | A note written by the client directly, as opposed to your own working notes | Keeps client language separate from your internal shorthand when you're reviewing your own markers later |
The specific colors matter less than using them the same way on every project. Pick red for "problem" today and orange for it next week, and the whole point of a color system, recognizing a category before you've read a word, stops working. If you're using node labels and colors on the Color page with your own convention there too, keep the two systems separate rather than forcing one meaning to cover both; a node's color describes what that node does inside a grade, and a marker's color describes a category of feedback on the timeline, and conflating them makes both systems harder to read.
Color tells a reviewer what kind of note they're looking at before they've read a single word of it. That's the entire value of the system, and it costs nothing to set up beyond agreeing on it once and writing it down somewhere you'll actually check again.
Write the convention down before the first review session, not partway through one. A shared doc, a line in your project template, a sticky note, anything durable beats trusting memory, especially once a client is involved and their own sense of what "the red ones" means needs to match yours exactly.
How do you navigate between markers without scrubbing manually?
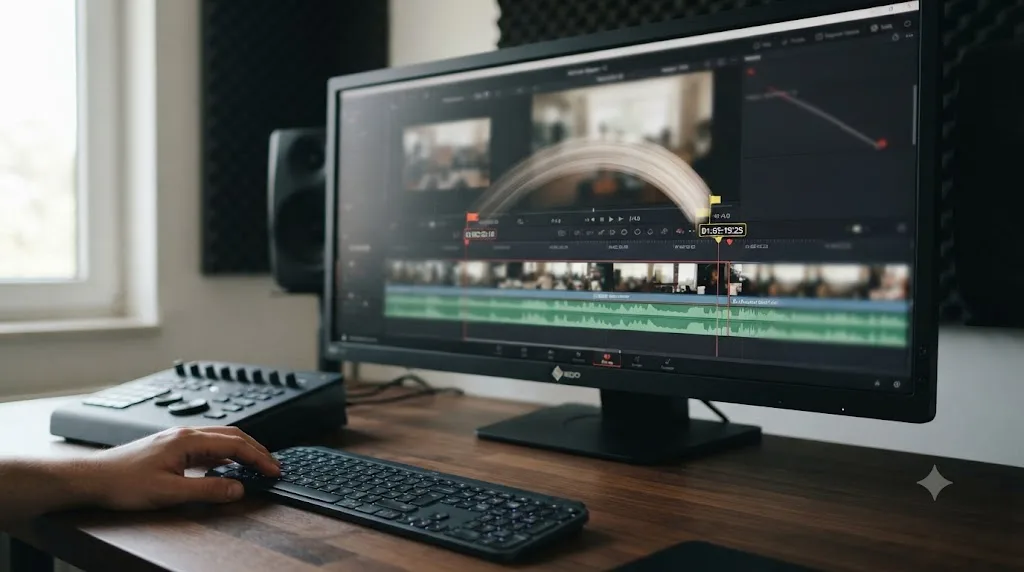
Press Shift+Down Arrow to jump to the next marker and Shift+Up Arrow to jump to the previous one. The shortcut works identically on Mac and Windows, and it fires across the Edit, Color, and Fairlight pages, so a client's notes stay reachable no matter which page you're actually working on when you go address them.
This is the shortcut that makes a marker-heavy review session actually fast. Without it, you're scrubbing through everything between two notes just to reach the second one. With it, you review a ten-minute cut with forty notes on it in exactly forty jumps, landing on the precise frame each time rather than somewhere near it.
If you'd rather remap the navigation to different keys, open DaVinci Resolve > Keyboard Customization, search "marker," and drag your preferred combination onto the next/previous marker commands. Our full keyboard shortcuts reference covers the Keyboard Customization panel in more depth if you're setting up a broader custom layout rather than just this one pair of shortcuts.
The fastest client review session is the one where nobody has to scrub past thirty seconds of nothing to reach the next comment. Two keystrokes solve that problem completely, and most editors who've never used them are losing real minutes on every single review pass.
How do you filter a timeline to show only marked clips?
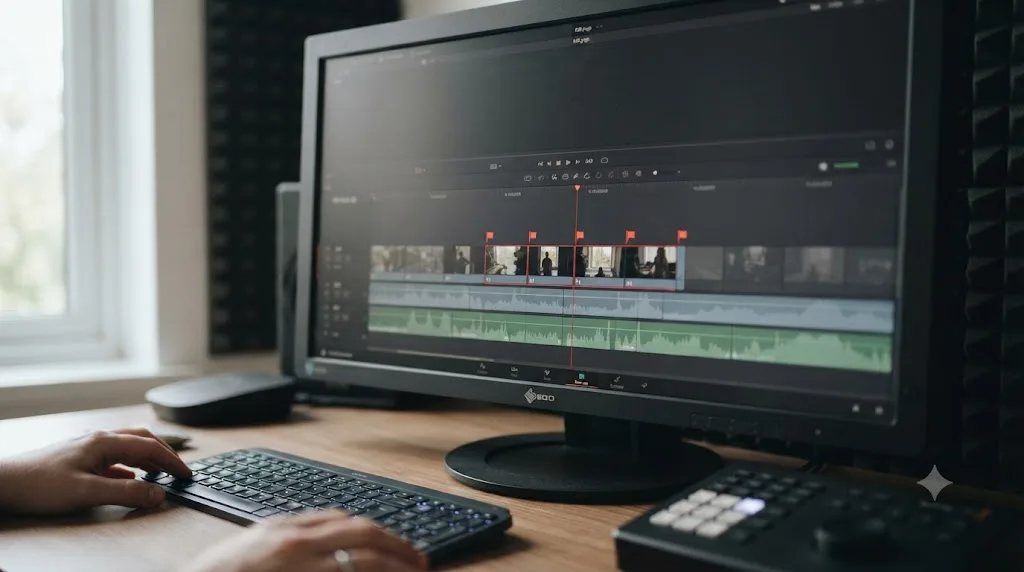
Use the timeline's filter menu and choose the Marked Clips preset, which isolates clips carrying any marker, no markers at all, or a marker of one specific color, depending on which option you pick from its submenu.
Per the reference manual, this filter "filters all clips that have any marker, no markers, or a particular marker," presenting "each color" as a submenu option, per the manual's page on flags, clip colors, and markers. That last option, filtering by a specific color, is exactly what you want once your review convention is in place: filter to red-only and you're looking at nothing but confirmed problems, with every approved and note-only clip hidden from view entirely.
This matters most on a long-form project where a full timeline of forty or fifty clips makes forty or fifty markers hard to track visually even with a color system in place. Filtering down to just the color you're currently working through, fixing every red marker before moving to yellow questions, for instance, turns a sprawling review pass into a checklist you can actually complete in order.
A color convention is only half the system. Filtering by that color is what turns a scannable timeline into an actual to-do list you can clear one category at a time.
Can you search or filter markers by name or note text, not just by color?
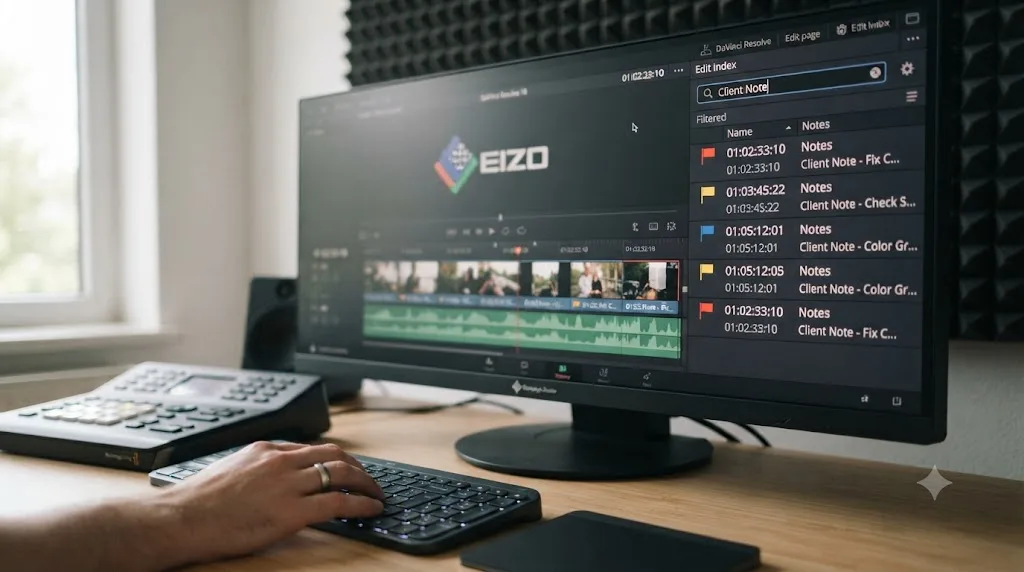
Yes. The Marked Clips filter covers color, but color alone stops being enough once a timeline carries forty or fifty markers and you're hunting for the one that mentioned "logo" or "voiceover" specifically. For that, open the Edit Index instead, and search its note text for the actual words you typed.
Here's the path: click the magnifying glass icon in the Edit Index panel, choose Notes from the Filter by dropdown, and type your search term into the field beside it. Per the reference manual's page on finding clips with markers or flags, that sequence lets you locate a clip or marker by the words in its note, not just its color, per the manual's page on finding clips using markers or flags. Type "logo" and every marker with that word in its note surfaces immediately, regardless of which color you assigned it.
The Edit Index itself is worth knowing about even outside a marker search. It lists your timeline chronologically, with each clip's flags, markers, and colors attached, so scanning it top to bottom gives you an overview a busy timeline can't offer at a glance. Per Simon Says AI's breakdown of the feature, you can "add keywords for markers to tag a selection within a clip," a field distinct from the name and note fields covered earlier in this guide, per Simon Says AI's guide to markers, flags, and keywords. Keywords give you a third way to tag a marker beyond its color and its note text, useful if you want it searchable by a term that isn't naturally part of the note's sentence.
The Edit Index's Option menu adds two more useful toggles: Show Markers and Show Flags, which restrict the list to only clips carrying one or the other, stripping every plain, unflagged clip out of view. Combine that with the Notes search and you've got a fast way to answer "did anyone leave a note about the intro" without scrubbing the timeline by eye.
A color tells you what kind of note you're looking at. A text search tells you which specific note you're looking for. Once a project runs past a couple dozen markers, you need both, and the Edit Index is where the second one lives.
How do you export a marker list to send to a client or a collaborator?
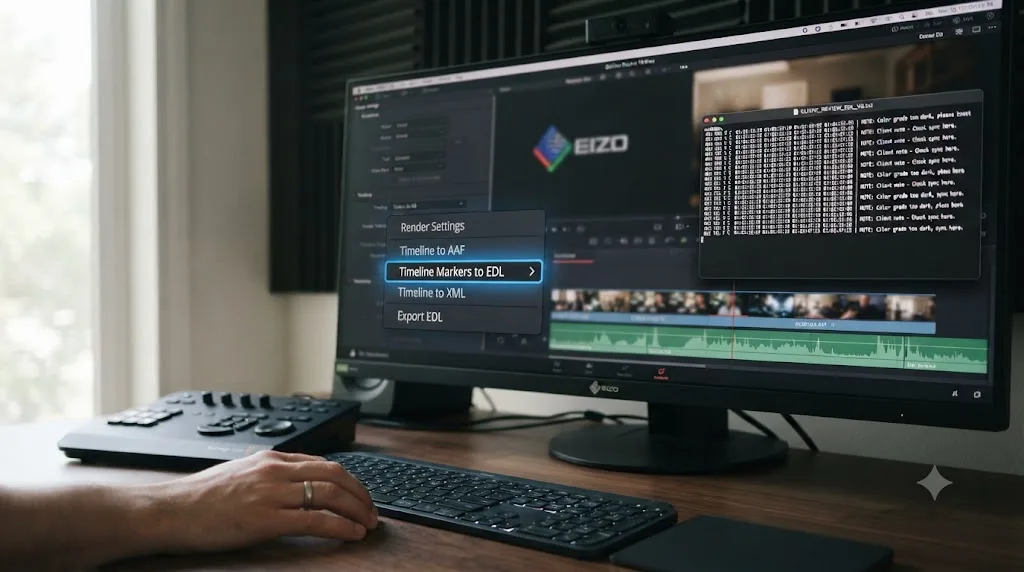
Right-click your timeline in the Media Pool and choose Timelines > Export > Timeline Markers to EDL, which produces a plain-text Edit Decision List containing every timeline marker's timecode, name, note, and duration where applicable.
The exact steps:
- Right-click the timeline you want to export, in the Media Pool.
- Choose Timelines > Export > Timeline Markers to EDL.
- Pick a save location in the Export Edit Index dialog that appears.
- Click Save.
Per the reference manual, the resulting file lists "each Timeline marker... with any notes included along with a duration, where applicable," per the manual's page on exporting timeline markers to EDL. Two limits worth knowing before you rely on this for a client handoff:
- No color data. An EDL is a text format built around timecode and notes, not visual metadata, so your red-for-problem, green-for-approved convention doesn't survive the export. The note text itself needs to carry that information if the recipient won't have Resolve open to see the original colors.
- No UTF-8 support. DaVinci Resolve's EDL export doesn't handle UTF-8 text correctly, so accented characters, curly quotes, or non-Latin scripts in your marker notes can come through garbled. Keep marker notes in plain ASCII if you know they're headed for an EDL export.
If a client or a downstream tool needs the list as a spreadsheet rather than an EDL, the practical path is a two-step conversion rather than a native Resolve export: export the EDL first, then run it through a converter that reads a "DaVinci Resolve > Sequence (.edl)" file and outputs CSV. This isn't a Resolve feature, it's a workaround built by the same community of editors who ran into this exact gap, but it's a real, working path if a client's review system expects a spreadsheet.
An EDL export gives you a portable, text-based record of every note on a timeline, which is the one format guaranteed to open on a machine that doesn't have Resolve installed. That portability is worth the two limitations above, especially once a project's markers need to survive being handed to a client, a mixer, or a VFX vendor who's never opened your project file.
How do you get a client's spoken or written notes into markers during a live session?
Map the add-marker command to a hotkey you can hit without looking, and tap it out live while the client is talking, rather than trying to write anything down in real time.
This isn't a built-in Resolve feature so much as a working habit editors have converged on independently. On a Creative COW forum thread specifically about getting screening notes into Resolve, an editor posting as Marcus Smith described exactly this approach: "map a hotkey via a hotkey program to the add marker feature in Davinci. You can then tap out markers on the the fly and sort as such on the Davinci timeline," per the Creative COW forum thread on getting screening notes into Resolve. The idea is simple and it works: during a live watch-through, whether the client is in the room or on a call, you don't have time to type a full note every time they react to something. You have time to press one key.
The practical version of this workflow:
- Play the cut straight through, without pausing to fully document every comment as it happens.
- Press M the instant a client reacts, whether they say something or you just see them wince, lean forward, or laugh at the wrong moment. The marker logs the exact frame; you don't lose it to a vague "somewhere around the two-minute mark" guess afterward.
- Keep playing. Don't stop the session to write the full note yet. Momentum in a review call matters, and pausing to type breaks the flow of a client actually watching and reacting to your cut.
- Go back through the markers after the playthrough ends, using Shift+Down Arrow to jump to each one in order, and write the actual note while the context is still fresh in your memory, or better, while the client is still on the call to confirm what they meant.
That fourth step is the part people skip, and it's the part that turns a pile of colorless, noteless flags into an actual usable list. A marker with no note is barely better than a mental tally mark. The value of a marker isn't the flag, it's the note you attach to it before you forget why you placed it there.
If the client is watching remotely rather than in person, the same hotkey approach still works exactly as well; you're the one pressing M based on what you hear them say over the call, not something that requires them to have Resolve open themselves. The next section covers the alternative: a workflow where the client places their own markers directly, without you acting as the intermediary at all.
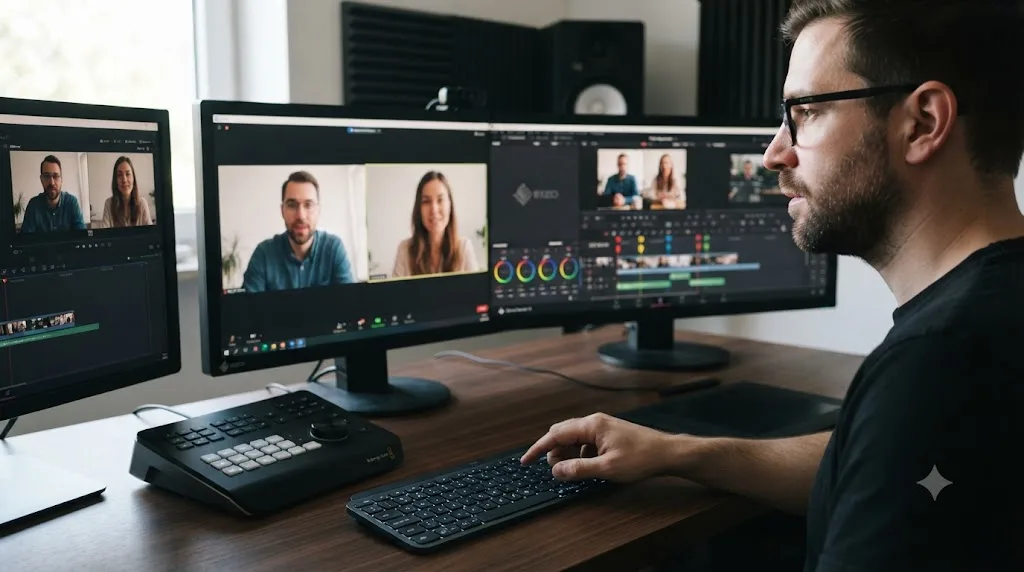
How does Blackmagic Cloud Presentations turn a client's comments into markers automatically?
Blackmagic Cloud Presentations is Blackmagic Design's built-in review tool that publishes a timeline or clip to a shareable link, collects a reviewer's timecoded comments there, and syncs those comments back into your DaVinci Resolve timeline as markers, no manual transcription required on your end.
Per Blackmagic's own collaboration page, you can "publish a timeline or clip directly from DaVinci Resolve into Presentations, or manually upload and then authorize a list of Blackmagic IDs that can have access to review," enabling "frame accurate and collaborative feedback" where "shared markers and comments are automatically and bidirectionally relinked with DaVinci Resolve," per Blackmagic's collaboration page. That bidirectional part is the detail that matters most: a comment a reviewer leaves in their browser becomes a marker in your timeline, and a marker you add on your end shows up as a comment they can see too.
A few specifics worth knowing about how these synced markers actually behave:
- Shape distinguishes their origin. Per the reference manual, "Presentations Markers will also reflect the color of the member creating the marker" and appear as circular shapes in the DaVinci Resolve timeline, distinguishing them visually from your own standard triangular markers, per the manual's page on using markers between Presentations and DaVinci Resolve. You can tell a client-originated marker apart from one you placed yourself without opening either.
- Sync isn't strictly real-time unless everyone's online at once. The manual notes that "markers can be added by members the previous night and will then sync when the editor opens the timeline in the morning," with live collaboration happening only when multiple members are online simultaneously.
- Deletion is permanent and immediate. Deleting a Presentations marker "will remove it from both the Timeline and the presentation itself," and per the manual, "this operation is not undoable." Treat a synced marker with slightly more caution than a local one you can always recreate.
- Personal versus shared markers exist as a separate distinction. Per Blackmagic's collaboration page, "DaVinci Resolve lets you create private or shared markers," where "personal markers are private and can only be seen by you, while shared markers can be seen by other people working in the project." Use private markers for your own working notes you don't want a client to see mid-edit, and shared markers for anything meant to be part of the visible review record.
As of DaVinci Resolve 20, a reviewer no longer needs a Blackmagic Cloud account of their own to leave feedback this way. Blackmagic's own announcement for that release described the ability to "review projects in Presentations with clients who don't have a Blackmagic Cloud account by generating a URL link" and sharing it directly, per Blackmagic Design's DaVinci Resolve 20 announcement. That removed the single biggest friction point in the whole workflow: before it, asking a client to create an account just to leave three comments was often more hassle than it was worth, and plenty of editors skipped Presentations entirely for that reason alone.
Shared markers turn a client's stray comment into a frame-accurate note inside the timeline you're already editing, without you acting as the transcriber in between. That's a meaningfully different workflow from the hotkey approach in the previous section, where you're the one listening and logging. Here, the client logs their own notes directly, and you just show up to a timeline that already has them waiting.
Beyond asynchronous comments, Presentations also supports a live, synced review call: per Blackmagic's collaboration page, you can gather feedback "within a video conference or chat window" while the moderator "navigate[s] the timeline for all participants," useful for a scheduled review session where everyone watches together rather than leaving comments independently over a few days.
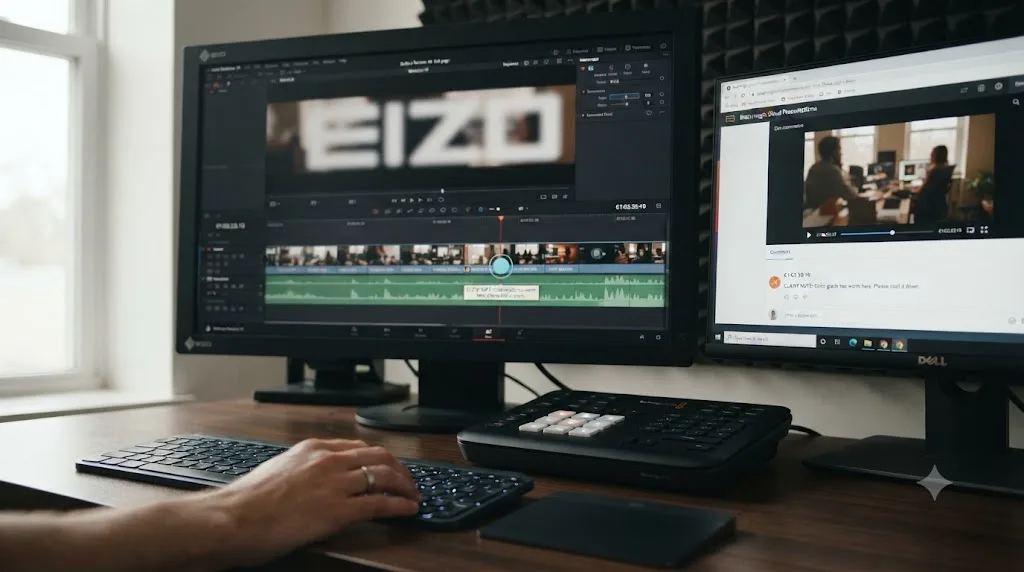
What does Blackmagic Cloud actually cost, and do you need Studio for any of this?
You don't need DaVinci Resolve Studio for the marker mechanics themselves. Adding, coloring, naming, exporting, and filtering markers all work identically in the free version. What costs money is Blackmagic Cloud, a separate service from either Resolve edition, which powers Presentations and the shared, synced marker workflow described above.
Blackmagic Cloud's storage pricing was cut in half industry-wide, dropping from $30 per terabyte per month to $15 per terabyte per month, per Fstoppers' coverage of the price change. That storage tier covers cloud-hosted media and project libraries generally, including whatever you publish into Presentations for a client to review. Pricing for Blackmagic Cloud changes from time to time, so check Blackmagic's own site for the current rate before budgeting a project around it rather than relying on a number in this guide staying accurate indefinitely.
Here's the actual breakdown of what requires what:
| Feature | Free version of DaVinci Resolve | DaVinci Resolve Studio | Requires Blackmagic Cloud |
|---|---|---|---|
| Add, name, note, and color a marker | Yes | Yes | No |
| Navigate between markers | Yes | Yes | No |
| Filter timeline by marker color | Yes | Yes | No |
| Export markers to EDL | Yes | Yes | No |
| Convert In/Out points to a duration marker | Yes | Yes | No |
| Publish to Blackmagic Cloud Presentations | Yes | Yes | Yes |
| Shared, synced markers with a reviewer | Yes | Yes | Yes |
| Live, synced review calls in Presentations | Yes | Yes | Yes |
Studio's actual exclusive feature list runs through Dolby Vision metadata authoring, HDR10+ tools, and DaVinci Neural Engine effects like Magic Mask, none of which touch how markers behave. If you're weighing the free-versus-Studio decision for reasons unrelated to review workflows, our beginner's guide to DaVinci Resolve covers that full comparison in more depth.
The thing that costs money in this whole workflow isn't the markers. It's the cloud storage and hosting behind the review link you send a client, and that's billed separately from whichever Resolve edition you're running. A solo editor exporting an EDL and emailing it, or using the hotkey-live-logging approach from the previous section, pays nothing beyond whatever Resolve license they already have.
Are there third-party alternatives to Blackmagic Cloud Presentations for client review?
Yes, and one worth knowing about specifically because it plugs directly into the marker system this guide covers rather than replacing it. Krock.io publishes a DaVinci Resolve Studio workflow integration that uploads your cut to its own review platform, collects a client's frame-accurate, timecoded comments there, including drawn annotations on individual frames, and syncs them back into Resolve as markers on your timeline.
The setup, per Krock.io's own guide, runs through five steps: install the plugin into Resolve's Workflow Integration Plugins folder, connect your Krock.io account from inside Resolve, upload and share a review link, let the client comment with no account required on their end, and sync the feedback back through the panel, at which point "timecoded comments from Krock.io sync back to your Resolve timeline as markers," per Krock.io's guide to setting up a client review workflow inside DaVinci Resolve Studio.
The meaningful difference between this and Blackmagic's own Presentations tool isn't the marker sync itself, both land in the same place, a marker on your timeline tied to a comment. It's the review surface a client interacts with: Krock.io is a dedicated third-party review platform built around drawing and frame comments, similar in spirit to tools like Frame.io, while Presentations is Blackmagic's own first-party tool built directly into the Blackmagic Cloud ecosystem you may already be paying into for storage. Neither is objectively better across every use case. A team already invested in Blackmagic Cloud for storage gets Presentations essentially for free as an add-on to infrastructure they're already using. A team that values a review interface with heavier annotation tools, drawing on frames specifically, might prefer a dedicated platform instead.
Whichever review platform sits between you and your client, the actual mechanism that matters inside Resolve is identical: their comment becomes a marker, and your job is jumping between markers, not hunting through a separate feedback document.
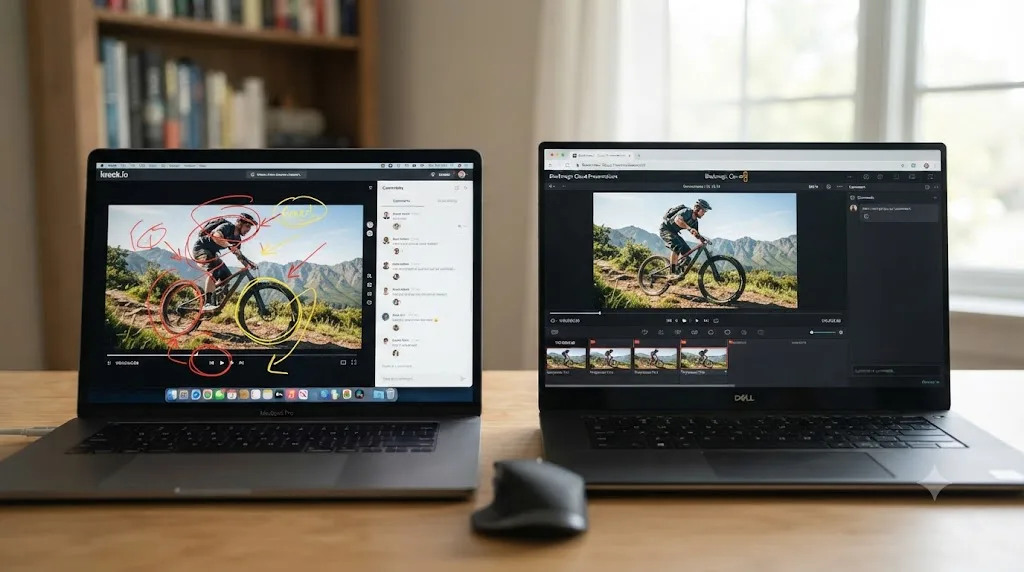
Which review workflow fits your situation? A decision table
Every workflow this guide covers, solo hotkey-logging, EDL export, Blackmagic Cloud Presentations, and a third-party plugin like Krock.io, solves the same underlying problem: getting a comment attached to the right frame. Which one actually fits depends on your team size, your client's comfort with new tools, and whether you're already paying for cloud storage.
| Your situation | Recommended workflow | Why |
|---|---|---|
| Solo editor, client watches over a call or in person | Hotkey-logging during playback, notes written in after | No setup, no account needed on either side, works the moment you open Resolve |
| Solo editor, client reviews asynchronously without you present | Blackmagic Cloud Presentations via a shareable URL link | No account required for the client since DaVinci Resolve 20, and comments sync back as markers automatically |
| Small team already paying for Blackmagic Cloud storage | Presentations | The review tool is effectively a free add-on to infrastructure you're already renting |
| Team or agency that values heavy frame-by-frame annotation, drawing on shots | A dedicated third-party platform like Krock.io | Purpose-built annotation tools that Presentations doesn't try to match |
| A client who explicitly distrusts new logins or accounts | EDL export plus email, or the account-free Presentations URL link | Both routes avoid asking a client to create anything |
| Long-form project with multiple review rounds over weeks | Presentations or Krock.io, paired with an EDL snapshot after each round | Automatic sync handles the day-to-day, the EDL snapshot protects you if a client's memory of an old round drifts |
None of these are mutually exclusive within the same project. A common pattern: start a project with simple hotkey-logging while the cut is still rough and only you're watching it, then switch to Presentations or a third-party tool once you're sharing cuts with the client directly. The workflow should match how the review is actually happening, not the other way around. Forcing a client onto Presentations when they'd rather just reply to an email with three timecodes creates friction that a five-minute EDL export avoids entirely.
Does it matter whether you're reviewing on the Cut page or the Edit page?
Not for the markers themselves. Markers behave identically on both pages because they belong to the underlying timeline, not to whichever page happens to be displaying it, so a marker you add while reviewing on the Cut page shows up instantly if you switch to the Edit page, and vice versa.
What differs is the review experience around them. The Edit page gives you the full track stack, the Inspector, and the marker toolbar in its usual spot above the timeline, better suited to a longer, more detailed pass where you're jumping between markers and making trims as you go. The Cut page's simplified, single-track-focused layout and source tape can make a fast first-pass review feel quicker, especially if you're running the session on a Speed Editor. Our full comparison of the Cut and Edit pages covers the rest of that decision if you're choosing between them for reasons beyond marker review.
One practical note either way: if you're conducting a live review session with the client actually watching your screen, whichever page has the cleaner, least cluttered layout for your specific project is usually the better choice, since a client's attention is on the cut playing, not on which panels happen to be open around it.
Do markers survive when a clip becomes a compound clip, a multicam clip, or a nested timeline?
Not automatically, and this is the edge case that catches editors who bundle their timeline for organization mid-project. A marker belongs to the specific clip or timeline layer you placed it on, and Resolve doesn't bubble that marker up to a parent structure built on top of it afterward.
Concretely: if you place a marker on a source clip, then later group that clip into a compound clip, the marker stays on the original clip inside the compound, invisible from the outer timeline unless you double-click into the compound to look. The same applies to multicam clips. A marker set on one camera angle inside a multicam clip, or on the multicam clip's own timeline before you convert it, doesn't propagate up to a timeline that uses the finished multicam clip as a single edit, a limitation multiple editors have raised on Blackmagic Design's own user forum, per a Blackmagic Design forum discussion on marker visibility with multicam clips. Nesting one timeline inside another behaves the same way: a marker on the nested timeline's own layer stays there, it doesn't appear on the timeline that contains the nest as a single clip.
The practical workaround, per the same discussion, is to place review markers on the multicam clip itself, from the Media Pool, rather than on the individual angle clips underneath it. Do that and the marker travels with the multicam clip wherever it's cut into a timeline, instead of staying trapped one layer down.
For client review specifically, this edge case matters most when you're cleaning up a project mid-review, bundling a busy section of the timeline into a compound clip for tidiness, after a client's already left comments on the individual clips inside it. Finish addressing a round of client markers before you bundle the clips they're attached to, or the markers don't disappear, they just become a lot harder to find. If you do need to bundle first, export an EDL of the markers before you do, the same habit covered earlier in this guide, so you've got a plain-text record of every note regardless of what happens to the timeline structure around it afterward.
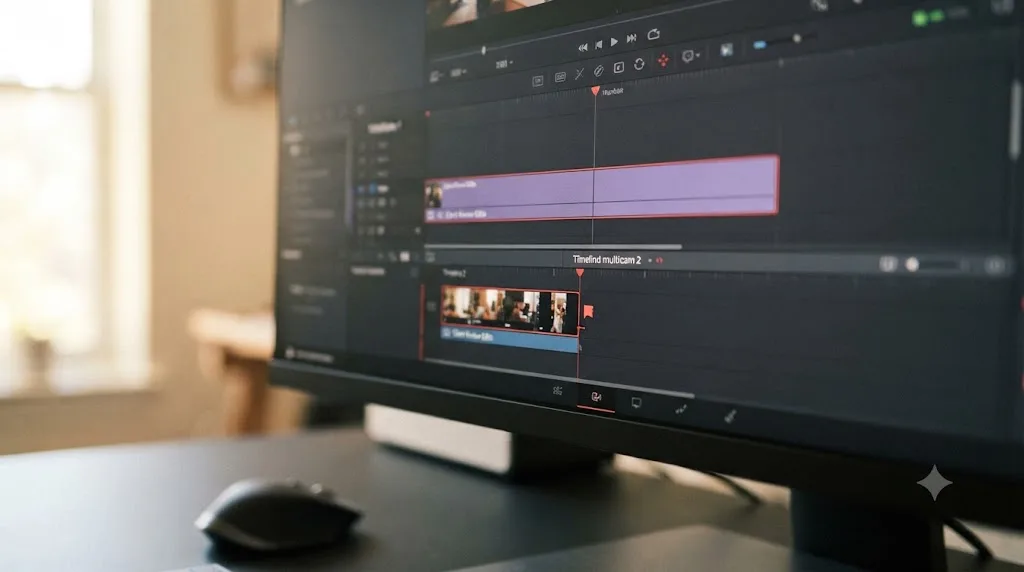
Worked example: a solo review session on a five-minute promo video
A concrete case holds together better than the abstract version of this guide, so here's exactly how a single review pass looks in practice on a five-minute client promo, reviewed alone before sending it out.
Pass one: play the cut straight through, marking as you go. Press M the instant something catches your own eye, a jump cut that reads wrong, a music sting that lands early, an audio level that dips. Don't stop to write full notes yet, just log the frame with a quick default-colored marker. By the end of a five-minute cut you might have eight to twelve markers.
Pass two: go back through with Shift+Down Arrow and write real notes and colors. Double-click the first marker, type a specific note, "cut feels early here, hold two more frames," and assign red if it's a confirmed fix or yellow if you're not sure yet. Repeat for every marker in order, never scrubbing manually between them.
Pass three: filter to red only and fix everything in that category first. Use the Marked Clips filter, choose red, and work through only the confirmed problems. Once every red marker is resolved, either delete it or recolor it green to mark it done, whichever convention you've settled on for "closed."
Pass four: export before sending. Right-click the timeline and export Timeline Markers to EDL, keeping a text record of exactly what you caught and fixed, useful if the client later asks "did you address the thing about the music" and you want a paper trail rather than relying on memory.
None of these four passes required anything beyond markers, one filter, and two keyboard shortcuts. That's the entire system working as intended on a straightforward solo review, before a client's own feedback ever enters the picture.
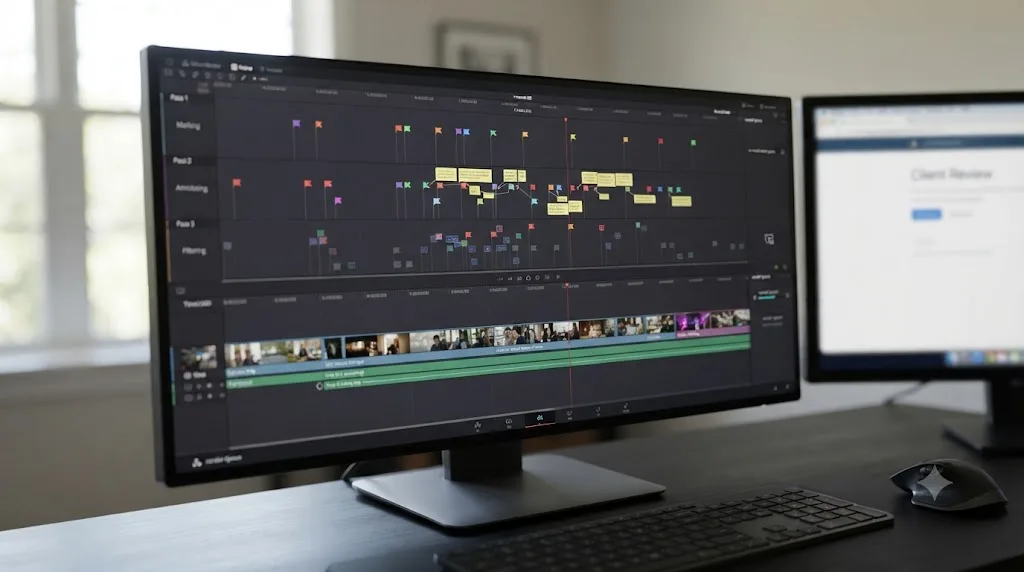
Worked example: tracking three rounds of client revisions on the same timeline
Here's a messier, more realistic case: a corporate video going through three separate rounds of client notes over two weeks, all on the same timeline, where old markers and new markers need to stay distinguishable from each other.
The problem a naive approach runs into: if round one's markers use the same colors as round two's, by round three you can no longer tell which notes are still open and which were addressed and closed rounds ago. The fix is to layer a second dimension onto your color convention, category by color, round by something else, rather than inventing an entirely new color palette for every round.
- Round one: use the standard convention, red for problems, yellow for questions, green for approved. Address every red and yellow marker, then either delete them or recolor them green once resolved.
- Before round two begins, export a snapshot. Export Timeline Markers to EDL and save it as
round1-notes.edl, a record of exactly what round one asked for and what you did about it, in case a question comes up later about whether something was actually addressed. - Round two: new markers use the same color convention, but prefix every note's text with "R2:" so a marker's own note field distinguishes its round even after the visual novelty of "these are the new ones" has worn off. "R2: still too dark in the opening shot" reads unambiguously weeks later, in a way a color alone can't carry.
- Round three: repeat the pattern, "R3:" prefixed notes, same color convention, another EDL snapshot exported before the round starts.
By the end of three rounds, filtering to red still shows you every currently open problem, regardless of which round raised it, while the note text itself preserves the history of when each issue first came up. A color convention answers "what kind of note is this." A note-text convention answers "when did this note happen." A review system that only tracks one of those two questions eventually loses the other.
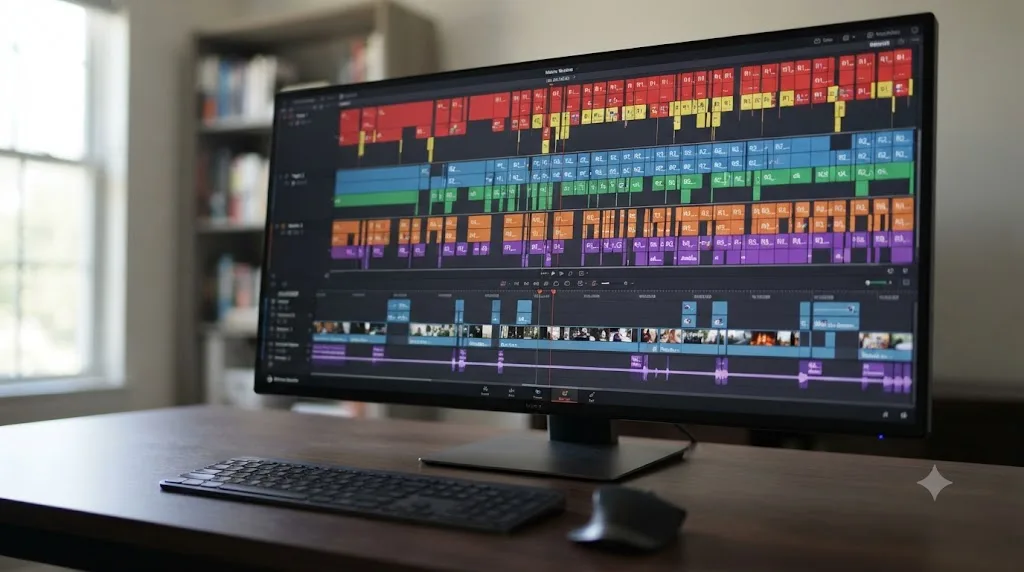
Worked example: handing markers to a colorist on the same timeline
Here's a case that isn't about the client at all: passing a picture-locked timeline to a colorist, using the same marker system, but for a completely different kind of note.
By the time picture lock happens, your timeline is probably still carrying client-review markers, reds resolved and recolored green, some blues left as general context. Those markers did their job. They're not useless to the colorist, a blue note about "client loved this shot" is context worth keeping, but they're also not what the colorist needs most, which is where to spend extra grading attention.
- Leave the client-review markers as they are. Don't delete the historical record just because the review round is over. A green "approved" marker still tells a colorist which shots the client already signed off on, useful if a grading pass risks changing something already locked in.
- Pick a color that hasn't been used yet for grading-specific notes. If red, yellow, green, blue, and purple already carry client-review meanings from earlier in this guide's convention, pick one of the remaining palette options, Cyan or Fuchsia, and reserve it exclusively for color notes: a skin tone concern, a shot that needs day-for-night treatment, a match that's going to be tricky between two different cameras.
- Write the note with a colorist's vocabulary, not an editor's. "This looks off" doesn't help. "Blue-green cast in the shadows, doesn't match the shot before it" does. The note field has room for exactly this level of specificity, so use it.
- Point the colorist at the Edit Index filtered to your new grading color, rather than asking them to scroll the whole timeline looking for flags. The magnifying glass search covered earlier works here too: filter Notes for a term like "color note" if you prefix your grading markers with it consistently.
This is the same underlying mechanic as client review markers, a colored flag with a note attached, just aimed at a different reader with different priorities. If you're also using node labels and colors on the Color page once the colorist gets to work, keep that system separate from the marker color convention on the timeline; one describes what a node does inside a grade, the other flags a specific frame worth a second look before the grade even starts. A marker handoff between departments works exactly as well as the convention behind it is documented, and falls apart exactly as fast when it isn't.
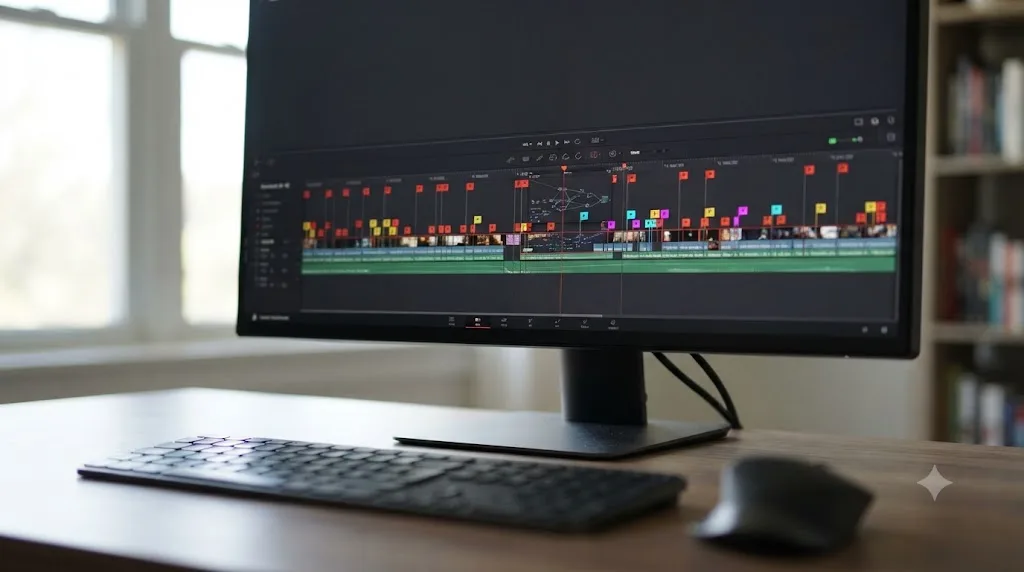
What goes wrong with markers during client review, and how do you fix it?
A handful of problems account for most of the frustration people run into once markers become a real part of their review workflow.
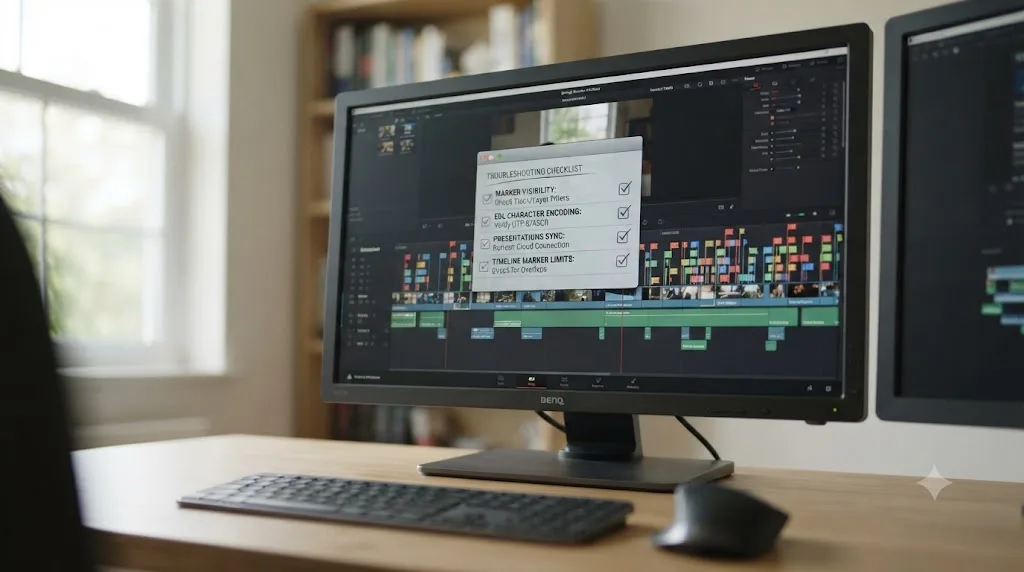
A marker you placed doesn't show up on another page. Markers are visible across pages by default, so if one's genuinely missing, check that you're looking at the same timeline, not a duplicate or a different version created by a Save As. A marker attached to a specific clip also only appears where that clip appears, so a marker on a source clip won't show up on a compound clip or nested timeline built from it unless it was added at that higher level too.
A marker doesn't show up on the outer timeline after you bundled clips into a compound or multicam clip. This is the nesting behavior covered earlier in this guide, not a bug. The marker is still there, one layer down, on the clip or timeline it was originally placed on. Double-click into the compound or multicam clip to find it, or place future review markers on the outer clip itself if you need them visible from the top level.
Your exported EDL has garbled characters in the notes. You've hit the UTF-8 limitation covered earlier. Accented characters, curly quotes, and non-Latin text don't survive Resolve's EDL export cleanly. Retype the affected notes using plain ASCII characters before exporting again, or accept the export as a rough reference rather than a verbatim copy.
A client's Presentations comment never showed up as a marker. Presentations sync isn't always instantaneous unless both of you are online at the same moment; per the manual, overnight comments sync the next time you open the timeline. Reopen the project or manually check the Presentations panel for a sync action before assuming the comment was lost.
You can't tell which markers are yours and which came from a client through Presentations. Look at the shape, not just the color. Presentations-synced markers appear as circles, while your own manually placed markers appear as the standard triangular flag, a visual distinction built specifically to answer this question at a glance.
You deleted a Presentations marker and now it's gone from the client's view too, and you didn't mean that. This is expected, documented behavior, not a bug: deleting a synced marker removes it from both sides and per the manual, "this operation is not undoable." Treat any marker synced through Presentations with more caution than a purely local one before deleting it.
The Edit Index search isn't finding a marker you know exists. Check that the Filter by dropdown next to the magnifying glass is actually set to Notes, not Flags or Color, and confirm Show Markers is toggled on in the Option menu. A search set to the wrong field silently returns nothing, which reads exactly like a missing marker even though the marker's sitting right there.
A color system that started with four categories has grown to eleven, and nobody can remember what half of them mean anymore. This is the same scope-creep failure mode that breaks any color-coding system. Collapse back down to your original four or five categories and resist inventing a new color every time a slightly different situation comes up. A color convention with too many entries functions the same as no convention at all, because nobody can recognize a color instantly without checking a legend.
A client's marker uses a color that means something different on their end than on yours. This isn't a Resolve bug, it's a communication gap. Agree on the convention explicitly before the first review round, ideally in writing, rather than assuming a shared understanding of what "the red ones" means.
Does any of this work differently on Mac, Windows, or Linux, or across Resolve versions?
The core marker mechanics, adding, coloring, naming, exporting, filtering, and navigating, are identical across Mac, Windows, and Linux. The M key, the Shift+Up/Down Arrow navigation, and the right-click marker menus behave the same way regardless of platform, with no modifier-key substitutions needed the way some other Resolve shortcuts require swapping Cmd for Ctrl.
Version-wise, markers have been part of DaVinci Resolve for a long time, well before Resolve 21. Blackmagic Cloud Presentations is the newer piece of this system: it debuted with DaVinci Resolve 18.5, gained the ability to review without a Blackmagic Cloud account, via a shareable URL link, in DaVinci Resolve 20, and continues to expand its collaboration reach in DaVinci Resolve 21, which shipped in June 2026 and integrated the new Photo page into the same Blackmagic Cloud multiuser workflow that already covered edit, color, and Fusion work, per Blackmagic's DaVinci Resolve 21 release coverage. If you're following an older tutorial that describes needing a Blackmagic Cloud account just to leave a comment, it predates that DaVinci Resolve 20 change; the URL-link review path is the current, easier version of that same feature.
Hardware doesn't factor into any of this. Markers are lightweight metadata stored with your project, not a rendering operation, so placing a hundred of them across a long timeline costs nothing in playback performance or GPU time, unlike a heavy render cache or a stack of noise reduction nodes.
Every mechanic in this guide behaves the same whether you're on a MacBook, a Windows workstation, or a Linux edit bay, and the only genuinely new piece of the system is Blackmagic Cloud's account-free review link, which is worth knowing about if you learned this workflow from an older guide.
How do you build this into a habit that survives deadline pressure?
Knowing the mechanics and actually using them on every single client project are two different problems, and the second one is the harder of the two to solve.
Mark first, write later, but never skip the writing. During a live session or your own first pass, press M the instant something's worth flagging, without stopping to compose the full note yet. But go back and fill every note in before the session ends, not "later," because later is exactly when the context evaporates and a colored flag with no words attached becomes useless.
Decide your color convention before project one, not during it. Four or five categories, problem, question, approved, note, audio, covers almost every review scenario without becoming unmanageable. Write it into your project template or a shared doc with the client so both sides start from the same definitions.
Export an EDL snapshot at the end of every review round, the same habit our guide to saving work in DaVinci Resolve recommends for the project file itself. A marker list from round one is your proof of what was actually asked for, useful the moment a client's memory of their own notes drifts from what's in your inbox.
Treat an unresolved red marker like an open bug ticket, not a suggestion. It doesn't get deleted or recolored until the fix is actually in the cut, verified, and playing back correctly. A red marker you cleared prematurely because you were pretty sure you fixed it is exactly how a client's third-round note turns out to be the same complaint as their first.
If you're setting up a whole project structure around this habit rather than bolting markers onto an existing mess, our guide to folder and bin naming conventions covers the rest of the organizational system markers fit into.
A labeling and color system nobody else can read isn't a system. It's a private shorthand that expires the moment you hand a project to someone who wasn't in the room when you invented it. Write your convention down, share it with anyone reviewing alongside you, and if you're mid-session and can't remember which menu holds Convert In and Out Into Duration Marker or the Marked Clips filter, that's exactly the kind of small, specific lookup TryUncle handles well.
TryUncle is the on-screen assistant for DaVinci Resolve on macOS. Ask in plain words and Uncle points at the exact control on your screen, instead of you pausing a live client call to hunt through a menu you've clicked through a hundred times but can't quite place under pressure. It's a paid app, currently at founder pricing, and worth checking TryUncle's site for the current rate before adding it to your workflow. It's a different category from chat-based assistants like Sottocut, PremiereCopilot, heyeddie.ai, and cutagent.ai, which mostly answer questions or automate edits in a side panel; Uncle specifically watches your screen and points at the live control, which matters most in exactly the kind of pressured, real-time moment a client review session tends to be.
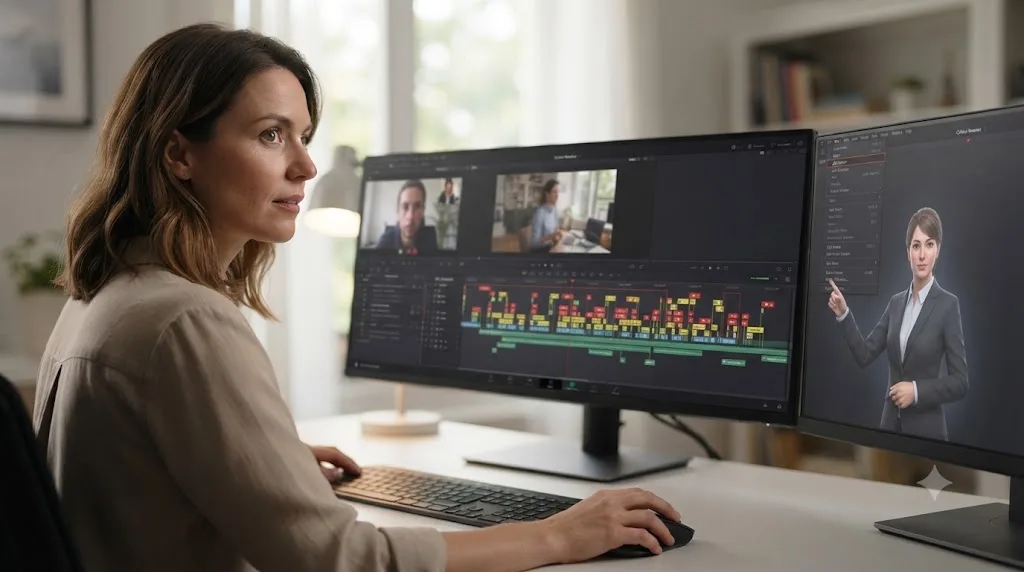
Where do you go from here?
Pick your four or five feedback categories, red, yellow, green, blue, purple is a solid default, assign each one a color, and write the pairing down somewhere you and your client will both actually see it. Use it starting with your very next review session, not as a system you'll "set up properly" once things calm down.
The best client review workflow is the one where nobody has to ask "wait, what timecode was that at again." Markers answer that question before it gets asked, sitting exactly where the feedback happened, in a color that tells you what kind of feedback it is, searchable, exportable, and visible on every page of DaVinci Resolve the moment you place one.
Everything else in this guide, Blackmagic Cloud Presentations, third-party review plugins, the hotkey-logging trick, is refinement built on top of that one basic habit. Get comfortable with M, double-click, and Shift+Down Arrow first. The rest is just choosing which tool hands you the client's comments instead of making you type them yourself.
Frequently asked questions
- What is the keyboard shortcut for adding a marker in DaVinci Resolve?
- Press M. With the playhead over the timeline and no clip selected, M drops a timeline marker at the current frame. With a clip selected, some builds add the marker to that clip instead, so click into empty timeline space first if you specifically want a timeline-level marker rather than a clip marker.
- How do I add a note to a DaVinci Resolve marker?
- Double-click the marker's flag on the timeline ruler or clip thumbnail to open its info box, then type into the Name and Note fields. A small dot appears on any marker that has note text, so you can tell at a glance which markers carry more information than just a color.
- Can I export DaVinci Resolve markers to send to a client?
- Yes. Right-click your timeline in the Media Pool and choose Timelines > Export > Timeline Markers to EDL. The resulting EDL lists every timeline marker with its note and duration where applicable. It won't carry marker colors, and Resolve's EDL export doesn't support UTF-8 text, so stick to plain ASCII in your notes if you plan to export them.
- Do shared markers work in the free version of DaVinci Resolg?
- Basic markers, adding, coloring, naming, and exporting to EDL, work identically in the free version and Studio. What requires a Blackmagic Cloud account is Blackmagic Cloud Presentations, the feature that turns a client's web comments into shared markers automatically. Cloud storage for that workflow is billed separately from your Resolve license.
- How do I jump between markers quickly while reviewing a timeline?
- Press Shift+Down Arrow to jump to the next marker and Shift+Up Arrow to jump to the previous one. It works the same way on Mac and Windows and across the Edit, Color, and Fairlight pages, so you can review notes without scrubbing manually past everything in between.
- What do the marker colors mean in DaVinci Resolve?
- Nothing, by default. DaVinci Resolve ships a palette of named colors but assigns no built-in meaning to any of them. Any color-to-meaning system, red for a problem, green for approved, is a convention you and your client agree on, not something the software enforces.
- Is there an app that helps while I'm using DaVinci Resolve during a client review session?
- TryUncle is one option. It watches your screen on macOS and points at the control you're asking about, useful mid-review when a client wants a change and you've forgotten which menu holds the tool. It's a different category from chat-based assistants like Sottocut or PremiereCopilot, which answer questions in a side panel rather than pointing at your actual screen.
- Does DaVinci Resolve Studio add anything to marker-based client review that the free version doesn't have?
- Not to the markers themselves. Studio's exclusive features are Dolby Vision authoring, HDR10+ tools, and Neural Engine effects like Magic Mask, none of which touch how markers work. What changes the review workflow is Blackmagic Cloud, a separate paid service from either Resolve edition, which powers Presentations and shared, synced markers.
Sources
- DaVinci Resolve Reference Manual: Flags, Clip Colors, and Markers
- DaVinci Resolve Reference Manual: Adding Markers to Timelines
- DaVinci Resolve Reference Manual: Using Markers
- DaVinci Resolve Reference Manual: Turning In and Out Points into Markers With Duration
- DaVinci Resolve Reference Manual: Exporting Timeline Markers to EDL
- DaVinci Resolve Reference Manual: Using Markers Between Presentations and DaVinci Resolve
- DaVinci Resolve Reference Manual: Finding Clips Using Markers or Flags
- DaVinci Resolve - Collaboration (Blackmagic Design)
- DaVinci Resolve product page (Blackmagic Design)
- DaVinci Resolve - What's New (Blackmagic Design)
- PetaPixel: DaVinci Resolve 21 Officially Released With New Photo Editing, AI Tools, and Much More
- Fstoppers: Two Big Price Cuts From Blackmagic Design For Users Of DaVinci Resolve Studio and Blackmagic Cloud
- Creative COW forum: Methods for getting screening notes into Resolve
- Miracamp: How to Jump Between Markers in DaVinci Resolve
- Evercast: 40+ Must-Know DaVinci Resolve Shortcuts
- Krock.io: How to Set Up a Client Review Workflow Inside DaVinci Resolve Studio
- VFX Study: Cloud Presentations with DaVinci Resolve, an Alternative to Frame.io
- Simon Says AI: How (and why) to use markers, flags, and keywords in DaVinci Resolve
- Businesswire: Blackmagic Design Announces DaVinci Resolve 20
- DaVinci Resolve Studio Python Scripting API Reference (AddMarker method)
- Tutkit: DaVinci Resolve, Efficient Use of Flags and Markers
- Blackmagic Design Forum: How to Show Markers for Multicam Clips on Higher Timeline (discussion thread)
Keep reading
Guides · Jul 24, 2026 · 39 min
How to Save Work in DaVinci Resolve (and Never Lose It)
DaVinci Resolve saves automatically via Live Save, but Ctrl+S, Project Backups, and a .drp export still matter. Here's how each works and when to use it.
Guides · Jul 16, 2026 · 29 min
DaVinci Resolve Node Labels and Colors for Organized Grading
Rename and color-code DaVinci Resolve nodes so a six-node grade still makes sense months later. Labels, colors, badges, and a system that actually holds up.
Guides · Jul 8, 2026 · 16 min
DaVinci Resolve Keyboard Shortcuts: The Complete Reference
Every essential DaVinci Resolve keyboard shortcut, organized by page: Edit, Cut, Color, Fairlight, Fusion, and Deliver, plus how to customize and share your own.