Articles / Guidesupdated for DaVinci Resolve 21.0 (June 2026)
DaVinci Resolve Practice Projects for Beginners: 10 to Try
Quick answer
Ten projects, in order: a 3-clip hard cut, a talking-head with b-roll, a one-node color correction, a dialogue and music mix, a vertical short, a multicam cut, a Fusion title, a Photo page grade, a log-footage grade-up, and a full capstone edit. Use your own clips, or free footage from Blackmagic, Pexels, Mixkit, or Coverr.
You don't need a client, a deadline, or a film degree to get good at DaVinci Resolve. You need projects, finished ones, small enough to complete in a sitting and specific enough to force one real skill instead of vague clicking around the interface.
This is a ranked list of ten, in the order I'd actually do them. Each one names the skill it drills, the page it lives on, how long it takes, and where to get footage if you don't have your own. Do the first three and you can cut and color a basic video. Do all ten and you've touched every page DaVinci Resolve 21 has, including the two it just gained.
What makes a DaVinci Resolve practice project actually useful?
Four things, and most project lists people cobble together on their own skip at least one of them.
It has to finish in a sitting, or close to it. A project that sprawls across three weeks stops teaching you anything specific, because by the time you're back you've forgotten what you were drilling. Thirty minutes to two hours is the right size for most of the list below.
It has to isolate one skill. "Edit a video" is not a practice project, it's a job description. "Cut three clips with hard cuts only, no transitions" is a practice project, because the constraint forces a decision you'd otherwise avoid by hiding behind a cross dissolve.
It has to use real footage, not a single perfect clip. One gorgeous four-second shot from a demo reel doesn't teach you anything about sequencing, because there's nothing to sequence. You need at least a handful of clips with real problems: a slightly dark shot, a jump cut, a line of dialogue with room tone under it.
And it has to end in an export. Not a save, an export. A practice project that never gets exported teaches you nothing you can use. The Deliver page has its own failure modes, wrong codec, wrong frame rate, a render that silently drops audio, and none of them show up until you actually click Render All.
Every project below is built around those four rules. If you build your own beyond this list, keep the rules and swap the footage.
Where do you get footage to practice with?
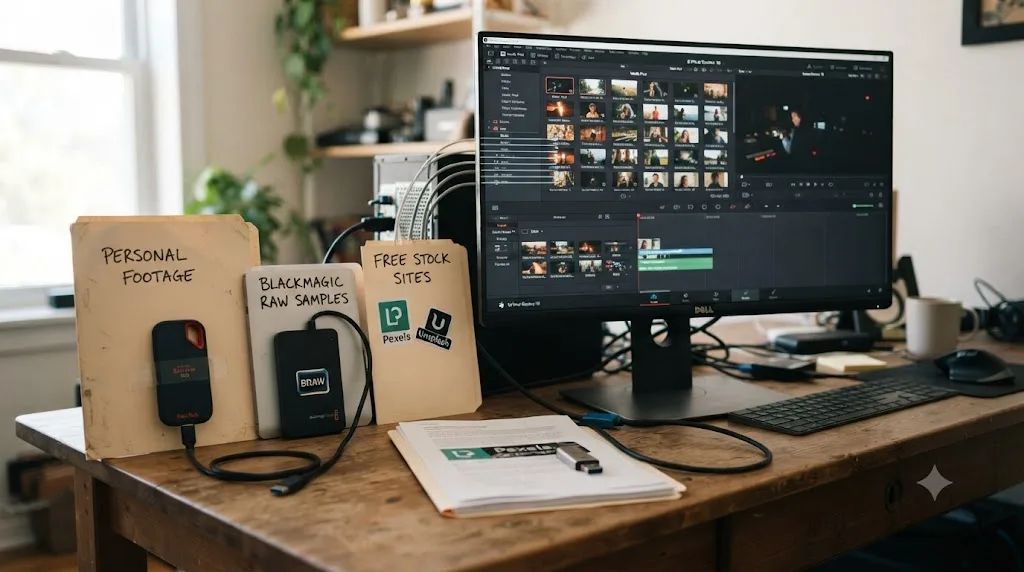
Three sources cover almost every project on this list, and they solve different problems.
Your own footage is the default, and it should be for most of these. Phone clips from a weekend, an old camera card you never touched, your kid's soccer game, anything. It's free, there's a lot of it, and you'll notice pacing problems in your own footage that you'd politely ignore in someone else's.
Blackmagic's own sample RAW footage is the best option specifically for color work. Blackmagic Design posts downloadable Blackmagic RAW clips shot on its own cameras, including the Pocket Cinema Camera 6K and the URSA Cine, directly on its product and gallery pages, and coverage of the format going back to the BMPCC 6K's launch confirms Blackmagic has made real camera files available for exactly this kind of hands-on testing. That matters because Blackmagic RAW is a non-destructive format DaVinci Resolve reads natively in the free version, with full metadata for ISO, white balance, and exposure baked in, so you're grading real camera decisions instead of a compressed export.
| Source | Best for | Cost |
|---|---|---|
| Your own phone or camera footage | Everything, especially cutting and audio | Free |
| Blackmagic's sample Blackmagic RAW clips | Color correction and log grading specifically | Free |
| Mixkit, Pexels, Coverr | B-roll variety, fast, no attribution needed | Free |
| Screen recordings of your own desktop | Tutorial-style edits, captions, pacing | Free |
Grab a folder of clips from two or three of these before you start project one, so you're never blocked mid-session hunting for footage.
One footage decision matters more than it looks like it does: phone versus real camera. A phone clip is fine for every project on this list except the two color ones, because phone footage is usually already baked, compressed, and white-balanced before it reaches Resolve, so there's less real correction to do. Phone audio has the opposite problem. Built-in mics pick up room echo and handling noise that a real shotgun or lav mic doesn't, which makes project four, the dialogue and music mix, noticeably harder on phone-only audio. If your only source is a phone, record dialogue as close to the mic as you can and expect to lean on noise reduction a little more than someone shooting on a real camera would.
What's the best first practice project in DaVinci Resolve?
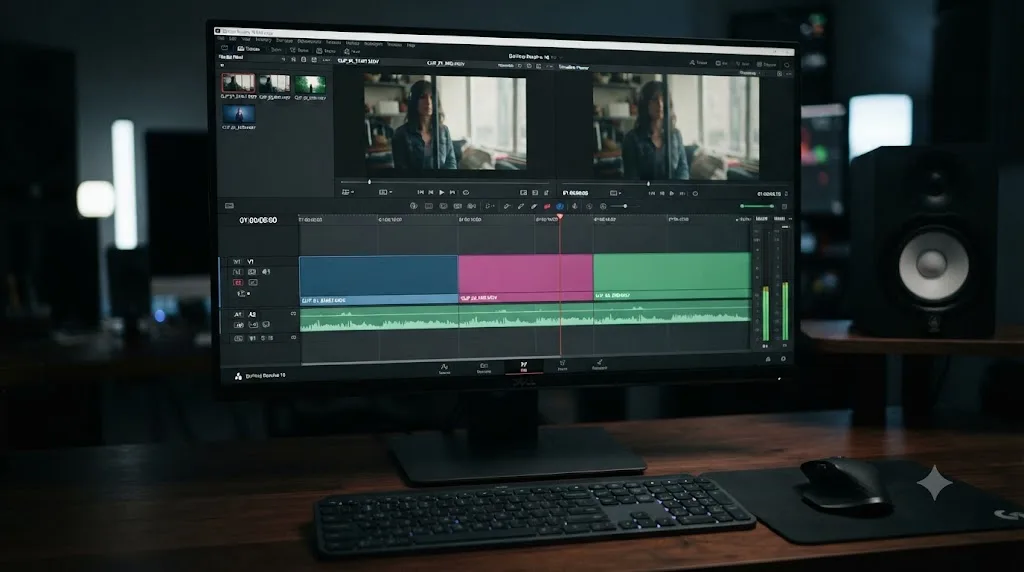
A 3-clip hard cut. This is project one for a reason: it touches the whole basic pipeline, Media, Edit or Cut, Deliver, with nothing else to hide behind.
The project: Import three unrelated clips, at least 10 seconds each. Order them into a sequence of 30 to 45 seconds. Trim each clip's in and out points so the cuts land somewhere that feels intentional rather than wherever the clip happened to start. No transitions. No titles. No color grading. No music, even, on the first pass.
The skill it drills: playback with J-K-L, marking in and out points with I and O, dragging clips to a timeline or using F9/F10 to insert and overwrite, trimming in selection mode, and ripple deleting a bad section without leaving a gap. If you already know these from our beginner's guide to DaVinci Resolve, this project is where you find out if you actually know them or just recognize them when someone else demonstrates.
The constraint that matters: banning transitions. New editors reach for a cross dissolve to smooth over a cut that doesn't quite work, and the dissolve hides the actual problem, which is usually a trim a few frames too long or too short. Force yourself to fix the trim instead.
Time: 30 to 60 minutes. Footage: three Mixkit or Pexels clips from different categories, or three clips off your own phone.
Finish this, export it with File > Quick Export or through the Deliver page, and watch the exported file before you call it done. That last step catches more beginner mistakes than any other single habit.
How do you practice cutting a talking-head video with b-roll?
This is the format behind most of what gets uploaded to YouTube, so it's worth its own project the moment the 3-clip cut feels routine.
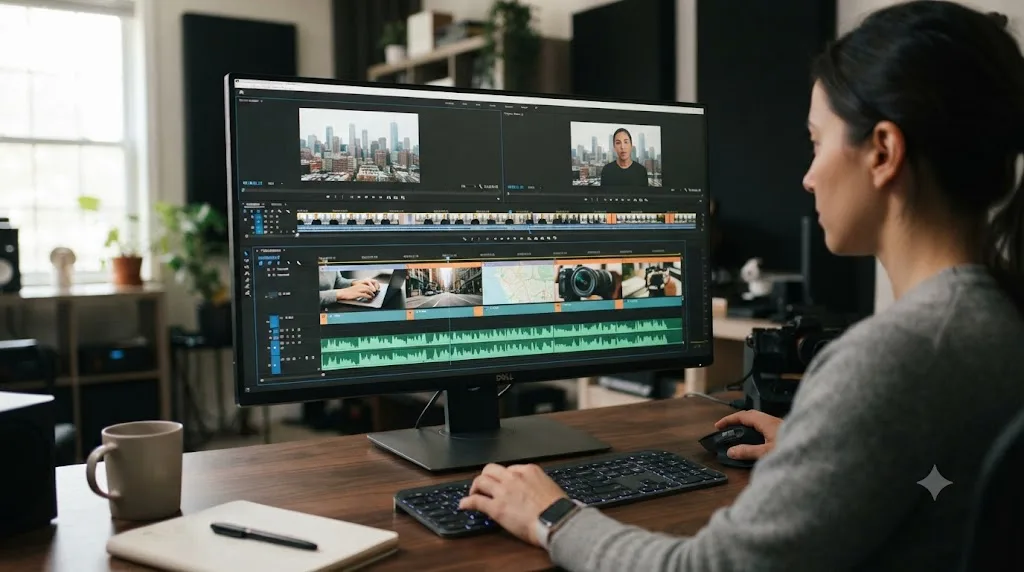
The project: Record 60 to 90 seconds of yourself talking to a phone camera about anything, a recipe, a hobby, a complaint. Download four or five b-roll clips that loosely relate. Lay out four tracks: V1 for the talking head, V2 for b-roll, A1 for your voice, A2 for music. Cut the flubs and dead air out of your own talking, which will jump-cut your head every time. Cover every jump cut with a piece of b-roll on V2.
The skill it drills: track discipline, ripple deleting inside a continuous take without losing sync, and the instinct that b-roll exists specifically to hide the seams a straight cut creates. Once that's comfortable, try one J-cut, trimming a b-roll clip's audio back so your voice starts before the picture changes.
Our beginner's guide walks the full technique, J-cuts, L-cuts, punching in on 4K footage to fake a second camera, in more depth than fits here. Treat that guide as the manual and this project as the drill: read the technique once, then build this without the guide open.
Time: one to two hours, mostly spent on the talking-head cut before b-roll even enters. Footage: your own voice, plus b-roll from Mixkit or Pexels if you don't have matching cutaways.
Common mistake: covering every single jump cut. Leave two or three uncovered on purpose and notice they're less jarring than you expected. Not every cut needs b-roll, and over-covering is its own tell.
What's a good first color correction practice project?
One clip, one node, judged by the waveform instead of your monitor.
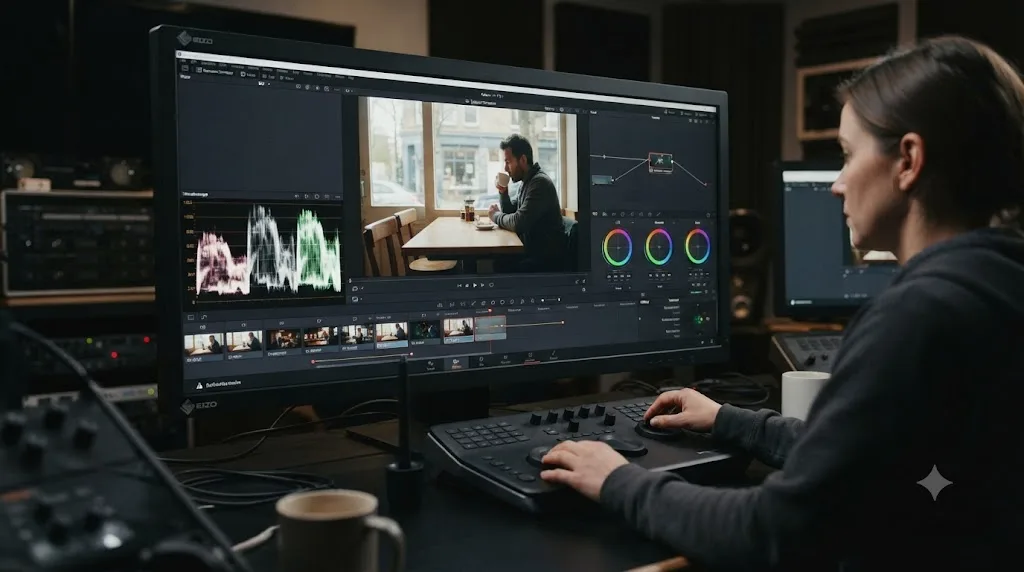
The project: Pick a clip with a visible problem, too dark, blown out highlights, or an obvious color cast. Blackmagic's own downloadable RAW samples are ideal here because they're shot well and lit intentionally, which means any problem you see is either the lighting condition itself or a log profile waiting to be normalized, not a bad phone sensor. Open the Color page, turn on Workspace > Video Scopes with the waveform selected, and fix exposure using Lift for shadows, Gain for highlights, and Gamma for the middle, watching the trace instead of trusting your eyes. Then nudge white balance until something you know should be neutral actually reads neutral.
The rule that makes this a drill and not a wander: one node. No secondary correction, no qualifier, no power window. If the wheels alone can't fix it, that's useful information too, it usually means the clip's underlying exposure was too far gone to save, which is a real lesson about shooting versus grading.
The skill it drills: reading a waveform instead of a screen that might be lying to you, and the muscle memory of Lift, Gamma, Gain as three separate jobs rather than one blurry "make it look better" control. Our color grading basics guide covers the order to turn these wheels in and where saturation fits once correction is solid.
Time: 20 to 30 minutes per clip. Repeat on four or five clips with different problems in one sitting rather than perfecting a single one, since pattern recognition across several bad exposures teaches faster than obsessing over one.
How do you practice cleaning up dialogue and music?
Bad sound sends viewers away faster than bad picture, and it's the skill beginners skip longest because it lives on a page, Fairlight, that looks intimidating from the Edit page.
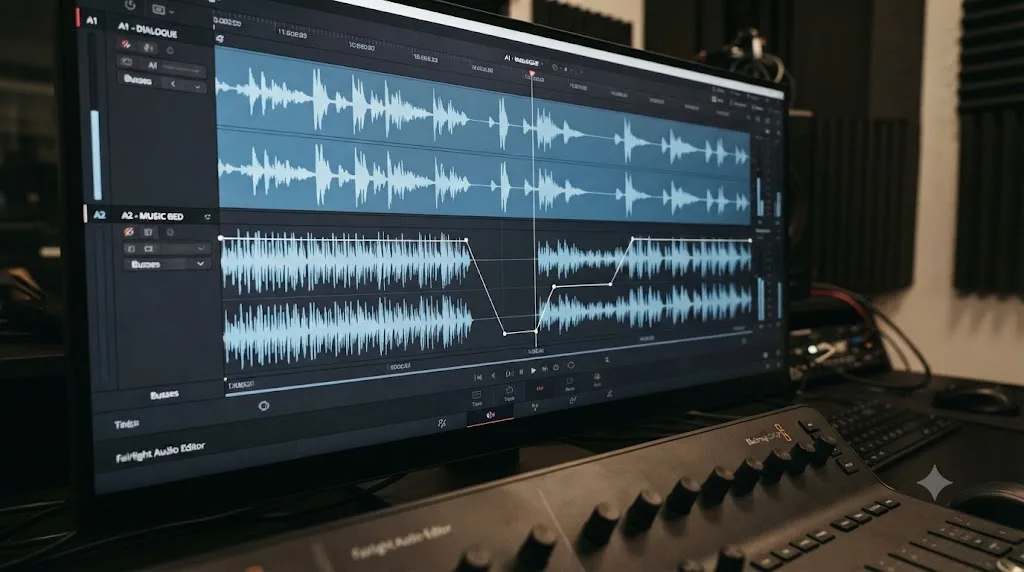
The project: Take a clip with clear dialogue, ideally the talking-head recording from project two. Drag a music track under it on a second audio track. The unmixed version will either bury your voice or feel silent under the music depending on the section, because a single volume level is never right for the whole clip. Hold Alt (Option on Mac) and click the music clip's volume line to add keyframes: one before you start talking, one after you stop, and drag the section between them down so the music visibly ducks under your voice and swells back in the gaps.
The skill it drills: volume automation with keyframes, which is the same mechanic you'll use later for any parameter you want to change over time, not just audio. Also: reading the loudness meters in the Fairlight Mixer instead of guessing, and using Normalize Audio Levels as a starting point rather than a finished mix.
Our Fairlight audio mixing guide goes deeper into buses, EQ, and compression once ducking feels natural, and our LUFS normalization guide explains why the peak meter and the loudness meter can disagree even when a mix sounds fine. This project is the entry point, not the whole page.
Time: 30 to 45 minutes. Constraint: dialogue has to stay clearly intelligible under the music for the entire clip, not just the loud parts. Play it back with your eyes closed and notice where you lose a word.
If dialogue-only audio interests you more than music mixing does, the same ducking and normalizing skill carries straight over to podcast editing. Try the same keyframe-and-normalize pass on a recorded conversation instead of a solo talking-head clip, since a second voice adds an extra layer, keeping both speakers intelligible without one constantly stepping on the other. Our podcast export settings guide and dialogue leveler settings guide both pick up from here if that format is closer to what you actually want to make.
How do you practice exporting vertical video for TikTok and Reels?
Vertical is its own small skill, mostly because most footage arrives horizontal and has to be reframed, not just squeezed.
The project: Take any 16:9 clip from an earlier project, or download one. Create a new timeline set to 1080 x 1920 under File > Project Settings, or tick Use Custom Settings when creating a single timeline so it doesn't affect your whole project. Drop the horizontal clip in, select it, and raise Inspector > Transform > Zoom until the subject fills the vertical frame without cropping out anything important, usually somewhere between 1.3 and 1.8 depending on how much headroom the original shot has. Add a one-line caption with Text+ positioned in the safe area, since platform UI elements cover the top and bottom of a vertical frame. Export at the settings the destination platform actually wants.
The skill it drills: thinking about a shot's composition twice, once for how it was framed and once for how it needs to be reframed, plus the mechanics of a second timeline resolution living inside one project without breaking the first. Our TikTok export settings guide has the exact codec, bitrate, and resolution values to copy for the render itself.
Time: 30 to 45 minutes. Common mistake: zooming in so far chasing a "cinematic" fill that the subject's motion pushes them out of frame the moment they turn their head. Leave a little breathing room on both sides.
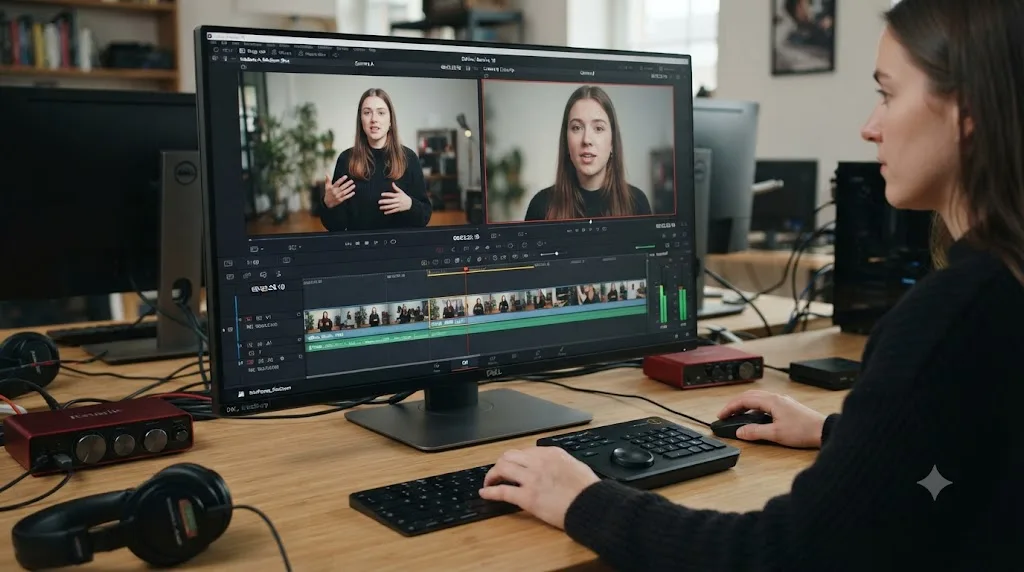
How do you practice a multicam edit without a real multicam shoot?
You don't need two cameras, or even one good excuse to own two. You need two takes.
The project: Set your phone on a tripod or a stack of books and record yourself doing something short and repeatable, reading a paragraph aloud, for 30 seconds. Do it twice from two different positions or angles, keeping the same audio each time if you can, or accepting slightly different audio if you can't. Import both into Resolve, select both clips in the Media Pool, and right-click to create a Multicam Clip, letting Resolve sync them by audio waveform. Drop the multicam clip onto a timeline and use the multicam viewer to cut live between angles as you play through it, clicking whichever angle you want active at each moment.
The skill it drills: multicam syncing and live camera switching, which transfers directly to interview and podcast setups later. If your two takes drift out of sync partway through, and they sometimes will if your phone's frame rate wasn't locked, that's a real, useful failure. Our multicam sync troubleshooting guide walks through fixing drift by frame rate mismatch, which you'll now recognize on sight instead of finding mysterious.
Time: 45 to 60 minutes, including the two recordings. Footage: entirely your own, since simulating a multicam shoot from downloaded clips defeats the point, you need genuinely synced takes of the same moment.
What's a good first Fusion practice project?
A title that moves, built from three or four nodes, nothing more ambitious.
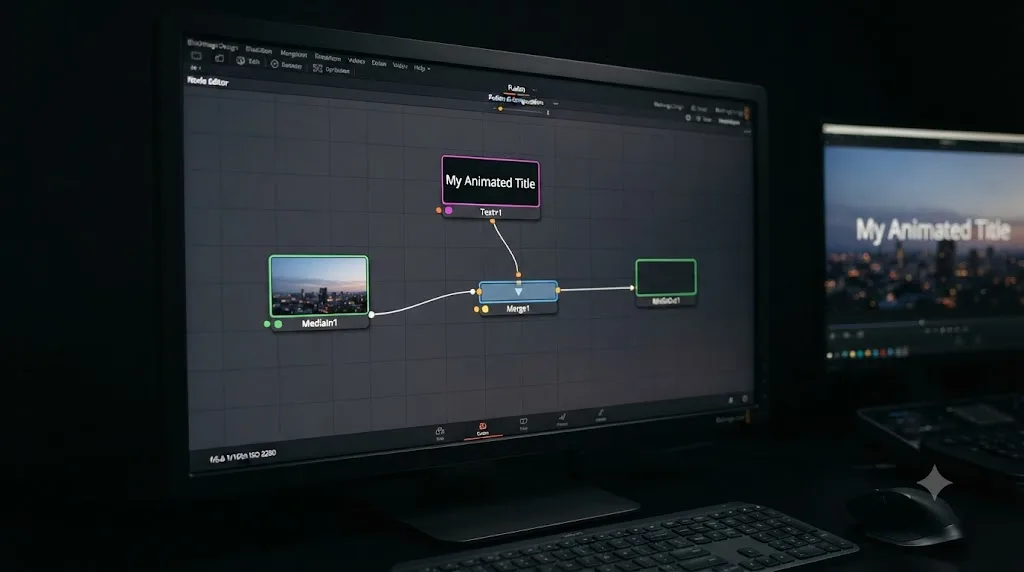
The project: Open the Fusion page on a clip from an earlier project. Resolve gives you a MediaIn and a MediaOut node already connected. Add a Text+ node from the Effects Library or the node toolbar, type a short title, and drag its output into a Merge node's second input, with MediaIn feeding the Merge node's first input and the Merge node's output feeding MediaOut. That's a title composited over your footage in four nodes. Now animate it: select the Text+ node's Center or Size parameter in the Inspector, right-click it, choose Animate, and set two keyframes a second apart so the title fades or slides into place instead of appearing instantly.
The skill it drills: the core Fusion mental model, images flow left to right through connected nodes instead of stacking in layers, plus basic keyframing inside a node's parameters. Our Fusion page tutorial for beginners covers the Merge node, the Planar Tracker, and keying in more depth if this project clicks and you want to go further, including tracking a graphic onto a moving object, which is the natural second Fusion project once a static title feels easy.
Time: 30 to 45 minutes. Footage: any clip you've already used, since the point here is the node graph, not new footage.
Common mistake: building the composite by memorizing button locations from a tutorial instead of understanding why MediaIn connects to Merge and Merge connects to MediaOut. Close the tutorial and rebuild the same four nodes from memory a second time before moving on. That second build is where the concept actually lands.
How do you practice DaVinci Resolve 21's new Photo page?
DaVinci Resolve 21 shipped in June 2026 with a dedicated Photo page that applies the same node-based color tools video editors already know to still images, according to PetaPixel's coverage of the release and CG Channel's rundown of what shipped. It's new enough that most course material still skips it, which makes it a good gap to fill with a small project of your own.
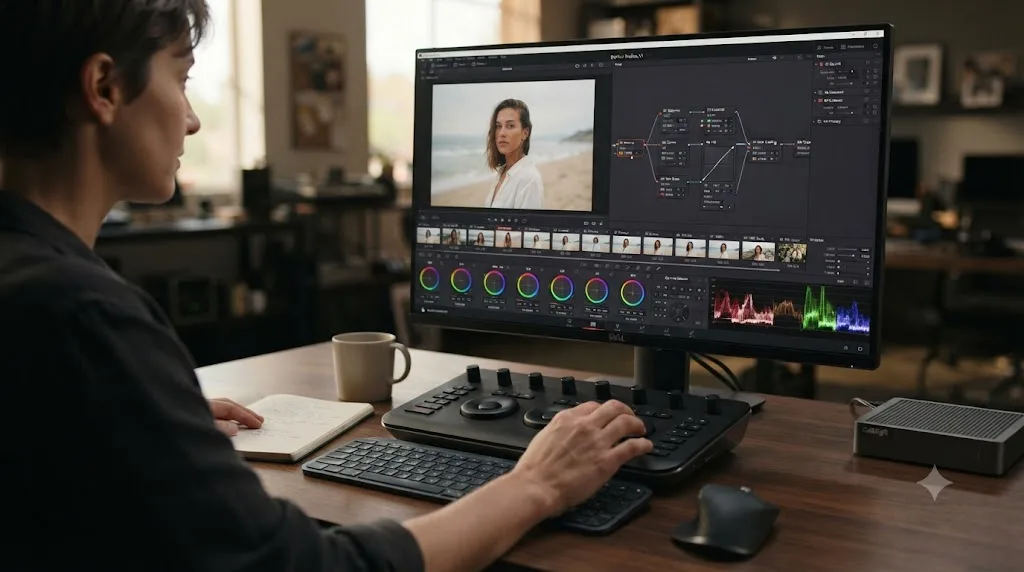
The project: Import six to ten of your own phone photos, ideally a mix of a few underexposed and a few well-lit shots, into the Photo page's media browser. Open one in the node editor, exactly like the Color page, and run the same one-node correction from project three: fix exposure and white balance, judged against the histogram this time instead of a waveform. Once one photo looks right, use the same node-copy trick from video grading, middle-click the corrected photo's thumbnail onto an uncorrected one, to apply the grade across the batch, then adjust outliers individually.
The skill it drills: confirming for yourself that the node system you already know from the Color page genuinely transfers to stills, which matters if you ever shoot photography alongside video. It also introduces you to a workflow photographers coming from Lightroom will recognize immediately and video-first editors won't have seen before.
Time: 30 minutes. Footage: your own photos, since this is the one project on the list where downloaded stock doesn't teach you anything extra, you already know what your own photos are supposed to look like.
How do you practice grading log footage?
Log footage is the single most confusing moment in a beginner's color journey, and it deserves its own project instead of being a surprise you meet for the first time on a real job.
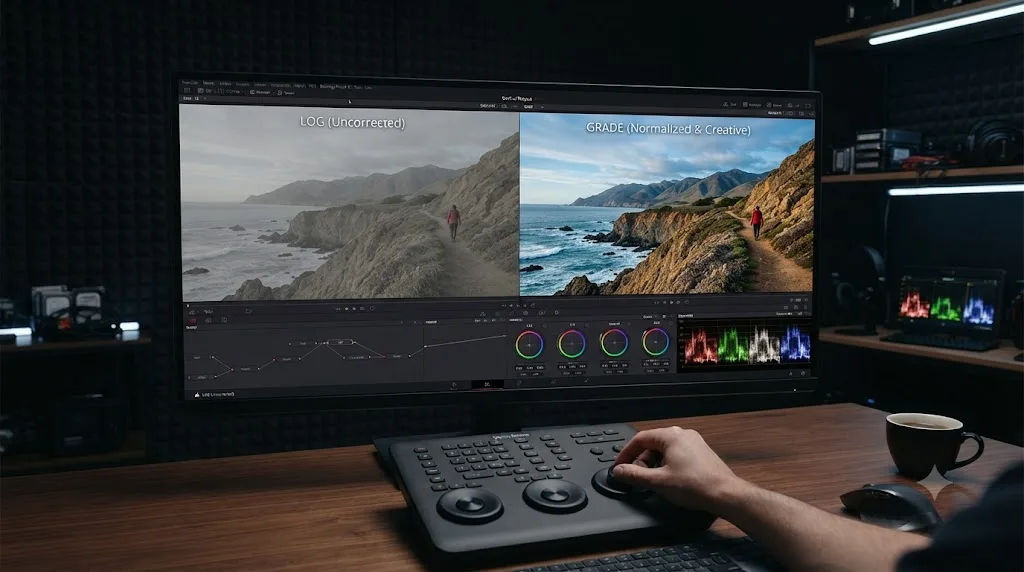
The project: Find a log-profile clip. Blackmagic's own downloadable Blackmagic RAW samples are the easiest source, since many are captured in a flat, log-like profile by default and Resolve reads the camera metadata that tells it exactly what profile it's looking at. The clip will look grey, flat, and washed out, which is normal: log profiles deliberately compress the image to protect dynamic range for grading later, not a broken import. Normalize it first, either by opening the LUTs panel on the Color page and dragging your camera's conversion LUT onto the clip's node, or by adding ResolveFX Color > Color Space Transform from the OpenFX library and setting the input to match the camera's log format. Only after that normalization step does the one-node correction from project three make sense to apply.
The skill it drills: recognizing log footage on sight instead of panicking, and the two-step mental model of normalize first, grade second, which every professional colorist uses even if they've automated the first step into a single click. Our guide to creating a custom LUT is the natural next step once normalizing a stock LUT feels routine and you want to build your own look instead.
Time: 45 to 60 minutes, mostly spent understanding what you're looking at before you touch a single wheel.
What does a capstone practice project look like?
Everything from the previous nine projects, aimed at one real, finished piece.
The project: Shoot or gather two to three minutes of footage around one subject, a place, a person, an event, something with an actual beginning and end. Cut a rough assembly with hard cuts first, exactly like project one. Cover the seams with b-roll, like project two. Grade it, normalizing any log footage first if you shot on a camera that offers it. Mix the audio, dialogue clear, music ducked underneath. Add one Fusion title at the open. If any part of it is naturally vertical, cut a second version reframed for that. Export it properly, watch the exported file start to finish, and publish it somewhere a stranger might actually see it, not just a folder on your desktop.
The skill it drills: everything, but specifically the transitions between skills, moving from cutting to grading to mixing without losing track of what you already fixed. This is also where you'll discover your actual weak point, because a capstone project always finds it. If grading eats three times longer than everything else combined, that's data, not failure.
Here's what that looks like when it's not going smoothly, because it usually isn't the first time. Say you pick a half-day family gathering as your subject. The rough assembly cuts together fine in an hour, cutting purely on action the way project one trained you to. Then the b-roll pass reveals a problem project two never warned you about: half your cutaways don't match the light in the shots they're covering, because they were shot twenty minutes apart as the sun moved. That's not a b-roll problem, it's a shooting problem discovered in the edit, and the fix is either a quick white balance match per clip or accepting a few slightly mismatched cuts and moving on. Either choice is fine. Getting stuck trying to make it perfect is the only wrong answer.
The grading pass goes faster than expected, one node per scene, matched loosely rather than perfectly. The audio mix is where the weekend actually goes long, because the room tone changes every time someone opens a door, and project four's simple duck-the-music technique doesn't cover a problem it was never built to teach. That's the real value of a capstone: it finds the tenth skill none of the first nine projects drilled, and now you know it's a gap instead of assuming Fairlight is fully covered. Finish anyway, imperfect audio and all, export it, and write down what surprised you before you forget. That note is worth more than the finished video.
Time: a full weekend, realistically, spread across a few sessions rather than one marathon sitting. Footage: your own, entirely, because this is the project where "I cared about the outcome" is the whole point.
Once this one is finished and published, you've completed a real project on every page DaVinci Resolve 21 has, without any of it being a client's money on the line while you learned.
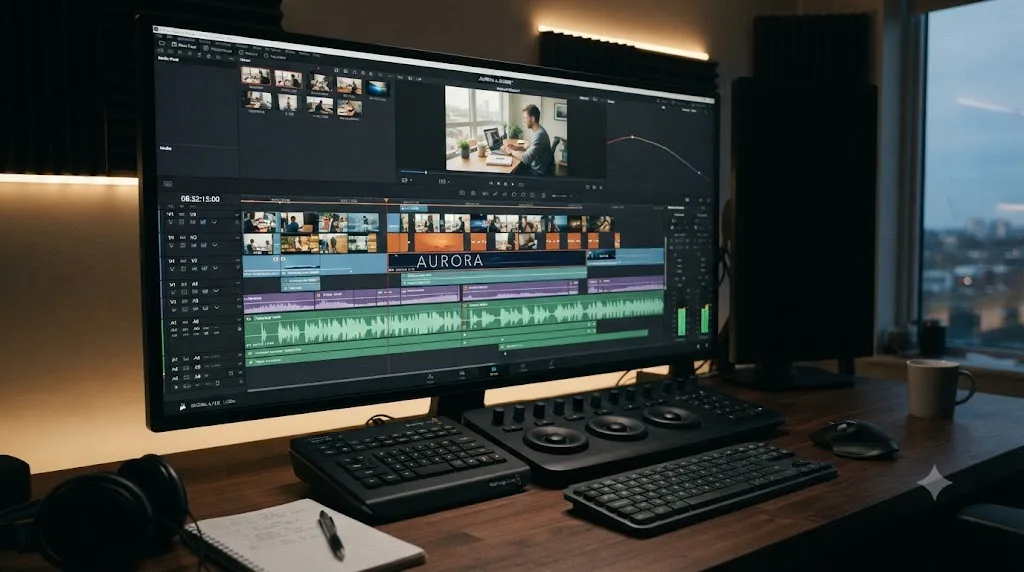
What order should you do these ten projects in?
Roughly the order above, but here's the full list on one screen so you can see the shape of it and skip around if a specific skill is what you're actually short on.
| # | Project | Page(s) | Skill drilled | Time |
|---|---|---|---|---|
| 1 | 3-clip hard cut | Media, Edit/Cut, Deliver | Trimming, sequencing, exporting | 30-60 min |
| 2 | Talking-head with b-roll | Edit | Track discipline, covering jump cuts | 1-2 hrs |
| 3 | One-node color correction | Color | Reading a waveform, exposure and white balance | 20-30 min per clip |
| 4 | Dialogue and music mix | Fairlight | Keyframed volume automation, loudness | 30-45 min |
| 5 | Vertical reframe and export | Edit, Deliver | Reframing, platform export settings | 30-45 min |
| 6 | Simulated multicam cut | Edit | Syncing, live camera switching | 45-60 min |
| 7 | Simple Fusion title | Fusion | Node flow, keyframed parameters | 30-45 min |
| 8 | Photo page batch grade | Photo | Confirming node skills transfer to stills | 30 min |
| 9 | Log footage grade-up | Color | Normalizing log, then grading | 45-60 min |
| 10 | Capstone project | All pages | Combining everything into one finish | A weekend |
Every one of these projects fits inside DaVinci Resolve's free version, including the Photo page and Fusion, so nothing on this list is gated behind the $295 Studio upgrade. The order front-loads cutting because everything downstream depends on having a timeline to color and mix in the first place. If you already cut confidently and picked this list up purely for color or Fusion, projects 3, 7, and 9 stand alone fine out of sequence.
Which project should you pick if you only have 30 minutes, not a whole weekend?
Most weeks don't hand you a free Saturday. They hand you twenty-five minutes between a meeting and dinner, and that's still enough time to make real progress if you pick the right project off this list instead of starting whichever one happens to be next in the order.
| Time available | Best project | Why it fits |
|---|---|---|
| 15-30 minutes | One-node color correction (project 3), one clip only | A single wheel adjustment on one clip fits inside a short block and still ends in a real decision |
| 30-45 minutes | 3-clip hard cut (project 1), or the vertical reframe (project 5) | Both have a hard stop built into the constraint, three clips or one reframe, so they don't sprawl |
| 45-90 minutes | Talking-head with b-roll (project 2), dialogue and music mix (project 4), or the Fusion title (project 7) | Enough time to gather material and still finish the edit in the same sitting |
| 90 minutes to 2 hours | Multicam cut (project 6) or log footage grade (project 9) | These need setup time, two recordings for multicam, understanding a log profile for grading, before the actual skill even starts |
| A full weekend | The capstone (project 10) | It's the only one built to combine everything, and it should feel bigger than the rest |
If a session ends and a project isn't finished, don't leave it half-built and move to the next one. Cut its scope on the spot: fewer clips, a shorter dialogue clip, one fewer keyframe, whatever gets you to an actual export before you close the laptop. A finished small version of project two teaches you more than an abandoned ambitious version of it, and it means your next session starts on a new project instead of picking up someone else's half-finished decisions, even if that someone is you a week ago.
Should you practice on your own footage or downloaded stock footage?
Both, deliberately, not as a compromise but because they teach different things.
Your own footage catches you being lazy. A stock clip from Mixkit is well-shot and well-lit by design, so a sloppy cut or a lazy color pass still looks passable. Your own weekend footage has a boring stretch in the middle, a shot that's slightly underexposed, and a moment where your kid looks straight at the camera and ruins the take. Fixing those real problems is what actually builds judgment, and caring whether the result is good, because it's your memory on the line, keeps you from quitting halfway through a project the way you might with generic b-roll.
Downloaded footage, and Blackmagic's own RAW samples in particular, is better for isolated technical drills where you want a controlled variable. If you're specifically practicing color correction, you want a clip that's well-composed and well-focused with exactly one problem, wrong exposure, so you can fix that one thing without also fighting a shaky frame or a boring shot. That's projects 3 and 9 on this list, and it's why both point you at Blackmagic's samples specifically instead of your own phone.
There's a third piece worth naming: showing the result to someone. Jean-Clément Soret, an Emmy-winning colorist at Company 3 and formerly MPC's Global Creative Director of Color Grading, put it plainly when asked what he'd tell someone starting out:
"To someone looking to start a career as a colourist I'd say that it is important to forge your experience in an enjoyable place, and to get as much feedback from experienced colourists as you can."
You don't need a studio job to act on that advice. Post a finished practice project to r/DaVinciResolve, or to Casey Faris' free Skool community, which runs specifically for beginners working through exactly this kind of material. Feedback from someone who isn't you is the fastest way to find the mistake you've stopped noticing because you've watched your own edit forty times.
How do you adapt these projects if you're on a low-power laptop, an older GPU, or Windows?
Every project on this list assumes decent enough hardware that clicking play doesn't turn into a slideshow. Not everyone has that, and the fix usually isn't a new computer, it's changing two or three settings before you start.
If playback stutters on any project, right-click the clip in the Media Pool and choose Generate Optimized Media before you touch the timeline, or turn on Proxy Resolution under the Playback menu and set it to Quarter or Eighth resolution while you edit, then switch back to full resolution and turn off Prefer Proxies before you render. This matters most on project 6, the multicam cut, since decoding two full-resolution streams at once is exactly the kind of load that exposes a weak GPU, and on project 9, the log footage grade, where a Color Space Transform plus noise reduction on a flat, underexposed log clip is one of the heavier combinations Resolve can ask a GPU to do. If clips still won't play smoothly after switching to proxies, our guide to what to do when DaVinci Resolve's GPU memory is full and our dedicated playback stuttering fix both walk through the render cache and cache format settings that usually solve it. For a repeatable fix built specifically for underpowered hardware, our proxy media setup guide for a slow laptop covers the exact codec and resolution combination to use.
If you're on Apple Silicon, especially an M1 or M2 rather than the newer chips, Fusion compositing (project 7) and the Photo page's batch grading (project 8) both lean on the Neural Engine and unified memory more than a straight cut does. Closing other GPU-hungry apps, especially a second monitor running a browser with hardware acceleration on, frees up headroom faster than any setting inside Resolve itself. Our Apple Silicon M4 settings guide covers the newer chips specifically, and most of its render and cache advice scales down to older Apple Silicon too, just with more conservative numbers.
If you're on Windows, the core mechanics of all ten projects are identical, Resolve's interface and node system don't change across platforms, but the two spots where Windows users hit friction are GPU driver mismatches (an outdated NVIDIA or AMD driver causes far more crashes than a genuinely underpowered card) and codec support, since some camera formats that decode natively on a Mac need an extra codec pack installed on Windows. Blackmagic RAW is the one format guaranteed to behave the same on both platforms, which is one more reason it's the right footage source for projects 3 and 9 specifically.
If you're on Linux, Resolve runs, but with real caveats around supported distributions and codec licensing that don't apply on Mac or Windows. Our guide to whether DaVinci Resolve works on Linux covers exactly which distributions are actually supported and which camera formats need an extra step to import, before you build a whole practice routine around a setup that might fight you on file compatibility from project one.
| Project | Heaviest resource | Fastest fix |
|---|---|---|
| 6 - Multicam cut | GPU decode, two streams at once | Optimized Media or Half/Quarter resolution playback |
| 7 - Fusion title | Neural Engine and GPU compositing | Close other GPU apps; keep the composition to a handful of nodes while testing |
| 8 - Photo page batch grade | Neural Engine and unified memory | Grade in smaller batches of three or four photos at a time |
| 9 - Log footage grade | Color Space Transform plus noise reduction | Proxy or Half Resolution mode until the final render |
If none of that is your problem and Resolve simply won't run acceptably no matter what you change, that's a real hardware ceiling, not a settings problem, and pushing through it project by project will just teach you to distrust your own timeline. Scale the ambition of the projects down instead of abandoning them: shorter clips, lower delivery resolution, fewer simultaneous tracks. A 3-clip hard cut at 1080p on a five-year-old laptop still teaches the same trimming and sequencing skill a 4K version does on a new one.
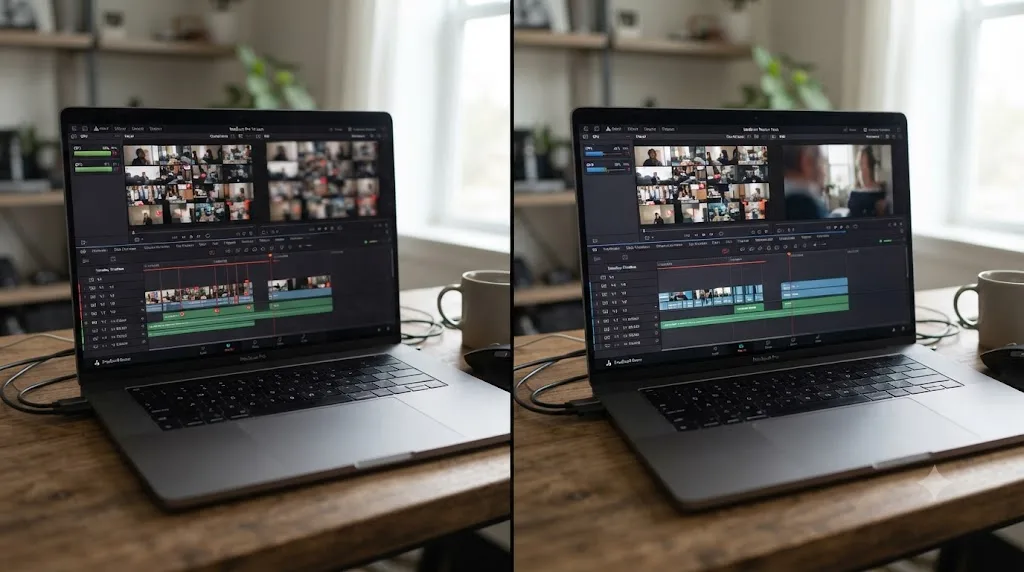
What changes about these ten projects if you're switching from Premiere Pro or Final Cut?
Editors coming from Premiere Pro or Final Cut aren't total beginners, and running through this list exactly like someone who's never touched an NLE wastes time relearning things you already know. The projects stay the same. What changes is which parts will feel unfamiliar and which parts will feel suspiciously easy.
Project 1, the 3-clip hard cut, will feel too easy, because trimming and sequencing are the same job in every NLE, just with different keyboard shortcuts under the hood. Don't skip it anyway. Use it specifically to relearn J-K-L and the I/O in and out points as Resolve maps them, since a few defaults differ from Premiere's, and our keyboard shortcuts guide is worth a scan before project one rather than after it. If you'd rather work the way Premiere's Source Monitor works, DaVinci Resolve's Cut page is the closer analog, not the Edit page, and our comparison of the Cut page and Edit page explains why.
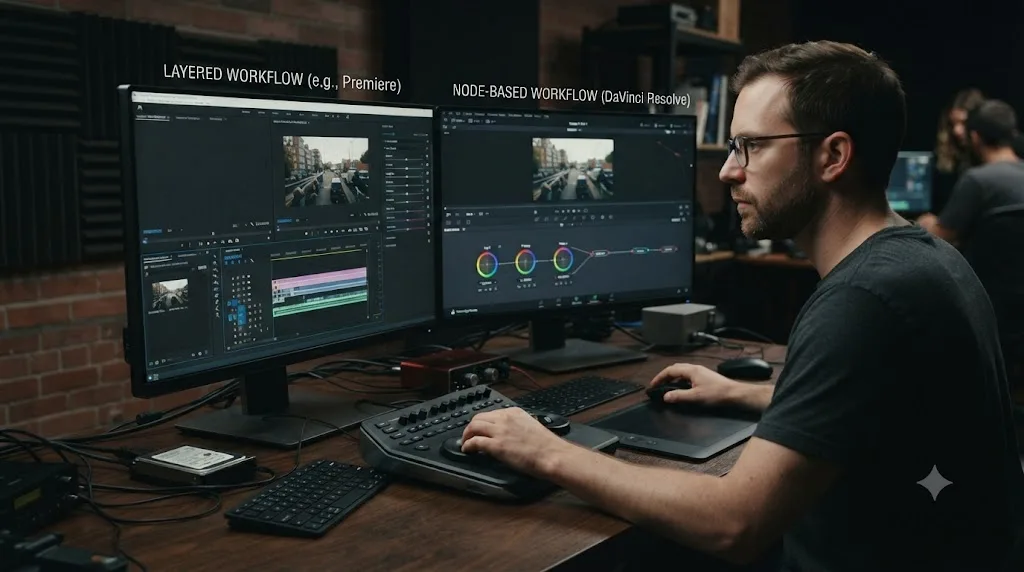
Project 3, the one-node color correction, is where the real relearning happens. Premiere's Lumetri panel and Final Cut's color board are both built around sliders and curves layered on a single clip. Resolve's node system is a graph: each node is a discrete step, and you build a grade by connecting nodes in sequence or in parallel rather than stacking sliders in one panel. The one-node constraint in project 3 is doing double duty for a switcher, it's not just an exposure drill, it's your first honest look at what a node actually is before you're tempted to recreate Lumetri-style sliders inside a single overloaded node.
Project 7, the Fusion title, has no real equivalent in Premiere or Final Cut, since neither ships anything structurally like Fusion's node-based compositing built into the same app. Essential Graphics in Premiere and Motion in Final Cut are the closest comparisons, but both are closer to After Effects-lite than to Fusion's node graph. Expect this project to take longer than the 30 to 45 minutes estimated above the first time through, since the mental model, not just the button locations, is new.
If you're bringing over an existing project rather than starting from scratch, do it before project 1, not during the list. XML and EDL handoffs between Premiere and Resolve lose or scramble certain effects and transitions on the way over, and our guide to fixing broken XML imports from Premiere Pro covers exactly what survives the trip and what doesn't. Don't practice project 1 on a broken import, since you'll spend the session debugging the XML instead of drilling the trim.
For the fuller picture of where Resolve and Premiere genuinely differ heading into 2026, price, collaboration features, plugin ecosystem, our DaVinci Resolve vs Premiere Pro comparison covers the decision beyond just these ten practice projects.
Do Blackmagic's free training books already include practice projects?
Yes, and it's worth being honest about that before pretending this list exists in a vacuum. Blackmagic Design's own free training program ships six downloadable books, a Beginner's Guide, an Editor's Guide, a Colorist Guide, a Fairlight Guide, and two visual effects guides, each with its own lesson files and project-based exercises, according to the official training page. If you want a full curriculum with a beginning, middle, and end, that's the strongest free option available, and our guide to the best DaVinci Resolve courses breaks down how it compares to paid alternatives.
Casey Faris' YouTube channel, with an audience approaching 600,000 subscribers, covers project-style tutorials constantly too, and Reddit's r/DaVinciResolve is where a lot of beginners already ask exactly the question this post answers, "what should I actually build to get better." Udemy bootcamps bundle practice footage into paid courses the same way.
So where does a standalone list like this one actually fit next to all of that? It's not a replacement for a curriculum, and it's not trying to be. It's for the moment after you've been through a book or a course and you know the individual moves, trimming, a node, a keyframe, but you haven't built the habit of reaching for them without a lesson open beside you. A course teaches the move. A project list like this one is just reps, stripped of the video, the narration, and the sample project you already recognize from having watched someone else build it. If you haven't touched Resolve yet, start with Blackmagic's free Beginner's Guide or our own beginner's guide first, then come back here once the interface stops feeling foreign.
What do you do when a specific practice project stalls?
Every project on this list has a specific, predictable way it goes wrong, and most of them aren't a skill problem, they're a known Resolve quirk with a known fix. Look up the fix immediately instead of guessing.
| Project | Common stall | Fix |
|---|---|---|
| 1 - 3-clip hard cut | Clip shows a red "media offline" placeholder and won't play | Relink the media first; our media offline guide covers every cause |
| 2 - Talking-head with b-roll | Voice track has no sound after import | Check the audio track routing; our no audio fix covers the usual mismatched channel-mapping causes |
| 3 - One-node color correction | The clip you picked won't import at all | If it's Blackmagic RAW, see our BRAW won't import guide; it's almost always a codec or driver mismatch, not a bad file |
| 4 - Dialogue and music mix | Levels look right on the meter but still sound off against a reference | Check your loudness target instead of the peak meter; our LUFS normalization guide explains why peak and perceived loudness disagree |
| 5 - Vertical reframe | Export plays too fast or too slow on the target platform | Almost always a frame rate mismatch between the source and the timeline; see our wrong frame rate fix |
| 6 - Multicam cut | The two angles drift out of sync partway through | See our dedicated multicam sync fix; it's almost always a frame rate mismatch between the two recordings |
| 7 - Fusion title | The Fusion tab is there, but renders are painfully slow | See our Fusion render slow fix; a bad proxy or cache setting is the usual cause, not the composition itself |
| 8 - Photo page batch grade | The node-copy trick doesn't seem to apply anything | Confirm you're middle-click dragging the thumbnail, not left-click, which just selects it instead |
| 9 - Log footage grade | The clip still looks flat after applying a LUT or Color Space Transform | Confirm the input color space actually matches the camera's log profile; a mismatched input does nothing visible, it just fails silently |
| 10 - Capstone | The whole project won't open the next time you launch Resolve | See our project won't open guide before assuming you lost the work; corrupted database entries are recoverable more often than not |
None of these are reasons to abandon a project halfway through. They're the actual content of learning the software, the same way a musician's practice session includes fixing a buzzing string, not just playing scales cleanly. A stalled project that gets debugged and finished teaches you more than a project that never hits a snag at all, because the debugging is where you learn what Resolve actually does under the hood instead of just what it does when everything goes right.
If a stall doesn't match anything in this table, that's what the habit in the next section is for.
What's the fastest way to get unstuck mid-project?
Every project on this list has a moment where you know exactly what you want to do and can't find the button, and that moment is where most abandoned practice projects actually die, not from lack of skill but from friction.
TryUncle is a paid macOS app whose AI tutor, Uncle, watches your DaVinci Resolve screen live and points at the exact control you're asking about, on the Edit, Color, and Fusion pages. It doesn't build the composite for you or move a node on your behalf, it looks at your actual timeline and tells you where the thing you're describing lives, which matters specifically for a practice project, since the point is that you make the move yourself. TryUncle is currently in founder pricing for its first 100 seats; check the current rate before you commit, since a price like that doesn't hold forever.
That's a real distinction worth being clear about, because TryUncle isn't the only AI tool that's shown up around DaVinci Resolve and Premiere Pro lately, and the others do a genuinely different job. CutAgent works directly inside DaVinci Resolve on macOS and turns a natural-language instruction into real edits on your timeline, planning the moves and showing you each step before it commits them. Eddie imports interview footage, builds a rough cut from the transcript, and exports it into Resolve, Premiere, or Final Cut, starting around $25 a month. PremiereCopilot bundles silence cuts, captions, and AI B-roll into a Premiere Pro plugin from $7.99 a month, though it's worth flagging plainly that it's built for Premiere, not Resolve, so it's not actually a same-category alternative for this site's readers. Smaller entrants keep appearing in the same space too, tools like Sottocut among them, mostly automating cuts or captions from a transcript the same way.
An AI that edits for you teaches you nothing about DaVinci Resolve; an AI that points at the control while you make the move does. That's the whole difference between the automation tools above and what Uncle does. CutAgent and Eddie are built to hand off the editing task so a working editor can focus on story. That's a fine goal if you're already fluent and time-pressed. It's the wrong tool while you're still building the reps this list is asking you to build, because outsourcing the trim defeats the point of the drill.
| Tool | What it actually does | Platform | Price |
|---|---|---|---|
| TryUncle | Watches your live Resolve screen and points at the control, you make the move | macOS only | Founder pricing (first 100 seats) |
| CutAgent | Executes editing instructions directly on your Resolve timeline from natural language | macOS, Resolve Free/Studio 20+ | See cutagent.ai |
| Eddie (heyeddie.ai) | Builds a rough cut from a transcript, exports to Resolve, Premiere, or FCP | Web, exports cross-platform | From $25/mo |
| PremiereCopilot | Silence cuts, captions, and AI B-roll for Adobe Premiere Pro, not Resolve | Premiere Pro plugin | From $7.99/mo |
Whether you use a tool like it or just keep Blackmagic's own documentation open in a second tab, the habit that actually matters is the same one: when a practice project stalls on a missing button, look it up immediately instead of guessing your way past it or quietly abandoning the project. Remember that TryUncle is macOS only, so Windows and Linux editors will need the documentation-tab habit regardless.
What mistakes do beginners make picking practice projects?
The same handful, over and over, and most of them are about scope rather than skill.
Picking a project too big for one sitting. "Edit my friend's wedding" is not a practice project, it's real work disguised as one, and it comes with real stakes that make experimentation feel risky. Save ambitious footage for after the small drills, not as the drill itself.
Watching instead of building. Following along with a tutorial feels productive because you're technically inside Resolve the whole time, but you're executing someone else's decisions with the answer already on screen. That's recognition, not recall, and our guide to how long DaVinci Resolve takes to learn goes deeper into why editing your own footage compresses a learning timeline faster than watching more videos does.
Never adding a constraint. Cutting the same kind of clip the same way ten times teaches you less than cutting it nine different constrained ways once each. Ban transitions on one project, force yourself to use only J-cuts on another, limit yourself to a single node on a third. The constraint is what turns repetition into a drill.
Skipping audio entirely. Picture problems get all the attention because they're visible immediately. A viewer forgives a slightly rough cut far more readily than they forgive dialogue they have to strain to hear, and skipping project four on this list is the single most common gap in a beginner's practice list.
Redoing the same project without changing anything. If your second 3-clip cut looks identical to your first, you didn't practice, you repeated. Change the footage, change the constraint, or move on to the next skill.
Grading before the edit is locked. Color and audio work done on a clip that later gets trimmed or replaced is wasted effort. Finish assembling first, every time, even in a practice project.
Comparing project one to a finished YouTube video. A three-clip hard cut you built in forty minutes was never going to look like a video someone spent a week shooting, editing, and grading. Judge each project against the one skill it was built to drill, not against the best output on the internet in that category.
Never saving a version before a big change. Duplicating the project file, or at least the timeline, before you try something risky, a new grade, a restructured cut, costs ten seconds and means an experiment that goes badly doesn't erase the version that was already working.
Where do you go after these ten projects?
You've now got a rough cut, a talking-head edit, a color correction, a mixed dialogue track, a vertical export, a multicam cut, a Fusion title, a graded photo batch, a log-footage grade, and one finished capstone project sitting in your Project Manager. That's not a demo reel yet, but it's ten real decisions made and exported, which is worth more than any number of tutorials watched without touching the timeline yourself.
From here, repeat whichever project felt shakiest with new footage before moving on, since a project that felt hard the first time usually needs a second pass more than a new challenge does. If color pulled you in, our color grading basics guide is the next real step. If the capstone project convinced you it's time for structure and a credential, our comparison of the best DaVinci Resolve courses breaks down free and paid paths by exactly what you're stuck on. And if a specific button keeps eating your session before you can finish a project, that's the gap worth closing immediately, whether that's a documentation tab kept open or an AI tutor watching your screen, rather than a reason to walk away from the timeline for another week.
Frequently asked questions
- What's the best first practice project in DaVinci Resolve for a total beginner?
- A 3-clip hard cut with no transitions, titles, or color grading. Import three unrelated clips, order them into a 30 to 45 second sequence, trim the edges, and export. It forces you to learn the Media, Edit or Cut, and Deliver pages without anything else to hide behind, and most people finish it in under an hour.
- Where can I get free footage to practice DaVinci Resolve if I don't have my own?
- Blackmagic Design posts downloadable Blackmagic RAW sample clips shot on its own cameras directly on its product and gallery pages, which is real camera footage rather than a stock clip. For general b-roll, Mixkit, Pexels, and Coverr all offer free 4K video with no sign-up and no attribution required for personal practice.
- How many practice projects do I need before I'm ready to take on client or paid work?
- There's no fixed number, but working through all ten in this list, plus a couple of repeats of the ones that felt shaky, is a reasonable floor. Our guide to how long DaVinci Resolve actually takes to learn puts paid-work readiness around three to six months of steady weekly practice, which is roughly the pace these ten projects assume if you space them out.
- Should I practice on my own footage or downloaded stock footage?
- Both, for different reasons. Your own footage teaches you faster because you actually care whether the cut works, which keeps you honest about pacing and story. Downloaded footage, especially Blackmagic's own RAW camera samples, is better for isolated technical drills like color correction, where you want controlled, well-shot material rather than a shaky phone clip.
- Does DaVinci Resolve Studio unlock better practice projects than the free version?
- No. Every project in this list runs fully in the free version, including Fusion, Fairlight, the Color page, and the new Photo page. Studio's $295 upgrade adds Neural Engine AI tools like Magic Mask and noise reduction on top, which speed up specific tasks later but aren't needed to learn any of the fundamentals here.
- Can I practice DaVinci Resolve using Blackmagic's own sample RAW footage?
- Yes, and it's some of the best practice material available for color work specifically. Blackmagic posts real, ungraded Blackmagic RAW clips shot on cameras like the Pocket Cinema Camera 6K and the URSA Cine on its own site, and DaVinci Resolve reads the format natively in a fully non-destructive workflow, in the free version too.
- What's the actual difference between following a tutorial and doing a practice project?
- A tutorial shows you someone else's decisions with the answer already on screen, which is recognition. A practice project asks you to make the decisions yourself, which is recall. Tutorials are useful for learning that a tool exists. Only a finished project, on your own footage, with your own choices, actually builds the skill.
- How long should each practice project take?
- Most of the ten here take 30 minutes to two hours, and the capstone project takes a weekend. If a single project is eating multiple sessions with no end in sight, the scope crept. Cut it back down to the one skill it was supposed to drill and finish it, even if the result is rough.
Sources
- DaVinci Resolve product page (free vs Studio)
- DaVinci Resolve - Training (Blackmagic Design, free books and lesson files)
- DaVinci Resolve - Tech Specs (Blackmagic Design)
- Blackmagic URSA Cine - Gallery (downloadable Blackmagic RAW sample clips)
- Blackmagic Cinema Camera - Gallery (downloadable Blackmagic RAW sample clips)
- Newsshooter: BMPCC 6K First Footage & Downloadable Clips
- Mixkit - free stock video, no attribution required
- Pexels - free stock videos
- Coverr - free stock footage
- PetaPixel: DaVinci Resolve 21 officially released with new photo editing, AI tools, and much more
- CG Channel: Blackmagic Design releases DaVinci Resolve 21.0
- Jonny Elwyn: How to Become a Better Colorist (Jean-Clément Soret interview)
- Casey Faris - YouTube channel
- Skool - DaVinci Resolve for Beginners! (Casey Faris' free community)
- Eddie AI - The Assistant Video Editor for Pros (heyeddie.ai)
- CutAgent - AI video editing for DaVinci Resolve
- PremiereCopilot - The AI Copilot for Adobe Premiere Pro
- TryUncle (product site: how Uncle works, pricing, setup)
- TryUncle FAQ
Put this guide to work with TryUncle.
Ask about the step you’re on. TryUncle sees your screen and points at the control you need, so you can keep learning in your own project.
Get TryUncle for Mac or WindowsKeep reading
Guides · Jul 7, 2026 · 32 min
DaVinci Resolve for Beginners: The Complete Starter Guide
Learn DaVinci Resolve from zero: what it costs, what it needs to run, the seven pages you'll actually use, and the steps to cut your first project.

Guides · Jul 7, 2026 · 32 min
How Long Does It Take to Learn DaVinci Resolve?
How long DaVinci Resolve actually takes to learn: a first rough cut in an afternoon, Color and Fairlight in weeks, Fusion in one to three months.
Comparisons · Jul 11, 2026 · 30 min
DaVinci Resolve vs Premiere Pro in 2026: Which Should You Use?
DaVinci Resolve vs Premiere Pro in 2026: pricing, color grading, AI tools, Fusion vs After Effects, and which editor actually fits your workflow.