Articles / Fixesupdated for DaVinci Resolve 21.1 (October 2026)
DaVinci Resolve Audio Pan Mono Track Both Speakers: Fix
Quick answer
In DaVinci Resolve 21, right-click the audio track header, choose Change Track Type To > Mono, and leave the track pan centered. A mono clip on a mono track feeds both speakers; move the mono pan control left or right only when you want deliberate placement. If the clip is still one-sided, fix Clip Attributes channel mapping.
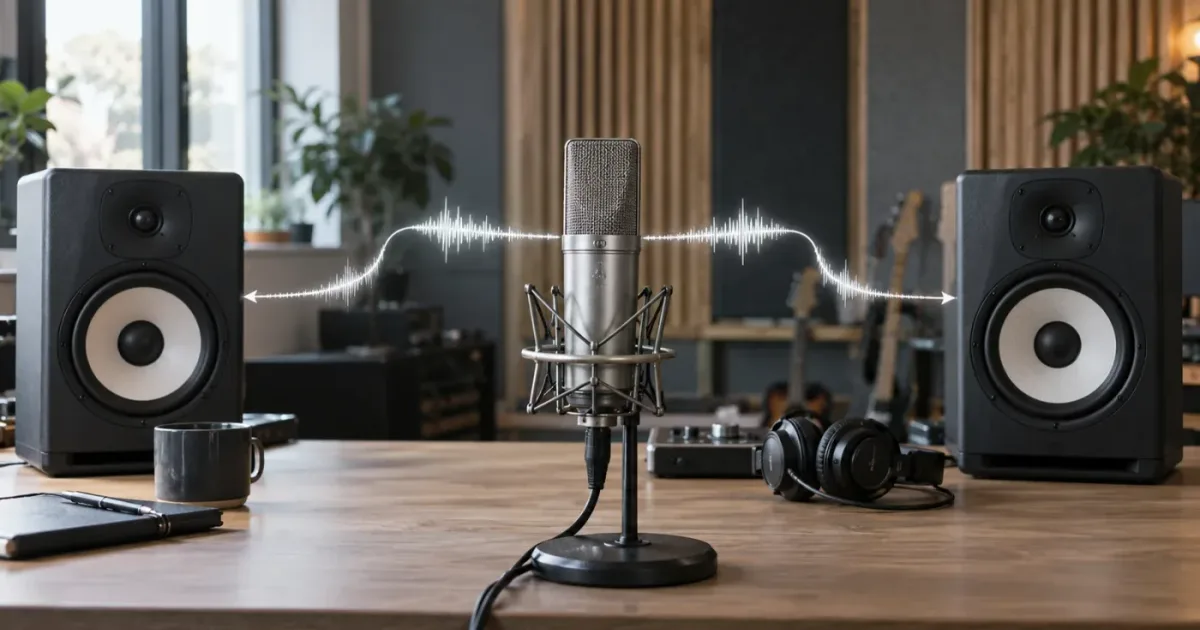
If a mono voice only comes from the left speaker, the pan knob often isn't the real problem. The track format is.
As of October 2026, DaVinci Resolve 21 has a changed rule for mono audio added to stereo tracks, but the safest dialogue setup remains simple: put a single-channel voice on a mono track, center the mono pan, and inspect channel mapping before touching gain. We have spent more than seven years cutting commercial work, and this is one of the recurring questions in our 100,000+ member editing community.
This guide starts with the fix, then explains why the symptom appears, how Resolve 21 differs from earlier versions, and what to check when the obvious fix doesn't hold. The useful distinction is between three things that look similar in the interface:
- The clip's source channels.
- The timeline track's channel format.
- The bus and monitor path that finally sends sound to your speakers or headphones.
If you change the wrong layer, you can make the waveform look tidy while the output is still wrong. If you identify the layer first, the repair takes a minute.
A mono dialogue recording belongs on a mono timeline track when you want reliable two-speaker playback and intentional left-right panning.
Why is my DaVinci Resolve audio pan mono track only coming from one speaker?
The usual cause is a mono clip placed on a stereo timeline track with channel handling that favors the left side. DaVinci Resolve's Fairlight documentation describes a mono clip on a stereo track as playing from only the left channel or left speaker in the earlier workflow, while a mono clip on a mono track produces equal sound from both speakers when the pan is centered. Blackmagic Design's Fairlight Audio Guide is explicit about that distinction.
That means the pan control isn't necessarily broken. A stereo track expects a left-right pair. A mono clip supplies one channel. Unless Resolve maps or extrapolates that one channel across the stereo destination, the result can be a one-sided signal.
The visual trap is easy to miss. A waveform in a timeline can look like one ordinary voice recording. The meters may also look active. Neither fact tells you whether the track is mono, stereo, dual mono, or carrying a mapped channel pair. You need to inspect the track header and the channel mapping.
In plain terms:
- A mono clip has one audio channel.
- A stereo track has left and right channels.
- A mono track accepts one channel and uses its pan control to position that channel across the output.
- A centered mono pan sends the signal to both sides of a normal stereo output.
- A mono pan moved left or right deliberately changes the apparent position.
The pan knob only gets a clean job when the track format matches the source. That is why changing a stereo track to mono is the first repair, not the last.
Charles Bennett, answering a Fairlight pan question on the Blackmagic Design forum, puts the practical rule plainly: “If each actors recording is mono you do not need the tracks to be stereo. Audio from a mono track will come out equally left and right and your pans will work.” Read Bennett's forum answer.
How do I make a mono track play through both speakers in DaVinci Resolve 21?
Right-click the audio track header, choose Change Track Type To > Mono, and leave the mono pan centered. Then play the clip while watching the left and right output meters. This is the direct fix for a single-channel microphone recording that should be heard from both speakers.
Use this procedure in the Edit page or Fairlight page:
- Locate the track containing the voice clip.
- Right-click the track header, not the clip waveform.
- Choose Change Track Type To.
- Choose Mono.
- Open the Mixer if it isn't visible.
- Find the track's Pan control.
- Return the mono pan to the center position.
- Play a section with continuous speech.
- Confirm that the track meter responds and that the main stereo output has activity on both sides.
The wording can appear slightly differently depending on which page is open and how much of the Fairlight interface is visible, but the decision is the same. You are changing the track format, not merely dragging a pan dot.
The center position is not the same as muting one side. It means the one-channel source is placed in the middle of the stereo image. Both speakers reproduce it, subject to the pan law and the rest of your signal path.
If you want a person to sound a little to the left or right, move the mono pan after the track is correctly configured. Do not make a stereo track carry a mono voice simply because a stereo waveform feels more familiar.
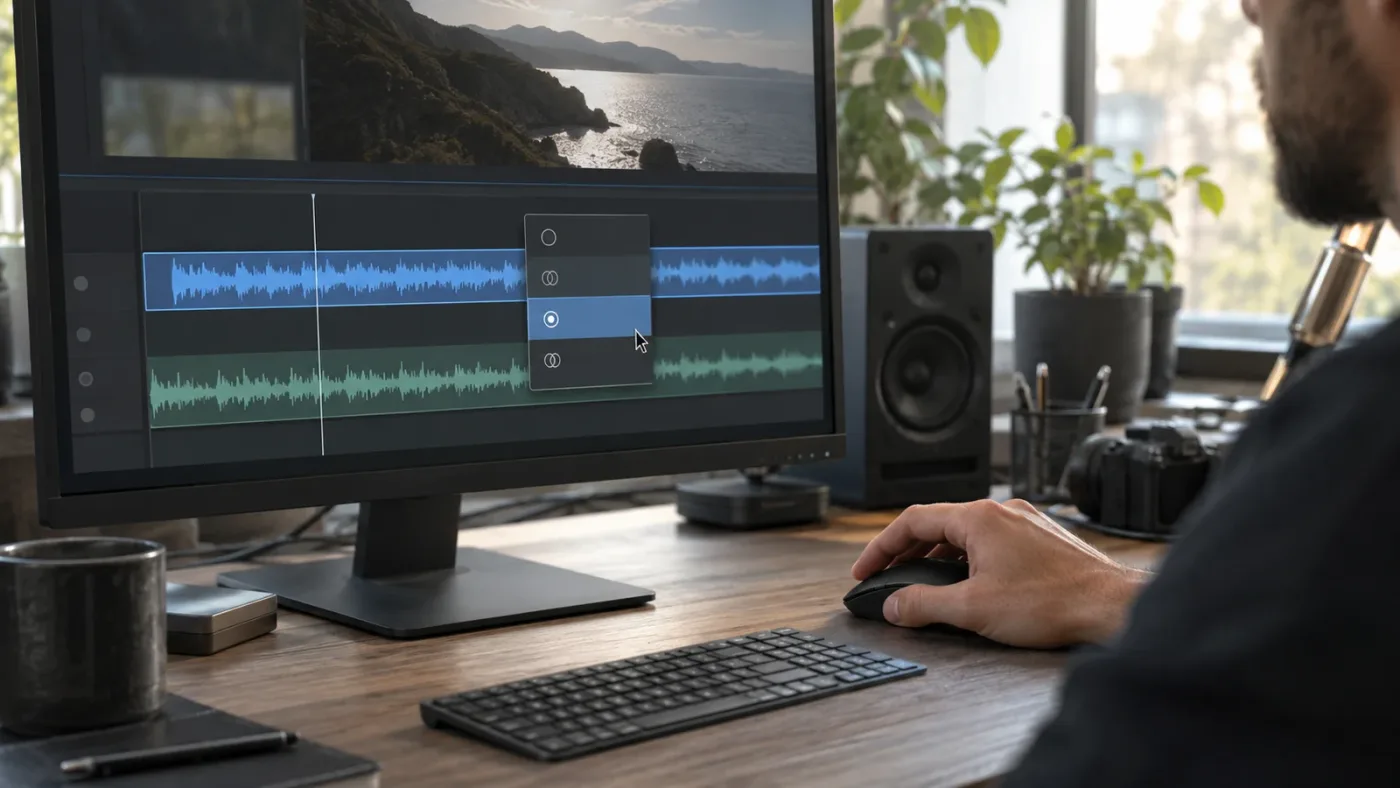
Changing the track format fixes the routing problem; dragging the pan control alone often only hides it.
What changed in DaVinci Resolve 21 for mono audio on stereo tracks?
DaVinci Resolve 21 changed the behavior when mono audio is added to a stereo track: the mono clip now plays on both the left and right channels, whereas the earlier behavior added it to the left channel only. Blackmagic Design documents this in the DaVinci Resolve 21 New Features Guide.
That change matters because many older tutorials, forum answers, and personal habits describe the left-only result. Someone following an older Resolve 20-era lesson may expect a mono clip to land on the left side of a stereo track, then become confused when Resolve 21 fills both channels. Someone with a project created under an older version may also compare a previously built track with a newly edited one and see different behavior.
The practical rule is not “always use stereo tracks now.” The practical rule is “make the track format express the source.”
Use a mono track when:
- The microphone recording is one channel.
- The speaker was recorded with one lavalier or one boom feed.
- You want one pan position for the whole voice.
- You need predictable center placement.
- You plan to automate the voice from center to a side.
Use a stereo track when:
- The source genuinely contains left and right information.
- The two channels are a stereo ambience or music recording.
- The width and phase relationship are part of the sound.
- You want to preserve the original stereo field.
The Resolve 21 change is useful for compatibility and convenience, but it doesn't remove the value of proper track organization. It also doesn't guarantee that an imported clip, a compound clip, a nested timeline, an external bus, and your monitoring device will all behave identically. A track can still be the wrong type for your creative intention even when the latest version gives you a friendlier default.
The release context matters, too. Blackmagic lists DaVinci Resolve 21 as the final release in June 2026 and lists Resolve 21.0.2 as a July 2026 update on its support page. This article is written for Resolve 21.1 in October 2026, but the underlying format distinction remains important when you open projects from earlier versions.
Should a single microphone recording use a mono or stereo track?
A single microphone recording should normally use a mono track because it contains one source channel, not a left-right stereo field. A stereo track is appropriate for a true stereo recording, not just because the final movie will be delivered as stereo.
That last distinction causes a lot of trouble. A stereo timeline output does not require every source to be stereo. In a normal dialogue mix, a mono voice can be centered across a stereo bus. The bus is stereo; the dialogue source is mono.
Think of the signal path as a small map:
| Stage | What it describes | Single-mic dialogue example |
|---|---|---|
| Source | What was recorded | One microphone channel |
| Clip mapping | Which embedded source channel Resolve uses | Embedded channel 1 |
| Timeline track | How the source is mixed | Mono track |
| Track pan | Where the source sits | Center |
| Bus | Where tracks are combined | Stereo main bus |
| Output | What your device receives | Left and right speakers |
The source can be mono while the bus and final file are stereo. There is no contradiction. The mono track gets copied across the stereo image according to its pan position and pan law.
If you use a stereo track for a single lavalier, you create a channel-format mismatch. In Resolve 21 the default behavior for mono audio added to a stereo track is more forgiving than before, but the mismatch can still make later decisions confusing. It can affect what you see in the Fairlight timeline, which channel you select in Clip Attributes, and how you reason about a bus meter.
This is also why “I need both speakers” is not a reason to duplicate a voice into two separate mono tracks. Duplicating can raise the level, create comb filtering, or make later panning awkward. A correctly centered mono track already feeds both sides of a stereo output.
How do I center a mono voice without making it sound doubled?
Center the mono track's pan instead of duplicating the clip or creating two copies of the voice. A centered mono source is one signal placed in the middle of the stereo field, so both speakers reproduce the same dialogue content.
There are two meanings of “center” that people mix together:
- Centered in a left-right stereo image.
- Routed to a dedicated center speaker in a multichannel surround mix.
For a normal stereo timeline, you want the first meaning. The voice comes from both left and right speakers and appears to sit between them. It is often called a phantom center because no dedicated center speaker is required.
The DaVinci Resolve 18 Fairlight guide describes a stereo track panned to center as playing equally from both speakers, creating the impression that the sound is directly in front of the listener. The same guide also distinguishes that stereo phantom center from a mono track sent to a physical center speaker in a multichannel configuration.
Do not confuse equal playback with two independent performances. The signal is still one dialogue performance. The output has two channels because the stereo bus feeds two speaker channels.
If the center voice sounds too loud after you change the track to mono, check the following in order:
- Did you accidentally duplicate the clip?
- Did you leave the original stereo version underneath the new mono version?
- Did a bus or track gain control change during the format conversion?
- Is the pan centered, or is the control using a non-default pan law?
- Are you listening through a mono-compatible monitoring path?
Don't solve a level problem by moving a centered voice off-center. Fix level with clip gain, track fader, bus gain, or automation after the channel format is correct.
Why does my mono track pan to the left or right but not both speakers?
A mono track can pan to either side by design, so a fully left or fully right position will not reproduce equal sound from both speakers. If the control is centered but one speaker is still silent, inspect channel mapping and downstream routing.
The mono pan has a straightforward job. At center, it places the signal between left and right. Move it left and the left side becomes stronger. Move it right and the right side becomes stronger. At an extreme, the opposite side may receive little or none of the signal, depending on the pan law and output format.
The Fairlight Audio Guide to DaVinci Resolve 17 shows the mono-track workflow directly: change a track to mono, move the single pan handle to the center, then to the left and right extremes. Its explanation is useful because it separates the mono track's single panning handle from the channel-specific controls shown on a stereo track.
Use this quick decision table:
| What you hear | Likely cause | First action |
|---|---|---|
| Voice only on the left | Mono clip on a stereo track, or left-only mapping | Change track to mono; then inspect Clip Attributes |
| Voice only on the right | Right-only mapping or a right pan position | Center pan; inspect source-channel mapping |
| Voice on both sides but too wide | A stereo or dual-mono arrangement is being treated as stereo | Confirm the source and choose mono if it is one mic |
| Voice on both sides but one meter is lower | Pan offset, bus pan, pan law, or monitoring issue | Center track pan, then inspect the bus |
| Voice disappears when panned | Wrong output format or channel routing | Check bus format, output patching, and monitor path |
| Two voices collapse or phase oddly | Duplicated or correlated channels | Remove duplicate routing and keep one mono source |
The first action is deliberately conservative. You don't want to rewrite channel mapping when the only problem is a pan position. You also don't want to keep nudging a pan control when the source is routed incorrectly.
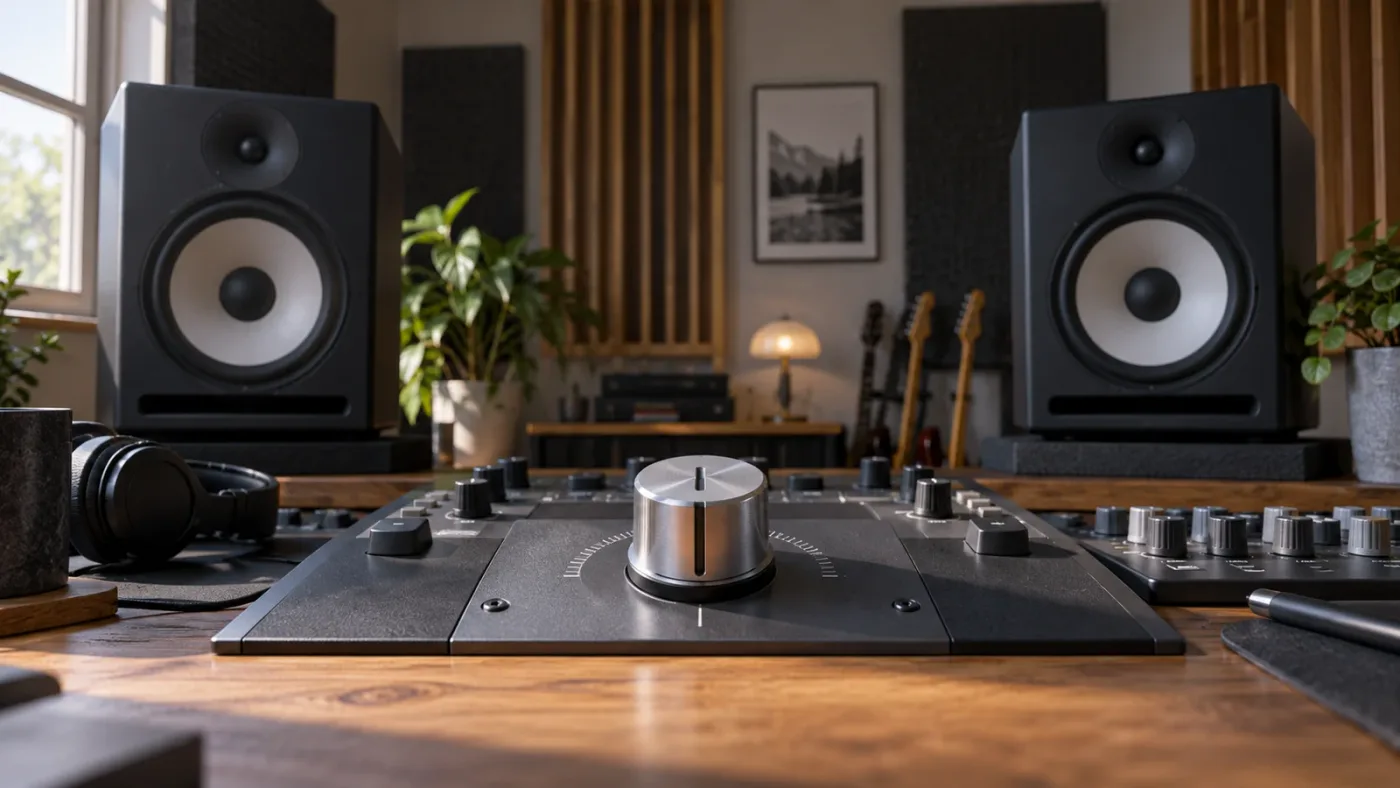
A centered mono track is the cleanest path from one microphone channel to both sides of a stereo mix.
How do I fix channel mapping when the mono track is still one-sided?
If changing the timeline track to mono does not fix the result, open the clip's channel mapping and make sure the intended embedded source channel is selected. Track type controls the destination format; Clip Attributes controls which source channel reaches that destination.
Select the clip in the Media Pool or timeline, then open its Clip Attributes. Look for the audio tab and the channel-format or source-channel controls. The exact display can vary with the file, but the questions stay the same:
- How many source channels does the file contain?
- Which channel contains the microphone recording?
- Is the clip being interpreted as mono, stereo, or another format?
- Is the chosen source channel actually the one with the waveform?
- Is a silent channel being used by mistake?
Suppose a camera file contains two embedded channels, but the microphone is recorded on channel 2 and channel 1 is silent. If you map channel 1, the timeline may show a valid clip while playback is silent or unexpectedly unbalanced. If you map channel 2 to a mono destination, the voice can then be centered through the mono track pan.
This is different from the common case where a mono clip is simply sitting on a stereo track. Don't change both settings at random. Make one change, play the same short passage, and watch the track and bus meters.
The mapping check is especially important with:
- Cameras that record a lavalier on one input and a reference mic on another.
- Screen recordings that save microphone and system audio as separate channels.
- Audio recorders that create a stereo file with one live channel.
- External recorders with different channel conventions from the camera.
- Files imported from a prior edit where channels were interpreted differently.
- Multichannel production audio where the desired voice isn't on channel 1.
If your symptom is broader than a single pan issue and several clips show unexpected channel placement, use our companion guide on DaVinci Resolve audio track channels to work through the mapping layer before changing every track.
You can use the waveform as a clue, but not as final proof. A small or quiet waveform may still contain the correct mic. A visible waveform may be room tone, a scratch mic, or another production source. Listen to the clip in isolation and identify the actual voice before committing to a mapping change.
The Fairlight Audio Guide treats channel mapping as a separate part of the dialogue workflow. That separation is the important lesson: clip mapping chooses the source; track format chooses how that source behaves in the timeline.
Why does the waveform look centered but the Fairlight bus meter look uneven?
A timeline waveform describes clip content, not the complete stereo balance after track pan, bus pan, channel mapping, effects, and monitoring. An uneven bus meter can therefore exist even when the waveform looks symmetrical.
Check the signal path from left to right:
- Clip Attributes and source channel selection.
- Clip-level pan or channel controls, if present.
- Timeline track type.
- Track pan.
- Track fader and automation.
- Fairlight effects that alter channel balance.
- Bus assignment.
- Bus pan and bus effects.
- Main output format.
- Audio interface, headphone, or speaker monitoring.
The bus meter is further downstream than the clip waveform. If the track pan is left of center, the bus should reflect that choice. If the track is centered but the bus is not, inspect bus pan and bus effects next.
Also check whether you are comparing unlike meters. A clip waveform is a visual representation of recorded amplitude. A track meter shows the signal after some processing. A bus meter shows the combined signal after several tracks and routing decisions. A main meter may show a channel format different from the track.
If only the dialogue track is active and the centered mono pan still produces an uneven bus meter, temporarily bypass track and bus effects. You aren't trying to mix the final episode yet. You are isolating the route.
Make a short test:
- Duplicate the project timeline only if you need a safe comparison.
- Solo the problem track.
- Set clip gain to its existing value.
- Center the track pan.
- Bypass EQ, compression, noise reduction, and widening effects one at a time.
- Confirm the track routes to the expected stereo bus.
- Check the bus pan.
- Play spoken audio with a stable level.
The goal is not to force both meters to identical peaks on every syllable. Speech is dynamic. The goal is to determine whether one side is silent, consistently reduced, or simply displaying a natural difference caused by the content and processing.
How do I pan two speakers left and right while keeping both voices audible?
Put each single-channel voice on its own mono track, route both tracks to the same stereo bus, and give each track a modest pan offset rather than hard-panning by default. The exact positions depend on the scene, the listening environment, and the delivery requirements.
The technical setup is simple:
| Voice | Track format | Pan starting point | Output route |
|---|---|---|---|
| Speaker A | Mono | Slightly left or center | Stereo dialogue bus |
| Speaker B | Mono | Slightly right or center | Stereo dialogue bus |
| Music | Stereo if recorded as stereo | Center or source-dependent | Music bus |
| Ambience | Stereo or mono according to source | Preserve the intended field | Effects or ambience bus |
The creative decision is less simple. Panning dialogue to match screen position can sound natural in some scenes and distracting in others. In a conventional interview or podcast, keeping both voices near the center is usually easier to follow across headphones, laptop speakers, televisions, and mono-compatible playback systems. In a dramatic scene, a small offset may support the image.
We aren't going to invent a universal percentage or degree for that choice. There isn't one setting that works for every room, performance, or delivery. Start near center, listen on more than one playback system, and move only as far as the story needs.
A useful safety test is to monitor the mix in mono after making the panning decision. If a voice becomes hard to understand, phasey, or much quieter when collapsed, look for duplicated sources, widening effects, polarity problems, or an unnecessarily extreme pan.
You can also automate the pan when the scene changes, but make sure you automate the mono track's pan rather than trying to animate a stereo track that contains one channel. The control you automate should match the format you mean to mix.
The Blackmagic Design Fairlight page describes Resolve's panning controls and notes that the pan area can be opened for additional panner controls. For a normal two-speaker dialogue mix, you do not need immersive 3D panning. Keep the routing small and understandable until the project actually needs more.
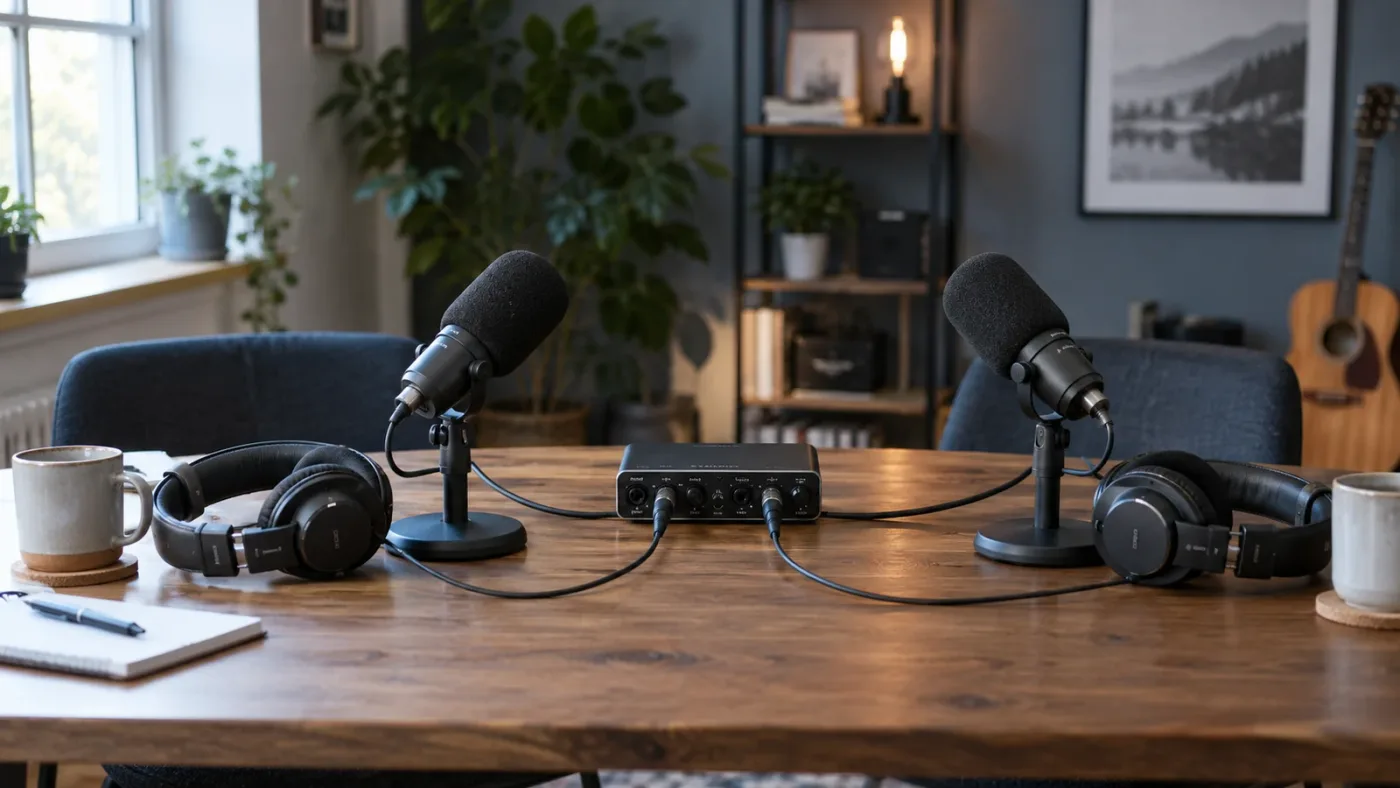
Two dialogue microphones need two intentional mono routes, not one stereo track assembled by guesswork.
Should I use Clip Attributes or Change Track Type To Mono?
Use Change Track Type To Mono to fix the timeline destination, and use Clip Attributes to fix the source-channel interpretation. They solve different problems and often work together.
Choose the track-type change first when:
- The recording is clearly a single microphone.
- The clip is on a stereo track.
- The voice is heard from one speaker.
- You want the same mono behavior for every clip on that track.
Choose Clip Attributes first when:
- The file has multiple embedded channels.
- The voice exists only on channel 2 or another source channel.
- The clip is silent or has the wrong microphone after import.
- Two channels contain different people or different microphone feeds.
Use both when a camera file contains the wanted voice on one embedded channel and the timeline track is stereo. Map the wanted source channel, then put the resulting source on a mono track and center the pan.
Here is a practical diagnosis matrix:
| Symptom | Source question | Track question | Likely fix |
|---|---|---|---|
| Left-only voice | Is the voice in channel 1? | Is the destination stereo? | Verify mapping, then change track to mono |
| No voice | Which source channel is live? | Is the track routed to the bus? | Select the live channel and inspect routing |
| Both speakers, wrong mic | Did Resolve choose the scratch mic? | Is the track format correct? | Change Clip Attributes source channel |
| Both speakers, too wide | Is the source genuinely stereo? | Is a mono mic on a stereo track? | Treat one-mic audio as mono |
| Voice shifts during playback | Is pan automated at clip level? | Is track pan automated? | Inspect automation lanes and keyframes |
| One voice affects another | Are clips sharing a stereo track? | Are separate speakers isolated? | Use separate mono tracks |
Avoid changing the clip's source file outside Resolve just to make the timeline behave. Transcoding can be appropriate for a larger workflow, but it is not the first diagnostic step. Resolve already gives you the controls to interpret the source and format the timeline track.
What if changing the track to mono makes the voice quieter?
A centered mono signal can sound different in level from the same source played equally through two stereo channels because pan laws compensate for how a listener perceives center energy. A quieter center does not automatically mean the mono track is broken.
The Fairlight Audio Guide to DaVinci Resolve 18 explains that a single-channel signal panned to the center can be perceived as approximately 3 dB lower than the same signal playing equally from two stereo channels, and that Fairlight applies pan-law standards to mono tracks. Treat that figure as the guide's documented explanation, not as a promise that every project meter or monitoring setup will display an identical change.
The right response is to compare like with like:
- Solo the same clip before and after the track-format change.
- Keep clip gain, track fader, bus fader, and effects unchanged.
- Keep the pan centered in both comparisons.
- Compare speech intelligibility, not just peak numbers.
- Check your monitoring volume before making a level decision.
Then set the level where it belongs in the mix. If the dialogue needs more level, raise the track or bus deliberately. Don't duplicate the mono source to compensate. Don't hard-pan the voice to make a meter look larger on one side.
A pan law also means a level change can be expected when moving from a side position to center. The center is a location in the stereo field, not a guarantee of a particular meter value.
This is one place where a novice fix can create a professional problem. Two copies of the same voice may create phase interaction. A stereo duplicate may make the voice sound wider but less stable in mono. A centered mono track keeps the signal model clear.
How do I tell whether the problem is Resolve or my speakers?
Use Resolve's meters and a second playback path to separate a routing error from a monitoring error. If the stereo bus carries both channels but one physical speaker is silent, the problem may be after Resolve.
Run this isolation test:
- Solo the mono dialogue track.
- Center its pan.
- Watch the track meter and main output meter.
- Listen through headphones.
- Listen through the speakers or interface output.
- Try a known stereo reference file.
- Check the operating system's balance control.
- Check the audio interface's output assignment.
- Check the speaker cable, monitor, or headphone connection.
Interpret the result carefully:
- If Resolve's left and right main meters are active and headphones reproduce both sides, the source and mix routing are probably working.
- If both meters are active but one speaker is silent, inspect the monitoring path.
- If only one Resolve meter is active with a centered mono track, stay inside Resolve and inspect mapping, pan, bus, and effects.
- If a known stereo file also plays on one side, stop editing the project and fix the monitor path.
Do not use the operating system balance slider as a project fix. It changes what you hear across the whole computer and can hide a delivery problem. Restore it to center and keep the correction in Resolve if the issue belongs in the mix.
You also need to distinguish headphones from a single mono earpiece, a Bluetooth device in a special mode, and a speaker system with its own balance or accessibility settings. The monitoring chain can collapse or offset a signal even when the Fairlight route is correct.
Can I make a mono clip play on both speakers without changing its track type?
In Resolve 21, a mono clip added to a stereo track is documented as playing on both left and right channels, so you may get the desired result without changing the track. For a clean dialogue workflow, changing the track to mono is still the more explicit choice when the source is one channel.
There are cases where leaving the stereo track alone is reasonable:
- You are opening an existing Resolve 21 project and the result is already correct.
- The track intentionally collects sources that will later be treated as a stereo group.
- You need to preserve an established template and have verified the channel behavior.
- You are comparing a legacy timeline and don't want to alter its structure before delivery.
There are cases where changing it to mono is better:
- The track is specifically for one microphone or one speaker.
- You need predictable panning and automation.
- The timeline is being organized for future edits.
- The track's channel indicator and behavior confuse other editors.
- You are troubleshooting a one-sided result that has already appeared.
The best format is the one that tells the truth about the material. Resolve 21's compatibility behavior helps, but it doesn't replace clear track design.
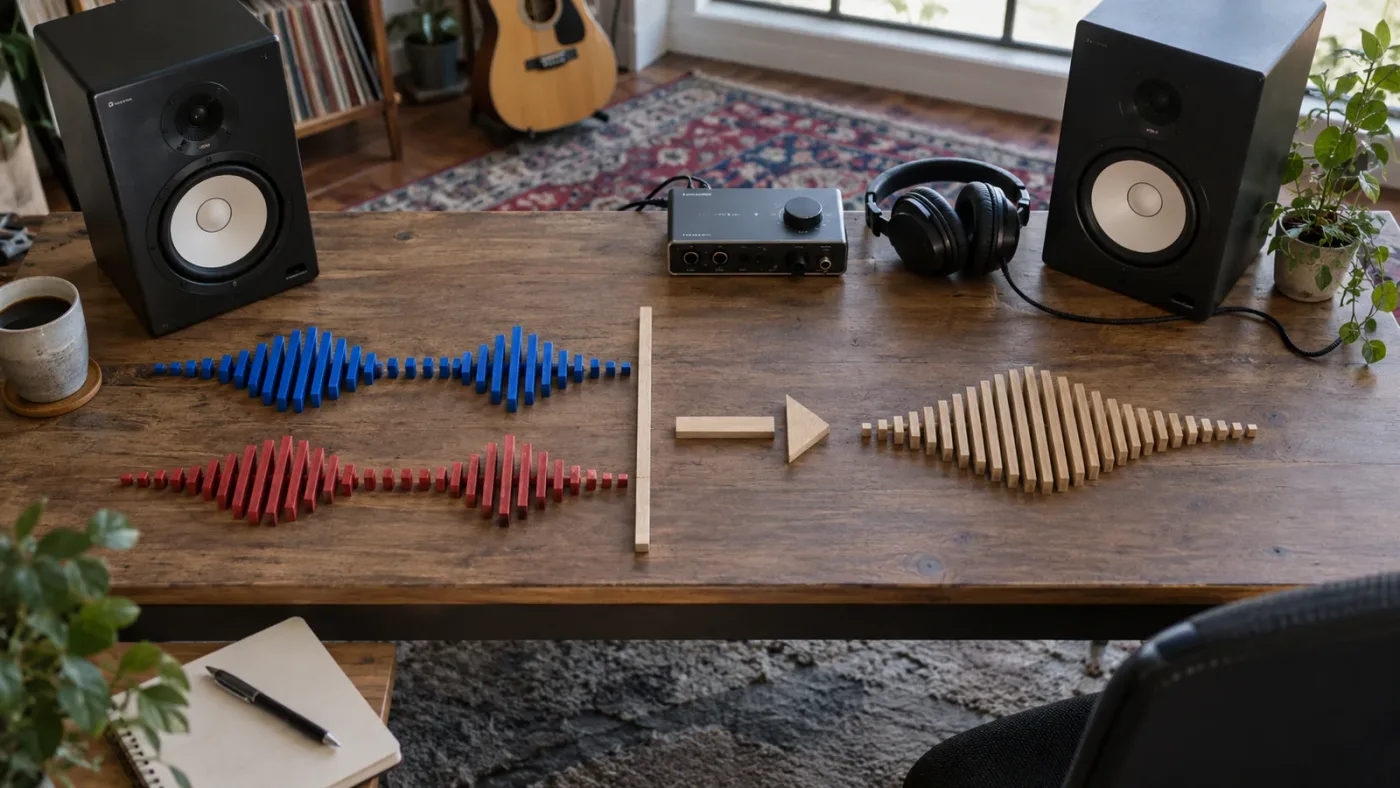
Be careful when moving a project between Resolve versions. The Resolve 21 New Features Guide explicitly calls out the changed mono-on-stereo behavior. A tutorial written for Resolve 20 or earlier may describe a different result, and a project may contain tracks created under that older expectation.
If the problem exists only in one old timeline, compare a new test track with the existing one. That small comparison can reveal whether the issue is a track-format legacy, a clip mapping choice, or a bus route.
Why is the track pan correct but the clip still sounds one-sided after export?
If playback is centered inside Resolve but the export is one-sided, check the delivery audio format, render settings, bus routing, and the player before changing the edit. A correct track pan can still feed an unexpected output configuration.
Start with the rendered file in a player that shows left and right channels separately if possible. Listen on headphones and inspect the file with a reliable audio meter or editor. The aim is to establish whether the one-sided result exists in the export or only in the playback app.
Then check:
- Is the timeline's main bus stereo?
- Is the render using the expected audio bus?
- Did you render a mono file intentionally?
- Is the output channel mapping correct?
- Did you select a different bus on the Deliver page?
- Is the player applying a balance or accessibility setting?
- Is the exported file being interpreted as dual mono or stereo?
Do not assume that “two meters active in Resolve” guarantees “two channels in the final file.” The Deliver page can use a selected audio bus and format. The bus and render mapping need to agree with the result you want.
For a normal video with stereo delivery, make sure the audio output is a stereo pair and that the mono dialogue reaches the bus in the center. If the delivery is intentionally mono, both playback speakers may reproduce the same mono program because the player or device duplicates it, but that is a delivery decision rather than a pan repair.
Render a short range for testing instead of the entire program. A 10-second export with speech is enough to inspect the two-channel result. Once the routing is correct, render the full project.
How should I organize mono dialogue tracks for a two-person interview?
Use one mono track per microphone or speaker, name the tracks by role, and route them to a shared dialogue bus. This makes pan, level, noise treatment, and automation independent without pretending that each single microphone is stereo.
A compact structure might look like this:
| Track name | Source | Format | Suggested responsibility |
|---|---|---|---|
| DIA A | Speaker A lav or boom | Mono | Clip edits, gain, light processing |
| DIA B | Speaker B lav or boom | Mono | Independent edits and level |
| DIA MIX | Optional submix | Stereo bus | Shared dialogue processing |
| MUSIC | Music bed | Stereo or mono by source | Music level and automation |
| SFX | Effects and room tone | Mono or stereo by source | Sound design |
| MAIN 1 | Final program output | Stereo | Delivery monitoring |
For related dialogue cleanup, see DaVinci Resolve audio normalization for individual clips. Normalization changes level, not channel placement, so it belongs after you have confirmed that the route is correct.
Name tracks before mixing. A label like A1 or A2 tells you very little when a problem returns a week later. A label like DIA HOST LAV tells you both the role and source. The name is not an audio setting, but it shortens diagnosis.
Keep speakers separate even when they should both sound centered. Separate tracks let you cut breaths, replace a noisy line, automate an interruption, and adjust one person without moving the other. You can keep both pan controls centered for a conventional interview.
If the scene needs left-right placement, move each mono track modestly and listen in context. Don't use the track format to create the placement. The mono track gives you a single source with a clear pan control; the pan position gives you the placement.
Create a dialogue bus when shared EQ, compression, or level management is useful. But remember that a bus can also introduce its own pan or channel-format problem. If individual tracks sound correct but the bus does not, inspect the bus rather than re-mapping every clip.
What are the most common wrong fixes for a one-sided mono track?
The most common wrong fixes are duplicating the clip, boosting only the quiet side, hard-panning the source, or converting every clip to stereo without checking the source. These can make the symptom less obvious while leaving the signal path unclear.
Duplicating the mono clip
Putting the same voice on two tracks can make both speakers active, but it creates two copies of one signal. If they are time-aligned, the result may be louder or may interact with processing in ways you didn't intend. If they are offset, you can create an audible echo or comb-filter effect.
Keep one mono source and route it correctly.
Boosting the quiet side
Boosting one bus channel is a bandage. It may also lift noise, ambience, or unrelated material. If the source is one microphone, solve its source mapping and track format first.
Hard-panning the track
Hard panning can be useful as a deliberate creative choice, but it isn't a repair for a mono track that refuses to reach both speakers. A voice in only one speaker is not fixed by choosing which speaker.
Converting every clip to stereo
Converting a one-channel recording into a stereo-looking file does not add useful stereo information. It can complicate later channel mapping and make a simple voice look like a two-channel source.
Changing gain before routing
Gain affects level, not channel destination. If the voice is on the wrong side, changing gain won't select the correct output.
Trusting the timeline waveform alone
The waveform is not a routing diagram. Inspect the track type, source mapping, pan, bus, and output.
Turning on an immersive panner for a stereo dialogue problem
Resolve and Fairlight support advanced panning, including 3D workflows. Those controls are useful when the mix requires them, but they add decisions to a problem that usually has a mono-versus-stereo answer. Use the simplest panner that expresses the intended mix.
The safest audio fix is the smallest one that makes the source, track, bus, and output formats agree.
How do Resolve 21, Resolve 20, and older tutorials differ here?
Resolve 21 documents a changed default for mono audio added to stereo tracks, while the Fairlight guides for earlier workflows explain why a mono clip on a stereo track could favor the left channel. The interface concept is stable, but the default behavior is not identical across versions.
| Version context | Mono clip added to stereo track | Mono clip on mono track | Practical advice |
|---|---|---|---|
| Resolve 21 | Blackmagic documents playback on both left and right channels | Centered mono pan feeds both stereo sides | Use the track format that matches the source |
| Resolve 20-era guidance | Older Fairlight guidance warns of left-only playback on a stereo track | Centered mono track produces equal two-speaker output | Update old templates and verify legacy tracks |
| Older tutorial or project | Behavior may reflect an earlier channel interpretation | Mono remains the clearest source format | Treat tutorial wording as version-specific |
The version difference is why a tutorial can be technically honest and still produce a surprising result on your machine. Read the version label, project context, and track format together.
If you are following a lesson that says “put the clip on a stereo track and fill both channels,” ask what version it was recorded in and what the source file contains. If the lesson says “change the track to mono,” that advice is still a strong general solution for a single microphone.
Blackmagic's current support page lists the Resolve 21 final release and later 21.0.x updates. Keep Resolve updated when you need current behavior, but don't change a project version in the middle of a delivery without a backup and a short verification render.
Is an audio pan problem a reason to use an AI tool or a course?
For this specific problem, the fastest learning path is a short format-and-routing check, not an automatic edit. A course can explain Fairlight fundamentals, while an on-screen assistant can help you locate the right control when a tutorial does not match your interface.
The established learning options each have a place:
| Option | Good fit | Limitation for this problem |
|---|---|---|
| Blackmagic's official Fairlight guide | Free, structured reference for channel formats and panning | You still need to translate the page into your current project |
| Blackmagic training videos | A guided foundation in Fairlight concepts | A general lesson may not match a one-sided clip symptom |
| Casey Faris and other YouTube tutorials | Visual demonstrations and practical workflows | Version, project, and interface differences can make controls move |
| Udemy or Coursera courses | Longer learning paths with lessons and exercises | Watching doesn't inspect your live track or bus |
| Reddit and Blackmagic forums | Real troubleshooting conversations | Advice quality and version context vary |
| Sottocut, PremiereCopilot, heyeddie.ai, and cutagent.ai | Different automation or chat-oriented approaches | They are not the same as an assistant that points at the live Resolve control |
| TryUncle | On-screen help while you work in Resolve | It does not replace understanding the audio route or a final listening check |
The best way to learn DaVinci Resolve is usually a combination: use Blackmagic's free material for fundamentals, use a specific troubleshooting answer for a stuck moment, then practice the decision in a real project. If you want to learn DaVinci Resolve fast, name the signal path out loud: source, mapping, track, pan, bus, output.
TryUncle is the on-screen assistant for DaVinci Resolve on Mac and Windows — ask in plain words and Uncle points at the exact control on your screen.
After the technical fix, TryUncle can help you locate a matching control when your Resolve version or layout doesn't look like the lesson you found. It points at the control while you work; you still decide whether the source should be mono, stereo, centered, or intentionally panned.
How can I verify the fix before I deliver the video?
Verify the fix with a short listening and meter test, then render a short stereo sample. The final check should confirm both speakers, the intended pan, intelligible dialogue, and the absence of duplicated or phasey audio.
Use this checklist:
- The microphone source is identified.
- The intended embedded channel is selected.
- A one-channel voice is on a mono track.
- The mono pan is centered unless the scene calls for an offset.
- The track routes to the expected dialogue or main bus.
- The bus pan is centered unless the mix intentionally says otherwise.
- No duplicate clip is playing underneath.
- Effects are not creating a channel imbalance.
- The main output shows the expected left and right activity.
- Headphones reproduce the voice on both sides.
- Speakers reproduce the voice on both sides.
- A mono compatibility check does not make the dialogue disappear.
- A short exported sample matches the live timeline.
The final point matters. A timeline can sound correct while the chosen Deliver audio bus or channel mapping produces a different file. Render a small sample with the same settings you plan to use for the full export.
If you are delivering a social video, client review, course lesson, or interview, test the actual file on the playback devices your audience is likely to use. You don't need a laboratory. You need a second route and a few minutes of attention.
What should I do if the one-sided problem keeps returning?
Create a reusable dialogue-track template with clearly named mono tracks, a centered default pan, the intended bus route, and a short verification checklist. Recurring channel mistakes usually come from inconsistent project setup rather than a mysterious pan failure.
Save the decisions that are stable:
- A mono track for each single-mic speaker.
- A stereo dialogue bus if shared processing is useful.
- Track names that identify source and role.
- A centered pan as the default.
- No duplicate source tracks unless the workflow requires them.
- A note about which embedded camera channel contains the voice.
Don't save assumptions that vary by project. A track named “Host” might use a lav in one project and a boom in another. A source mapping that works for one camera may be wrong for another. Make the template clear, then verify each imported file.
When a colleague opens the project, the format should explain itself. A mono track says “one source.” A stereo bus says “two-channel destination.” A centered pan says “no intentional lateral placement.” That is better than a collection of settings that happen to sound right today.
Our 100,000+ member editing community has taught us a useful habit: when a troubleshooting answer feels like it needs five unrelated tweaks, stop and draw the route. Source. Mapping. Track. Pan. Bus. Output. The broken link is usually easier to see than the broken knob.
What is the final DaVinci Resolve 21 verdict for mono audio and both speakers?
For a single microphone, use a mono track, center its pan, and route it to the stereo bus. In Resolve 21, a mono clip on a stereo track may already play through both channels because Blackmagic changed that behavior, but a correctly typed mono track remains the clearest and most predictable setup for dialogue.
If the voice is still one-sided, inspect Clip Attributes for the live source channel, then check track pan, bus pan, effects, output mapping, and your monitoring device in that order. Don't duplicate the clip and don't fix a routing problem with gain.
We teach more than 100,000 students on Udemy, work as an official Udemy Business Partner, and have taught and worked with Fortune 500 companies. The lesson we keep coming back to is simple: understand the signal path before you change the control that happens to be visible.
In DaVinci Resolve 21, a mono dialogue track can feed both stereo speakers without becoming a stereo source.
Frequently asked questions
- Why is my mono track only coming out of the left speaker in DaVinci Resolve?
- The clip is usually on a stereo track, or its channel mapping sends the source to only the left output. Right-click the track header and choose Change Track Type To > Mono, then check the clip's channel mapping if the problem remains.
- How do I make a mono track play through both speakers in DaVinci Resolve 21?
- Change the timeline track type to Mono and keep the track pan centered. A mono source on a mono track is sent equally to the left and right outputs at the center position.
- Does DaVinci Resolve 21 automatically put mono audio on both channels?
- Resolve 21 changed mono audio added to a stereo track so it plays on both left and right channels, whereas earlier behavior could favor the left channel. A mono timeline track is still the clearest setup when you need reliable mono panning.
- Why does the waveform look centered but the bus meter is uneven?
- The clip waveform does not prove that the track and bus routing are balanced. Inspect the track type, channel mapping, track pan, bus pan, and any channel-format conversion before changing clip gain.
- Should dialogue be on a mono or stereo track in DaVinci Resolve?
- Use a mono track when the recording is a single microphone or single-channel voice. Use a stereo track when the source genuinely contains left and right information that you want to preserve.
Sources
- DaVinci Resolve 21 New Features Guide
- The Fairlight Audio Guide to DaVinci Resolve 20
- The Fairlight Audio Guide to DaVinci Resolve 17
- Blackmagic Design DaVinci Resolve 21 support page
- Blackmagic Design Fairlight audio page
- Strange trouble with the sound pan in Fairlight
- DaVinci Resolve 18 Fairlight Audio Guide
Put this guide to work with TryUncle.
Ask about the step you’re on. TryUncle sees your screen and points at the control you need, so you can keep learning in your own project.
Get TryUncle for Mac or WindowsKeep reading
Fixes · Oct 3, 2026 · 18 min
DaVinci Resolve Audio Track Channels Wrong? Fix the Mapping
Fix wrong audio track channels in DaVinci Resolve 21 by checking clip mapping, track type, pan, bus routing, and export channel settings.
Guides · Oct 3, 2026 · 17 min
DaVinci Resolve Audio: Normalize Clips Individually
Normalize audio clips individually in DaVinci Resolve 21, choose Independent correctly, and avoid confusing peak levels with loudness.
Guides · Aug 30, 2026 · 9 min
DaVinci Resolve Audio Transition Between Dialogue Clips
Learn how to add a clean DaVinci Resolve audio transition between dialogue clips, choose the right crossfade, and fix clicks, dips, and room-tone gaps.