Articles / Fixesupdated for DaVinci Resolve 21.0.2 (July 2026)
DaVinci Resolve Color Space Transform: Image Looks Desaturated
Quick answer
When a DaVinci Resolve Color Space Transform makes your image look desaturated, it's almost always by design: the CST's Tone Mapping method (DaVinci or Saturation Preserving) or Gamut Mapping's Saturation Compression pulling down saturation in highlights and shadows. Check Tone Mapping and Saturation Knee/Max first, then confirm your saturation node sits after the output CST.
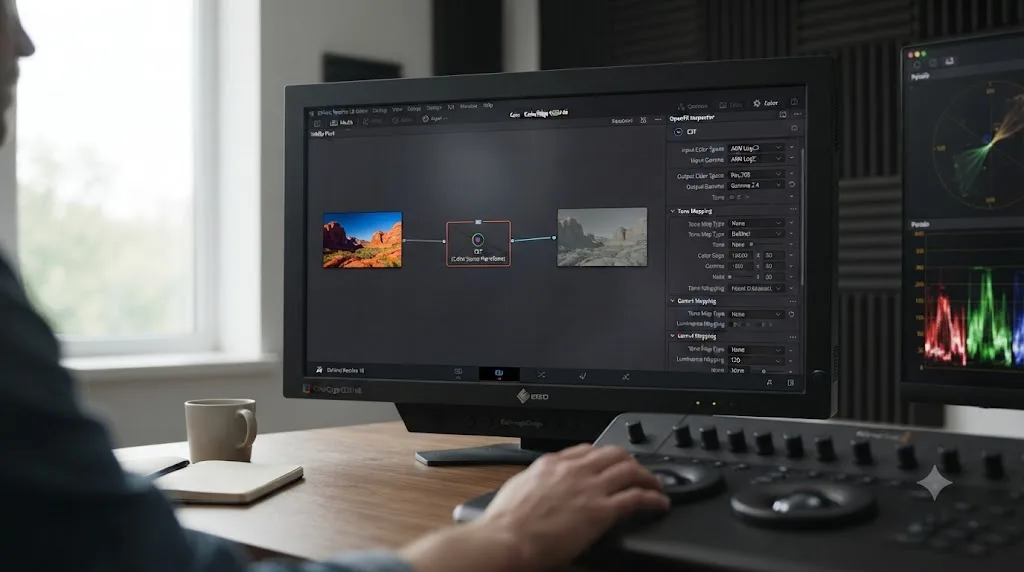
Your log footage looked flat, you dropped in a Color Space Transform to bring it into Rec.709, and now it's still flat. Sometimes worse. You check your Lift, Gamma, and Gain, you check your Saturation slider, and none of it moved. The CST itself is quietly eating your color.
That's not a broken node. It's two specific settings inside the CST doing exactly what Blackmagic built them to do, just not the way you expected. After 7+ years of professional commercial editing between us, and running a 100,000+ member video-editing community where this exact question comes up on a regular basis, we can tell you this one has a short list of causes, and none of them require reinstalling anything.
What's the quick fix when a DaVinci Resolve Color Space Transform makes your image look desaturated?
Check two settings inside the CST before you touch anything else: Tone Mapping and Gamut Mapping. Both are capable of pulling saturation down automatically, and both do it silently, with no warning and no red flag in the UI.
| If you see this | Look here first | What's actually happening |
|---|---|---|
| Highlights and shadows look pale, midtones look fine | Tone Mapping method, set to DaVinci | Built-in "controlled desaturation" curve at the extremes of luminance |
| The whole image looks flatter than expected, especially saturated colors | Gamut Mapping Method, set to Saturation Mapping | Saturation Knee and Saturation Max compressing out-of-gamut color (Studio only) |
| Saturation looks fine on the Color page, flat after export | Not the CST at all | See the section on viewer-versus-export mismatches below |
| Desaturation only on wide-gamut or log source, not RAW | Tone Mapping DaVinci method again | Designed specifically for mixed and wide-gamut media |
| You added a Saturation node and nothing changed | Node order | Your saturation boost sits before the output CST, which compresses it back down |
DaVinci Resolve's Color Space Transform desaturates highlights and shadows on purpose, not by accident. The fix almost never involves your grade at all. It involves finding which of the CST's own settings is doing the desaturating and either adjusting it or moving your saturation work to a node the transform can't touch.
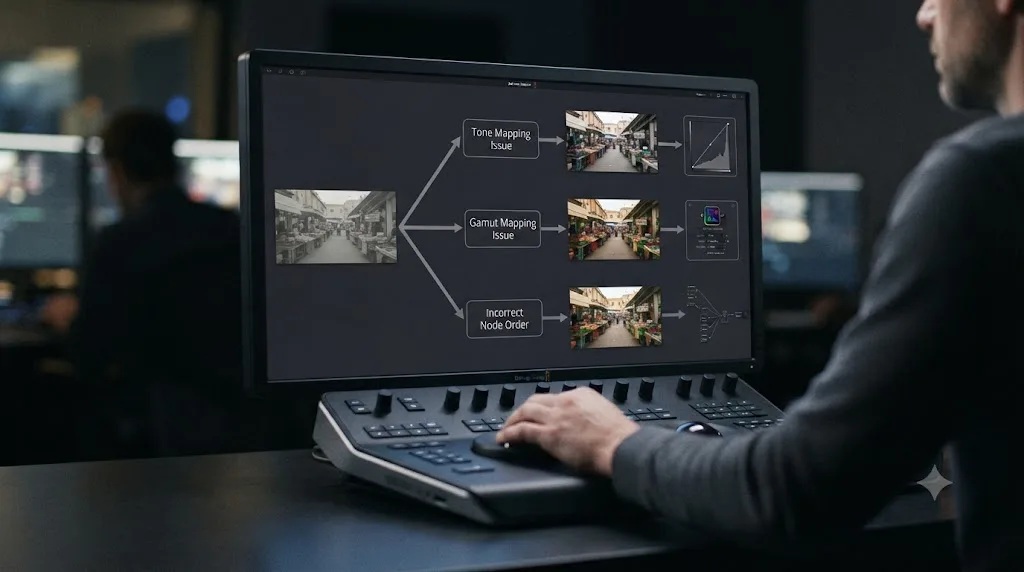
Why does DaVinci Resolve's Color Space Transform desaturate my image?
Because the CST does two jobs at once, converting color space and protecting your image from the specific kind of clipping and banding that a naive conversion would cause, and the second job requires deliberately reducing saturation in certain values.
A Color Space Transform is, per Blackmagic's own reference manual, "a simple node that lets you perform the kind of color transforms that LUTs do, but instead of using lookup tables, this plugin uses the same math used by Resolve Color Management (RCM) in order to do extremely clean color transforms without clipping." That last phrase, without clipping, is the whole story. Converting a wide-gamut or log source into a narrower delivery space like Rec.709 means some colors in the source simply don't exist in the destination. A LUT-style hard conversion would clip those colors, producing flat, blocked-out patches of pure red or pure green. The CST's Tone Mapping and Gamut Mapping settings exist specifically to avoid that by compressing the offending values down into range instead, and compression, applied to saturation, looks exactly like desaturation because that's literally what it is.
Source: Color Space Transform [CSt], DaVinci Resolve 18.6 Reference Manual
That protective compression is genuinely useful. It's also the reason a stock CST, set to its default Tone Mapping method, can make a perfectly good grade look muted the moment you drop it into the chain. The desaturation only looks like a bug because DaVinci Resolve never shows a warning before Tone Mapping quietly rolls off your color. There's no dialog, no highlighted control, nothing in the UI that tells you a curve just reached into your brightest and darkest pixels and pulled the saturation down. You just see the result and go looking for what changed.
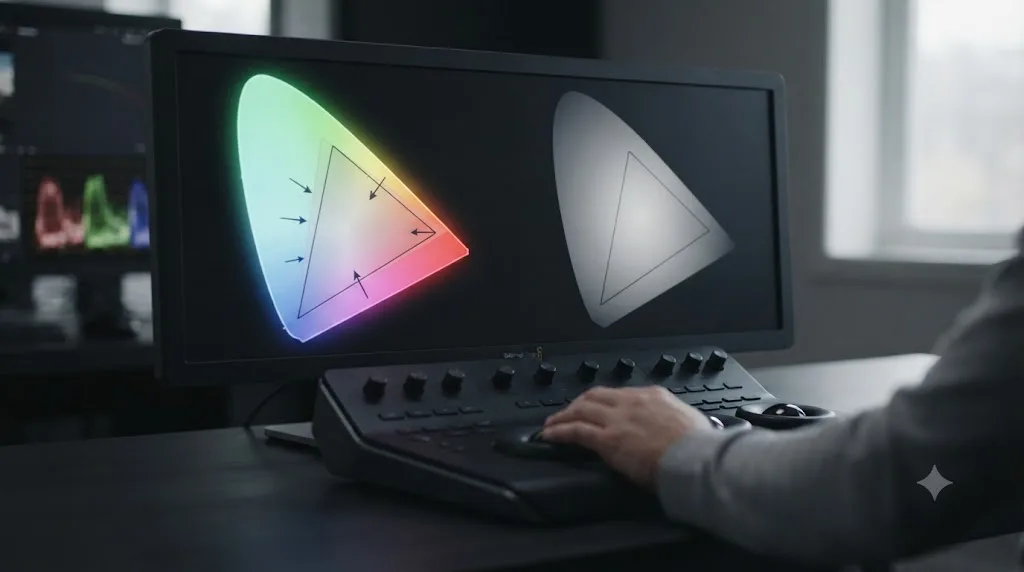
What does the CST's Tone Mapping method actually do to saturation?
Tone Mapping decides how the CST handles values that fall outside the brightness range your target color space can hold, and one of its six available methods, DaVinci, does that specifically by desaturating the brightest and darkest parts of your image.
The CST offers six Tone Mapping options, and each behaves differently enough that picking the wrong one for your footage is a common, easy-to-miss cause of this exact problem.
| Tone Mapping method | What it does | Effect on saturation |
|---|---|---|
| None | Disables tone mapping entirely; a straight 1:1 conversion | No automatic desaturation, but no protection from clipping either |
| Clip | Hard clips all out-of-bounds values | No gradual desaturation; values simply clip to flat color or white |
| Simple | Curve-based compression/expansion, maps roughly 5500 nits to 100 nits | Moderate, generalized compression across the tonal range |
| Luminance Mapping | Same behavior as DaVinci, more accurate for a single standards-based Input Color Space | Same controlled desaturation as DaVinci |
| DaVinci | Smooth luminance roll-off with "controlled desaturation of image values in the very brightest and darkest parts" | Deliberate, automatic desaturation at the extremes |
| Saturation Preserving | Smooth luminance roll-off "without desaturating dark shadows and bright highlights" | No automatic desaturation; manual Sat. Rolloff Start and Sat. Rolloff Limit instead |
Source: Tone Mapping, DaVinci Resolve 18.6 Reference Manual and Color Space Transform [CSt], DaVinci Resolve 18.6 Reference Manual
If your CST's Tone Mapping is set to DaVinci, Blackmagic's manual describes exactly what you're seeing: a method built for "wide-gamut camera media and when mixing media from different cameras," with "controlled desaturation of image values in the very brightest and darkest parts of the image" built in as a feature, not a side effect. It's the right call when you've got footage from three different cameras on one timeline and need something automatic to keep highlights from clipping in wildly inconsistent ways across sources. It's the wrong call when you've got a single, well-shot camera source and you'd rather control saturation yourself.
Saturation Preserving exists for exactly that second case. It still smooths the luminance roll-off in highlights and shadows, avoiding the harsh clip of the Clip method, but it does so "without desaturating dark shadows and bright highlights" by default. Instead, it exposes two parameters you set manually: Sat. Rolloff Start, the luminance threshold in nits where saturation starts to roll off, and Sat. Rolloff Limit, the luminance threshold where the image goes fully desaturated. Set those two values wide apart, or push Sat. Rolloff Limit well past your actual highlight range, and you can end up with almost no automatic desaturation at all.
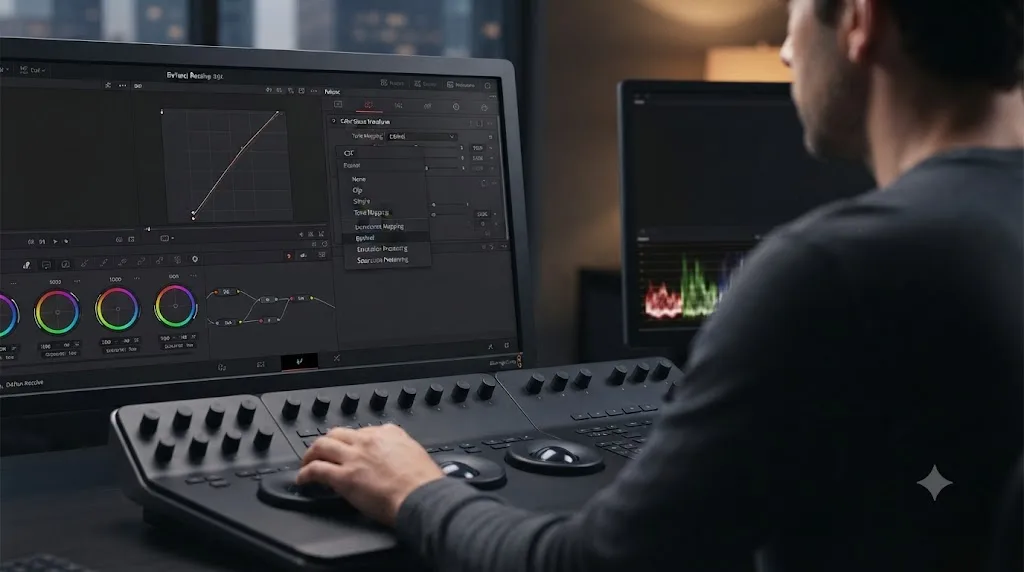
What is Gamut Mapping and Saturation Compression doing to my colors?
Gamut Mapping is a separate control from Tone Mapping, available only in DaVinci Resolve Studio, and its job is specifically to compress saturation for any color that falls outside your target gamut rather than clipping it to a flat, blocked-out patch.
Where Tone Mapping deals with brightness range, Gamut Mapping deals with color range. Blackmagic's manual frames it as handling "workflows where you need to transform one color space into another that has a dramatically larger or smaller gamut," which is precisely the situation you're in converting a wide-gamut camera source, or DaVinci Wide Gamut Intermediate, down to something narrower like Rec.709.
Source: Gamut Mapping, Studio Version Only, DaVinci Resolve 18.6 Reference Manual
Gamut Mapping Method has three settings: None, which applies no gamut mapping at all; Clip, which hard clips out-of-gamut values; and Saturation Mapping, which uses two sliders, Saturation Knee and Saturation Max, to compress saturation smoothly instead of clipping it. According to Blackmagic's manual, "the Saturation Knee slider sets the image level at which saturation mapping begins. Below this level, no remapping is applied," while "the Saturation Max slider sets the new maximum level to which you want to either raise or lower all saturation values that are above the Saturation Knee setting." If Saturation Knee is set low, a lot of your image, including colors that were never remotely close to clipping, falls above that threshold and gets pulled down.
That's not a theoretical downside. Juan Melara, a director, cinematographer, and colorist who writes extensively about Resolve's color pipeline, tested this exact behavior and didn't mince words about the result: "I find gamut compression to be quite aggressive, desaturating elements that are not causing problems and that are not even close to being out-of-gamut." He describes the practical effect as deep, rich colors losing depth, "making them look thin and washed out," the same phrase most editors reach for when they open a support forum thread about this issue.
Source: Fixing Over-Saturated, Out-of-Gamut Colours in Resolve, Juan Melara
Raising Saturation Knee tells Gamut Mapping to leave more of your image alone instead of compressing colors that were never out of gamut. Melara's own recommendation is to nudge the compression up only far enough to make genuinely out-of-gamut elements less distracting, not far enough to strip saturation from everything above an arbitrarily low threshold. If your image looks flat specifically after enabling Saturation Mapping, that slider, not your grade, is where to look first.
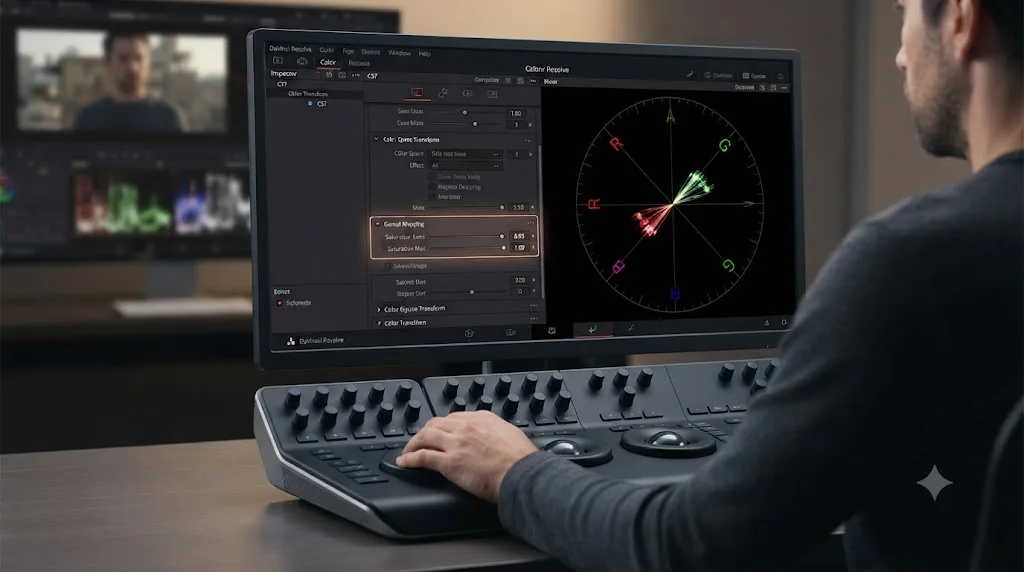
Is the desaturation coming from the CST, or from your working color space?
Sometimes neither. Sometimes what looks like CST desaturation is actually your footage still sitting in a flat log or wide-gamut working space, one step before the CST has even finished its job, and the fix is to keep going, not to undo anything.
DaVinci Wide Gamut Intermediate, Blackmagic's own oversized working color space, is deliberately built larger than Rec.2020 so it can hold color data from nearly any camera without clipping before you've made a single grading decision. Footage viewed while still tagged in that intermediate space, or in a camera's native log gamut, looks intentionally flat and muted by design, the same way S-Log3 or V-Log footage looks flat straight off the card. That flatness isn't the CST desaturating anything. It's the image doing exactly what an ungraded, unconverted log source is supposed to look like.
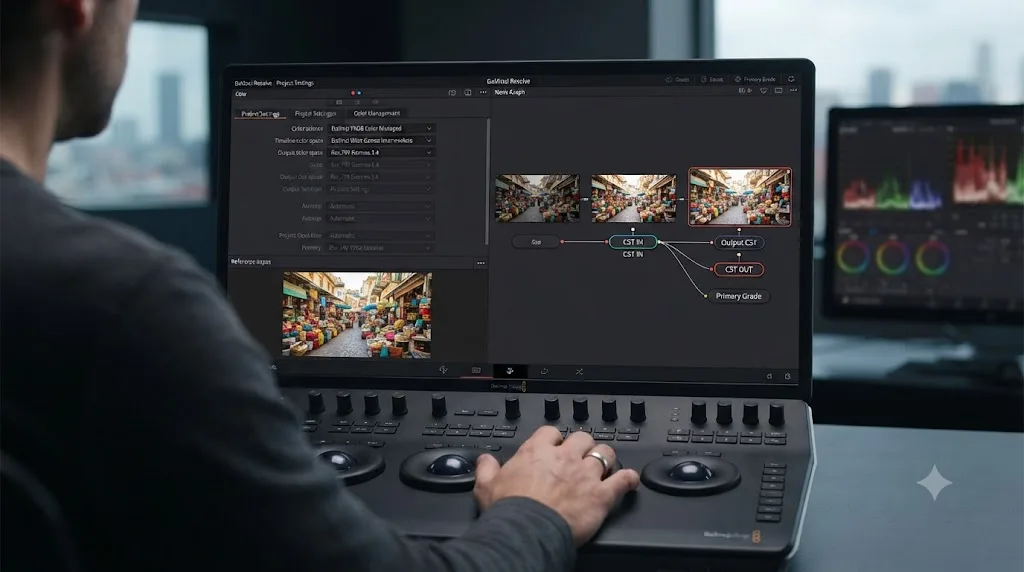
The confusion happens most often in a two-CST pipeline: an input CST bringing camera log into DaVinci Wide Gamut Intermediate, your grading nodes, and an output CST converting to Rec.709 for delivery. If you're judging saturation by looking at the image between the input CST and your grading nodes, you're looking at an intentionally flat working-space image, not a finished result. A saturation node placed before your output CST gets compressed right back down by the very transform you're fighting, which is exactly what happens if you boost saturation at that stage and then watch it seemingly vanish once the output CST runs.
Our Rec.709 vs Rec.2020 explainer covers how DaVinci Wide Gamut Intermediate fits between your camera's native gamut and your delivery target in more depth, including why it isn't itself a color space you should ever pick as an Output Color Space.
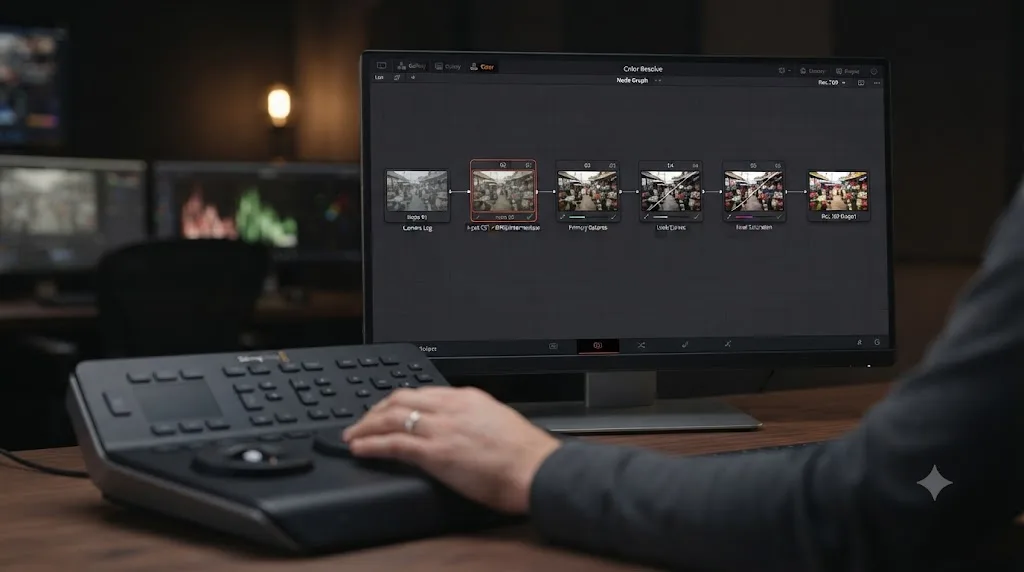
How do I fix a desaturated image after a CST, step by step?
Confirm the CST is actually the cause first, then work through Tone Mapping, Gamut Mapping, and node order in that order, since that's the sequence that catches the problem fastest for most editors.
- Bypass the CST node with Ctrl+D (Windows) or Cmd+D (Mac) and watch the vectorscope. If saturation snaps back the moment the node is off, you've confirmed the CST is where the problem lives, not somewhere else in your grade.
- Open the Tone Mapping section. If Tone Mapping is set to DaVinci, that's your most likely cause. Switch it to Saturation Preserving and watch the vectorscope again.
- If switching to Saturation Preserving barely changes anything, check Gamut Mapping Method. If it's set to Saturation Mapping, raise Saturation Knee, or temporarily set Gamut Mapping Method to None to confirm it's the source of the compression.
- Check your node order. You want an input CST converting your source into a working space, your grading and creative nodes, then an output CST converting to your delivery color space, in that order.
- If you still need more saturation after all of that, add it on a dedicated node placed after the output CST, where nothing downstream can compress it back down.
- Re-check the result somewhere other than the Color page viewer, ideally on the Deliver page or in an actual exported file, before you consider the fix confirmed.
A saturation node placed before your output CST gets compressed right back down by the very transform you're fighting. That single detail accounts for a large share of "I added saturation and nothing happened" reports, and it's the fastest thing to check once you've ruled out Tone Mapping and Gamut Mapping themselves.
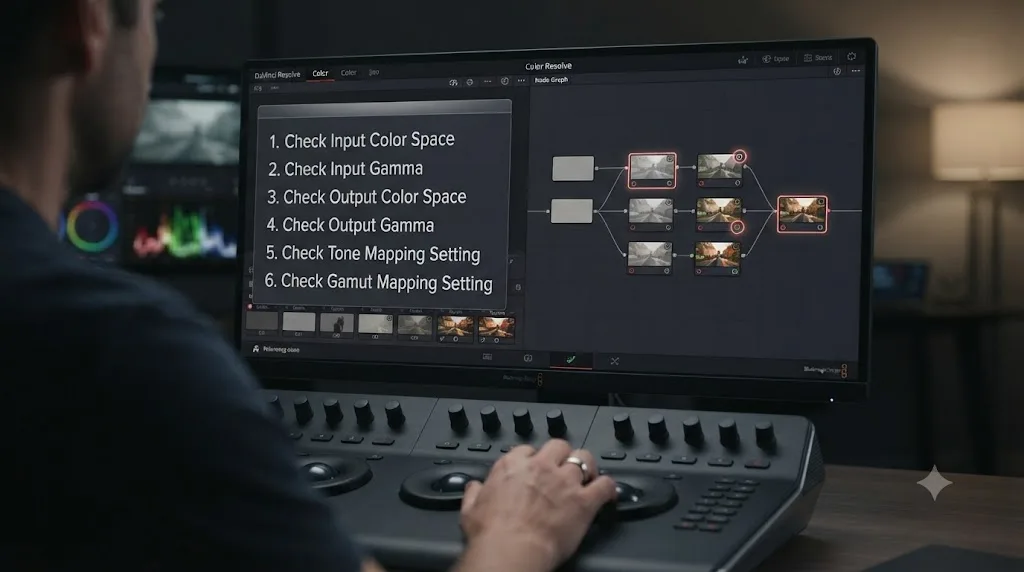
Where should the saturation node go relative to your CST nodes?
Immediately after your output CST and nowhere else, if the goal is saturation that survives the final color space conversion untouched.
Colorists who build manual CST pipelines generally settle on the same three-part structure: an input node converting camera color space to a working space, a grading node where the actual creative work happens, and an output node converting the working space to your display or delivery space. Cullen Kelly, a Los Angeles-based colorist whose credits include work for Netflix, HBO, and Hulu, describes preferring this fully visible structure explicitly: "I like to see every step in the color management journey."
Source: Should You Use Resolve Color Management or CSTs?, Cullen Kelly, Frame.io Insider
That structure matters here for a specific reason. Any saturation adjustment you make on a node between the input and output CST is still operating on the working color space, and it's still subject to whatever the output CST's Tone Mapping and Gamut Mapping settings do on its way out. Push saturation hard on a grading node in the middle of the chain, and the output CST can quietly claw a chunk of it back if Tone Mapping is set to DaVinci or Gamut Mapping's Saturation Knee is set low. A node placed after the output CST, by contrast, is working on the final, delivery-space image. Nothing downstream touches it again.
| Node position | What it affects | Risk |
|---|---|---|
| Before the input CST | Raw camera log or RAW values | Adjustments get reinterpreted entirely once the input CST converts the color space |
| Between input and output CST | The working color space (DaVinci Wide Gamut Intermediate) | Saturation boosts can be partially compressed by the output CST's Tone Mapping or Gamut Mapping |
| After the output CST | The final, delivery-space image | Nothing downstream compresses it; the safest place for a saturation correction |
This is also where a labeling habit pays off. If your node tree already has an input CST, a stack of grading nodes, and an output CST, name them clearly so a saturation fix six months from now doesn't require re-deriving which node does what. Our guide to node labels and colors covers a naming and coloring system built for exactly this kind of multi-stage node chain.
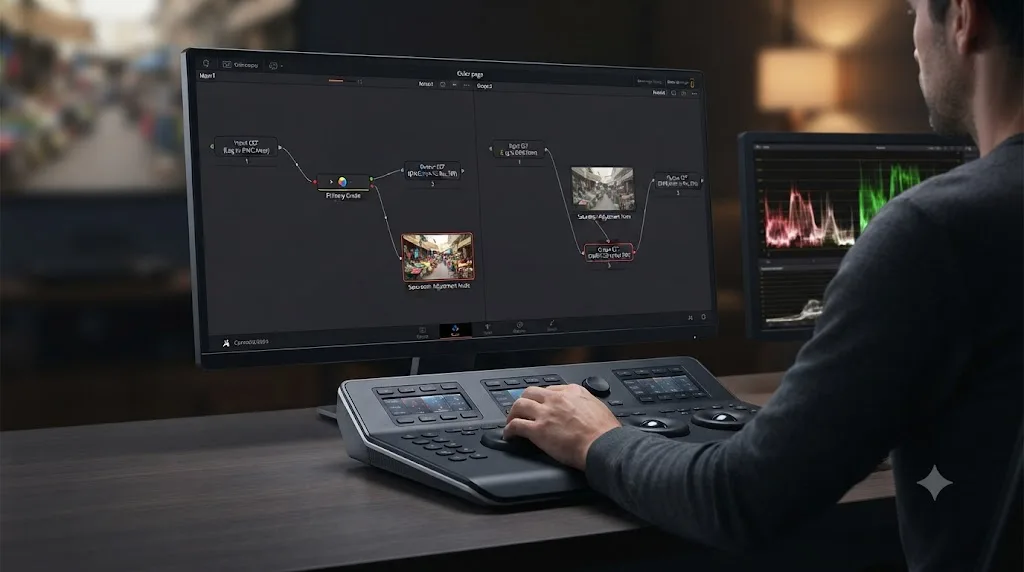
Should you use Resolve Color Management (RCM) instead of manual CST nodes?
Only if you'd rather set color management once at the project level instead of building it visibly into every node tree, because the two approaches produce identical results under the hood.
Resolve Color Management, set through Project Settings, and manual CST nodes dropped into your node tree aren't competing technologies solving the same problem two different ways. They're the same technology, exposed at two different layers. Cullen Kelly makes this explicit: "Resolve color management is simply utilizing Color Space Transforms under the hood." RCM handles the input and output conversions automatically based on your project's Color Science and Color Space settings; manual CSTs make you build and place those same conversions as nodes yourself.
Source: Should You Use Resolve Color Management or CSTs?, Cullen Kelly, Frame.io Insider
That equivalence has a direct consequence for this exact problem: Resolve Color Management and manual Color Space Transform nodes produce the same math, just with different amounts of the pipeline visible in your node tree. A project running full RCM can suffer the exact same Tone Mapping or Gamut Mapping-driven desaturation as a manual CST setup, because RCM's automatic conversions use the same Tone Mapping and Gamut Mapping settings under Project Settings, Color Management, that a manual CST node exposes directly. If you're on RCM and seeing this problem, look there instead of a node.
| Approach | Where settings live | Best for |
|---|---|---|
| Resolve Color Management (RCM) | Project Settings, Color Management tab | Simpler per-project setup, consistent color science across every clip automatically |
| Manual CST nodes | Individual nodes in your node tree | Full visibility into every conversion step, per-clip or per-group overrides, mixed source pipelines |
Kelly's own workflow leans toward manual nodes specifically because he wants every conversion visible and independently adjustable, using Resolve's Group function to apply input and output transforms at the Group Pre-Clip and Timeline level so the node graph stays manageable even with the extra structure. If your problem is a mystery desaturation you can't trace, that visibility is worth the extra setup work. If you just want consistent, correct color management without building it by hand on every clip, RCM does the same job with less to maintain.
Does the free version of DaVinci Resolve handle CST desaturation differently than Studio?
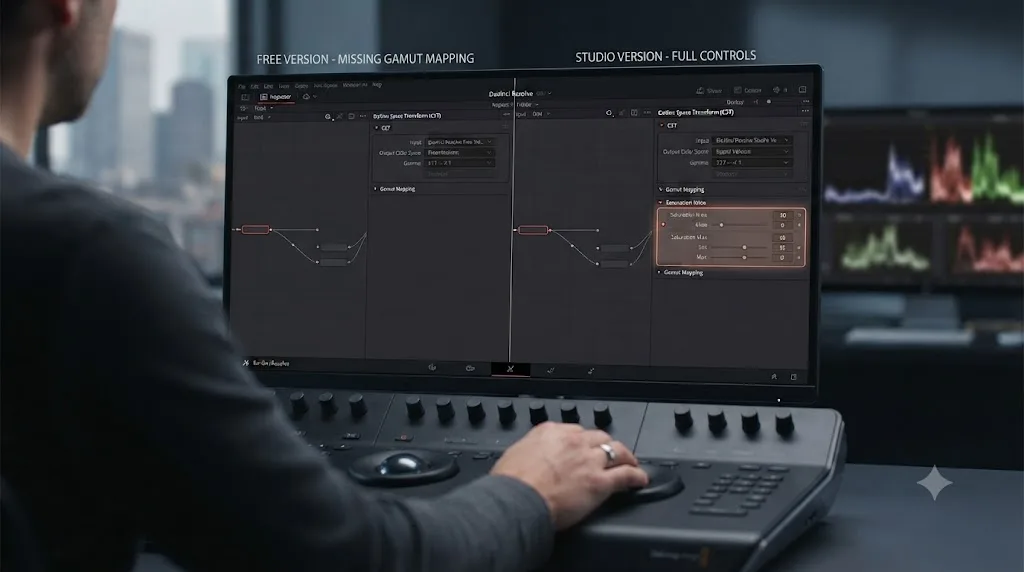
Yes, in one specific and easy-to-miss way: Gamut Mapping, including the Saturation Knee and Saturation Max controls, is a Studio-only feature, while Tone Mapping is fully available in the free version.
Blackmagic's own reference manual titles the relevant page plainly, "Gamut Mapping (Studio Version Only)," confirming that the Saturation Mapping method and its two sliders simply aren't present in a free-version CST node. Neither the free-version product page nor the Studio product page lists Gamut Mapping as something the free tier includes, and the manual doesn't gate it behind a feature flag inside the free app either; it's absent from the panel entirely.
Sources: Gamut Mapping, Studio Version Only, DaVinci Resolve 18.6 Reference Manual, DaVinci Resolve product page (free version), and DaVinci Resolve Studio product page
Gamut Mapping only exists in DaVinci Resolve Studio, so a free-version desaturation problem is a Tone Mapping issue, not a Gamut Mapping one. That narrows your troubleshooting considerably if you're on the free version: you can skip the Gamut Mapping section of this guide entirely and go straight to checking Tone Mapping's method and, if it's set to Saturation Preserving, the Sat. Rolloff Start and Sat. Rolloff Limit values. Tone Mapping itself, including all six methods covered earlier, works identically in both versions, so nothing about the fix for that half of the problem changes based on your license.
| Control | Free version | Studio |
|---|---|---|
| Tone Mapping (all six methods) | Fully available | Fully available |
| Sat. Rolloff Start / Sat. Rolloff Limit | Fully available | Fully available |
| Gamut Mapping Method | Not available | Fully available |
| Saturation Knee / Saturation Max | Not available | Fully available |
If you upgrade to Studio specifically hoping it'll fix a desaturation problem, be clear on what you're actually buying: access to a second, more granular compression tool, not a bug fix. A poorly configured Gamut Mapping setup on Studio can desaturate an image just as much as, or more than, a poorly chosen Tone Mapping method on the free version. Studio adds a control, not a guarantee.
Has this behavior changed in DaVinci Resolve 21?
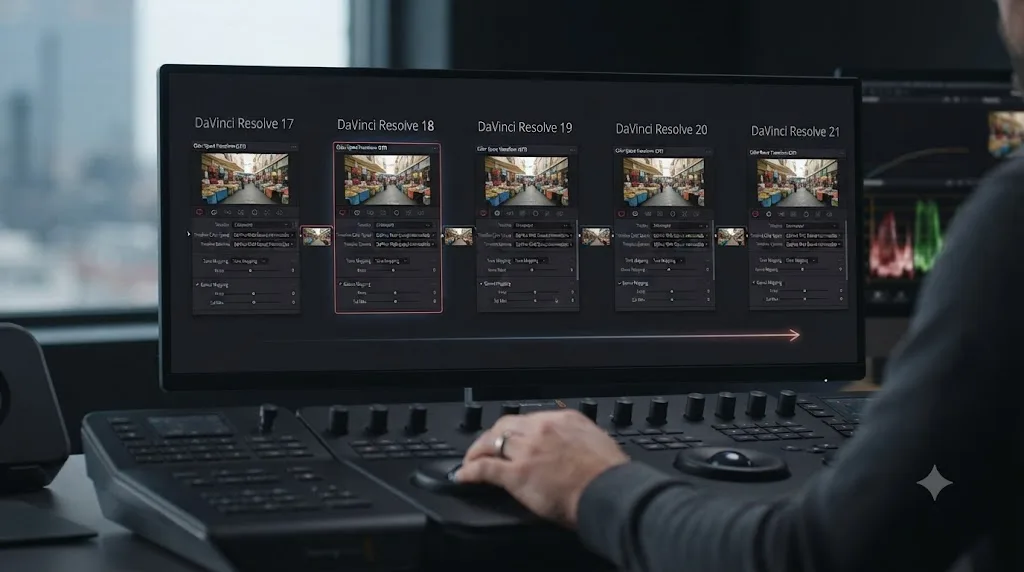
No. The Tone Mapping methods, the Gamut Mapping controls, and the Studio-only restriction on Gamut Mapping all work the same way in Resolve 21 as they have across recent releases, so a fix that worked in an older version still applies today.
Blackmagic officially released DaVinci Resolve 21 on June 3, 2026, and the company's own new features guide for the release focuses on additions like a dedicated Photo page, expanded ACES workflow support, Adobe RGB color space support, layer-list node graph views, and AI-assisted tools such as IntelliSearch and CineFocus. None of that documentation describes a change to how the CST's Tone Mapping or Gamut Mapping sections behave, and the core controls this guide walks through, Tone Mapping method, Sat. Rolloff Start and Limit, Gamut Mapping Method, Saturation Knee, and Saturation Max, are the same ones documented against earlier Resolve releases.
Sources: DaVinci Resolve 21 Officially Released, PetaPixel and DaVinci Resolve 21 New Features Guide, Blackmagic Design
As of July 2026, on DaVinci Resolve 21.0.2, the underlying mechanism goes back further still. DaVinci Wide Gamut Intermediate, the working space most modern CST pipelines convert into and back out of, was introduced as a project setting starting with Resolve 17, documented in Blackmagic's own Wide Gamut Intermediate technical note. The Tone Mapping and Gamut Mapping controls inside the CST node have sat on top of that same working-space structure ever since, without the kind of behavioral change that would make a fix documented against an older version stop working today.
Source: DaVinci Resolve 17 Wide Gamut Intermediate, Blackmagic Design
The desaturation only looks like a bug because DaVinci Resolve never shows a warning before Tone Mapping quietly rolls off your color, and that's been true across several major version numbers, not something Resolve 21 introduced. If you're troubleshooting this on 21.0.2 today, everything in this guide applies without needing a version-specific workaround.
What if the image looks desaturated only in the viewer, not after export?
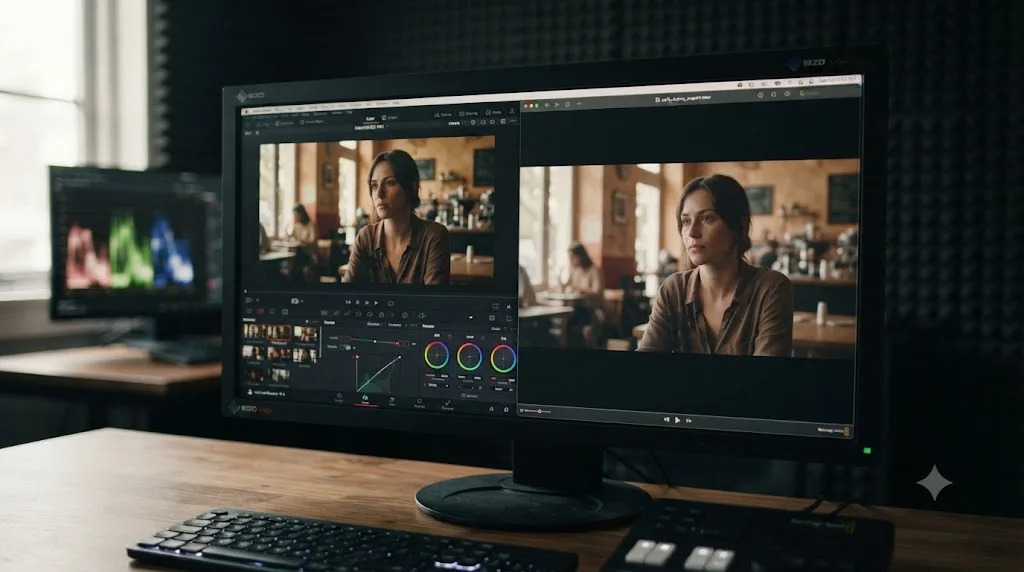
Then it's very likely not the CST at all, and you're looking at a different, better-known problem: a mismatch between how Resolve's viewer displays your grade and how a player or platform interprets your exported file's metadata.
This guide has been about the CST genuinely changing your pixel data through Tone Mapping and Gamut Mapping, a real, permanent compression baked into the render. A viewer-versus-export mismatch is a completely different animal: the pixels Resolve renders are correct, but something downstream, a Data Levels setting, a Color Space or Gamma tag on the Deliver page, or the "Use Mac Display Color Profile for viewer" setting on macOS, changes how those correct pixels get displayed once they leave Resolve's own window. The symptom can look identical from the Color page, muted, flat, less punchy, but the underlying cause and the fix are entirely different.
The fastest way to tell them apart: export a short test clip, drag it back into a fresh Resolve timeline with no grade applied, and compare its waveform and vectorscope against what you saw while grading. If the reimported file's scopes match, your render, CST included, is correct, and the mismatch you're chasing lives downstream in display or metadata, not in the transform. Our guide to LUT preview not matching export walks through that entire diagnostic path, including the specific Deliver page tags and Mac display settings responsible, in full.
A LUT or CST that looks different in preview than in export is a symptom, and the cause is almost never the transform itself once the pixels have actually rendered correctly. Rule out the CST's own Tone Mapping and Gamut Mapping settings first, since those genuinely do change your pixels, then move to the viewer-versus-export checklist if the reimport test comes back clean.
How do you match saturation across multiple cameras through a CST?
Set each camera's Input Color Space correctly first, then let one consistent Tone Mapping method, usually DaVinci for genuinely mixed wide-gamut sources, handle the compression uniformly rather than fighting the mismatch clip by clip.
CST-driven desaturation gets noticeably worse on multi-camera timelines when different clips are tagged with different, sometimes incorrect, Input Color Spaces. A clip mistagged as a narrower gamut than it was actually shot in gives the CST less color data to protect, which can make its Tone Mapping and Gamut Mapping compression look more aggressive on that clip than on a correctly tagged one sitting right next to it in the timeline. What reads as "camera A looks more desaturated than camera B after the same CST" is often actually "camera A's Input Color Space tag doesn't match what the camera really recorded."
Confirm every clip's Input Color Space against its actual camera and log profile before troubleshooting Tone Mapping or Gamut Mapping settings on a multi-camera project. Our guide to color matching different cameras covers getting that tagging right across mixed source footage, which is the step that needs to happen before any saturation fix from this guide will behave consistently across every camera on your timeline.
Once tagging is confirmed, keeping every clip's CST on the same Tone Mapping method matters more on a mixed-camera timeline than it does on a single-source project. Switching Tone Mapping method clip by clip, DaVinci on one camera, Saturation Preserving on another, reintroduces exactly the kind of inconsistent highlight and shadow behavior the DaVinci method was built to prevent in the first place. Pick one method for the whole timeline unless you have a specific, isolated reason to deviate on a single shot.
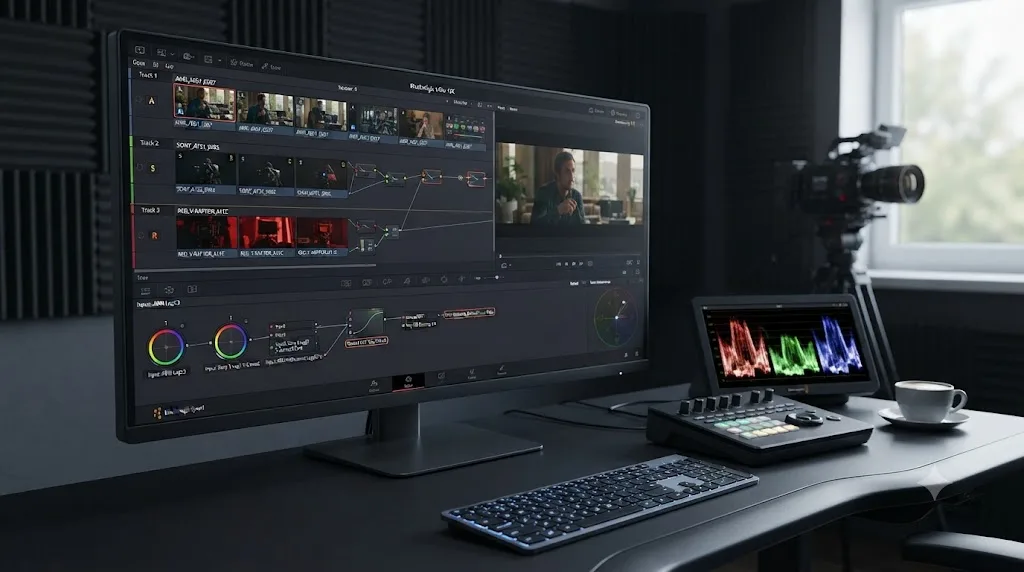
Quick reference: which CST setting actually causes your desaturation?
Match your symptom against the table below before opening any panel, since it saves you from clicking through settings that were never the actual cause.
| Symptom | Likely cause | Setting to check | Available on |
|---|---|---|---|
| Only highlights and shadows look pale; midtones are fine | Tone Mapping method set to DaVinci | Tone Mapping dropdown, CST node | Free and Studio |
| Whole image looks flat, especially on saturated color | Gamut Mapping Saturation Mapping compressing too aggressively | Saturation Knee slider | Studio only |
| Adding a Saturation node did nothing | Node placed before the output CST | Node order in your tree | Free and Studio |
| One camera looks more desaturated than others on the same timeline | Input Color Space mistagged | Input Color Space per clip | Free and Studio |
| Image looks flat right after an input CST, before grading | Working color space is intentionally flat (DaVinci Wide Gamut Intermediate) | Not a bug; keep grading | Free and Studio |
| Looks fine in Resolve, flat after export | Not the CST; a viewer or metadata mismatch | Deliver page tags, Data Levels | Free and Studio |
| Fine on the Color page, still flat once you check Gamut Mapping | Free version has no Gamut Mapping controls | Tone Mapping only | Free version |
Gamut Mapping only exists in DaVinci Resolve Studio, so a free-version desaturation problem is a Tone Mapping issue, not a Gamut Mapping one. Keep that split in mind before you spend time hunting for a Saturation Knee slider that a free-version install was never going to show you.
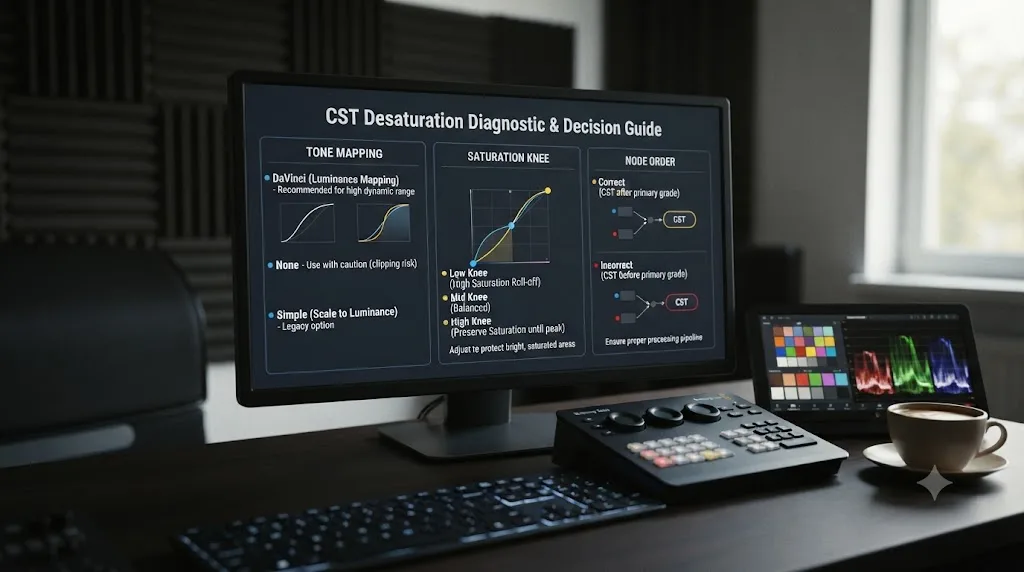
The bottom line on CST desaturation
Start with the bypass test. Toggle the CST off, watch the vectorscope, and confirm it's genuinely the transform doing this before you touch a single slider. From there, Tone Mapping's DaVinci method accounts for most highlight-and-shadow desaturation, Gamut Mapping's Saturation Knee accounts for most whole-image flattening on Studio, and a saturation node placed on the wrong side of your output CST accounts for most "I fixed it and nothing changed" reports. None of it is a bug. All of it is documented, and all of it has a specific slider or a specific node position that fixes it.
If what's actually slowing you down isn't knowing that Saturation Knee exists, but finding it inside Resolve's interface fast enough to keep grading, that's a narrower problem than color science. TryUncle is the on-screen assistant for DaVinci Resolve on macOS: ask in plain words and Uncle points at the exact control on your screen, whether that's the Tone Mapping dropdown buried in a CST node or the Gamut Mapping section beneath it. It's a paid app at founder pricing, not a substitute for understanding what Tone Mapping and Gamut Mapping actually do, but TryUncle is built for exactly the moment you know the fix exists somewhere in this node and can't remember which section it's hiding in.
Frequently asked questions
- Why does DaVinci Resolve's Color Space Transform make my image look desaturated?
- Because the CST's Tone Mapping and Gamut Mapping settings are built to desaturate certain values on purpose, not because the transform is broken. The DaVinci Tone Mapping method applies what Blackmagic's own manual calls controlled desaturation of image values in the very brightest and darkest parts of the image, and Gamut Mapping's Saturation Compression pulls down any color the target color space can't represent. Check those two settings before assuming your footage or your grade is at fault.
- How do I stop the CST from desaturating highlights and shadows?
- Switch the CST's Tone Mapping method from DaVinci to Saturation Preserving, which keeps highlight and shadow saturation intact by default and gives you two manual controls, Sat. Rolloff Start and Sat. Rolloff Limit, instead of an automatic curve. If the desaturation is happening across the midtones or on saturated colors generally, look at Gamut Mapping's Saturation Knee and Saturation Max instead, since that's a separate control from Tone Mapping.
- Should I use Tone Mapping DaVinci or Saturation Preserving in the CST?
- DaVinci is the safer default when you're mixing footage from multiple cameras or wide-gamut sources, because its automatic desaturation curve prevents ugly highlight clipping across inconsistent source material. Saturation Preserving is the better choice once you're grading a single, well-exposed camera source and want full manual control over how much saturation survives in the brightest and darkest parts of the frame.
- What does Saturation Knee do in DaVinci Resolve's Gamut Mapping?
- Saturation Knee sets the image level at which Gamut Mapping's saturation remapping begins; anything below that level passes through untouched. Raise the Saturation Knee value and less of your image gets compressed, which is the fastest way to stop Gamut Mapping from desaturating colors that were never actually out of gamut in the first place.
- Why doesn't my free version of DaVinci Resolve have Gamut Mapping options in the CST?
- Gamut Mapping, including the Saturation Knee and Saturation Max controls, is a Studio-only feature according to Blackmagic's own reference manual. The free version's CST still has full Tone Mapping controls, including the DaVinci and Saturation Preserving methods, so a desaturation problem on the free version is almost always a Tone Mapping issue rather than a Gamut Mapping one.
- Where should I add saturation back after a Color Space Transform?
- Add a dedicated saturation adjustment on a node placed after your output CST, not before it and not inside the CST's own Tone Mapping controls unless you're deliberately using Saturation Preserving's rolloff parameters. Boosting saturation upstream of the CST just gives the transform more color to compress back down on its way out.
- Is CST desaturation a bug in DaVinci Resolve 21?
- No. Every Tone Mapping and Gamut Mapping control that causes this behavior is documented in Blackmagic's own reference manual and has worked the same way across recent Resolve releases, including 21. It reads as a bug because the desaturation happens automatically and silently, with no warning dialog, not because the underlying math changed or broke.
- Should I use Resolve Color Management instead of manual CST nodes?
- Both produce identical results, since Resolve Color Management uses Color Space Transforms internally to do its job. Colorist Cullen Kelly, who favors manual CST nodes for visibility, put it plainly: Resolve color management is simply utilizing Color Space Transforms under the hood. Pick RCM for a simpler per-project setup, or manual CSTs when you want every color management step visible and independently adjustable in your node tree.
Sources
- Color Space Transform [CSt] (DaVinci Resolve 18.6 Reference Manual, Blackmagic Design, mirrored)
- Gamut Mapping, Studio Version Only (DaVinci Resolve 18.6 Reference Manual, Blackmagic Design, mirrored)
- Tone Mapping (DaVinci Resolve 18.6 Reference Manual, Blackmagic Design, mirrored)
- Output DRT Tone Mapping (DaVinci Resolve 18.6 Reference Manual, Blackmagic Design, mirrored)
- Fixing Over-Saturated, Out-of-Gamut Colours in Resolve, by Juan Melara
- Should You Use Resolve Color Management or CSTs?, by Cullen Kelly (Frame.io Insider)
- How to Color Manage using Nodes in DaVinci Resolve, featuring Cullen Kelly (Frame.io Insider)
- DaVinci Resolve product page (free version)
- DaVinci Resolve Studio product page
- DaVinci Resolve 21 New Features Guide (Blackmagic Design)
- DaVinci Resolve 21 Officially Released With New Photo Editing, AI Tools, and Much More (PetaPixel)
- DaVinci Resolve 17 Wide Gamut Intermediate (Blackmagic Design)
Keep reading
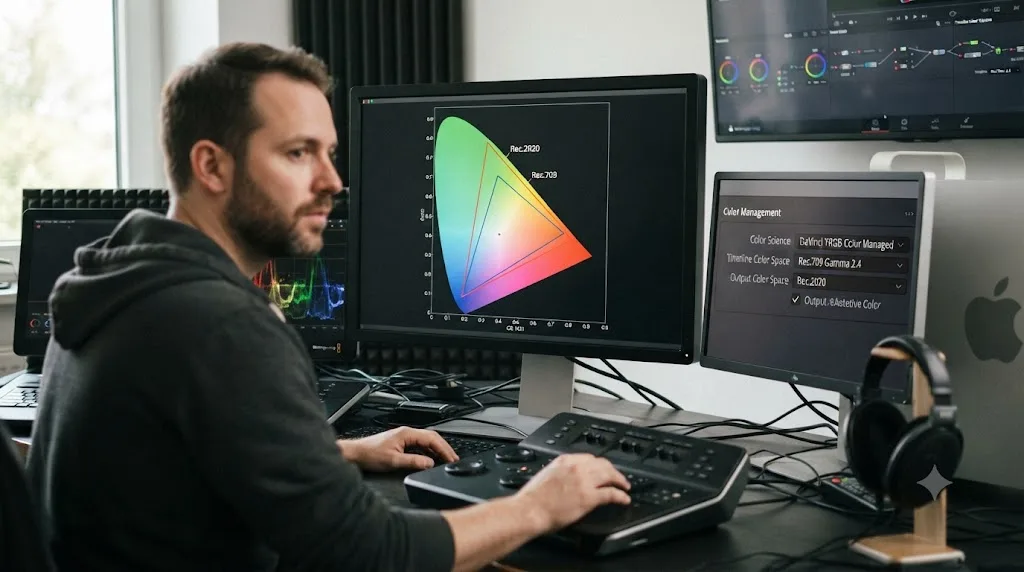
Comparisons · Jul 29, 2026 · 37 min
Rec.709 vs Rec.2020 in DaVinci Resolve, Explained
Rec.709 vs Rec.2020 explained for DaVinci Resolve: what each color space is, when Resolve uses which, and how to pick the right preset for delivery.
Fixes · Jul 18, 2026 · 32 min
DaVinci Resolve LUT Preview Not Matching Export: The Real Fix
Why your DaVinci Resolve viewer and your exported file show different colors from the same LUT, and the exact settings to check before you touch the grade.
Guides · Jul 12, 2026 · 39 min
How to Color Match Different Cameras in DaVinci Resolve
Match footage shot on different cameras in DaVinci Resolve with Color Space Transform, Color Match, and Shot Match, plus settings by camera brand.