Articles / Fixesupdated for DaVinci Resolve 21.0.2 (July 2026)
DaVinci Resolve LUT Preview Not Matching Export: The Real Fix
Quick answer
The LUT itself is almost never the problem. Your viewer and your export usually disagree because of Data Levels, the Deliver page's Color Space and Gamma tags (which default to Project Settings, not your timeline), or 'Use Mac Display Color Profile for viewer.' Match those three settings first, then check the LUT.
Your grade looked perfect on the Color page. Then you exported it, opened the file, and it's not the same shot anymore. The blacks are lifted, or the whole thing looks like someone turned the contrast down, and the LUT you spent twenty minutes dialing in seems to have quietly changed its mind.
It didn't. In nearly every case I've seen documented, DaVinci Resolve renders exactly the pixels your grade produced. What's different is how those pixels get displayed after they leave the render pipeline, and that difference lives in three or four settings that have nothing to do with the LUT node itself. This guide walks through each one, in the order that actually finds the problem fastest.
What causes a DaVinci Resolve LUT to look different in preview than in the exported file?
Almost always one of six things, and only one of them is actually about the LUT.
| Cause | What it looks like | Where the fix lives |
|---|---|---|
| Data Levels mismatch (Video vs Full) | Washed out or crushed blacks in the exported file, viewer looks correct | Deliver page, Advanced Settings |
| Color Space / Gamma tag defaulting to Project Settings instead of your timeline | Contrast or saturation shift only visible outside Resolve, in QuickTime or a browser | Deliver page, Advanced Settings |
| "Use Mac Display Color Profile for viewer" | Viewer and export disagree specifically on a Mac, fine on other platforms | Preferences, on macOS only |
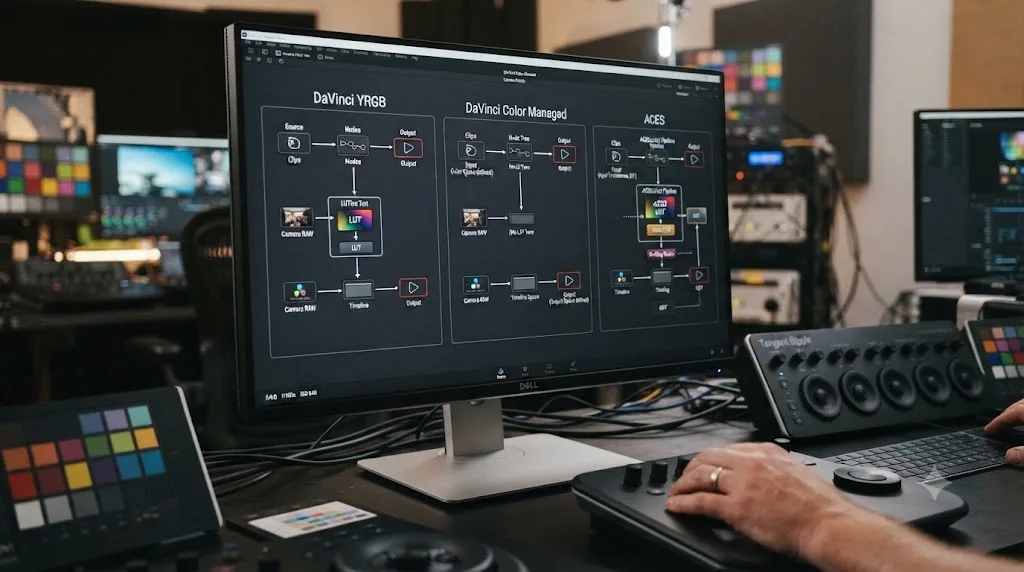
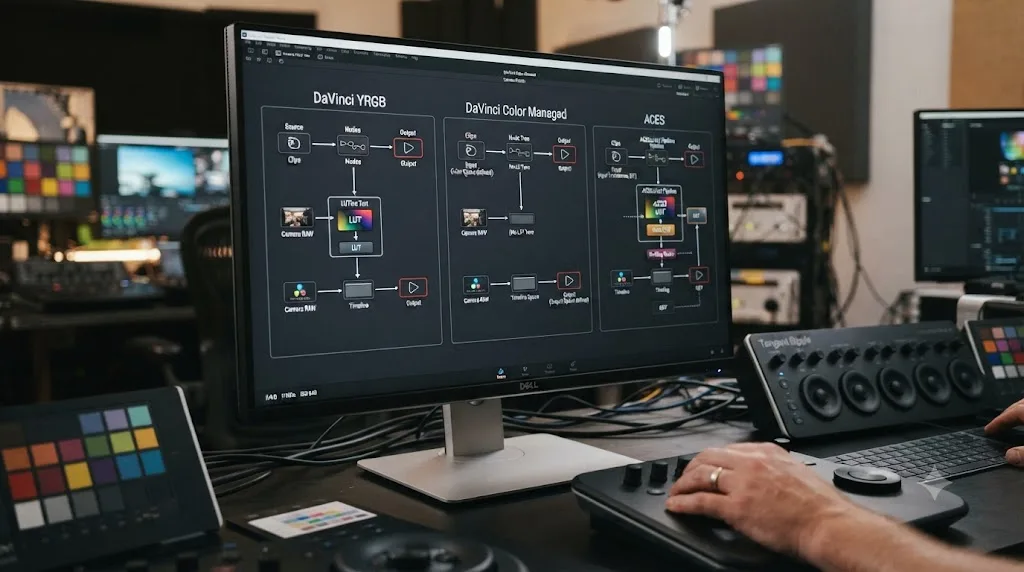
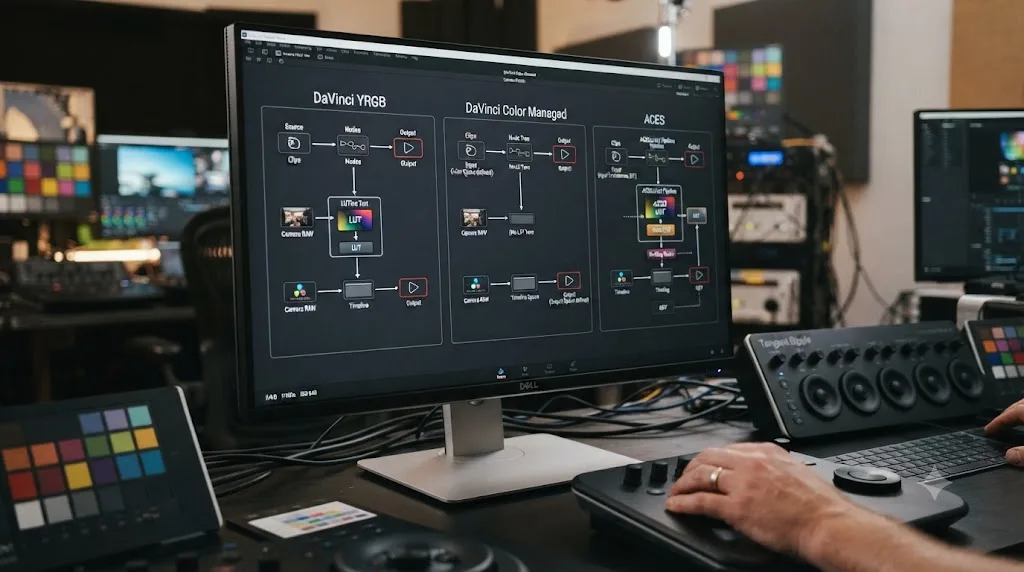
| Color management mode mismatch (YRGB vs Color Managed vs ACES) | LUT looks plausible in preview, wrong once properly tagged on export | Project Settings, Color Management |
| LUT applied at the wrong point in the node chain | Correct math, wrong order, muddy or oversaturated result either way | Color page node graph |
| Proxies or the Fusion page showing you a different pipeline than the final render | Preview matches during editing, diverges once you switch to original media or leave Fusion | Playback menu, Fusion page monitoring |
A LUT that looks different in preview than in export is a symptom, and the cause is almost never the LUT file itself. That's the single idea worth carrying through everything below. Read the pattern of your mismatch first, because it tells you which settings menu actually has your answer, and none of them are the LUT Browser.
Is DaVinci Resolve actually changing the pixels, or just how they're displayed?
This is the question that saves you the most time, and it's the one most people skip straight past because it feels too basic to bother testing.
DaVinci Resolve renders your timeline once, at export time, into the file you asked for. There is no separate "preview LUT" that applies only to the viewer and gets swapped out for a different "export LUT" before the render starts. The grade you built, the nodes you stacked, and the LUT you applied all get baked into the same pixel data whether you're scrubbing the timeline or clicking Render. If the LUT itself were genuinely behaving differently at render time than at preview time, that would be a rendering engine bug, not a settings problem, and it would show up as a documented, widely reported issue rather than the scattered, setting-specific reports that actually fill Blackmagic's own support forum.
What does change between preview and export is everything downstream of the pixels: how Resolve's viewer displays them on your specific monitor, what metadata tag gets written into the file describing how a player should interpret it, and whether the levels convention Resolve chose for that codec matches what the software playing your export back expects. None of that touches the actual color values your grade produced. All of it changes how correct or incorrect those values look once something other than Resolve's own viewer is doing the displaying.
Here's the fastest way to prove this to yourself, and it takes about two minutes. Export a short test clip, then drag that exported file back into a brand new Resolve timeline and look at it on the waveform and vectorscope. If the reimported file's scopes match what you saw while grading the original, your render is correct and the problem lives entirely in display or metadata, not in the pixels. If the scopes genuinely don't match, you've found a real rendering issue, and it's worth reading the color grading basics guide on how to read those same scopes properly before troubleshooting further.
In the overwhelming majority of reported cases, the exported file and the graded timeline contain identical pixel data, and the visible difference comes entirely from how that data gets interpreted after it leaves Resolve. Confirm which situation you're actually in before you touch a single node.
Are your Deliver page Color Space and Gamma tags actually matching your timeline?
This is the single most common cause of a preview-versus-export mismatch that people never think to check, and it hides behind a setting that looks like it's already handled for you.
On the Deliver page, open Advanced Settings and you'll find two dropdowns: Color Space Tag and Gamma Tag. Both default to "Same as Project," which sounds like it should just work. And it usually does, right up until you're using DaVinci Resolve's per-timeline Resolve Color Management (RCM) override, which lets a specific timeline run its own output color space independently of the project-wide setting in Project Settings. Set your timeline's RCM output to Rec.709 Gamma 2.4 directly on that timeline, forget to also update the Deliver page's tags, and the tags quietly stay pointed at whatever Project Settings still says, which can be a different color space entirely from what your timeline is actually producing.
The result is a file whose actual pixel data is correct but whose embedded metadata tells the next piece of software to interpret those pixels through the wrong lens. QuickTime Player, most web browsers, and many NLEs read that tag and apply their own transform on top of it. Resolve's own viewer, by contrast, already knows exactly what your timeline is doing internally and doesn't need the tag to display it correctly. That asymmetry is exactly why the mismatch only shows up once the file leaves Resolve.
Uli Plank, writing for Digital Production about exactly this class of problem on Mac workflows, put the underlying principle plainly: rendering into a specific color space and gamma is "actually changing the visual content of your results," while tags are "just metadata, which should trigger the right interpretation in players," in his breakdown of LUTs, tags, and ICC profiles in Resolve. That distinction is the whole problem in one sentence: the render is the content, the tag is an instruction, and a wrong tag doesn't touch your pixels but absolutely changes what a downstream player does with them.
Plank's specific recommendation, tested against this exact failure mode: "The only reliable approach is encoding to Rec. 709 with a gamma of 2.4 and having the tags set to 1-1-1, which is automatically done if you render into Rec.709 (scene)." Selecting Rec.709 (Scene) rather than manually picking Rec.709 Gamma 2.4 from the dropdown sidesteps the whole class of tagging mismatch, because Resolve applies the correct 1-1-1 NCLC metadata automatically rather than relying on a tag you have to remember to set by hand.
| Setting | Where it lives | Default | What to check |
|---|---|---|---|
| Timeline RCM output color space | Timeline-specific override in Color Management | Inherits from Project Settings unless overridden | Confirm it matches what you intend to deliver |
| Project Settings output color space | Project Settings, Color Management tab | Set once per project | Should match your timeline unless intentionally different per timeline |
| Deliver page Color Space Tag | Deliver page, Advanced Settings | "Same as Project" | Explicitly verify against your actual timeline output, don't trust the default blindly |
| Deliver page Gamma Tag | Deliver page, Advanced Settings | "Same as Project" | Same check as Color Space Tag |
"Same as Project" on the Deliver page means same as Project Settings, not same as whatever your specific timeline's Resolve Color Management override is actually doing. That one word, "Project," is doing a lot of quiet damage in mixed-timeline workflows, and it's worth reading twice before you assume the default is safe.
Is "Use Mac Display Color Profile for viewer" causing the mismatch on your Mac?
If you're on macOS and everything above checks out, this is the next place to look, and it's specific enough to Apple's display pipeline that Windows editors can skip straight past this section.
DaVinci Resolve's Preferences include a checkbox labeled "Use Mac Display Color Profile for viewers." When it's on, Resolve routes what you see in its viewer through ColorSync, macOS's own display color management system, which adjusts the on-screen image to account for your specific display's calibration profile. The intent is a viewer that better matches what a properly profiled external monitor would show. In practice, it introduces exactly the kind of preview-versus-export gap this whole guide is about, because that ColorSync adjustment only affects what you see inside Resolve's own window. It never touches the actual pixel values written into your export.
Tom Huczek documented this exact failure back when it first became a widely reported issue, describing a contrast mismatch between DaVinci Resolve's own preview and the same exported ProRes file played back in VLC. His fix, after tracking down the cause, was direct: "The quick fix is to uncheck the 'Use Mac Display Color Profile for viewers' option in the settings," as he wrote in his original writeup. Once he disabled it, "the preview in DaVinci Resolve gets fixed and looks the same as in the VLC after the export."
That guidance isn't the whole story anymore, though, and it's worth knowing why. More recent guidance, including Plank's 2026 breakdown for Digital Production, actually recommends the opposite: leaving "Use Mac display color profiles for viewers" enabled, alongside "Use 10-bit precision in viewers if available" and "Viewers match QuickTime player when using Rec.709 Scene," as part of a complete, properly matched configuration. The difference isn't that one source is wrong. It's that this setting doesn't operate in isolation, and its correct state depends on whether your Color Space and Gamma tags are actually set correctly alongside it. Toggle the Mac display profile setting without also fixing the tagging issue from the previous section, and you can end up compensating for one bug by introducing a second one that happens to cancel it out on your specific machine and monitor, which then breaks again the moment you fix the tag separately.
The practical test costs you thirty seconds and settles the question for your specific setup regardless of which article you trust more. Toggle the setting off, export a short clip, and play it in QuickTime Player. Then toggle it back on and repeat the same test. Whichever state makes Resolve's own viewer match what QuickTime Player actually shows you is the correct state for your machine, full stop, and it doesn't require reading a single more paragraph of theory about ColorSync to confirm it.
A setting meant to make your viewer more accurate can just as easily make it accurate to the wrong thing, since ColorSync adjusts what you see without touching what you export. That's the entire reason this one checkbox generates more conflicting advice online than almost any other setting in Resolve.
Is Data Levels set to Video or Full instead of Auto?
This is the classic version of this problem, older than LUTs being a common workflow step at all, and it still catches people because the fix is one dropdown that most editors never open.
DaVinci Resolve processes everything internally at full range, 32-bit float, regardless of what your source footage or your delivery codec actually expects. When you export, Resolve converts that internal full-range data back down to whatever levels convention your chosen codec and container use, video range for most broadcast-style codecs, full range for some data-oriented formats. Get that conversion wrong, either because Resolve's Auto setting genuinely misjudges an edge case or because you've manually forced Video or Full and it doesn't match what your delivery target expects, and the result is blacks that sit noticeably above true black, or whites that clip well before they should, in a file that looked perfectly graded inside Resolve's own viewer.
Dan Swierenga, writing for The Post Process about exactly this class of failure, described watching Resolve mishandle the levels convention for a specific codec directly: "Resolve on the other hand should know that DNxHR should be 4:4:4 when it is rendering it. But it appears that it thinks a DNxHR quicktime should be video range, not full," in his breakdown of full versus video levels. His diagnostic test is worth keeping in your back pocket for any levels mismatch, not just this specific DNxHR case: "If your black level is clamped on your scopes around 16 (8-bit scopes) or 64 (10-bit scopes,) you probably have incorrect level interpretation going in your software."
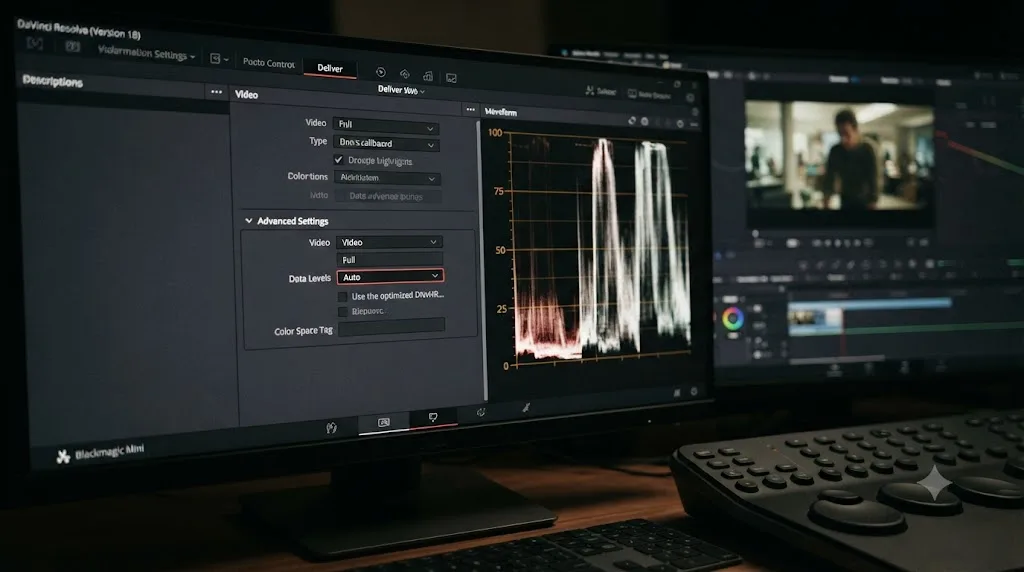
Data Levels on the Deliver page's Advanced Settings has three options, and picking the right one is simpler than the underlying mechanism might suggest.
| Setting | What it does | When to use it |
|---|---|---|
| Auto | Resolve applies the levels convention it believes your codec and container expect | Default, correct for the overwhelming majority of exports |
| Video | Forces broadcast-safe video range regardless of codec convention | Only when you've confirmed through testing that a specific delivery target needs it |
| Full | Forces the complete 0-1023 (10-bit) or 0-255 (8-bit) data range | Rare, mostly for data-oriented intermediate workflows, not standard delivery |
Shawn Carlson, a Product Specialist at Blackmagic Design, frames the underlying video-versus-full distinction from the company's own perspective in an interview with Fstoppers: "Video level defines 'super-white' 'super-black' levels as 'illegal,' and 'broadcast safe' deliverables are those that don't contain 'illegal' signals," while "Full or data levels display the full signal as measured on a 10-bit scale from 0 to 1023," per that interview. That's why a full-range file played back by software expecting video-range input looks washed out and milky. Every value that should read as black is actually sitting slightly above zero on a scale the player assumes starts higher up.
Auto is right for almost every export, and reaching straight for a manual Video or Full override without first confirming Auto is actually wrong is how most self-inflicted levels mismatches happen. Test before you override, using the same reimport method described earlier in this guide, and only force a manual setting once you've confirmed Auto genuinely produces a wrong result for your specific target.
Does your color management mode change how the LUT gets interpreted?
Yes, and this is where a LUT that's genuinely fine on its own can still produce a real, pixel-level difference between what looks right in a quick preview and what a properly configured export actually needs.
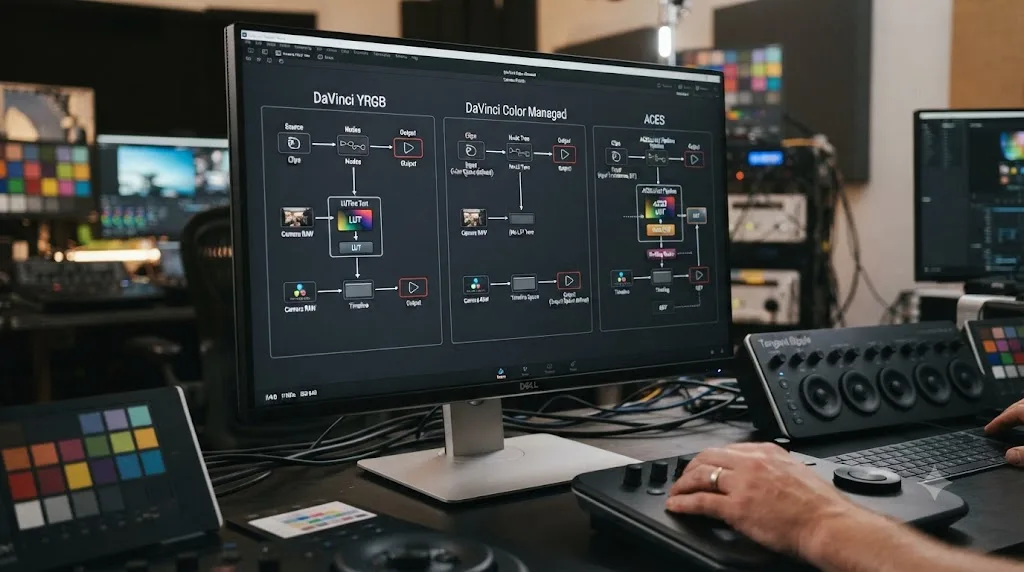
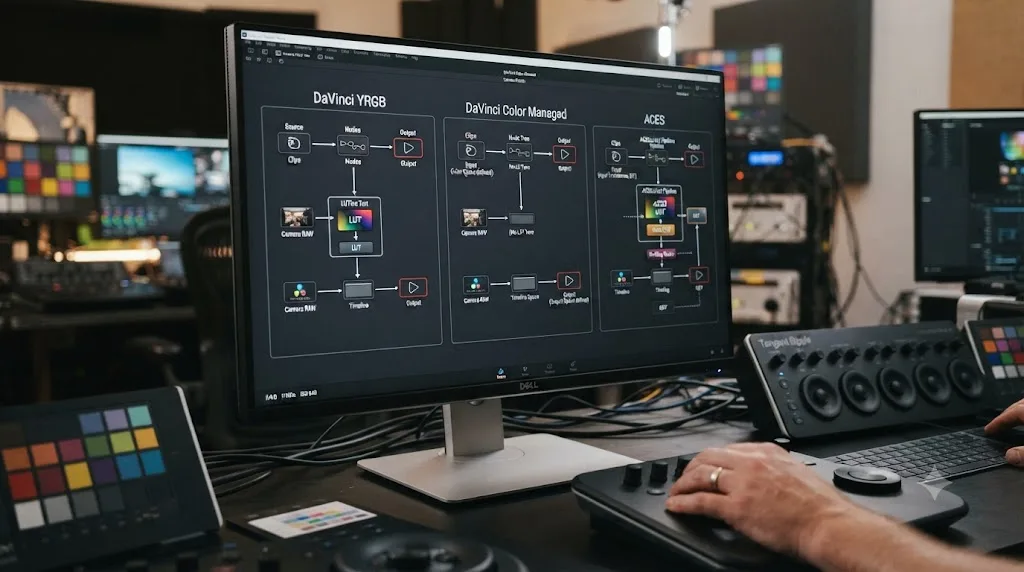
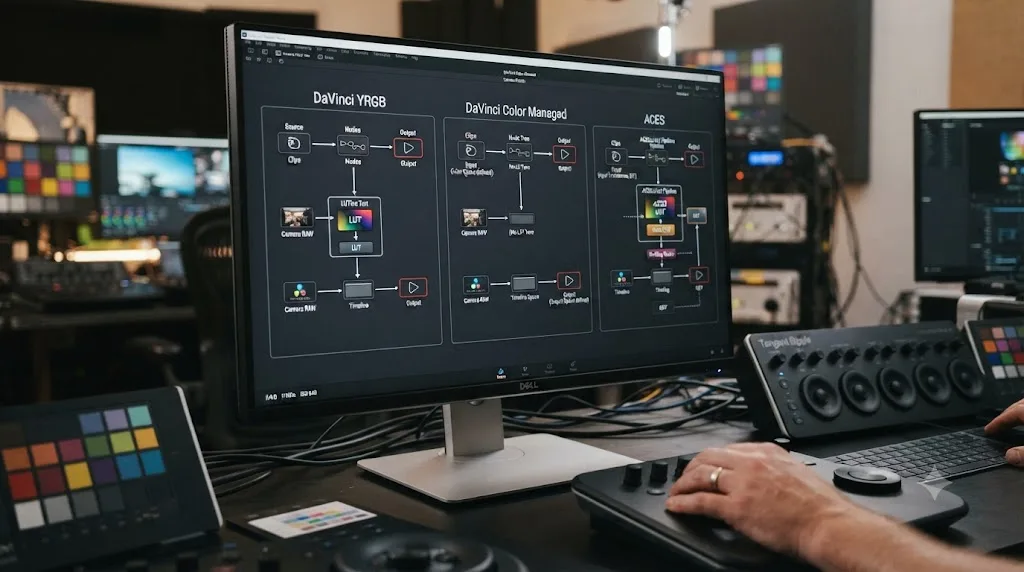
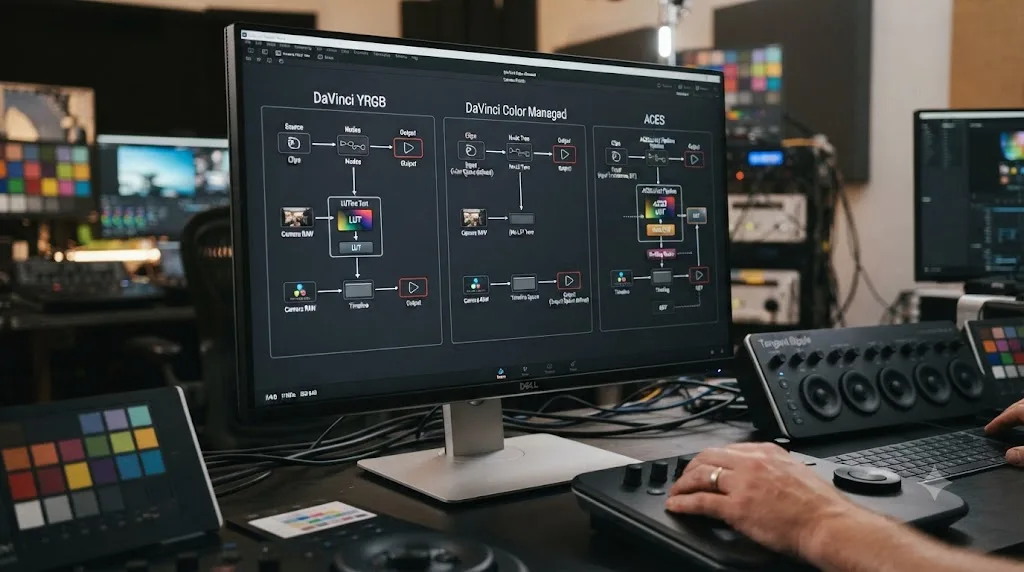
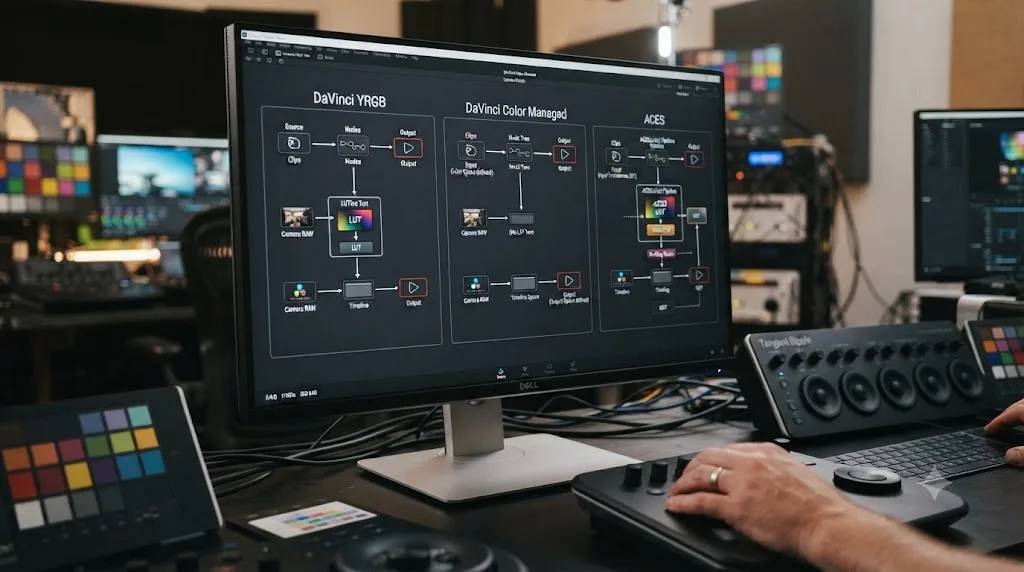
DaVinci Resolve grades in one of three fundamentally different modes: DaVinci YRGB, the traditional mode with no automatic color space conversion; DaVinci YRGB Color Managed, which uses Resolve Color Management to automatically transform footage from its source color space into a common working space and back out to your chosen delivery space; and ACES, the industry-standard color management framework used on larger productions. A LUT built to expect one of these pipelines can produce a plausible-looking, but technically wrong, result when it's actually running inside a different one, and the gap between "plausible in a quick preview" and "correct in a properly tagged final export" is exactly where this specific mismatch lives.
Cullen Kelly, a Los Angeles-based colorist whose credits include work for Netflix, HBO, and Hulu, describes the two-step logic behind Resolve's color-managed pipeline in a guide for Frame.io: "The first step is to get our image into a common working color space, or what Resolve sometimes calls a timeline color space," followed by a second step where "we go from a working color space out to a display color space," in his walkthrough of color managing with nodes. Kelly builds his own workflow around DaVinci Wide Gamut Intermediate as that common working space regardless of source camera, and notes that his own LUT packs "expect to receive and return DaVinci Wide Gamut Intermediate" specifically, not raw camera log or a display-referred space.
That's the crux of the mismatch. A LUT built to expect DaVinci Wide Gamut Intermediate as its input, applied instead directly to raw camera log footage inside a plain DaVinci YRGB project with no color management engaged, still produces an image. It's just not the image the LUT's creator designed it to produce, and depending on how far off the input assumption is, that error can range from a subtle color cast that's easy to miss on a quick preview glance to an obviously wrong result once you're actually scrutinizing the export against a reference.
Miracamp's 2026 color space guide sums up the practical recommendation most editors land on: "DaVinci Wide Gamut Intermediate → Rec.709 Gamma 2.4 remains the best all-around setup" for standard SDR delivery, per their breakdown, using Resolve Color Management to handle the input and output transforms automatically rather than leaving footage in its native camera color space and hoping a LUT built for a different assumption happens to still look right.
| Mode | What it does automatically | Where a LUT can go wrong |
|---|---|---|
| DaVinci YRGB | No automatic color space conversion; you manage everything by hand | A LUT built for a specific working space gets applied to whatever raw color space your footage happens to already be in |
| DaVinci YRGB Color Managed | Transforms footage into a working space, then out to your chosen output space | Usually the safest for LUTs built around DaVinci Wide Gamut, as long as your LUT's node sits after the input transform |
| ACES | Industry-standard managed pipeline with its own working space (ACEScct) | LUTs built for a non-ACES pipeline need explicit conversion before they behave correctly inside ACES |
A LUT is only ever as correct as the color space it thinks it's receiving, and DaVinci Resolve will happily apply a Rec.709-expecting LUT to unconverted camera log without complaint. No warning, no error, just a result that's technically wrong and often close enough to plausible that it survives a quick preview glance and only falls apart once you're comparing the export against a real reference. If you haven't already, our guide to color grading basics covers building a node chain around this exact input-then-correction-then-output structure from scratch.
Is the LUT applied at the wrong point in the node chain?
Even with data levels, tags, and color management mode all correct, a LUT sitting in the wrong spot in your node chain produces a real difference between "looks fine at a glance" and "matches what the file is actually supposed to be," and it's worth ruling out before you assume the mismatch is purely a display or metadata problem.
A technical LUT does a defined, mathematical conversion, camera log into a standard viewing space, and belongs early in the chain, applied to normalized or near-raw footage before any creative decisions get made. A creative LUT is an aesthetic opinion layered on top of footage that's already been balanced, and it belongs at the very end of the chain, after your primary corrections, not before them. Apply a creative LUT to raw, unbalanced log footage instead, and it amplifies whatever's technically wrong with the underlying image rather than hiding it, producing a result that can look close enough in a fast preview scrub but reads as clearly off once you're studying a finished export side by side with reference footage.
This isn't a new problem specific to preview-versus-export mismatches, and our guide to installing LUTs in DaVinci Resolve covers the node-order mistake in more depth as one of the most common reasons a correctly installed LUT looks wrong at all, mismatch or not. What's specific to this guide's problem is how node-order errors interact with the tagging and levels issues covered above. A slightly-off LUT placement can produce a result that's close enough to correct that a Data Levels or gamma tag problem stacked on top of it becomes much harder to isolate, because you're now troubleshooting two compounding issues at once instead of one.
The fastest way to rule this specific cause out: toggle your LUT node off and on with Ctrl+D (Windows) or Cmd+D (Mac) while watching the waveform and vectorscope, and confirm the change the LUT makes matches what you'd expect for a technical conversion or a creative look, whichever type it actually is. If the LUT's effect on the scopes looks wrong even in isolation, before you've touched a single Deliver page setting, fix the node order first. Everything else in this guide assumes the grade itself is already correct and the mismatch is purely downstream of it.
Node order errors and export metadata errors produce similar-looking symptoms, muddy or shifted color, but they live in completely different parts of the pipeline, and fixing one won't touch the other. Isolate which one you actually have with the scopes before you start changing Deliver page settings that might not need changing at all.
Are proxies or optimized media showing you a different LUT than the original files will render?
If you're cutting on proxies, especially with a RAW format like Blackmagic RAW, there's a specific version of this mismatch that has nothing to do with tags, levels, or color management modes at all.
A LUT applied through camera RAW settings at the clip level, on the original RAW clip, doesn't automatically carry over to a generated proxy file the same way. Proxies are a separate, independently transcoded copy of your footage, and metadata-level adjustments made to the original clip's camera RAW settings after that proxy was generated don't retroactively bake themselves into the proxy. A thread on Blackmagic's own forum documents exactly this pattern in a multicam BRAW workflow, where a LUT applied through camera RAW settings on the original clips simply didn't show up during proxy playback, per that discussion. Editing on the proxy shows you one look; switching Resolve's Playback settings to use the original or optimized media instead shows you a different one, because the two files genuinely carry different baked-in adjustments.
The practical fix mirrors advice that shows up throughout this guide: don't rely on clip-level camera RAW adjustments as your source of truth for a look you need to be consistent across proxy and original media. Apply the LUT as a node on the Color page instead, at the timeline or group level rather than baked into an individual clip's RAW metadata. A node-level LUT applies identically regardless of which underlying media Resolve happens to be playing back at that moment, proxy or original, because it's part of the grade rather than part of the source file's decode settings.
Before you conclude a mismatch is proxy-related, confirm it actually is: open Playback in the menu bar and check whether "Use Optimized Media if Available" or a proxy-preferring setting is active. If your preview during editing consistently uses proxies and your final render always uses original camera files, and your look was set up at the clip level rather than on a node, that's your answer, and it has nothing to do with any of the export settings covered earlier in this guide.
A look baked into a proxy's clip-level camera RAW settings and a look baked into a project-level node are not the same kind of adjustment, and only one of them survives the switch between proxy and original media identically. Build LUT-based looks as nodes specifically when consistency across your editing and delivery media matters, which is most of the time.
Why does the Fusion page look different from the Color page and the final render?
This one surprises people who've never had a reason to notice it before, and it's worth understanding even if you rarely touch Fusion, because it's easy to misdiagnose as a LUT problem when it's actually a monitoring quirk specific to one page of the application.
The Fusion page doesn't render its viewer in your timeline's color space at all. Daria Fissoun, writing for Mixing Light about exactly this behavior, explains that the Fusion page "uses the VFX standard of sRGB Linear as its output," which means "your images on the Fusion page look different from the rest of the software when you're working in Fusion with DaVinci Color Managed or ACES enabled," per her breakdown of monitoring DaVinci Wide Gamut inside Fusion. That's a deliberate design choice, not a bug. sRGB Linear is the standard working space assumption across most VFX and compositing tools, so Fusion's tools and math expect footage in that format regardless of what color management the rest of your Resolve project is running.
Practically, this means a LUT applied downstream of a Fusion composition, or a clip you're viewing while parked on the Fusion page with a project-level LUT active, can look genuinely different there than it does back on the Color page or in your rendered export, even though nothing about the underlying grade or LUT has changed at all. It's the same category of problem as the Mac display color profile setting covered earlier: a monitoring difference, confined to one specific viewing context, that never touches the actual pixel data your export produces.
The practical rule is simple once you know it exists: never judge a LUT's real, final output from inside a Fusion composition's own preview. Finish evaluating color work on the Color page or by checking the actual rendered export, and treat anything you see on the Fusion page as useful for compositing work specifically, not as a reliable preview of your final graded look.
The Fusion page is a compositing environment wearing DaVinci Resolve's interface, and it monitors color the way compositing tools do, not the way the Color page or your final delivery does. If your LUT mismatch only shows up while you happen to be parked on the Fusion page, you've already found your answer, and it isn't a bug worth chasing any further.
What if you're exporting the LUT file itself, not a video, and it doesn't match?
There's a second, completely different meaning of "export" hiding inside this same search, and if you're actually generating a .cube file from your grade rather than rendering a video, the cause of a mismatch is different from everything covered so far.
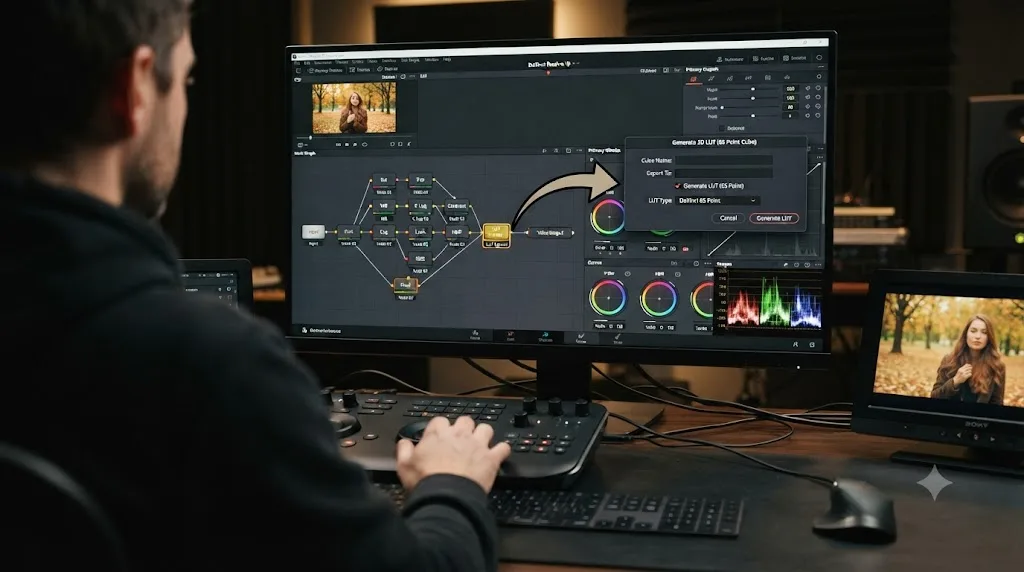
When you right-click a node or clip on the Color page and choose Generate LUT, Resolve doesn't bake your entire grade into that file. According to Resolve's own reference manual, the software combines only "Primaries palette adjustments, Custom Curves palette adjustments, and compatible ResolveFX plugins that include Color Space Transform, ACES Transform, and Gamut Mapping" into the resulting lookup table, per the manual's section on exporting LUTs. Everything else gets silently dropped: "any nodes that use Qualifiers, Windows, incompatible filtering operations (such as sharpening or blurring), or incompatible Resolve FX or Open FX will be completely ignored, as will all other correction operations made within these nodes."
That's not a bug or an export failure. It's a structural limit on what a LUT can even represent. A 3D lookup table is a pure color-to-color mapping, every possible input color maps to exactly one output color, with no concept of position, selection, or neighboring pixels. A qualifier that keys a specific color range, a power window that masks a region of the frame, and a blur or sharpen filter that reads neighboring pixel data all depend on information a LUT structurally cannot encode. Include any of them in a node you're exporting, and that node's contribution to the final LUT simply disappears, no warning dialog, no partial translation, just gone.
If your grade on the Color page includes a qualifier isolating skin tones, or a power window vignetting the edges of frame, and you generate a LUT from that same node chain, the exported .cube file will never reproduce what you were actually seeing while you graded. Load that LUT elsewhere, in another project, another app, or hand it to a colleague, and it will look flatter and less finished than your original grade, because the spatial and keyed work that made the original look complete never made it into the file at all.
The fix here isn't a settings toggle. Build the specific look you intend to export as a LUT using only Primaries, Custom Curves, and Color Space Transform on the nodes you're actually generating from, and keep any qualifier or window-based work on separate nodes you exclude from the LUT generation. Our guide to creating a custom LUT in DaVinci Resolve walks through this exact workflow, including how to pick a grid size and verify the result, in more depth than fits here.
A LUT file can only ever encode what a pure color-to-color transform is capable of representing, and no amount of correct export settings will make a qualifier or a power window survive the translation. If this is your specific mismatch, exporting to a different setting won't help. Restructuring which nodes you're generating from will.
Does this differ between the free version and Studio?
No, and this is worth confirming directly because it's a natural assumption when something looks like a bug: that the paid version somehow handles color pipeline settings more carefully than the free one does.
Data Levels, Color Space and Gamma tags, the Mac display color profile setting, DaVinci Resolve Color Management, and the node-level structure of LUT application all work identically in the free version of DaVinci Resolve and in Studio. None of these are features gated behind a Studio license. Neither Blackmagic's free-version product page nor its Studio product page lists any of this pipeline as a paid-only capability. Studio's actual color-specific additions are narrower and more specialized: Dolby Vision and HDR10+ mastering tools, the DaVinci Neural Engine's AI-assisted grading features, and DaVinci Color Transform Language scripts, none of which have any bearing on why a standard SDR LUT preview doesn't match a standard SDR export.
| Component of this mismatch | Free version | Studio |
|---|---|---|
| Data Levels setting | Full control, identical behavior | Full control, identical behavior |
| Color Space / Gamma tags | Full control, identical behavior | Full control, identical behavior |
| Mac display color profile setting | Available, identical behavior | Available, identical behavior |
| DaVinci Resolve Color Management (RCM) | Fully available | Fully available |
| Node-level LUT application | Fully available | Fully available |
| Generate LUT / Export LUT | Fully available, same exclusion rules | Fully available, same exclusion rules |
If you're on the free version fighting this exact problem, upgrading to Studio changes nothing about it, because every setting involved in a LUT preview-versus-export mismatch already exists identically in both versions. Spend the upgrade money on something that actually matters to your workflow, like Dolby Vision delivery or the Neural Engine's AI tools, not on a hope that Studio somehow tags export metadata more carefully.
How do you verify an export is correct instead of guessing?
Every fix in this guide has a version you can actually test, rather than applying a setting and hoping, and building that test into your habit is worth more than memorizing any single checkbox's correct state.
The reimport method, mentioned earlier, is the core of it. Export a short clip, ten to thirty seconds is plenty, using your real delivery settings. Bring that exported file back into Resolve on a fresh timeline, with no grade of any kind applied, and compare its waveform and vectorscope readings against what the original graded timeline showed for the same frames. A genuine match confirms your render pipeline is producing correct pixel data, which tells you immediately that any remaining visible difference lives entirely in playback or display, not in the file itself.
Testing on the actual delivery platform matters just as much as testing the raw pixel data, and it's the step people skip most often because it's slower than a quick scopes comparison. Resolve's own viewer, QuickTime Player, VLC, a web browser, and YouTube's own player can each interpret the same file's metadata slightly differently, and the only way to know your export actually looks right where it's actually going is to check it there. A file that scopes correctly on reimport but still looks subtly off in a browser is telling you something real about how that specific platform reads your tags, not that your export itself is wrong.
Keep a short reference clip with known, deliberately extreme values, pure black, pure white, a saturated primary color, at the head of any project where color accuracy genuinely matters, and export it alongside your real deliverable. It gives you an unambiguous, at-a-glance check on levels and gamma interpretation that a normally graded shot can't provide as clearly, because a graded shot's blacks are creative choices while a reference clip's blacks are supposed to be exactly zero.
A grade that "looks right" on your own monitor is a guess until you've confirmed it on the scopes and on the actual platform it's shipping to, and every fix in this guide is only as good as the test you use to confirm it worked. Build the habit once, on one project, and it stops being a chore and starts being the fastest way to catch this entire category of problem before a client or a platform catches it for you.
What's the right order to check these fixes in?
Work through this list top to bottom. Most people find their answer in the first three steps, and each one takes less time than the one after it.
- Confirm the pixels themselves are correct. Export a short test clip, reimport it to a fresh timeline, and compare scopes against your original grade. If they match, the problem is entirely downstream of the render.
- Check the Deliver page's Color Space Tag and Gamma Tag under Advanced Settings, and confirm they actually match your timeline's real output color space rather than trusting "Same as Project" blindly, especially if you're using a per-timeline RCM override.
- Set Data Levels to Auto if it isn't already, and only override it manually after you've confirmed through testing that Auto produces a wrong result for your specific delivery target.
- On a Mac, test "Use Mac Display Color Profile for viewer" in both states, comparing against QuickTime Player each time, and keep whichever state actually matches.
- Confirm your project's color management mode, DaVinci YRGB, Color Managed, or ACES, matches what your LUT was actually built to expect as input.
- Toggle the LUT node on and off while watching the scopes to confirm it's placed correctly in the node chain relative to your other corrections.
- If you're cutting on proxies, switch Playback to original or optimized media and see whether the mismatch disappears; if it does, move any clip-level LUT work onto a node instead.
- If your mismatch only appears while parked on the Fusion page, stop judging final color there entirely, and check the Color page or the actual render instead.
- If you're exporting a .cube LUT file rather than a video and it doesn't reproduce your grade, check which nodes you're generating from for qualifiers, windows, or unsupported filters.
Each step isolates a different layer, deliberately, in order of how often it turns out to be the actual cause. The reimport test and the Deliver page tags together account for the large majority of reports like this one. Data Levels and the Mac display profile setting come next. Color management mode, node order, proxies, and the Fusion page are real but less common, and the LUT-file-specific export limitation only applies if you're generating a .cube file rather than rendering video at all.
How do you stop this before your next export?
Every fix above has a version that happens before you ever click Render, and building it into your workflow costs a few minutes on setup for a project instead of an evening of troubleshooting later.
Set your Deliver page's Color Space and Gamma tags explicitly, once, at the start of a project, rather than leaving "Same as Project" to quietly track a setting you might change later on a specific timeline. If a timeline's RCM output ever needs to differ from the project default, update the Deliver page tags for that timeline's render job at the same time, not as an afterthought once the render already looks wrong.
Pick your color management mode deliberately before you start grading, not partway through once a LUT stops behaving the way you expect. Decide whether a project is running plain DaVinci YRGB, Color Managed, or ACES on day one, and confirm any LUT you plan to use was built for that same pipeline before you build your grade around it.
Keep a short reference clip, the one described in the verification section above, in every project template you use for color-sensitive work. Exporting it alongside your real deliverable costs nothing and gives you an instant, objective check the moment a render finishes, rather than discovering a mismatch after a client already has the file.
If you're on a Mac, settle the "Use Mac Display Color Profile for viewer" question once, test it properly against QuickTime Player, and leave it in whichever state you confirmed is correct. Don't toggle it back and forth between projects based on a forum thread you half-remember; the correct state depends on your specific monitor and your specific tagging setup, and you already have the two-minute test that tells you which one that is.
And if your workflow genuinely moves between proxies and original media on RAW footage, build LUT-based looks as nodes on the Color page from the start, rather than as clip-level camera RAW adjustments that only travel with whichever specific file you applied them to.
The fastest path to a preview and export that actually match
Start with the reimport test, because it answers the single most important question in under two minutes: is your render actually correct, or is the problem purely downstream of it. From there, the Deliver page's Color Space and Gamma tags catch the largest share of remaining cases, especially in projects using a per-timeline RCM override where "Same as Project" quietly means something different from what you'd expect. Data Levels, set to Auto unless you've proven otherwise, and the Mac display color profile setting on macOS specifically, cover most of what's left. Color management mode, node order, proxies, and the Fusion page's sRGB Linear monitoring round out the list for the less common cases. And if you're generating a .cube file instead of rendering video, the mismatch is a structural limit on what a LUT can encode, not a settings problem at all.
If what's actually eating your time isn't knowing which of these settings to check, but finding them inside Resolve's interface in the first place, that's a narrower, more familiar problem. TryUncle is an AI tutor for DaVinci Resolve on macOS. Ask in plain words, and Uncle points at the exact control on your screen, whether that's the Advanced Settings panel on the Deliver page or the Color Management tab buried in Project Settings. It's a paid app at founder pricing, not a replacement for understanding your color pipeline, but it's built for exactly the moment you know a setting exists somewhere in Resolve and can't remember which menu it's hiding in. Other tools in this space, like Sottocut, PremiereCopilot, heyeddie.ai, and cutagent.ai, mostly automate edits or answer chat questions about your footage after the fact. TryUncle instead watches your actual screen while you're working and points at the live control, which is a different job than any of them are doing. Ask TryUncle for the current founder rate if that gap is what's actually slowing you down. For everything else, the reimport test and the Deliver page's Color Space and Gamma tags, checked in that order, will find your answer faster than anything else in this guide.
Frequently asked questions
- Why does my DaVinci Resolve export look washed out compared to the viewer?
- Almost always a Data Levels or gamma tag mismatch, not the LUT. If your export plays washed out in QuickTime Player or a browser but looks right in Resolve's own viewer, set Data Levels to Auto on the Deliver page and confirm the Color Space and Gamma tags under Advanced Settings actually match your timeline's output color space instead of defaulting to Project Settings.
- Why does my export look darker or more contrasty than what I saw in Resolve?
- This is the mirror image of the washed-out problem: a full-range file getting played back as if it were video-range, which crushes blacks and clips highlights. Export a short test clip, pull it back into a fresh Resolve timeline, and check the scopes. If the reimported clip's black level sits above 0 or its white level sits below 100, your Data Levels setting doesn't match what your delivery player expects.
- Should I use Rec.709 Gamma 2.4 or Rec.709 (Scene) when I export from DaVinci Resolve?
- For most web delivery, Rec.709 (Scene) is the safer default because it automatically sets the color space and gamma tags in the file's metadata to the values most players actually respect. Rec.709 Gamma 2.4 is technically identical math but leaves more room for a tagging mismatch, since some export chains don't apply the tag consistently even when the underlying gamma curve is correct.
- Does the free version of DaVinci Resolve have this same preview-versus-export problem?
- Yes. Data Levels, Color Space and Gamma tags, and the Mac display color profile setting all exist identically in the free version and Studio, because none of them are gated features. The mismatch is a pipeline and settings issue, not a paywall, so upgrading to Studio will not fix a LUT that previews differently than it exports.
- Why does a LUT look right on the Color page but wrong after Fusion effects?
- The Fusion page renders in sRGB Linear, a VFX standard, rather than your timeline's color space, so anything you view on the Fusion page while a LUT is active downstream can look different there than it does back on the Color page or in your final render. This is a monitoring difference inside Fusion, not a change to your actual output, and it resolves itself once you're viewing the Color page or Deliver page again.
- Should Data Levels on the Deliver page be set to Video, Full, or Auto?
- Leave it on Auto for nearly every delivery codec, since Resolve knows the levels convention each container and codec expects and applies it automatically. Only override to Video or Full manually when you've confirmed, through an export-and-reimport test, that Auto is producing a file your specific downstream software or platform is misinterpreting.
- Does turning off 'Use Mac Display Color Profile for viewer' help on Windows too?
- No, because the setting itself doesn't exist as a meaningful toggle on Windows the way it does on macOS. It controls whether Resolve routes its viewer output through Apple's ColorSync display management, which is a Mac-specific display pipeline. Windows editors chasing a preview-versus-export mismatch should look at Data Levels and the Deliver page's Color Space and Gamma tags instead.
Sources
- LUTs, Tags, or ICC: Getting Colours Right in Resolve on a Mac (Digital Production)
- Gamma, Gamut, Levels, and Best Practices for Approaching Color Management With DaVinci Resolve, interview with Shawn Carlson (Fstoppers)
- How to Color Manage using Nodes in DaVinci Resolve, featuring colorist Cullen Kelly (Frame.io Insider)
- Contrast issues in DaVinci Resolve on Macs (Time in Pixels)
- Best Color Space for DaVinci Resolve, 2026 Ultimate Guide (Miracamp)
- Full Levels and Video Levels Explained! (The Post Process)
- Fusion Monitoring: Accurately Monitoring DaVinci Wide Gamut (Mixing Light)
- Blackmagic Design Forum: Best fix for washed out exports?
- Blackmagic Design Forum: Braw Multicam workflow issue, regarding LUTs & Proxies
- DaVinci Resolve 18.6 Reference Manual: Exporting LUTs (Blackmagic Design, mirrored)
- DaVinci Resolve product page (free version)
- DaVinci Resolve Studio product page
Put this guide to work with TryUncle.
Ask about the step you’re on. TryUncle sees your screen and points at the control you need, so you can keep learning in your own project.
Get TryUncle for Mac or WindowsKeep reading
Guides · Jul 10, 2026 · 26 min
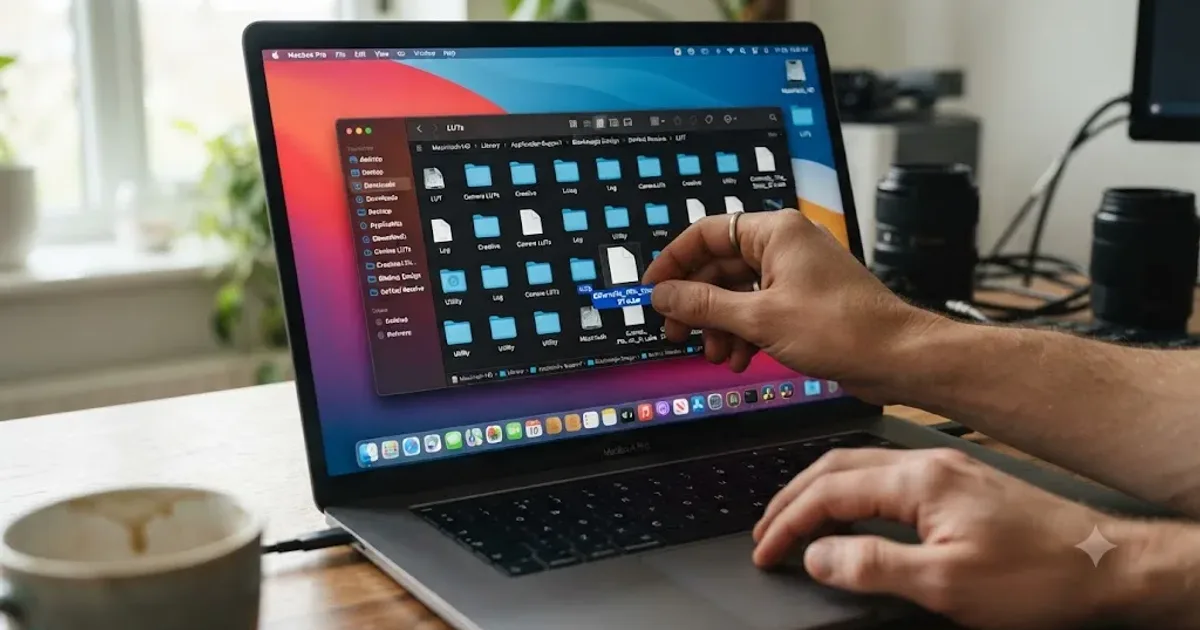
How to Install LUTs in DaVinci Resolve: Folders and Fixes
Install LUTs in DaVinci Resolve: find the real LUT folder, apply them to a node instead of a clip, and fix the LUT-not-showing-up refresh bug for good.
Guides · Jul 13, 2026 · 30 min
How to Create a Custom LUT in DaVinci Resolve (Full Guide)
Build a custom LUT in DaVinci Resolve from your own grade: Generate 3D LUT, pick a grid size, know what qualifiers and windows do to the export, test it right.

Guides · Jul 7, 2026 · 35 min
How to Color Grade in DaVinci Resolve: The Basics
Learn how to color grade in DaVinci Resolve: build a node chain, balance shadows and highlights with Lift, Gamma, and Gain, and read the scopes.