Articles / Comparisonsupdated for DaVinci Resolve 21.0 (June 2026)
DaVinci Resolve Cut Page vs Edit Page: The Real Differences
Quick answer
The Cut page is a stripped-down editor built for speed: a source tape, a dual timeline, and one-click smart edits, tuned for fast turnarounds and the Speed Editor. The Edit page is the full timeline with tracks, the Inspector, and precise trim tools for longer or more complex projects. Both share the same timeline, so you can switch anytime.
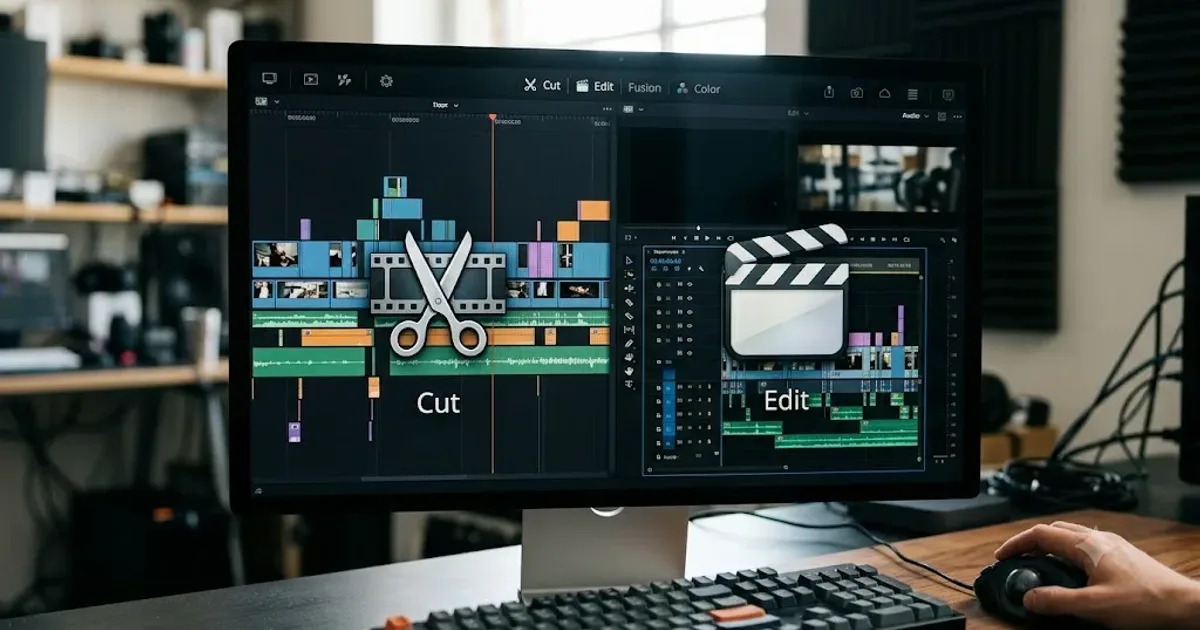
Open a new DaVinci Resolve project and the page bar at the bottom gives you two editing homes, not one: Cut and Edit. They sit right next to each other, they open the same timeline, and nothing in the interface tells you which to pick. That ambiguity is the whole problem this page solves.
I'm not going to tell you Cut is for beginners and Edit is for professionals, because that's not true and it never was. The real split is speed versus control, and once you see where each page actually earns its keep, the choice stops being a guess.
What is the Cut page built for?
Speed. That's the entire design brief. Blackmagic introduced the Cut page in DaVinci Resolve 16, back in April 2019, alongside a purpose-built hardware panel called the Speed Editor, and both shipped with the same goal: get an editor from raw footage to a finished export with the fewest possible interruptions, according to No Film School's coverage of the announcement.
Everything on the page reflects that brief. A source tape replaces bin-browsing with visual scrolling. A dual timeline replaces the zoom-in-zoom-out cycle every editor knows too well. A Smart Indicator suggests where a clip should land instead of making you set explicit in and out points first. According to Blackmagic's own Cut page, the goal is a page where "everything is live" and most tasks resolve in a single click.
The Cut page isn't a simplified Edit page, it's a different editing philosophy built around momentum. Where Edit asks you to plan a shot before you place it, Cut assumes you'll try it, see it, and adjust, all without leaving the timeline view. Blackmagic's own materials describe it as suited to "long form episodic television programming, documentaries and corporate videos or fast turn music videos and television commercials," per the official Cut page, which tells you this was never meant as training wheels. It was meant for people with a deadline in an hour.
What is the Edit page built for?
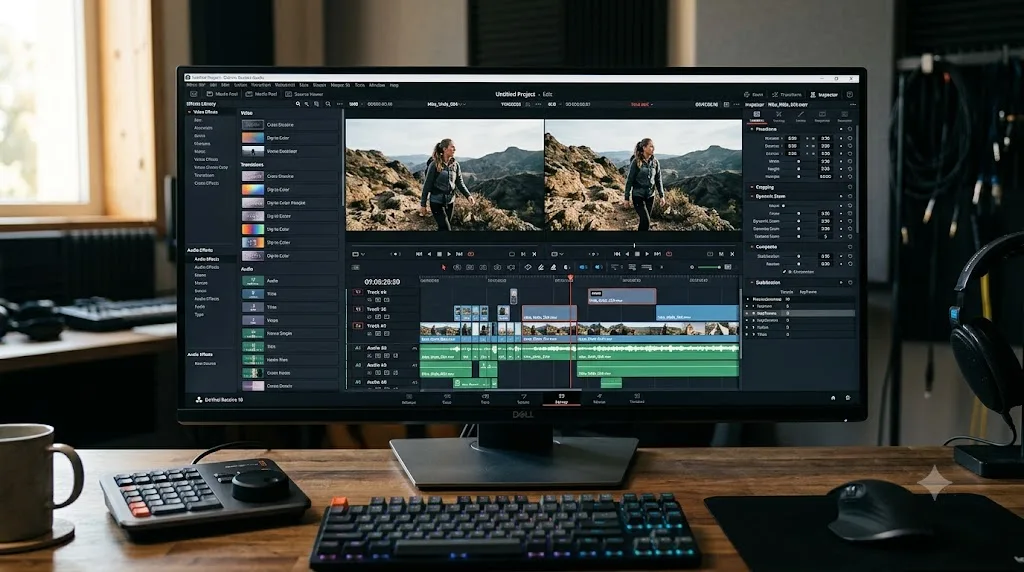
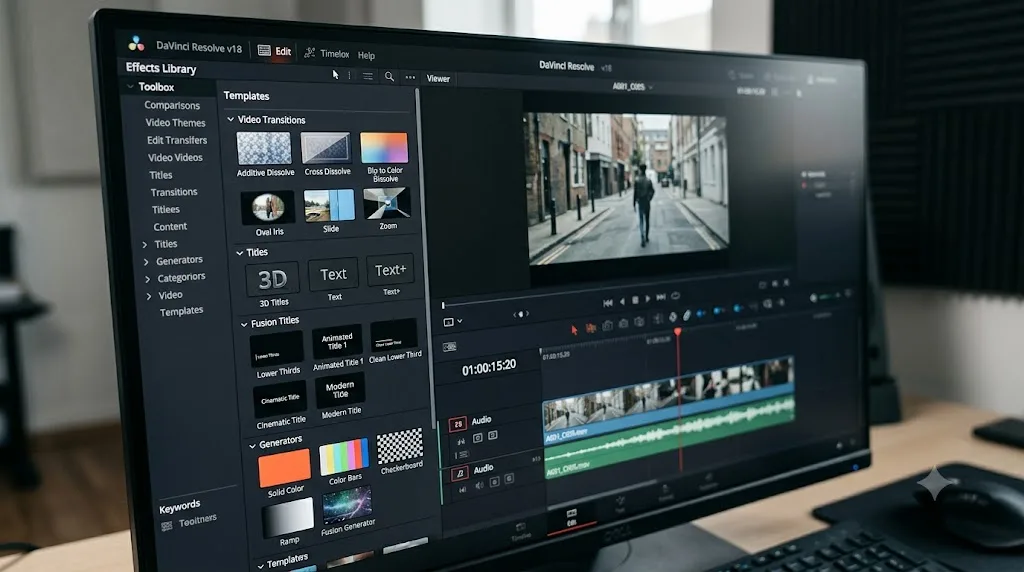
Control. Where Cut compresses decisions, Edit exposes every one of them. It's the timeline you'd recognize instantly if you've used Premiere Pro, Final Cut, or Avid: a full multi-track stack, an Effects Library on the left for transitions and titles, and an Inspector on the right that shows every adjustable property of whatever clip you've selected.
Blackmagic pitches it as a page "designed to be easy and intuitive for new users, yet powerful enough to give professional editors all the tools and control they need," according to the official Edit page. That's a wide claim, and it holds up because the page scales with the project rather than with the user. A single-clip cut and a forty-track feature film both live comfortably on Edit; only one of them would ever fit comfortably on Cut.
The Edit page also carries structural weight the rest of Resolve depends on. Multicam grouping, the full Effects Library, seven distinct three-point and four-point editing modes (Insert, Overwrite, Replace, Fit to Fill, Place on Top, Append at End, and Ripple Overwrite, per Blackmagic's Edit page listing), and the track-based model that Color, Fairlight, and Deliver all assume you already understand: all of that lives here. Nearly everything you learn on the Edit page transfers to the Cut page. The reverse isn't quite as true.
What's the full side-by-side comparison?
Here's every meaningful difference in one table, so you can scan it once instead of hunting through the sections below.
| Feature | Cut page | Edit page |
|---|---|---|
| Primary goal | Speed, fast turnarounds, one-click edits | Precision, complex projects, full control |
| Timeline layout | Dual timeline: full-program overview above, zoomed work area below | Single multi-track timeline, no built-in overview strip |
| Footage browsing | Source tape: scroll all clips as one continuous strip | Media Pool with bins, Smart Bins, and metadata columns |
| Placing a clip | Smart Indicator suggests the edit point; one-click Smart Insert, Append, Place On Top | Explicit in/out points plus dedicated Insert, Overwrite, Replace, Fit to Fill, and other modes |
| Trimming | Automatic trim tool switches by cursor position, plus an A/B trimmer in the viewer | Trim Edit Mode (T) with roll, slip, slide, and ripple by mouse position |
| Multicam | Sync Bin scrubs synced angles for quick cutaways | Full multicam viewer grid, 4, 9, 16, 25 or more cameras at once |
| Clip adjustments | Quick controls without opening a separate panel | Full Inspector exposing every property of the selected clip |
| Effects, transitions, titles | Minimal; enough for a basic cut | Full Effects Library: transitions, Text+/Fusion titles, generators, OpenFX plugins |
| Export | One-click Quick Export button built into the page | Quick Export plus the full Deliver page for render queues and presets |
| Hardware fit | Co-designed with the Speed Editor and Editor Keyboard panels | Works with any keyboard and mouse; no dedicated hardware panel |
| Keyboard preset | "DaVinci Resolve Cut" preset, tuned for this page's tools | "DaVinci Resolve" default preset |
| Underlying data | Same project timeline and media pool as Edit | Same project timeline and media pool as Cut |
| Best fit | Vlogs, social clips, single-operator news turnarounds, rough assembly | Documentaries, narrative work, multi-editor teams, anything needing fine trim control |
Cut and Edit read every clip from the same project database, so a choice between them is never a choice between two different projects. That single fact is the reason this decision feels lower-stakes than it looks; picking wrong costs you a few minutes of re-orientation, not a rebuild.
How is the timeline different between Cut and Edit?
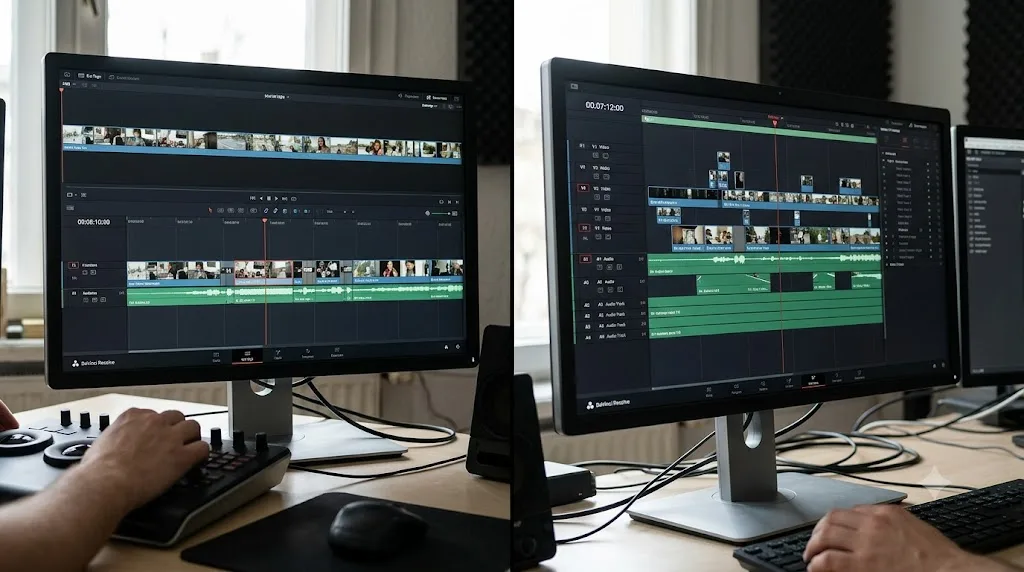
This is the single biggest visual difference between the two pages, and it changes how you think about a cut, not just how it looks.
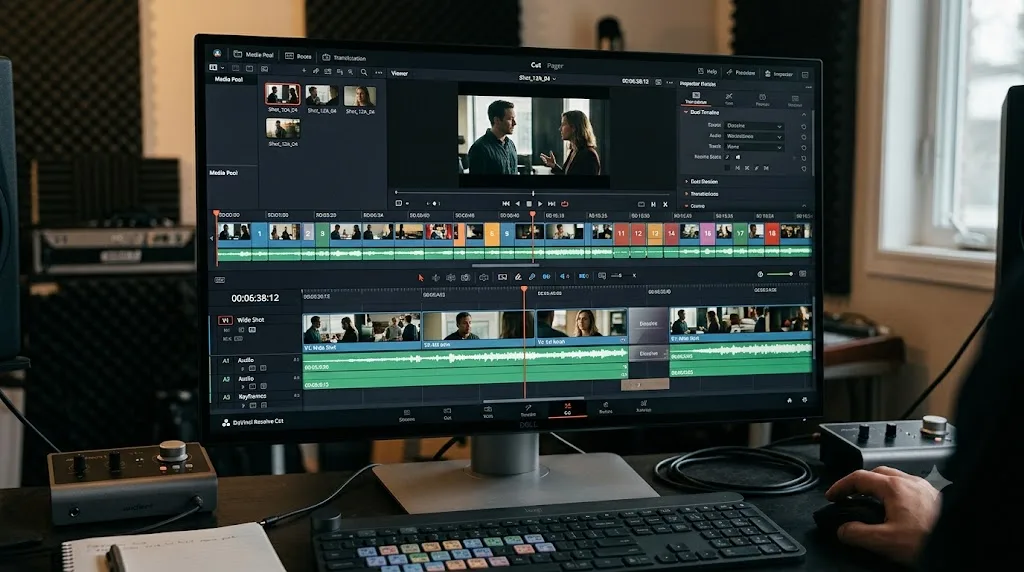
The Cut page runs two timelines stacked on top of each other. The upper one shows your entire program compressed to fit the window, a bird's-eye view of the whole edit. The lower one zooms into whatever section you're currently working, showing individual frames and clip boundaries clearly. Both are fully functional: you can trim, move, and select clips in either one, and Blackmagic built this specifically to kill the scroll-zoom-scroll cycle that eats time on long assemblies, per the official Cut page.
The Edit page runs a single timeline, full stop. It's the one most editors already know: horizontal tracks stacked vertically, video on top, audio below, a ruler along the top for navigation, and zoom controls (Shift+Z to fit the whole edit, scroll-wheel or the zoom slider for everything else) that you operate manually. There's no built-in overview strip. If you want to see the whole timeline and a detail view at once, you either zoom out repeatedly or open a second timeline viewer window, which the Cut page gives you automatically and for free.
Neither approach is objectively faster in general. The dual timeline wins on long assemblies where you're constantly checking pacing against the whole. The single timeline wins the moment you need more than a couple of video tracks, because Cut's compact layout doesn't have room to show a deep track stack the way Edit's does.
What editing tools does Cut have that Edit doesn't?
Three tools exist only on the Cut page, and each one solves a specific kind of friction.
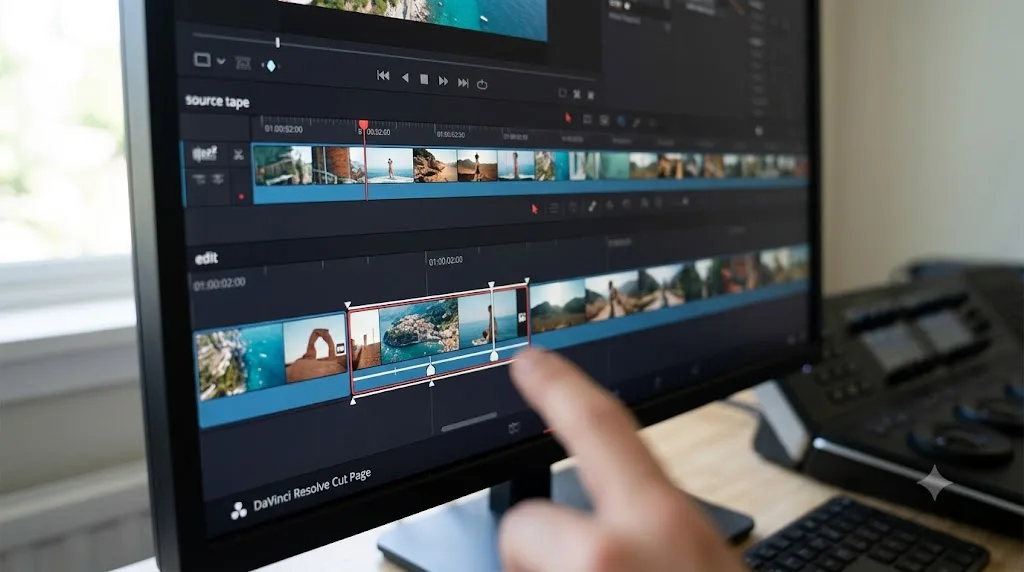
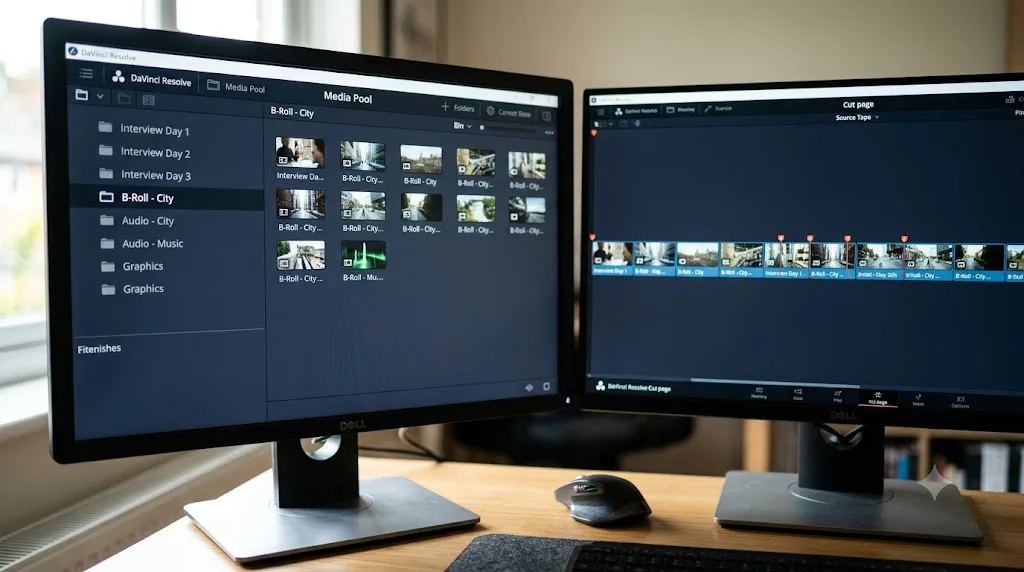
The source tape. Instead of double-clicking clips one at a time to preview them, the Cut page's viewer can display every clip in the current bin as one continuous horizontal strip. You scroll through it visually, the same motion as scrubbing a single clip, and mark in and out points as you go. For a pile of unsorted footage, that's a genuinely different (and often faster) way to find the shot you want than clicking through a Media Pool grid.
The Smart Indicator and one-click smart edits. Rather than setting explicit source and record in/out points before every edit, Cut highlights where a clip will land based on your current selection and playhead position, then lets you commit with a single click: Smart Insert drops it at the nearest logical edit point, Append at End adds it to the tail of the timeline, and Place on Top drops it onto a track above whatever's already there. Ripple Overwrite and Source Overwrite round out the set for synchronized cutaway work.
The Sync Bin. For projects with multiple synced angles, Sync Bin shows every angle that lines up with your current timeline position, letting you audition and drop in cutaways without leaving the timeline to hunt through a multicam clip.
None of these three exist in the same form on Edit. You can approximate the effect of the source tape by browsing the Media Pool with thumbnails on, and you can approximate Smart Insert with the F9 Insert shortcut once you've set in and out points manually, but the one-click, no-setup version is Cut's alone.
What tools does Edit have that Cut doesn't?
The list runs longer in this direction, and it's the reason most editors eventually land on Edit as their default home even if they visit Cut for specific tasks.
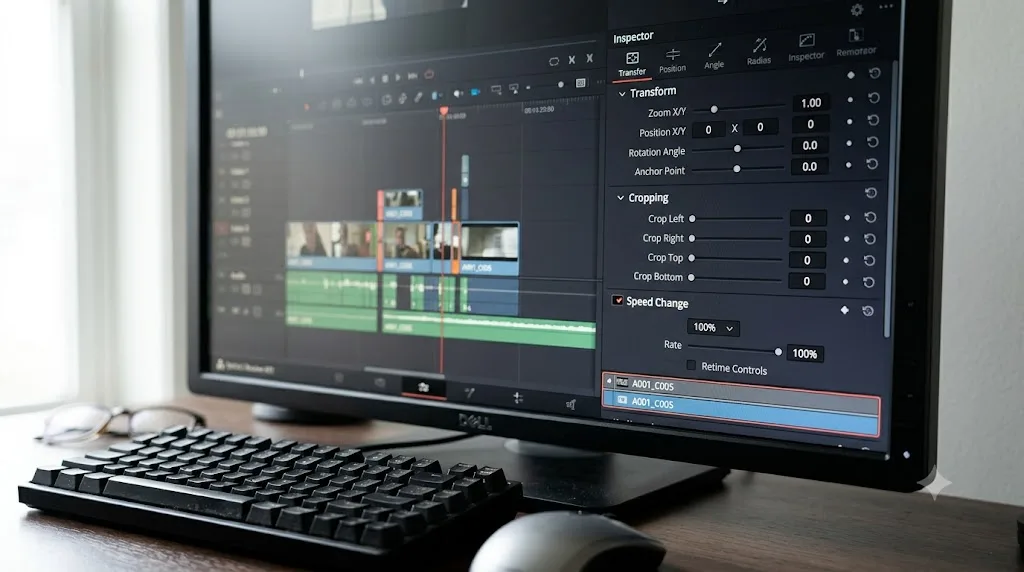
The full Inspector. Every clip on the Edit page has a dedicated panel showing every adjustable property: transform (position, zoom, rotation), cropping, dynamic zoom keyframes, stabilization, speed change, audio levels and EQ, and any applied OpenFX plugin settings, all in one place, without a dialog closing your viewer. Cut gives you quick versions of some of these controls, but nowhere near the same depth, and reaching for anything advanced usually means switching pages anyway.
The full Effects Library. Transitions beyond a basic dissolve, Fusion-powered Text+ titles with real animation control, generators (solid colors, bars, gradients), and third-party OpenFX plugins all live in a library panel that Cut simply doesn't have in the same form. If your project needs more than a hard cut and a caption, you're building it on Edit.
Seven distinct three and four-point editing modes. Insert, Overwrite, Replace, Fit to Fill, Place on Top, Append at End, and Ripple Overwrite, according to Blackmagic's Edit page, give you explicit, repeatable control over exactly how a new clip interacts with what's already on the timeline. This granularity matters most on long-form projects where a single misplaced insert can push everything downstream out of sync.
Full multicam grouping and the multicam viewer. Covered in more depth below, but it's worth flagging here: true multicam editing, watching every angle simultaneously and switching live, is an Edit page capability that Cut's Sync Bin doesn't replicate.
Deep track management. Renaming tracks, locking them, adjusting track height individually, and stacking a dozen video layers for a complex composite are all far more comfortable in Edit's vertical track stack than in Cut's compressed dual-timeline layout, which was never designed to show more than a handful of tracks clearly at once.
How does trimming differ between the two pages?
Trimming is where the two pages' philosophies show most clearly, because it's the task every editor does hundreds of times per project.
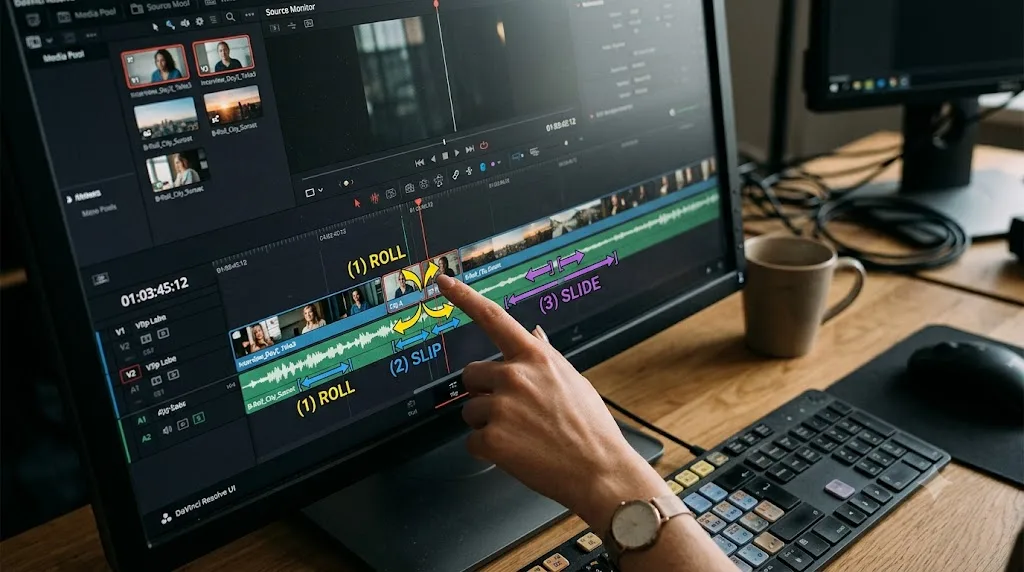
On the Edit page, trimming has always followed the same convention: press T to enter Trim Edit Mode, then the same click-and-drag gesture rolls, slips, or slides a cut depending on exactly where you grab the clip and which modifier keys you hold. Blackmagic describes this as a "smart trim tool" that "automatically switches between ripple, roll, slip and slide based on the location of the mouse pointer," per the official Edit page. It's precise, it's mouse-driven, and it rewards muscle memory built up over dozens of projects.
The Cut page automates more of that decision for you. Its trim tool switches modes based on cursor position without a dedicated mode key, and it adds an A/B trimmer directly in the viewer, a film-strip display showing the outgoing and incoming clip frame by frame so you can judge a cut point visually before committing, rather than trimming blind on the timeline and checking the result afterward.
Neither system is more "correct." The Edit page's Trim Edit Mode gives an experienced editor finer-grained control once the muscle memory sets in, because every gesture means exactly one thing regardless of context. The Cut page's automatic switching lowers the number of steps between "I see a problem" and "the problem is fixed," which matters more on a tight deadline than absolute precision does. If you're the kind of editor who trims the same two frames back and forth six times chasing a feeling, you'll likely prefer Edit's explicit mode. If you're cutting fast and correcting as you go, Cut's automatic switching keeps you moving.
How does finding and organizing footage differ?
This is where the two pages diverge most in daily feel, because it changes the very first thing you do on any project: locating the shot you want.
Edit's model is the Media Pool: a grid or list of clip thumbnails, organized into bins you create yourself, filterable by Smart Bins that auto-populate based on metadata rules, and searchable by clip name, keyword, or color tag. It's a filing system, and like any filing system, it rewards the up-front work of naming and tagging your footage. Our beginner's guide covers building that bin structure from a blank project if you haven't set one up yet.
Cut's model is the source tape: instead of browsing a grid, you scroll continuously through every clip in a bin as a single strip, previewing motion rather than static thumbnails. There's no filing step required beforehand. You just scroll and mark. That makes it genuinely faster on unsorted or lightly organized footage, the kind you get from a single-camera shoot with no time to tag anything before the edit starts.
The tradeoff shows up at scale. Forty clips scroll comfortably on a source tape. Four hundred clips across a multi-day shoot do not, and that's exactly the situation Smart Bins and keyword tagging on the Media Pool were built to handle. The source tape rewards a small, unsorted pile of footage, and the Media Pool rewards a large, organized one. Match the tool to the size of your footage pile before you match it to your deadline.
How does multicam editing differ between Cut and Edit?
If your project involves more than one camera angle at the same moment, this section decides your page for you.
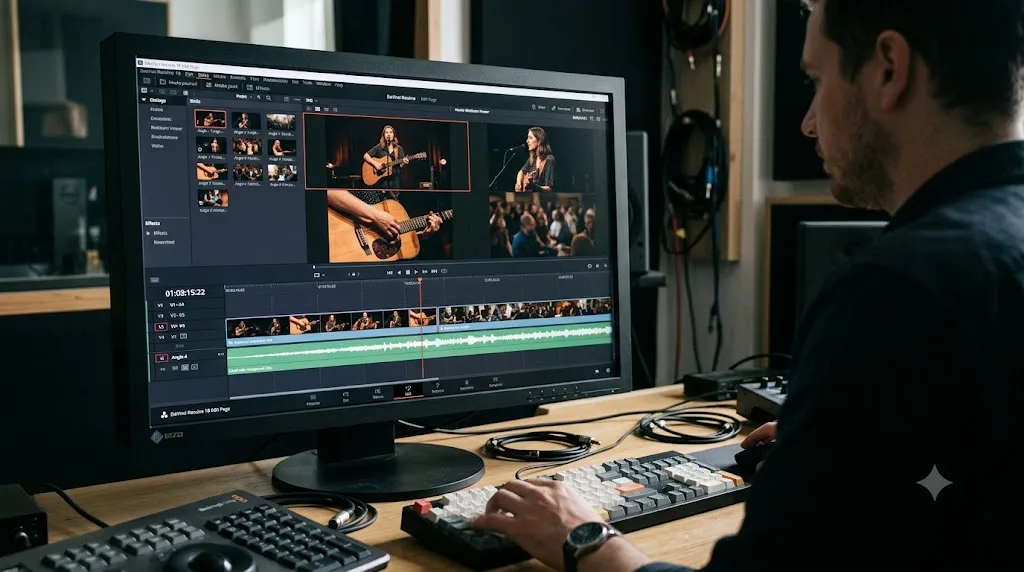
The Edit page has a dedicated multicam viewer that displays every synced camera angle simultaneously, playing back together, with keyboard and mouse controls for fast switching between them. It supports "4, 9, 16, 25 or more cameras," according to Blackmagic's official Edit page, with sync options including audio waveform matching, timecode, and manual in/out points. Once you've cut a multicam sequence, you can still go back and adjust individual angle timing or even color-correct one angle independently of the others, all inside the same multicam clip.
The Cut page's answer is the Sync Bin, which shows you clips that are synced to your current timeline position so you can grab a cutaway quickly. It's built for a narrower job: dropping in a reaction shot or a second angle at a specific moment, not managing a true multicam edit with live camera switching across a full grid. If your project is an interview with one B-camera for cutaways, Sync Bin covers you fine. If it's a concert shot on six cameras that need to be switched live like a broadcast truck, that's an Edit page job, full stop.
This is one of the clearest signals for which page a project belongs on. Ask yourself: am I picking one angle at a time from a small set of options (Cut, via Sync Bin), or am I watching multiple angles play together and switching live between them (Edit, via the multicam viewer)? The answer to that question alone often settles the whole Cut-versus-Edit decision for a given project.
Do Cut and Edit page use different keyboard shortcuts?
Mostly no, with a few meaningful exceptions. The core transport and marking keys, Space to play, J/K/L to shuttle, I/O to mark in and out, B for the blade tool, work identically on both pages because they're fundamental to any timeline in Resolve.
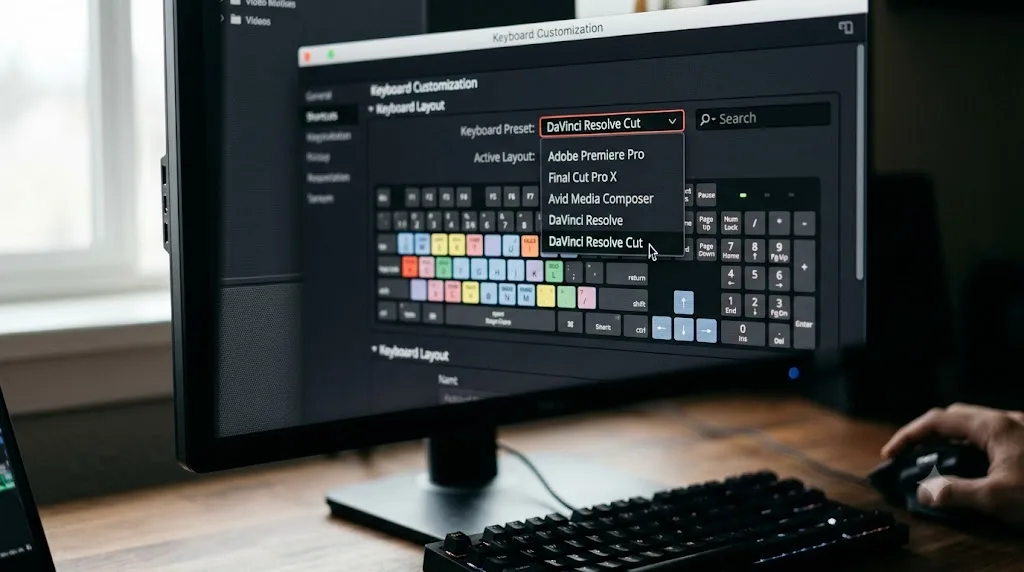
Where things diverge is the preset itself. DaVinci Resolve ships a default "DaVinci Resolve" keyboard preset and a separate "DaVinci Resolve Cut" preset, tuned specifically for the Cut page's tools, according to the FAQ in our complete keyboard shortcuts guide. A handful of keys get reassigned or added to reach commands that only exist on Cut, like navigating the source tape or triggering a Smart Insert without setting explicit in and out points first. Switch to Edit while the Cut preset is active and a few of those remapped keys simply won't do the same thing, or won't do anything at all, because the command they were pointing at doesn't exist on that page.
The practical fix is simple: open Keyboard Customization (Ctrl+Alt+K on Windows, Cmd+Option+K on Mac) and check the preset dropdown before you assume a shortcut is broken. If you split your time between both pages regularly, it's worth learning the default "DaVinci Resolve" preset as your baseline, since it covers both pages reasonably well, and only switching to the Cut-specific preset for sessions where you're staying on that page for hours at a stretch.
Does hardware matter for choosing a page?
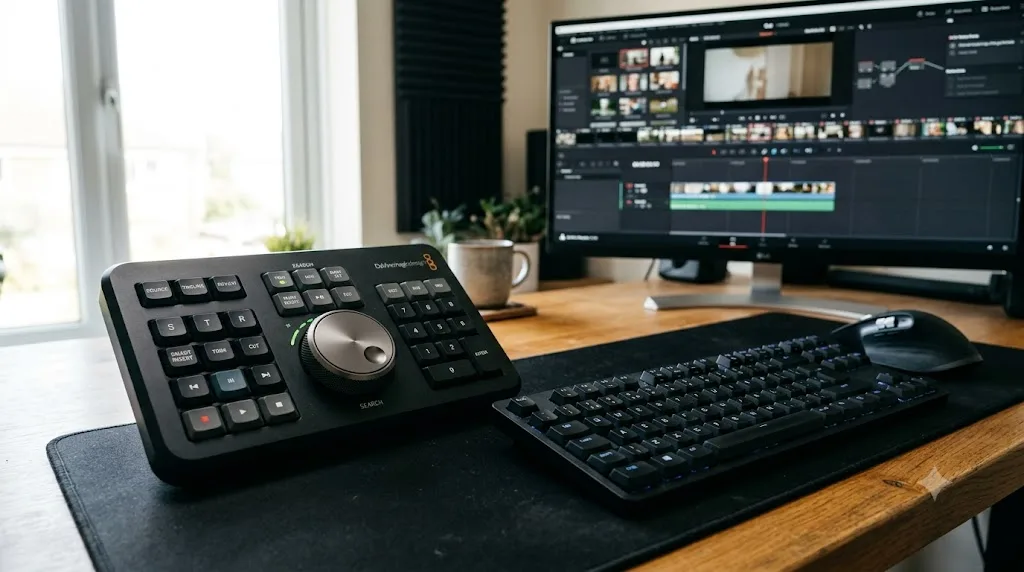
It can, but it's an accelerant, not a requirement. Blackmagic sells three dedicated editing panels, and all three were designed with the Cut page's tools specifically in mind, according to Blackmagic's keyboard product page: the Speed Editor at $435, a compact panel with a search dial and dedicated edit buttons; the Editor Keyboard at $669, a full metal QWERTY keyboard with a built-in search dial and color-coded shortcut keycaps; and the Replay Editor at $559, aimed more at multicam news and sports cutting.
The search dial is the piece that maps most directly onto Cut's design. It lets you scroll the source tape or the timeline with your right hand while marking edits and trimming with your left, a two-handed workflow that mirrors old tape-editing machines like the Moviola. Blackmagic Design CEO Grant Petty put the philosophy behind that choice plainly when the Cut page and its hardware launched:
"For years, linear editing was considered old fashioned, and now we have harnessed these benefits for modern linear editing for the first time."
That's from No Film School's coverage of the Resolve 16 announcement, and it's the clearest statement of what Cut was actually trying to bring back: physical, tactile speed, not a simplified interface for people who couldn't handle Edit's depth.
None of that hardware is required, though. Every Cut page tool works identically with a standard keyboard and mouse; the panels just remove steps for editors who cut constantly enough to feel the difference. Scott Simmons, an editor who reviewed the Speed Editor for ProVideo Coalition, offered the honest limit on it after real use:
"Once you're deep into project editorial I just don't see how it can replace the keyboard and I needed the keyboard way more than the Speed Editor, hence the arrangement I settled on."
That's the realistic verdict on all three panels: they speed up trimming and assembly, the mechanical part of a cut, but they don't replace a full keyboard for naming bins, writing notes, or the dozens of other commands a project needs beyond the timeline itself. Buy one once trimming speed on real, paying work is the actual bottleneck. Don't buy one to decide whether you'll like the Cut page; the page costs nothing to try first.
How do Cut and Edit page differ for audio work?
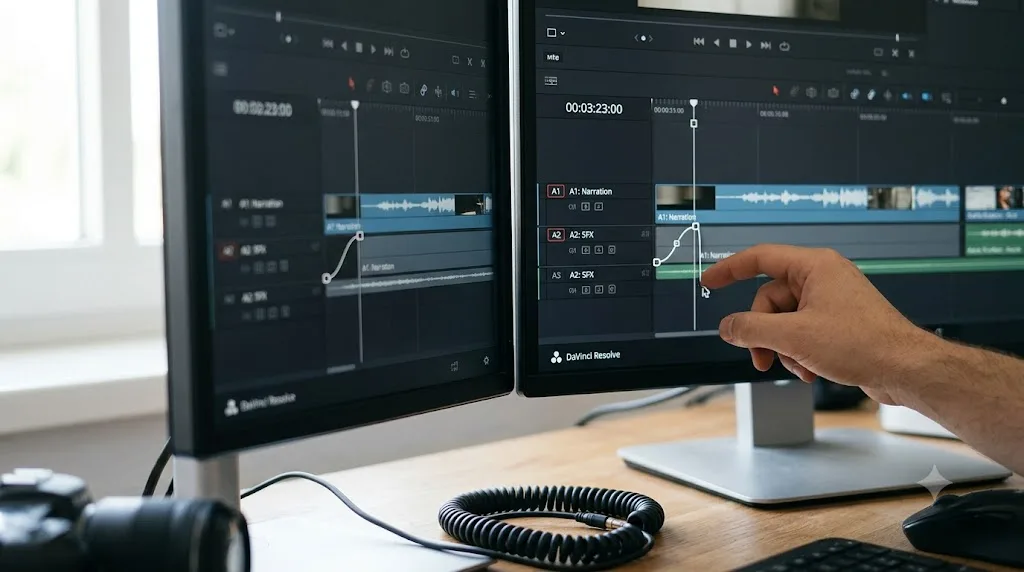
Less than you'd expect, because most day-to-day audio adjustment (volume keyframes, basic fades, clip gain) works the same core way on both pages: click and drag a clip's volume line, and Alt-click (Option-click on Mac) to add a keyframe.
The gap shows up in reach, not mechanics. Edit's Inspector exposes full audio detail per clip, including EQ, pan, and every keyframe you've set, in a way you can review and adjust without leaving the page. Cut keeps its audio controls quicker and shallower, enough to ride levels and add a basic fade, but not a substitute for real mixing work.
Neither page replaces Fairlight for anything beyond the basics. Loudness metering, multi-band EQ, noise reduction, and bus routing all live on the dedicated Fairlight page regardless of which editing page you started on, and both Cut and Edit let you jump there the same way, via the page bar at the bottom of the window. If your project's audio problems go beyond a volume ride, that's a Fairlight job either way, and our audio troubleshooting guide covers the checklist for tracks that show meter activity but produce no sound, one of the most common early hurdles regardless of which editing page you cut on.
How do Cut and Edit page differ for titles, effects, and transitions?
This is one of the widest gaps between the two pages, and it's worth understanding before you commit a whole project to Cut.
Edit's Effects Library, opened from the top-left of the page, holds everything: dozens of transitions beyond a plain dissolve, generators for solid colors and gradients, and a full titles section built on Text+, which is itself a Fusion template underneath. That Fusion foundation means Text+ titles animate, follow presets, and take deep styling control, all without leaving the Edit page, as our DaVinci Resolve tutorial covers when it walks through building a title from scratch.
Cut's title and transition tools are intentionally thinner. You can add a basic title and a standard transition quickly, in a couple of clicks, which is exactly the point for a project that needs to move fast and doesn't need bespoke motion graphics. But there's no equivalent Effects Library browsing experience on Cut, and anything beyond a stock title or transition means a trip to Edit anyway.
The practical rule: if your project's title work stops at "put text on screen so people know who's talking," Cut handles that fine. If it needs a lower third that slides in, a logo animation, or more than a plain dissolve between two clips, you're building it on Edit, and there's no meaningful workaround on Cut for that gap.
Can you switch between Cut and Edit mid-project without breaking anything?
Yes, freely, and this is arguably the most important fact in this whole comparison. Cut and Edit aren't separate projects or separate timelines. They're two different windows onto the exact same underlying data. Click Cut in the page bar and you see your timeline through Cut's dual-timeline, source-tape interface. Click Edit and the identical timeline, clip for clip, appears through Edit's track-based interface instead. Nothing converts, nothing exports, and nothing is lost either direction.
This is why the "which page should I use" question is lower-stakes than it first appears. A common, entirely normal workflow looks like this: rough-cut the assembly on Cut, using the source tape to burn through unsorted footage fast and the dual timeline to keep pacing visible at a glance, then switch to Edit once the story order is locked, for precise trimming, titles, transitions, and multicam cleanup. Neither page is the "wrong" choice at any point in that process, because you're never locked into one.
The one thing worth knowing before you switch: a few Cut-specific edits, particularly ones made with the Smart Indicator's automatic placement, can look slightly different once you're viewing them through Edit's explicit track model, because Edit shows you exactly which track and exactly which frame range each command touched. That's not a bug or data loss; it's just Edit being more literal about the same edit Cut made quickly. Give yourself a minute to re-orient the first time you make this switch mid-project, and it stops being confusing after that.
What's new for Cut and Edit in DaVinci Resolve 21?
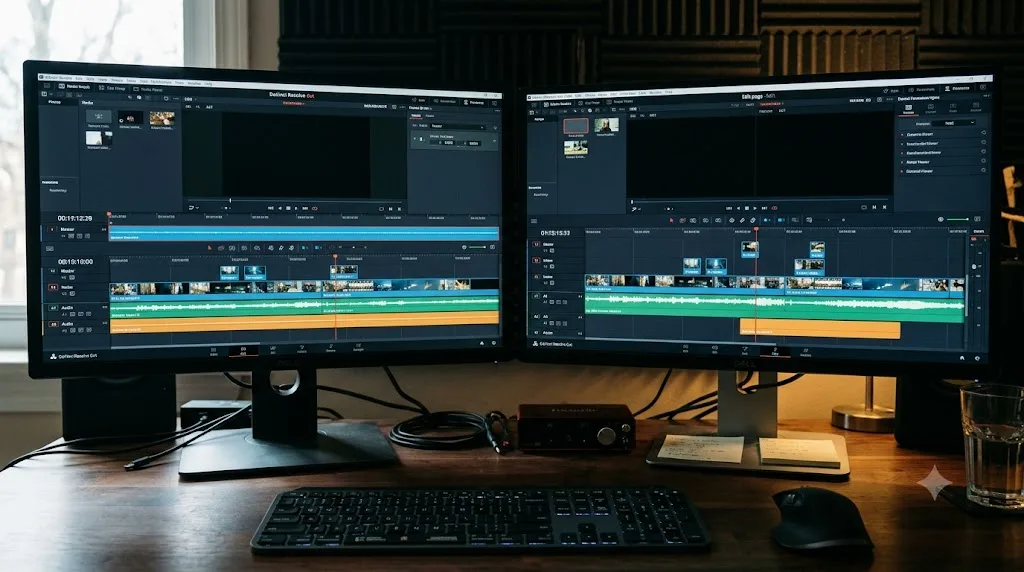
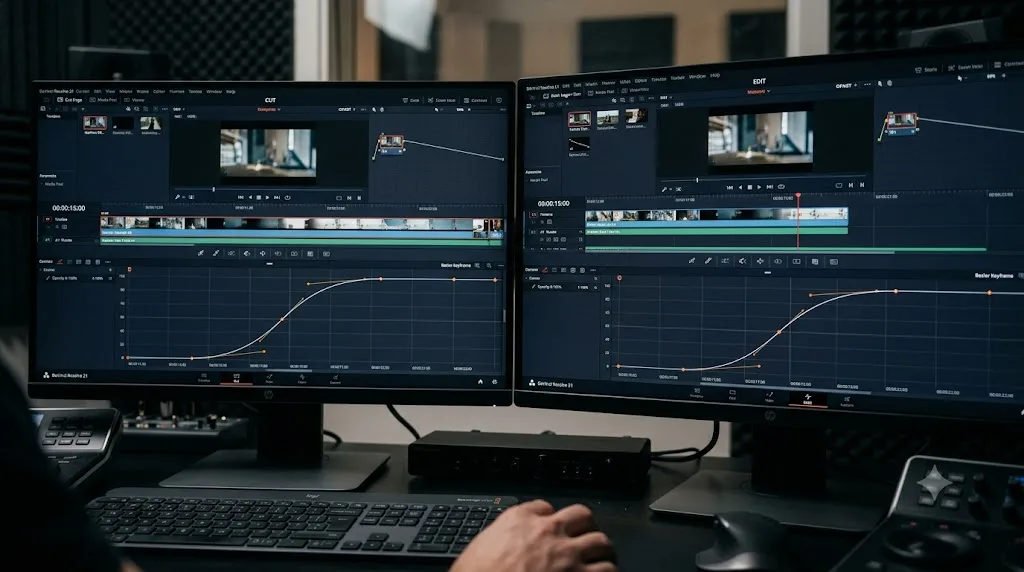
Resolve 21, released free on June 3, 2026, shipped a set of updates that landed on both pages identically rather than favoring one. According to Blackmagic's What's New page, Edit and Cut both gained four-point Bezier keyframes for finer animation curve control, ease and loop animation options, support for Lottie and OGraf motion graphics formats, spell check inside Text+, and new Smart Bin views for organizing footage.
None of these changes altered the fundamental split covered in this guide. Cut is still built around the source tape and dual timeline; Edit still owns the deep Inspector and full Effects Library. What changed is depth within features both pages already shared, keyframing and titling chief among them, which is consistent with how Blackmagic has treated the two pages since Cut launched in version 16: as siblings sharing a common animation and titling engine, not as a hierarchy where Edit gets new tools first and Cut gets leftovers later.
If you're deciding whether to update before starting a project, know that the update itself won't change which page fits your workflow. It'll just make whichever page you already prefer a little more capable.
Which page should beginners use first?
There's no wrong first answer, but there is a faster path to your first finished video, and it depends on what you're cutting.
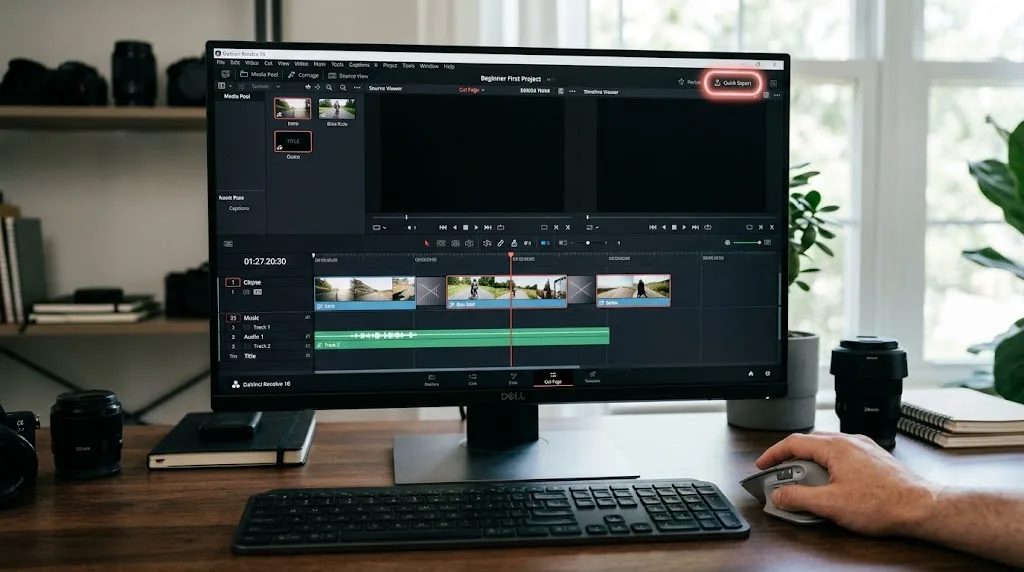
If your first project is short, a single scene, a vlog, a quick social clip under a few minutes, start on Cut. The source tape removes the need to learn bin organization before you can find your footage, the Smart Indicator removes the need to understand three-point editing conventions before you can place a clip, and the built-in Quick Export button gets you to a finished file without a detour through the Deliver page. You'll be editing within minutes instead of reading a manual.
If your first project is longer, has more than a couple of tracks, or you already know another NLE like Premiere Pro or Final Cut, start on Edit instead. Its track model and Inspector will feel immediately familiar, and skills you build there (explicit in/out points, trim modes, the Effects Library) transfer directly to every other page in Resolve, since Color, Fairlight, and Deliver all assume the same track-based mental model Edit teaches you.
Most beginners, in practice, try Cut for a day or two, hit something Cut deliberately hides (usually deep trimming or a title beyond basic text), and move permanently to Edit as their default. That's not a failure or a sign Cut is worse. It's Cut doing exactly its job: getting a first project finished fast enough that the beginner sticks around to learn the deeper page. Our complete beginner's guide covers the full onboarding path if you're setting up Resolve for the first time, including the project settings worth locking in before your first edit either way.
A beginner who finishes one short, imperfect video on Cut learns more than a beginner who spends the same hour reading about Edit's Inspector. Pick whichever page gets you cutting real footage today, and switch later once you feel a specific wall.
Which page should professional or long-form editors use?
Edit, as the default, with Cut as a tool you reach for on specific tasks rather than a home base.
Long-form work (documentaries, narrative features, multi-episode series) accumulates complexity that Cut's compact layout wasn't built to hold comfortably: dozens of tracks, layered sound design, multicam sequences across scenes, and title work that needs real motion design rather than a stock template. Every one of those lives more comfortably in Edit's deeper track stack and full Effects Library.
Team environments push the same direction. If your project moves between an assistant editor, a lead editor, and a colorist, the Edit page's explicit editing modes and full Inspector produce a more legible, more predictable timeline for the next person who opens it, because nothing was placed by an automatic Smart Indicator guess. That predictability matters more the more people touch a single project.
Where Cut still earns a place in a professional's toolkit: fast rough assemblies from a large unsorted footage pile, same-day news or event turnarounds, and any task where the Speed Editor's search dial genuinely speeds up trimming on a deadline. Many working editors, including some who initially resisted the page, describe exactly this pattern: rough-cut fast on Cut, finish precisely on Edit. That's not a compromise. It's using each page for the job it was actually built to do.
What do real editors say about the Cut page versus the Edit page?
Reception to the Cut page has been more divided than Blackmagic's own marketing suggests, and that divide is worth hearing directly rather than smoothing over.
Lewis McGregor, a certified DaVinci Resolve trainer, reviewed the Cut page for PremiumBeat shortly after its release and landed on a conditional verdict:
"If you're an editor on the move, DaVinci Resolve 16's new Cut Page can really improve your workflow. But if you're not, then maybe not."
That's a fair summary of where the page actually lands years later, too. McGregor also flagged something worth knowing before you commit fully to Cut: certain quick-access tools on Cut aren't mirrored on Edit, prompting the reasonable question of why some conveniences stayed page-specific instead of benefiting both. That gap has narrowed since 2019, most visibly with Resolve 21's shared keyframing and titling updates covered above, but it hasn't fully closed, and pockets of Cut-only or Edit-only functionality remain by design.
The throughline across editor commentary, from Blackmagic's own framing to independent reviews, is consistent: Cut isn't a lesser Edit page, and Edit isn't an outdated Cut page. They're built for different points on the speed-versus-control spectrum, and the editors who get the most out of Resolve are the ones who stop expecting one page to win outright and start moving between them based on what a specific task actually needs.
What are common mistakes when choosing or switching between pages?
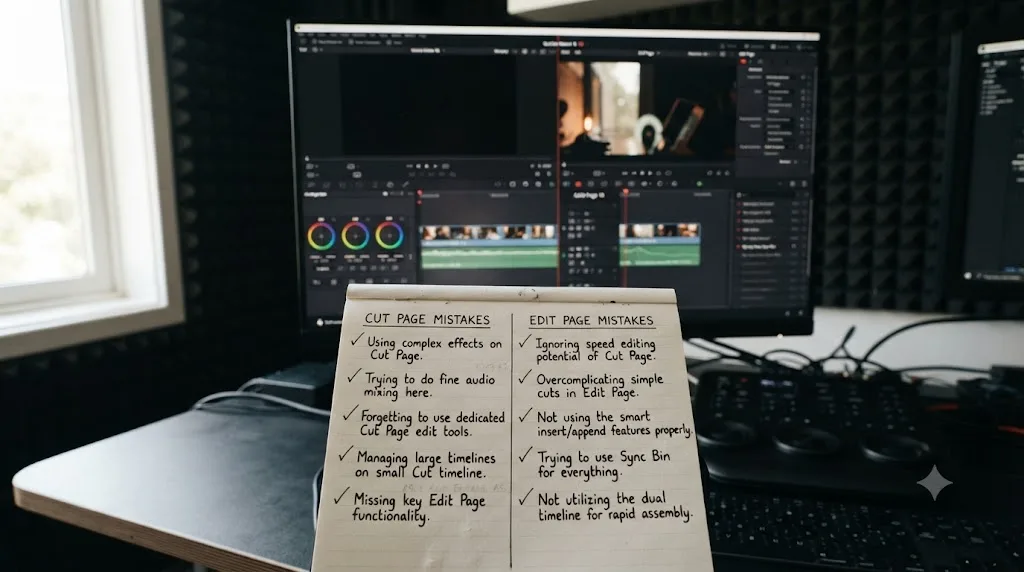
Five mistakes account for most of the frustration editors report when moving between Cut and Edit, and every one of them has a simple fix once you know to look for it.
Assuming a keyboard shortcut is broken instead of checking the preset. Covered above: the "DaVinci Resolve Cut" preset remaps a handful of keys, and a shortcut that worked perfectly on Cut can do nothing on Edit if that preset is still active. Check Keyboard Customization before assuming Resolve is misbehaving.
Starting a multicam project on Cut and hitting a wall. Sync Bin handles occasional cutaways well. It doesn't replace the full multicam viewer. If you know upfront that a project involves live switching across several synced cameras, start on Edit and save yourself the mid-project migration.
Building titles on Cut that need real motion. A basic lower third works fine on Cut. Anything animated, tracked, or built from a custom Fusion template needs Edit's Effects Library. Realizing this three titles into a project costs more time than checking first.
Treating the source tape as a substitute for bin organization on a large shoot. It's fast on forty clips and unwieldy on four hundred. If you know a project involves several days of footage, build your bin structure and Smart Bins in the Media Pool from the start, even if you plan to rough-cut on Cut, because you'll thank yourself once the footage pile grows past what a source tape can comfortably show.
Forgetting that switching pages costs nothing, so avoiding the "wrong" page out of caution. Some editors stay on whichever page they opened first out of habit, even when the project has clearly outgrown it. Since both pages share the same timeline, there's no real cost to switching once, checking whether the other page's tools fit your current task better, and switching back if not.
If you get stuck mid-project trying to find where a specific control lives on either page, TryUncle is an AI tutor built to look at your actual Resolve window and point you straight at it, which is often faster than guessing whether a tool you remember from one page also exists on the other.
Which page fits your specific project? A decision table
Use this as a quick lookup once you know what you're cutting.
| Your project | Start on | Why |
|---|---|---|
| A short vlog or social clip under 5 minutes | Cut | Source tape and Quick Export get you finished fastest |
| A same-day news or event turnaround | Cut | Built for exactly this deadline pressure, with Sync Bin for quick cutaways |
| A talking-head video with light B-roll | Either | Both handle this comfortably; pick based on your footage volume |
| A multicam interview or event with 3+ synced cameras | Edit | Full multicam viewer, not just Sync Bin |
| A documentary or narrative project over 20 minutes | Edit | Deep track stack and full Inspector scale with complexity |
| A project needing animated titles or custom transitions | Edit | Full Effects Library and Fusion-based Text+ |
| A large, multi-day, unsorted footage shoot | Edit (Media Pool) for organizing, either for cutting | Bins and Smart Bins scale better than the source tape past a few dozen clips |
| You already know Premiere Pro, Final Cut, or Avid | Edit | Track-based model and trim conventions transfer directly |
| You own a Speed Editor or Editor Keyboard | Cut, for the tasks it's built for | Hardware is co-designed around Cut's one-click tools |
| You're brand new to editing entirely | Cut, for your very first project | Fewer decisions before your first clip lands on a timeline |
No project is permanently locked to one page, so treat this table as a starting point, not a rule. The only genuinely wrong move is spending an hour deciding when either page would get you cutting in the next five minutes.
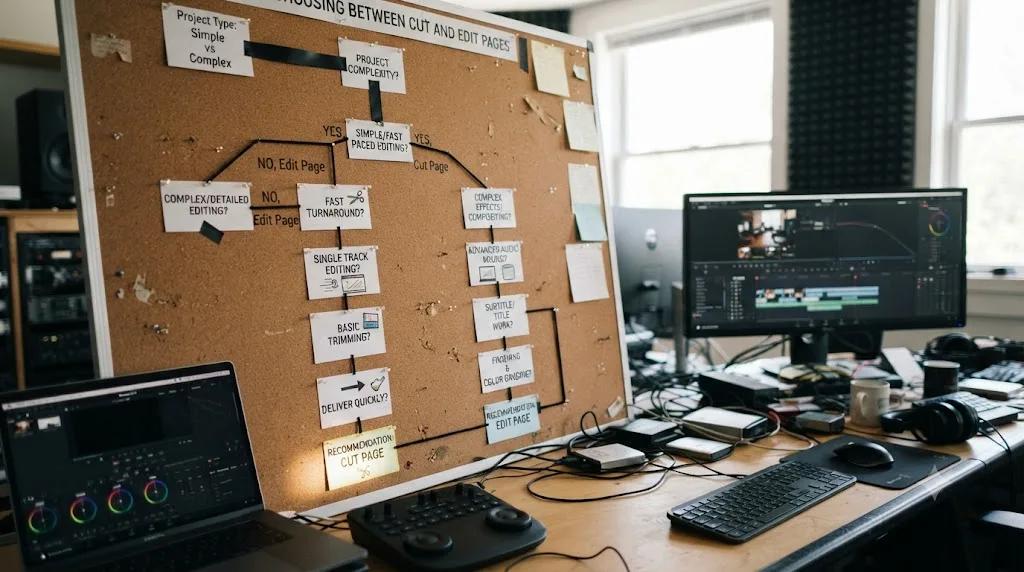
So which one should you actually open first?
If you're still not sure, default to Edit. It's the page every other part of Resolve, Color, Fairlight, Deliver, and most tutorials online, assumes you already know, and everything you learn there transfers cleanly if you later pick up Cut for a fast-turnaround job. Reach for Cut specifically when a deadline, a pile of unsorted footage, or a Speed Editor on your desk makes its one-click tools the faster path, not as a permanent alternative to learning the deeper page.
Either way, you're never choosing a lane you can't leave. The timeline underneath is the same one, clip for clip, no matter which page you're looking at it through. Open whichever one gets you cutting real footage today, and let the project itself tell you when it's time to switch.
Frequently asked questions
- What's the main difference between the Cut page and Edit page in DaVinci Resolve?
- The Cut page trades depth for speed: a dual timeline, a source tape you scroll instead of a bin you browse, and one-click smart edits. The Edit page keeps the full track stack, the Inspector, and precise roll/slip/slide trimming. They share the same underlying timeline, so nothing you build on one page is locked away from the other.
- Can I switch between the Cut page and Edit page in the same project?
- Yes, at any point, with no conversion step. Click Cut or Edit in the page bar at the bottom of the window and the exact same timeline opens, clip for clip. Editors commonly rough-cut on one page and finish on the other inside a single session.
- Do the Cut and Edit pages use different keyboard shortcuts?
- Mostly the same core keys (J/K/L, I/O, the blade tool), but DaVinci Resolve ships a separate 'DaVinci Resolve Cut' keyboard preset alongside the default 'DaVinci Resolve' preset, and a few commands are remapped or added to match tools that only exist on one page, like Cut's source tape navigation.
- Is the Cut page only for beginners?
- No. It was built for working editors under deadline pressure, not for people new to editing. Blackmagic designed it around fast turnarounds for episodic TV, documentaries, and commercials. A total beginner and a broadcast editor can both have good reasons to open it, for different jobs.
- Which page should I use for a multicam project?
- The Edit page. Its multicam viewer displays every camera angle at once and supports 4, 9, 16, 25 or more cameras with dedicated switching controls, according to Blackmagic's own Edit page. The Cut page has a Sync Bin for scrubbing synced clips, but it doesn't expose that same full multicam grid.
- Do I need a Speed Editor or Editor Keyboard to use the Cut page?
- No. The Cut page works fine with a standard keyboard and mouse. Blackmagic co-designed it alongside the Speed Editor and Editor Keyboard hardware panels, so the page's one-click smart tools map naturally onto those dedicated buttons, but the hardware is an optional speed upgrade, not a requirement.
- Does DaVinci Resolve 21 change anything about the Cut or Edit page?
- Yes, and the changes landed on both pages together. Resolve 21 added four-point Bezier keyframes, ease and loop animation, Lottie and OGraf graphic support, Text+ spell check, and new Smart Bin views, shared identically across Cut and Edit rather than favoring one page over the other.
- Which page does the free version of DaVinci Resolve include?
- Both. Cut, Edit, Color, Fairlight, Fusion, Deliver, and the new Photo page are all in the free version with no watermark. Blackmagic doesn't gate either editing page behind the $295 Studio license; Studio adds AI Neural Engine tools, HDR grading, and higher resolutions instead.
Sources
- DaVinci Resolve - Cut (Blackmagic Design)
- DaVinci Resolve - Edit (Blackmagic Design)
- DaVinci Resolve product page (Blackmagic Design)
- DaVinci Resolve - Keyboard (Blackmagic Design, Speed Editor, Editor Keyboard, Replay Editor)
- DaVinci Resolve - What's New (Blackmagic Design)
- DaVinci Resolve - Tech Specs (Blackmagic Design)
- Blackmagic's New Cut Page for DaVinci Resolve 16 & DaVinci Editor Keyboard Announced (No Film School)
- Review: DaVinci Resolve 16's Cut Page, Is It Any Good? by Lewis McGregor (PremiumBeat)
- Review: DaVinci Resolve Speed Editor, Part 1, by Scott Simmons (ProVideo Coalition)
Put this guide to work with TryUncle.
Ask about the step you’re on. TryUncle sees your screen and points at the control you need, so you can keep learning in your own project.
Get TryUncle for Mac or WindowsKeep reading
Guides · Jul 7, 2026 · 32 min
DaVinci Resolve for Beginners: The Complete Starter Guide
Learn DaVinci Resolve from zero: what it costs, what it needs to run, the seven pages you'll actually use, and the steps to cut your first project.
Guides · Jul 7, 2026 · 36 min
DaVinci Resolve Tutorial: The Complete Guide to Every Page
Learn DaVinci Resolve step by step: which page to start on, how to cut, grade, mix, and export your first project, plus shortcuts and free training.
Guides · Jul 8, 2026 · 16 min
DaVinci Resolve Keyboard Shortcuts: The Complete Reference
Every essential DaVinci Resolve keyboard shortcut, organized by page: Edit, Cut, Color, Fairlight, Fusion, and Deliver, plus how to customize and share your own.