Articles / Guidesupdated for DaVinci Resolve 21.0.1 (June 2026)
DaVinci Resolve Keyboard Shortcuts: The Complete Reference
Quick answer
The core DaVinci Resolve shortcuts are J/K/L to shuttle playback, I/O to mark in and out points, B for the blade tool, and Ctrl+\ (Cmd+\ on Mac) to split a clip. Beyond those, each page (Edit, Color, Fairlight, Fusion, Deliver) has its own set, and Keyboard Customization (Ctrl+Alt+K / Cmd+Option+K) lets you view, remap, or import a Premiere Pro, Final Cut Pro 7, or Avid layout.
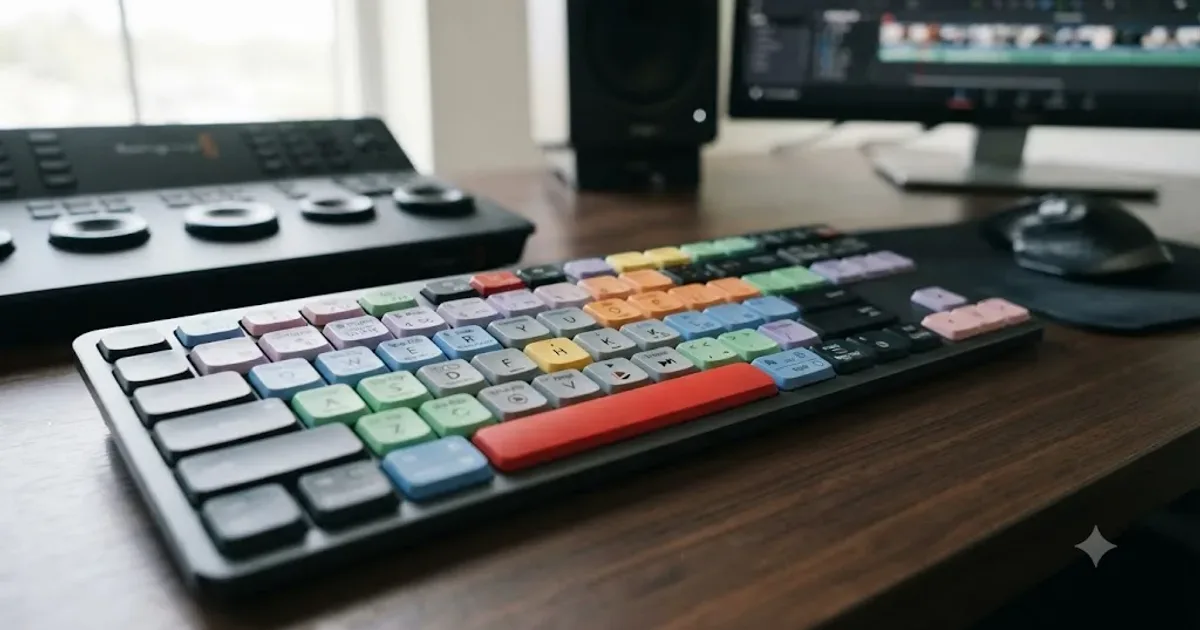
You don't need all of DaVinci Resolve's shortcuts. You need about twenty, used until they're automatic, and a reliable way to look up the rest when a specific job calls for them. This page is both: the twenty that matter first, organized by the page you're actually working on, plus the full reference for Color, Fairlight, Fusion, and Deliver when you're ready for them.
The keyboard, not the mouse, is what separates a slow first pass from a real editing session in DaVinci Resolve. Every menu click you replace with a key press is a half-second you get back, and a half-second per cut adds up across a hundred cuts in a single timeline.
What shortcuts should you learn before any other?
Six keys cover more of your editing time than the other hundred combined. Learn these before anything else on this page, on any platform:
| Shortcut | What it does |
|---|---|
| Space | Play / stop |
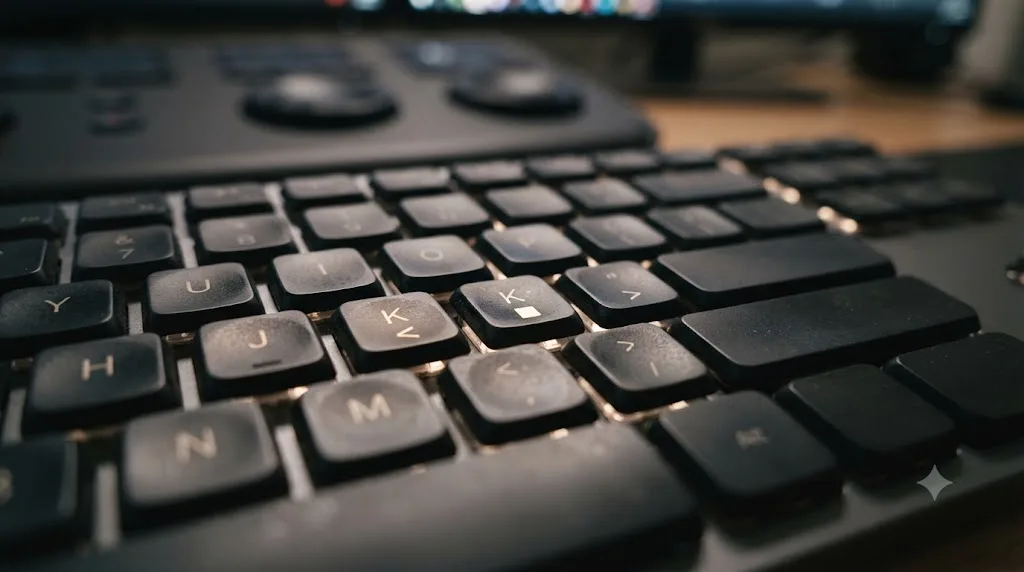
| J / K / L | Shuttle backward / pause / forward, repeated presses speed up |
| I / O | Mark an in point / mark an out point |
| A | Selection tool |
| B | Blade (razor) tool |
| Ctrl+Z (Cmd+Z on Mac) | Undo |
J-K-L is worth a moment on its own, because it's the one Resolve borrowed wholesale from decades-old tape-editing convention and never touched. Press L once for normal speed, twice for double speed, and again for faster still. Press J the same way in reverse. K stops you cold, and holding K while tapping J or L moves one frame at a time, the move you want for a precise trim point. If you learn nothing else from this guide, learn this row of three keys, because it replaces the timeline scrubbing that eats more beginner time than any other single habit.
Which shortcuts matter on the Cut and Edit pages?
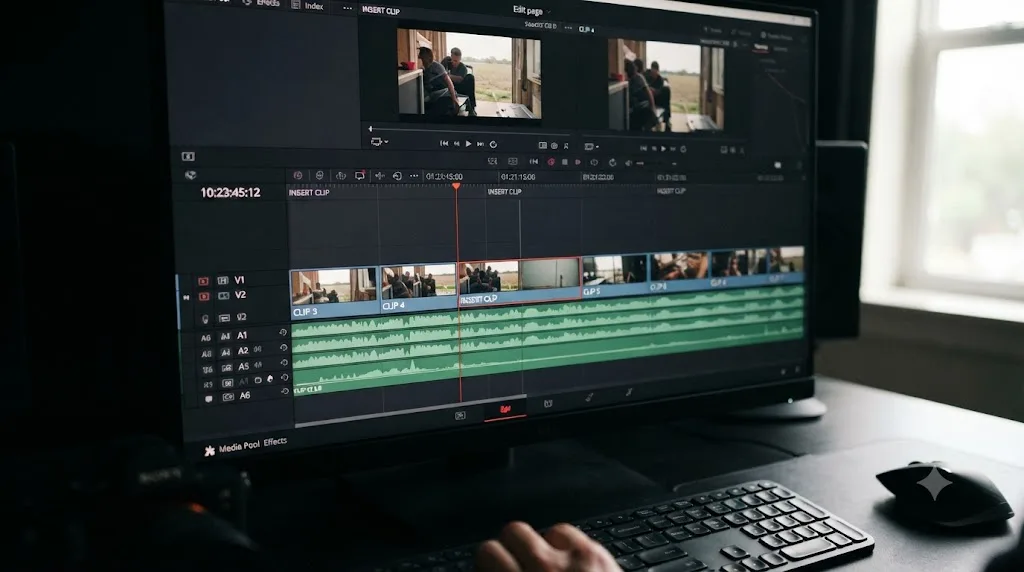
Cut and Edit share a timeline underneath, and most of their shortcuts overlap. Here's the working set for actually assembling a timeline:
| Shortcut | What it does |
|---|---|
| A | Selection (arrow) tool |
| T | Trim edit mode |
| B | Blade tool |
| N | Toggle snapping on/off |
| D | Enable / disable the selected clip |
| M | Add a marker at the playhead |
| Ctrl+\ (Cmd+\) | Split (blade) the clip at the playhead |
| Shift+Delete | Ripple delete: remove the clip and close the gap |
| Delete | Lift: remove the clip and leave a gap |
| F9 | Insert the source clip at the playhead, pushing everything after it later |
| F10 | Overwrite the source clip at the playhead, replacing what's there |
| Ctrl+T (Cmd+T) | Add the default transition at the edit point |
| Shift+Z | Zoom the timeline to fit the whole edit on screen |
| Ctrl+N (Cmd+N) | Create a new timeline |
| Ctrl+Shift+N (Cmd+Shift+N) | Create a new bin in the Media Pool |
Insert and overwrite are opposites: F9 makes room for a clip, F10 replaces whatever was already there. Confusing the two is the single most common cause of a beginner's timeline mysteriously shifting or vanishing a shot, so it's worth saying twice: F9 pushes, F10 replaces.
Alt-click (Option-click on Mac) on a clip's video or audio edge selects only that half, which is how you trim a picture and a sound independently to build a J-cut or an L-cut. It doesn't have its own line in the shortcut list because it's a modifier on the trim tool rather than a standalone command, but it's one of the highest-value habits on this whole page. Our DaVinci Resolve tutorial walks through building a full J-cut and L-cut step by step if the concept is new.
What shortcuts speed up trimming and playback specifically?
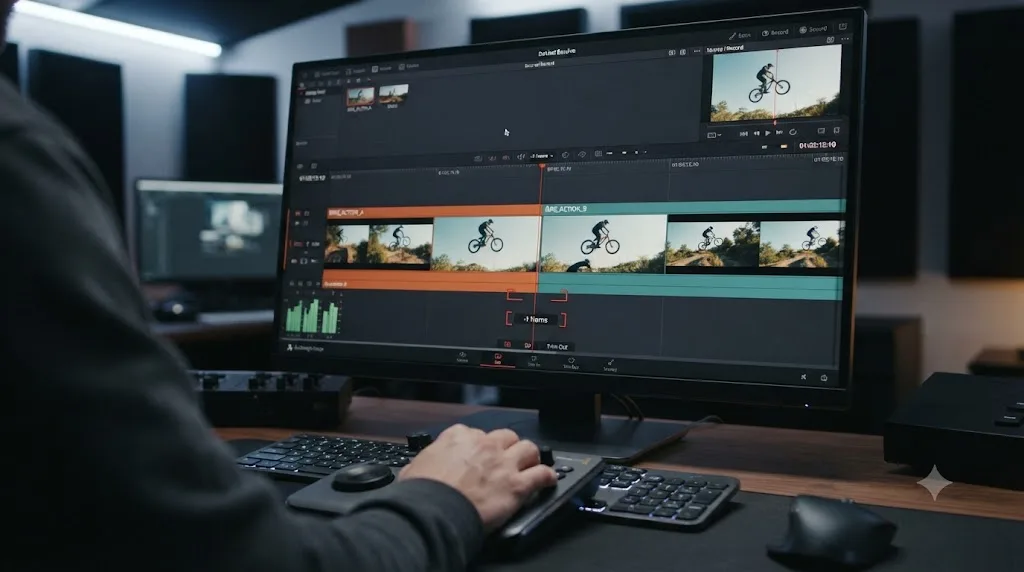
Once a rough cut exists, a second set of shortcuts takes over: the ones for tightening it.
| Shortcut | What it does |
|---|---|
| Shift+Space | Play around the current playhead position |
| Up / Down arrow | Jump to the previous / next edit point |
| Left / Right arrow | Step back / forward one frame |
| Shift+Left / Shift+Right | Jump back / forward a larger increment |
| Ctrl+R (Cmd+R) | Open Retime Controls on the selected clip |
| Home / End | Go to the start / end of the timeline |
| Ctrl+/ (Cmd+/) | Add a note to the selected clip |
The single frame-step keys feel slow the first time you use them and become essential the first time a cut is off by exactly one frame. Trim mode (T) then lets the same click-and-drag gesture roll, slip, or slide a cut depending on which part of the clip you grab, so learning to stay in trim mode rather than bouncing back to selection for every tiny adjustment is what actually makes a fine cut fast.
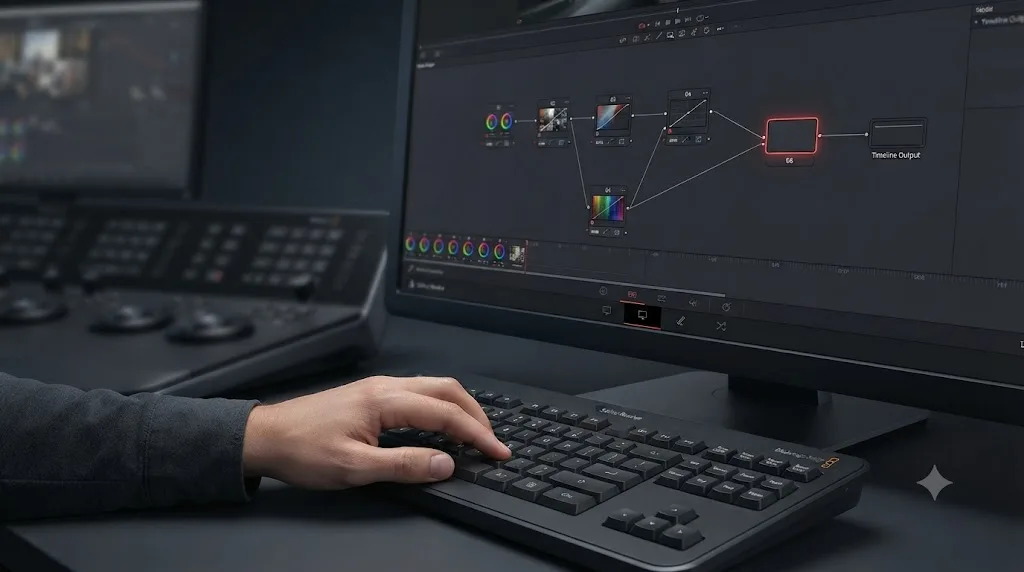
Which shortcuts matter on the Color page?
Color has its own shortcut layer, tuned around nodes, wheels, and stills instead of clips and tracks.
| Shortcut | What it does |
|---|---|
| Alt+S (Option+S) | Add a serial node |
| Alt+Y (Option+Y) | Add a layer node |
| Ctrl+D (Cmd+D) | Enable / disable the current node |
| Ctrl+Alt+G (Cmd+Option+G) | Grab a still of the current grade |
| Shift+H | Toggle the qualifier highlight (matte) view |
| Ctrl+Y (Cmd+Y) | Copy the grade from the previous node |
| Shift+9 | Open Project Settings |
| Ctrl+, (Cmd+,) | Open Preferences |
Two habits matter more than any single key here. Label every node the moment you create it, right-click the node and choose Node Label, because "Node 6" tells you nothing revisiting a project weeks later. And check your work on the scopes (Workspace > Video Scopes) rather than your eyes, since your monitor's brightness and your room's ambient light both quietly lie to you about exposure and color balance. Our color grading basics guide goes deep on the node system and the scopes this table only points at.
Which shortcuts matter in Fairlight for audio work?
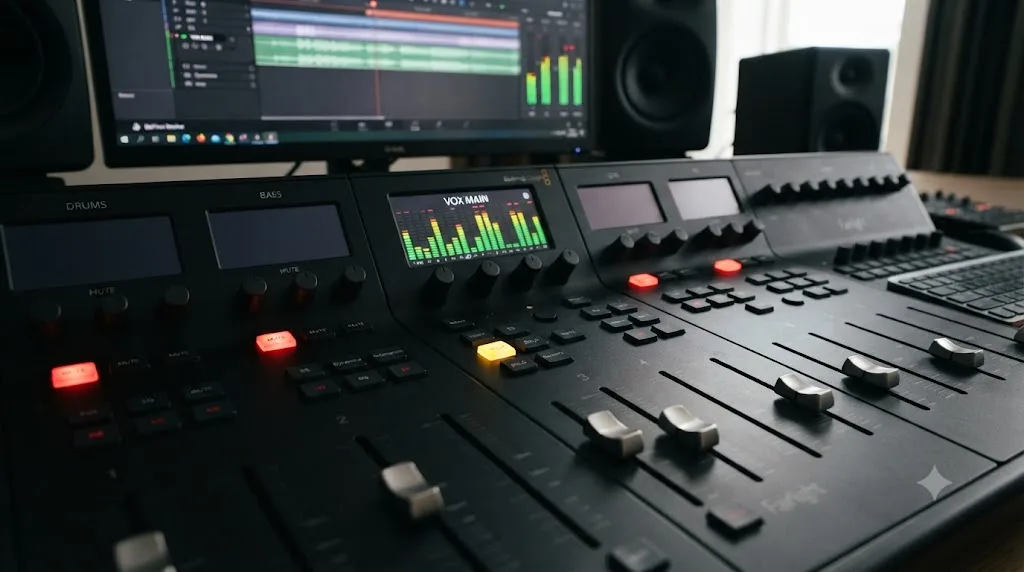
Fairlight borrows the layout convention of a dedicated audio workstation, so its shortcuts lean on single letters for the moves you make constantly while mixing.
| Shortcut | What it does |
|---|---|
| S | Solo the selected track |
| M | Mute the selected track |
| R | Arm the selected track for recording |
| Ctrl+R (Cmd+R) | Start recording |
| Alt+click (Option+click) on a clip's volume line | Add a keyframe for volume automation |
| Ctrl+Alt+K (Cmd+Option+K) | Open Keyboard Customization from any page |
Solo and mute are the two you'll reach for constantly while judging a mix, since isolating one track and comparing it against the full stereo bus is how you catch a background hum or a level mismatch you'd otherwise miss in the wash of everything playing together. Beyond single-track work, the fastest fix for most beginner audio problems isn't a shortcut at all, it's a setting; our no audio troubleshooting guide covers the checklist for tracks that show meter activity but produce no sound.
Which shortcuts help in Fusion?
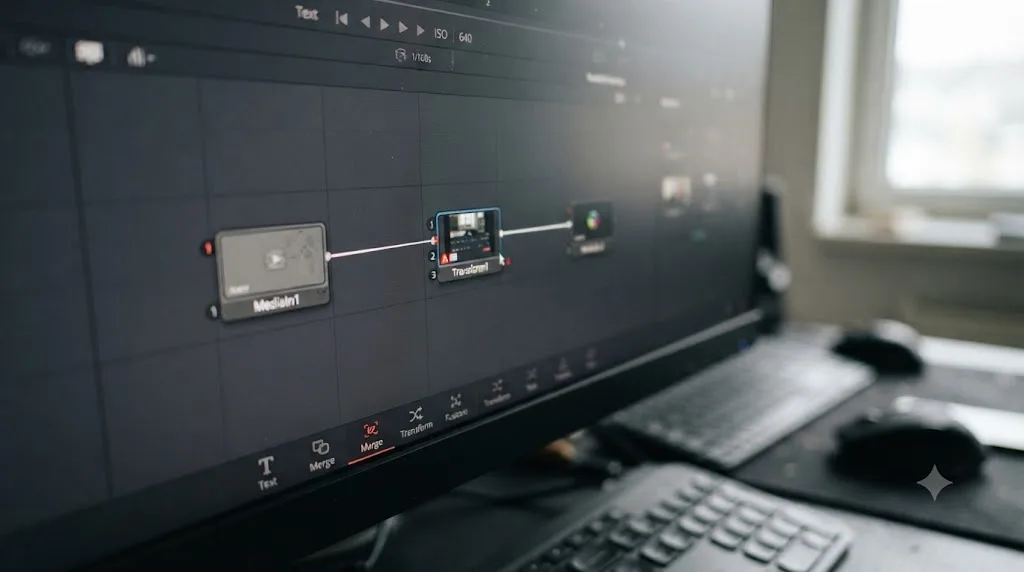
Fusion's node graph looks the least like the rest of Resolve, and its shortcuts follow the same logic as a compositing app rather than an editor.
| Shortcut | What it does |
|---|---|
| Tab | Open the node search / add tool menu at the mouse position |
| Ctrl+Space (Cmd+Space) | Preview render the current frame |
| Shift+click and drag on a node | Connect it into an existing node chain |
| Ctrl+C / Ctrl+V (Cmd+C / Cmd+V) | Copy / paste selected nodes |
| Ctrl+/ (Cmd+/) | Add a comment to a node |
Most beginners never need more than these five, because a first Fusion job, a title animation or a simple mask, rarely grows past a handful of connected nodes: MediaIn, a Transform or mask node, MediaOut. Don't reach for Fusion at all until a project genuinely needs a moving graphic pinned to footage or an isolation Text+ can't do, and when it does, our DaVinci Resolve tutorial has a short walkthrough of that exact three-node starting shape.
Which shortcuts matter on Deliver, and across the whole app?
Deliver has the fewest dedicated shortcuts of any page, because it's mostly a settings panel rather than a workspace you move through quickly. A handful of shortcuts, though, work identically everywhere in Resolve, regardless of which page has focus:
| Shortcut | What it does | Scope |
|---|---|---|
| Ctrl+S (Cmd+S) | Save the project | All pages |
| Shift+1 | Open the Project Manager | All pages |
| Shift+9 | Open Project Settings | All pages |
| Ctrl+, (Cmd+,) | Open Preferences | All pages |
| Ctrl+Alt+K (Cmd+Option+K) | Open Keyboard Customization | All pages |
| Ctrl+I (Cmd+I) | Import media | Media, Edit, Cut |
Save early, save often, even with Live Save turned on in Preferences. It costs nothing and it means you never have to remember whether the safety net is actually active on this particular machine. And if a render on Deliver ever stalls or errors instead of finishing cleanly, that's not a keyboard problem to troubleshoot; our render failed guide walks through the codec, disk space, and GPU causes behind the most common export errors.
Are DaVinci Resolve shortcuts different on Windows, Mac, and Linux?
Barely. The overwhelming majority of shortcuts in this guide translate one-to-one between platforms with a single substitution: Ctrl becomes Cmd, and Alt becomes Option.
| Windows / Linux | macOS | |
|---|---|---|
| Command modifier | Ctrl | Cmd |
| Alt modifier | Alt | Option |
| Keyboard Customization | Ctrl+Alt+K | Cmd+Option+K |
| Preferences | Ctrl+, | Cmd+, |
| Quit application | Alt+F4 | Cmd+Q |
The letters and function keys (J, K, L, I, O, B, T, N, D, M, F9, F10) are identical across every operating system Resolve supports, since they're single key presses with no modifier attached. Where you'll actually notice a difference is the handful of shortcuts owned by the operating system itself rather than Resolve, quitting the app, taking a screenshot, switching windows, which follow whatever your OS has always used and don't appear in Resolve's own Keyboard Customization list at all.
One Linux-specific note worth knowing if you're new to that platform: some window managers intercept function keys or Ctrl+Alt combinations for their own use before Resolve ever sees them. If a shortcut in this guide does nothing on Linux, check your desktop environment's own keyboard settings before assuming Resolve is broken.
How do you customize or remap a DaVinci Resolve shortcut?
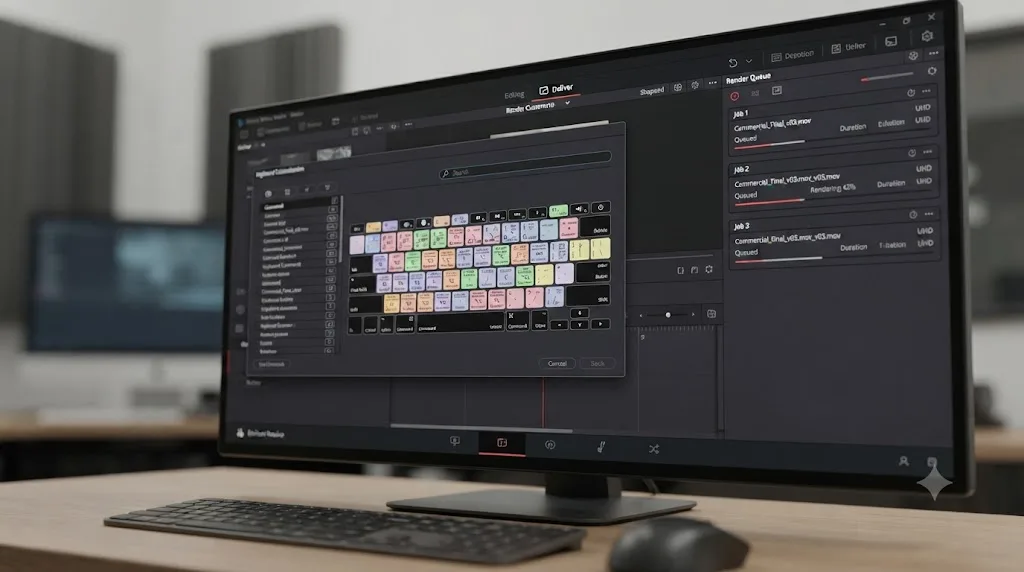
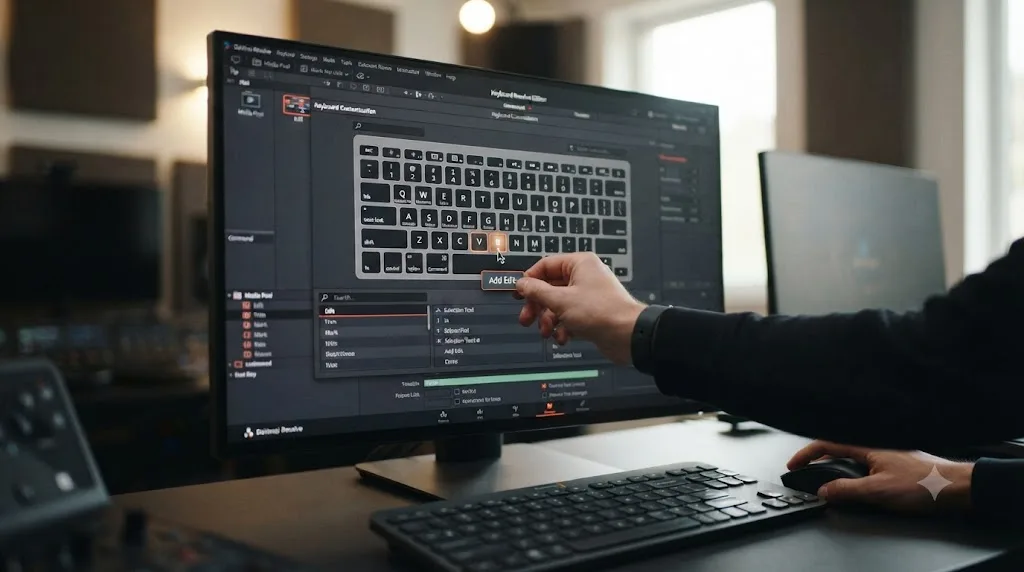
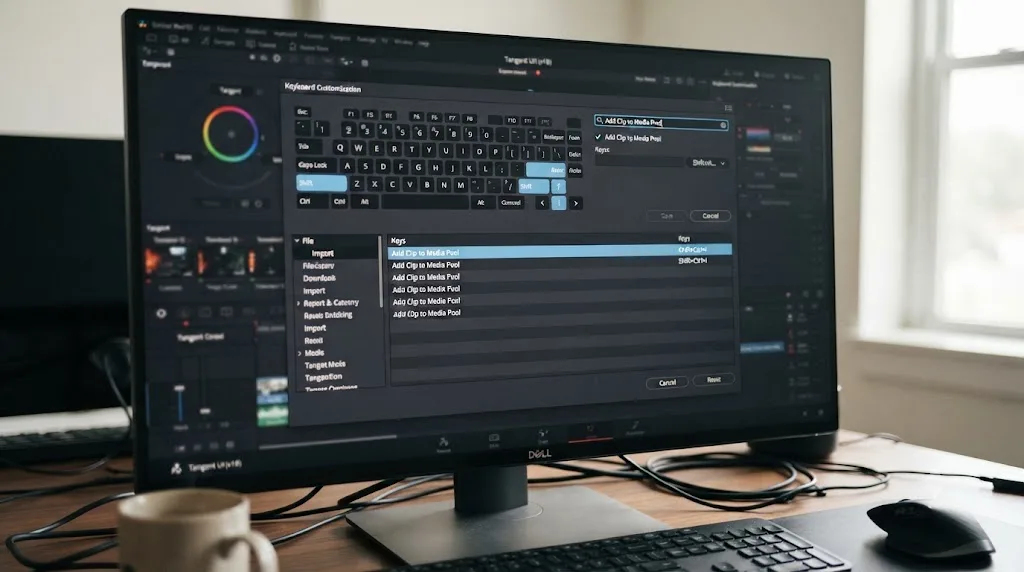
Every shortcut in this guide is a default, not a law. Open DaVinci Resolve > Keyboard Customization, or press Ctrl+Alt+K (Cmd+Option+K on Mac), and you get a full visual keyboard with every current binding on it, searchable by command name.
- Open Keyboard Customization. The panel opens to whichever page currently has focus, so switch to Edit, Color, Fairlight, Fusion, or Deliver on the left first if you want that page's shortcuts.
- Find the command. Use the search field at the top rather than scrolling, especially on the Color or Fairlight pages, where the command list runs long.
- Drag a new key onto it. Click and hold the key you want on the visual keyboard, then drag it onto the command's row. If that key is already assigned to something else on the same page, Resolve tells you before you overwrite it.
- Save the result as a named preset. Open the options menu, the three dots in the top right corner, and choose Save As New Preset. An unsaved custom layout can be lost the moment you switch to a different built-in preset to test it, or when a colleague opens the same machine under their own login.
A shortcut that only exists in Keyboard Customization and never gets pressed is not a shortcut, it is a fact you'll forget by lunch. Remap the two or three keys that genuinely bother you, save the preset, and then go use them in a real timeline instead of tuning the panel further. Customization is a five-minute task, not a hobby.
Can you use Premiere Pro, Final Cut, or Avid shortcuts in DaVinci Resolve instead?
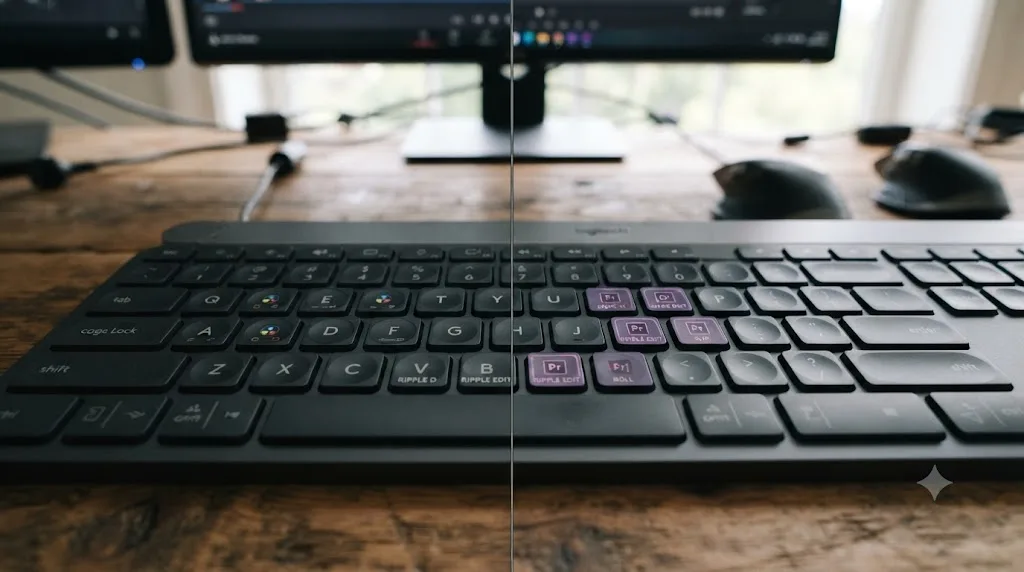
Yes, and this is the fastest fix for anyone switching editors mid-career. The same Keyboard Customization panel has a preset dropdown in the top right, and alongside the default DaVinci Resolve layout and a DaVinci Resolve Cut layout tuned for the Cut page, Resolve ships built-in emulation presets that mimic other NLEs, so your muscle memory doesn't reset to zero the day you open Resolve for the first time.
Only commands that exist in both applications carry across cleanly. A handful of Resolve-specific tools, the node-based color page, Fairlight's mixing console, Fusion's compositing environment, have no equivalent in Premiere or Final Cut, so those keep Resolve's own defaults regardless of which emulation preset you're running. Expect the emulation to nail your everyday cutting shortcuts and leave the deeper pages running Resolve's native keys, which is usually exactly the right split, since you're learning those pages fresh anyway.
If you're coming from Premiere Pro specifically, our beginner's guide and DaVinci Resolve tutorial both cover where the interface diverges beyond the keyboard, which matters more once the muscle memory stops being the obstacle.
Is a Speed Editor or dedicated keyboard worth buying?
Only once shortcuts themselves stop being the bottleneck. Blackmagic sells three dedicated editing keyboards built specifically around Resolve's shortcut set, according to Blackmagic's own keyboard product page: the Speed Editor at $435, a compact panel with a search dial and dedicated edit buttons built for portability; the Editor Keyboard at $669, a full metal QWERTY keyboard with color-coded shortcut keycaps and a built-in search dial; and the Replay Editor at $559, aimed at multicam news and sports cutting rather than general editing.
These aren't a separate skill from what's in this guide. They're the same shortcuts, wired to dedicated physical buttons instead of a keycap you have to remember. Scott Simmons, an editor who reviewed the Speed Editor for ProVideo Coalition, put the honest limit on it plainly:
"Once you're deep into project editorial I just don't see how it can replace the keyboard and I needed the keyboard way more than the Speed Editor, hence the arrangement I settled on."
That's the real verdict on all three panels. They speed up trimming and assembly, the mechanical part of editing, but they don't replace a full keyboard for everything else a project needs: naming bins, writing notes, typing titles, and the dozens of modifier-key commands that only exist on a standard keyboard. Buy one once trimming speed on a real, paying project is the thing actually holding you back, not before.
What do you do when a shortcut stops working or conflicts with something else?
Three causes account for nearly every "this shortcut just does nothing" report, in order of how often they actually happen:
- Wrong page. Color page shortcuts don't fire from the Edit page, and Fairlight's S and M for solo and mute don't do anything on the Media page. Check which page has focus before assuming a key is broken.
- A preset changed underneath you. Switching keyboard presets to test an emulation layout, or a Resolve update that resets defaults, can silently change a key you'd customized. Reopen Keyboard Customization and check what's actually bound right now, it always reflects the live state, not what you remember setting.
- The operating system or another app intercepted it. Screenshot utilities, window managers, and other creative apps running in the background all compete for the same modifier-key combinations. If a shortcut works in a fresh Resolve project but not in your usual session, something else running alongside Resolve is the likely culprit, not Resolve itself.
In DaVinci Resolve, Keyboard Customization is always the ground truth, showing exactly what's bound right now rather than what shipped as the factory default. When in doubt, that panel settles the argument faster than any cheat sheet, including this one, because cheat sheets go stale the moment you or a teammate remaps a single key.
If the problem isn't a shortcut at all but the whole application misbehaving, crashing, freezing, or refusing to launch, that's a different category of issue entirely, and our crashing guide covers the GPU driver and project-corruption causes behind most of those.
Is there an official downloadable PDF of DaVinci Resolve's shortcuts?
Not a current one. Blackmagic Design has published shortcut PDFs for older releases on its documents server, including a menus and keyboard shortcuts guide dating back to Resolve 11, but the company hasn't kept a version-current PDF running alongside every release since. Shortcuts shift slightly between major versions, new pages add new commands, and old ones occasionally get reassigned, so an outdated PDF can actively mislead you about what a key does in the copy of Resolve you're actually running.
The one reference guaranteed to match your installed version is the Keyboard Customization panel itself. It's not printable in the traditional sense, but it's searchable, it's always accurate, and it's already installed on your machine. Treat this page as the organized starting point and Keyboard Customization as the definitive, always-current lookup for anything this guide doesn't cover or that changes in a future release.
Which shortcuts should you actually commit to memory this week?
Not all seventy-plus. Pick the dozen that match the page you live in most, and drill them on a real project rather than a practice file.
If you cut more than you grade or mix, this is your week-one list: Space, J/K/L, I/O, A, B, T, N, D, M, Ctrl+\, F9/F10, and Ctrl+Z. That's thirteen keys, and it covers a complete rough cut from import to trimmed timeline with nothing left to menu-hunt for.
DaVinci Resolve rewards muscle memory over familiarity with menus, because a menu costs a mouse trip and a shortcut costs a reflex. The gap between an editor who's fluent in these thirteen keys and one who isn't shows up in every single cut, not just the fast ones.
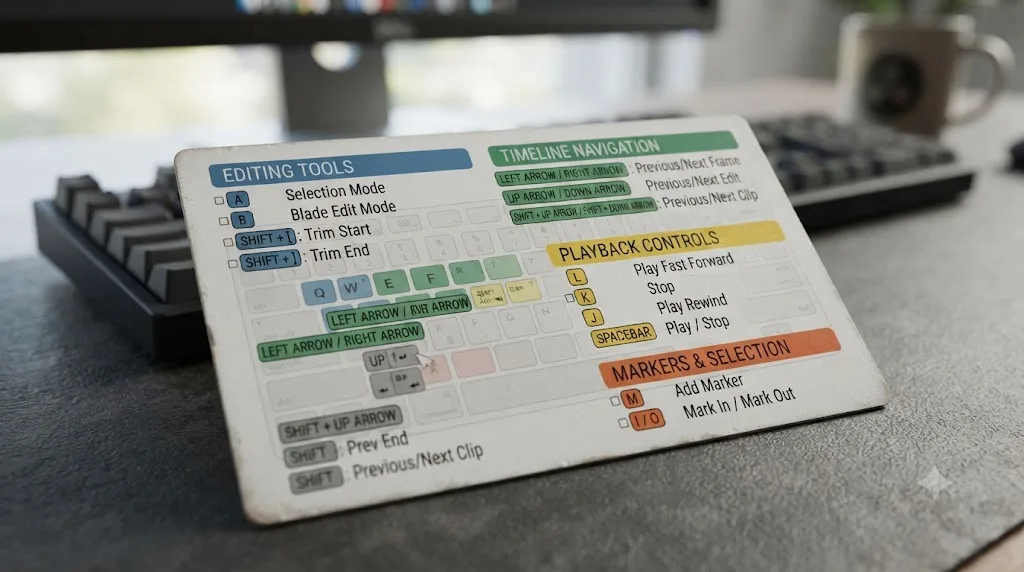
Where do you go from here?
Learn the six universal keys first, add the Edit page's dozen once you're cutting real footage, and treat Color, Fairlight, and Fusion's shortcuts as reference material you return to as each page actually enters your workflow. Keyboard Customization is always open to you if a default ever gets in your way, and it's the only source that's never out of date.
If you're still building the rest of your Resolve foundation alongside this reference, our complete beginner's guide and full DaVinci Resolve tutorial cover everything these shortcuts are meant to speed up. And if you get stuck mid-edit on where a specific control actually lives, TryUncle is an AI tutor built to look at your actual Resolve window and point you straight at it, faster than searching a shortcut list for the one key you half-remember.
Frequently asked questions
- What is the shortcut to split or cut a clip in DaVinci Resolve?
- Position the playhead where you want the cut and press Ctrl+\ on Windows or Cmd+\ on Mac. This is the Edit page's blade-at-playhead command, and it works whether you're in selection mode or blade mode, so you don't need to switch tools first.
- How do I customize keyboard shortcuts in DaVinci Resolve?
- Open DaVinci Resolve > Keyboard Customization, or press Ctrl+Alt+K on Windows and Cmd+Option+K on Mac. Pick the page on the left, search or scroll for the command, and drag a new key combination onto it. Save your changes as a named preset so a project switch or an update doesn't wipe them out.
- Can I use Adobe Premiere Pro or Final Cut Pro shortcuts in DaVinci Resolve?
- Yes. Open Keyboard Customization and use the preset dropdown in the top right to switch to the Premiere Pro, Final Cut Pro 7, or Avid Media Composer emulation layout. Only commands that exist in both applications carry over, so a handful of Resolve-specific tools still need their default keys.
- What's the difference between the DaVinci Resolve and DaVinci Resolve Cut keyboard presets?
- DaVinci Resolve is the default layout, tuned for the full Edit page with its deep trim and track tools. DaVinci Resolve Cut is tuned for the Cut page's simplified, fast-turnaround workflow, so a few keys are reassigned to match tools that only exist on that page, like source tape navigation.
- Is the DaVinci Resolve Speed Editor worth buying?
- If you cut long-form projects daily, most owners say yes, because it removes the mouse from routine trimming. If you edit occasionally or mostly do color and audio work, a keyboard and the default shortcuts cover the same ground for free. It's a comfort and speed upgrade, not a new capability.
- Why did my DaVinci Resolve keyboard shortcut stop working?
- The three usual causes: you're on the wrong page (Color page shortcuts don't fire from Edit), a custom preset got overwritten by an update or a colleague's machine, or the shortcut is bound to a modifier key your OS or another app has intercepted. Check Keyboard Customization first; it always shows the shortcut actually active right now.
- Are DaVinci Resolve keyboard shortcuts the same on Mac and Windows?
- Almost identical. Swap Cmd for Ctrl and Option for Alt and nearly every shortcut in this guide matches exactly. The only real exception is a handful of macOS system shortcuts, like Cmd+Q to quit, that don't have a direct Windows equivalent inside Resolve.
- Is there a free downloadable DaVinci Resolve keyboard shortcuts PDF?
- Blackmagic Design doesn't currently publish an official, up-to-date shortcuts PDF for Resolve 21, only the in-app Keyboard Customization panel and older per-version PDFs on its documents server. Because shortcuts shift slightly between versions, the in-app panel is the only reference guaranteed to match the copy you're running.
Sources
- DaVinci Resolve - Keyboard (Blackmagic Design, Speed Editor, Editor Keyboard, Replay Editor)
- DaVinci Resolve product page (Blackmagic Design)
- DaVinci Resolve - Tech Specs (Blackmagic Design)
- DaVinci Resolve - What's New (Blackmagic Design)
- DaVinci Resolve 18.6 Reference Manual: Choosing Keyboard Shortcut Emulation Presets (Blackmagic Design, mirrored)
- Review: DaVinci Resolve Speed Editor, Part 1, by Scott Simmons (ProVideo Coalition)
- DaVinci Resolve 11 Menus & Keyboard Shortcuts guide (Blackmagic Design documents server)
Put this guide to work with TryUncle.
Ask about the step you’re on. TryUncle sees your screen and points at the control you need, so you can keep learning in your own project.
Get TryUncle for Mac or WindowsKeep reading
Guides · Jul 7, 2026 · 32 min
DaVinci Resolve for Beginners: The Complete Starter Guide
Learn DaVinci Resolve from zero: what it costs, what it needs to run, the seven pages you'll actually use, and the steps to cut your first project.
Guides · Jul 7, 2026 · 36 min
DaVinci Resolve Tutorial: The Complete Guide to Every Page
Learn DaVinci Resolve step by step: which page to start on, how to cut, grade, mix, and export your first project, plus shortcuts and free training.

Guides · Jul 7, 2026 · 35 min
How to Color Grade in DaVinci Resolve: The Basics
Learn how to color grade in DaVinci Resolve: build a node chain, balance shadows and highlights with Lift, Gamma, and Gain, and read the scopes.