Articles / Fixesupdated for DaVinci Resolve 21.0.2 (July 2026)
Clip Resolution Doesn't Match Timeline in DaVinci Resolve: Fix
Quick answer
DaVinci Resolve shows a resolution mismatch, black bars, cropping, or a blurry upscale, when a clip's native resolution differs from your timeline resolution and Image Scaling has to reconcile them. Check Project Settings' Mismatched Resolution Files preset for the whole project, or the clip's own Retime and Scaling controls in the Inspector for one clip.
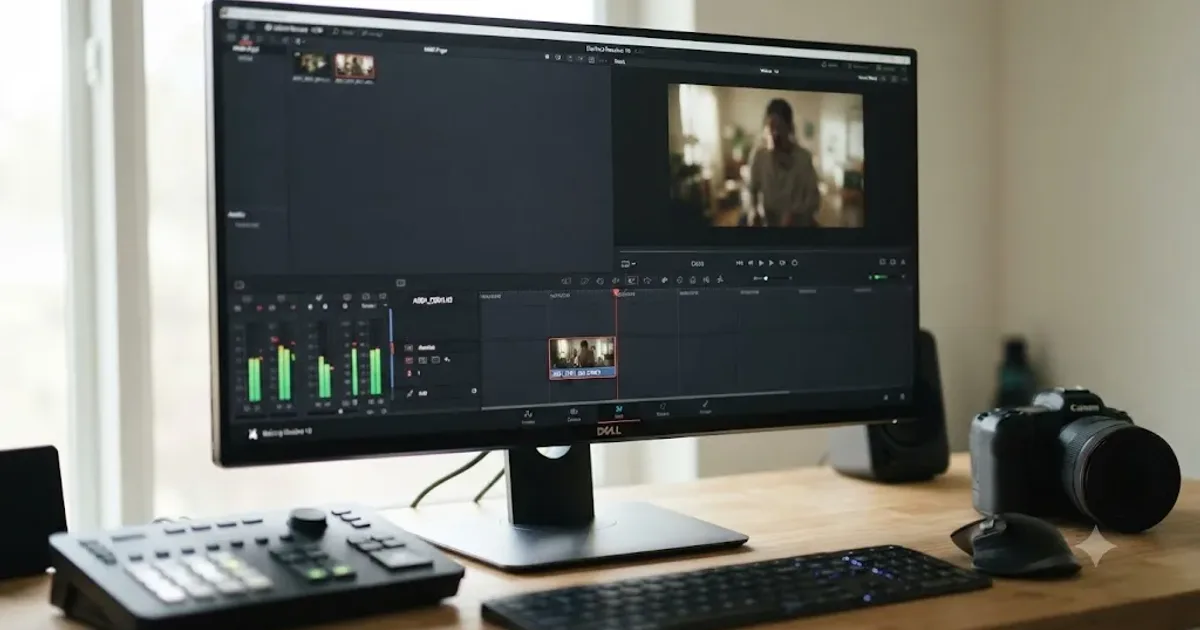
Your footage looks right in the thumbnail. You drop it on the timeline and either it's swimming in black bars, or it's been cropped tighter than you wanted, or it plays back looking soft in a way that has nothing to do with your grade. Nothing crashed. Resolve didn't reject the file. It just quietly decided how to handle a clip whose resolution doesn't match your timeline, and it decided without asking you first.
As of July 2026, on DaVinci Resolve 21.0.2, this isn't one specific error dialog with one exact sentence. It's a family of symptoms that all trace back to the same mechanism: Image Scaling, the setting that decides what happens the instant a clip's native pixel dimensions differ from your project's Timeline Resolution. Once you know where that mechanism lives, every version of this problem, the black bars, the crop, the blur, the Deliver page warning, gets a specific, two-minute fix.
What does "clip resolution does not match timeline" actually mean in DaVinci Resolve?
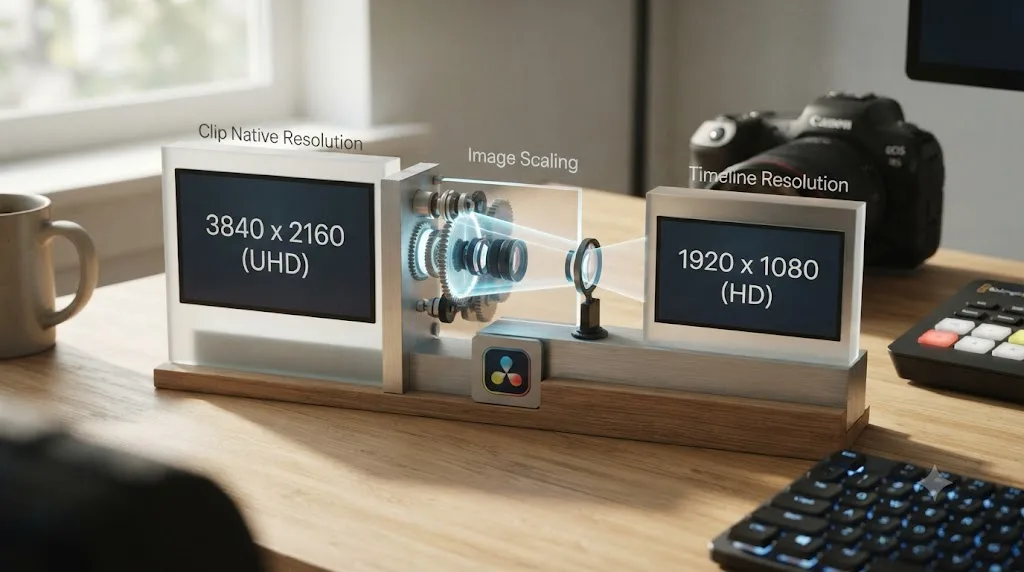
It means the pixel dimensions recorded in your clip, say 1920x1080 from an older camera, don't equal your project's Timeline Resolution, say 3840x2160 for a UHD delivery. Every clip in Resolve carries its own native resolution as part of its file metadata, and your project carries a single Timeline Resolution set in Project Settings. When those two numbers disagree, something has to give, and DaVinci Resolve resolves that disagreement automatically according to whichever Image Scaling preset your project currently uses.
That's a meaningfully different situation from a corrupted file or an unsupported codec. Resolve opened the clip fine. It read the resolution fine. It's applying a documented, deliberate scaling behavior, just one you may not have chosen on purpose.
A resolution mismatch in DaVinci Resolve is not a file problem, it's a decision the project is making about a disagreement between two numbers, and that decision is a setting you can see and change. Per DaVinci Resolve's own reference manual, "DaVinci Resolve is a resolution-independent application. This means that, whatever the resolution of your source media, it can be output at whatever other resolution you like." That flexibility is the entire point of the feature. It's also exactly why the behavior can surprise you the first time you hit it without knowing the setting exists.
We've spent seven-plus years cutting commercial and client work in DaVinci Resolve, and we run a video-editing community with more than 100,000 members where this exact confusion comes up constantly, almost always from editors mixing footage from a phone, a drone, and a "real" camera on the same timeline for the first time. It's one of the most common early-project surprises in Resolve, and it's also one of the fastest to fix once you know which of four or five specific places to look.
Where do you actually see this warning in DaVinci Resolve?
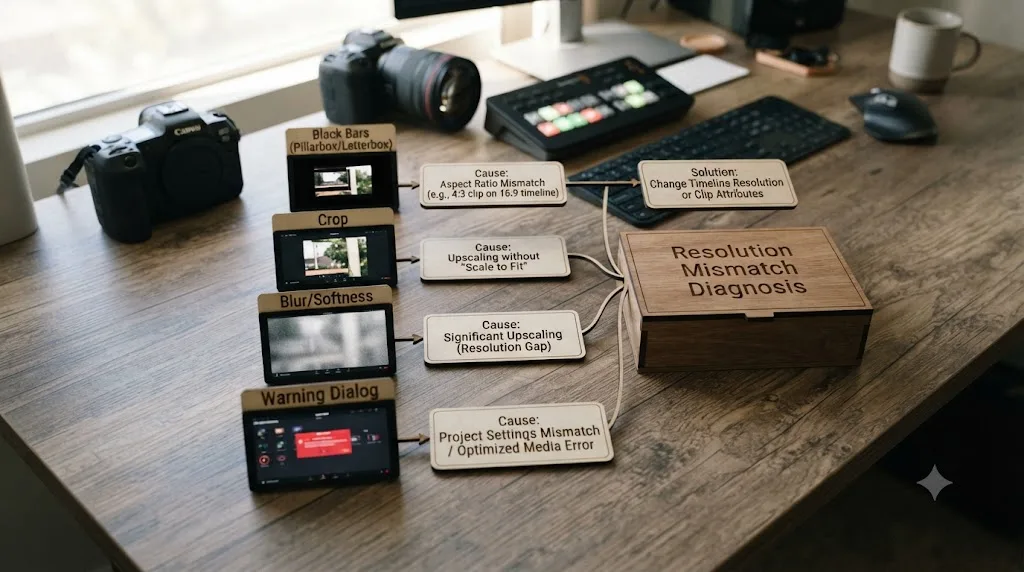
You don't see one dialog with the exact words "clip resolution does not match timeline." You see one of several different symptoms, each produced by the same underlying mismatch showing up at a different point in your workflow. Matching your exact symptom to the right row below saves you from chasing the wrong fix.
| What you're seeing | What's actually happening | Where the fix lives |
|---|---|---|
| Black bars around a clip on the timeline | Clip is smaller than the timeline and Image Scaling is set to preserve its native size | Project Settings, Image Scaling, Mismatched Resolution Files |
| A clip's edges are cropped tighter than the original frame | Clip is being scaled to fill the frame and excess pixels are cut | Project Settings, Image Scaling, or the clip's own Retime and Scaling in the Inspector |
| Footage looks soft, blurry, or slightly pixelated compared to other clips | A smaller clip is being upscaled to match a larger timeline resolution | Resize Filter setting, and accepting the physical limits of upscaling |
| A yellow warning on the Deliver page about render resolution | Your chosen render resolution is higher than Timeline Resolution, separate from any single clip | Deliver page, Render Settings, Match Timeline Settings |
| An import dialog asking to match settings, but only offering frame rate | Resolve's "match the first clip" prompt doesn't cover resolution, only frame rate | Set resolution manually in Project Settings before or right after import |
| One clip in a multicam group or an XML/AAF conform looks wrong while its neighbors are fine | That specific source has a different native resolution than the rest of the group | Inspect that one clip's Retime and Scaling individually |
Every one of these symptoms, black bars, a crop, a blurry upscale, a Deliver page warning, is the same underlying resolution mismatch surfacing at a different stage of the pipeline, not six separate bugs. Once you've matched your symptom to a row, skip straight to that section below.
Is a resolution mismatch the same thing as a frame rate mismatch?
No, and confusing the two sends you into the wrong settings panel entirely. Resolution is a spatial property, the width and height of the image in pixels. Frame rate is a temporal property, how many of those images play per second. Resolve tracks and reconciles them completely independently, in two different sections of Project Settings.
A resolution mismatch produces black bars, cropping, or a soft upscale, and it never affects playback speed. A frame rate mismatch, by contrast, changes how fast a clip plays and never touches its pixel dimensions. If your clip is playing at the wrong speed rather than looking cropped or bordered, that's a completely different fix, and our guide to a DaVinci Resolve clip playing too fast from a wrong frame rate covers that mechanism in full.
The two problems do share one structural similarity worth knowing up front: both frame rate and resolution get locked into a Conform Options-style decision the moment you start bringing media in, and both can require different fixes depending on whether you catch the mismatch before or after you've built out your edit. Keep that parallel in mind. It's why some of the advice below (fix project-wide settings before import when you can) applies to both problems for the same underlying reason.
Resolution and frame rate are two completely separate numbers that DaVinci Resolve tracks independently, so a clip playing at the wrong size and a clip playing at the wrong speed are two different bugs with two different fixes. Don't open Clip Attributes' frame rate field chasing a resolution problem. It won't be there.
What is Image Scaling, and why does it decide what happens to your mismatched clip?
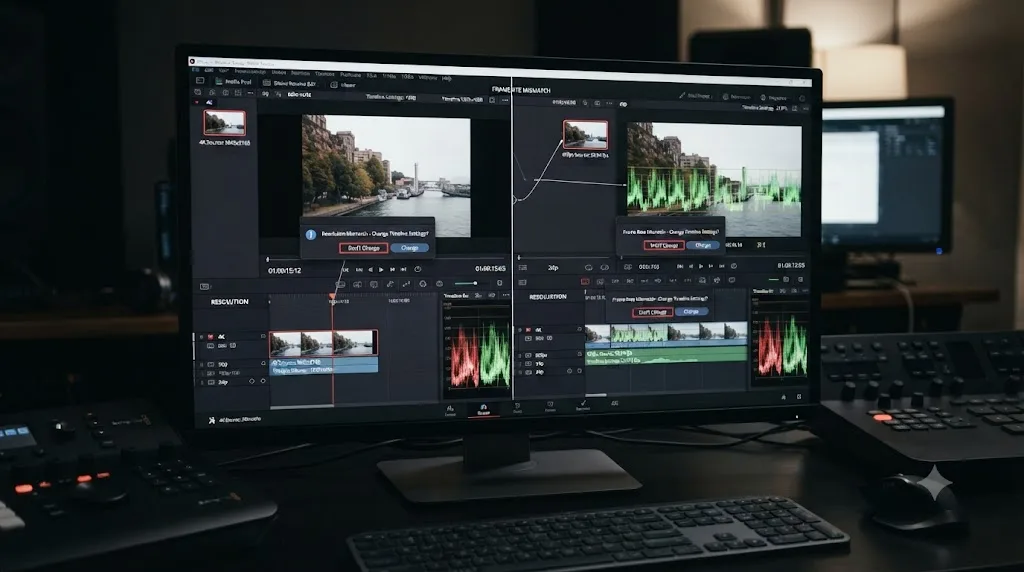
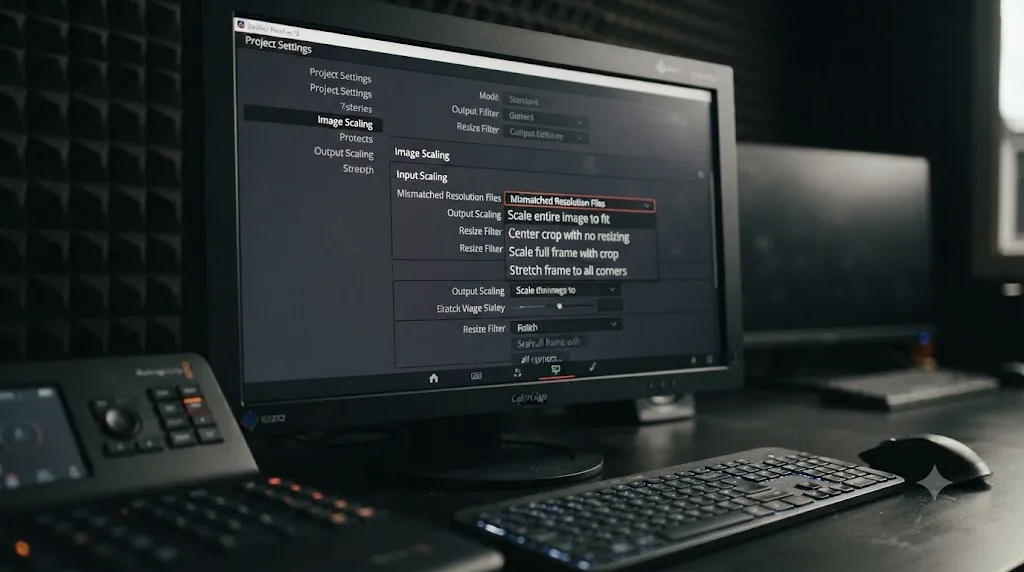
Image Scaling is the project-wide mechanism in DaVinci Resolve's Project Settings that automatically decides how any clip whose native resolution doesn't match Timeline Resolution gets handled, without you touching that clip individually. It lives under Project Settings, in its own Image Scaling panel, and its most important control is a dropdown called Mismatched Resolution Files.
Per the reference manual's Image Scaling page, "if the native resolution of an imported clip doesn't match the timeline resolution, then the currently selected Input Scaling Preset in the Image Scaling panel of the Project Settings dictates how mismatched clips will be handled project-wide." That single sentence is the entire mechanism behind every symptom in the table above. There are four presets, and each one produces a genuinely different visual result from the exact same mismatched clip.
| Mismatched Resolution Files preset | What happens, per the manual | Best for |
|---|---|---|
| Center Crop with No Resizing | "Clips of differing resolution are not scaled at all. Clips that are smaller than the current frame size are surrounded by blanking, and clips that are larger than the current frame size are cropped." | Preserving native pixel quality; accepting black bars on smaller sources |
| Scale Full Frame with Crop | "Clips of differing resolution are scaled so that the clip fills the frame with no blanking. Excess pixels are cropped." | Social and vertical deliverables where black bars are unacceptable |
| Scale Entire Image to Fit | "Clips of differing resolution are scaled so that each clip fills the frame without cropping." (This is the default preset.) | General-purpose editing where you want the full frame visible, accepting some blanking on mismatched aspect ratios |
| Stretch Frame to All Corners | "Useful for projects using anamorphic media. Clips of differing resolutions are squished or stretched to match the frame size in all dimensions." | Anamorphic footage only; distorts everything else |
Center Crop with No Resizing and Scale Full Frame with Crop produce opposite visual results from the identical clip, one leaves black bars and the other cuts the edges off, and the only difference between them is a single dropdown in Project Settings. If you've ever wondered why the exact same mismatched footage looked completely different on two different projects, this dropdown is almost always the reason.
How do you fix a single clip that doesn't match your timeline resolution?
If your diagnosis above pointed at one clip, or a small handful, rather than every mismatched clip on the whole project, don't touch the project-wide Image Scaling preset at all. Fix that clip individually instead, and every other clip on the timeline stays exactly as it was.
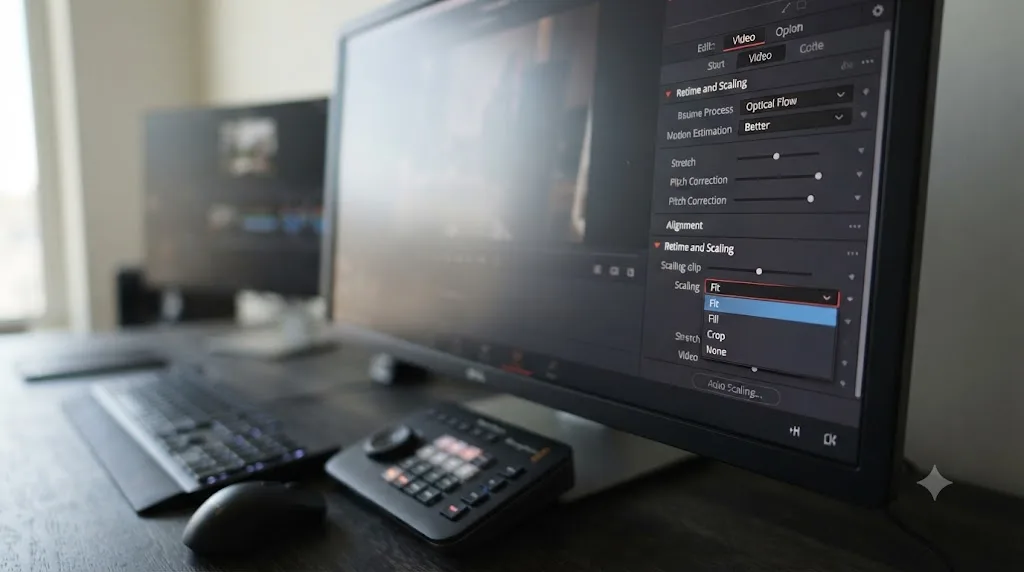
- Select the clip on the timeline (not in the Media Pool, the actual timeline instance, since this control is per-instance).
- Open the Inspector panel and click the Video tab.
- Scroll to the Retime and Scaling section and double-click the word Scaling to open its dropdown.
- Choose the behavior you want for this one clip:
- Fit fits the entire image inside the frame, keeping the whole picture visible, at the cost of blanking on any mismatched edge.
- Fill scales the clip to completely fill the frame, cropping whatever doesn't fit.
- Crop lets you manually reposition and resize the clip within the frame yourself, useful when an automatic Fit or Fill crops out something you actually needed in shot.
- None leaves the clip at its native resolution with no scaling applied at all, the per-clip equivalent of Center Crop with No Resizing.
- Close the Inspector and check the result on the timeline. This applies only to that specific clip instance, not the source media, and not any other instance of the same clip elsewhere on the timeline.
Per-clip Retime and Scaling in the Inspector overrides the project-wide Image Scaling preset for exactly one clip, which is why it's the right tool when only a handful of mismatched clips need special handling and the rest of your project's scaling behavior is already correct. This is also the fastest fix when an automatic project-wide setting is technically correct for 95% of your footage but produces an awkward crop on one specific shot where the framing actually matters.
How do you fix the whole project when every mismatched clip looks wrong the same way?
If every clip that doesn't match your timeline resolution shows the identical symptom, all cropped the same way, or all bordered by the same black bars, you're not looking at individual clip problems. You're looking at the project-wide Image Scaling preset doing exactly what it's configured to do, consistently, to everything that qualifies.
- Open Project Settings (the gear icon in the bottom right corner of the interface).
- Go to the Image Scaling panel.
- Locate the Mismatched Resolution Files dropdown and pick the preset from the table above that matches what you actually need for this deliverable.
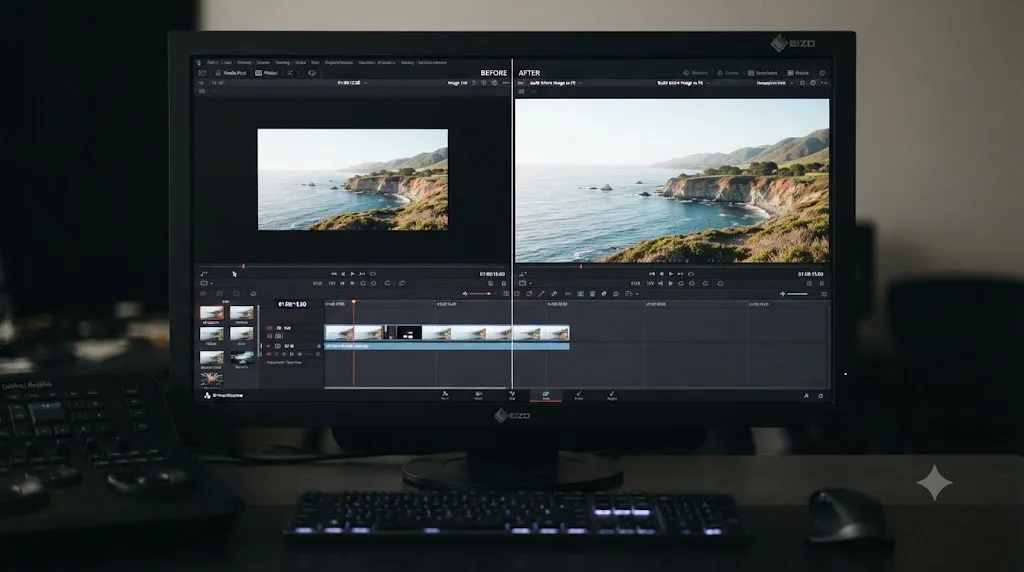
- Save. DaVinci Resolve rescales every mismatched clip on the timeline immediately according to the new setting.
This is the detail that separates Image Scaling from several other locked-in Resolve settings: it isn't locked once media is imported. Unlike Mixed Frame Rate Format, which the manual states outright is "only available prior to importing media into a project," Image Scaling's Mismatched Resolution Files preset can be changed at any point in a project, even deep into an edit, and it takes effect retroactively across every clip already cut into the timeline.
Image Scaling's Mismatched Resolution Files preset can be changed at any point in a DaVinci Resolve project, unlike the frame-rate equivalent setting that locks the moment you import media, so you're never stuck with a resolution decision you made on day one. That's genuinely good news if you discover three weeks into a cut that Scale Full Frame with Crop is cutting off something important that Scale Entire Image to Fit would have kept.
Why does changing your timeline resolution mid-project sometimes not fix it?
This is where a lot of editors get genuinely stuck, because it looks like they did the right thing, changed the setting that logically should fix the mismatch, and the footage still looks wrong. The reason is that Timeline Resolution and the actual frame size DaVinci Resolve renders at aren't automatically the same field once you've already changed one setting without the other.
Editor and trainer Larry Jordan ran into this directly on a real project. He'd built a Resolve project expecting his webinar recordings, shot at 1600x900, to conform correctly, but his project defaulted to the standard 1920x1080. When he went back to fix it partway through, he found the frame rate change went through cleanly, but as Jordan put it plainly, "the frame rate was correct, but the frame size was too large. All my clips were enlarged and blurry." Clicking the button that fixed frame rate hadn't touched frame size at all. Two separate fields, two separate fixes, and clicking one didn't cover the other.
His eventual solution wasn't a deeper settings dive, it was starting over correctly. Per the same article, he built a third project where he made sure to change project settings for both frame size and frame rate before importing any media, and that eliminated the problem entirely. That mirrors a broader piece of advice Jordan gives elsewhere about Resolve project setup: "make sure the first media you import has the frame rate you want to deliver." The same logic extends to resolution. Getting Timeline Resolution and Image Scaling right before your first import saves you from exactly this kind of half-fixed project.
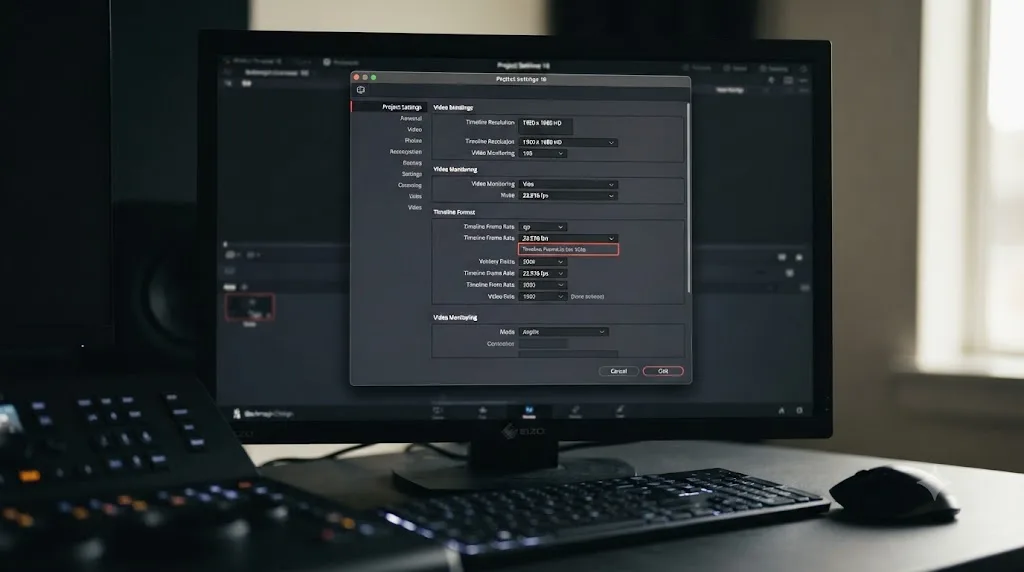
If you've already imported media and are past the point of starting clean, you're not stuck. Go into Project Settings' Master Settings, under Timeline Format, and confirm the actual Timeline Resolution field, not just whatever preset or button you clicked, reads the size you actually want. Per the manual's page on changing timeline resolution, when you do change it correctly, "each Edit page transform, Fusion clip effects output, Color page Power Window, Input and Output Sizing adjustment, tracking path, spatial keyframing value" all rescale automatically to the new resolution. That's the confirmation you changed the right field: everything downstream should visibly follow.
A one-click "match this clip" prompt in DaVinci Resolve can fix frame rate without touching frame size, or the reverse, because they're two separate fields that don't update together automatically. If you clicked something that seemed like the obvious fix and the mismatch persists, go check Timeline Resolution directly in Master Settings rather than assuming the earlier click covered it.
Why do your clips look blurry or soft after you fix the resolution mismatch?
Fixing the mismatch stops the cropping or the black bars, but it doesn't fix a more fundamental limit: scaling a smaller clip up to fill a larger frame is still an upscale, and no scaling algorithm can add detail that the camera never captured. If your fix involved taking a 1080p clip up to a 4K timeline, some softness is a physical consequence of that math, not a settings mistake.
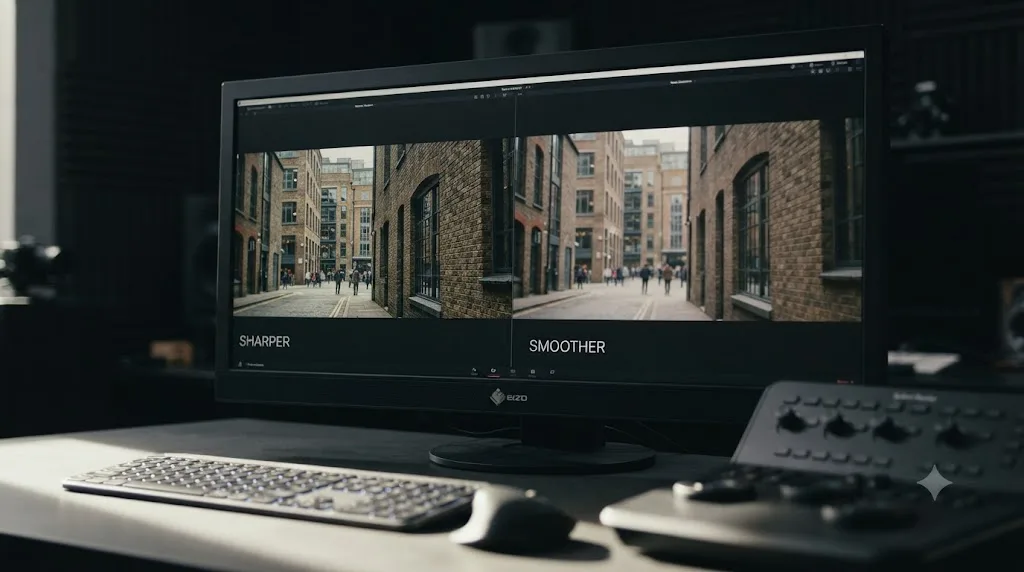
What you can control is which interpolation method DaVinci Resolve uses to do that scaling, and it does make a real, visible difference. The same Image Scaling panel that holds Mismatched Resolution Files also holds a Resize Filter dropdown. Per the reference manual, Sharper "usually provides the best quality in projects using clips that must be scaled up to fill a larger frame size, or scaled down to HD resolutions," while Smoother "may provide higher quality for projects using clips that must be scaled down to fit an SD resolution frame size."
The practical rule is simple: if you're scaling up (a smaller clip onto a bigger timeline), use Sharper. If you're scaling way down (footage onto an SD-sized timeline specifically), Smoother tends to look cleaner. For most modern mixed-resolution projects, upscaling smaller sources to a 4K timeline, Sharper is the correct default and it's worth confirming that's actually what's selected before you assume the softness is unfixable.
Upscaling a clip to fill a larger timeline always costs some sharpness, and the Resize Filter setting only changes how gracefully that loss happens, not whether it happens at all. Set expectations accordingly on any project mixing HD and UHD sources: the HD clips will read as visibly softer than native UHD footage next to them, no matter which filter you pick, because that's the nature of upscaling, not a bug in Resolve's scaler.
Does the Deliver page throw its own separate resolution warning?
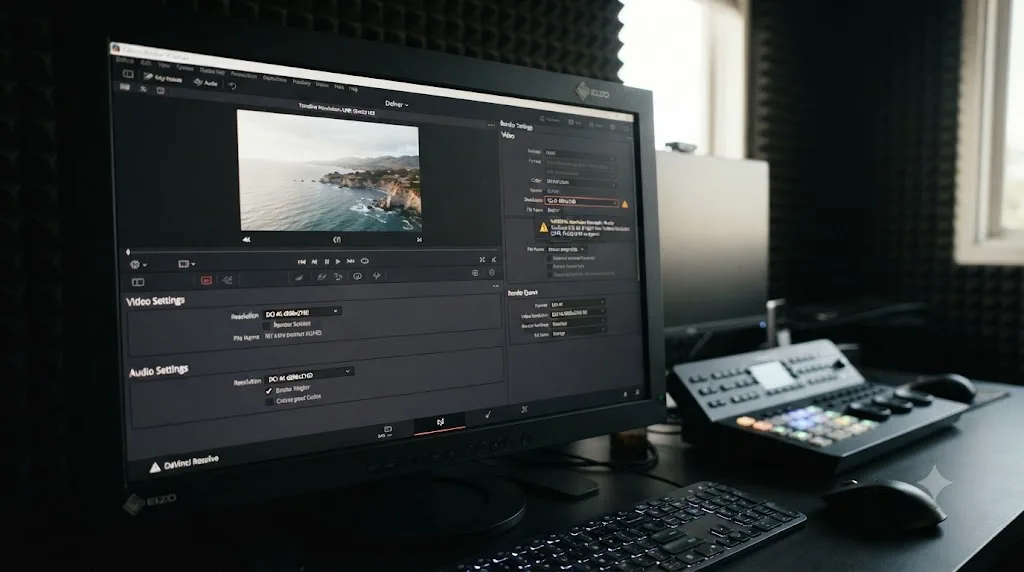
Yes, and it's worth treating as a completely separate check from anything on the Edit page, because a timeline that looks perfectly correct while you're editing can still trigger a warning the moment you set up your render. This is the version of the problem that shows up specifically when your chosen render resolution is set higher than your project's actual Timeline Resolution.
Image processing in Resolve happens at Timeline Resolution. If you set a render resolution above that, on the Deliver page's Render Settings, Resolve has to upscale from Timeline Resolution up to your chosen output size, and it warns you before doing it, because that upscale can visibly soften your final export even if every clip inside your timeline was scaled correctly during editing. This is the scenario that catches editors who cut an entire project at 1080p for editing performance and then try to render straight to 4K without adjusting Timeline Resolution first.
The fix is one of two choices, and which one is right depends entirely on your actual source footage:
- If your source footage genuinely supports it, go back to Project Settings, raise Timeline Resolution to match your intended delivery size, and let your native UHD (or higher) sources render at their real resolution. On the Render Settings panel, choosing Match Timeline Settings keeps your render resolution locked to whatever Timeline Resolution is, so this stays in sync automatically going forward.
- If your source footage is genuinely 1080p and you're trying to deliver 4K anyway, understand that you're choosing an upscale on purpose, and the warning is accurate: your 4K file won't contain more real detail than your 1080p sources did. That's sometimes a legitimate delivery requirement (a platform demands a specific resolution regardless of source), but it's worth being a deliberate choice rather than an accident caught at the last minute before a deadline.
Our export settings guide covers the full render settings panel in more depth, including bitrate and codec choices for the specific resolution you land on here.
A Deliver page resolution warning and a timeline-level clip mismatch are two separate checks in DaVinci Resolve, and passing one doesn't guarantee you'll pass the other. Check both before you commit to a long render, especially on any project where Timeline Resolution was set for editing performance rather than final delivery size.
Why doesn't my vertical phone video fit a 16:9 timeline?
This is one of the most common versions of a resolution mismatch precisely because it isn't really about resolution at all, it's about orientation. A 1080x1920 vertical clip and a 1920x1080 horizontal timeline have the exact same total pixel count, just rotated 90 degrees relative to each other. No scaling preset covered above can fill a horizontal frame with a vertical source without either cropping most of the width off or leaving thick black bars down both sides, because the two shapes fundamentally don't overlap the way two same-orientation mismatched resolutions do.
If your entire deliverable is meant to be vertical, in the first place, for TikTok, Reels, or Shorts, the fix isn't a scaling preset at all. It's setting your project up for vertical from the start. Project Settings includes a "Use vertical resolution" checkbox specifically for this, which swaps your project's working width and height so a vertical timeline treats vertical footage as native, rather than as a mismatch to be reconciled.
If you're intentionally mixing horizontal and vertical sources on the same timeline, for a project that genuinely needs both, accept that a fully automatic scaling preset can't make both look ideal simultaneously. This is where per-clip Retime and Scaling in the Inspector, covered above, earns its keep: set vertical clips to Crop and manually reposition them to frame the subject correctly within the horizontal frame, rather than trusting an automatic Fit or Fill to guess what matters in a 90-degree-rotated shot.
Vertical and horizontal footage aren't a resolution mismatch in the usual sense, they're an orientation mismatch, and no automatic scaling preset resolves that the way it resolves two same-orientation clips of different sizes. Decide your project's primary orientation before you build the timeline out, since retrofitting orientation after the fact means manually repositioning every clip that doesn't match.
Does this happen on XML or AAF imports from Premiere Pro or Final Cut?
Yes, and it's worth checking for specifically after any cross-application conform, because the resolution mismatch can arrive bundled with a completely different set of import problems that make it harder to isolate. When a timeline built in Premiere Pro or Final Cut Pro comes into Resolve via XML or AAF, each individual clip reference carries its own native resolution, exactly as it would on a direct import, and Resolve applies the exact same Image Scaling logic to reconcile any mismatches against whatever Timeline Resolution the receiving Resolve project is using.
The complication is that a broken XML or AAF conform produces its own separate symptoms, offline media, missing clips, wrong timecode, that can look superficially similar to a resolution problem at a glance (a clip that "looks wrong" on the timeline) but actually need a completely different fix. If you're troubleshooting a timeline that just arrived from Premiere Pro and something about it looks off, our guide to Premiere XML imports not working in DaVinci Resolve covers the conform-specific failure modes, media offline, failed to link, empty timelines, in depth. Once you've confirmed the conform itself succeeded and every clip is correctly linked to real media, then treat any remaining resolution mismatch exactly like a normal one: check the project's Image Scaling preset first, then individual clips if only some of them look wrong.
One detail specific to this handoff: a Premiere Pro project set up at one resolution, exporting an XML into a Resolve project set up at a different resolution, will reconform every clip according to the receiving project's settings, not the originating one. If your whole imported timeline looks uniformly scaled wrong, check that the receiving Resolve project's Timeline Resolution actually matches what you intended before assuming anything about the XML itself is broken.
What about anamorphic footage or squeezed lenses?
Anamorphic is the one legitimate use case for Stretch Frame to All Corners, the fourth Image Scaling preset, and it's worth understanding why before you reach for it on anything else. Anamorphic lenses optically squeeze a wider field of view into a narrower recorded frame, which means the raw file coming off the camera is deliberately, intentionally distorted, and needs to be stretched back out to look correct.
Per the reference manual, Stretch Frame to All Corners is "useful for projects using anamorphic media," where "clips of differing resolutions are squished or stretched to match the frame size in all dimensions." That's exactly the corrective stretch an anamorphic workflow needs, applied automatically at the project level to every clip that qualifies.
The catch, and the reason this preset isn't a general-purpose fix for ordinary resolution mismatches, is right there in the description: it stretches in all dimensions, non-uniformly if needed, to force a fit. Apply that same behavior to a normal, non-anamorphic mismatched clip, a phone video next to a cinema camera shot, for instance, and you'll distort people's faces and straight lines rather than cleanly cropping or letterboxing them. This preset is correct for exactly one situation and actively wrong for almost every other resolution mismatch on this page.
Stretch Frame to All Corners exists specifically to correct anamorphic lens squeeze, and applying it to an ordinary resolution mismatch between non-anamorphic clips will visibly distort your footage instead of fixing anything. If you're not shooting anamorphic, skip this preset entirely and reach for one of the other three instead.
Does mixed-resolution multicam or proxy media cause this too?
Yes, in two distinct ways that are worth checking separately if your resolution mismatch is showing up somewhere other than a straightforward single-clip import.
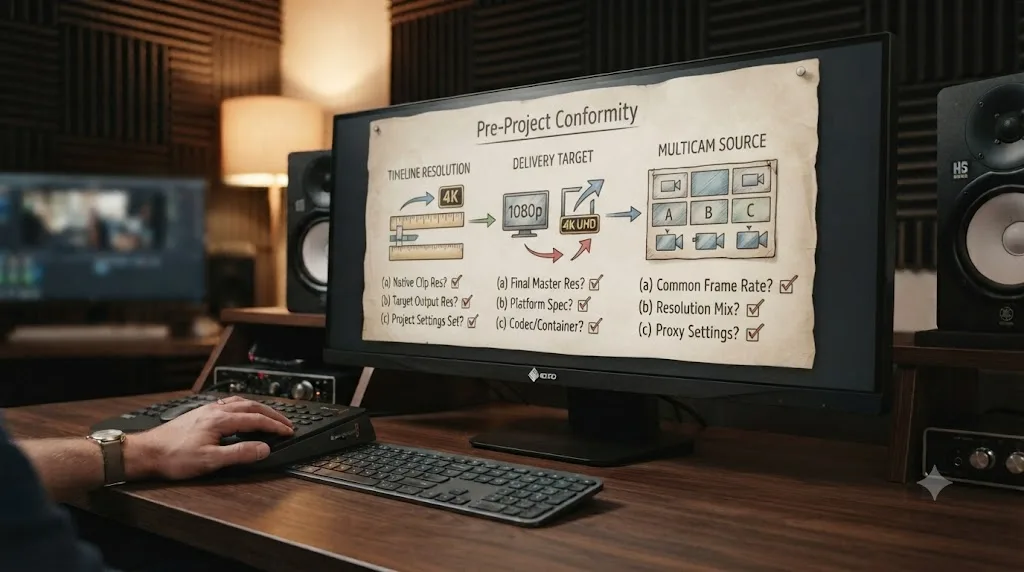
Multicam angles rarely all share the exact same native resolution. A typical multi-camera shoot mixes a primary cinema camera, a secondary crop-sensor body, and sometimes a phone or action camera for a wide safety angle, and those three sources can easily have three different native resolutions. Resolve applies Image Scaling to each angle individually as you cut between them, which means switching angles mid-edit can visibly shift the apparent crop or framing if your angles genuinely differ in resolution and your Mismatched Resolution Files preset is set to something like Scale Full Frame with Crop. If your multicam cuts look subtly different in framing angle to angle, check each source's native resolution individually before assuming it's a sync or grading issue.
Proxy and Optimized Media generation can introduce a resolution mismatch of its own. These features work by generating a new, lower-resolution copy of your original media for smoother editing performance, then switching your playback to that generated copy. If a proxy was generated at a resolution that doesn't cleanly match your timeline (a common outcome when proxy resolution and timeline resolution were configured independently, without much thought given to how they interact), you can end up seeing scaling artifacts on proxy playback that disappear the moment you switch back to full-resolution original media. Before troubleshooting a resolution-looking artifact any further, switch off Proxy or Optimized Media playback temporarily (the resolution dropdown at the bottom right of the interface) and confirm whether the issue persists on the original files. If it doesn't, the proxy generation settings, not your Image Scaling preset, are what needs adjusting.
A resolution mismatch that only shows up on one multicam angle, or only during proxy playback, points at that specific source or generated file, not at your project-wide Image Scaling setting. Isolating which layer of your pipeline is actually producing the visible artifact saves you from changing a setting that was never the real cause.
What does the full fix look like on a real timeline?
Here's the diagnosis and fix applied start to finish, on a scenario that comes up constantly for solo creators and small teams: a YouTube tutorial project with a primary 4K screen recording, an iPhone-shot vertical b-roll insert for a Shorts cutdown, and a handful of 1080p stock clips licensed for the intro, all landing on a single 3840x2160 timeline.
First, the diagnosis pass. Scrubbing the timeline shows the 1080p stock clips looking noticeably softer than the native 4K screen recording, and the vertical b-roll insert is pillarboxed with heavy black bars down both sides. Two different symptoms, two different causes, on the same timeline.
Second, the stock clip softness. Checking Project Settings' Image Scaling panel shows Mismatched Resolution Files already set to Scale Entire Image to Fit, the default, which is correctly scaling the 1080p clips up to fill the 4K frame without cropping. The softness itself isn't a settings mistake, it's the physical cost of upscaling 1080p source to a 4K frame. Checking Resize Filter confirms it's set to Smoother, which the manual specifically recommends for scaling down, not up. Switching it to Sharper, the setting recommended for scaling up to a larger frame, visibly tightens the stock footage without introducing any new artifacts.
Third, the vertical insert. This isn't a resolution problem in the usual sense, it's the orientation mismatch covered above: a 1080x1920 vertical clip inside a 3840x2160 horizontal timeline. Since this is one clip, not the whole project, the fix happens in the Inspector rather than Project Settings. Selecting the clip, opening Retime and Scaling, and switching from the default Fit (which is producing the pillarbox) to Fill removes the black bars but crops the sides of the vertical frame, an acceptable tradeoff here since the subject stays centered throughout the shot.
The result: a single project-wide Resize Filter change fixed the stock footage softness across every mismatched 1080p clip at once, while a single per-clip Scaling override fixed the one vertical insert without touching anything else on the timeline. Neither fix required re-importing media, transcoding anything, or rebuilding the edit.
Which scaling option should you actually use?
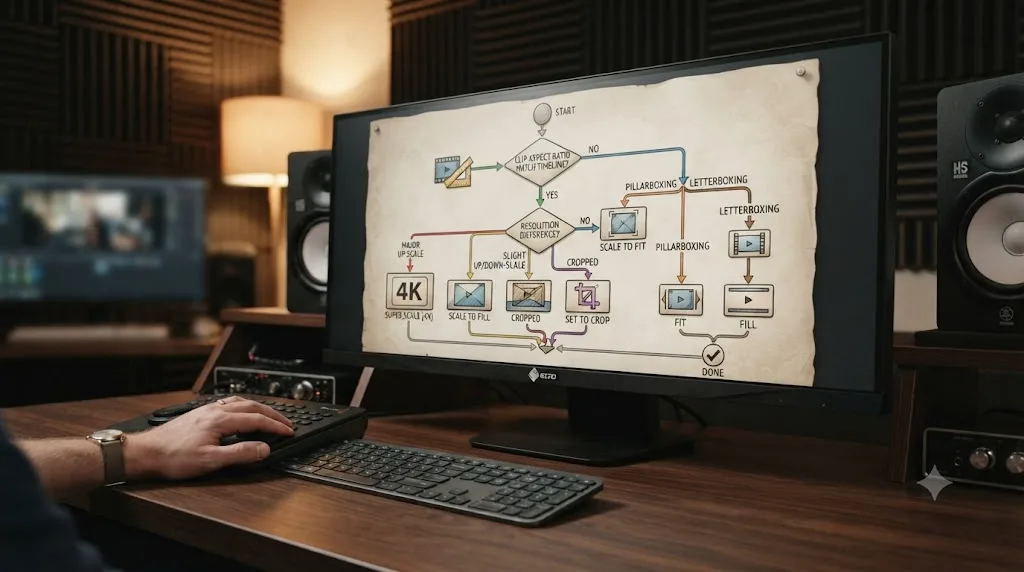
Match your situation to the row below rather than guessing between four project-wide presets and four per-clip options from scratch every time.
| Your situation | Choose | Why |
|---|---|---|
| You want to preserve native pixel quality and don't mind black bars on undersized clips | Center Crop with No Resizing (project-wide) | No scaling artifacts on any clip, at the cost of blanking on mismatched sources |
| You're delivering to a platform that won't accept black bars (most social feeds) | Scale Full Frame with Crop (project-wide) | Every clip fills the frame; you lose some edge pixels but never see blanking |
| You want the whole frame always visible, accepting some blanking on mismatched aspect ratios | Scale Entire Image to Fit (project-wide, default) | Balanced default; nothing gets cropped out of frame |
| You're specifically working with anamorphic-squeezed footage | Stretch Frame to All Corners (project-wide) | Only correct use case for this preset; distorts non-anamorphic footage |
| Only one or two clips need different handling than the rest of the project | Fit, Fill, Crop, or None (per-clip, in the Inspector) | Overrides the project default for exactly that clip, nothing else |
| A smaller clip looks soft after being scaled up to a bigger frame | Resize Filter set to Sharper | Manual's own recommendation for scaling up to fill a larger frame |
| Footage is being scaled down to a much smaller frame (SD delivery) | Resize Filter set to Smoother | Manual's own recommendation for scaling down to SD |
| Your whole deliverable is vertical, not just one clip | "Use vertical resolution" in Project Settings | Makes vertical native to the project instead of a mismatch to reconcile every time |
Choose the project-wide Image Scaling preset first, since it handles the majority of your mismatched footage correctly in one setting, then reach for per-clip overrides only for the specific exceptions that preset gets wrong. Working in that order is faster than adjusting clips one at a time and hoping a pattern emerges.
How do you prevent this from eating time on your next project?
A handful of habits catch nearly every version of this problem before it costs you an afternoon mid-edit.
- Set Timeline Resolution and Image Scaling before your first import, not after. Per Larry Jordan's own experience, changing frame size after media is already in a project doesn't reliably cascade the way you'd expect, and starting a clean project with settings configured correctly the first time avoids the half-fixed-project problem entirely.
- Know your actual delivery resolution before you start editing, not just your source footage's resolution. A project cut at 1080p for editing performance and rendered straight to 4K without adjusting Timeline Resolution first is one of the most common ways editors trigger the Deliver page's separate upscale warning.
- Check every source's native resolution when you're building a multicam group, especially any mix of a primary camera, a secondary body, and a phone or action camera angle. Framing that shifts angle to angle is often a resolution mismatch hiding behind what looks like a continuity problem.
- Confirm your Resize Filter matches the direction you're scaling, Sharper for scaling up, Smoother for scaling down, rather than leaving it on whatever the project defaulted to.
- Decide your project's primary orientation, horizontal or vertical, before you build the timeline, since retrofitting orientation after the fact means manually repositioning every clip that doesn't match instead of getting it right once at the start.
What's the fastest way to fix this right now?
Open Project Settings and check two fields first: Timeline Resolution under Master Settings, and Mismatched Resolution Files under Image Scaling. If every mismatched clip on your timeline shows the same symptom, black bars, a crop, or a soft upscale, one of those two settings is the entire cause, and changing it retroactively fixes every affected clip at once, no re-import needed.
If only one or two clips look wrong while the rest of the timeline is fine, skip the project-wide settings entirely and go straight to that clip's Retime and Scaling in the Inspector. Set Fit, Fill, Crop, or None depending on whether you need the whole frame visible, a fully cropped fill, manual repositioning, or the clip's true native size.
If the mismatch is showing up specifically on the Deliver page rather than during editing, that's a separate check: confirm your render resolution against Timeline Resolution directly in Render Settings, since a correctly scaled timeline can still trigger its own upscale warning at render time.
Hunting between Image Scaling, per-clip Retime and Scaling, and Deliver page render settings across a mixed-resolution project is exactly the kind of "which panel do I actually need" moment that eats an afternoon when you're working alone. TryUncle is the on-screen assistant for DaVinci Resolve on macOS, ask in plain words and Uncle points at the exact control on your screen. If you're staring at a mismatched clip right now and aren't sure whether the fix lives in Project Settings or the Inspector, that's exactly the kind of question TryUncle is built to answer, watching your actual screen instead of sending you back to a forum thread to guess which setting applies to your specific project.
A resolution mismatch in DaVinci Resolve always traces back to one of three places, Image Scaling for the whole project, Retime and Scaling for one clip, or Render Settings on the Deliver page, and every symptom on this page resolves once you find the right one of the three. Check those three in order, and this stops being a mystery and starts being a setting you fix in under five minutes.
Frequently asked questions
- What does 'clip resolution does not match timeline' actually mean in DaVinci Resolve?
- It means a clip's native pixel dimensions, say 1920x1080, are different from your project's Timeline Resolution, say 3840x2160, and DaVinci Resolve's Image Scaling system had to decide how to reconcile the two. Depending on your settings, that shows up as black bars, a cropped frame, a blurry upscale, or a warning on the Deliver page. It is not a corrupted file and not a bug.
- Why do I see black bars around some clips but not others in DaVinci Resolve?
- Because your Image Scaling preset is set to Center Crop with No Resizing, and only some of your clips are smaller than the timeline frame. Per DaVinci Resolve's reference manual, that setting surrounds undersized clips with blanking (the black bars) while cropping oversized clips instead, so two clips of different native resolutions in the same timeline can produce two completely different results under the identical setting.
- Why did changing my timeline resolution not fix the mismatch?
- Because Timeline Resolution and the frame size DaVinci Resolve actually renders at are two separate fields, and changing one doesn't automatically change the other once media has already been imported. Editor and trainer Larry Jordan hit exactly this on a real project and described the result plainly: the frame rate was correct, but the frame size was too large, and all his clips came out enlarged and blurry.
- Why do my clips look blurry or soft after I fix the resolution mismatch?
- Because fixing the mismatch by scaling a smaller clip up to fill a larger timeline is still an upscale, and upscaling always costs some sharpness no matter which Resize Filter you choose. Per the reference manual, Sharper usually gives the best quality when scaling up to fill a larger frame, while Smoother suits scaling down. Neither filter can add detail that was never captured in the source.
- Does the free version of DaVinci Resolve handle resolution mismatches differently than Studio?
- No. Image Scaling, the Mismatched Resolution Files preset, and per-clip Retime and Scaling controls are identical in the free and Studio versions. The only resolution-related gap between versions is the free edition's render ceiling, which stops at Ultra HD 3840x2160, not anything about how mismatched clips get scaled.
- Why doesn't my vertical phone video fit a 16:9 timeline in DaVinci Resolve?
- Because a 1080x1920 vertical clip and a 1920x1080 horizontal timeline aren't just different sizes, they're rotated relative to each other, so no single scaling preset fills the frame without either cropping the sides off or leaving wide black bars on both edges. Check 'Use vertical resolution' in Project Settings if your whole deliverable is vertical, or accept a pillarboxed frame if you're mixing orientations on one timeline.
- Can I change the Image Scaling preset after I've already imported and edited my footage?
- Yes, and this is different from the Mixed Frame Rate Format setting, which locks once media is imported. Project Settings' Image Scaling preset can be changed at any point, and DaVinci Resolve rescales every mismatched clip on the timeline immediately according to the new setting, no re-import or reconform required.
- Will fixing a resolution mismatch damage my original footage?
- No. Every scaling behavior covered here, Image Scaling presets, per-clip Retime and Scaling, the Resize Filter, only changes how DaVinci Resolve displays and renders the clip inside your project. The original media file on disk is never modified, cropped, or re-encoded by any of these settings.
Sources
- DaVinci Resolve Reference Manual: Image Sizing and Resolution Independence
- DaVinci Resolve Reference Manual: Image Scaling (Input Scaling, Mismatched Resolution Files)
- DaVinci Resolve Reference Manual: Changing the Timeline Resolution
- DaVinci Resolve Reference Manual: Retime and Scaling (Resize Filter)
- Larry Jordan: The Critical Importance of Project Settings in DaVinci Resolve
- Larry Jordan: The Importance of First Import into DaVinci Resolve
- DVResolve.com: How to Resize Mismatched Resolutions (Gedaly Guberek)
- Blackmagic Forum: Resolve doesn't match timeline to first footage
- Blackmagic Forum: Existential Question, Project Resolution and Input Scaling
- Cutsio: How to Fix Timeline Resolution Mismatch in DaVinci Resolve
Keep reading
Fixes · Jul 12, 2026 · 27 min
DaVinci Resolve Clip Plays Too Fast? Fix the Wrong Frame Rate
A DaVinci Resolve clip playing too fast is almost always a wrong frame rate. Fix Clip Attributes, Mixed Frame Rate Format, and Playback Frame Rate step by step.
Fixes · Jul 12, 2026 · 29 min
DaVinci Resolve XML Import from Premiere Pro Not Working
Every reason DaVinci Resolve rejects, empties, or offlines an XML timeline exported from Premiere Pro, and the exact fix for each failure mode.
Guides · Jul 7, 2026 · 23 min
DaVinci Resolve Export Settings: Numbers That Actually Work
The exact DaVinci Resolve export settings for YouTube, client handoffs, and ProRes archives, plus what changed with Resolve 21's H.265 encoder.