Articles / Guidesupdated for DaVinci Resolve 21.0.1 (June 2026)
DaVinci Resolve Export Settings: Numbers That Actually Work
Quick answer
For web delivery, export MP4 with H.264 at the timeline's exact resolution and frame rate: 8 Mbps for 1080p, 44-56 Mbps for 4K, AAC audio at 384 kbps. For client handoffs or archives, use ProRes 422 HQ instead. Render one master file first, then compress smaller versions from it, never re-export from a compressed copy.
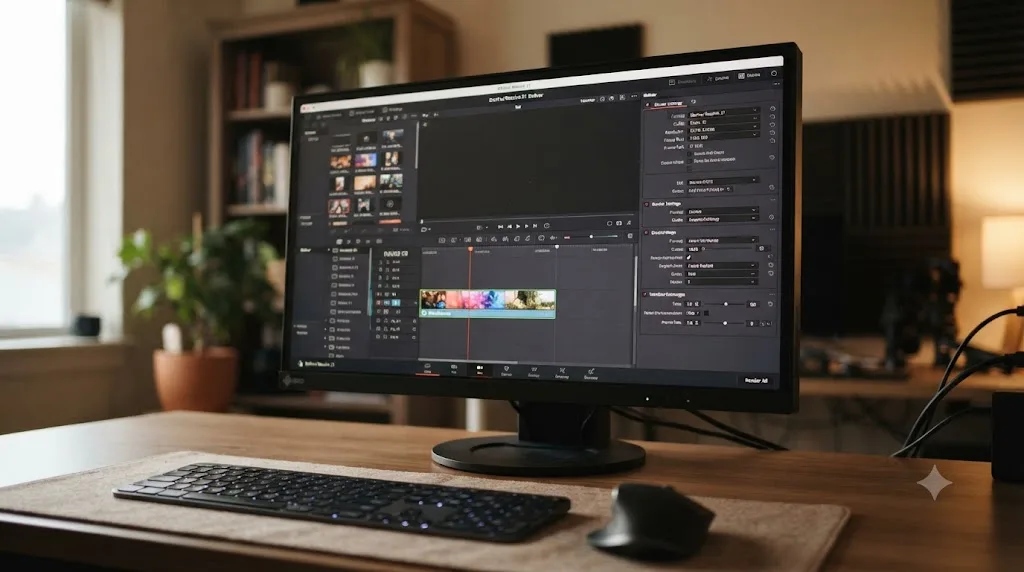
Every export decision in DaVinci Resolve comes down to one question: what is this file for? A YouTube upload, a client handoff, and a ten-year archive all want different codecs, and using the wrong one is how a perfectly graded timeline turns into a blocky, banded mess the moment it leaves Resolve.
The Quick Answer above covers the numbers. Below is why those numbers are the right ones, and what to reach for when your delivery isn't a simple web upload.
How is the Deliver page organized?
Four areas, and knowing which one owns which decision saves you from hunting through menus mid-deadline.
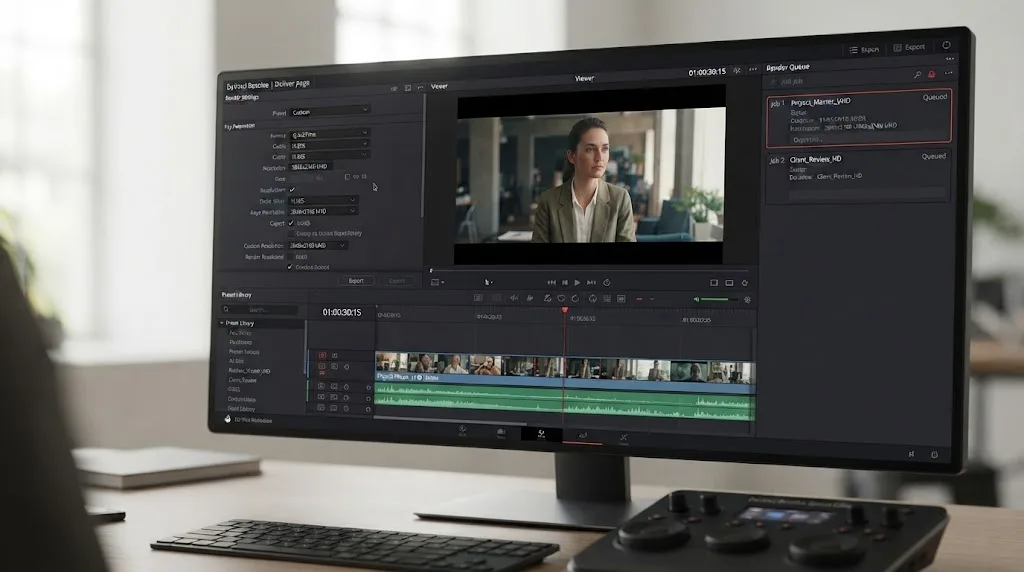
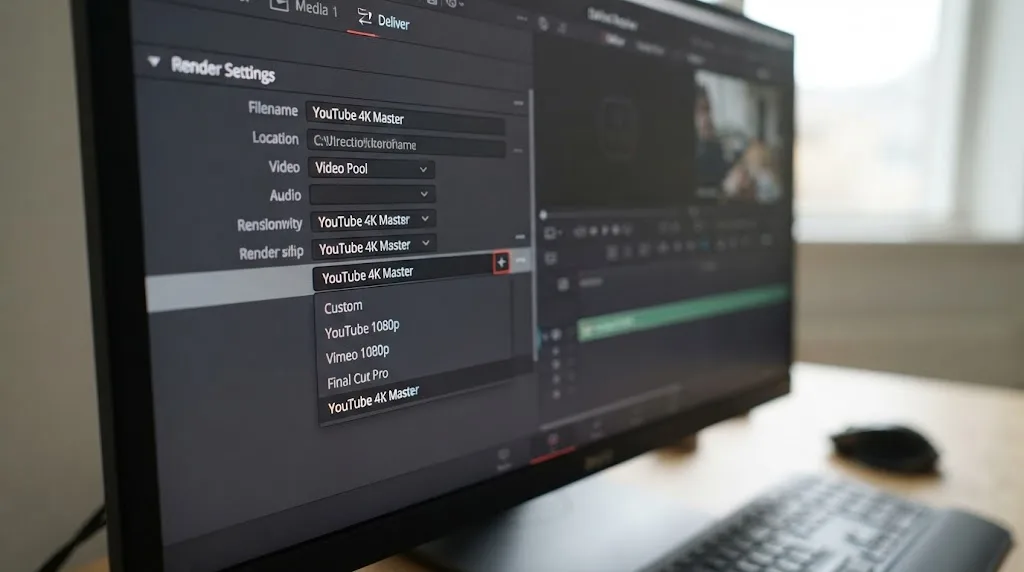
The Render Settings panel sits on the left. At the top of it is a strip of presets: YouTube, Vimeo, ProRes Master, H.264 Master, and any custom presets you've saved. Clicking one fills in every setting below it, which is why presets are the fastest way to export and also the fastest way to export wrong if you never check what a preset actually chose. Below the strip, three tabs split the detail work. Video holds format, codec, resolution, frame rate, and quality. Audio holds the codec, bitrate, and which mix gets exported. File controls the filename, where the render lands on disk, and whether Resolve adds unique suffixes when a name already exists.
Above those tabs sits a toggle that trips up more people than any codec menu: Single Clip versus Individual Clips. Single Clip renders your whole timeline into one file, which is what you want for any finished video. Individual Clips renders every clip on the timeline as its own file, which exists for roundtrips and dailies, not deliverables. If you've ever ended up with a folder of 74 tiny files instead of one video, this toggle was the culprit.
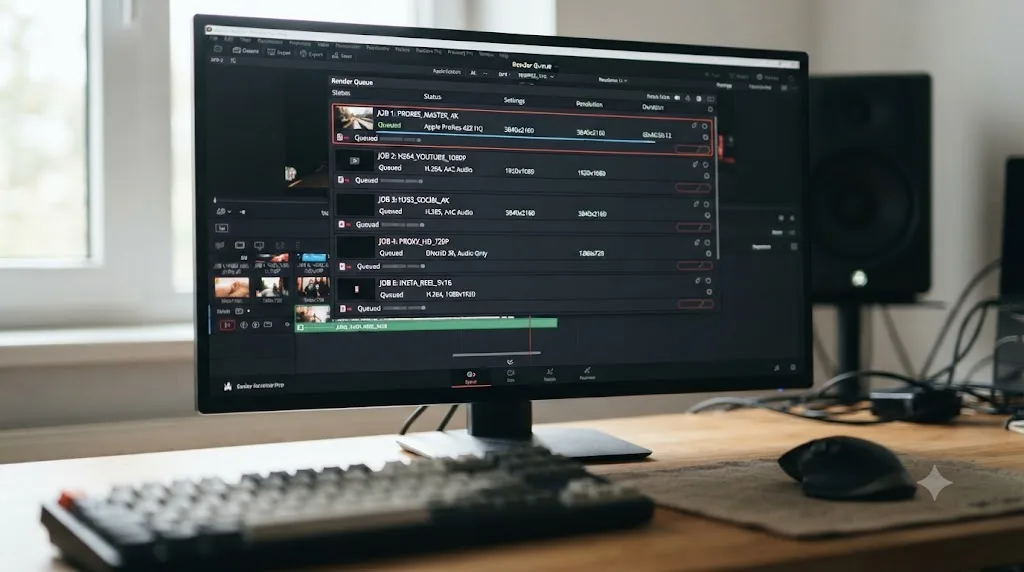
The center of the page is a viewer with a mini timeline under it, used for choosing what to render. The right side is the Render Queue. Jobs wait there until you click Render All, and the queue happily holds several jobs at once, so you can line up a ProRes master and an MP4 for review in one pass and walk away.
One shortcut worth knowing: File, then Quick Export, available from the Cut and Edit pages, skips the Deliver page entirely and renders with a handful of stock presets. It's fine for a rough cut you're sending to a friend. For anything with a destination that matters, use the Deliver page, where every setting in this guide lives.
What are the best DaVinci Resolve export settings for YouTube?
Match your timeline's resolution and frame rate exactly, then set the bitrate from YouTube's own recommended table. Here's the standard reference, straight from YouTube's encoding guide:
| Resolution | Standard frame rate (24-30fps) | High frame rate (48-60fps) |
|---|---|---|
| 2160p (4K) | 44-56 Mbps | 66-85 Mbps |
| 1440p | 20 Mbps | 30 Mbps |
| 1080p | 8 Mbps | 12 Mbps |
| 720p | 5 Mbps | 7.5 Mbps |
Container is MP4, codec is H.264, and audio should be AAC at 384 kbps. YouTube's own encoding guide recommends 44 to 56 Mbps for a standard 4K upload, more than five times what a 1080p upload needs. That gap is why a 4K export at a 1080p bitrate looks soft: the pixel count went up, but nothing gave the encoder more data to work with.
Loudness matters as much as bitrate. YouTube normalizes uploads to a target of -14 LUFS integrated with a -1 dBTP true peak ceiling, per Critical Listening Lab's breakdown of the platform's loudness standard. Mix hotter than that and YouTube turns you down automatically; mix quieter and YouTube leaves you quiet, since normalization only pulls loudness down, never up.
That's the summary version, and for most uploads it's genuinely all you need. YouTube's processing pipeline, HDR uploads, and premiere-day quirks each have deeper rabbit holes, but the settings above are the ones that decide whether your video arrives looking like your timeline.
What format should you use to hand a project to a client or another editor?
Not the same one you'd use for YouTube. Web codecs like H.264 are built to shrink files for streaming, which means they throw away information every time they're encoded. Do that more than once, trimming a clip here, re-exporting there, and the image degrades a little more each pass.
| Destination | Container | Codec | Why |
|---|---|---|---|
| YouTube, Vimeo, social | MP4 | H.264 (or H.265 in Resolve 21) | Small files, universal playback |
| Client or colorist handoff | MOV | Apple ProRes 422 HQ | Intraframe, no cumulative compression loss |
| Cross-platform or Avid handoff | MXF | DNxHR HQX | ProRes alternative outside the Apple ecosystem |
| Graphics or VFX with transparency | MOV | ProRes 4444 | Carries an alpha channel plus 12-bit color |
| Long-term archive | MOV or MXF | ProRes 422 HQ or DNxHR HQX | Full native resolution, no re-encode losses later |
A ProRes or DNxHR master file survives every platform you'll ever export to. An MP4 tuned for YouTube does not. Render the master first, at your project's native resolution and frame rate, and only compress smaller versions from that master afterward.
Here's the short version of that workflow:
- Open the Deliver page and select the ProRes Master preset, or build a custom one with Format set to QuickTime and Codec set to Apple ProRes 422 HQ.
- Set resolution and frame rate to match the timeline, not your eventual upload target.
- Open the Audio tab, confirm Export Audio is checked, and use Linear PCM at 24-bit.
- Add it to the render queue and start. Keep this file. Everything else gets compressed from it, not from the timeline again.
If you're still finding your way around the Deliver page in general, our beginner's guide to DaVinci Resolve covers where it sits among the app's seven pages and when to learn it.
Which ProRes or DNxHR flavor do you actually need?
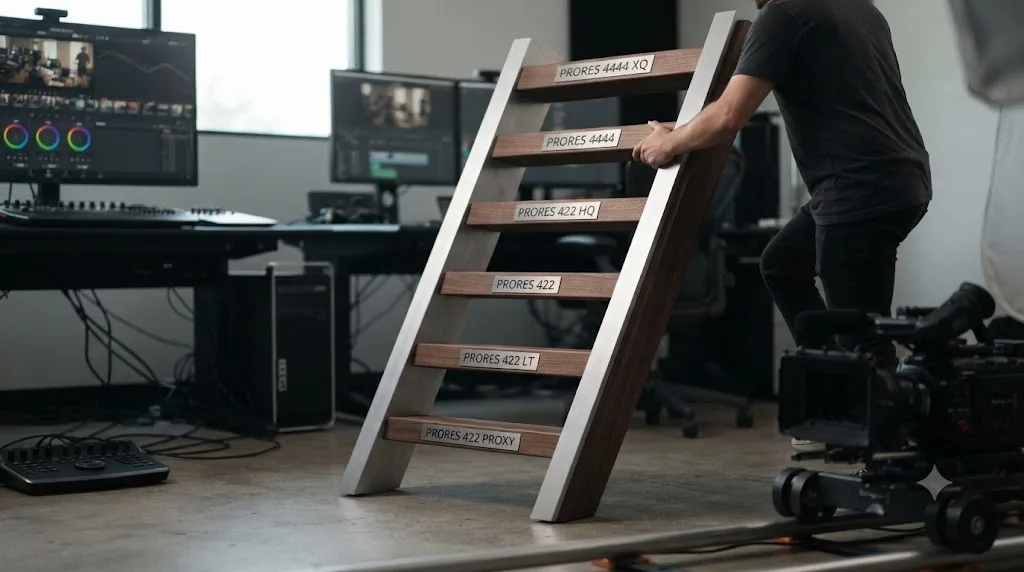
"Export ProRes" isn't one setting. It's a family, and picking a heavier flavor than the job needs just burns disk space. Apple publishes target data rates for each variant in its ProRes documentation; the figures below are Apple's numbers for 1920x1080 at 29.97fps, and they scale up roughly fourfold at UHD.
| Flavor | Bit depth | Apple's target rate (1080p29.97) | When it wins |
|---|---|---|---|
| ProRes 422 Proxy | 10-bit | 45 Mbps | Offline edits and proxies, never final delivery |
| ProRes 422 LT | 10-bit | 102 Mbps | Space-constrained edits where Proxy looks too rough |
| ProRes 422 | 10-bit | 147 Mbps | Solid general-purpose editing codec |
| ProRes 422 HQ | 10-bit | 220 Mbps | Masters, grading handoffs, archives |
| ProRes 4444 | 12-bit + alpha | 330 Mbps | Titles, VFX, and anything needing transparency |
| ProRes 4444 XQ | 12-bit + alpha | 500 Mbps | High-end finishing where nothing may be lost |
Look at the gap between that table and the YouTube one. ProRes 422 HQ at 220 Mbps carries more than 25 times the data of an 8 Mbps 1080p web export. That's the entire trade: enormous files in exchange for an image that survives grading, re-editing, and re-encoding without visible loss.
The reason both ProRes and DNxHR hold up is that they're intraframe codecs: every frame is stored complete. H.264 and H.265 are interframe codecs that store occasional full frames and describe the rest as differences, which is brilliant for streaming and miserable for editing, because the software has to reconstruct most frames from their neighbors before it can show them to you.
DNxHR is Avid's equivalent family and the right pick when a MOV full of ProRes isn't welcome, most often in Avid-centric or Windows-only pipelines. Its flavors ladder the same way: LB for low-bandwidth offline work, SQ and HQ as 8-bit editing tiers, HQX when you need 10-bit or 12-bit precision for HDR and finishing, and 444 for 12-bit RGB finishing work. When in doubt between the two families, ask the person receiving the file. The codec they can play without installing anything is the correct codec.
Does the container matter as much as the codec?
Less than the codec, but it's not nothing. The codec decides how frames get compressed. The container, MP4, MOV, or MXF, is just the box that carries the video stream, the audio stream, and the metadata together. The same H.264 stream in an MP4 and a MOV is essentially the same video wearing different labels.
What the label changes is who accepts the file. MP4 is the universal web wrapper, the safest thing to send anyone whose playback device you don't control. MOV is Apple's QuickTime wrapper and the native home of ProRes, which is why Resolve files ProRes under the QuickTime format rather than offering it inside an MP4. MXF is the broadcast and Avid world's wrapper, the natural coat for DNxHR and the one facility spec sheets tend to name explicitly.
So choose the codec first and let the container follow its conventions: H.264 or H.265 in MP4, ProRes in QuickTime, DNxHR in MXF. Wrapper mismatches cause the mystery failures, like a delivery portal rejecting a technically perfect file because it wanted the same codec in a different box, or a client's ancient review system that only ingests MXF. When a spec sheet names both a codec and a container, match both exactly, because the person who wrote the spec has already met the failure you're about to have.
Should you export H.264 or H.265 in DaVinci Resolve 21?
H.265 compresses more efficiently than H.264 at matched quality, which means smaller files for the same look. The tradeoff is render time and compatibility: H.265 takes longer to encode and won't play natively on every older device or browser.
Resolve 21 changed the calculation here. Render settings now include a new MainConcept encoder option for H.265 and MV-HEVC at 4:2:0 and 4:2:2 color, according to Blackmagic's official release notes, which is specifically useful for HDR delivery where 4:2:2 color holds up better under grading than 4:2:0. The 21.0.1 update went further and fixed HDR metadata handling for both the MainConcept and Windows native H.265 encoders, per CineD's coverage of the point release, so HDR exports are now more reliably recognized as HDR by TVs and media players instead of displaying flat.
That expanded toolset didn't happen by accident. Announcing Resolve 21, Blackmagic Design CEO Grant Petty said the release gives colorists and photographers "access to the full DaVinci color toolset" and lets them "build complex grades in a node based workflow that goes far beyond the layer based approach," according to the official press release. A grade built with that much control still has to survive the trip through the Deliver page. Use H.264 for straightforward web delivery where file size and playback compatibility matter most. Reach for H.265 with the MainConcept encoder when you're delivering HDR, or when file size is genuinely tight and render time isn't.
What settings work for Instagram, TikTok, and Vimeo?
The codec answer doesn't change: H.264 in an MP4 with AAC audio plays everywhere these platforms live. What changes is the frame.
| Platform | Aspect ratio | Export resolution | Notes |
|---|---|---|---|
| TikTok, Instagram Reels, YouTube Shorts | 9:16 vertical | 1080 x 1920 | Native frame rate, H.264 MP4 |
| Instagram feed | 1:1 or 4:5 | 1080 x 1080 or 1080 x 1350 | Square or portrait crop of your timeline |
| Vimeo | Matches source | Timeline resolution | Use the same bitrate ranges as the YouTube table |
The clean way to deliver vertical is to make the timeline vertical, not the export. Duplicate your timeline, open its settings, and change the resolution to 1080 x 1920, then reframe each shot using the Transform controls so heads and text actually sit inside the tall frame. Exporting a 16:9 timeline at a vertical resolution just squeezes or crops blind, and the platform's own recompression will not rescue it. Studio owners get a shortcut here: Smart Reframe can auto-track the subject and punch in for you, though it still deserves a manual pass on anything with two people in frame.
Bitrate strategy for phone platforms is simpler than people expect. Every one of these apps recompresses your upload aggressively, and you can't control their encoder. What you can control is what it starts from, so hand it the cleanest 1080p file you'd give YouTube and let the app do its worst to a good source instead of a mediocre one. Vimeo is the gentlest of the group and mirrors the YouTube approach: match your timeline, use the same bitrate ranges from the table above, and it'll build its streaming versions from that.
How do the bitrate and quality controls actually work?
The Video tab gives you two philosophies of quality control, and picking the right one matters more than the exact number you type.
Restrict to a bitrate is the first: you type a cap in kb/s and the encoder stays under it. Size becomes predictable, quality floats. This is the right mode whenever the destination publishes a number, which is why the YouTube table earlier exists, and whenever you've promised a client a file that fits somewhere specific.
Automatic quality is the second, with tiers from Low up to Best. Instead of a size target, the encoder holds a quality level and spends whatever bits each scene needs, the same idea as the constant-quality CRF modes in other encoders. A locked-off interview costs almost nothing. Confetti, rain, film grain, and fast whip pans cost a fortune, because interframe codecs pay per change between frames. Automatic at Best is the lazy-but-safe choice when nobody has given you a size budget and you'd rather overspend bits than band a sunset gradient.
Three smaller controls earn a check before you render. Encoding Profile at High compresses more efficiently than Main, so leave it at High unless a device spec says otherwise. Frame Reordering enables the B-frames that make interframe compression efficient; leave it on for web work. And Network Optimization restructures the finished file so streaming platforms can start playback before the whole download lands, which is why it belongs on for anything headed to the web. Key frame spacing can stay at Resolve's default unless a platform's spec sheet demands a specific interval.

What bit depth and chroma subsampling do you actually need?
Two quieter numbers ride along with every codec choice, and they decide how much color information each frame keeps.
Bit depth is the number of brightness steps per color channel. 8-bit gives you 256, 10-bit gives you 1,024. For a finished SDR video headed to the web, 8-bit is the norm and looks fine on the screens most viewers own. Where 8-bit falls apart is smooth gradients. A clear sky, a foggy morning, a dark vignette behind an interview subject: each one is a long ramp of nearly identical values, and 256 steps turn visibly stripey there once compression joins in.
A 10-bit export holds up in skies, fog, and dark gradients where an 8-bit export at the same bitrate shows banding.
So spend the extra bits when the content is gradient-heavy, when the file will be graded again, and always for HDR, which requires 10-bit. The mezzanine codecs mostly make the choice for you: the ProRes 422 family is 10-bit by design, and DNxHR HQX steps up to 10-bit and 12-bit precisely so finishing work has room to push. That's also why the free version's 8-bit ceiling stings less than it sounds for standard web work, and starts to matter the moment HDR or heavy regrading enters the plan.
Chroma subsampling is the same idea applied to color detail rather than brightness. 4:2:0, the delivery standard used by H.264 and H.265, stores color at a quarter of the image's resolution, and human eyes barely notice on normal footage. 4:2:2 keeps half, which is why the ProRes 422 family and Resolve 21's new HEVC 4:2:2 option earn their place in grading and HDR handoffs. 4:4:4 keeps everything and belongs to ProRes 4444 and DNxHR 444, where titles, screen composites, and green screen work live.
| Deliverable | Bit depth | Chroma subsampling |
|---|---|---|
| SDR web upload | 8-bit | 4:2:0 |
| HDR delivery | 10-bit | 4:2:0 or 4:2:2 |
| Grading or client handoff | 10-bit | 4:2:2 |
| VFX, titles, green screen | 10-bit or more | 4:4:4 |
The green screen case is the one to memorize. A compositor pulling a key traces the edge between subject and backdrop, and 4:2:0 already threw most of that edge's color information away. Hand VFX 4:2:2 at minimum, 4:4:4 when you can.
Why does matching resolution and frame rate to your timeline matter?
The number one export mistake in DaVinci Resolve is a mismatched frame rate, and it's also the easiest one to fix before you hit render. Export a 24fps timeline at 30fps and Resolve has to invent or duplicate frames to fill the gap, which reads as a subtle stutter that's hard to name but easy to feel. Export at the wrong resolution and you either upscale a smaller timeline, which just enlarges the same blur, or downscale a bigger one and throw away detail you already had.
Before you render, check the render settings panel against your timeline settings, not against habit. If your project is 1080p24, render 1080p24. Let the platform's own re-encoding handle the rest.
Does the free version of DaVinci Resolve limit your export options?
A little, but not in the way most beginners fear. Per Blackmagic's tech specs:
| Free | Studio | |
|---|---|---|
| Max export resolution | Ultra HD 3840 x 2160 | Beyond 4K |
| Max export frame rate | 60fps (8-bit) | 120fps (10-bit) |
| Price | $0 | $295 one-time |
Anything up to 4K at 60fps in 8-bit renders fine on the free version, which covers the overwhelming majority of YouTube, social, and standard client deliverables. Studio only becomes a requirement once a project actually calls for higher-than-4K resolution, higher frame rates, or 10-bit output at those specs. The other export-side gap is speed rather than capability: on Windows and Linux, Blackmagic has long reserved hardware accelerated H.264 and H.265 encoding for Studio, so free-version renders there lean on the CPU and take longer to produce the same file. Our free vs Studio comparison maps that whole boundary, and if you're still deciding between the two tiers generally, our DaVinci Resolve beginner's guide breaks down where the rest of Studio's feature gap sits.
Should you use hardware or software encoding?
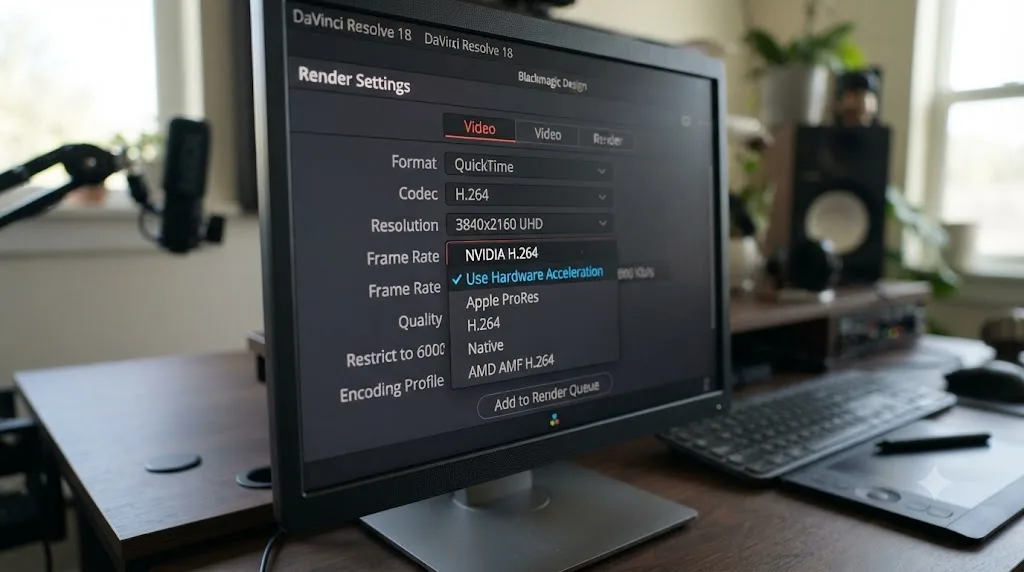
Check the Encoder dropdown in your render settings before you check anything else. Resolve lets you choose between software encoding, which uses your CPU, and hardware encoding, which hands the work to a dedicated media engine on your GPU or chip. Hardware encoding finishes noticeably faster on most systems, and the quality difference at a matched bitrate is small enough that it's the right default for anything short of a final broadcast master.
Which hardware option you see depends on the machine. Nvidia cards expose NVENC, AMD cards their own encoder, and recent Intel chips Quick Sync. On a Mac, encoding runs through Apple's VideoToolbox, and Apple silicon machines with media engines accelerate ProRes as well as H.264 and H.265, which is part of why ProRes masters render so briskly on them. Remember the Studio caveat from the table above: on Windows and Linux those hardware H.264 and H.265 encoders are a Studio feature, so if the dropdown offers nothing but software on your free install, that's licensing, not a driver problem.
The honest tradeoff: a software encoder squeezes slightly more quality out of each megabit, because it can afford to think harder about every frame. At web bitrates with a little headroom you won't spot the difference. Where hardware encoders get caught is starvation, so if you hardware-encode at the bottom of a platform's recommended range, nudge the bitrate toward the top of that range instead and the gap closes.
How long should an export take?
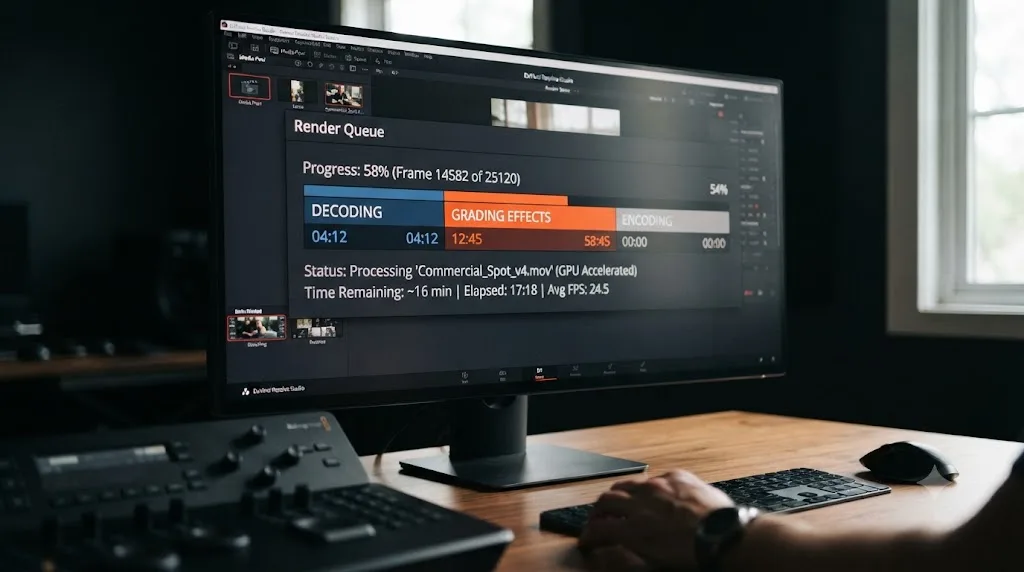
Longer than the progress bar first suggests, usually, and the encoder is rarely the reason. Before Resolve can compress a frame it has to build it: decode the camera file, run every node of your grade, render any Fusion composition, apply every Resolve FX. A clean cut with a light grade often renders around real time or faster on recent hardware. Stack temporal noise reduction on every clip and the same timeline can take several times its own duration, because temporal NR analyzes multiple neighboring frames to clean each single frame it outputs.
So when a render is slow, audit in this order:
- Effects first. Temporal noise reduction, motion blur, and heavy Fusion work dwarf everything else. If a render crawls, bypass the grade for one test export and see how much of the time it was eating.
- Encoder second. Hardware versus software, per the section above, is the biggest lever that doesn't change your image.
- Codec third. H.265 encodes slower than H.264 at the same settings. ProRes encodes fast but writes enormous amounts of data, so a slow external drive can become the bottleneck.
- Source media last. Highly compressed camera formats are expensive to decode. Timelines cut from ProRes proxies or optimized media render smoother than ones fighting 10-bit H.265 camera originals all the way down.
One checkbox deserves special mention: Use Render Cached Images, in the Advanced Settings of the render panel. If you cached your timeline while grading, this tells the export to reuse those cached frames instead of rebuilding everything, which can shave real minutes off effect-heavy projects. And since the same decode-and-grade pipeline feeds both playback and delivery, a timeline that stutters in the viewer will drag at render time too; our slow playback guide covers fixing the pipeline itself.
How do you export just part of a timeline, or individual clips?
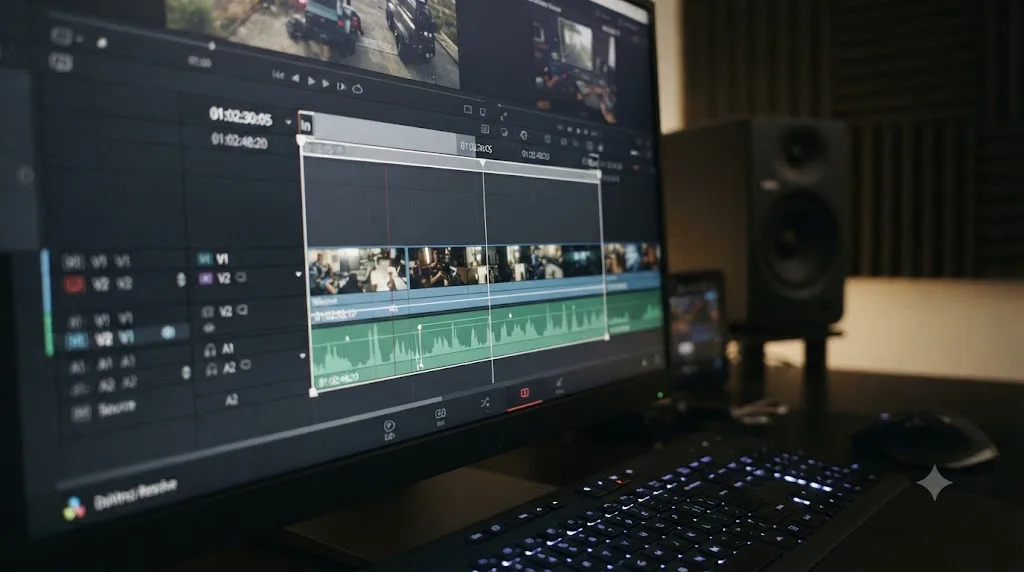
You don't have to render forty minutes to check one tricky scene. On the Deliver page, park the playhead in the mini timeline under the viewer, press I where the section starts and O where it ends, and switch the Render dropdown from Entire Timeline to In/Out Range. Resolve exports only that span at full delivery quality. It's the cheapest possible insurance before a long render: export the thirty seconds with the smoke, the fine gradient, or the disputed color, watch it on the actual destination device, then commit to the full timeline.
Two habits keep partial exports useful rather than dangerous. Use them for verification and review, and still render the final deliverable as one continuous pass, because splicing separately rendered sections back together invites audio drift and encoding seams. And clear your in and out points when you're done, or your next "full" export will quietly be a partial one.
The Individual Clips toggle at the top of Render Settings covers the other case: one file per timeline clip instead of one file per timeline. That's the mode for roundtrips, like sending shots to a VFX artist or handing an editor re-rendered clips that slot back into their project, and the File tab lets those exports keep their source clip names so everything reconciles on the other end. For a finished video it's the wrong mode every time, which is why it's worth glancing at that toggle whenever a preset or an old project has been near the Deliver page before you.
What audio settings should you use?
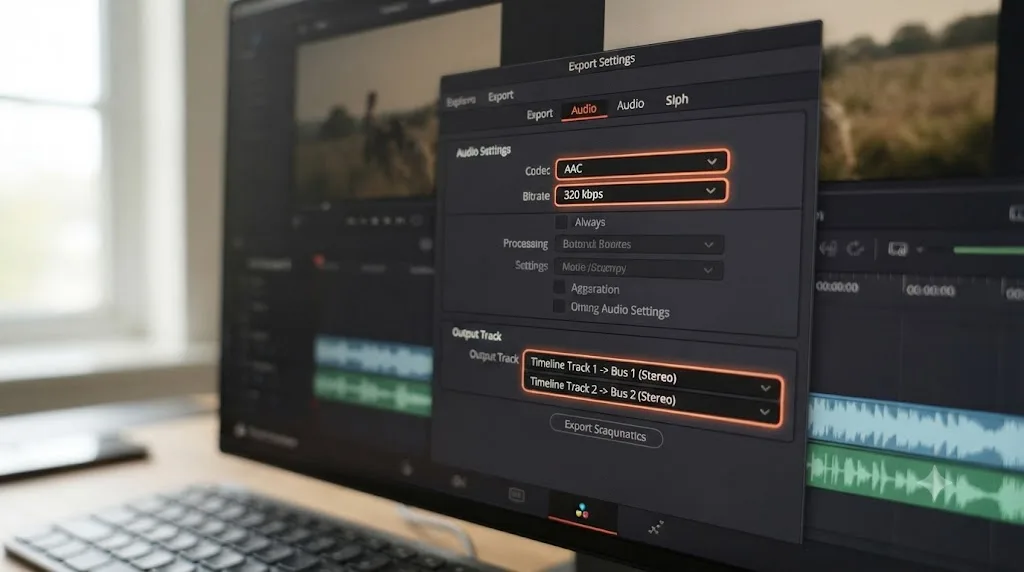
The Audio tab is three decisions, and the container has already made the first one for you. MP4 exports carry AAC, and 384 kbps is the number to type for stereo web delivery, the same figure YouTube's guide recommends. QuickTime masters should carry Linear PCM instead, at 24-bit: it's uncompressed, so your ProRes archive holds the mix exactly as Fairlight produced it, with nothing thrown away that a future re-edit might want back.
The second decision is which mix gets exported. The Output Track dropdown defaults to your main bus, the finished stereo mix, and that's correct for almost every deliverable. The dropdown can also target other buses or timeline tracks, which is how you deliver stems, separate music, dialogue, and effects files, when a client or a mixer asks for them. Render once per stem with the matching bus selected.
The third decision is channels, and the answer is to deliver what the destination plays. Web platforms want stereo. A 5.1 deliverable only makes sense when the spec sheet asks for one, and it needs a timeline actually mixed for 5.1, not a stereo mix exported through six channels. Whatever you pick, the one non-negotiable is the Export Audio checkbox at the top of the tab. It's the most commonly missed setting on the entire Deliver page, which is why it opens the troubleshooting list below.
How do you save your own export preset?
If you've typed the same bitrate three times, stop. Any combination of settings on the Deliver page can become a one-click preset:
- Dial in the full setup: format, codec, resolution behavior, quality, audio, filename options.
- Click the three-dot options menu at the top right of the Render Settings panel.
- Choose Save As New Preset and name it for the destination, not the codec: "Client ProRes HQ," "YouTube 4K," "Reels Vertical."
- The preset appears in the strip at the top of Render Settings, alongside Resolve's stock ones, ready for any project on this machine.
Naming by destination matters more than it sounds. Six months from now, "Client ProRes HQ" tells you exactly when to click it; "Custom 3" tells you nothing, and you'll rebuild the settings from scratch to be safe. One preset per recurring deliverable, named for the job, and the entire top half of this guide collapses into a single click plus a thirty-second sanity check of resolution and frame rate against the timeline.
The same options menu updates an existing preset after you tweak it, so presets can evolve with your workflow instead of multiplying into near-duplicates.
What's the fastest way to fix a bad export?
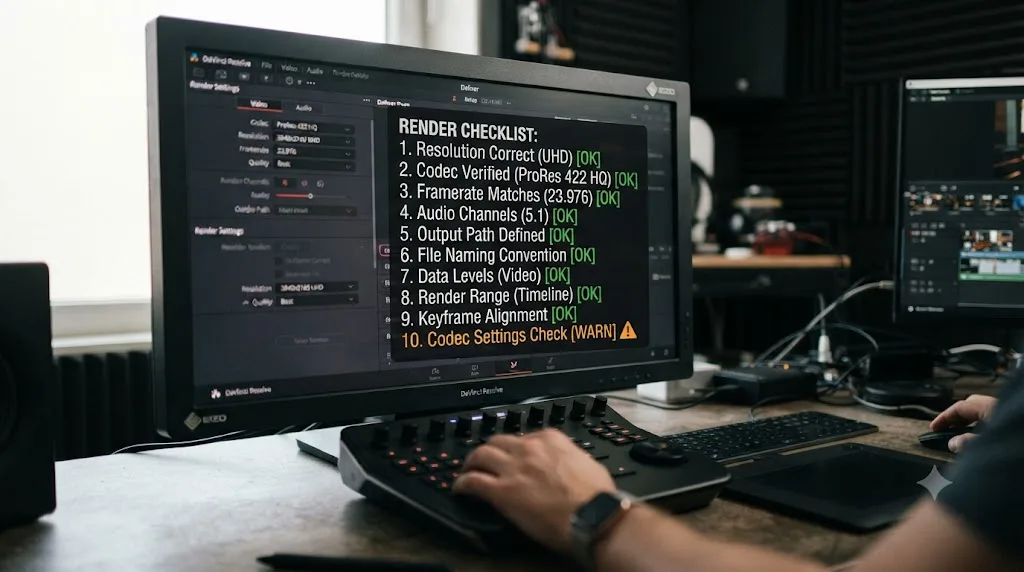
Work through these in order before you assume the grade itself is wrong:
- No audio in the export. Open the Audio tab in Render Settings and confirm Export Audio is checked. It's the single most common thing beginners forget. Checked and still silent? Our no audio troubleshooting guide runs the deeper checklist, from muted buses to codec mismatches.
- Banding or blockiness. The bitrate is too low for the resolution. Check it against the YouTube table above, or go higher still for anything with gradients, smoke, or low light.
- Colors look wrong or washed out. The render's output color space doesn't match what you graded in. Confirm it against your project's Color Management settings before you touch anything else.
- Playback stutters or looks off. Frame rate mismatch between the render and the timeline. Match them exactly.
- File won't open or play on a device. Wrong codec for the destination. H.264 in an MP4 container is the safest universal choice; ProRes needs QuickTime and doesn't play natively on most non-Apple devices.
- The render stops partway or errors out. That's not a settings problem, it's a resources or media problem, most often GPU memory or one corrupt clip that the render hits and the timeline skipped. Our render failed guide walks the full diagnosis, and if the error names GPU memory specifically, the GPU memory full fix is the shorter path.
For our full walkthrough of Resolve 21's other changes, including what shipped in the point releases since launch, see our DaVinci Resolve 21 review.
If hunting through render settings menus for the exact checkbox is the part that eats your afternoon, that's the specific gap TryUncle is built for. It's an AI tutor that looks at your actual Resolve window and points at the control you're asking about, instead of sending you to a ten-minute video for a setting you needed twenty seconds ago.
Which settings should you actually memorize?
Match resolution and frame rate to your timeline, always. Use the YouTube bitrate table for web delivery, ProRes or DNxHR for anything that needs to survive multiple hands or multiple years, and reach for Resolve 21's MainConcept H.265 encoder specifically when HDR metadata is part of the deliverable. Render one master file before you compress anything smaller. That single habit fixes more bad exports than any setting on this page.
Then stop memorizing. Save the three or four combinations you actually ship as named presets, and let the Deliver page remember the numbers so you only have to remember the question this guide opened with: what is this file for?
Frequently asked questions
- What export settings should I use in DaVinci Resolve for YouTube?
- Export MP4 with H.264, matching your timeline's resolution and frame rate exactly. Use 8 Mbps for 1080p at 30fps, 12 Mbps for 1080p at 60fps, and 44-56 Mbps for 4K at 30fps (66-85 Mbps at 60fps), per YouTube's own encoding guide. Set audio to AAC at 384 kbps.
- Is H.265 better than H.264 in DaVinci Resolve 21?
- H.265 compresses more efficiently at the same quality, so files are smaller, but it renders slower and isn't universally supported by older devices. Resolve 21 added a MainConcept encoder for H.265 and MV-HEVC with 4:2:2 color, which is the setting to reach for on HDR deliveries specifically.
- What's the best format to archive a finished DaVinci Resolve project?
- Apple ProRes 422 HQ (or DNxHR HQX if you need a non-Apple codec) at your project's native resolution and frame rate. These are intraframe codecs built for editing and archiving, not for streaming, so keep them as your master file and compress smaller versions from that master when you need them.
- Can DaVinci Resolve's free version export in 4K?
- Yes. The free version renders up to Ultra HD 3840x2160 at 60fps in 8-bit. Studio is only required if you need a resolution above 4K, a frame rate above 60fps, or 10-bit output at those higher specs.
- Why does my exported video look worse than the DaVinci Resolve timeline?
- Usually one of three things: the bitrate is too low for the resolution, the render's color space doesn't match what the project was graded in, or the frame rate doesn't match the timeline and something is interpolating or dropping frames. Check all three before you assume the grade is the problem.
- Why is my DaVinci Resolve export so slow?
- The grade, not the encoder, is usually the bottleneck. Temporal noise reduction, Fusion compositions, and heavy Resolve FX all render per frame before encoding starts. Switching the Encoder setting from software to your GPU's hardware encoder helps, and enabling Use Render Cached Images reuses work Resolve already did during playback.
- Why does my DaVinci Resolve export look washed out?
- Check Data Levels in the render settings' Advanced section: leave it on Auto (or Video) for normal deliverables, because full-range files look milky in players that expect video levels. If levels are right and the file only looks lifted in QuickTime Player on a Mac, it's a gamma tag interpretation issue; judge the export on its destination platform, and reach for the Rec.709-A gamma tag only if the destination itself disagrees with your viewer.
- How do I export just part of my timeline in DaVinci Resolve?
- On the Deliver page, press I and O on the mini timeline under the viewer to mark the section, then switch the Render dropdown from Entire Timeline to In/Out Range. Resolve renders only that span at full delivery quality, which is the cheapest way to test a tricky scene before committing to a long render.
Sources
- YouTube recommended upload encoding settings (YouTube Help)
- DaVinci Resolve - What's New (Blackmagic Design)
- Blackmagic Design Announces DaVinci Resolve 21 (official press release)
- CineD: DaVinci Resolve 21.0.1 Released - Improved RAW Decoding, Better HDR Delivery, and Sony Alpha 7R VI Support
- DaVinci Resolve - Tech Specs (Blackmagic Design)
- DaVinci Resolve product page (Blackmagic Design)
- Critical Listening Lab: YouTube Loudness Normalization - Target LUFS for Video
- About Apple ProRes (Apple Support)
Put this guide to work with TryUncle.
Ask about the step you’re on. TryUncle sees your screen and points at the control you need, so you can keep learning in your own project.
Get TryUncle for Mac or WindowsKeep reading
Reviews · Jul 7, 2026 · 22 min
DaVinci Resolve 21 Review: What's New and Is It Worth Upgrading?
A close look at DaVinci Resolve 21: the new Photo page, IntelliSearch, CineFocus, Krokodove, what Blackmagic actually shipped, and who should upgrade now.
Guides · Jul 7, 2026 · 32 min
DaVinci Resolve for Beginners: The Complete Starter Guide
Learn DaVinci Resolve from zero: what it costs, what it needs to run, the seven pages you'll actually use, and the steps to cut your first project.

Reviews · Sep 26, 2026 · 15 min
Epidemic Sound Review for Freelance Editors (2026)
An evidence-based Epidemic Sound review for freelance editors using DaVinci Resolve 21, with plan, licensing, plugin, and alternative advice.