Articles / Guidesupdated for DaVinci Resolve 21.1 (October 2026)
How to Export DaVinci Resolve Markers as CSV
Quick answer
To export DaVinci Resolve markers as CSV, open the Edit Index on the Edit page, choose Show Markers and the marker scope you need, then use the Index menu’s Export Edit Index command and save as CSV. Resolve exports the current index contents, so filter it to markers first. Use Timeline Markers to EDL only when an EDL, not a CSV, is what you need.
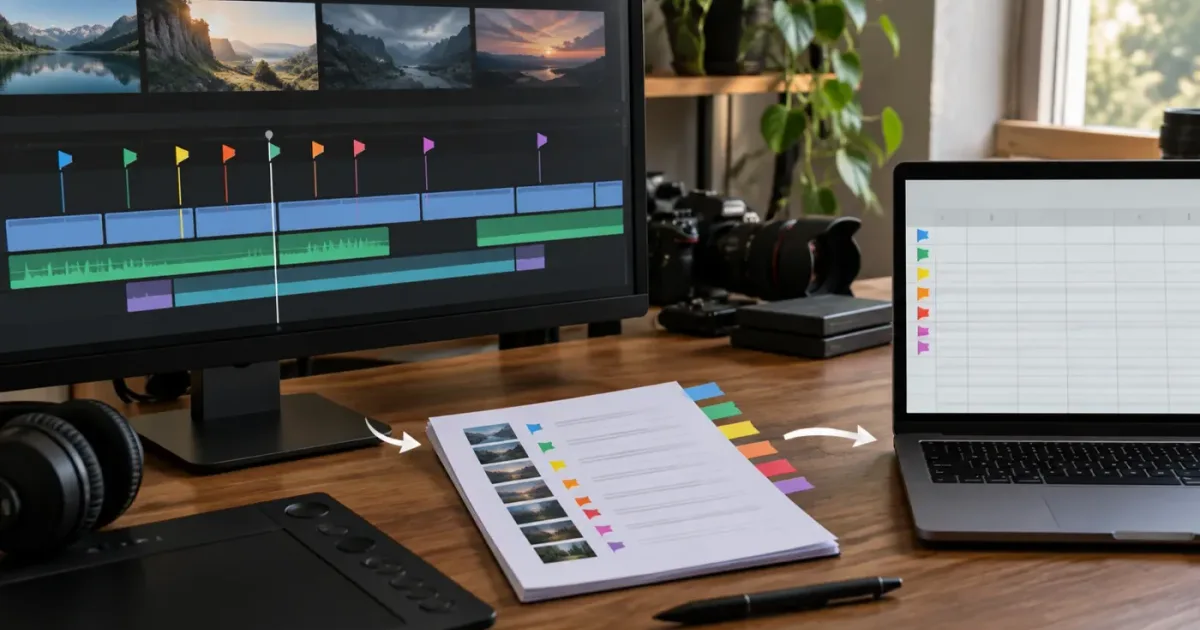
I’ve seen marker exports go wrong for one simple reason: Resolve can export the Edit Index, not just the markers a person meant to export. Set the index to show the marker rows you want first. As of October 2026, DaVinci Resolve 21.1 also offers a marker-list PDF report, but CSV still has its own Edit Index workflow.
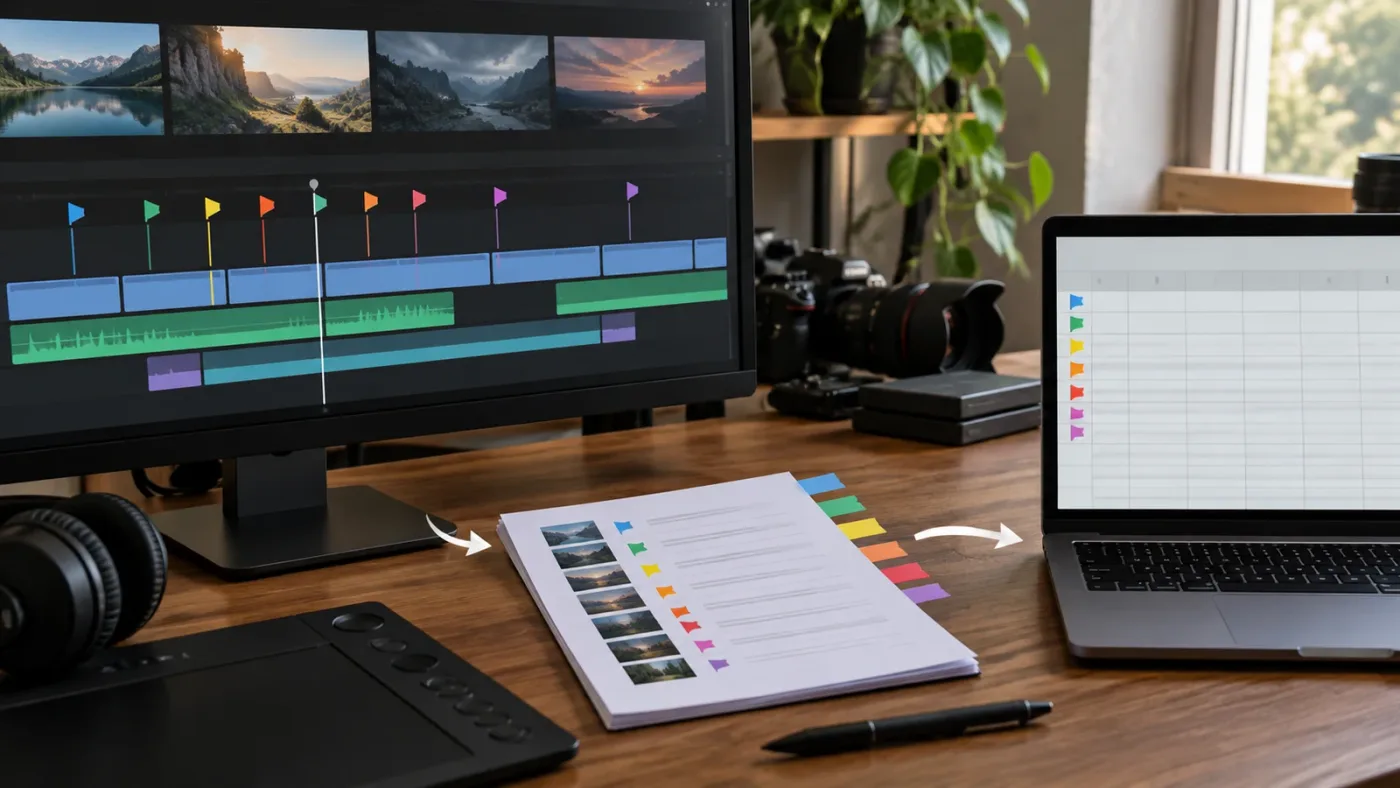
How do you export DaVinci Resolve markers as CSV?
DaVinci Resolve exports markers as CSV by exporting the current contents of the Edit Index. Open the Edit Index on the Edit page, filter it to the marker events you want, then use Export Edit Index and choose CSV.
The order matters. If the index still shows all timeline events, the exported file may include more than markers. If it shows no marker events, the resulting file may not contain the rows you expected. Treat the index display as the export’s source list, not as a passive panel.
Step-by-step export
- Open the project and select the timeline that contains the markers.
- Go to the Edit page.
- Open the Edit Index. Depending on your workspace, the control may be labeled Edit Index or appear under the page’s index controls.
- In the Index panel, choose Edit Index if the panel has multiple tabs, such as Edit Index, Tracks, or Markers.
- Open the Edit Index options menu. It is commonly shown as a three-dot button.
- Choose Show Markers, then select the marker scope or color you need. If you want all marker colors, choose the all-markers option.
- Look at the index itself. Confirm that it now lists the intended marker events.
- Open the options menu again and choose Export Edit Index. If that command is not visible in your layout, right-click the selected timeline in the Media Pool and look for Timelines > Export > Edit Index.
- In the export dialog, choose CSV as the format, set the destination and filename, and save.
- Open the saved file in a spreadsheet or text editor. Check a few rows against the timeline before sharing it.
Blackmagic’s Resolve 21 manual says the Edit Index export saves its “current contents” as a self-contained file. That detail explains why setting the index filter first is essential: the export follows the index’s current contents. The same manual documents CSV and TXT export from the Edit Index, while its timeline-marker EDL command is a separate operation. Blackmagic Design’s Resolve manual describes both paths.
The Edit Index filter determines which events DaVinci Resolve includes in an Edit Index export.
If the export menu presents CSV and TXT but you see only a PDF option in another panel, you are probably looking at the newer marker-report feature rather than the Edit Index export. Resolve 21.1 added an option in the Index panel to export a marker list as a polished PDF report. That PDF is useful for sharing a formatted review document; it does not replace the CSV workflow. Blackmagic’s 21.1 announcement names the new PDF report, while the manual describes CSV and TXT for the Edit Index.
If your Resolve layout differs
The export route has appeared in more than one place across Resolve versions and workspace layouts. The underlying distinction is more reliable than memorizing a particular icon: first make the Edit Index show the required events, then export that index.
| What you see | What to do |
|---|---|
| Three-dot menu in the Edit Index | Choose Show Markers, confirm rows, then choose Export Edit Index. |
| Right-click menu on the timeline in the Media Pool | Choose Timelines > Export > Edit Index, then pick CSV in the export dialog. |
| Index panel tabs for Edit Index, Tracks, and Markers | Click Edit Index before applying the marker filter and exporting. |
| A PDF export option in the Index panel | Use it when you want a formatted PDF marker report. For CSV, return to the Edit Index export command. |
| Timeline Markers to EDL in the timeline export menu | This creates an EDL, not the marker CSV. Use Edit Index export for CSV. |
If you cannot find Export Edit Index, check that you are on the Edit page and that the Edit Index panel is active. The separate Tracks or Markers panel can look similar while offering different controls. Click back to Edit Index, then inspect its own options menu.
Why is my DaVinci Resolve marker CSV empty?
An empty or nearly empty CSV usually means the exported Edit Index did not contain the marker rows you expected. Before changing marker data, check the active timeline, the Edit Index tab, and the Show Markers filter.
Use this sequence:
- Click the timeline you intended to export in the Media Pool.
- Confirm that the active timeline is open on the Edit page.
- Open the Index panel and select Edit Index, not a different Index tab.
- Open the Edit Index options and choose Show Markers.
- Select the marker scope you want, such as all markers or a particular marker color.
- Verify that marker rows appear before exporting.
- Export the Edit Index again and open the new file.
This is a useful diagnostic because each step narrows down where the problem sits. No marker rows in the index points to the filter, timeline, or marker type. Marker rows in the index but no useful data in the CSV points to the export route, file choice, or spreadsheet import.
Did you export the right timeline?
A project can contain several timelines, and the Media Pool can contain more than one timeline item. Select the intended timeline before exporting. Then check that its visible markers match the sequence you expect.
A common mistake is to leave one timeline open in the viewer and right-click another in the Media Pool. The export command can act on the timeline selected in the Media Pool, so take a moment to confirm its name. If the project has similarly named versions, rename the timeline clearly before the handoff or verify it by opening it and checking a known marker.
Is the Edit Index showing markers or all events?
The Edit Index can list more than markers. If it is set to show all events, it may include clips and other timeline information. If the filter is narrowed to a marker color that your markers do not use, it may show no marker rows at all.
Open the filter menu and deliberately choose the marker scope. Avoid relying on an old filter state from a previous session. Once the right rows are visible, export without switching timelines or changing the index view.
Are the markers on a different object?
Resolve distinguishes timeline markers from clip markers and markers associated with source media. Their location affects what the export method includes. A marker attached to a clip can move with that clip; a timeline marker is attached to the timeline’s time position. Do not assume that a timeline-marker EDL and an Edit Index CSV cover the same set of marker types.
The manual makes this distinction explicit for Timeline Markers to EDL: that command reports timeline markers and ignores clip markers. If you need clip markers, use the Edit Index marker filter and check that the clip markers appear in the index before exporting. If they do not appear, investigate how the marker was created and which timeline or clip is selected rather than repeating the EDL export.
Did the CSV open incorrectly in the spreadsheet?
A CSV file is plain text with fields separated by delimiters. A spreadsheet app may interpret the file differently depending on regional settings, delimiter conventions, character encoding, or the way you opened it. If all the data appears in one column, the export may still be fine.
Try opening the file through the spreadsheet app’s Import command instead of double-clicking it. Choose comma as the delimiter if the import dialog asks. If text appears garbled, try another text encoding in the import dialog. Preserve the original export before experimenting, so you can return to the untouched file.
A CSV that opens in one spreadsheet column is not necessarily a failed Resolve export.
Use a plain-text editor to distinguish a bad export from a spreadsheet import problem. If you can see rows of text separated by commas, Resolve likely produced a readable CSV. If the file is empty or contains no marker information, return to the Edit Index and verify the displayed rows.
Did you save a new file or reopen an older one?
If the export dialog used a familiar filename, the operating system or spreadsheet may have reopened an older copy from another folder. Check the destination shown in the save dialog and inspect the file’s modified time. Use a fresh, descriptive filename for a diagnostic export, such as timeline-name_markers_2026-10-24.csv, then open that exact file from the destination folder.
The date in this example is a naming suggestion, not a Resolve requirement. The useful habit is to distinguish the new export from older copies. For client handoffs, include the project or timeline name in the filename, and avoid generic names such as markers.csv when multiple versions may circulate.
Which DaVinci Resolve marker export should you use: CSV, PDF, or EDL?
Choose CSV when you need marker rows that you can sort, filter, edit, or pass to a spreadsheet workflow. Choose PDF for a formatted marker-list report in Resolve 21.1. Choose EDL only when the receiving workflow specifically accepts an Edit Decision List.
The three formats serve different jobs. They are not interchangeable exports of the same data. Resolve’s manual describes the Edit Index as exportable to CSV or TXT, describes timeline markers as exportable to EDL, and the 21.1 release notes add a PDF report from the Index panel.
| Format | Best for | What to check | Main limitation |
|---|---|---|---|
| CSV | Spreadsheets, sorting, filtering, simple data exchange, custom chapter or review workflows | Filter the Edit Index before exporting; inspect the delimiter and columns afterward | A spreadsheet-friendly table is not automatically a finished client report or platform-ready chapter list. |
| TXT | A plain text record or a simple text-based handoff | Confirm the text layout is readable for the recipient | It is less convenient than CSV for sorting and working with columns. |
| PDF report | A readable marker list to share with a client or collaborator | Check the report layout and content before sending | It is not the same as editable spreadsheet data. |
| EDL | An editorial exchange or a tool that specifically expects an EDL | Confirm the receiving tool’s requirements and the marker type involved | The Timeline Markers to EDL command is not a CSV export and ignores clip markers. |
Resolve 21.1’s new PDF report is a notable version difference. Blackmagic announced that users can export a marker list from the Index panel as a polished PDF report for sharing outside Resolve. That feature does not mean CSV is gone; the manual continues to describe exporting the Edit Index as CSV or TXT. Read the 21.1 release announcement and consult the current Resolve support center for the latest manual and software documentation.
When is CSV the right choice?
CSV is the right choice when you plan to do something with the marker rows after export. You can sort by timecode, search notes, remove irrelevant columns, add a review status, or build a separate chapter list. It also makes sense when a collaborator asks for a spreadsheet rather than a PDF.
But an exported CSV is raw working data. It may contain columns you do not need, use names that do not match your team’s preferred labels, or include marker information that needs checking. Treat it as a data handoff, not a finished deliverable.
For a spreadsheet handoff, keep a copy of the original Resolve export. Make edits in a separate copy and label the edited file. This lets you tell which values came directly from Resolve and which your team changed afterward.
When is PDF a better choice?
PDF is often a better choice when the recipient needs to read or annotate the marker list but should not edit its cells. The PDF report can be easier to review as a fixed document, especially when the recipient does not use a spreadsheet program.
In Resolve 21.1, the PDF option is a newer Index-panel feature. If the recipient needs a machine-readable file or wants to sort the data, choose CSV instead. If they need a clean visual report, try the PDF export and review the result before sending.
When is EDL a better choice?
An EDL is appropriate when a downstream editorial system or established post-production process calls for that format. It is not the default answer to “How do I export markers as CSV?”
The Resolve manual says Timeline Markers to EDL creates an EDL report with a record for each timeline marker. The notes can appear as EDL comments, and the manual states that clip markers are ignored. Use it only when those constraints fit the job. If you need an editable list of timeline and clip marker events in a spreadsheet, start with the Edit Index CSV path.
CSV, PDF, and EDL exports solve different marker handoff problems.

How do timeline markers and clip markers change the export?
Timeline markers belong to a timeline position, while clip markers belong to a clip. That difference affects how markers behave during edits and which export method is suitable.
A timeline marker makes sense when the note refers to a point in the assembled program: “review this transition,” “chapter begins here,” or “replace this shot at this sequence position.” A clip marker makes sense when the note belongs to the media item: “select the usable take,” “check this performance,” or “possible focus issue in this camera clip.”
The distinction matters because different marker-export commands have different coverage. The manual documents Timeline Markers to EDL as a timeline-marker export and explicitly says clip markers are ignored. The Edit Index is a broader view of editing events, and its marker filter is the place to check whether the marker events you need are visible before exporting the CSV.
| Marker type | What it is attached to | Typical use | Check before export |
|---|---|---|---|
| Timeline marker | A position on the timeline | Chapters, sequence review notes, edit decisions | Confirm the selected timeline is the intended one. |
| Clip marker | A position on a clip instance in the timeline | Notes tied to a shot in the edit | Confirm the Edit Index shows the clip-marker events you need. |
| Source-media marker | A point on source media in the Media Pool or source context | Logging, selects, source review | Confirm the marker is visible in the relevant index or logging view; do not assume a timeline-only command will include it. |
The exact labels and locations may vary by Resolve version and panel layout. The operational test is simple: can you see the marker entry in the Edit Index before export? If not, the export cannot include a row that is missing from the current index contents.
Why can clip markers be absent from an EDL?
The Timeline Markers to EDL command has a narrow purpose. Blackmagic’s manual says the command exports timeline markers and ignores clip markers. If your marker is attached to a clip, exporting that EDL will not turn it into a clip-marker report.
That is why instructions that say “right-click the timeline and export markers” can be misleading. They may describe an EDL workflow, not a CSV workflow. For a CSV, use the Edit Index and filter it to markers. For an EDL, use the timeline-marker command only when timeline markers are the data you want.
Which marker type should you use for chapter notes?
For chapter points in a finished timeline, timeline markers are generally the more direct fit because the chapter refers to a time in the program. Give each marker a short, clear name or note that can be understood outside Resolve.
Before using the exported list as chapter data, verify the timeline’s opening point, the marker’s timecode basis, and the final rendered video’s duration. A marker list is not automatically a publish-ready chapter description. It is a source list that still needs a check against the actual deliverable.
For clip-review notes, use the marker type that remains meaningful with the clip. If a clip moves, a timeline-position note may no longer refer to the intended shot. A clip marker can preserve the relationship to that clip instance, but the recipient must understand what the exported row describes.
What marker information does the CSV contain?
The CSV contains the current Edit Index contents and the fields Resolve exports for those entries. The manual confirms that the Edit Index can be exported as CSV or TXT, but the exact useful columns depend on the index view and the data available for the markers.
Do not assume that every marker property will appear in a dedicated, consistently named column. Resolve marker details can include a marker’s position, color, name, note, and duration, but the precise exported fields may differ by marker type, Resolve version, and index configuration. The safe approach is to export a small sample and inspect it before building a dependent workflow.
What should I expect to see in a marker row?
Expect a row to represent a marker entry and its available details. Depending on what is visible and supported in your current index, the export may include identifying or timing information, marker text, and other fields. Check the actual file rather than relying on a remembered column order from a different version.
Here is a fictional example of how a spreadsheet might be organized after export and cleanup. It is a worked example, not an observed Resolve export:
| Marker time | Marker name | Note | Review status |
|---|---|---|---|
| 00:00:00:00 | Opening | Check title timing | Open |
| 00:01:14:08 | Chapter: Setup | Confirm section heading | Approved |
| 00:03:42:16 | Replace shot | Find alternate close-up | Open |
The “Review status” field in this example is added by the editor after export. Do not mistake it for a guaranteed Resolve column.
How do I keep notes readable?
Use concise marker names and notes in Resolve before exporting. A short name works well as an identifier; the note can carry the longer instruction. If your team needs a particular structure, agree on it before everyone starts adding markers.
For example, an editor might use a consistent prefix such as CLIENT, EDITOR, or COLOR in the marker name or note. This is a team convention, not a Resolve requirement. The advantage is that a recipient can scan the CSV and sort or filter notes by purpose.
Avoid treating color alone as a full classification system. A recipient who opens a CSV may not understand why a marker is red or cyan unless the file also contains a color field or the team documents the color convention. Include meaningful text when the information matters.
Can I choose which columns export?
The export is based on the current Edit Index contents, but the manual does not promise that hiding a column removes its data from the exported file in every version. The reliable method is to export, inspect the CSV, and then remove or reorder columns in a working copy if the recipient needs a simpler table.
Resolve’s manual describes Edit Index export as exporting the current contents. That clearly supports filtering the events first. It does not, by itself, guarantee every display-column choice maps one-to-one to CSV columns. If the exact column set matters, make a test export with a small set of markers and inspect the result in a text editor or spreadsheet.
Do not delete columns from the only copy if they contain timing or notes the team may need later. Keep the unmodified Resolve export as a source record, then create a cleaned handoff version.
How do I turn the marker CSV into YouTube chapters?
Use the CSV as the source for chapter times and names, then create a separate chapter list that matches the final video. Resolve does not automatically guarantee that a raw marker CSV is ready to paste into a video description.
A chapter list commonly needs one line per chapter, with a timestamp followed by a readable title. The exact format and publishing requirements can change, so confirm the current platform guidance before publishing. The core editing task remains the same: use the marker time and name, remove irrelevant fields, and check each point against the final exported video.
A careful chapter workflow
- Place timeline markers at the intended chapter starts.
- Give each marker a short, descriptive name.
- Export the Edit Index as CSV using the marker filter.
- Open the CSV and identify the time and name fields.
- Copy only the chapter start times and titles into a new working document.
- Convert the time values into the format your publishing destination expects.
- Check the first chapter point, all later chapter points, and the last relevant segment against the final rendered video.
- Confirm that titles describe the content clearly and do not include internal notes.
- Save the chapter list separately from the original marker CSV.
The timecode printed in Resolve may not be the exact timestamp convention expected by every destination. A frame-based timecode includes a frame component. A chapter description may expect hours, minutes, and seconds without a frame number. Do not simply delete the final timecode field without checking the frame rate and conversion you need.
Why can marker times drift from chapter times?
A marker is tied to its timeline position in the edit, while the final video may differ if you render a different range, use a different version of the timeline, or remove material after creating the CSV. A timecode value only refers to the content you intend if the exported file and marker list correspond to the same timeline and render.
A simple check catches many mistakes: locate each chapter point in the final video and confirm its title change or section start occurs where intended. Pay special attention to the beginning. If the rendered file starts at a different timeline range than the marker list assumes, the chapter times need to be adjusted.
If you make editorial changes after exporting the marker CSV, export a fresh list. Do not rely on an earlier chapter file unless you have checked that the edits did not shift the chapter positions.
Should I build chapters directly in Resolve?
Resolve markers are useful as editorial planning points, but a CSV is still a handoff step. For a one-off upload, you may prefer to work from the exported marker names and timing fields. For a recurring series, set a naming convention and repeat the same verification steps each time.
The CSV lets you review the markers away from Resolve. It does not remove the need to compare the list to the final video. That check is especially important when the opening is trimmed, the timeline is versioned, or markers were placed before the edit was locked.
How do I prepare a marker CSV for client review?
Export the marker list as CSV when a client needs sortable, editable feedback data; use PDF when the client needs a fixed report to read. Before sending either file, remove internal notes and verify that the marker list belongs to the correct timeline version.
A marker export can contain internal editorial language that makes sense to the team but not to the client. Review every row before sharing. Replace shorthand, remove private or unrelated notes, and make sure the file name identifies the project and review version.
For client feedback, the marker should communicate a clear action or question. “Fix this” is vague. “Please confirm whether this is the preferred product shot” gives the recipient a decision to make. The CSV can help organize those requests, but it cannot make the notes clear on its own.
What belongs in the client-facing file?
Keep information that helps the client find and answer a question. Remove workflow shorthand, private production notes, internal assignment labels, or anything that should not leave the team. If you add columns such as “client response” or “approved,” identify them as team-added fields rather than Resolve-generated data.
A useful client-review table might include:
| Field | Why it helps |
|---|---|
| Time or marker position | Lets the client locate the relevant moment. |
| Marker title | Gives the topic at a glance. |
| Request or question | States the decision the client needs to make. |
| Response or status | Tracks whether the team has received an answer. |
This is a suggested handoff structure, not a guaranteed Resolve export schema. Create it in a cleaned copy after checking the columns Resolve actually produced.
Should I send CSV or PDF?
Send CSV when the client needs to sort, filter, add comments, or work with the marker data. Send PDF when they need a stable report that is easy to read and should not be edited as a spreadsheet.
Resolve 21.1 added a marker-list PDF report from the Index panel, according to Blackmagic’s 21.1 release announcement. That gives you a native report option, but it does not decide which format is right for the client. Ask what they need to do with the file.
How do I avoid sending the wrong version?
Use a filename with a project or timeline identifier, a version label, and an export date. For example, BrandFilm_cut-v07_markers_2026-10-24.csv is clearer than markers-final.csv. This is a naming recommendation, not a Resolve rule.
Then check three things before delivery: the timeline name in Resolve, the destination and filename in the export dialog, and the actual file you attach. If the project has multiple timelines, open the intended one and verify a known marker before export. Do not rely on the word “final” in a filename as proof that it is the latest version.
For more on adding notes that remain useful to a reviewer, see how to use markers in DaVinci Resolve for client review.
Why are some marker names, notes, or colors missing?
A missing field can mean the marker does not contain that information, the Edit Index is showing a different marker scope, the field is not included in the export, or the spreadsheet is displaying the file incorrectly. Check the marker in Resolve first, then inspect the raw CSV before changing it.
A marker has no name
A marker with no custom name may still have a note, time position, or other available details. Open the marker in the timeline and add a useful label if the recipient needs one. Export the index again after making the change.
A practical naming pattern is short and descriptive: Chapter: Interview, Review: Logo size, or Edit: Replace wide shot. Those are examples of labels, not prescribed Resolve syntax. The best label is the one that helps the recipient identify the marker’s purpose without opening the project.
A note is blank
Check the marker itself. A marker’s visible name and note are distinct pieces of information. If the note field is blank in Resolve, an exported blank note is not necessarily a CSV problem.
The manual’s description of Timeline Markers to EDL says marker notes can be listed in the EDL, with duration where applicable. It does not say the EDL includes marker color. This is another reason to choose a format based on the field you need and inspect a test export before relying on it.
Marker colors are not obvious in the file
Color is a visual cue in the timeline, but a text-based CSV needs a field to represent it. Do not assume the color will be preserved as a readable label in every export. Check the actual columns.
If color is important to the recipient, include a color name in the marker title or add a documented color column in a cleaned copy. For example, a team could label the title Blue - Client question. This is a workaround convention, not a built-in guarantee. Be consistent, and tell the recipient what the label means.
Duration markers do not look like point markers
Some markers indicate a duration rather than a single point. A row may therefore have a start and duration-related value instead of a single chapter-like position. Do not interpret every marker entry as a zero-length point.
If a review task covers a span, describe the span clearly in the note. Then check how that marker is represented in the CSV and whether the destination tool understands the relevant start and end values. A spreadsheet can show a duration field, but it will not know what your team intends unless the data is labeled and understood.
Check the marker in Resolve before treating a blank CSV field as an export bug.

How do I troubleshoot an export that is missing markers?
Start with marker type and filter scope, then confirm the active timeline and the rows visible in the Edit Index. Use the EDL command only if the data you want is timeline markers and the recipient needs an EDL.
Use this diagnostic table to choose the next check:
| Symptom | Likely check | Next action |
|---|---|---|
| CSV has no marker rows | The Edit Index filter may not show markers, or the wrong timeline is active | Select the intended timeline, choose Show Markers, and confirm rows before export. |
| Only one marker color appears | The filter may be limited to one color | Set the marker scope to all colors or the exact color set required. |
| Clip markers are missing from an EDL | Timeline Markers to EDL excludes clip markers | Export the marker-filtered Edit Index as CSV instead. |
| Clips appear along with marker rows | The Edit Index may be showing all events | Change the Edit Index filter to markers before exporting. |
| CSV opens as one column | The spreadsheet may not have parsed the delimiter | Import the file and select the correct delimiter. |
| A marker note is absent | The marker may not have a note, or the chosen export path does not include that field | Inspect the marker in Resolve and test the Edit Index CSV. |
| New export appears unchanged | You may have opened a previous file or saved in another location | Check the save location and export under a new filename. |
| PDF appears instead of CSV | You may be using the Resolve 21.1 marker report option | Return to Edit Index and use Export Edit Index for CSV. |
Why does “Timeline Markers to EDL” miss my clip markers?
Because it is a different export command with a different scope. The Resolve manual states that Timeline Markers to EDL exports timeline markers and ignores clip markers. If you need clip markers in a spreadsheet, choose the Edit Index CSV workflow and confirm the clip-marker rows appear before saving.
This distinction can save a lot of unproductive retries. Changing an EDL filename or destination will not make it include a marker type that the command excludes. Use the export designed for the data you need.
Why does my CSV contain clips as well as markers?
The Edit Index exports its current contents. If it was set to show all timeline events or another broad filter, the CSV can contain more than marker rows. Choose Show Markers before export and check the visible list.
If the marker filter still shows other events, verify that you are in the Edit Index itself and not another Index tab. Then confirm the selected timeline. Export only after the displayed rows match the intended content.
Why is my CSV missing the latest marker edits?
The CSV is a separate file, not a live view of the timeline. If you add, move, rename, or delete markers after exporting, an earlier CSV will not update automatically. Export a fresh file and use a new version label when the data changes.
For recurring work, use a simple handoff habit: finish marker edits, export, inspect, then send. If the timeline changes after the export, repeat those steps. That makes it clear which marker list corresponds to which edit.
When should I stop troubleshooting and use another format?
Use another format when the receiving workflow requires something the CSV cannot provide cleanly. If a client needs a formatted report, use the PDF report in Resolve 21.1. If an editorial process explicitly expects an EDL, export the appropriate EDL and verify its marker scope. If a tool requires a custom schema, export CSV and transform a copy carefully.
The goal is not to force every handoff through CSV. It is to deliver the marker information in a format that preserves the details the recipient needs.
Does Resolve 21.1 change how I export marker lists?
Resolve 21.1 adds a marker-list PDF report in the Index panel; the standard CSV workflow remains an Edit Index export. The version distinction matters if an older tutorial sends you searching for a PDF button or a newer interface appears to offer different report options.
Blackmagic announced the PDF report as a way to share a polished marker list with clients or collaborators outside Resolve. The version’s New Features Guide and support center are useful references when the interface changes.
Do not conflate the new PDF report with the CSV export command. To create a CSV, filter the Edit Index to the required markers and export the index as CSV. To create the formatted report in 21.1, use the Index panel’s PDF report option.
Should I follow an older Resolve tutorial?
Follow the underlying workflow, but check the labels and menu location in your installed version. Older instructions may show a right-click timeline route, while later instructions may show an export command directly in the Index or Edit Index menu. The key ideas are still to select the correct timeline, choose the marker filter, inspect the visible entries, and export the correct object.
If an older tutorial says to use Timeline Markers to EDL, pause and check whether it is teaching an EDL workflow rather than CSV. The words “export markers” are not precise enough by themselves; confirm the file format and marker type before following the steps.
How do I confirm my Resolve version?
Use Resolve’s application menu to view its version information, then compare it with the documentation you are following. Blackmagic’s support center lists current Resolve downloads and documentation. Version numbers can matter because Resolve 21.1 introduced the PDF marker report, while the Edit Index CSV export is documented separately.
If your version does not show a PDF marker report, that does not by itself mean CSV export is unavailable. Use the Edit Index path and look for Export Edit Index. For a different interface or a missing command, consult the manual for your installed version rather than assuming a feature has been removed.
Can I automate the CSV export or use a script instead?
The built-in Edit Index export is the most direct option when you need a standard marker list. A script or third-party tool may help with repeated exports or custom columns, but it adds setup, compatibility, and data-validation work that the built-in CSV path may avoid.
Before choosing automation, write down the actual requirement. Do you need a one-time CSV? A repeatable export for every episode? A custom column set? A chapter text file? A report that combines marker data with media metadata? Those are different tasks.
For a one-time marker handoff, use the built-in export and inspect the result. For a repeatable workflow, test any script on a copy of the project and compare its output with a manual export. Do not assume a script returns the same marker scope or fields as the Edit Index.
The Resolve 21 manual documents a separate Media Pool metadata export as CSV, but that is not the same thing as exporting a marker list. It exports media metadata for clips in the Media Pool. Choose the command that matches the data you are trying to collect.
When is a third-party tool worth considering?
Consider another tool when the built-in export omits a field your process requires, when you need a repeatable transformation, or when the team needs a report format beyond CSV, TXT, PDF, or EDL. Compare what the tool reads, which marker types it supports, and whether it works with your Resolve version and operating system.
Check the tool’s documentation before installing it. Look for a clear explanation of supported Resolve versions, whether it requires Studio, how it handles timeline versus clip markers, what data it reads, and how it writes files. Test with a project copy that has a few different marker types. Keep the original project unchanged during the test.
For automation, define acceptance checks before use. A sensible check is to compare the output’s marker count and several known marker positions against the Edit Index. If the tool produces a CSV that looks tidy but silently omits a marker type, a clean layout will not make it reliable.
Can I use the Resolve scripting API?
Resolve’s scripting interface is a separate route from the built-in Edit Index export, and its behavior or availability can depend on the Resolve version, edition, and API surface. Do not assume an example written for an earlier version will work unchanged in Resolve 21.1.
If you use scripting, verify the current official scripting documentation and test the relevant API calls on a duplicate project. Pay attention to what the script treats as a timeline, clip, or source marker. A successful script run is not proof that it exported every marker you expected.
For a simple CSV, the built-in export is easier to audit: you can see the marker rows in the Edit Index before creating the file. For a custom automated pipeline, a script may be appropriate, but you own the validation and maintenance.
How can I make marker exports repeatable across projects?
Use a consistent marker convention and a short pre-export checklist. The convention should explain how your team names markers, what information goes in a note, which colors mean what, and whether the CSV is a raw source file or a cleaned handoff.
A repeatable workflow helps because marker exports are not just file operations. They are data handoffs. The recipient needs enough context to interpret the marker time, name, and note without guessing.
Define the marker convention
Write down a few simple rules:
- Use short names that explain the marker’s purpose.
- Put longer instructions or context in the note field.
- Decide whether colors carry meaning, and document that meaning.
- Use a clear prefix for client questions, editorial actions, or technical checks if those categories matter.
- Do not rely on color alone when the CSV recipient may not see the timeline.
- Decide who cleans the CSV and which columns may be changed.
These are workflow recommendations, not requirements built into Resolve. Keep them practical. A naming convention only helps if editors can follow it while working.
Make a pre-export checklist
Before export, check the selected timeline, marker filter, visible rows, file type, and destination. After export, check the filename, marker count, a few known positions, and any important notes.
A short checklist can look like this:
| Check | Question |
|---|---|
| Timeline | Is the intended timeline selected and open? |
| Filter | Is the Edit Index set to show the marker type or colors needed? |
| Rows | Do the visible marker rows match the expected list? |
| Format | Is the requested format CSV, PDF, TXT, or EDL? |
| Destination | Is the file being saved in the right project folder? |
| File | Did the newly saved file open, and does it contain the expected data? |
| Handoff | Have internal notes and team-only fields been reviewed? |
For large timelines, compare a few specific markers rather than checking only the first row. Choose one near the start, one in the middle, and one near the end. This is a practical spot-check, not a guarantee that every row is correct.
Preserve the original export
Keep one untouched copy of the Resolve-generated CSV. If you need to rename columns, add status fields, or remove notes, make those edits in a separate handoff copy. That keeps the source and the transformed version distinct.
A clear filename helps: include the project or timeline, version, purpose, and export date. Avoid using “final” as the only version identifier. If the edit changes, create a new export rather than silently overwriting a file someone may already have reviewed.
What is the safest way to finish a marker handoff?
Export the format that matches the recipient’s task, inspect the file, and verify it against the intended timeline. For CSV, that means filtering the Edit Index to markers before export and checking the saved file afterward.
The useful answer is not “click export.” It is “export the right marker set from the right timeline in the right format.” That one distinction prevents most confusion between marker CSVs, timeline-marker EDLs, and Resolve 21.1’s PDF report.
If a control’s location is hard to find in your layout, TryUncle is an on-screen assistant for DaVinci Resolve on Mac and Windows; ask in plain words and Uncle can point you toward the relevant control while you stay in charge of the export.
If you need a readable client report, use PDF in Resolve 21.1. If you need sortable marker data, filter and export the Edit Index as CSV. If the task calls for an EDL, check the marker type first. Then open the file you actually saved and confirm it contains the information you meant to send.
Frequently asked questions
- How do I export markers from DaVinci Resolve as a CSV?
- On the Edit page, open the Edit Index, choose Show Markers and the marker scope you want, then choose Export Edit Index from the Index options and save the file as CSV. In some versions or layouts, the export command is also available by right-clicking the timeline in the Media Pool and choosing Timelines > Export > Edit Index.
- Why is my DaVinci Resolve marker CSV empty?
- The Edit Index may not be displaying the marker events you expect. Switch to the Edit Index tab, choose Show Markers and the relevant scope, confirm marker rows appear, and export that index. Also check that the markers belong to the selected timeline.
- Can DaVinci Resolve export clip markers as CSV?
- The Edit Index can display marker events, including clip markers, and its current contents can be exported as CSV. Choose the marker scope in the Edit Index first. Export Timeline Markers to EDL is a different command and does not include clip markers.
- Does Resolve 21.1 export marker lists as PDF or CSV?
- Resolve 21.1 adds an option to export the marker list from the Index panel as a PDF report. CSV export is a separate Edit Index workflow: show the marker rows, then export the current Edit Index contents as CSV.
- How do I make a YouTube chapter list from Resolve markers?
- Export the timeline marker list as CSV, then use the marker timecodes and names to build chapter lines in the format your publishing workflow needs. Check that the first chapter starts at the video’s actual beginning and review the timecode basis before posting.
Sources
Put this guide to work with TryUncle.
Ask about the step you’re on. TryUncle sees your screen and points at the control you need, so you can keep learning in your own project.
Get TryUncle for Mac or WindowsKeep reading
Guides · Jul 24, 2026 · 41 min
How to Use Markers in DaVinci Resolve for Client Review
Add, color-code, and export DaVinci Resolve markers for client review: the M key, marker colors, EDL export, and Blackmagic Cloud sync explained.
Guides · Aug 24, 2026 · 42 min
DaVinci Resolve Burn In Timecode: Complete 21 Guide
Learn how to burn timeline or source timecode into DaVinci Resolve 21 exports for dailies, client reviews, VFX notes, and editorial handoffs.

Guides · Jul 7, 2026 · 23 min
DaVinci Resolve Export Settings: Numbers That Actually Work
The exact DaVinci Resolve export settings for YouTube, client handoffs, and ProRes archives, plus what changed with Resolve 21's H.265 encoder.