Articles / Guidesupdated for DaVinci Resolve 21.0.3 (July 2026)
How to Export Separate Audio Stems for Mixing in DaVinci Resolve
Quick answer
To export separate audio stems for mixing in DaVinci Resolve, route each stem group to its own Fairlight bus, then on the Deliver page uncheck Export Video, set an Output Track to that bus, and add one Output Track per stem in the same render job. Render each as 24-bit WAV at your project's sample rate.
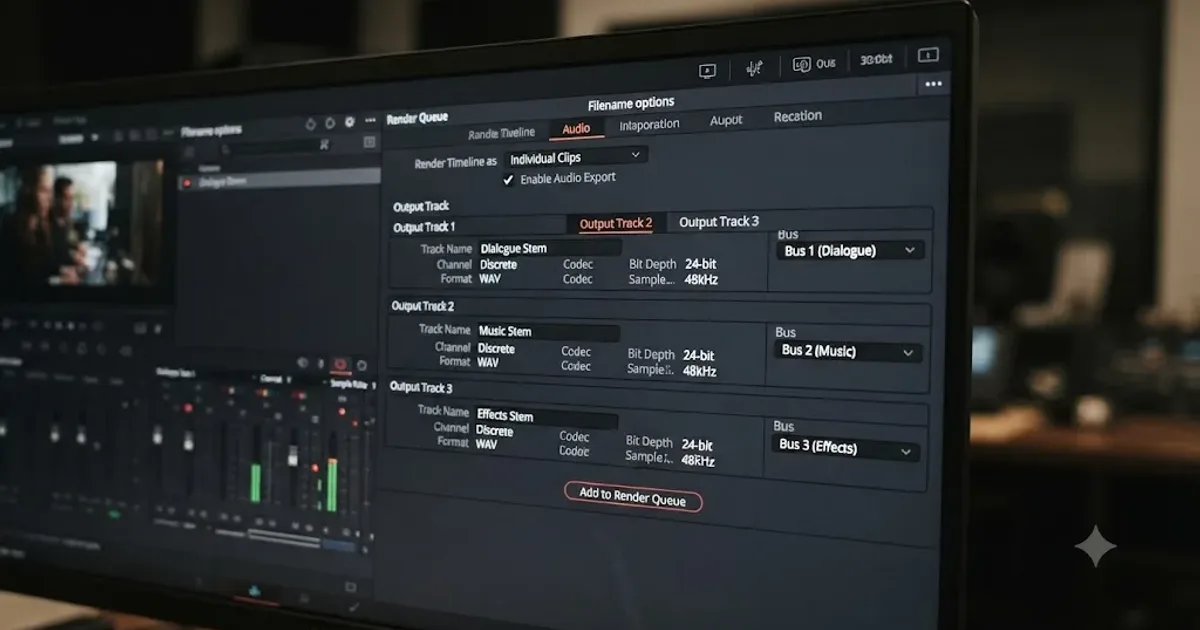
I've handed audio off to enough mixing engineers to know the fastest way to lose their trust: send one flattened stereo file and call it a day. A real handoff means separate stems, dialogue in one file, music in another, effects in a third, each one honest about what it contains and none of them hiding a decision the mixer should get to make themselves.
DaVinci Resolve builds stems the same way a dedicated audio console does: buses on the Fairlight page, then the Deliver page's Output Track routing to turn each bus into its own file. Neither step is hidden or complicated once you've seen it. This guide covers the full mechanic as of August 2026, on DaVinci Resolve 21.0.3, plus the mono-versus-stereo decision, sample rate and bit depth for a professional handoff, what actually rides along in a stem export and what doesn't, how stems differ from an AAF or OMF session handoff, how far you can push the bus structure itself when a simple three-way split isn't enough, and the naming habits that keep a four-file delivery from turning into a confused phone call. After seven-plus years cutting commercial work professionally and running a 100,000+ member video-editing community, this is one of the recurring handoff questions members bring us, right alongside "why won't my dialogue track export separately from my music."
How do you export separate audio stems for mixing in DaVinci Resolve?
Route each stem category to its own bus on the Fairlight page first. Then, on the Deliver page, uncheck Export Video, set Format to Wave, and point an Output Track at each bus, either by adding several Output Track rows to one render job or by duplicating the job once per stem. Render everything as 24-bit WAV.
That's the mechanic in full. Everything past this point is about the decisions inside it, because a stem export has more branches than a single flat WAV bounce does: which grouping to use, mono or stereo per stem, what sample rate and bit depth a mixer actually expects, and the one nuance that trips people up more than any setting, whether a stem actually carries the processing you applied to it or just the raw signal underneath.
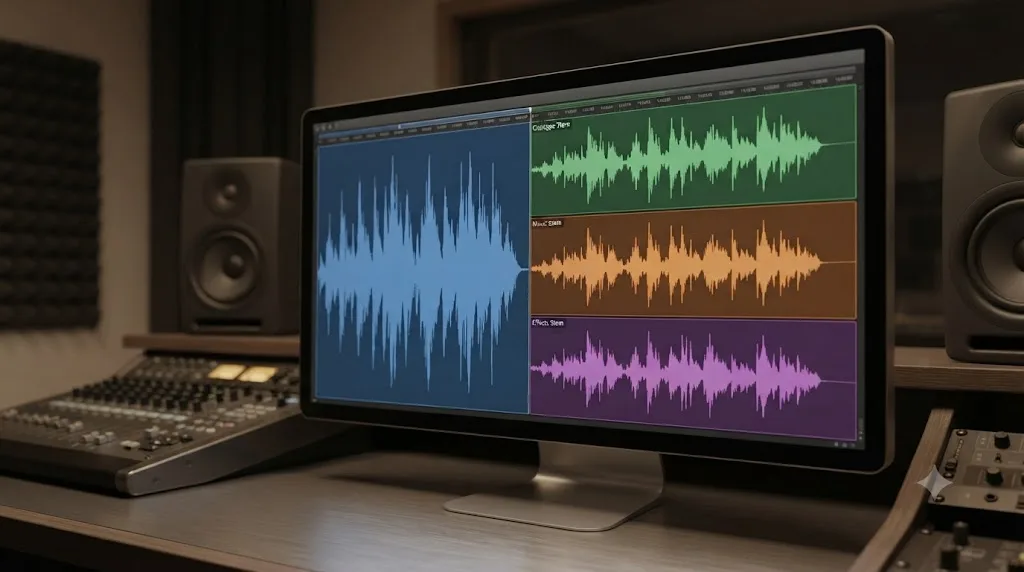
A stem is not a smaller mix. It's an unfinished one, left deliberately open for someone else to finish. That's the entire reason this export exists as a separate workflow from a normal audio bounce. A flat stereo file hands a mixing engineer your final decision. A stem set hands them the pieces and the freedom to make that decision differently if the project needs it.
What is an audio stem, and why does a mixing engineer want one instead of your final mix?
A stem is a discrete, grouped collection of audio sources bounced together as one unit, kept separate from other groups so a later mix stage can still adjust the balance between them. It's the middle ground between a single flattened file and dozens of raw individual tracks.
Wikipedia's definition of the term states it plainly: "a stem is a discrete or grouped collection of audio sources mixed together, usually by one person, to be dealt with downstream as one unit," and that "a single stem may be delivered in mono, stereo, or in multiple tracks for surround sound," per its entry on the audio stem. Film and TV post-production settled on a specific three-way grouping decades ago, and it's still the default anyone asks for unless they tell you otherwise: "Dialog, music and sound effects, called 'D-M-E,' are brought to the final mix as separate stems," as the same Wikipedia entry describes.
Why does that grouping matter more than it seems to at first glance? Because a re-recording mixer's entire job is balancing exactly those three categories against each other, scene by scene, and a flattened file has already made that balance permanent whether it's right or wrong. Wikipedia's separate entry on re-recording mixers describes the role as postproduction audio engineers who "balance background noise, dialogue, music, and sound effects to create the final audio track for a movie, television show, or advertisement," per its overview of the profession. Hand that person one locked-together stereo file and you've taken their actual job away from them before they ever opened the session.
A related term worth knowing if you ever deliver to an international distributor: when only the non-dialogue stems get sent out, usually for foreign-language dubbing, they're called M&E. "If the music and effects stems are sent to another production facility for foreign dialog replacement, these non-dialog stems are called 'M&E,'" per Wikipedia's stem entry. Netflix's own delivery specification uses this exact term and requires it as a standard part of a title's audio deliverables, which the section on professional delivery specs below covers with real numbers.
| Deliverable | What it is | Who typically asks for it |
|---|---|---|
| Flat mix | One finished stereo file, every category already balanced | A client who just wants the finished audio, no further mixing planned |
| DME stems | Three files: Dialogue, Music, Effects, separately balanced | A re-recording mixer, a dubbing house, most professional post workflows |
| M&E stems | Music and Effects only, no dialogue | A foreign-language localization house replacing dialogue in another language |
| Individual tracks | Every raw track separately, no grouping | A mixer who wants full control and will build their own bus structure |
Do you need to build buses before you can export stems?
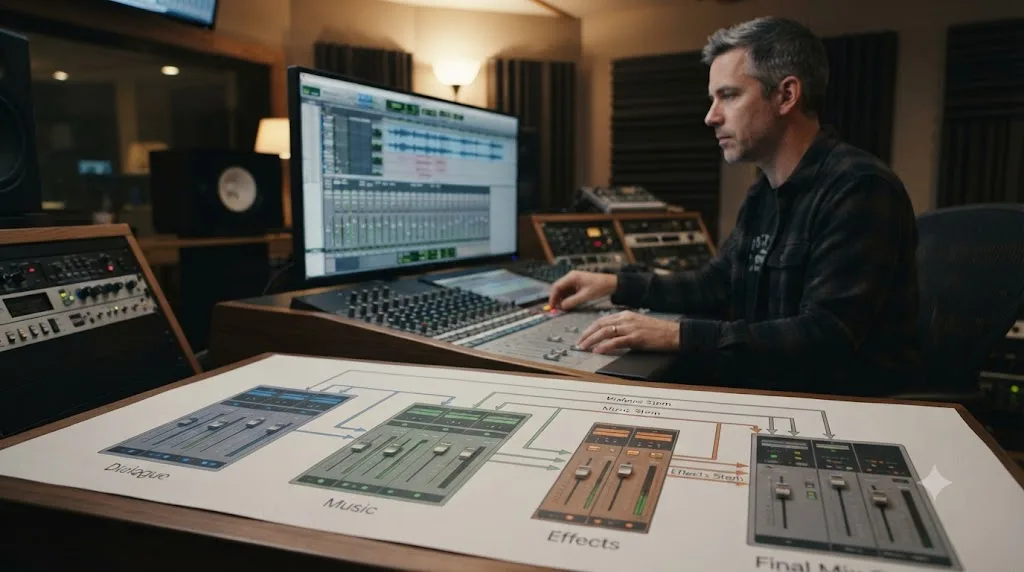
Yes. A stem export is a render of a bus, not of a raw track, so the bus has to exist first. Without a Dialogue bus, a Music bus, and an Effects bus already routed on the Fairlight page, the Deliver page has nothing coherent to point a stem export at.
By default, every track in a new Resolve project feeds one shared bus, usually labeled Bus 1, that sums everything into a single stereo output. That's fine for a two-track voiceover and completely wrong for a stem delivery, since it mixes exactly the categories a stem export is supposed to keep apart. Building a bus structure means opening the Fairlight menu, choosing Bus Format, adding one bus per stem category, and then using Bus Assign to route each track into the bus it belongs to.
This isn't a step this guide will walk through from scratch, because it's already covered start to finish, including the exact click path, the specific EQ and compression settings professional mixers use on a Dialogue bus, and how to duck music under dialogue automatically, in our guide to mixing audio in DaVinci Resolve using Fairlight. If your timeline currently has no bus structure beyond the default Main bus, build that structure first using that guide, then come back here for the export step. Trying to export stems before the buses exist is like trying to bounce individual instrument tracks from a session where every mic feeds one shared channel.
Sam Lowe, teaching a professional Fairlight bus and track layout for Mixing Light, builds exactly this DME structure and explains the payoff in terms of delivery, not just mixing convenience: "This template lets us output a professional delivery, including a full 5.1 mix, stereo downmix, and stems for dialogue, music, and effects. It's a great way to streamline your workflow and ensure your mixes meet distributor requirements with ease," in his tutorial on professional Fairlight bus routing. Notice the framing: the bus structure isn't a mixing nicety that happens to also help export. The export is the reason the structure exists in the first place, for anyone whose project will ever need to leave Resolve as separate stems rather than one finished file.
Can you build a bus structure more complex than a basic three-way DME split?
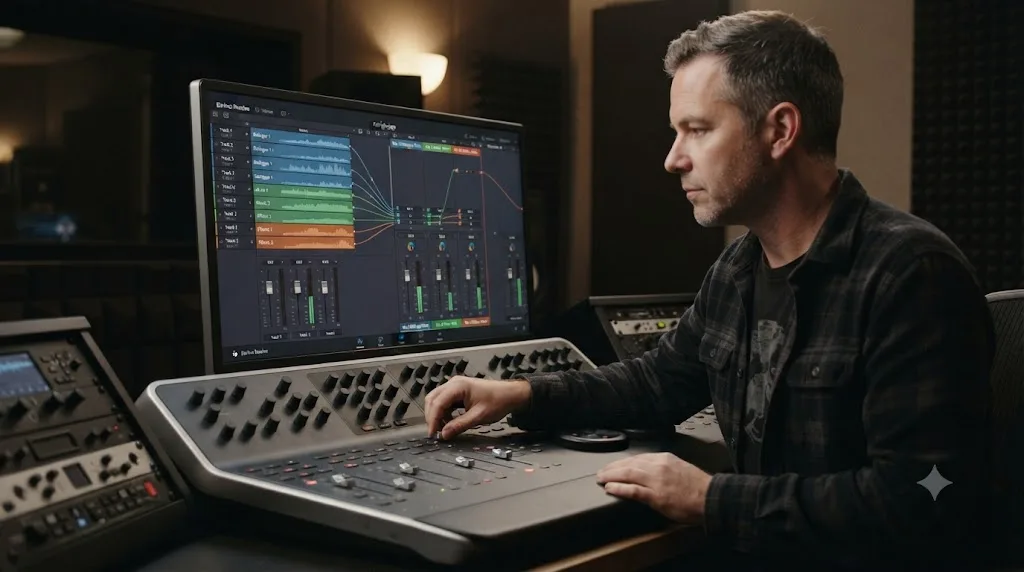
Yes, and DaVinci Resolve's FlexBus routing system is built specifically for that. A bus doesn't have to feed straight into Main. It can feed another bus instead, which is how you build sub-groups inside one stem category without losing the clean, small file count a mixer expects on the other end.
Blackmagic's manual on FlexBus is direct about the ceiling: "Busses can be sent to other busses up to six layers deep, facilitating complex stem building, processing, and allowing discrete deliverables," per the manual's FlexBus Routing and Mixing entry. Six layers is far more depth than almost any project will ever use, but the one-layer version, a sub-bus feeding a category bus, earns its keep the moment a single Effects bus starts feeling like it's hiding too much behind one fader.
Worked example: a documentary with heavy sound design might split its effects into a Hard Effects bus (gunshots, doors, footsteps) and a separate Ambience bus (room tone, city noise, wind), since a hard effect and a continuous bed need very different EQ and compression while you're mixing. Route both of those into one Effects submix bus above them. The mixer downstream still receives exactly one Effects stem, the same as any standard DME set, but you got two-fader control while building the mix, because nothing about nesting buses changes what the Deliver page's Output Track dropdown sees. Point Output Track at the top-level Effects bus and every layer feeding it collapses into that single file automatically. The same logic works for dialogue on a multi-character project: a Principal Dialogue sub-bus and a Background Dialogue sub-bus, each mixed on its own terms, both feeding one Dialogue bus the Deliver page ultimately renders.
The same manual entry documents that a bus can be "mono, stereo, or any larger format, like 5.1 or Dolby Atmos 9.1.6," and that routing supports "bus-to-bus, bus-to-track, or track-to-bus," per the FlexBus Routing and Mixing entry, so the same nested structure works whether your sub-buses are mono dialogue groups or a full surround bed. Justin Robinson's walkthrough of Fairlight bussing for JayAreTV covers this same submix-into-a-master-bus pattern as the practical route to centralized, layered control over grouped tracks rather than riding a dozen individual faders by hand, per his guide to DaVinci Resolve Fairlight bussing.
One caution worth carrying into any nested setup: nesting adds a place for something to go quiet without you immediately seeing where. If your Effects stem sounds thin or a category is missing a layer, check both stages, the individual track's assignment into its sub-bus, and the sub-bus's own assignment into the bus that actually reaches the Deliver page, not just the single routing step you'd check in a flat, one-layer bus structure. Most projects, especially anything under an hour with a small cast, never need this. Reach for it only when a single fader genuinely stops being enough control over one stem category, not as a default starting structure.
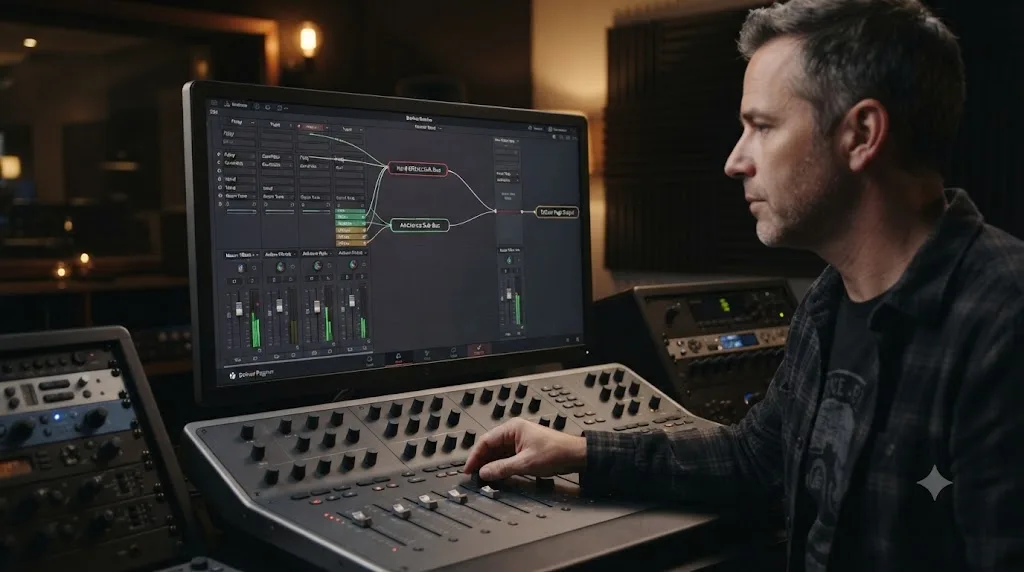
Which DaVinci Resolve Deliver page settings actually create a stem export?
Four settings do the real work: Export Video unchecked, Format set to Wave, Output Track pointed at a specific bus rather than the whole Main mix, and either multiple Output Track rows or a duplicated render job so every bus gets its own file. Everything else on the Deliver page is secondary to these four.
Where does Output Track live, and what does it actually control?
The Output Track dropdown sits in the Audio tab of Render Settings, and Blackmagic's own manual describes exactly what it does: it "lets you choose which Main or Submix bus you want to output," per the manual's Audio Panel entry. That single sentence is the whole mechanism behind a stem export. Point it at your Main bus and you get the finished mix. Point it at a Submix bus, meaning one of the Dialogue, Music, or Effects buses you built in Fairlight, and you get that category by itself.
This is the exact spot people get lost, because the dropdown's default value is whichever bus was selected last, and a leftover setting from a previous flat-mix render can silently produce a stem you didn't mean to make. Check this dropdown fresh every time you set up a stem render job rather than trusting whatever it was last set to.
Can one render job export multiple stems at once?
Yes, using the plus icon next to the Output Track row. Adding Output Track 2 and Output Track 3 to a single render job lets you point each one at a different bus, so one render pass produces your full stem set in one queue entry instead of three separate jobs.
This is a genuine time saver over the duplicate-the-job approach, and it's documented directly: setting "Output Track 1" to a bus for a master mix and then adding additional Output Track rows for individual tracks or buses "is a huge time saver," as covered in BeginnersApproach's walkthrough of exporting multiple audio tracks. Set Output Track 1 to Dialogue, click the plus icon, set Output Track 2 to Music, click plus again, set Output Track 3 to Effects, and the single render produces three separate WAV files, one per bus, without three trips through the render queue.
The alternative, right-clicking an existing job in the queue and choosing Duplicate, then changing only the copy's Output Track and filename, works exactly as well and gives you a little more control over naming each job individually before you queue it. Neither approach is more correct. Pick whichever matches how you like to work: one job with several output rows, or several jobs each dedicated to one stem.
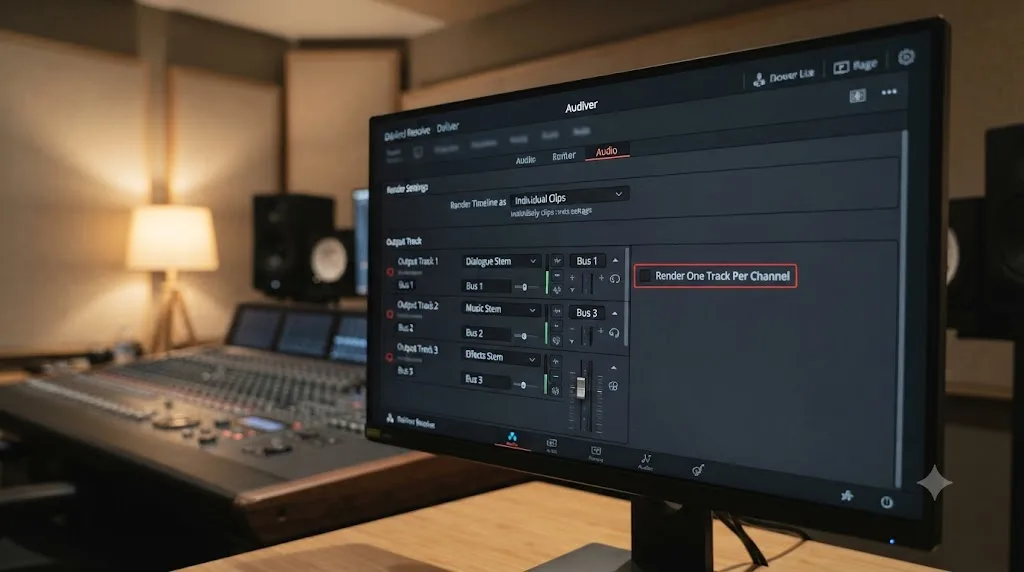
What do Render One Track Per Channel and Render As Discrete Audio Tracks actually change?
Neither of these affects whether you're getting stems. Both control something different: how a single stereo bus gets split into files, not which buses get exported. Leave both unchecked for a standard DME stem set, where each stem stays a normal stereo (or mono) file per bus.
Blackmagic's manual describes Render One Track Per Channel as a setting to "specify whether you want to export each channel as an individual track in the structure of the exported file," meaning a stereo bus with this checked produces two mono files, a left and a right, instead of one stereo file, per the Audio Panel manual entry. Render As Discrete Audio Tracks does something related but distinct: it "outputs one channel per track" as well, but with a specific caveat the manual notes directly, that "discrete tracks have no positioning info," meaning the resulting files lose the spatial metadata a proper multichannel container would carry.
Both checkboxes exist for surround and immersive delivery, where a mixing house genuinely needs each channel of a 5.1 or Atmos bed as its own file, a case covered in more depth below. For a standard DME stem handoff at stereo or mono, leave them off. Turning one on unexpectedly is a common reason someone renders three stems and ends up with six or more files, half of them mono splits they never intended to create.
| Setting | What it does | Leave on for | Leave off for |
|---|---|---|---|
| Output Track | Chooses which Main or Submix bus renders | Every stem export, this is the core mechanism | Never turn this off, it's how stems get made |
| Render One Track Per Channel | Splits a bus into discrete mono files, one per channel | A surround or immersive bus that needs discrete channel files | A standard stereo or mono DME stem set |
| Render As Discrete Audio Tracks | Similar channel split, without positioning metadata | Rare, specific multichannel handoff requests | Almost every stem delivery |
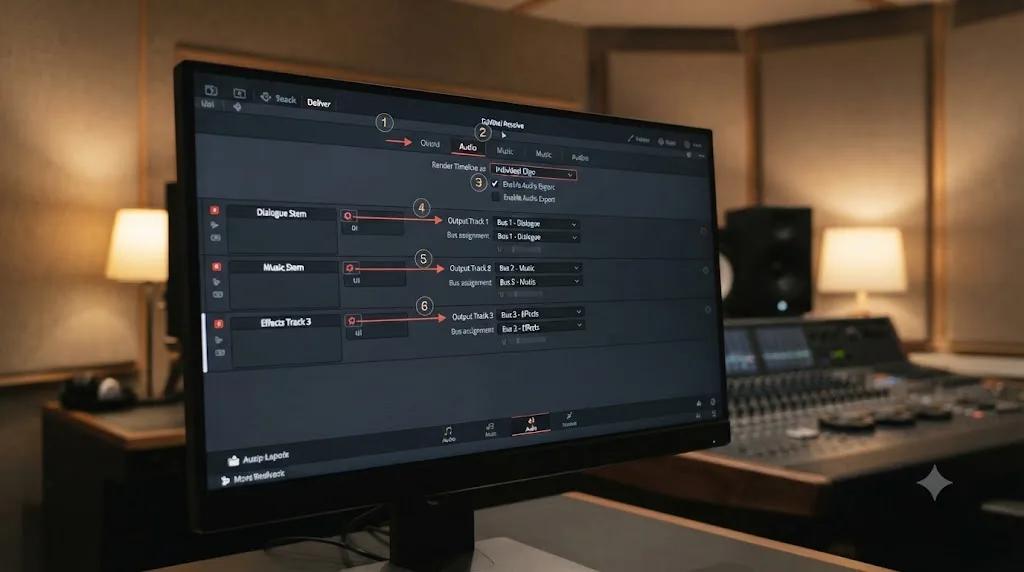
How do you export a standard DME stem set, step by step?
Six steps cover it end to end, assuming your Dialogue, Music, and Effects buses already exist on the Fairlight page. If they don't yet, build them first using the process in our Fairlight mixing guide.
- Open the Deliver page with your timeline active. Confirm the timeline containing your finished mix is the one currently loaded.
- Uncheck Export Video, leave Export Audio checked. In Render Settings, turn off Export Video. The Format dropdown switches from video containers to Wave, AIFF, MP3, and AAC.
- Set Format to Wave and confirm Codec reads Linear PCM. This is the uncompressed, professional standard for a mixer handoff, and the same choice covered in more depth in our audio-only WAV export guide.
- Set Output Track 1 to your Dialogue bus, then add Output Track 2 and 3 for Music and Effects. Use the plus icon to add each additional row, or duplicate the job per stem if you prefer separate queue entries.
- Set Sample Rate to match your project and Bit Depth to 24. Almost always 48kHz for video work, with 24-bit as the professional default covered in full detail below.
- Name each output clearly, confirm Single Clip is selected, and render. Add to the render queue, click Render All, and listen to each resulting file alone before sending anything.
Worked example: a 20-minute branded documentary has a host on a lav mic, two interview subjects on separate lavs, a licensed music bed under three sections, and a folder of ambient room-tone and hard effects placed throughout. All three lav tracks route to a Dialogue bus. The music bed routes to a Music bus. The room tone and hard effects both route to an Effects bus. On the Deliver page, Output Track 1 points at Dialogue, Output Track 2 at Music, Output Track 3 at Effects, all three set to Wave, Linear PCM, 48kHz, 24-bit. One render pass produces DocumentaryName_Dialogue.wav, DocumentaryName_Music.wav, and DocumentaryName_Effects.wav, each the exact length of the full timeline, ready for a re-recording mixer to drop into a Pro Tools session and start balancing.
How do you export a stem for one specific submix instead of a full DME set?
Set Output Track to that single Submix bus and leave the rest of your render job pointed nowhere else. A one-off stem, say just the Music bed for a licensing request, or just the Dialogue bus for a transcript service, doesn't need the full DME set built and rendered every time.
This comes up more than a full three-stem delivery does in practice. A YouTube creator might only ever need to hand their editor's music bed to a copyright dispute team, without touching dialogue or effects at all. A podcast producer might need just the raw, unprocessed dialogue bus sent to a transcription service that specifically asks for voice-only audio with nothing else mixed in. In both cases, the bus already exists from your normal mixing workflow, and the export is a single Output Track selection rather than a three-row setup.
The only real difference from the full DME workflow is that you're skipping the plus-icon step entirely. Set Output Track 1 to the one bus you need, everything else about Format, Codec, Sample Rate, and Bit Depth stays identical to a full stem export, and you render one file instead of three.
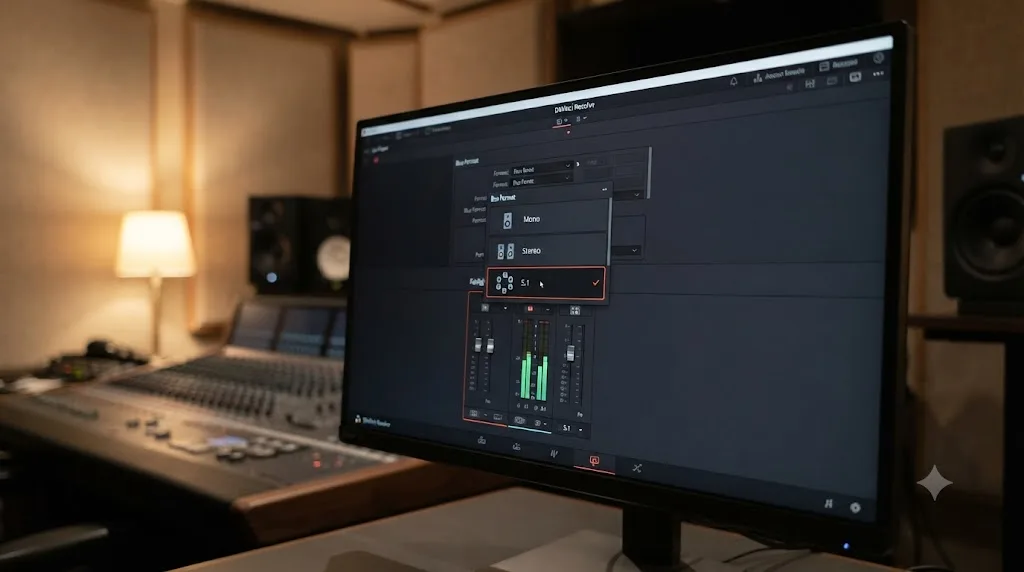
Should your stems be mono or stereo, and does that change your bus setup?
Match each stem's format to what actually feeds it, not to some rule that says every deliverable has to be one consistent type. A dialogue stem built from mono lav mics should render mono. A music stem built from a stereo licensed track should render stereo.
This is a common point of confusion because a Submix bus in Fairlight defaults to stereo regardless of what feeds it, meaning a Dialogue bus built from three mono lav tracks still outputs a stereo file unless you specifically build that bus as mono. Whether that matters depends entirely on what the receiving mixer asked for. Some stem requests specifically call for mono dialogue, since a single voice genuinely doesn't need two channels and a mono file is half the size with zero quality loss for that source.
To build a genuinely mono bus rather than a stereo one carrying identical audio on both channels, set the bus's Format to Mono when you first create it in Bus Format, not after tracks are already routed into it. Building a bus as Mono from the start means every track feeding it sums to a true single channel, rather than a stereo bus that happens to have the same signal on left and right, which looks identical on a meter but isn't the same file underneath.
| Stem source | Natural format | Force it stereo? | Force it mono? |
|---|---|---|---|
| Single lav or boom mic dialogue | Mono | Only if the mixer specifically wants stereo dialogue tracks | This is already correct, leave it |
| Multiple dialogue mics on one bus | Depends on the mixer's request | Common default unless told otherwise | Only if every source is genuinely mono and the mixer wants mono stems |
| Licensed music bed | Stereo (usually) | This is already correct, leave it | Only for a specific mono-only distribution requirement |
| Sound effects library clips | Mixed, check each source | Match whatever most of your effects already are | Rarely worth the quality tradeoff |
Mono halves your file size and matches what a single microphone actually captured in the first place. Stereo, meanwhile, is the right call the moment a stem genuinely carries left-right information a listener can perceive, which describes almost every piece of licensed music and almost no single-person dialogue recording. Ask before you build the bus structure, since changing a bus's channel format after tracks are already routed into it means rebuilding that portion of your bus setup rather than flipping one setting.
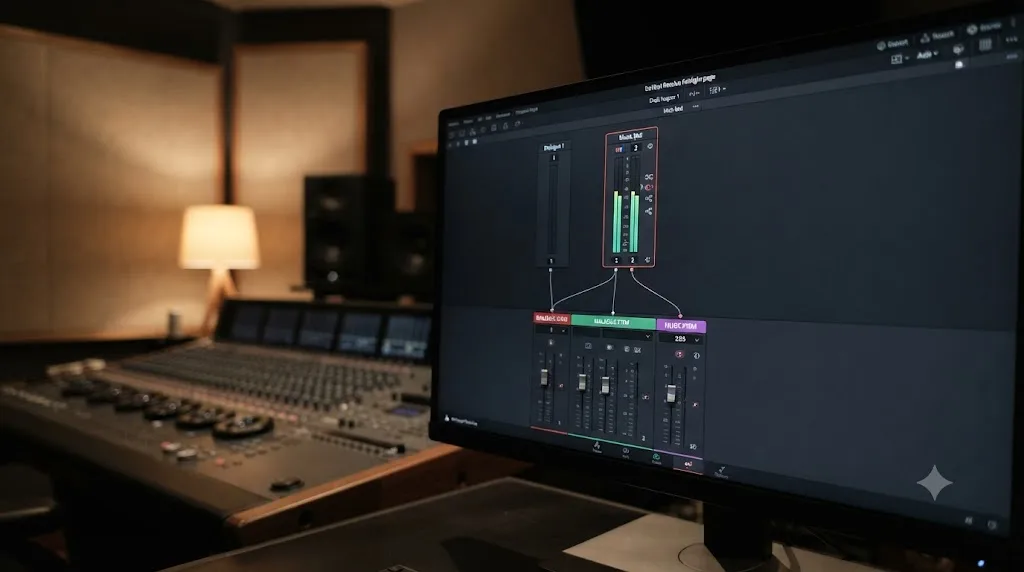
Do stems ever need to be 5.1 or immersive instead of stereo?
Sometimes, and it's the one case where the stereo-by-default guidance above doesn't apply. A feature, a broadcast delivery, or a mixer working on a proper dub stage may ask for a surround stem set instead of a stereo one, and Resolve's buses support that directly, no separate export path required.
Build the bus itself as 5.1, not stereo, from the Bus Format menu at the moment you create it, the same place you'd set Mono for a dialogue bus. Blackmagic's FlexBus documentation confirms buses can carry "5.1 or Dolby Atmos 9.1.6 (where 16 audio signals are used)" as a native format option, per the manual's FlexBus Routing and Mixing entry. Route your tracks into that bus the same way you would a stereo one, through Bus Assign, and the channel count follows the bus format automatically, no per-track configuration needed beyond assigning it to the right bus.
This is also the one place where Render One Track Per Channel earns a "check it" instead of the "leave it unchecked" advice given earlier for a standard stereo DME set. A surround delivery destination frequently wants each channel, left, right, center, LFE, left surround, right surround, as its own discrete file rather than one interleaved six-channel WAV, and that's exactly the split this checkbox performs. Confirm with whoever's receiving the surround stem which they want, an interleaved 5.1 file or six discrete mono channel files, before you render, since the two aren't interchangeable and re-rendering a twenty-minute timeline a second time because you guessed wrong costs real time.
Sam Lowe's Fairlight bus template, covered earlier in this guide for its DME structure, is actually built around this exact combination: a "full 5.1 mix, stereo downmix, and stems for dialogue, music, and effects" all coming out of one template, per his Mixing Light tutorial. The 5.1 mix and the stereo downmix aren't two separate projects rendered twice. They're two different Output Track selections pointed at two different buses fed by the same underlying tracks, the same mechanic this whole guide has been describing, just with a wider bus format on one of the two outputs.
Most creators reading this guide will never need a surround stem, and building one for a two-person YouTube interview is wasted effort nobody downstream asked for. If a mixer or a delivery spec hasn't requested one by name, stereo stays the right default.
What sample rate and bit depth should stems use for a mixing engineer?
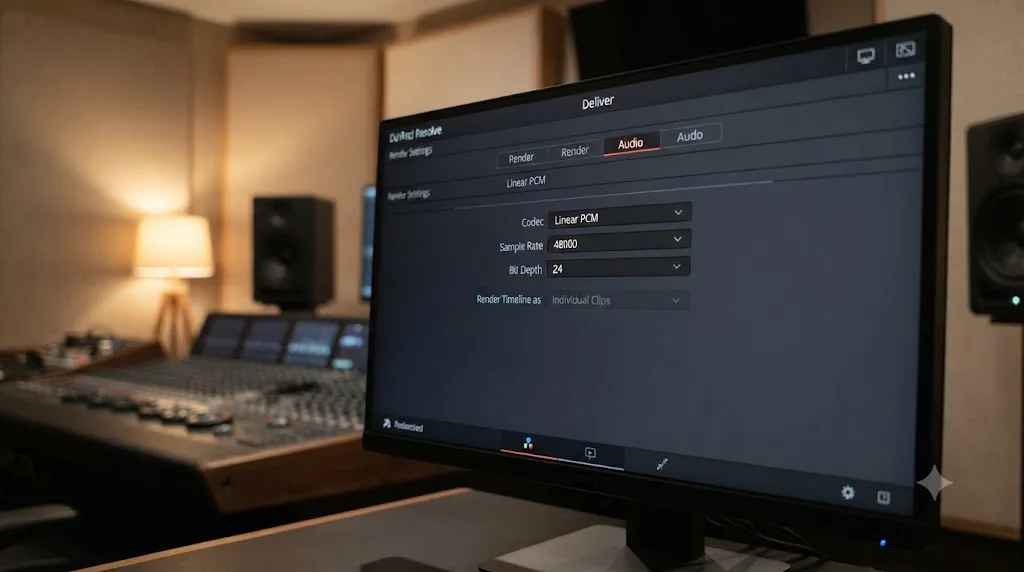
Match Sample Rate to your project, almost always 48kHz for video work, and set Bit Depth to 24. That single combination is the professional standard for a stem handoff, and it happens to match the exact number one of the largest streaming platforms in the world requires on delivery.
Netflix's own technical specification states the requirement plainly for anyone delivering finished audio assets to the platform: the required sample rate and bit depth is 48kHz and 24-bit "for Original Language Mix or M&E Mix," applying to "Stems and Mix Masters" alike, per Netflix's Sound Mix Specifications and Best Practices document. That's not a coincidence specific to streaming delivery. It's the same standard that's become default across professional video and film audio generally, for the same reason: 48kHz matches broadcast and streaming video standards without resampling, and 24-bit gives real headroom over 16-bit without the unnecessary file size of 32-bit float on a finished stem.
Reach for 32-bit float only when a mixing engineer specifically asks for it, usually because they want extra ceiling on a stem that hasn't had a limiter applied yet and might get pushed hot during their own processing. For a stem that's already gain-staged and reasonably leveled, which every stem covered in this guide's worked examples assumes, 24-bit at your project's native sample rate covers the request without a follow-up question.
What if your delivery target is a broadcast or streaming platform with its own spec sheet?
Confirm the exact numbers before you render, since streaming and broadcast delivery specs vary in ways a generic "professional standard" doesn't cover, particularly around loudness, which the loudness section below covers separately.
| Destination | Sample rate | Bit depth | Stems required |
|---|---|---|---|
| Netflix (Original Language Mix or M&E) | 48kHz | 24-bit | 5.1 and stereo D&ME stems, per Netflix's own spec |
| Standard professional post handoff | 48kHz | 24-bit | DME (Dialogue, Music, Effects), the industry default |
| DAW handoff to a freelance mixer | Match your project, usually 48kHz | 24-bit | Whatever grouping the mixer asked for, confirm before building buses |
| Archival or long-term project storage | Match your project | 24-bit, or 32-bit float if unsure of future processing needs | Full stem set plus the flat mix, for maximum future flexibility |
Netflix's M&E delivery guidance goes a step further than a simple DME split, specifically because international dubbing depends on the dialogue stem being genuinely removable without leaving artifacts behind. It requires the M&E track itself, an Optional Tracks set, and a Dialogue Guide, described as a 5.1 or mono mixdown of the dialogue stem included specifically so a foreign dubbing team has a reference for timing even though that stem itself never plays back on the platform, per Netflix's M&E Creation and Delivery Guidelines. Most creators reading this guide will never need to build a Netflix-spec M&E deliverable, but the same underlying principle, that a dialogue stem needs to be cleanly separable with nothing bleeding across from music or effects, is exactly what a well-built DME bus structure gives you regardless of the destination.
Does a stem export include the EQ and compression you applied, or just the raw track?
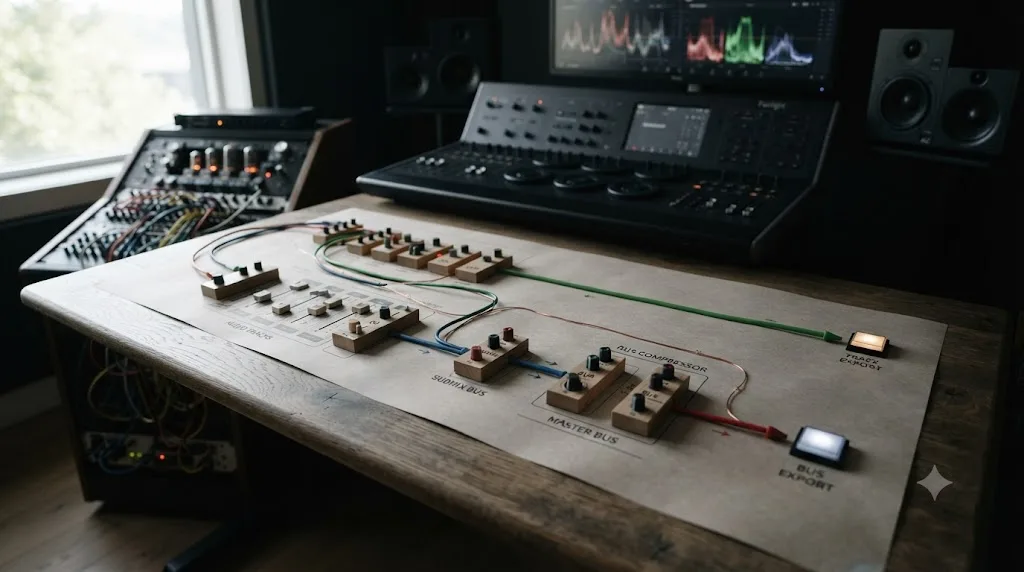
It includes whatever processing sits upstream of the point you're actually exporting from, and this is the single detail that causes the most confused "why does my stem sound wrong" messages in a mixer handoff. Processing on a track rides along in every export of that track. Processing on a bus only shows up in a render that actually passes through that bus.
Resolve's Fairlight channel strip processes audio in a fixed order regardless of which stage you touch: the raw source, Path Settings, built-in Track FX, up to six Effect Inserts, the Dynamics section, the EQ section, output routing, and finally the fader, before the signal even reaches whatever bus it's routed to. Every one of those track-level stages is baked into the signal before it ever gets to a bus, which means a track's own EQ, compression, or de-hummer plugin exports along with that track no matter how you render it, Output Track set to the track itself or to a bus it feeds.
Track-level EQ and compression ride along inside a stem automatically. Bus-level processing only shows up in the stem built from that specific bus. Say you've added a limiter directly on your Music bus's Dynamics section to keep it from clipping when it feeds the Main bus. That limiter is bus-level processing, not track-level. It applies when you export the Music bus itself, but it would not apply if you instead exported one of the individual music tracks feeding that bus, bypassing the bus entirely with Output Track set to Timeline Track rather than Submix.
This distinction matters most in exactly one scenario: you built a stem export using Output Track set to individual Timeline Tracks instead of the bus those tracks feed, expecting it to sound like what you hear on playback, and it doesn't, because playback runs through the bus and its processing while your export skipped straight past it. The fix is simple once you know the cause. Export the bus, not the individual tracks, whenever you want a stem that matches what you actually hear during a normal playthrough with that bus's processing engaged.
What's the difference between exporting stems and exporting individual tracks?
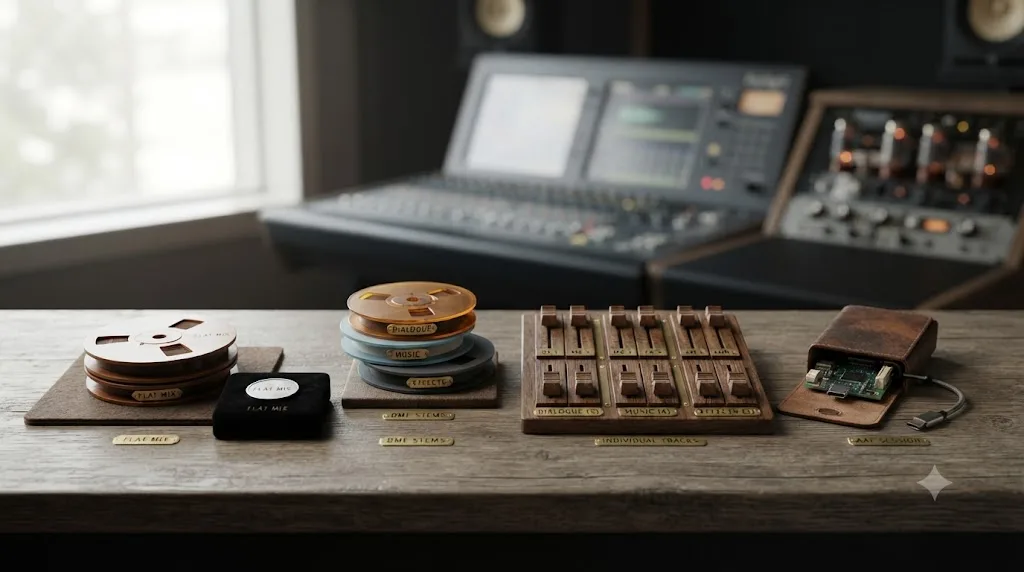
Individual track export gives a mixer every raw track on your timeline, separately, with no grouping applied. Stem export routes those same tracks through buses first, so what actually renders is a small, category-based set of files, each one already balanced within itself, not a pile of undifferentiated raw material.
Both are legitimate deliverables, and which one to send depends entirely on what the receiving mixer asked for, not on which one is objectively better. A mixer who wants full creative control over every individual source, common on a high-budget project with a dedicated re-recording mix stage, genuinely wants the raw tracks, unprocessed and ungrouped, so they can build their own bus structure from scratch inside their own DAW. A mixer working faster, on a smaller project, or without the time to rebuild your organizational decisions from zero, wants stems specifically because the grouping work is already done.
| Deliverable | File count (typical) | What's inside each file | Best for | Worst for |
|---|---|---|---|---|
| Flat mix | One | Everything, already balanced together | A finished handoff needing no further mixing | Any project where the receiver needs to adjust the balance |
| DME stems | Two to four | One category per file, dialogue-track processing included, bus processing included | A mixer who wants a fast start with your grouping already done | A mixer who specifically wants zero prior grouping decisions |
| Individual tracks | As many as your timeline has | One raw source per file, only that track's own processing | Full creative control for the receiving mixer | Speed, and any handoff on a tight timeline |
| AAF or OMF session | One session file plus media | Every clip, fade, and gain move as editable objects | Continued editing in a DAW, not just mixing | A recipient who just needs to listen or lightly process |
Choose stems if the mixer's told you they want a fast start with sensible groupings already built, or if you're not sure what they want and D-M-E is the safest default professionals recognize instantly. Choose individual tracks if the mixer's explicitly asked for raw material with no assumptions baked in, or if the project's complex enough that your grouping decisions might not match how they'd naturally organize the same material. Choose a flat mix only when nobody downstream needs to touch the balance again, ever. Choose an AAF or OMF session, covered next, when the job ahead is more editing, not just mixing.
How do stems differ from an AAF or OMF handoff to Pro Tools?
A stem, even a full DME set, is a finished, frozen recording, flattened audio with no edit points, fades, or clip-level gain automation preserved as separate objects. An AAF or OMF export carries your original clips, their trim points, and their gain moves into a DAW as still-editable objects, which is a fundamentally different kind of file.
Pick stems when the audio work in Resolve is essentially done and the mixing engineer's job is balancing already-finished pieces against each other. Pick AAF or OMF when the mixer's job is genuinely more editing, cutting new dialogue in, replacing a clip, adjusting edit points, not just listening or lightly processing what's already cut.
DaVinci Resolve's Deliver page includes a dedicated Pro Tools export preset built specifically for this handoff, and it configures render settings most people wouldn't guess on their own. The 344 Audio production blog documents the exact settings for delivering to a sound designer via Pro Tools, all inside DaVinci Resolve: "Format: Wave," "Codec: Linear PCM," bit depth "24," and critically, "Render One Track Per Channel: Checked," alongside "Render As Discrete Audio Tracks: Unchecked" and "Add: 250 Frame Handles," per their guide to delivering audio and video assets to a sound designer. Notice that Render One Track Per Channel flips to checked for this specific handoff, the opposite of the stem-export recommendation earlier in this guide, because an AAF-style delivery for further editing genuinely wants discrete channel files, while a finished stem generally doesn't.
Handles, that "250 Frame Handles" setting, are a concept specific to this AAF-style workflow and don't apply to a flat stem bounce at all. A handle is extra media rendered before and after each clip's visible in-and-out points, giving the receiving editor room to extend a trim without needing to go back to the original source media. A stem export has no handles because it's one continuous file covering the whole timeline range, with nothing to trim past its edges in the first place.
Vordio, a post-production tool built around exactly this kind of session transfer, recommends the opposite setting from 344 Audio's Pro Tools preset for their specific Reaper-focused workflow, turning "off 'render one track per channel'" so that "stereo clips remain as stereo clips on a single stereo track rather than being split across two mono tracks," per their guide to DaVinci Resolve's AAF export settings. That contradiction between two legitimate guides isn't a mistake in either one. It's a reminder that AAF and OMF settings depend heavily on which specific DAW and workflow you're feeding, in a way a straightforward stem bounce simply doesn't. Confirm with whoever's receiving an AAF or OMF handoff which channel-splitting convention their session expects before you render, since getting it backwards means they spend their first hour reassembling stereo pairs instead of mixing.
If a full session handoff is what your project actually needs rather than a stem set, that's a genuinely separate export covered in more depth by dedicated AAF and OMF guides. This guide's scope stays on stems specifically, the finished, category-grouped WAV files a mixer drops in and starts balancing, not the editable session transfer.
What file naming and organization keeps a stem delivery from confusing your mixer?
Name every stem with the project name and the exact category it contains, spelled out, not abbreviated to something only you understand. A mixer opening a delivered folder should be able to tell what every file is without opening a single one of them to check.
Naming a file "Audio_2.wav" is how a four-stem delivery becomes a phone call asking which one is dialogue. It sounds like an obvious mistake to avoid, and it's still one of the most common problems in a rushed handoff, because the filenames that make perfect sense to you while you're deep in a project mean nothing to someone opening the folder cold, an hour later, on a different machine.
A naming pattern that scales from a two-stem YouTube handoff to a full Netflix-spec DME delivery: ProjectName_StemCategory_Version.wav. For the branded documentary example covered earlier in this guide, that's BrandDoc_Dialogue_v1.wav, BrandDoc_Music_v1.wav, and BrandDoc_Effects_v1.wav. The version number matters more than it looks like it should the first time you send a revised stem after a note comes back, since "v2" in the filename is the difference between a mixer confidently replacing the right file and a mixer guessing which of two identically-named files is current.
Beyond naming, three habits keep a delivery clean:
Every stem in a set has to start at the same timecode and run the same length, or the mixer spends their first hour re-syncing your files instead of mixing them. Since every stem in a DME set renders from the same timeline range in the same render pass, or in duplicated jobs covering the identical range, this is mostly automatic, but it's worth an explicit check after render, not an assumption. Confirm every stem's file length matches before you send anything.
Deliver a folder, not a scattered handful of attachments. One folder per project, named for the project, containing every stem plus a plain-text or simple spreadsheet note listing what's in it and any context the mixer needs, like the target platform's loudness spec or a note about which sections still need a pickup line replaced. This costs two minutes and saves the mixer from guessing.
Keep a version log outside the filenames themselves once a project has gone through more than one delivery round. A simple line in an email or a shared doc, "v2 sent Tuesday, replaced the Music stem only after the licensing swap," prevents a mixer from working against a stale file they didn't realize was outdated.
What loudness or level target should stems hit before you send them?
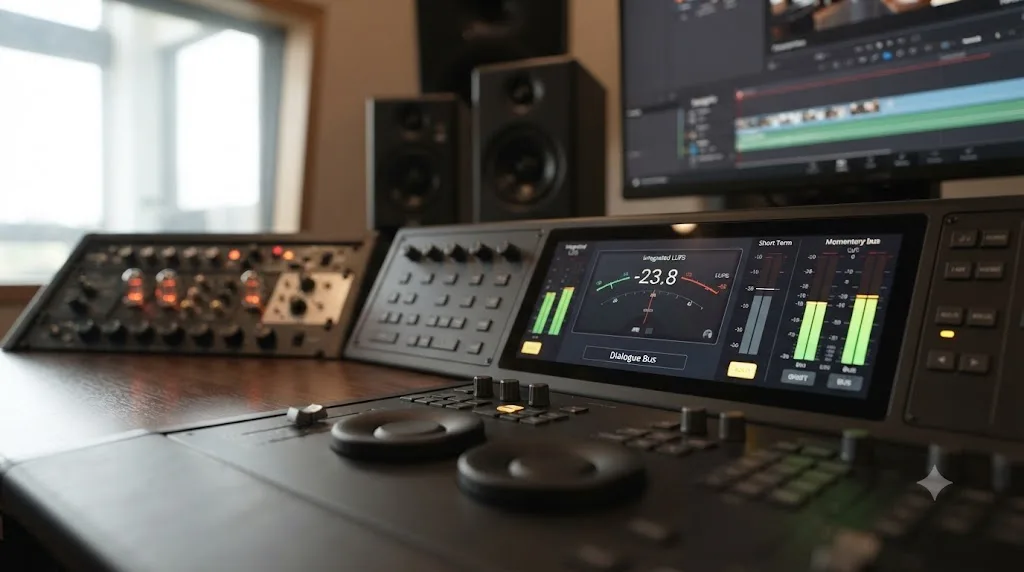
Check Integrated LUFS on each bus using the Fairlight Loudness Meter, but hold your stems to a looser standard than a finished master, since a mixing engineer's whole job is rebalancing what you send, not receiving something already locked to a final broadcast spec.
This is a genuinely different question from the loudness targets covered in a finished, ready-to-publish master, which our loudness normalization and LUFS guide covers in full for platforms like YouTube, Spotify, and podcast distribution. A stem isn't a finished master. It's raw material for someone else's final mix, so what matters is that nothing clips and the relative balance between your stems is roughly sensible, not that any individual stem already hits a hard delivery number.
That said, if your stems are genuinely headed toward a professional delivery spec, know the actual numbers before you send anything final. Netflix's dialogue loudness requirement sits at "-27 LKFS within a 2 LU window," measured using the dialogue-anchored method described in ITU-R BS.1770-1, since Netflix's own guidance treats dialogue as "the anchor element of a Netflix mix," per Production Expert's breakdown of optimizing a mix for Netflix delivery. True peak on that same spec must not exceed -2 dBFS for open delivery codecs, and Netflix recommends keeping dialogue's own dynamic range at 10 LRA or less within a full mix that sits between 4 and 18 LRA overall.
| Destination | Dialogue loudness target | True peak ceiling |
|---|---|---|
| Netflix (dialogue-anchored) | -27 LKFS (within 2 LU) | -2 dBFS |
| European broadcast (EBU R128) | -23 LUFS integrated | -1 dBTP |
| US broadcast (ATSC A/85) | -24 LKFS integrated | -2 dBTP |
| A rough stem sent for further mixing | No hard target, just avoid clipping and keep relative balance sensible | Below 0dBFS with reasonable headroom |
Play through each bus solo, read Integrated on the Loudness Meter, and use that number as information for your mixer, not as a target you have to hit exactly before you're allowed to send the file. Note the reading in whatever context file accompanies your delivery folder. A mixer who knows your Dialogue stem is currently sitting at -19 LUFS integrated can plan their gain staging accordingly, which is more useful to them than a stem artificially forced to a broadcast number it was never going to hit correctly without the other two stems already sitting alongside it.
Do you need DaVinci Resolve Studio to export audio stems?
No. Every tool this guide covers, Fairlight buses, Bus Format and Bus Assign, the Deliver page's Output Track routing, Wave and Linear PCM export, Render One Track Per Channel, and the Pro Tools AAF preset, is part of the standard toolset that ships free, with nothing gated behind the $295 license.
CineD's detailed comparison of the free and Studio versions confirms this holds across Resolve's audio tools broadly, with Fairlight's mixing, bussing, and export tools shipping complete, and Studio-gated features concentrated instead in AI-driven repair tools and higher-tier video specs, per their in-depth free-versus-Studio breakdown. The one audio-adjacent feature that is genuinely Studio-exclusive is Voice Isolation, an AI tool built on the DaVinci Neural Engine for rescuing dialogue from chaotic noise, per Blackmagic's own DaVinci Resolve Studio product page. That's a repair tool applied before a stem ever gets built, not part of the export mechanic itself, and it lives outside this guide's scope entirely. If a dialogue stem needs cleanup before it's ready to send, our background noise removal guide covers Voice Isolation alongside the free tools that solve most noise problems without it.
The practical takeaway: if you can build a bus structure and use the Deliver page at all, you can build a professional stem delivery, free version included, with nothing about the license standing between you and a clean DME handoff.
What changed in DaVinci Resolve 21 for stem and multichannel export?
Nothing about the core stem export mechanic changed in the version 21 line. Bus Format, Bus Assign, the Deliver page's Output Track dropdown, Render One Track Per Channel, and the Pro Tools AAF preset all work exactly as this guide describes across Resolve 21's point releases.
As of August 2026, DaVinci Resolve 21.0.3 is the current point release. Blackmagic's What's New page tracks this cycle's changes as concentrated in RAW decoding, HDR delivery, and stability, alongside genuine Fairlight quality-of-life additions like Chain FX, letting you bundle up to six plugins into one reusable, saveable preset, and Level Matcher, for correcting inconsistent levels between intercut clips of the same speaker, per Blackmagic's own What's New page. Newsshooter's coverage of the 21.0.3 point release specifically confirms this cycle's focus stayed on decoding and stability fixes rather than mixing or export mechanics, per their report on the update.
None of these additions touch how a stem export itself works. Chain FX makes rebuilding a familiar Dialogue bus processing chain across projects faster, and Level Matcher can smooth out an intercut interview before you ever get to the export stage, but the actual mechanism, buses feeding the Output Track dropdown on the Deliver page, has stayed stable across every point release in this cycle. If you're troubleshooting a stem export that seems tied to a genuine bug rather than a setting, confirming you're on the current point release costs nothing and occasionally resolves something that looked like a workflow problem but wasn't.
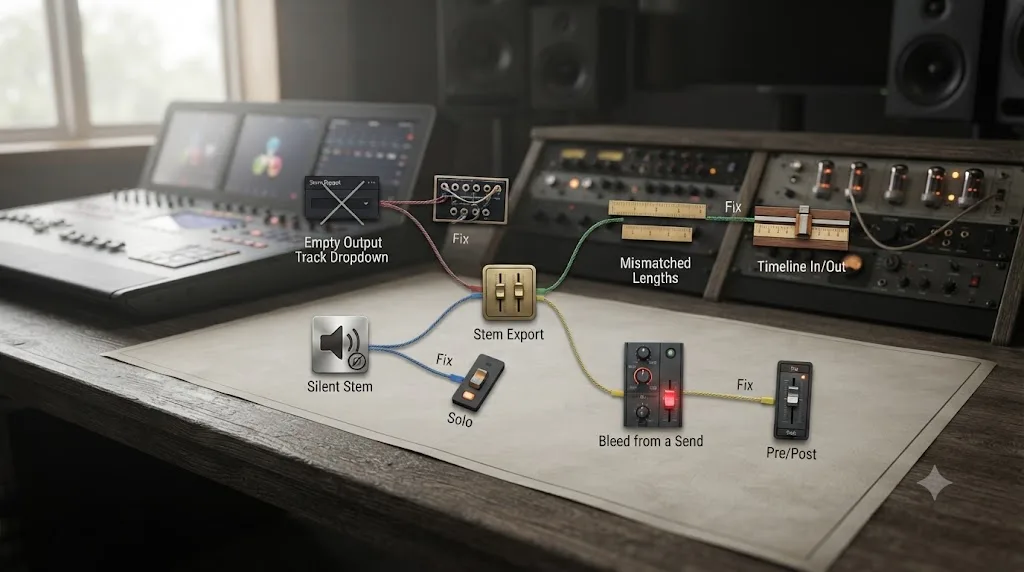
What do you do when a stem export goes wrong?
Five specific failures cover almost every broken stem export, and each one has a specific, findable cause rather than a mystery to debug from scratch.
The Output Track dropdown shows no buses to choose from, only Main. This means Bus Format hasn't been used yet in this project, or you're looking at the dropdown before any Submix bus was created. Go to the Fairlight page, open Bus Format, and confirm your Dialogue, Music, and Effects buses actually exist there. A bus built in a different project won't appear here. Buses live inside the project that created them, not globally across your Resolve database.
One stem renders completely silent. The bus itself exists, but no track is actually routed into it yet, Bus Format created the destination without Bus Assign ever pointing anything at it. Open Bus Assign, or the plus icon on each track's channel strip in the Mixer, and confirm every track that belongs in that stem is actually assigned there, not left on the default Main bus.
Your stems come out different lengths. Each render job used a different in and out point, most often because one job rendered the whole timeline while a duplicated job kept a leftover custom mark in or out from earlier work. Check In/Out on every render job in the queue before you hit Render All, and set all of them to the full timeline range unless you specifically want a partial export.
A stem contains audio that shouldn't be there, bleed from a category it doesn't belong to. This usually isn't the primary Bus Assign routing at all. It's a Send, a secondary routing path a track or bus can use to feed a second destination in parallel with its main bus assignment, often left over from an earlier reverb or headphone-mix setup. Check each track's Sends in the Mixer, not just its main bus assignment, if a stem sounds like it's carrying something extra.
A duplicated render job quietly overwrites a stem you already rendered. Duplicating a job in the queue copies the Output Track setting but not always a distinct filename, so two jobs pointed at different buses can still share the same output name if you only changed the routing and forgot the name field. Check the filename on every job in the queue before Render All, not just the Output Track dropdown, since a silent overwrite looks identical to a successful render until someone opens the file and finds the wrong stem inside it.
What are the most common mistakes when exporting stems for mixing?
Six specific habits account for nearly every confusing stem delivery, and none of them are a bug. Check this list before assuming something in Resolve is broken.
- Exporting from Output Track set to Timeline Track instead of the Submix bus. This is the single most common cause of a stem that sounds unprocessed compared to what you hear on playback, since bus-level EQ, compression, and limiting only apply when the render actually passes through the bus.
- A leftover Output Track selection from a previous render job. The dropdown remembers its last value, so a stem render started from a duplicated video job can silently point at the wrong bus, or the Main mix instead of a Submix, until you check it fresh.
- Forcing every stem to the same mono or stereo format regardless of source. A mono dialogue stem forced to stereo wastes file size for nothing. A stereo music bed forced to mono throws away real information the mixer might need.
- Vague or generic filenames. "Audio_2.wav" tells a mixer nothing. Every stem needs a name that states its category without requiring anyone to open the file first.
- Skipping a version number on a revised delivery. Once a project's gone through more than one round of notes, an unversioned filename is how a mixer works against a stale file without realizing it.
- Checking Render One Track Per Channel out of habit from an AAF workflow. That setting belongs to a discrete-channel handoff or a surround delivery, not a standard stereo DME stem set, and turning it on unexpectedly doubles your file count with mono splits nobody asked for.
Build a habit around the order of operations instead of memorizing every individual setting: build buses first, confirm Output Track points at the bus and not a raw track, set Format and Sample Rate and Bit Depth, name every output clearly with a version number, and listen to each finished stem alone before it leaves your machine. That order catches every mistake on this list before your mixer ever opens the folder.
If keeping track of which bus feeds which stem, and exactly where the Output Track dropdown lives on a Deliver page you don't open every day, is the part that eats your afternoon, TryUncle is the on-screen assistant for DaVinci Resolve on macOS. Ask in plain words and Uncle points at the exact control on your screen, instead of you re-reading a guide like this one for a setting you needed five minutes ago.
What's the verdict?
Exporting separate audio stems for mixing in DaVinci Resolve is two skills stacked on top of each other: building a bus structure in Fairlight, and pointing the Deliver page's Output Track dropdown at each bus instead of at the whole mix. Neither one is hard once you've done it, and the entire mechanism, Bus Format, Bus Assign, and Output Track, ships free with nothing behind Resolve's paid license.
A mixing engineer would rather receive three honest, unfinished stems than one polished mix they have to undo. That's the whole argument for this workflow over a simple flat bounce, and it's worth remembering the next time a deadline makes the one-file shortcut tempting. Build Dialogue, Music, and Effects buses, route every track into the one it belongs to, set Output Track once per stem, render 24-bit WAV at your project's sample rate, name every file so a stranger could sort them blind, and listen to each one alone before you hit send. That's the whole workflow, and it's the difference between a mixer who opens your folder and starts working immediately, and one who spends their first hour figuring out what you actually sent them.
Frequently asked questions
- How do I export separate audio stems for mixing in DaVinci Resolve?
- Build a bus for each stem category (Dialogue, Music, Effects, or whatever grouping your mixer wants) on the Fairlight page, route every track into its matching bus, then on the Deliver page uncheck Export Video, set Format to Wave with Linear PCM, and set an Output Track to each bus, either by duplicating the render job per stem or by adding multiple Output Track rows to one job with the plus icon. Render everything as 24-bit WAV at your project's sample rate.
- What's the difference between exporting stems and exporting individual tracks?
- Individual track export gives a mixing engineer every raw track separately, which can mean a dozen or more files with no grouping. Stem export routes those same tracks through buses first, so what renders out is a small number of category files, usually dialogue, music, and effects, each one a finished submix a mixer can drop straight into their session and start balancing against the other two.
- Should audio stems be mono or stereo?
- Match whatever the source actually is. A single lav mic or boom recording is naturally mono and should export mono. A music bed or a stereo sound effects library file is naturally stereo and should stay stereo. Don't force everything to one format just for consistency, since collapsing a stereo music bed to mono throws away real information, and forcing a mono dialogue track to stereo just wastes file size on a duplicated channel.
- What sample rate and bit depth should stems use?
- Match your project's timeline sample rate, almost always 48kHz for video work, and set Bit Depth to 24. That combination is the professional standard for stem handoffs, matching what Netflix's own delivery specification requires for stems and mix masters alike. Go to 32-bit float only if the mixing engineer specifically asks for the extra ceiling on an unfinished, unlimited stem.
- Does a stem export include the EQ and compression I applied in Resolve, or just the raw track?
- It includes whatever processing sits between the audio source and the point you're exporting from. A track's own Track FX, Effect Inserts, and clip-level EQ always ride along in any export of that track, since they sit upstream in the signal path. Processing added on a bus itself, like a limiter on your Music bus, only shows up in a render that actually passes through that bus, not in a render of an individual Timeline Track that bypasses it.
- Do I need DaVinci Resolve Studio to export audio stems?
- No. Every tool this guide covers, Fairlight buses, the Deliver page's Output Track routing, Wave and Linear PCM export, Render One Track Per Channel, and the AAF export preset, is part of the standard toolset that ships free. Nothing about building or exporting stems requires the $295 Studio license.
- What's the standard stem grouping mixers expect, and do I have to use it?
- Dialogue, Music, and Effects, known as D-M-E, is the standard grouping in professional audio post and the safest default if nobody's told you otherwise. You don't have to use exactly three buses. A YouTube creator handing off to a freelance mixer might only need two, voice and music, while a documentary with heavy sound design might split Effects into hard effects and ambience. Ask the mixer what grouping they want before you build your bus structure, since rebuilding it after the fact costs more time than asking up front.
- Why is my stem export missing effects I applied, or including ones I didn't want?
- Check which stage of the signal path the effect sits on. A plugin added directly to a track rides along in every export of that track, bus render or not. A plugin added to a bus only appears in renders that pass through that specific bus, so exporting a Timeline Track directly, bypassing the bus, will sound different from exporting the bus that track feeds into. If a stem sounds unprocessed compared to what you hear on playback, you're very likely exporting the track instead of the bus, or the reverse.
Sources
- DaVinci Resolve Manual - Audio Panel, Deliver Page (Blackmagic Design)
- DaVinci Resolve Manual - Tracks and Busses (Blackmagic Design)
- DaVinci Resolve Manual - FlexBus Routing and Mixing (Blackmagic Design)
- DaVinci Resolve - Fairlight product page (Blackmagic Design)
- DaVinci Resolve Studio product page (Blackmagic Design)
- DaVinci Resolve - What's New (Blackmagic Design)
- Stem (audio) - Wikipedia
- Stem mixing and mastering - Wikipedia
- Re-recording mixer - Wikipedia
- Mixing Light: Unlocking the Secrets of Professional Post-Sound Bus Routing in Fairlight (Sam Lowe)
- Netflix Partner Help Center: Sound Mix Specifications & Best Practices v1.6
- Netflix Partner Help Center: M&E Creation & Delivery Guidelines
- Production Expert: How To Optimise An Audio Mix For Delivery To Netflix
- 344 Audio: How to Deliver Audio & Video Assets to Your Sound Designer Part 2 (DaVinci Resolve)
- Vordio: DaVinci Resolve AAF Export Settings
- BeginnersApproach: DaVinci Resolve Export Single/Multiple Audio Timeline Tracks (Raju)
- DaVinci Resolve, an in-depth comparison between the free and Studio version (CineD)
- Newsshooter: DaVinci Resolve 21.0.3 Update
- JayAreTV: DaVinci Resolve Fairlight Bussing (Justin Robinson)
Keep reading
Guides · Jul 28, 2026 · 26 min
How to Export Audio Only as a WAV File From a DaVinci Resolve Timeline
Export audio only as a WAV file from a DaVinci Resolve timeline: the exact Deliver page settings, format choice, sample rate, bit depth, stems, and mono export.
Guides · Jul 11, 2026 · 31 min
How to Mix Audio in DaVinci Resolve Using Fairlight
Mix audio in DaVinci Resolve's Fairlight page: build a dialogue/music/effects bus structure, gain-stage your clips, EQ and compress dialogue, then duck music under it.
Guides · Jul 8, 2026 · 33 min
DaVinci Resolve Loudness Normalization: The Right LUFS Target
The exact LUFS target for every platform in DaVinci Resolve: -14 for YouTube and Spotify, -16 for podcasts, -23 EBU R128 broadcast. Plus how to set and hit it.