Articles / Fixesupdated for DaVinci Resolve 21.1 documentation, October 2026
DaVinci Resolve Fusion Polygon Mask Not Visible? Fix It
Quick answer
If a DaVinci Resolve Fusion polygon mask is not visible, first select the Polygon node and the image or effect you want to mask, then check the viewer’s Show Controls setting. To make the mask affect an image, connect the Polygon output to the target node’s blue Effect Mask input. A mask outline and a working mask are separate things.
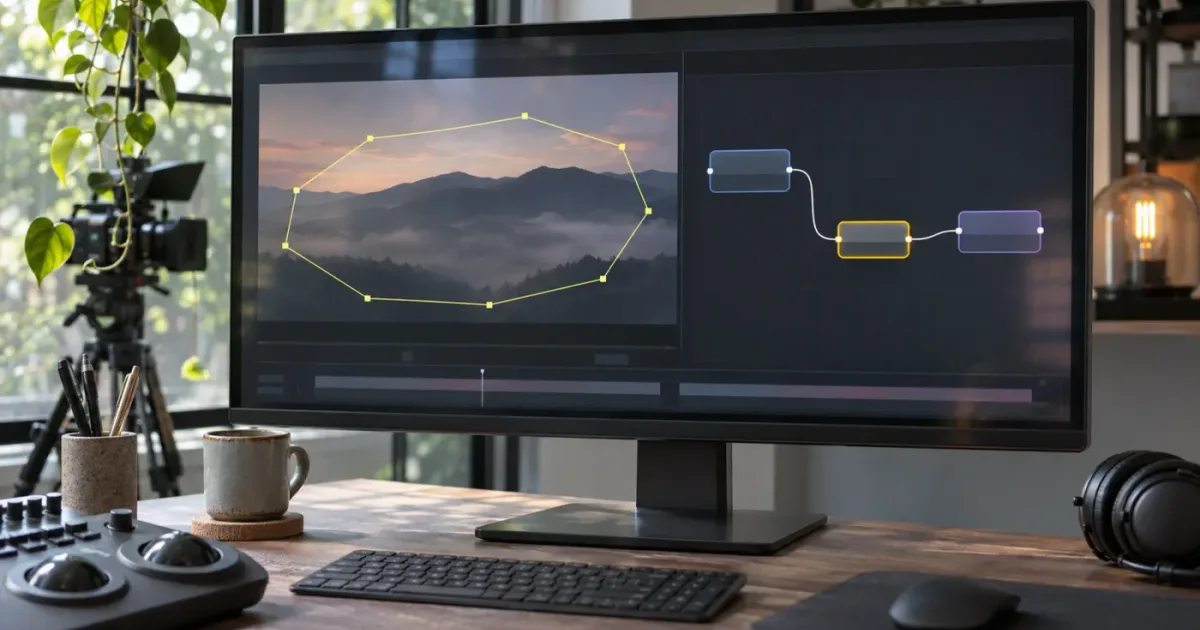
I treat a missing polygon mask as two different problems: the shape may be hidden in the viewer, or the shape may be visible but not affecting the image. Those problems have different fixes. As of October 2026, the Resolve 21.1 documentation describes the same essential checks: select the right node, show viewer controls, and connect the mask to the intended node’s blue Effect Mask input.
What should I check first when my Fusion polygon mask is not visible?
A polygon mask can be invisible because its onscreen controls are hidden, because you are viewing the wrong node, or because it is not connected to the effect you intended to mask. Check those in that order before changing the shape or rebuilding the node graph.
Start with this distinction:
- No outline or handles in the viewer: check the selected node, viewer assignment, and Show Controls setting.
- Outline appears, but the image does not change: check the Polygon output and the target node’s blue Effect Mask input.
- The image changes, but the wrong area is affected: check Invert and the mask’s effect settings.
- The result is black, transparent, or unexpectedly empty: check the target node’s place in the image path and whether the viewer displays the intended output.
A visible polygon outline and an effective mask are two separate results.
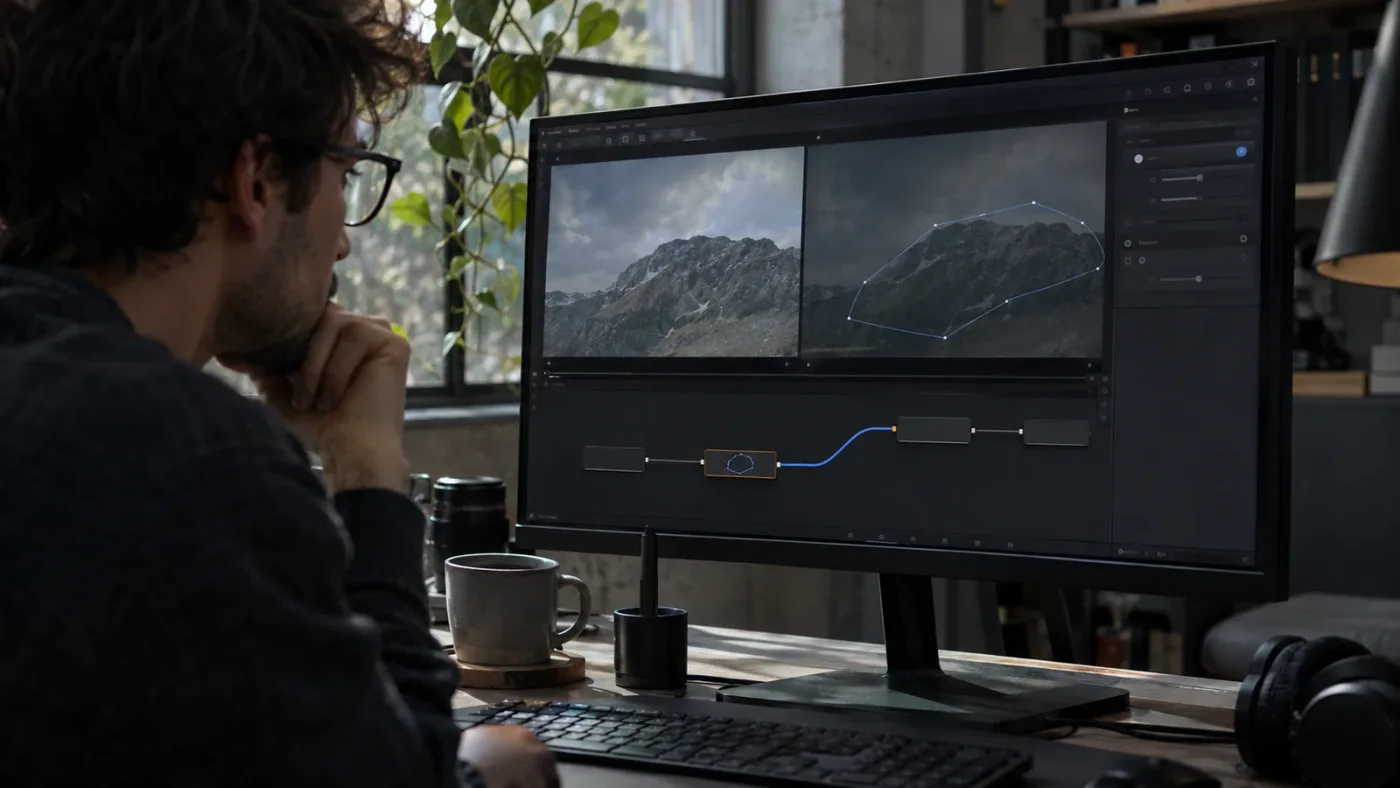
A Polygon node draws and stores a shape. The viewer can display that shape’s onscreen controls, but the controls are not the mask result itself. The mask affects a tool when its output reaches that tool’s mask input. Blackmagic’s Fusion documentation describes viewer controls as belonging to selected nodes, while the image displayed in the viewer can come from a different node. That distinction explains many “I can see the polygon, but nothing happens” reports. (Fusion 18.6 Reference Manual)
Use the table to pick the first test that matches what you see.
| What you see | Most likely area to inspect | First useful check |
|---|---|---|
| No polygon outline, no handles | Viewer controls or selection | Select the Polygon node and enable Show Controls |
| Polygon outline appears, image stays the same | Connection or wrong target | Check for a wire from Polygon output to the target’s blue input |
| Image changes in the opposite area | Mask direction | Check the target node’s Invert setting |
| Viewer shows the mask shape, not the shot | Viewer is showing the Polygon output | Assign the image or effect output to the viewer |
| A blur or correction disappears after connecting the mask | Wrong input or node path | Check that the mask goes to the blue Effect Mask input, not the main image input |
| The mask works on one frame but not another | Animated shape or playhead position | Move the playhead and inspect the Polygon controls at that frame |
| The effect is visible but the outline is not | Display controls only | Enable viewer controls; do not rebuild the effect |
Do not start by deleting the Polygon node. A hidden viewer control does not mean the mask shape has been lost. Likewise, a working viewer outline does not mean the target node receives the mask.
How do I fix a DaVinci Resolve Fusion polygon mask that is not visible?
Use this short sequence to restore the mask display and confirm that the mask affects the intended node. Follow the order: choose the clip, identify the nodes, verify the connection, show the controls, then inspect the result.
- Select the timeline clip or Fusion composition you want to fix. Open its Fusion page. If the wrong clip is active, you can be looking at a perfectly valid node graph for a different shot.
- Find the Polygon node and the intended target node. The target might be a Blur, Color Corrector, Glow, or another tool with an Effect Mask input.
- Connect the Polygon output to the target’s blue Effect Mask input. The blue input is the mask connection. Do not substitute the target’s main image input.
- Select the Polygon node. This makes its onscreen controls available to the viewer, subject to the viewer’s Show Controls setting.
- View the source image or target node you want to draw against. Assign that node to a viewer. If your view shows only the mask or an unrelated node, the outline may be difficult to interpret.
- Open the viewer’s Options menu and enable Show Controls. The Fusion reference manual also documents Command-K as a way to toggle viewer controls. If you are using a different keyboard mapping or the shortcut does nothing, use the menu instead.
- Check the image result at the target node. If the effect is still unchanged, inspect the connection, node path, Invert setting, and mask Level rather than redrawing the shape.
Blackmagic’s Resolve beginner guide describes dragging the Polygon node’s gray output to a tool’s blue mask input, and specifically uses a Blur node as the target in its example. The visual check is simple: the Polygon wire should end at the blue input on the node whose effect you want to constrain. (DaVinci Resolve 18 Beginner’s Guide)
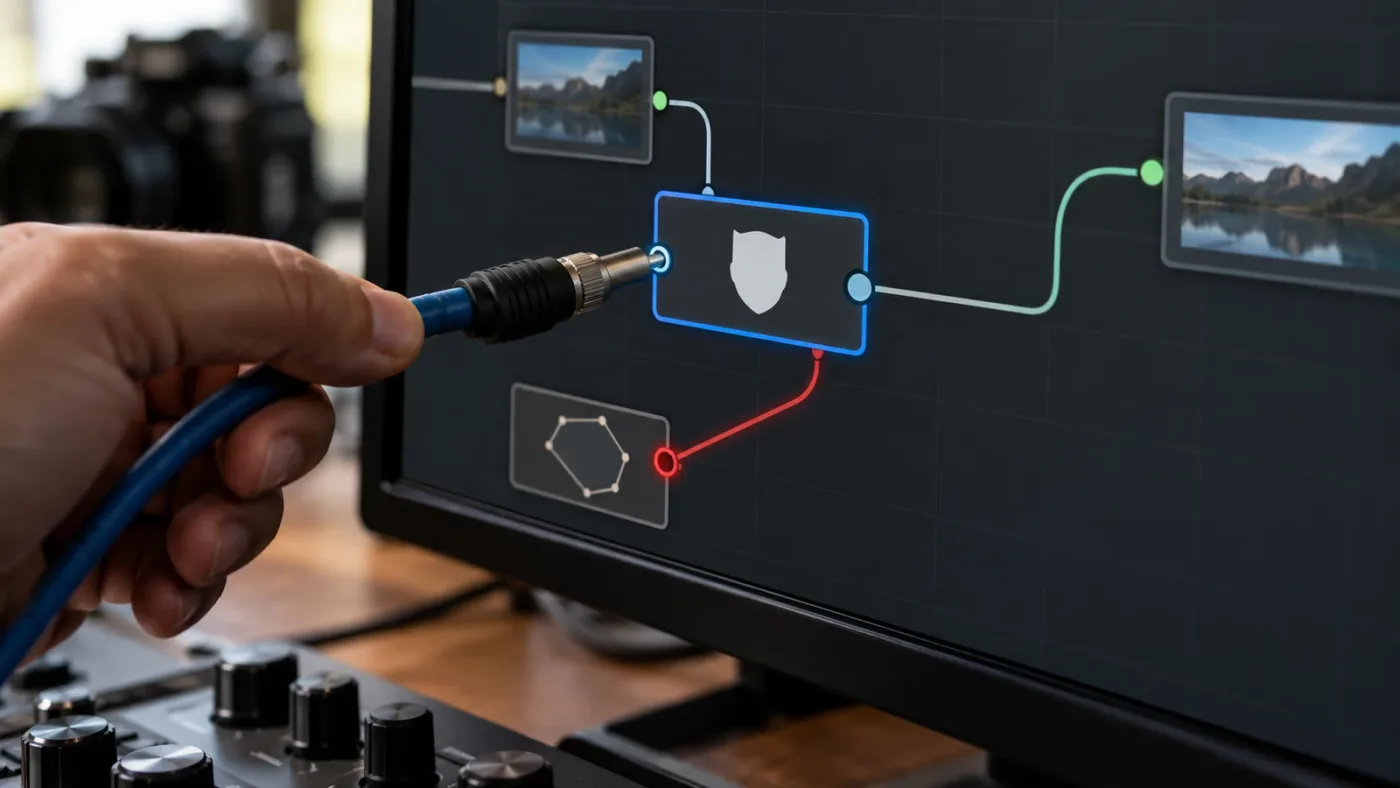
Casey Faris explains the same connection in a Resolve tutorial: “they're designed to be connected to the blue input of any node that you want to limit.” (Casey Faris’s DaVinci Resolve beginner tutorial) The quote describes the practical rule. The node graph tells you whether you followed it.
Why is my polygon mask not showing an outline in the Fusion viewer?
A missing outline usually means the viewer is not displaying onscreen controls for the selected Polygon node. Select the Polygon node, confirm you are looking at the viewer assigned to the relevant image, then turn Show Controls on in that viewer.
Fusion separates which node is displayed from which node’s onscreen controls are displayed. You can view a downstream tool, such as a Blur, while selecting a Polygon node to draw or adjust its outline. Blackmagic’s Fusion manual says the controls shown are determined by selected nodes, not simply by the node displayed in the viewer. It also says the viewer’s Option menu includes Show Controls, and documents Command-K as a toggle. (Fusion 18.6 Reference Manual)
Try these checks without changing your node graph:
- Click the Polygon node in the Flow so it is selected.
- Confirm the active viewer is showing the image or effect you want to use as a drawing reference.
- Open the viewer’s Options menu and check Show Controls.
- If the option is already enabled, toggle it off and back on once.
- If you have two viewers open, test the other viewer’s controls separately.
- If the outline appears only after selecting the Polygon node, the shape existed; the issue was its display, not the mask connection.
The last case matters. It is normal to select a different node to view its output while selecting the Polygon node to work with its controls. It is also possible to select the wrong node and see no mask outline even though the mask itself is connected and working.
If you see handles for a Transform but not the polygon, select the Polygon node directly. If you see no controls for any node, check the viewer-level setting first. Avoid changing a per-node checkbox or toggling several overlays at random: change one control, observe the result, and keep track of which viewer you changed.
How do I connect a polygon mask to the right Fusion node?
Connect the Polygon node’s output to the target effect’s blue Effect Mask input. That connection tells the target node where its effect should apply; the main image input carries the image through the tool.
Fusion’s node graph can look unfamiliar if you expect a layer stack. For this fix, think of it as two paths meeting at a tool:
- The image path carries the footage or generated image through the nodes.
- The mask path carries the Polygon shape to an effect’s blue mask input.
- The output path carries the processed image onward to another node or the final output.
A simple blur example looks like this:
MediaIn1 ───────────────> Blur1 ───────────────> MediaOut1
Polygon1 ──────────────> Blur1 blue mask input
The exact arrangement on screen can differ. The important part is the destination of the Polygon wire. If the wire enters the Blur’s image input rather than its blue mask input, you have not told the Blur to use that shape as its effect mask.
This distinction also changes what you should expect to see. A Polygon connected to a Blur’s mask input limits where the Blur works. It does not necessarily cut a hole in the image or reveal a lower video track. If your goal is to reveal another clip underneath, you may need a Merge and an appropriate foreground alpha setup rather than a simple masked effect. The result you want determines which node should receive the mask.
The blue input limits an effect; it is not a replacement for the image path.
For a local color adjustment, connect Polygon to the Color Corrector’s blue input. The color correction should then be restricted by the mask. For a glow, connect the mask to the Glow node if that is the tool you want to limit. If the mask should constrain several tools, decide whether each tool needs its own connection or whether a shared setup fits your graph. Do not assume that connecting a mask to one node automatically masks every downstream effect.
When in doubt, trace the image path from MediaIn to MediaOut, then inspect the target node separately. A disconnected target or a node that does not feed the visible output can make a correct mask look ineffective.

Why does my Fusion polygon mask appear but have no effect?
If you can see the polygon outline but the image does not change, the viewer controls are working; the problem is more likely the mask connection, target node, image path, or mask settings. Confirm the wire reaches the blue input on the effect you want to limit, then view that effect’s output.
Check each item in order:
- Is the target node the one you mean to affect? A mask connected to one Color Corrector does not constrain a different Blur elsewhere in the graph.
- Does the Polygon wire end at the blue input? The target’s main image input and its Effect Mask input serve different purposes.
- Does the target node feed the visible output? A masked effect can work perfectly on a branch that never reaches the viewer or MediaOut.
- Is the effect itself strong enough to notice? A subtle blur or slight color change may be hard to spot. Temporarily increase the effect enough to see whether the mask confines it, then restore the intended value.
- Is the mask’s Level nonzero? A mask level that contributes no effect can make a connected shape appear inactive. Check the Inspector for the selected Polygon.
- Is Invert enabled? An inverted mask can restrict the effect to the area outside the drawn shape instead of inside it.
Use a deliberate test rather than a vague impression. For example, set a blur noticeably stronger for a moment, connect the Polygon to the Blur’s blue input, and compare the masked region with the surrounding image. This is a worked diagnostic example, not a claim about measured performance or a specific result on every clip. If the blur becomes visible only outside the shape, inspect Invert. If it remains uniform across the image, verify the target connection and node path.
You can also view the Polygon output to check that a shape exists, then return to the effect output to assess the composite. But do not confuse a white or gray mask preview with the final image. A viewer showing the Polygon node may show the mask channel rather than the footage.
Why is my polygon mask visible in one viewer but missing in the other?
Fusion viewers can show different nodes and have their own display controls, so a mask outline can appear in one viewer and not the other. Assign the same relevant image to the viewer you are checking, select the Polygon node, and verify Show Controls in that viewer.
When the two-viewer layout is active, one viewer may show MediaIn while the other shows a processed node. That can be useful: draw against the source in one view and inspect the effect in the other. It can also create a false alarm if you expect the same controls in both.
Try this small comparison:
| Viewer state | What it helps you see | What to check |
|---|---|---|
| Viewer shows MediaIn or the source image | The frame you may want to draw over | Polygon selection and Show Controls |
| Viewer shows the masked effect | Whether the effect is constrained | Target node output and mask connection |
| Viewer shows Polygon output | The mask channel or shape itself | Return to the image output to judge the composite |
| One viewer shows controls, other does not | Different viewer assignments or settings | Check each viewer’s own Options menu |
If the outline appears in one viewer, the shape is not necessarily missing from the other. The other viewer may simply show a different node, may have controls hidden, or may not be the active viewer for the selected node. Keep the viewer’s purpose clear: one can be your drawing reference and the other your result check.
Why does my polygon mask work backward or reveal the wrong area?
If the mask affects the outside of the polygon instead of its interior, check the target node’s Invert control. Inversion changes which side of the drawn shape receives the effect; it does not fix a missing viewer outline or a disconnected mask.
A polygon can be perfectly visible and correctly connected while still producing the opposite selection from what you want. In that case, avoid redrawing the shape. Select the node that receives the mask and check its Invert setting in the Inspector. If the tool exposes an invert control on the mask itself, inspect that too, but change one setting at a time so you can tell which control changed the result.
Use a quick, reversible test:
- If the effect is meant to blur a face inside the shape but the rest of the frame blurs, check Invert.
- If a background remains visible through an area you expected to cut out, confirm you are using the right compositing setup. Inverting an effect mask and creating transparency are not automatically the same operation.
- If the effect disappears almost entirely after inversion, the shape may cover most of the frame or may be positioned differently than you expected.
An effect mask generally answers “where should this tool work?” A transparency or alpha workflow answers “which pixels should be visible in the composite?” Those goals can overlap, but they are not interchangeable. Decide which result you need before changing the node graph.
Why do I see the polygon shape but not the footage?
If the viewer shows a mask-like shape instead of footage, it may be displaying the Polygon node’s output rather than the image or effect output. Assign the image-path node to the viewer, keep the Polygon selected for controls, and see whether the outline overlays the footage.
This is a common source of confusion because the selected node and displayed node are separate choices. The Polygon output is useful for checking that the shape exists. It is not always the best view for drawing accurately against a moving shot. To work over the footage, show the image or target output in the viewer while selecting the Polygon node to expose its controls.
Use the node’s viewer assignment control or the applicable viewer shortcut shown in your interface. If you prefer a menu, use the viewer controls rather than guessing which keyboard key corresponds to a particular viewer. Shortcuts can depend on the active panel and keyboard mapping, so the visible viewer assignment is the more reliable diagnostic.
Once the footage is visible, look for the outline. If the image appears but the outline does not, check Show Controls and node selection. If neither image nor outline appears, verify the clip selection and node output first. Rebuilding the Polygon is not a good first move when the viewer may simply be showing the wrong node.
Why does my polygon mask not affect the whole clip?
A polygon can change over time because its shape may be animated, so inspect the playhead position and the mask at the frame where the effect seems to stop working. A mask that is correct at one frame may have a different shape or animation state elsewhere in the clip.
Fusion’s polygon tools support shape animation. The Fusion reference material documents animation controls for polygon masks, including shape animation in its tool documentation. (Fusion 21.1 User Manual) If the mask appears right at the first frame but wrong later, do not assume the connection has failed. The relevant question is whether the Polygon’s shape and keyframes match the frame under the playhead.
To investigate:
- Move the playhead to a frame where the effect is visibly wrong.
- Select the Polygon node and inspect the outline at that frame.
- Check whether shape animation is enabled and whether a keyframe or shape change exists at that time.
- Compare the same frame in the source viewer and the effect viewer.
- If the mask should remain static, inspect the animation controls rather than adding duplicate masks.
A polygon can also appear to drift when the subject moves but the mask itself is static. That is not a viewer visibility fault. It means the shape needs animation or tracking appropriate to the shot. A static shape can be fine for a fixed camera and stationary object, but it will not automatically follow a moving subject just because the outline is visible.
Do not manually add keyframes until you know whether the mask already has animation. Adding a new shape state can change the animation between frames. First confirm that the playhead is on the frame you intend to edit, then make the smallest adjustment needed.
Why does the mask work on one node but not another?
A Fusion mask is connected to a particular node input, so it affects the node it reaches, not every effect in the composition. If one effect responds and another does not, inspect the second target’s connection and its position in the image path.
For example, a Polygon connected to a Color Corrector can constrain that correction without automatically constraining a later Glow node. If the Glow sits downstream and should also be limited, decide whether it needs its own mask connection or whether the graph should be rearranged so the intended treatment stays together.
Check these differences between the working and nonworking nodes:
- Does each node have a blue Effect Mask input?
- Does the Polygon wire actually reach the target input?
- Is the target node enabled and connected to the output you are viewing?
- Are the two effects set to comparable visible strengths?
- Does one node use an inverted mask or different mask level?
This is also why a single example from a tutorial may not map directly onto your graph. A tutorial might mask a Blur, while your effect is a separate Color Corrector. The shape can be identical, yet the target connection must match your own tool.
If you need a broader introduction to how Fusion’s node graph works, see the DaVinci Resolve Fusion page tutorial for beginners. It covers the wider page and node workflow; this fix focuses on the polygon display and connection.
Why is my mask making the image black or transparent?
A black or transparent result often points to the wrong node path or an effect that is being used as a cutout when you meant to constrain an effect. First identify whether your goal is a localized blur or correction, or whether you want one image to reveal another underneath.
For a localized effect, keep the source image connected through the effect node and connect the Polygon to that node’s blue mask input. The mask should constrain the effect while the image continues along its normal path.
For a cutout or reveal, a simple effect mask may not provide the composite you expect. A Fusion composite generally needs the right foreground and background images, an appropriate Merge node, and the correct alpha behavior. In that workflow, the Polygon may need to contribute to transparency or a matte rather than merely limit a blur.
Use this distinction:
| Intended result | Typical task | First node to inspect |
|---|---|---|
| Limit a blur, glow, or color correction | Apply a tool only inside or outside a shape | The effect node’s blue Effect Mask input |
| Cut a hole in a foreground image | Reveal an image behind it | The foreground alpha and Merge setup |
| Display only the mask | Inspect the shape or matte | The Polygon node output |
| Keep an effect away from an area | Protect a region from processing | The mask connection and Invert setting |
If the image turns black immediately after you connect the mask, undo once and inspect the destination input. A wire to the main image input can change the image path in a way you did not intend. Reconnect it to the blue mask input only after identifying the target.
Why can’t I draw the polygon even after selecting the node?
If selecting the Polygon node does not let you draw, check that the clip and viewer are active, the viewer is showing an image to draw against, and the controls are enabled. The shape tool needs a usable viewer context; selecting a node in the Flow alone may not put the correct image in front of you.
Start with the basics:
- Select the intended clip on the timeline before opening Fusion.
- Confirm the Fusion page displays the clip’s node graph, not an unrelated composition.
- Assign MediaIn or the relevant image output to a viewer.
- Select the Polygon node.
- Enable Show Controls from the viewer Options menu.
- Click in the viewer to place points, and close the shape according to the tool’s on-screen behavior.
If the viewer is zoomed far out or the image is scaled down, the outline may be too small to notice. Adjust the viewer zoom so you can see the image area clearly. Do not confuse viewer zoom with mask scale: changing the viewer magnification changes how large the image looks on screen, not the underlying polygon coordinates.
If you are using a dual-monitor layout or have rearranged panels, check that the viewer you are clicking in is the one assigned to the image. If drawing still fails after checking selection, image assignment, and Show Controls, save the project and reopen it before troubleshooting the whole application. Do not delete preferences or reset the interface as an early step; first rule out the local viewer state.
What does Show Controls change, and what does it not change?
Show Controls toggles onscreen node controls in a viewer; it does not create a polygon, connect a mask, or change which image output reaches the viewer. Use it to restore the outline and handles, not as a fix for an inactive mask.
The distinction is useful because a viewer can show the correct footage while hiding all onscreen controls. In that state, the image looks normal, and the mask’s effect might still be working. Turning Show Controls on makes the outline available for editing; it does not alter the mask’s connection or the target tool’s settings.
The Fusion manual lists several ways to show or hide viewer controls: use the viewer’s Option menu, use the viewer’s contextual menu, or select the viewer and press Command-K. (Fusion 18.6 Reference Manual) If you use a keyboard layout or mapping where that key sequence is inconvenient, the menu gives you a visible alternative.
A useful diagnosis is to toggle the setting once and observe only the controls:
- If the polygon outline appears, the visibility issue is solved.
- If the outline stays hidden but other node controls appear, reselect the Polygon and inspect per-node controls.
- If no controls appear for any selected node, check the viewer-level setting.
- If the outline appears but the image remains unchanged, go back to the node connection.
How should I diagnose a polygon mask without making the node graph worse?
Use one small, reversible test and change one variable at a time. Confirm the clip, viewer, selected node, connection, and mask result in sequence before adding nodes or replacing the shape.
A disciplined check keeps the graph readable:
- Save the project or create a version before making structural changes.
- Identify the exact image or effect node you expect the mask to control.
- Select the Polygon node and look for the outline.
- If it is missing, enable Show Controls in the viewer.
- If the outline is present, trace its output wire to the target’s blue input.
- View the target’s output and temporarily make the effect obvious enough to evaluate.
- Check Invert and mask Level if the area is wrong or the effect is too weak.
- Restore the effect to its intended setting and review the result at the relevant frames.
This process separates interface symptoms from compositing symptoms. It also avoids a common trap: adding a second Polygon to fix what was only a hidden overlay. Two masks can then make the node graph harder to understand, and the original issue remains.
When a tutorial’s controls do not match your screen, the safest move is to identify the node by its function and input, not by its precise location in a video. The Resolve 21 tutorial controls do not match guide may help if the software version or page layout differs. The Resolve 21 viewer overlays guide is relevant when the symptom involves viewer controls more broadly than a Polygon node.
What should I check if the viewer overlay is missing for other tools too?
If Transform handles, tracker controls, and other node overlays are missing along with the polygon outline, treat the issue as a viewer-controls problem rather than a Polygon-specific fault. Check Show Controls in the viewer first, then confirm that the selected nodes expose onscreen controls.
Fusion’s viewer can display controls for different selected nodes. A missing Transform handle and a missing Polygon outline may share the same viewer-level setting, but a node-specific setting can also hide controls for a particular tool. Change the general viewer setting first, then test the Polygon by itself.
The check is straightforward:
- Select a Transform node and see whether its onscreen controls appear.
- Select the Polygon node and compare.
- Toggle Show Controls in the active viewer.
- If controls return for both nodes, the viewer setting was the cause.
- If Transform controls appear but Polygon controls do not, inspect the Polygon’s own control settings and selection.
- If neither appears, verify the selected viewer and node assignment.
For Resolve 21 users, the separate guide to DaVinci Resolve 21 viewer overlays not visible covers the wider class of overlay symptoms. This page stays focused on the polygon mask and its blue-input connection.
Does DaVinci Resolve 21.1 change the polygon mask fix?
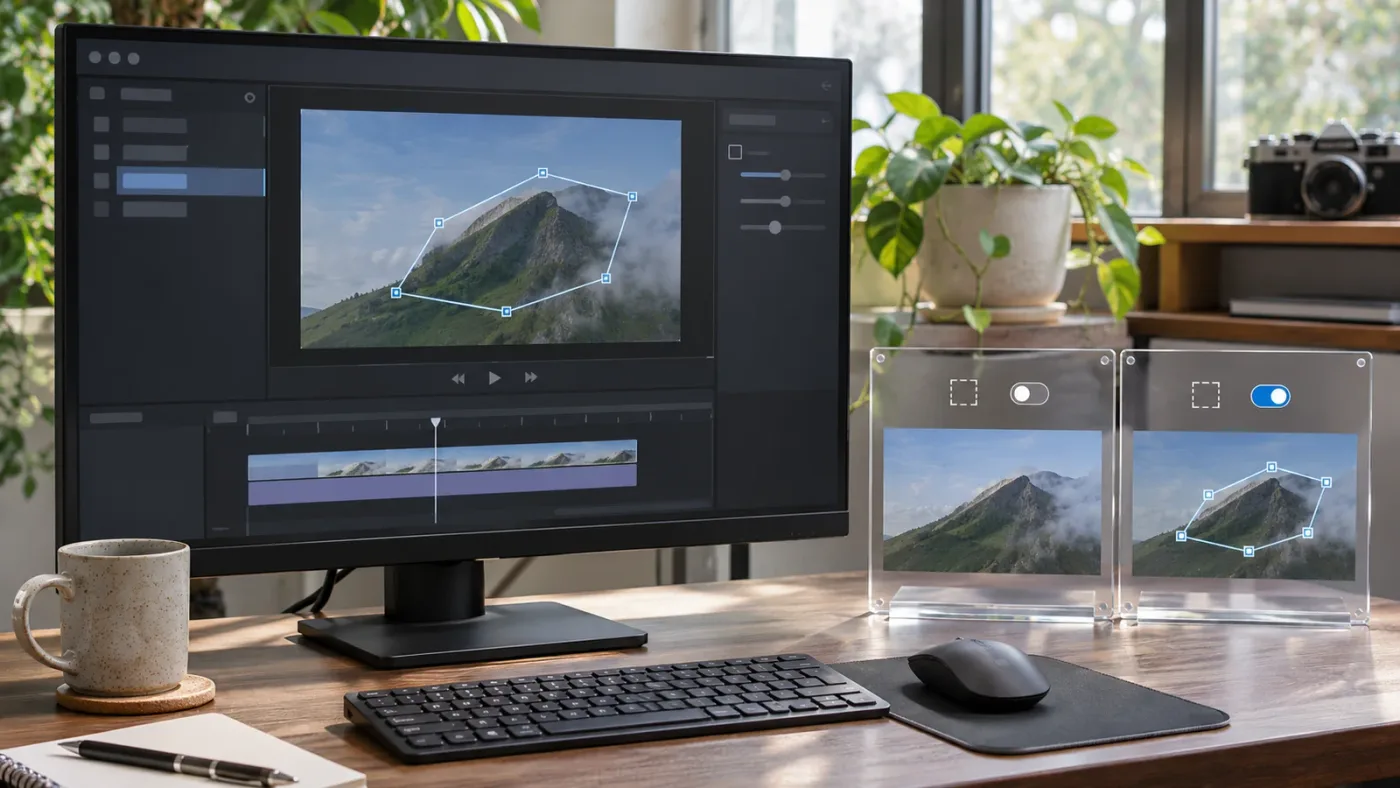
Resolve 21.1 is the documentation baseline for this guide as of October 2026, and the key fix remains the same: show the Polygon node’s controls and connect its output to the intended blue Effect Mask input. Do not assume that a newer point release changes the meaning of those node connections.
Blackmagic’s support center lists the DaVinci Resolve 21.1 reference manual, and its official 21.1 release information highlights updates across Resolve, including Fusion tools. The release notes do not identify a change to the basic polygon-mask connection workflow. (Blackmagic Design Support Center)
If your menus differ from a tutorial, check the installed version in the About dialog and use the manual that matches your release. A tutorial recorded on an earlier Resolve version may show a different layout, but the diagnostic question is still concrete: is the Polygon output connected to the target tool’s Effect Mask input, and are the viewer controls visible?
Do not install a different release solely because the outline is hidden. First try the viewer and node checks in this article. If you suspect a version-specific bug, capture the Resolve version, the selected node, the viewer state, and a small description of the expected versus actual result before asking for support. That information helps distinguish a reproducible software issue from a local graph or display setting.
When should I use an on-screen guide instead of another tutorial?
If the mask issue comes down to a control you cannot locate in your current interface, an on-screen guide can help you map the written steps to the controls visible in your Resolve window. The node connection and viewer checks above remain the same regardless of whether you use a guide.
TryUncle is the on-screen assistant for DaVinci Resolve on Mac and Windows — ask in plain words and Uncle points at the exact control on your screen.
That can be useful when a tutorial’s layout does not match yours or you are unsure which input is the blue Effect Mask input. You still decide which nodes to change and make the edits yourself. Try the manual checklist first if the node graph is already clear; on-screen guidance is an option when locating the relevant control is the part slowing you down.
What is the next check if the polygon mask is still not visible?
If the outline is missing, select the Polygon node and enable Show Controls in the viewer. If the outline is visible but the effect is not, inspect the wire to the target’s blue input and confirm that the target feeds the output you are viewing.
Keep the two diagnoses separate. A hidden outline points to viewer display or selection. A visible outline with no change points to the connection, target node, or mask settings. Check those first, and only redraw the polygon if you have confirmed the shape itself is missing or incorrect.
Frequently asked questions
- Why is my polygon mask not visible in DaVinci Resolve Fusion?
- Select the Polygon node, make sure it is assigned to a viewer, and enable Show Controls in that viewer’s options. The Polygon node’s outline is a viewer control; it is separate from whether the mask is connected to an image or effect.
- Which input does a Fusion polygon mask connect to?
- Connect the Polygon node’s output to the blue Effect Mask input on the node you want to limit. Connecting it to a node’s main image input is not the same as masking that node.
- Why does the polygon mask appear but have no effect?
- Check that the mask is connected to the blue input of the intended effect, that the effect is in the image’s active node path, and that the mask’s Level and Invert settings are appropriate. The viewer outline alone does not prove the effect is being masked.
- How do I show polygon mask controls in Fusion?
- Select the Polygon node, then open the viewer’s Options menu and enable Show Controls. In the Fusion manual, Command-K is also documented as a viewer-control toggle. If controls still do not appear, confirm the node is assigned to the viewer you are looking at.
- Does DaVinci Resolve 21.1 change how polygon masks work?
- The Resolve 21.1 reference manual is the current documentation used here, and the mask workflow remains based on the Polygon node, viewer controls, and the target node’s Effect Mask input. If your interface differs, check the manual for your installed point release.
Sources
Put this guide to work with TryUncle.
Ask about the step you’re on. TryUncle sees your screen and points at the control you need, so you can keep learning in your own project.
Get TryUncle for Mac or WindowsKeep reading
Guides · Jul 10, 2026 · 32 min
DaVinci Resolve Fusion Page Tutorial for Beginners
Learn the DaVinci Resolve Fusion page from zero: nodes, MediaIn/MediaOut, the Merge node, planar tracking, and keying a green screen, step by step.
Fixes · Oct 6, 2026 · 17 min
DaVinci Resolve 21 Viewer Overlays Not Visible? Fix Them
DaVinci Resolve 21 viewer overlays not visible? Restore onscreen controls, marker overlays, Fusion handles, and playback display with this fix.
Fixes · Jul 17, 2026 · 22 min
DaVinci Resolve Fusion Title Templates Not Working: The Fix
DaVinci Resolve Fusion title templates fail for five distinct reasons, from missing files to locked macros to bad fonts. Here's the fix for each one.