Articles / Fixesupdated for DaVinci Resolve 21.1 (September 2026)
DaVinci Resolve Fusion Text Node Won't Connect to Merge? Fix It
Quick answer
Connect the Text+ node’s white output square to the Merge node’s green foreground input. Connect footage or a background image to the yellow background input, not the blue effect-mask input. If your source is Text 3D rather than Text+, render the 3D scene to an image before merging it with footage.
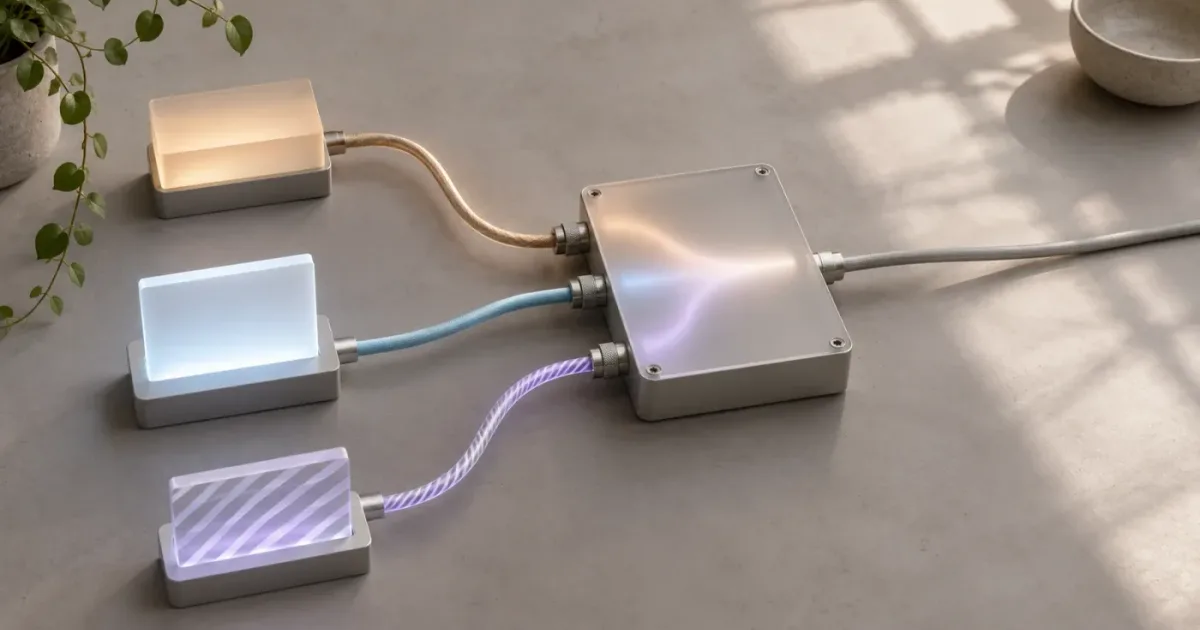
I’d start with the wire, not the text settings. In Fusion, a connection can look close to the right input while landing on the wrong one, and a valid connection can still produce an invisible result. As of October 2026, Blackmagic Design lists DaVinci Resolve 21.1 in its Support Center.
What is the correct way to connect a Fusion Text+ node to Merge?
Connect the Text+ node’s white output square to the Merge node’s green foreground input. Connect the image or footage that should sit behind the text to the yellow background input. Leave the blue input for an effect mask unless you specifically want the text to control the Merge as a matte.
Blackmagic describes Text+ as a tool for creating 2D text and Merge as a tool for compositing images. Its Fusion workflow page labels the Merge background control yellow and the foreground control green, and reserves blue inputs for masks.
The basic graph looks like this:
MediaIn1  ───────► Merge1 background (yellow)
Text1     ───────► Merge1 foreground (green)
Merge1    ───────► MediaOut1
The arrows show the direction of the connections, not the physical placement of the nodes. Fusion processes the links in the node graph. Moving Text+ above or below Merge doesn’t change which image sits in front.
| Merge connection | Common color | What to connect | What it does |
|---|---|---|---|
| Background input | Yellow | Footage, a background image, or the existing composite | Supplies the base image. |
| Foreground input | Green | Text+, a graphic, or another image to place over the background | Supplies the layer composited on top. |
| Effect Mask input | Blue | A mask or matte | Limits where the Merge operation affects the image. It is not the usual input for visible Text+ lettering. |
| Output | White square | The next image-processing node or MediaOut | Sends the Merge result downstream. |
Color labels help, but don’t rely on color alone. Input handles may be hard to distinguish in a crowded graph. Hover over an input and read its tooltip, or zoom in until you can see which triangle the wire reaches. The Fusion Reference Manual describes using tooltips to identify inputs when the target isn’t clear.
A Text+ node normally belongs in Merge’s green foreground input when the goal is readable text over an image.
To make the connection:
- Find the small white square on the right side of the Text+ node. That is its output.
- Find the green triangular input on the Merge node. Hover over it and confirm the tooltip identifies the foreground input.
- Drag from the Text+ output to that green input, then release.
- Connect your background image to Merge’s yellow background input if it isn’t there already.
- Select Merge and load it into a viewer. Check that the text appears over the image.
- If the result should appear on the clip, confirm that Merge’s output continues to the composition’s MediaOut.
A direct wire from Text+ to the viewer is useful for inspecting the text generator, but it isn’t the same as checking the combined composite. Select the Merge node when you want to inspect the result of layering text over footage.
If you’re new to the page, the Fusion page beginner tutorial covers the node editor, viewers, and Inspector alongside the basic connection idea.
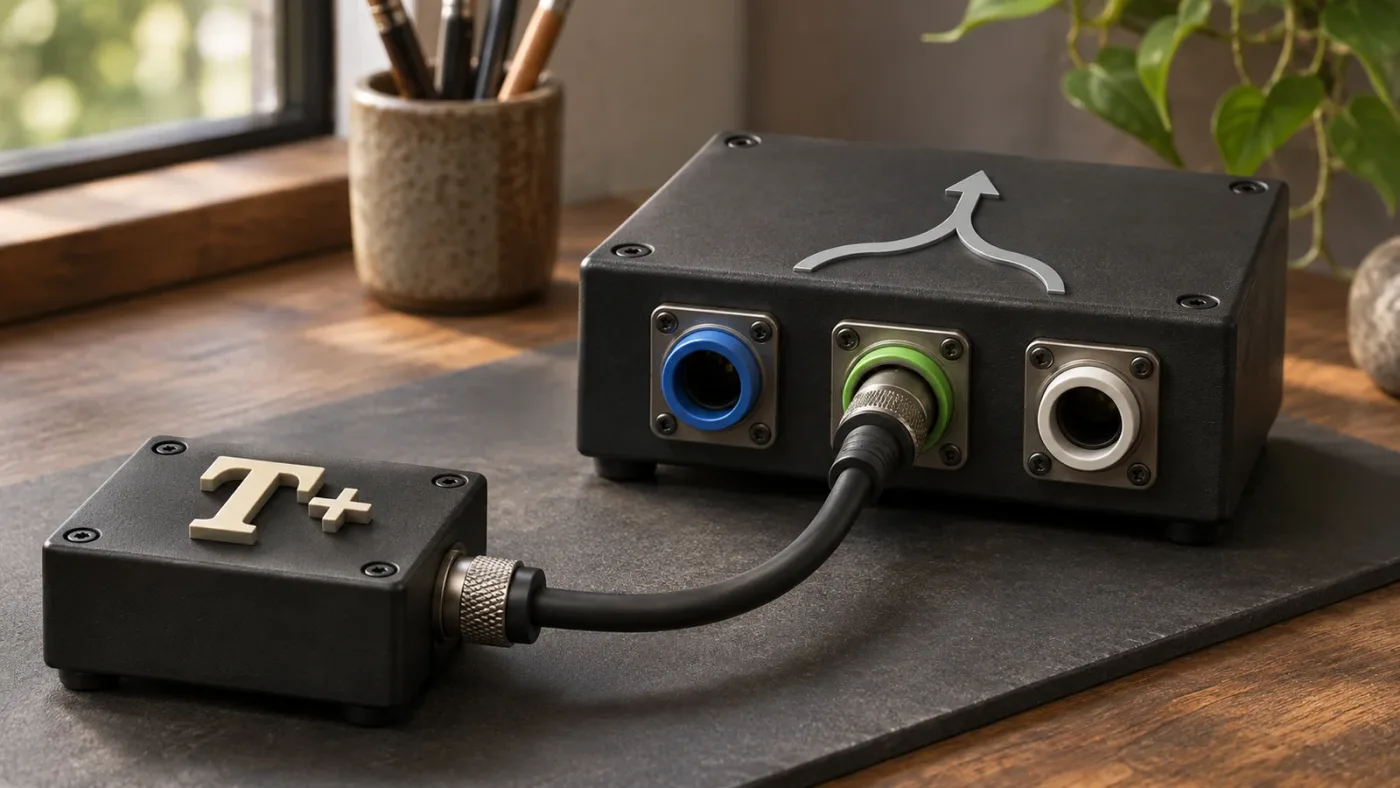
Why won’t my Text+ node connect to a Merge node?
A Text+ node that won’t connect to Merge is often being dragged from the wrong place, dropped onto the node body instead of an input, or connected to an incompatible tool. Start again from the white output square and aim for the named green foreground input.
A node graph is made of connections between node outputs and inputs. The position of a node on screen is only a layout choice. The connection carries the image or other output from one tool to the next. Blackmagic describes Fusion’s node workflow as tools connected to create a node tree, with each node performing an operation in its Fusion overview.
If the wire won’t attach, use this short check:
- Are you starting at the output? Start from the small output handle, not the node label or Inspector.
- Are you targeting an input? Aim for the Merge triangle, not empty canvas or the Merge label.
- Is it the green foreground input? A regular Text+ title over footage usually goes there.
- Is the source actually Text+? Text 3D and other 3D tools don’t produce the same kind of output as a 2D text image.
- Can you see the handles? Zoom into the node graph and move the nodes apart before drawing the wire.
- Did the connection land? Look for the line to terminate at the input. A line that crosses the node body isn’t necessarily connected.
- Is the composition in a usable state? If a node or connection is disabled, missing, or part of an incomplete 3D branch, the graph may not behave like the standard 2D example.
If there’s no visible handle because the graph is crowded, move Text+ and Merge apart first. Rearranging nodes doesn’t change the graph’s operations. Then drag from the output square to the intended input rather than pulling from the middle of a line.
A useful test is to connect a new Text+ node to a new Merge node in an otherwise simple graph. If that works, the original issue is likely the target input, the source tool, or the complexity of the existing graph. If it doesn’t, check that you’re on the Fusion page and that you’ve added the standard 2D Merge tool, not a similarly named tool for another kind of data.
The manual also documents a shortcut for creating composites: drag a foreground node’s output onto the background node’s output to create a Merge between them. That can help when you have two compatible image outputs and don’t want to place and wire a Merge manually. It doesn’t make incompatible node types compatible, though. The DaVinci Resolve Advanced Editing guide also demonstrates connecting a text output to a Merge node and describes the background and foreground roles.
Before using a shortcut to build a node, check what you’re dragging and where you’re dropping it. A gesture that creates a Merge from two image outputs may not have the same result when one output is a mask or 3D scene. For a basic title, the explicit three-node graph is easier to read and troubleshoot.
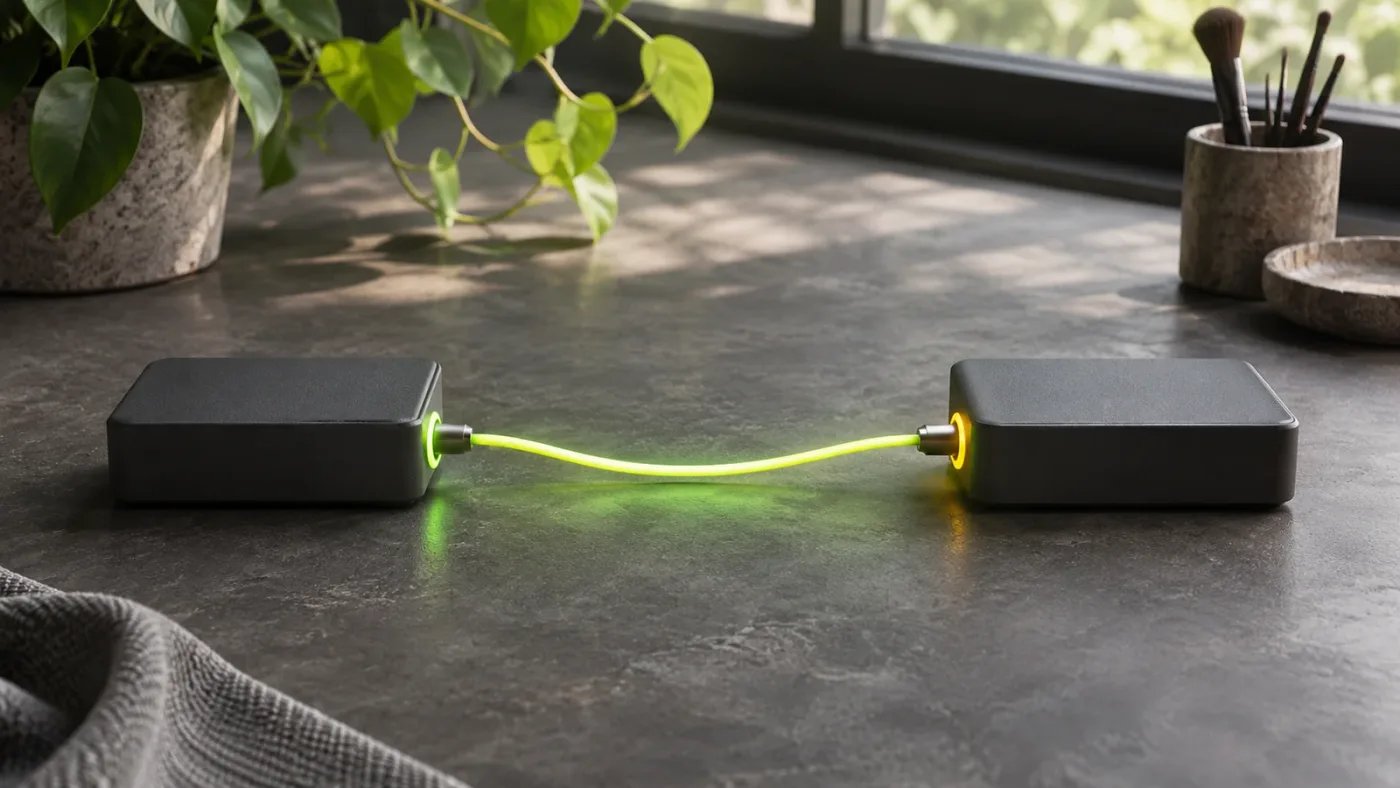
Is my Text+ wire connected to the wrong Merge input?
If the Text+ wire reaches Merge’s blue input, it’s connected to the effect-mask input, not the usual foreground image input. If it reaches the yellow input, the text is being treated as the background layer, which reverses the normal title-over-footage arrangement.
The three Merge inputs do different jobs. A mistaken connection may still produce a line and change the viewer, so “the wire attached” doesn’t prove that it attached to the right socket. Blackmagic’s documentation identifies the Merge background, foreground, and effect-mask inputs as separate connections.
Use the symptom to identify the likely input:
| What you see | Likely connection | What to do |
|---|---|---|
| The text appears to act like a mask or changes where the effect is applied | Text+ is on the blue effect-mask input | Move Text+ to the green foreground input for a normal title. |
| The text isn’t layered over the footage as expected | Text+ may be on the yellow background input | Put the footage on yellow and Text+ on green. |
| The viewer shows only the text or only the footage | You may be viewing an individual source, or one Merge input may be empty | Select and view Merge; confirm both inputs. |
| The image fills the frame and the text seems to disappear | A full-frame foreground may cover the text, or the source order may be reversed | Make the footage the background and the text the foreground. |
| Nothing changes after connecting the wire | The wrong output or input may be involved, or you may be viewing a different node | Verify both endpoints, then load the Merge output into the viewer. |
The blue input isn’t wrong for every text-related job. Text can provide a matte when you want to use its shape to limit a composite or create a text-shaped cutout. That’s a different job from displaying ordinary lettering on top of a clip. If you only want a title, start with green.
Likewise, putting text on yellow isn’t impossible. It just means the text is the Merge’s background, so the foreground image may cover it. You might deliberately build a composite that way for a special effect, but it’s a confusing starting point for a standard title.
The blue Merge input uses a matte; the green input layers visible text over the background.
When you’re not certain which socket you used, disconnect only the Text+ wire and reconnect it deliberately. Hover over the input before releasing the mouse button. The tooltip is more reliable than guessing from where the triangle appears on screen.
If the Merge already has a wire entering the green input, don’t remove it until you know what it carries. It may be a graphic or an earlier composite that belongs in the title design. You can preserve that branch and add a second Merge downstream. That way, you test a new layer without silently replacing an existing one.
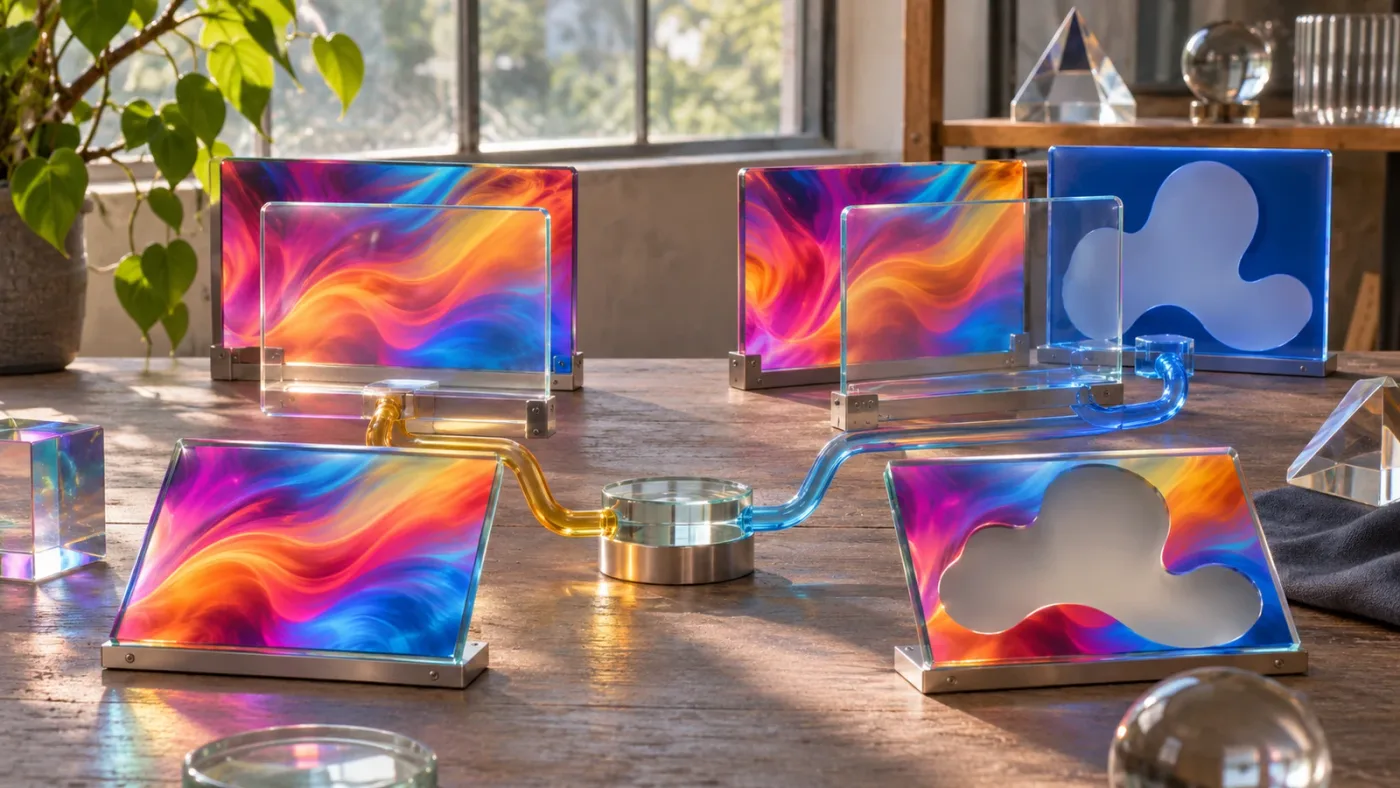
How do I connect Text+ when I already have a Merge node?
Connect the background image to the yellow input, connect Text+ to the green input, and send the Merge output onward to MediaOut. If the Merge is already in a larger node tree, preserve its existing background branch and add Text+ as the foreground.
A common working graph for a title over a clip has three visible relationships:
MediaIn1  ───────► Merge1 (background)
Text1     ───────► Merge1 (foreground)
Merge1    ───────► MediaOut1
The nodes don’t have to sit in a straight line. You can place Text+ above Merge and MediaIn below it, or arrange them horizontally. What matters is that the wires connect to the intended inputs and the Merge output reaches the rest of the flow.
Here’s a safe sequence for an existing graph:
- Identify the current background. Follow the wire entering the Merge’s yellow input. If it comes from a previous Merge, that earlier composite may be the background you want to keep.
- Find the open foreground socket. If the green input is empty, connect Text+ there.
- Keep the output chain intact. Follow the Merge’s white output square to the next node. If it currently reaches MediaOut, don’t replace that path with the Text+ output.
- Check the Merge result. Select Merge and view it. You should see the background with the title on top.
- Check the final output. Select or view MediaOut to confirm the result that leaves the Fusion composition.
When a Merge already has a foreground connection, don’t drag Text+ onto the Merge body and hope Resolve guesses which input you mean. Target the specific green input. If the existing foreground is a graphic or another composite that must remain, add another Merge in sequence: the earlier composite becomes the background of the new Merge, and Text+ becomes its foreground. The new Merge’s output then continues downstream.
That sequence is useful for a lower third with more than one element. For example, the base footage can feed a first Merge with a graphic bar, then the result can feed a second Merge with the title text. This is a worked example of the graph structure, not a special requirement. Each Merge combines its intended background and foreground, and the final composite continues along the output path.
If the graphic and the title need different timing or separate animation, keeping them as separate foreground layers can make later changes easier. One Merge can composite the bar over the footage, and a second can composite the text over that result. If both elements are part of a single graphic that you never need to adjust independently, a more compact branch may be enough. Pick the graph that makes the job easy to inspect, not the one with the fewest visible nodes.
If your graph already contains several Merge nodes, trace the flow from left to right or upstream to downstream rather than trusting node placement. Upstream and downstream describe how nodes are connected, not where they happen to sit in the Node Editor.
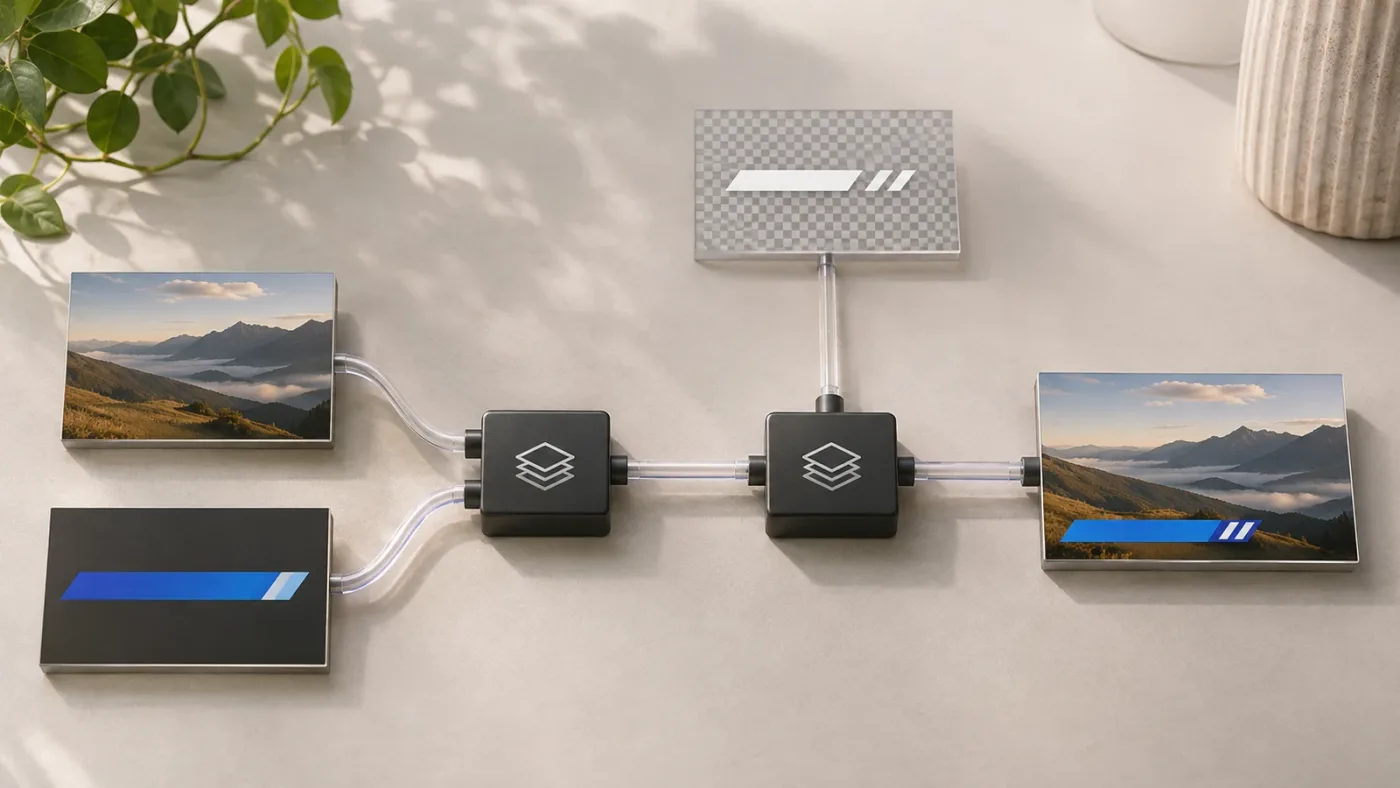
Why is my Fusion text connected to Merge but not visible?
When Text+ is connected but invisible, first confirm that you’re viewing the Merge output and that Text+ reaches the green foreground input. Then check whether the text itself has content, whether the Merge’s Blend setting is reducing the foreground, and whether the Merge output reaches MediaOut.
A connection problem and a visibility problem can look similar. Use this order so you don’t change several settings at once:
- View Text+ by itself. Select the Text+ node and load it into a viewer. If you see no text, check the Styled Text field and the text styling controls in the Inspector.
- View Merge. Select Merge and load it into a viewer. If Text+ is visible alone but absent in Merge, inspect the Merge inputs and its settings.
- Check foreground placement. Confirm Text+ is connected to green, not blue or yellow.
- Check the Merge Blend control. The Merge node has a Blend slider for fading the foreground against the background. If that setting reduces the foreground completely, increase it to restore the text. The Fusion Reference Manual documents the Merge controls.
- Check the background. A background image can cover the title if you’ve put the image on the foreground input and Text+ on the background input.
- Check the downstream path. If Merge looks correct but the clip doesn’t, follow its output to MediaOut and make sure the intended composite feeds that output.
- Check timing. If the title is animated, inspect the frame where you expect it to appear. A valid node connection doesn’t guarantee the title is visible on every frame.
A good diagnostic habit is to inspect one node at a time. Text+ shows what the text generator creates. Merge shows the composite. MediaOut shows what leaves the Fusion composition. Comparing those three points helps isolate the stage where the title disappears.
If Text+ looks correct alone and Merge looks correct in the viewer, but the timeline still doesn’t show the title, don’t rebuild the text node first. Check whether the Fusion output you’re viewing is the same composition attached to the clip and whether the final output is connected as expected. A correct branch that doesn’t reach the final output won’t affect the clip.
Also distinguish “not visible” from “not connected.” A wire is visible between the source and target, but the viewer may still show another node. Select the node you intend to inspect before loading it into a viewer. A viewer displaying Text+ alone won’t show the background composite, and a viewer displaying the background alone won’t show a separate foreground title.
If you can see the Merge result but not the title, check the content before changing the node graph. A blank Styled Text field creates no letters to composite. If the text is present but blends into the background, the problem may be visual contrast rather than the connection. Try a clearly different text color or move the playhead to a frame where the title should be fully visible. Those checks separate a routing fault from a design choice.
There’s another useful distinction: a Merge output can exist even when one input contributes nothing visible. If the foreground is fully transparent or its Blend is reduced, the composite may look like the background alone. Conversely, a foreground image that covers the whole frame can hide the background and make it appear the Merge is ignoring one input. Inspect Text+ and the background separately, then compare them at Merge.
A correct Text+ wire doesn’t guarantee visible text; inspect Text+, Merge, and MediaOut in that order.

Can Text 3D connect directly to a regular Merge node?
Text 3D and Text+ are different tools: Text+ creates 2D text, while Text 3D creates text in Fusion’s 3D workspace. A regular 2D Merge composites images, so a 3D scene may need a renderer to turn it into an image before it can be merged with footage.
Blackmagic lists Text+ for 2D text and Text 3D for 3D text with extrusion and beveled edges. Its Fusion workflow separately describes Merge as a way to composite images. That distinction explains why a 3D node may not connect like Text+.
If you’re following a tutorial and its graph starts with a node labeled Text3D, don’t substitute the Text+ connection instructions without checking the surrounding branch. A 3D title belongs in a 3D scene flow, then needs to be rendered to a 2D image for the usual footage composite. The exact renderer and intervening nodes depend on the scene you’re building.
Use this decision:
| What the source node says | Type of output | Typical next step |
|---|---|---|
| Text+ | 2D text image | Connect to Merge’s green foreground input. |
| Text 3D | 3D text or scene element | Add it to the appropriate 3D flow, render the scene, then composite the rendered image. |
| A mask or shape tool | Mask data, not necessarily a finished image | Connect it to a mask input or a tool designed to use a mask. |
| A regular image or MediaIn | 2D image | Connect it to a compatible image input, commonly Merge background or foreground. |
If you’re unsure, check the node’s name and the type of tool you added. A tool with “3D” in its name isn’t automatically interchangeable with a 2D image generator just because both can create text. The wire format matters, not just the visual content.
The error is especially easy to make when a tutorial compresses the node graph or moves quickly between 2D and 3D. Pause at the source node, confirm whether it is Text+ or Text 3D, and follow the branch to its rendered output before trying to connect it to a regular Merge.
Don’t try to solve this by repeatedly dragging the same 3D output to different 2D inputs. A rejected connection is useful information: the receiving tool expects a different kind of output. Build the correct 3D branch first, then connect the image that comes out of that branch to the 2D composite. If the tutorial’s node labels are hard to read, zoom in or compare its source node with the tools listed in your own Fusion interface.

What if I want the text to act as a mask instead of a title?
Use Text+ as a mask only when you want its lettering to shape or limit another image effect. For a normal title, connect Text+ to Merge’s green foreground input. For a matte operation, connect the appropriate text output to the mask input of the tool that should use it.
A mask answers “where should this operation happen?” A foreground image answers “what image should appear on top?” The same text shape can contribute to either task, but the graph and result differ. Blackmagic’s Fusion documentation describes masks as a way to define the visible area of an effect and identifies the Merge’s blue input as a mask input.
For example, if you want the letters to reveal an image, the text may be part of a matte workflow rather than a visible title layer. That can involve a Matte Control node or another compositing setup, depending on the exact effect. Don’t route text to the blue Merge input just because the letters should “cut” something out. First decide which node needs the matte and which image needs to be affected.
A practical decision test:
- Want visible letters over footage? Text+ to Merge foreground.
- Want a Merge operation limited to a shape? Connect a suitable mask to Merge’s effect-mask input.
- Want an image visible only inside text? Build a matte workflow that uses the text alpha to shape the image.
- Want extruded 3D lettering? Build and render the 3D scene before adding its image to a regular 2D composite.
If you connect Text+ to the mask input and the viewer changes in a way you don’t expect, that doesn’t mean the text node is broken. It means the node is serving a different role. Disconnect it, identify the desired job, and reconnect it to the matching input.
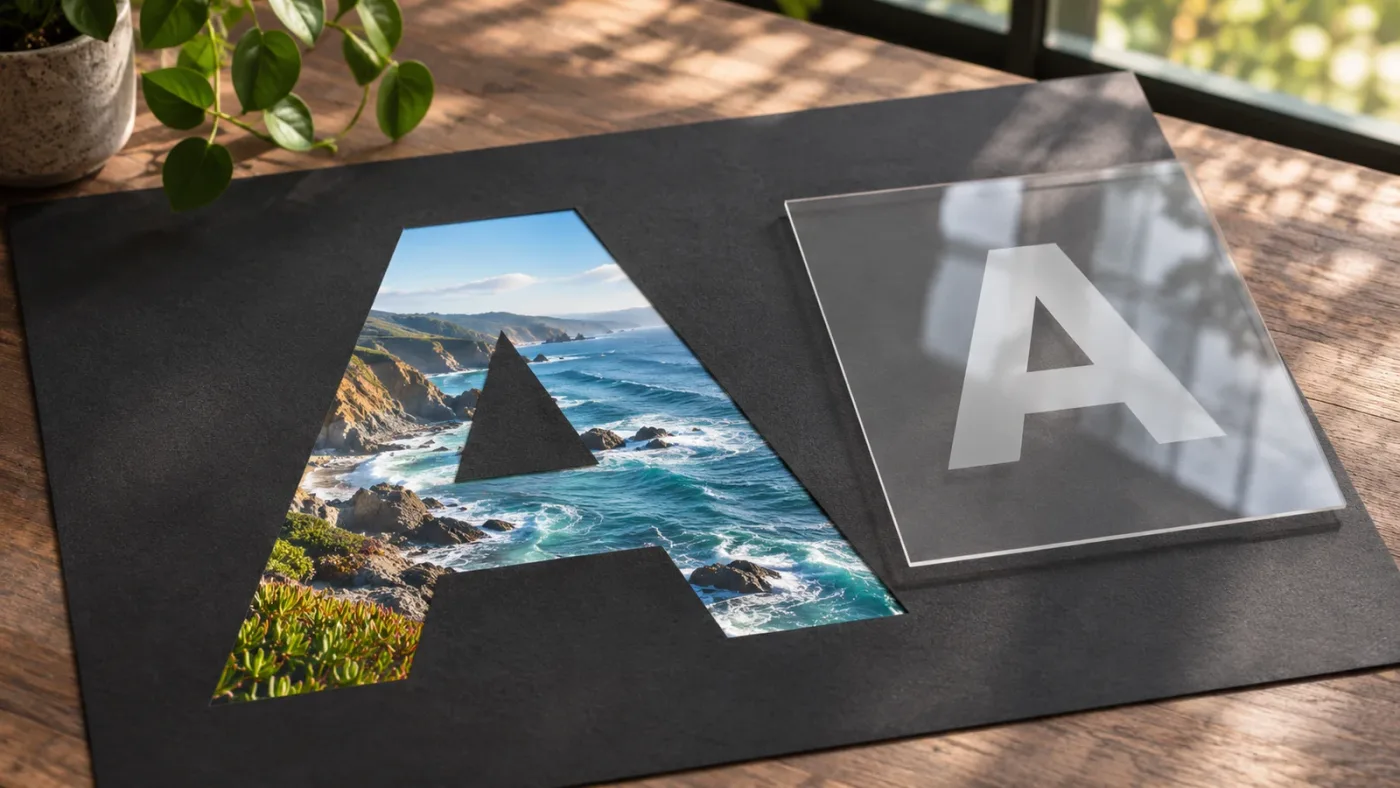
A useful way to decide is to describe the desired picture in one sentence. “Show white letters over the shot” describes a foreground. “Show the shot only inside the letters” describes a matte or alpha-based composite. They use similar source material, but not the same connection. Keep the goal visible while you build the graph, and the input choice becomes less mysterious.
A title is a foreground image; a text-shaped matte is a control signal for another operation.
How do I rebuild a clean Text+ and Merge test?
Create the simplest possible graph: a background image into Merge’s yellow input, Text+ into its green input, and Merge into the final output. A small test graph can tell you whether the trouble is the basic connection or a more complicated branch.
Use this as a controlled troubleshooting check:
- Open the Fusion composition you’re working on and identify its current MediaIn and MediaOut nodes.
- Add a Text+ node and enter a short, visible word in its Styled Text field.
- Add a regular Merge node.
- Connect MediaIn to the yellow background input.
- Connect Text+ to the green foreground input.
- Connect the Merge output to the existing downstream flow, preserving the route to MediaOut.
- Select and view Merge. Confirm that the word appears over the image.
- Select and view MediaOut. Confirm the final output contains the same composite.
If the test works, compare the small graph with the original. Look for an incorrect socket, an unconnected Merge output, a foreground image covering the text, or a 3D source that needs a different path. Reconnect one piece at a time so you know which change fixes the result.
If it fails, check that you added the intended nodes: Text+ rather than Text 3D, and a regular 2D Merge rather than a tool intended for a different workflow. Then inspect the wire endpoints and tooltips again. The Fusion page uses nodes for different operations and data, so two tools that appear related may not accept the same connections.
Avoid deleting the original graph just to make the test. Add a separate branch or save a copy of the project first if you need to experiment. The goal is to answer one question: can a simple 2D Text+ output feed a standard Merge foreground input in this composition? Once that works, you can reintroduce the rest of the graph.
If the clean test works but your title still fails in the original graph, the problem is likely specific to that graph’s structure or to which node you’re viewing. Compare the destination input and output path node by node. The visual layout may be untidy, but only the actual connections determine the composite.
There are two useful outcomes from this test. If the simple graph succeeds, the source and destination can work together, so focus on the original graph’s wiring and output path. If the simple graph fails, confirm the source type and Merge type before inspecting more complicated settings. Either result narrows the search.
Keep the test small enough to read. One background, one Text+, one Merge, and one output path are sufficient. Adding masks, transforms, effects, and extra composites before the basic connection works makes it harder to spot the original mistake. Add complexity back only after you’ve confirmed the simple version.
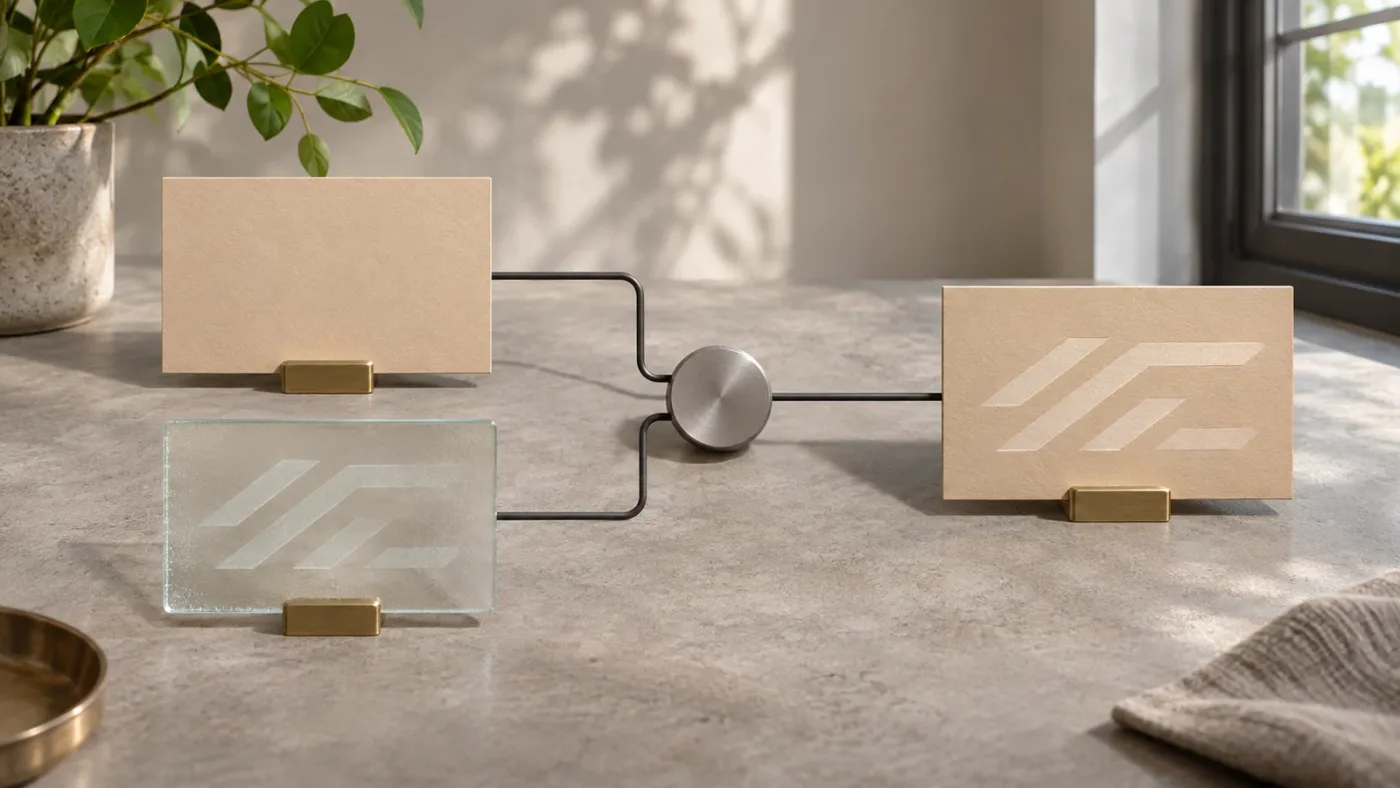
Does DaVinci Resolve 21.1 change the Text+ to Merge connection?
The basic 2D connection remains Text+ output to Merge foreground, with the image behind it connected to the background. Blackmagic’s Support Center lists DaVinci Resolve 21.1 and its current documentation. Check that documentation if a later point release changes a tool or interface label.
The core diagnosis here is about the kinds of inputs in a composite, not a new Resolve 21 feature. Still, version differences can matter when a tutorial shows different icons, labels, or panel layouts. Before assuming a tutorial’s node graph is wrong, check the Resolve version it uses and whether it shows Text+ or Text 3D.
Resolve 21 adds text-related improvements, including spell checking and font features, but those don’t change the basic distinction between a text image and a Merge input. The Resolve 21 New Features Guide describes Text+ and MultiText updates. If you’re trying to fix a connection, don’t confuse a new text control with a new way of wiring the graph.
A short interview with Simon Hall of Blackmagic Design provides a useful distinction between a real feature and an idea for one. Talking about a possible future improvement, Hall said he’d like Fusion to “automatically drop in the missing node” when a connection between two tools doesn’t work. That was a feature request in the interview, not a claim that Fusion currently inserts every required node automatically.
So don’t wait for Resolve to infer that a 3D output needs a renderer or that you meant the foreground socket. Make the intended path explicit. Use the named input, check the source node type, and confirm the result at the Merge output.
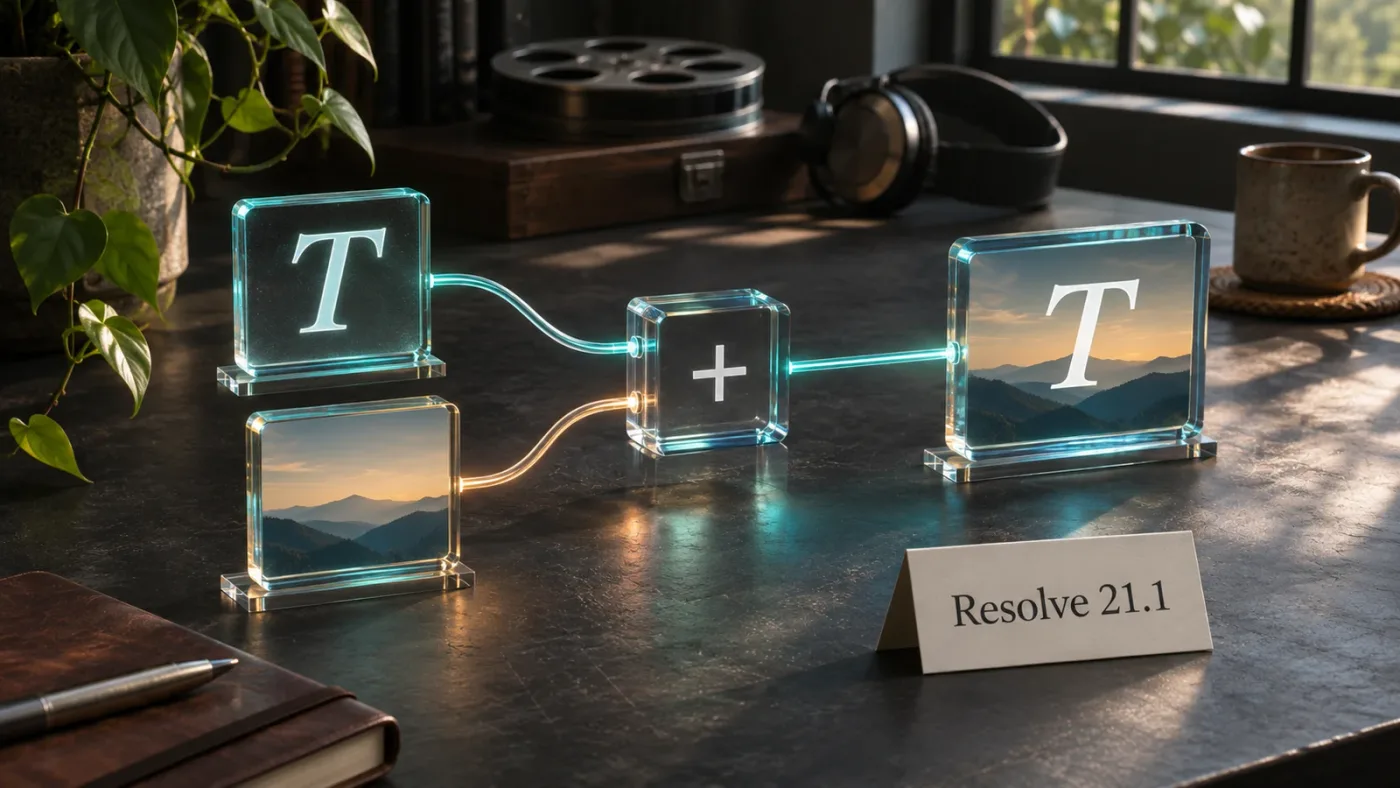
How can I avoid this connection problem next time?
Name the intended job before drawing the wire: visible text, a text-shaped mask, or 3D text. Then connect the node type to the matching input and verify the composite at Merge.
A few habits prevent most repeat mistakes:
- Read the input tooltip before releasing. This helps when the colored triangle is hard to see or inputs have shifted around the node.
- Keep a simple layer order in mind. Background on yellow, foreground on green, optional effect mask on blue.
- Inspect the source node name. Text+ and Text 3D don’t make the same kind of output.
- View the result node, not only the source. Text+ alone confirms the generator; Merge confirms the composite.
- Trace the final output. The correct Merge must still feed the downstream path to MediaOut.
- Add one connection at a time. When a graph behaves unexpectedly, change one wire, then inspect the viewer.
If a tutorial’s node graph and your Resolve screen don’t match, compare the task rather than copying the layout blindly. Is the source node 2D or 3D? Does the receiving node expect an image, a mask, or scene data? Is the output you’re looking at the final composite or an intermediate node? Answer those questions first, and you can often adapt the example without duplicating every node exactly.
For a separate walkthrough of selecting and combining Fusion tools, see how to combine selected Fusion tools in Resolve 21. If your issue is that a title template itself is missing or failing, rather than a basic node connection, the Fusion title templates troubleshooting guide covers that different problem.
If you’re stuck because the tutorial’s node graph and your Resolve screen don’t match, TryUncle is an on-screen assistant for Mac and Windows. You can ask a question about the control you’re looking for, and Uncle uses your current screen to guide you while you make the changes. You stay in control of the actions. For this specific fix, though, start with the white Text+ output and green Merge foreground input.
In Fusion, the right connection depends on what the node outputs and what the receiving input expects.
If the wire is attached but the title is missing, inspect Text+, Merge, and MediaOut in that order. If the wire won’t attach, confirm you’re using Text+ and a regular 2D Merge. Then reconnect deliberately, one endpoint at a time.
Frequently asked questions
- Why won't my Text+ node connect to a Merge node in DaVinci Resolve Fusion?
- Drag from the Text+ node's white output square to the Merge node's green foreground input. If the node is Text 3D, it produces a 3D scene rather than the 2D image a regular Merge expects, so render the scene to an image first.
- Should Fusion Text+ connect to the blue input on Merge?
- Usually not. The blue input is the Merge effect-mask input. Connect Text+ to the green foreground input when you want visible text layered over a background; use the blue input only when you intend the text's matte to limit the merge.
- Why is my Fusion text connected to Merge but not visible?
- Select and view the Merge output, confirm the text is connected to its green foreground input, and check the Merge Blend setting. Also confirm the Merge output continues to MediaOut if you expect the result on the timeline.
Sources
Put this guide to work with TryUncle.
Ask about the step you’re on. TryUncle sees your screen and points at the control you need, so you can keep learning in your own project.
Get TryUncle for Mac or WindowsKeep reading
Guides · Jul 10, 2026 · 32 min
DaVinci Resolve Fusion Page Tutorial for Beginners
Learn the DaVinci Resolve Fusion page from zero: nodes, MediaIn/MediaOut, the Merge node, planar tracking, and keying a green screen, step by step.
Fixes · Jul 17, 2026 · 22 min
DaVinci Resolve Fusion Title Templates Not Working: The Fix
DaVinci Resolve Fusion title templates fail for five distinct reasons, from missing files to locked macros to bad fonts. Here's the fix for each one.
Guides · Oct 9, 2026 · 34 min
DaVinci Resolve 21: Combine Selected Fusion Tools
Use DaVinci Resolve 21's Combine Selected Tools control to adjust shared Fusion node settings, handle mismatched values, and know when to use a macro instead.