Articles / Fixesupdated for DaVinci Resolve 21.1.1 (October 2026)
DaVinci Resolve In and Out Points Disappear? Fix Them
Quick answer
If DaVinci Resolve In and Out points seem to disappear, first check whether you marked the Source Viewer or the timeline; those are separate contexts with separate rulers. To clear a timeline range, activate the timeline and choose Mark > Clear In and Out, or use Option-X on macOS or Alt-X on Windows. If an export is partial, also check Deliver’s render-range setting.
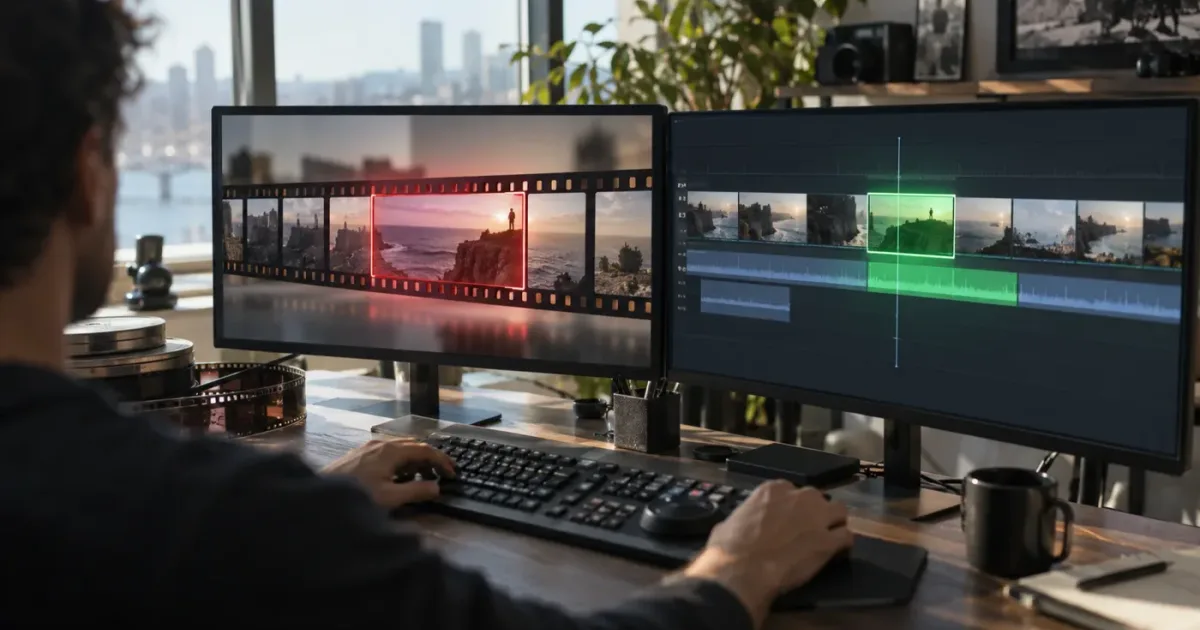
If the In and Out marks seem to vanish, Resolve may be showing you a different editing context. Before setting them again, I’d check which viewer or timeline you marked. The Mark menu is the quickest way to clear a range once you know where it belongs.
Why do DaVinci Resolve In and Out points disappear?
DaVinci Resolve In and Out points belong to an editing context. A mark you set in the Source Viewer is not the same range as a mark set on the timeline. First identify the context you marked, then inspect its ruler before setting the points again.
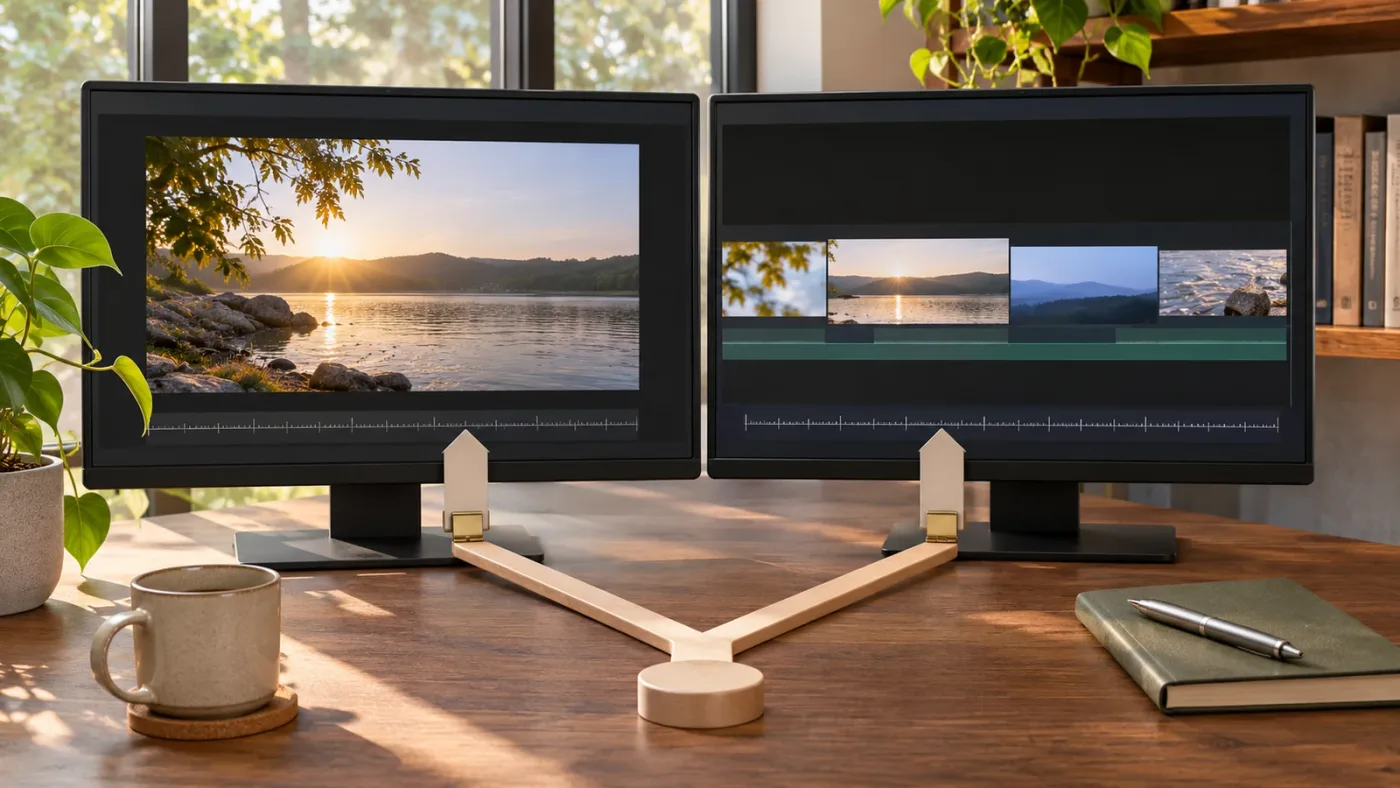
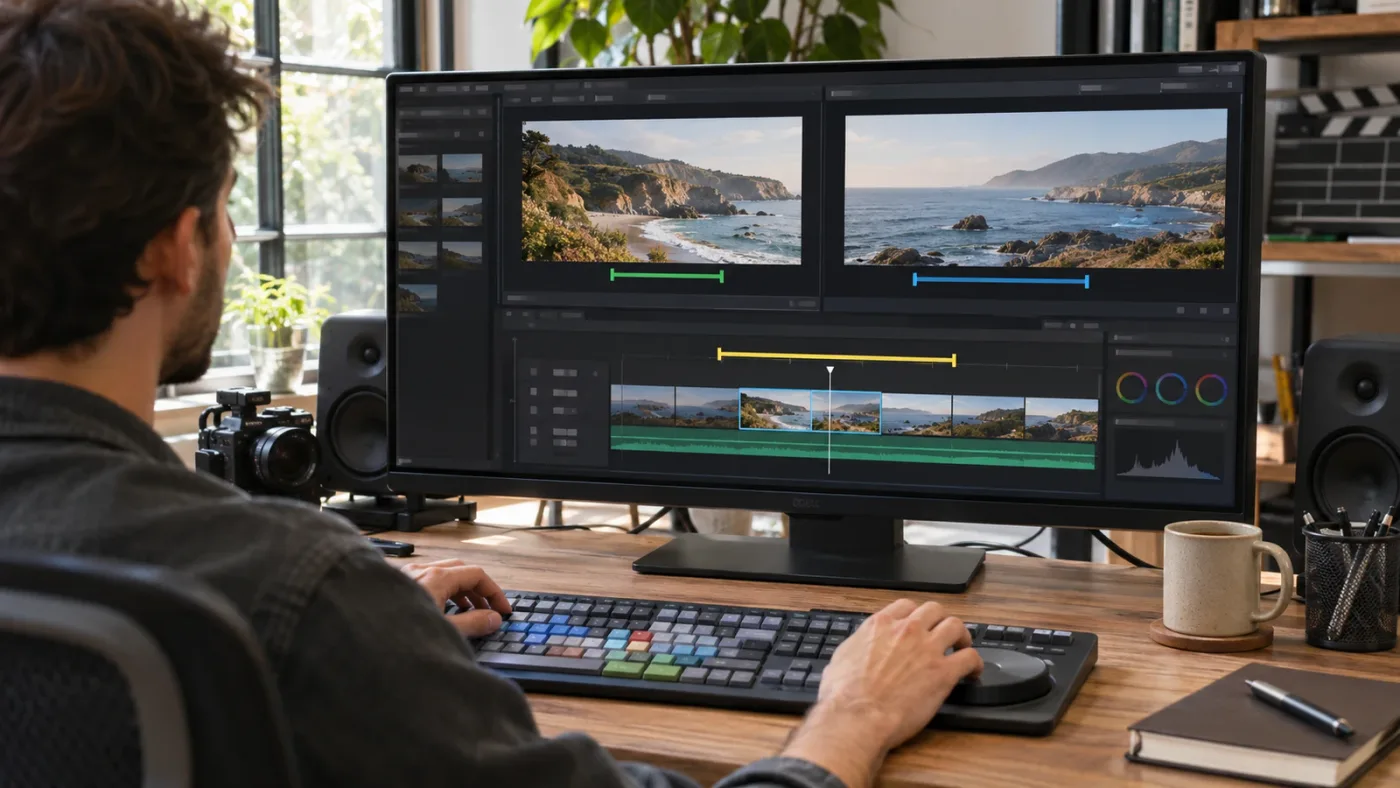
The two-viewer layout on the Edit page makes this easy to mix up. One viewer can show a source clip while the other shows the timeline. Both have their own playhead and marks. If you set marks on a source clip and then turn your attention to the timeline, the source range may no longer be in the place you’re looking. That doesn’t mean Resolve erased it.
Source marks and timeline marks are separate ranges, not two views of one range.
Start with the area where you expected to see the marks:
- A clip is loaded in the Source Viewer. Inspect that viewer’s scrub bar. Source marks define a portion of the media clip for an edit or other operation.
- A timeline is open. Inspect the timeline ruler. Timeline marks define a sequence range for operations that use timeline marks.
- You’re on the Deliver page. Check whether the render is set to use a marked range or the whole timeline. The range can matter even when it isn’t obvious in the current layout.
- You’re looking at a narrow section of the ruler. The marks may be outside the visible zoom level or close together. Zoom out to see more of the ruler, or zoom in to inspect a short range.
An active timeline range can make the area outside the marks appear dimmer. Treat that appearance as a cue to inspect the ruler, not as proof that clips have been disabled or removed. Blackmagic’s DaVinci Resolve 20 Editors Guide covers setting and clearing In and Out points during editing. The Blackmagic Design support page provides the current Resolve manual and version-specific downloads. It lists DaVinci Resolve 21.1.1, released October 2, 2026, as well as the Resolve 21.1 manual.
A practical first check is to click inside the timeline ruler and inspect it. Then click the Source Viewer and inspect its scrub bar. If one ruler shows the range and the other doesn’t, you have likely found a context mismatch, not lost marks.
How do I clear In and Out points in DaVinci Resolve?
To remove a timeline range, activate the timeline and choose Mark > Clear In and Out. The documented default shortcut is Option-X on macOS or Alt-X on Windows. If the shortcut does nothing, use the menu command to check the operation directly.
The Resolve 20 Editors Guide, co-authored by Damian Allen, Tony Gallardo, and Dion Scoppettuolo, gives the paired-mark command this way: “To remove an In and Out point simultaneously, choose Mark > Clear In and Out or press Option-X (macOS) or Alt-X (Windows).” The quote is from Blackmagic Design’s official guide, and the same command is the useful first check in Resolve 21.1.1.
Use this sequence when you want to clear both timeline points:
- Click inside the timeline you intend to clear. Avoid clicking a text field or another panel first.
- Open the application’s Mark menu.
- Choose Clear In and Out.
- Inspect the timeline ruler again. The range should no longer be marked there.
- If you still see points, check that the intended timeline was active and repeat the menu command.
Once you’re sure which context is active, the keyboard shortcut is faster:
| Platform | Default command to clear both points | Menu alternative |
|---|---|---|
| macOS | Option-X | Mark > Clear In and Out |
| Windows | Alt-X | Mark > Clear In and Out |
These are the defaults documented in Blackmagic’s guide. Your installation may differ if you’ve customized the keyboard mapping. The menu is also a better diagnostic than trying a series of keys because it names the command you mean.
To clear only one side of a range, use Mark > Clear In or Mark > Clear Out. The documented defaults are Option-I and Option-O on macOS, and Alt-I and Alt-O on Windows. If you clear one endpoint, the other may remain. When you want the range gone altogether, use Clear In and Out.
Don’t confuse I and O with clearing commands. They set an In or Out point at the current playhead position. If the wrong viewer or timeline has your attention, you can accidentally create a new mark instead of removing one. Check the menu label before trying again.
For more shortcut context, see the site’s DaVinci Resolve keyboard shortcuts guide. It’s a reference for the default keys, not a guarantee that your customized keyboard mapping matches them.
Why doesn’t the Alt-X or Option-X shortcut work?
The shortcut may seem broken because the wrong panel has focus, the binding has changed, or you’re trying to clear marks in a different context than the one that contains them. Click the intended timeline, then try Mark > Clear In and Out before treating the shortcut as a fault.
Resolve lets you customize keyboard shortcuts. A combination in a guide may no longer match your installation if you imported a preset or changed bindings. A command that works from the menu but not from the keyboard points you toward a mapping or focus issue, not necessarily a problem with the range itself.
Try this check:
- Click an empty area of the timeline, rather than a clip name or text-entry box.
- Open the Mark menu and locate the In/Out commands.
- Choose Clear In and Out from the menu.
- If the command clears the range, try the documented shortcut again.
- If the shortcut still fails, open Keyboard Customization and search for Clear In and Out.
- Inspect the command’s current binding and check whether another command has the same key combination.
The command name is a more dependable reference than an old shortcut card when you’ve customized Resolve. If you’ve switched keyboard presets, use Keyboard Customization to verify the keys assigned on your machine.
Be careful about the platform labels. On a Mac, the documented key is Option-X. On Windows, it is Alt-X. Control-X is not the documented default for clearing both marks and could trigger another action depending on your mapping and focus.
If the menu command is missing or behaves differently than expected, confirm that Resolve is the foreground app and that the project and intended timeline are active. Check the Resolve manual and downloads for the reference manual matching your version. Blackmagic’s support page lists the available 21.1.1 update, released October 2, 2026, and the Resolve 21.1 manual. A point release can update the application without changing the underlying steps in this guide, but check your installed manual if a menu label differs.
When a shortcut is unreliable, the named Mark menu command is the safer diagnostic.
How can I tell whether the marks are on a source clip or the timeline?
Inspect the ruler beneath the viewer you mean to use. Source marks appear with the source clip’s viewer controls; timeline marks appear on the timeline ruler. Selecting a clip in the timeline doesn’t automatically mean you’re looking at that clip’s source marks.
The distinction matters when you’re assembling an edit. A source range specifies which portion of a media clip to use. A timeline range specifies a portion of the sequence for an operation that uses timeline marks. They can coexist. Blackmagic’s Editors Guide describes three-point editing, which uses marks in the source viewer and the timeline to determine how a clip is placed.
Use this check:
- For a source range: Load the intended media clip in the Source Viewer. Inspect the scrub bar under that viewer. If the clip isn’t loaded there, you aren’t inspecting its source marks.
- For a timeline range: Activate the timeline and inspect its ruler. This range belongs to the sequence, not to the source clip shown in the other viewer.
- For a new mark: Position the playhead in the intended context, then set the In or Out point there.
- For a clear operation: Activate the same context you want to clear, then use the matching command in the Mark menu.
If you need to diagnose which context is active, you can set a temporary In point in an empty practice project or on a noncritical range, note which ruler changes, and clear it from that same context. That is a worked check, not a recommended experiment on a live edit. Don’t create temporary marks in a client timeline unless you’re confident you can remove them.
The interface can also change how obvious the two viewers are. In a single-viewer layout, screen position alone may not tell you whether you’re looking at the source or timeline. Check the viewer label and its transport controls. If Edit page controls themselves have gone missing, that’s a separate layout problem. The Edit Page toolbar fix guide covers that issue.
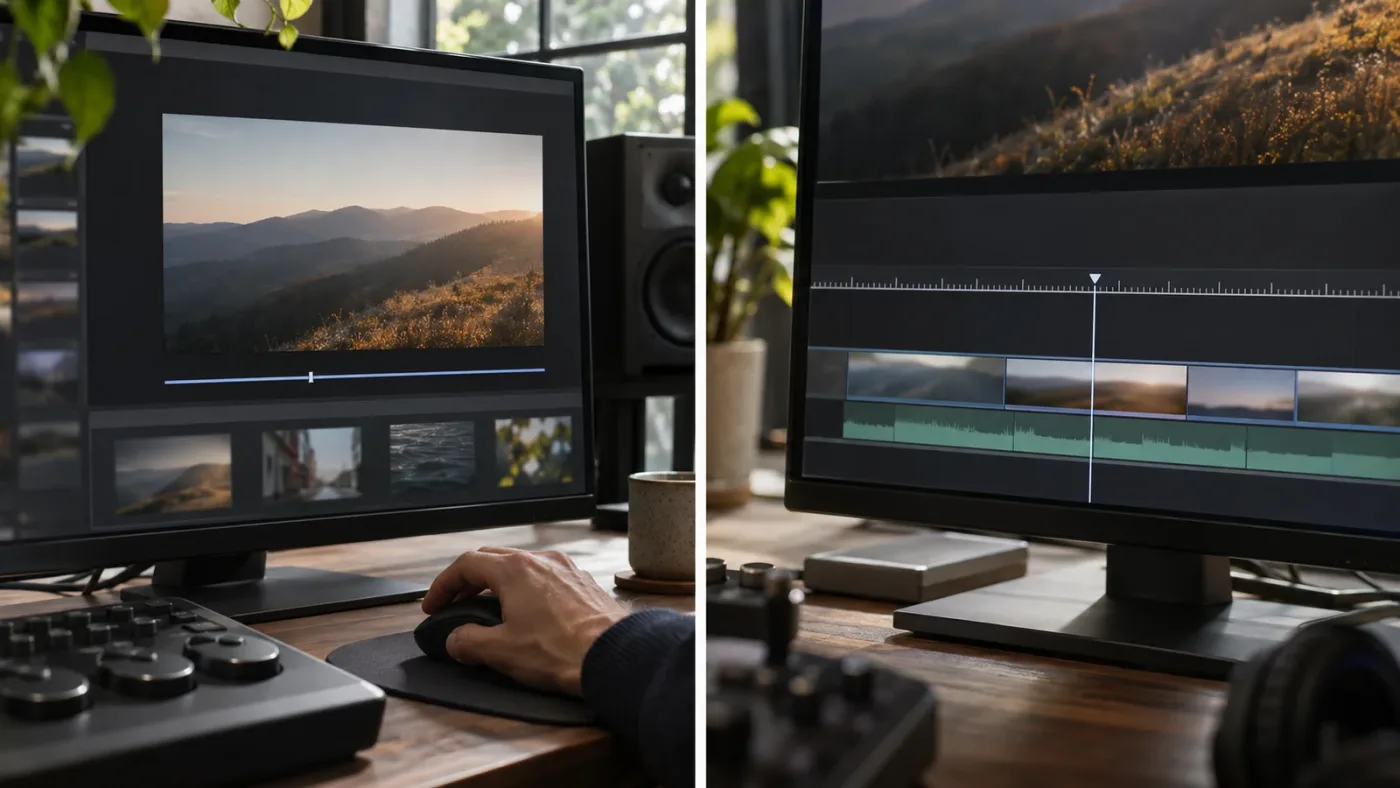
Why is the timeline dim outside my In and Out points?
Resolve can dim the timeline area outside an active range, making the selected section easier to distinguish. If clips outside the marks look darker, check the timeline ruler before editing. The dimming alone doesn’t mean those clips were deleted or disabled.
If you see a brighter section between two marks and dimmer areas outside it, you may have an active timeline range. To remove it, activate the timeline and choose Mark > Clear In and Out. You can use the shortcut once you’re certain the intended context has focus.
Before clearing the range, consider what you were trying to do:
- You meant to isolate a section for a render or operation. Keep the marks and confirm that the operation is set to use them.
- You want the full timeline available. Clear both points.
- You want to adjust the selection. Move the relevant In or Out point instead of removing both.
- The dimming is in a viewer, not on the timeline. Check the viewer’s context and overlays before assuming the timeline has marks.
The visual treatment may differ with the current page and layout, so don’t rely on color alone. The Mark menu and the ruler are more useful checks. If your concern is a missing viewer guide or handle rather than a timeline selection, use the separate viewer-overlay troubleshooting guide linked in the related reading list.
A dim area is a clue, not a diagnosis. First verify that you’re looking at the timeline, then decide whether you want to keep or clear its range.
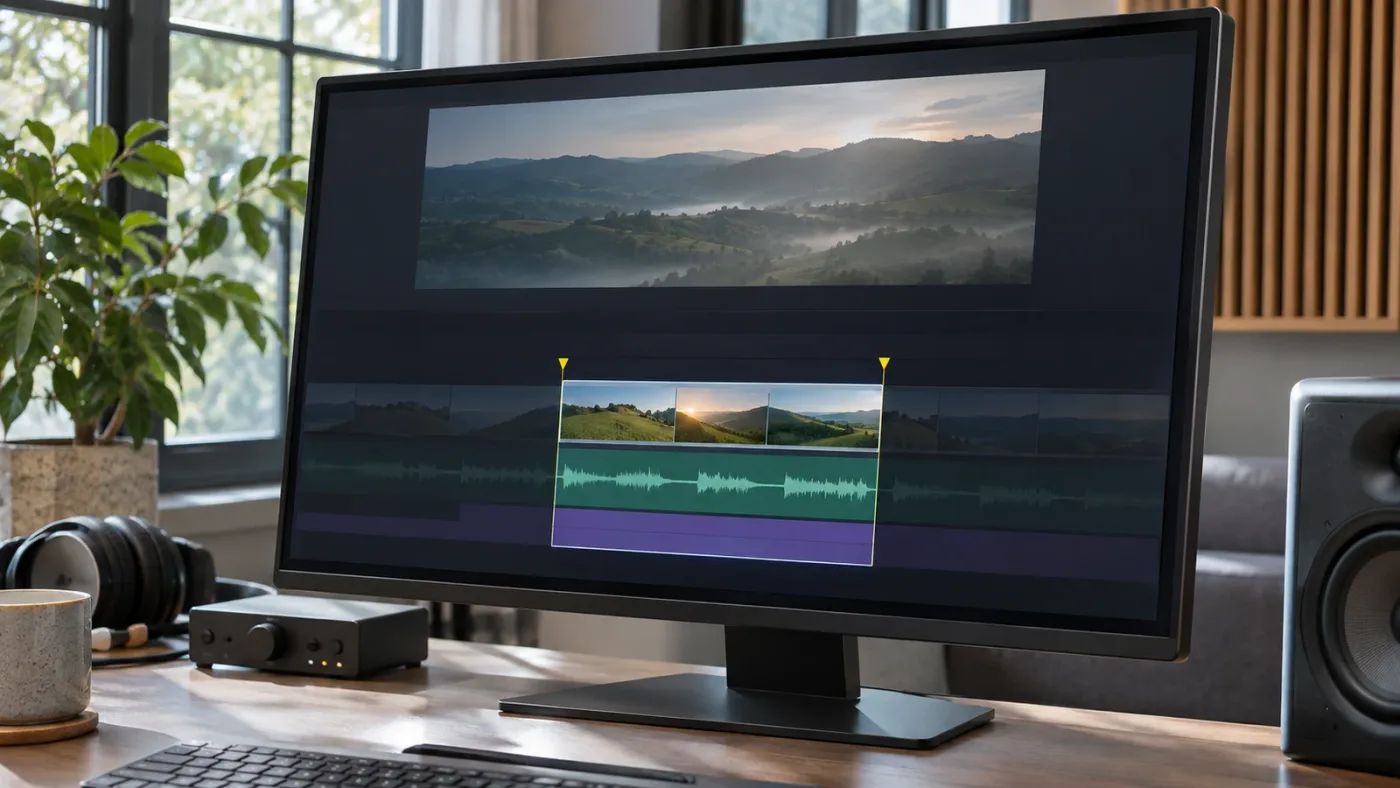
Why does DaVinci Resolve still render only part of the timeline?
A marked timeline range can limit an export when Deliver is configured to render the marked range. Check the render-range choice in Deliver and select the whole timeline if you want a full-sequence export.
The marks and the render setting answer different questions. Marks define a range. Deliver’s render-range choice determines whether the export uses that range or the whole timeline. If the rendered file is shorter than you expected, check both.
| What you see | What to check | Next step |
|---|---|---|
| The export starts and ends at the marked section | Deliver’s render-range selection | Choose the whole timeline if that is what you intend |
| The timeline still shows an active range | Timeline In and Out points | Clear them if you no longer need the range |
| No obvious marks, but the export is still partial | Deliver’s range choice and the active timeline | Confirm which timeline and render range you selected |
| You wanted a short review export | The range and Deliver’s render-range selection | Keep the marks and confirm they cover the intended section |
Blackmagic’s DaVinci Resolve 20 Colorist Guide shows the Deliver render-range choice as Entire Timeline or In/Out Range. The exact wording and placement can differ with page layout or version, so look for the render-range control rather than relying on its location in a screenshot.
Resolve 21 also has tools with their own In/Out options. Blackmagic’s DaVinci Resolve 21 New Features Guide describes a User selected mark in and out option for a particular media-processing operation. That option concerns the selected portion of a clip for that operation. It isn’t a general timeline command for clearing marks. If a dialog offers its own In/Out checkbox, read the control’s full label rather than assuming it changes the timeline range.
Before you start a render, do this brief check:
- Confirm the correct timeline is open.
- Inspect its ruler for a marked range.
- Open Deliver and check the render-range choice.
- Decide whether you want the marked section or the full timeline.
- When the render finishes, compare the output duration with the choice you made.
A partial render doesn’t automatically mean Resolve is malfunctioning. The selected range may be the intended output. Change the render range, not unrelated project settings.
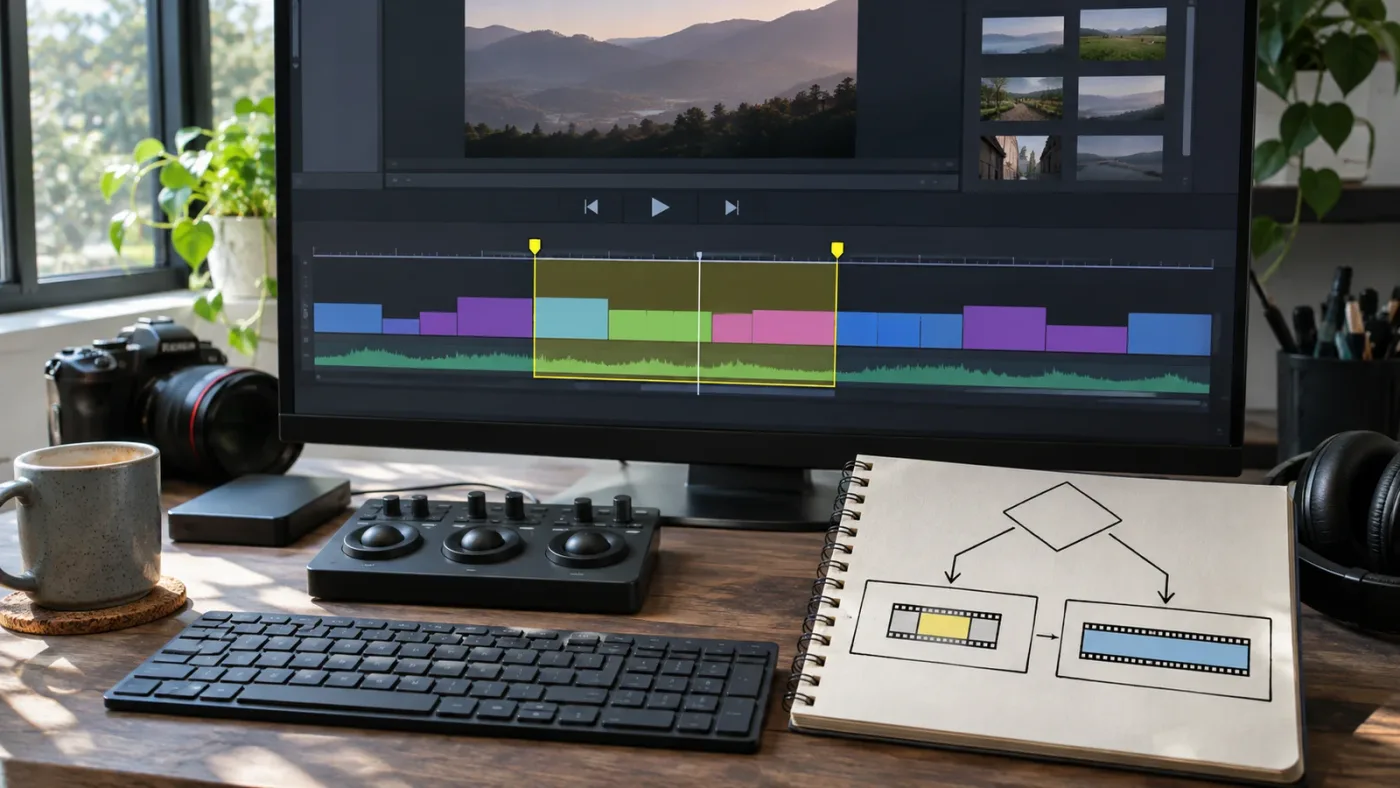
Are In and Out points the same as markers or clip selections?
No. In and Out points define a range for an operation that uses marks. Markers are annotations, and selected clips are objects. Clearing a range doesn’t remove a marker or delete a clip.
They can look related because they all appear around the timeline. Identify which item you’re trying to change before choosing a command:
| Item | What it represents | Where to look |
|---|---|---|
| In and Out points | A start and end for an operation that uses a marked range | The viewer scrub bar or timeline ruler |
| Marker | An annotation at a time or on a clip | The marker indicator and marker controls |
| Clip selection | One or more selected timeline items | The highlighted clip or clips |
| Playhead | The current position used for playback and editing | The vertical playhead line |
If a flag remains after you choose Clear In and Out, the command may have worked. The flag could be a marker, which has its own controls. Likewise, clearing marks shouldn’t delete a clip or deselect it.
Use the command’s name as a guide. Clear In and Out refers to the marked range. It doesn’t say “delete marker,” “delete clip,” or “deselect.” If you want to remove one of those other items, use the matching marker or selection command instead.
When you’re uncertain, stop before pressing more shortcuts. Ask yourself whether you mean the range, a marker, a clip selection, or the playhead. That simple distinction prevents a small display mystery from turning into an accidental edit.
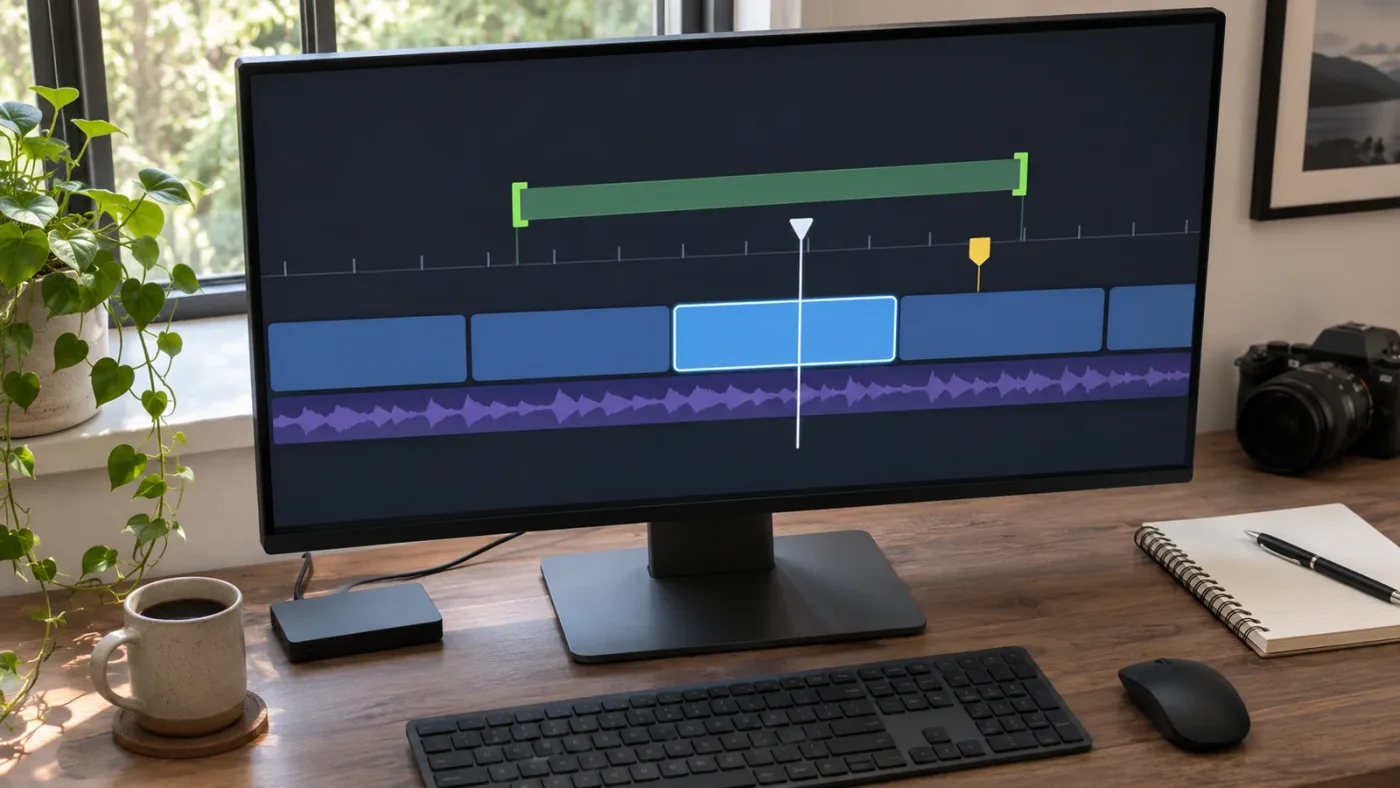
What should I check if the marks still seem missing?
Check the active timeline, viewer context, ruler zoom, and keyboard mapping in that order. Don’t reset preferences or rebuild the project before confirming that you’re inspecting the right place.
Use this troubleshooting sequence:
- Confirm the project and timeline. Another open timeline can have different marks. Check the timeline name and the visible content before changing anything.
- Choose the context. Decide whether you mean the Source Viewer or timeline viewer. Click it and inspect its ruler.
- Check the full ruler. Zoom out if a range might be outside the visible area. Zoom in if the points are too close together to see.
- Use the Mark menu. Choose the named command instead of guessing which shortcut is active.
- Check Keyboard Customization. Search for the command by name if a documented shortcut doesn’t work.
- Check Deliver. Do this when the symptom is a partial export, not just missing marks on screen.
- Look for a marker instead. If a flag remains after clearing the range, inspect marker controls separately.
These checks sort common symptoms into useful branches:
| Symptom | Likely next check |
|---|---|
| Marks are absent from the timeline but visible under the source clip | You’re checking a different context |
| The dimmed area remains after using a shortcut | Verify the active context, then use the Mark menu |
| The menu clears a range but the shortcut does nothing | Inspect the shortcut binding and keyboard focus |
| The range looks right but the export is short | Check Deliver’s render-range choice |
| A colored flag stays after clearing the range | Check whether it’s a marker |
These are troubleshooting clues, not proof of a software fault. Start with the least disruptive check. You don’t need to reinstall Resolve just because a mark seems to disappear; reinstalling won’t answer whether the source or timeline range is active.
If the workspace itself has changed, restore the relevant viewer or timeline panel first. The Edit Page toolbar guide can help if interface controls are missing. For a mark-specific question, though, the Mark menu is still the direct route to the range command.
A missing-looking range is usually easier to diagnose by context than by changing project settings.

How should I handle a one-point range or a range near the timeline edge?
A range may look incomplete because you set only one endpoint, or because one point sits near the beginning or end of the visible material. Don’t assume two clearly visible marks must be present before checking the Mark menu and the context.
If you set an In point but haven’t set an Out point, or vice versa, the ruler may not look like the two-ended selection you expected. The Editors Guide documents clearing an individual In or Out point as well as clearing both. That gives you a safe way to remove the one you set by mistake without clearing another mark you still need.
Use this decision table:
| Situation | Safer action |
|---|---|
| You meant to remove a single unwanted In point | Activate the relevant context and choose Mark > Clear In |
| You meant to remove a single unwanted Out point | Activate the relevant context and choose Mark > Clear Out |
| You want no range at all | Choose Mark > Clear In and Out |
| You want to keep one endpoint and change the other | Set the intended endpoint at the correct playhead position |
| You can’t tell which endpoint remains | Inspect the active ruler and use the menu commands one at a time |
An endpoint at the very start or end can be hard to distinguish from the edge of the ruler. Zoom out enough to include the full timeline or clip. If you’re focused on the last frames, zoom in again after locating the edge so that you can place or inspect the endpoint more precisely.
There’s also a practical risk in clearing just one point without checking the other. The remaining point may still matter to an operation that uses marks. If the goal is a full-timeline render, don’t stop after clearing one endpoint. Confirm both the timeline state and Deliver’s render choice.
Here are two quick worked examples:
- You placed an In point at the start of a clip and now want to remove only that point. Load that clip in the Source Viewer, confirm the source ruler is the one marked, then choose Mark > Clear In. Don’t clear the timeline range unless that is also what you intend.
- You marked a timeline Out point for a review export, then decided to render the whole sequence. Confirm the Deliver choice is Entire Timeline. You can leave the marks in place if you still need them for another operation, or clear both after the export if they’re no longer useful.
These examples describe decisions to make, not results from a test project. The important point is that clearing marks and choosing the export range are related but separate actions.
What happens when source marks and timeline marks both exist?
Both contexts can contain marks at the same time. A source range and a timeline range can be used together in editing workflows, so finding one doesn’t automatically explain or remove the other.
This matters in three-point editing. You might set an In and Out on a source clip while also having a timeline In or Out. Resolve uses the chosen source and timeline information to place the edit. If you clear marks without checking which context is active, you could remove the range you meant to keep.
Consider this worked example:
- You mark a short section of a source clip in the Source Viewer.
- You also mark a section of the timeline for a review or edit.
- You switch between the two contexts and see marks in one ruler but not the other.
- Before clearing anything, decide which range you no longer need, activate that context, and use the specific Mark menu command.
This is a conceptual example of how separate contexts can coexist, not a claim about a test performed in a particular project. The official Editors Guide explains source and timeline marks as part of its three-point editing workflow. When troubleshooting a real edit, check both rulers before clearing either range.
If your intent is only to remove the timeline range, don’t clear the source range as a side effect of working in the wrong viewer. If you want to remove source marks, make sure the intended clip is loaded in the Source Viewer before using the clear command. The Mark menu is most useful when paired with that context check.
Can marks on a Media Pool clip affect the timeline range?
A source clip can have marks of its own, and Resolve’s Media Pool operations are another context to check if the range seems to return or the wrong material is affected. Don’t assume that a range shown for a selected media clip is the same as a marked timeline section.
Blackmagic’s DaVinci Resolve 18.5 New Features Guide documents clearing In and Out ranges on multiple selected Media Pool clips. This is a separate situation from clearing a timeline range. If you’ve selected several clips in the Media Pool, pause before using Mark > Clear In and Out. Confirm the selection and the context first, especially if those source ranges were set intentionally.
A useful decision path is:
| Where you’re working | What the marks refer to | Before clearing |
|---|---|---|
| Source Viewer | The loaded source clip | Check the viewer label and loaded clip |
| Timeline ruler | The sequence range | Activate the intended timeline |
| Media Pool | Selected media clip or clips | Confirm which clips are selected |
| Deliver page | The range chosen for output | Check whether the job uses the full timeline or In/Out range |
This distinction is useful if the timeline seems clear but an edit still uses a source selection you forgot about. It can also prevent clearing marks from several selected clips when you meant to remove only a timeline range. The shortcut may invoke the same named command, but the active work area and selection still matter. Use the Mark menu only after confirming where the intended marks live.
If you’re unsure, clear one context at a time and inspect the result before moving elsewhere. Don’t select a group of Media Pool clips as a shortcut to clearing a timeline range. Those are different tasks, and a wider selection can make the operation affect more items than you meant.
How can I avoid losing track of ranges while editing?
Make the intended context part of your marking habit. Mark a source clip while its Source Viewer is active. Mark a sequence section while the timeline is active. Before a range-based operation, inspect the matching ruler and confirm that you still want the range.
A small routine catches most mix-ups:
- Before marking: Click the viewer or timeline you intend to affect.
- After marking: Check that same ruler and confirm the endpoint or endpoints.
- Before clearing: Activate the same context, then use the Mark menu.
- Before rendering: Check whether Deliver should use the marked range or the whole timeline.
- After changing shortcuts: Look up the command name rather than relying on an old key reference.
When you’re learning the interface, say what you’re doing before you do it: “I’m setting a timeline In point,” or “I’m clearing this source clip’s range.” The words help you distinguish the two viewers before you act.
A short pre-render check can save an avoidable re-export. Confirm the timeline name, inspect its ruler, choose the intended Deliver range, then compare the finished file’s duration with that choice. If you deliberately want a review excerpt, retain the marks and check that the excerpt begins and ends where you expect. If you need the full sequence, choose Entire Timeline rather than assuming that clearing a mark automatically changes the render setting.
If you want on-screen guidance while locating a control, TryUncle is a desktop assistant for Mac and Windows that can use your current screen and conversation to point you toward relevant controls. You still perform the actions yourself.

What’s the quickest fix for disappearing DaVinci Resolve In and Out points?
Click the timeline or Source Viewer where the points should be, then inspect that context’s ruler. If you want to remove a timeline range, activate the timeline and choose Mark > Clear In and Out. The default shortcut is Option-X on macOS or Alt-X on Windows.
If the range appears gone but the render is still partial, inspect Deliver’s render-range choice. If a flag remains after clearing the range, check whether it’s a marker instead. Those checks distinguish three common look-alikes without changing unrelated project settings.
Next time the marks seem to disappear, don’t set them again straight away. Check the viewer, check the ruler, then keep or clear the range based on what you actually need.
Frequently asked questions
- Why did my DaVinci Resolve In and Out points disappear?
- They may belong to the Source Viewer rather than the timeline, or to the timeline rather than the Source Viewer. Click the context you intended to mark and inspect its ruler. The points may also be hard to see because of the ruler’s zoom or the current layout.
- What is the shortcut to clear In and Out points in DaVinci Resolve?
- The documented default shortcut for clearing both points is Option-X on macOS and Alt-X on Windows. Activate the intended viewer or timeline first. If the shortcut does not work, use Mark > Clear In and Out and check Keyboard Customization for a changed binding.
- Why does DaVinci Resolve still render only part of my timeline?
- The Deliver page may be set to render a marked range rather than the entire timeline. Check the render-range choice and select the whole timeline if that is what you intend. Also inspect the timeline ruler for an active In and Out range.
- Are In and Out points the same as timeline markers?
- No. In and Out points define a range for an operation that uses marks. Markers are separate annotations, and selected clips are separate objects. Clearing In and Out points does not remove markers or delete clips.
- How do I clear just the In point or just the Out point?
- Activate the context containing the point, then choose Mark > Clear In or Mark > Clear Out. The documented defaults are Option-I and Option-O on macOS, or Alt-I and Alt-O on Windows. Clear both points if you want to remove the range entirely.
Sources
Put this guide to work with TryUncle.
Ask about the step you’re on. TryUncle sees your screen and points at the control you need, so you can keep learning in your own project.
Get TryUncle for Mac or WindowsKeep reading
Guides · Jul 8, 2026 · 16 min
DaVinci Resolve Keyboard Shortcuts: The Complete Reference
Every essential DaVinci Resolve keyboard shortcut, organized by page: Edit, Cut, Color, Fairlight, Fusion, and Deliver, plus how to customize and share your own.
Fixes · Jul 20, 2026 · 23 min
DaVinci Resolve Edit Page Toolbar Missing? Here's the Fix
Your DaVinci Resolve Edit page toolbar disappeared? It's almost always a hidden panel or a UI layout glitch, not lost data. Every real cause and fix.

Fixes · Oct 6, 2026 · 17 min
DaVinci Resolve 21 Viewer Overlays Not Visible? Fix Them
DaVinci Resolve 21 viewer overlays not visible? Restore onscreen controls, marker overlays, Fusion handles, and playback display with this fix.