Articles / Guidesupdated for DaVinci Resolve 21.1 (September 2026)
DaVinci Resolve Marker Keywords and Smart Bins
Quick answer
Use clip keywords for descriptions that apply to an entire source, marker keywords for specific moments or ranges, and Smart Bins to gather matching media. Add each keyword at the right level, then test a simple Smart Bin before building more rules. A marker Smart Bin may return the source clip, not a trimmed excerpt.
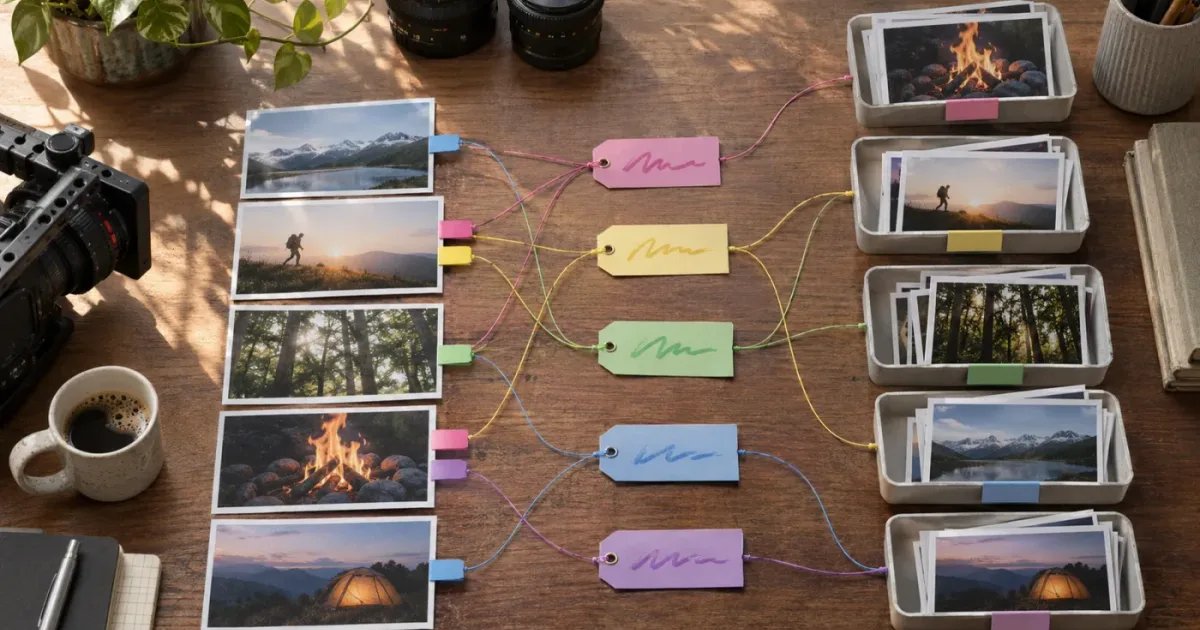
I want a media search to answer a real editing question: where’s the wide shot, the clean line, or the moment the speaker changes their mind? Keywords label the material. Markers point to moments. Smart Bins make those labels useful again later.
This workflow is for DaVinci Resolve 21, including 21.1. The controls can look different between pages and workspace layouts, so use the names and distinctions here to orient yourself, then check the current manual if a control has moved.
What do clip keywords, marker keywords, and Smart Bins each do?
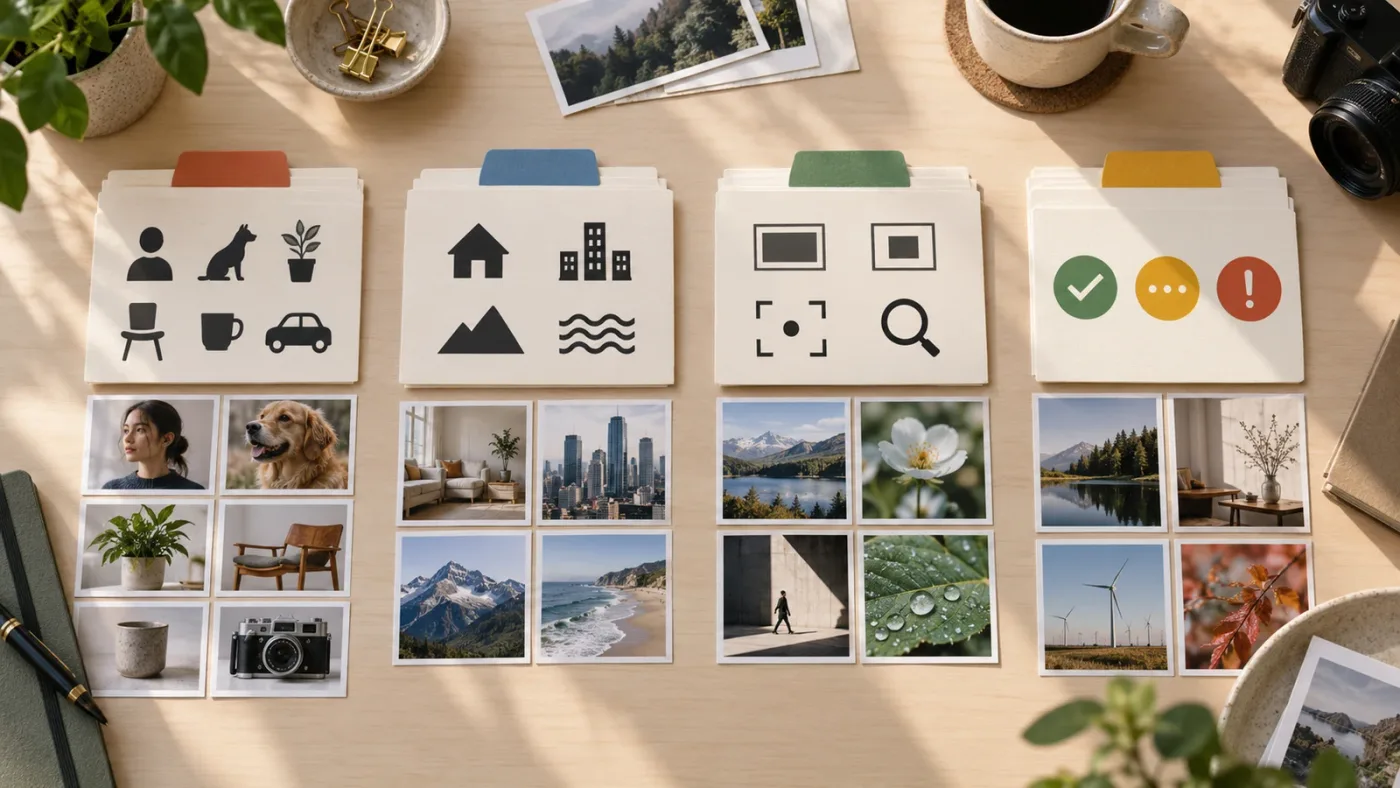
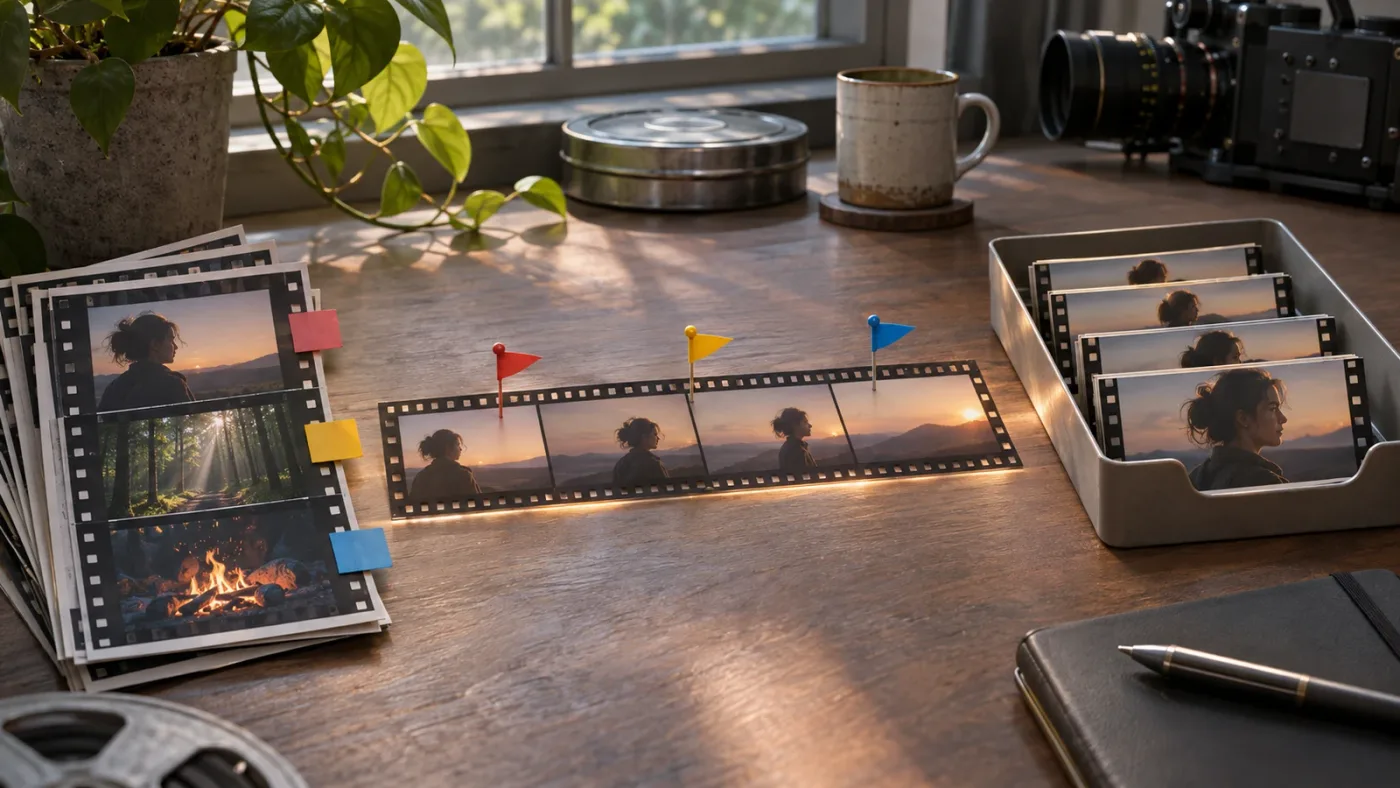
Clip keywords describe a source clip as a whole. Marker keywords describe a point or range within a clip. A Smart Bin gathers media that matches metadata rules, so you can reuse a search instead of rebuilding it by hand.
Those jobs overlap, but they aren’t interchangeable. If you remember one distinction, make it this: use a clip keyword when a description applies to the whole source, and a marker keyword when it applies to a particular moment. Use a Smart Bin when you want to see matching media again without repeating the search.
Clip keywords describe the source; marker keywords describe a moment.
Imagine an interview file containing an introduction, a pricing answer, a usable reaction, and a factual correction. The clip keyword interview can describe the entire recording. Marker keywords such as pricing, reaction, and fact-check can describe particular passages. A Smart Bin can then gather the media matching whichever criteria you choose.
A keyword isn’t a new piece of footage, a subclip, or a folder. It’s metadata attached to a clip or marker. Blackmagic’s Media page overview describes Smart Bins as metadata-based and says they stay current as media is added to a project. That makes them useful for finding related material across a project, but it doesn’t mean every Smart Bin result will be a trimmed piece of footage.
The bin can only match metadata that its rules can see. If a keyword is on a marker but your rule checks clip keywords, the result may not match what you expect. If you use three spellings for the same idea, you may get three incomplete groups.
Resolve 21 adds Smart Bin views to the Cut page. Blackmagic’s Resolve 21 New Features Guide says to open the Media Bin dropdown to access a Smart Bin or create a new one. The metadata principle remains the same: decide what a label means, attach it at the right level, then test what the filter returns.
How do I decide whether a keyword belongs to a clip or a marker?
Put a keyword on the clip when it describes the entire source. Put it on a marker when it identifies a moment or passage that you might want to find independently of the rest of the recording.
Think of a source clip as the container and a marker as a locator inside it. The question isn’t “Which label is better?” It’s “What does this label describe?” A location might apply to the whole clip, while a useful line in the recording belongs only to a short section.
| What you’re describing | Put the keyword on | Example | Why |
|---|---|---|---|
| A camera, subject, location, or source type that applies throughout | Clip | interview, kitchen, camera-a | It describes the source as a whole |
| A usable answer, reaction, sound, or line at one point | Marker | clean-answer, laugh, door-slam | It identifies a moment within the source |
| A subject appearing in multiple recordings | Clip, and selected markers if useful | customer on clips; strong-quote on a moment | One label describes the recording; the other describes a passage |
| A temporary instruction for an editor or reviewer | Marker name or Notes, plus a keyword if retrieval matters | Name: check level; keyword: audio-fix | The note explains the action; the keyword groups similar cases |
| A recurring search category | The metadata field the Smart Bin checks | select-candidate on the relevant clips or markers | The search needs a term at the level it is set to check |
This is a decision rule, not a reason to duplicate every keyword. If your Smart Bin searches marker keywords, adding the same term to clip metadata can create a different result set. Add it to both only when both meanings are useful. For example, the source may be an interview, and one section may also be a strong interview quote.
It helps to separate three kinds of information:
- Identity: What is this source? Examples:
interview,drone,kitchen. - Content: What happens or gets said? Examples:
product-demo,pricing-answer,reaction. - Editorial status: What should happen next? Examples:
select-candidate,needs-review,audio-fix.
Use marker names and Notes for details a person needs to act on. Use keywords for categories you expect to search repeatedly. “Check the left channel in the second half” is useful in a marker note; audio-fix is a reusable search label.
Avoid using color as a substitute for words. A marker color can help you scan a timeline, but color alone doesn’t tell a collaborator what the marker means or give a keyword filter a term to match. If the meaning matters after a handoff, write it down.
How do I build a keyword vocabulary that stays searchable?
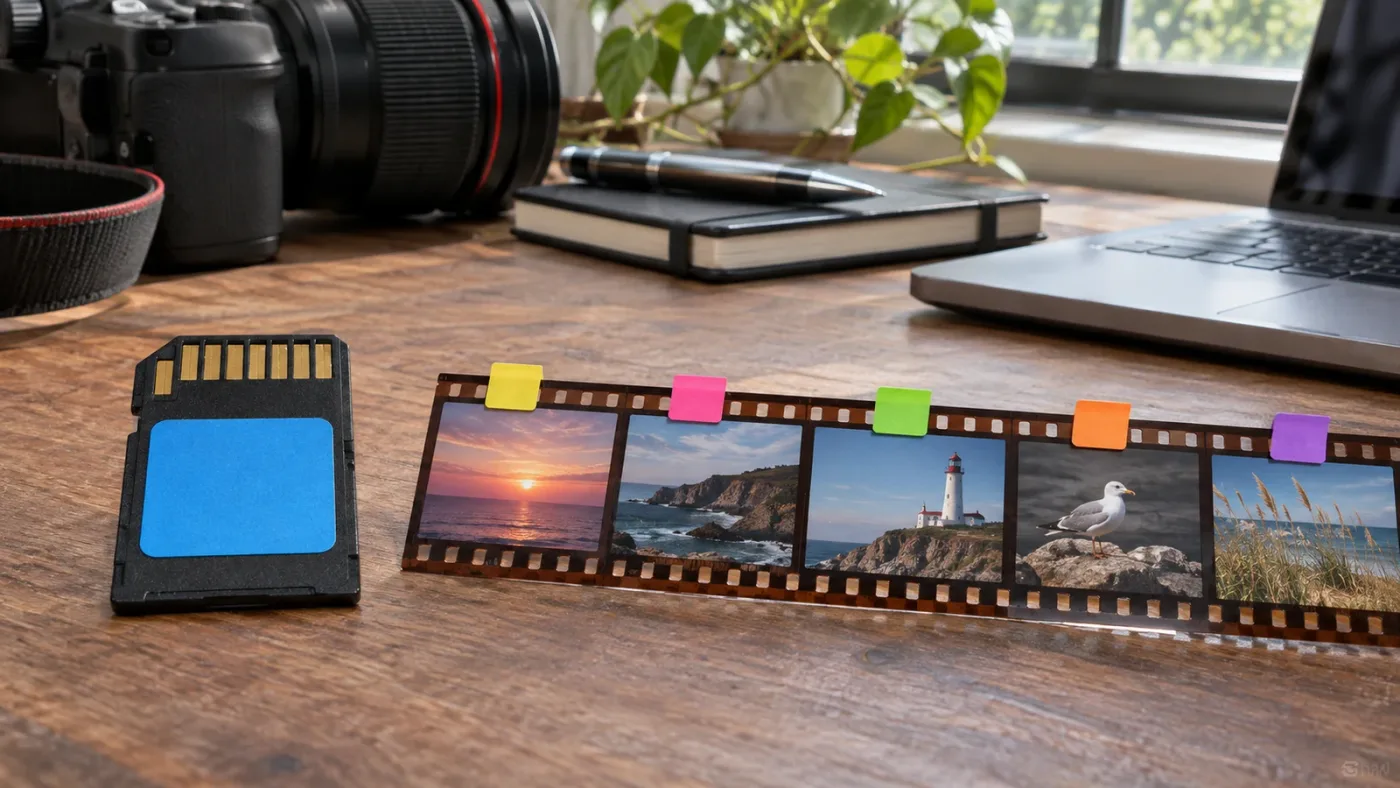
Choose a short set of consistent terms before you tag a large project. A useful vocabulary is specific enough to sort footage, but small enough that you and your collaborators will actually reuse it.
Start with the retrieval questions you ask during an edit. You might need every interview, every exterior wide shot, every clean product insert, or every moment that needs a fact-check. Those are good candidates for keywords. A label that sounds tidy but won’t help anyone find media can stay in a clip name or note instead.
A starter vocabulary might include:
- Source type:
interview,b-roll,screen-recording,voiceover. - Subject:
host,customer,product,location-name. - Action or event:
opens-box,enters-room,laugh,demo. - Framing or use:
wide,close-up,cutaway,thumbnail-option. - Editorial status:
select-candidate,needs-review,audio-fix,fact-check.
These are example terms, not a universal list. A documentary might need people and scene labels. A product video might need feature names and shot purpose. A training recording might need module and topic labels.
Keep each keyword focused. If good could mean technically sharp, emotionally strong, correctly exposed, or client-approved, it’s too vague. Separate those meanings into terms that answer real questions, such as sharp, strong-reaction, or client-approved.
Pick one spelling and reuse it. Resolve’s keyword entry offers matching terms as you type, which can help reduce variants. The Resolve 21 Reference Manual describes the Keyword field as a tag-based entry method and explains the role of the Keyword Manager. If you already use close-up, don’t add closeup, close up, and CU unless your team has decided they mean different things.
| Rule | Example | Why it helps |
|---|---|---|
| Use one spelling for each concept | close-up every time | Prevents near-duplicate search groups |
| Prefer a clear term over an unexplained abbreviation | wide-shot rather than WS | Helps collaborators understand the label |
| Use a consistent form for names | host rather than switching among host, presenter, and a first name | Reduces ambiguity |
| Keep action labels concrete | opens-box rather than action | Makes results easier to assess |
| Separate status from subject | needs-review plus interview | Keeps one label from carrying two meanings |
Don’t create a keyword for every sentence, frame, or passing thought. That turns a controlled vocabulary into a second transcript. Add a new term when it supports a meaningful search or separates footage you’ll handle differently.
For a shared project, decide who owns the vocabulary. A shared project can still accumulate inconsistent labels if people invent terms independently. A short handoff note, an agreed naming rule, and one person reviewing new terms can do more good than trying to predict every possible search.
How do I add keywords to source clips?
Select the source clip in the Media Pool, find its Keyword field in the Metadata Editor, and add the term there. A clip-level keyword describes the source as a whole, so use it only when it applies to the entire clip.
- Open the Media Pool and select one clip. Select multiple clips only when the same keyword genuinely applies to all of them.
- Open the Metadata Editor or metadata panel available in your workspace.
- Find the Keyword field. The fields shown can depend on the metadata view you have selected.
- Click the field and begin typing the chosen term.
- Choose the matching existing keyword if it appears, or add the new term according to your project vocabulary.
- Check that the keyword appears in the field, then select another clip and confirm you didn’t change the wrong item.
Resolve’s Media page overview describes editing clip metadata, including custom keywords. The Reference Manual explains that the Keyword field uses tags rather than behaving like a plain Notes field. In a multi-clip selection, check what the interface shows before you assume that a change applies exactly as intended.
For multiple clips, use a shared keyword only if it accurately describes every selected item. “All clips from camera A” may be a sound batch label. “Great take” may not be, unless you reviewed every clip and mean it literally. If you’re unsure, tag clips individually or narrow the selection first.
You can also assign some automatic Smart Bin properties by dragging selected media onto a matching Smart Bin category. The Reference Manual describes this for automatic Keywords, Shot, and Scene categories. That is different from dragging clips into an ordinary bin. Don’t assume dropping media onto any Smart Bin assigns metadata; this shortcut applies only to the supported automatic categories.
After applying a batch keyword, spot-check a few clips:
- Does the term appear for the intended clips?
- Did you keep any unrelated keyword already on the clips?
- Does the spelling match the term you plan to search?
- Does the expected Smart Bin include those clips?
This workflow concerns project organization. Don’t assume that every keyword entered in Resolve will become a portable tag preserved by another editing application or by a re-imported file. If portability matters, check the current manual’s metadata import and export information, then test with a copy of representative media.
How do I add keywords to markers?
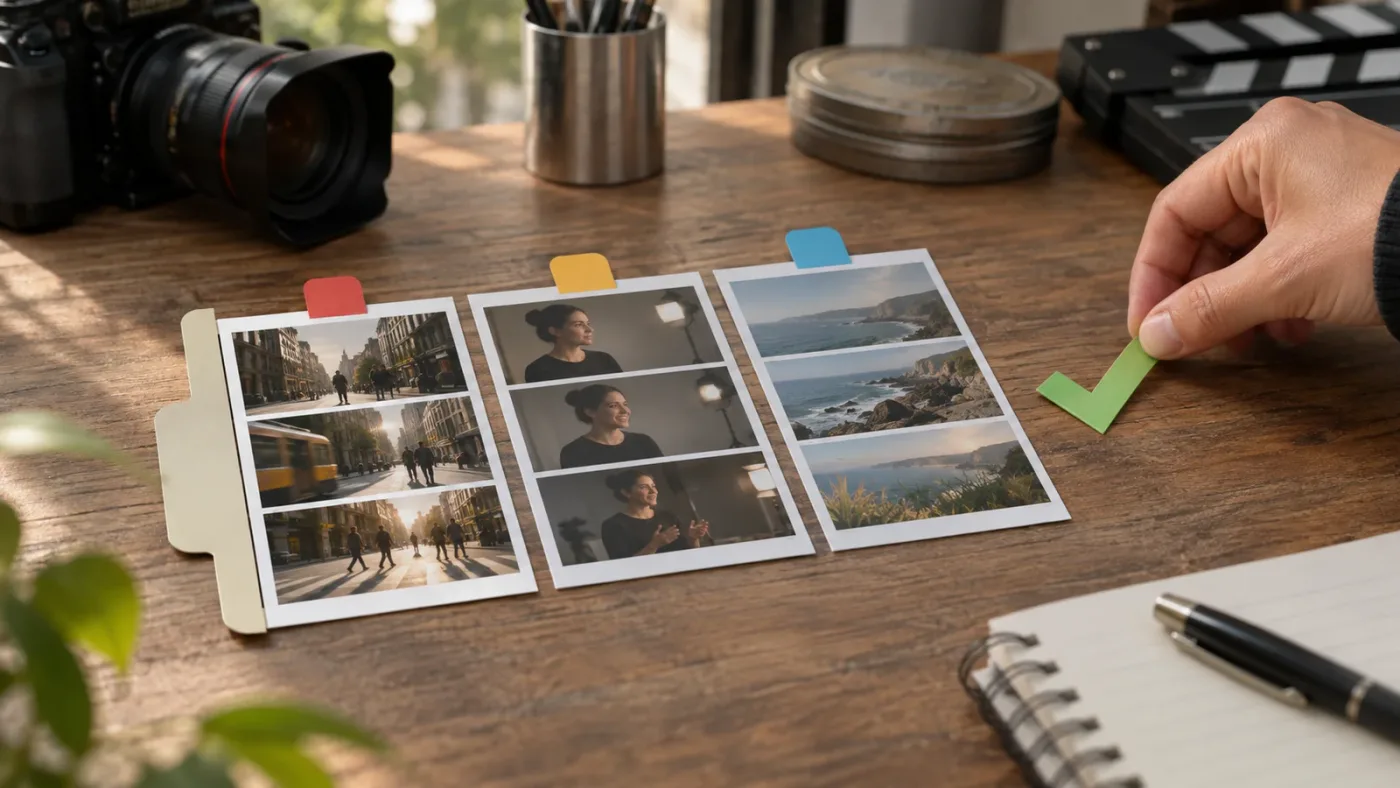
Create or select a marker at the moment you want to identify, open its marker dialog, and enter the keyword in the dialog’s Keyword field. A marker keyword describes the marker, not automatically the entire source clip.
Navigate to the relevant clip or timeline position and create a marker. Open its dialog by double-clicking the marker or using the available marker controls in your current page. Give the marker a clear name if it needs a human-readable label. Add Notes if there’s an action to take, and put the reusable category in the Keyword field.
| Marker field | Worked example |
|---|---|
| Name | Use answer about battery life |
| Notes | Starts after the host asks about travel; remove the repeated opening phrase. |
| Keyword | clean-answer |
| Color | A color your team has agreed to use for selects |
This is an illustrative example, not a claim about a tested project. The point is to give each field a clear job: the name identifies the marker, the notes tell an editor what to do, and the keyword makes related markers easier to find.
The Resolve 21 Reference Manual describes editable marker fields including name, Notes, color, and keyword. It also explains that marker keywords can be used to identify sections of clips for later searches and Smart Bin retrieval. A marker keyword is not merely a colored dot or a comment. It is a way to label a moment for later retrieval.
If a marker applies to a passage rather than one frame, set its duration to cover the intended range, then check what the Smart Bin returns. A result in a bin may be the source clip containing the marker, not a clip trimmed to the marker’s range. Seeing the source in the result list doesn’t confirm the range is accurate.
For markers used to collect client requests, see the separate guide to using markers for client review. That guide focuses on review notes. Here, the question is how a keyword makes a moment easier to retrieve.
Why use marker keywords instead of putting everything in Notes?
Use a marker keyword when you want a reusable label that can be matched in a Smart Bin or search. Use Notes for the full explanation, especially when someone needs to make a judgment or perform a specific action.
Notes are good for sentences. Keywords are good for repeatable categories. If marker notes describe the same problem in different ways, such as “check sound,” “bad audio,” and “mic issue,” searching for one phrase may miss the others. A shared keyword like audio-fix gives those markers a common label while preserving the specific explanation in Notes.
Don’t strip context from the note just to make it short. A marker labelled fact-check may tell you what kind of work is needed, but not which number or claim to verify. Keep the detail in Notes and use the keyword for the group.
Marker notes explain a task; marker keywords make similar tasks easier to retrieve.
This division also helps during handoff. A collaborator can see the local instruction without needing to guess what a general keyword means. At the same time, the keyword can collect related markers from different parts of the project.
There is a practical limit: a keyword doesn’t make an unclear note useful, and a detailed note doesn’t automatically create a clean search vocabulary. Use both when you need both functions. If a marker has no reusable category, a name and Notes may be enough.
How do I create a Smart Bin for marker keywords?
Open the Smart Bins area of the Media Pool, create a Smart Bin, and set its rules to match the keyword type you want to search. Use an automatic keyword Smart Bin if it exposes the marker keyword you need; otherwise, create a rule-based Smart Bin and verify what it returns.
The exact controls depend on the page and workspace. In Resolve 21, Blackmagic’s New Features Guide says the Cut page supports Smart Bin views and lets you create one from the Media Bin dropdown. On other pages, look in the Media Pool’s Smart Bins area and its create control or context menu. If you can’t see Smart Bins, check the Media Pool view options before concluding the feature is missing.
A reliable setup process is:
- Open the project’s Media Pool and reveal the Smart Bins list.
- Choose the command to add or create a Smart Bin.
- Give it a name that says what it should return, such as
Markers - clean answers. - In the rule builder, choose the marker-related keyword criterion if it’s available.
- Select the matching operation and enter the exact term, such as
clean-answer. - Create the bin, open it, and confirm whether it returns markers, source clips, or both in the current view.
- If the result is wrong, edit the rule before changing metadata across the project.
The Reference Manual describes Smart Bins as metadata filters that can combine rules and groups. That flexibility is useful, but it can make a simple search harder to debug. Start with one criterion. Once it returns the right items, add another condition only if you need it.
| Bin name | Intended matching logic | Use |
|---|---|---|
Markers - clean answers | Marker keyword matches clean-answer | Find source media associated with tagged answer moments |
Clips - interview | Clip keyword matches interview | Gather interview sources |
Review - audio fixes | Marker keyword matches audio-fix | Find sources with marked audio work |
Camera - A | Camera or clip metadata matches the camera value | Find footage recorded by that camera |
These examples describe the intended logic. The exact field names and operators shown in a rule builder can depend on the metadata and controls available in your installation. If a field isn’t available, look at the automatic keyword Smart Bins or choose another supported metadata route.
A Smart Bin is a view, not a second copy of each clip. Blackmagic’s Media page overview says Smart Bins organize clips based on metadata and stay current as footage is added. You can keep ordinary bins for broad structure, such as Interviews, B-roll, and Audio, then use Smart Bins to answer cross-cutting questions such as “show every marked product insert.”
For more on the fixed folder structure, see the site’s bin and folder naming guide.
Why is my marker keyword Smart Bin empty?
An empty Smart Bin usually means the metadata and rule don’t line up. Check where the keyword is attached, its spelling, the field selected in the rule, and the search scope before re-tagging anything.
Work through these checks in order:
- Confirm the keyword is saved on a marker. Open the marker dialog and inspect its Keyword field. A keyword typed into Notes is just part of the note.
- Confirm the rule checks marker keywords. Clip keywords and marker keywords can use the same text but represent different metadata.
- Compare the spelling. Look for spaces, hyphens, alternate forms, and plural versions. A rule for
clean-answermay not matchclean answer. - Check the rule’s operator. “Is” and “contains” can have different meanings. Choose the operation that fits the term, then inspect the finished rule.
- Check any scope setting. If the rule can be limited to selected or particular bins, make sure the relevant source is included.
- Test one known marker. Choose a marker that definitely has the keyword and see whether a simpler rule finds its source.
- Check automatic Smart Bin settings. If you expected Resolve to create keyword bins automatically, look at the Automatic Smart Bins preferences.
- Refresh your understanding of the view. Reopen the bin or panel if it seems stale, then inspect the underlying metadata rather than relying on the bin name.
The most useful diagnostic question is “Where did I put the keyword?” If it’s on a clip, the search needs to check clip metadata. If it’s on a marker, the rule or automatic category needs to support marker keywords. Matching the text alone doesn’t guarantee that a search checks the right metadata type.
Resolve also distinguishes an ordinary bin from a Smart Bin. An ordinary bin holds media you place there. A Smart Bin uses criteria to find matches. If you dragged a clip into an ordinary bin and expected a metadata rule to run, you may have created a useful folder, but not a dynamic search.
If the Smart Bins sidebar itself is missing, check the Media Pool’s view or options controls for a show-or-hide setting. Resolve 21.1’s manual is listed on the Blackmagic Design Support Center. Use the manual for the current point release when an older tutorial shows a different panel layout.
A Smart Bin can only find the metadata its rules actually check.
Why does a marker Smart Bin show the whole clip instead of just the marked moment?
A marker keyword identifies a moment, but a Smart Bin may show the source clip that contains the marker. Don’t treat the result list as a promise that Resolve has created a trimmed subclip from the marker’s duration.
Consider a long interview. A Smart Bin might find the recording with a clean-answer marker, but you still need to navigate to the marker to review the answer. The bin answers “which source media matches?” The marker answers “where in that source should I look?”
For a precise workflow, use both levels:
- Put
interviewon the source clip if the entire recording is an interview. - Add a marker where the usable answer begins.
- Give the marker a clear name and a
clean-answerkeyword. - Use a Smart Bin to retrieve the matching source media.
- Open the source and jump to the marker to evaluate the passage.
If you need an independent media item for an edit, the Reference Manual describes creating marker subclips by selecting markers and dragging them into a bin or another Media Pool area. That is a different operation from Smart Bin filtering. Check the resulting in and out points before relying on a subclip for an edit or handoff.
| Need | Use |
|---|---|
| Find which sources contain a tagged moment | Marker keywords and a Smart Bin |
| Jump to the point during review | The marker and its position in the source |
| Create a separate editable range | A marker subclip, then inspect its in and out points |
| Preserve an instruction or spoken detail | Marker Notes |
| Find an entire recording by subject or type | Clip keywords |
If you use a duration marker, check its duration as well as its keyword. The range may not match the phrase you want if the marker starts early or ends late. A keyword helps retrieve the source; it doesn’t correct an inaccurate marker range.
This is why names and Notes still matter. A Smart Bin named Clean answers can return sources with a relevant marker keyword. The marker should tell you which answer to use and where it begins.
Should I use automatic keyword Smart Bins or create my own?
Use automatic keyword Smart Bins for quick access to terms Resolve can organize for you. Create a custom Smart Bin when you need a particular name, a combination of criteria, or a search built around a specific editorial task.
The automatic route needs fewer setup choices. Add keywords consistently, check the Automatic Smart Bins preferences if needed, and look for the keyword category in the Smart Bins area. Resolve’s Reference Manual describes automatic Smart Bin categories based on metadata such as keywords, shot, and scene. The exact options depend on version and preferences.
A custom Smart Bin gives you more control over the saved search. An automatic keyword category might gather all items with a particular term. A custom bin could combine that term with another supported metadata rule. Keep the logic readable. If you need several nested groups just to express what a bin name means, simplify the vocabulary or create two smaller bins.
| Choose automatic keyword Smart Bins when… | Choose a custom Smart Bin when… |
|---|---|
| You want Resolve to surface keyword categories as metadata appears | You want a purpose-specific name such as Review - fact checks |
| One keyword is enough to find the media | The search needs multiple supported conditions |
| You want a quick project-level view | You need a reusable filter for a recurring task |
| You’re still learning the metadata system | You know which metadata fields the rule should check |
There’s no benefit to making both kinds for every term. Duplicate views can clutter the sidebar and confuse collaborators. Create a custom bin when its saved query answers a different question, not simply because the option exists.
If a custom Smart Bin behaves unexpectedly, reduce it to one condition and test it. Add the next rule only after the first one works. That’s easier than trying to diagnose several interacting criteria at once.
What changed for Smart Bins in DaVinci Resolve 21?
Resolve 21 adds Smart Bin views to the Cut page’s Media Pool. The New Features Guide says to open the Media Bin dropdown to access an existing Smart Bin or create one with the plus control.
That change makes Smart Bins available in another editing workspace. It doesn’t change the basic idea: metadata supplies the criteria, and the Smart Bin presents matching media. The 21.1 manual is available from Blackmagic’s support center, so consult that edition if a control differs from an older walkthrough.
A few version distinctions are useful:
- Resolve 21: The New Features Guide documents Smart Bin views on the Cut page.
- Resolve 21.1: Blackmagic lists the 21.1 manual on its support page. Use the current manual if a panel location or control differs from earlier versions.
- Older tutorials: They may show a different Media Pool menu or sidebar arrangement. The core distinction between metadata and a Smart Bin still applies.
The 21.1 release announcement focuses on a broad set of updates, including AI assistant integration. Grant Petty, Blackmagic Design’s CEO, said the update means “With AI assistant support, our customers can now ask Claude or ChatGPT to handle repetitive tasks.” That quote is about the 21.1 assistant integration, not a claim that a Smart Bin labels media for you. The keyword workflow here is still about setting up metadata and checking the result.
In Resolve 21, the Cut page can be useful when you want Smart Bin access while making quick editorial decisions. The Edit and Media pages remain practical places to work with the Media Pool and clip metadata. Pick the page that makes the material easiest to assess; keep your labels consistent across views.
How do I use this system on a real project?
Start with a retrieval question, label at the right level, and create only the Smart Bins that answer recurring questions. A clear workflow beats a long list of labels nobody remembers to use.
Here’s a worked example for an interview-led product video. The terms are illustrative, not results from a tested project.
First, label whole sources. Add clip keywords such as interview, product-b-roll, and screen-recording only where each term describes the entire source. If one file switches between unrelated scenes, don’t apply a scene-specific keyword to the whole clip.
Next, mark the moments that matter. On the interview source, create markers for a usable answer, a correction, a strong reaction, and a section that needs an audio check. Give each marker a clear name and a short note. Apply repeatable marker keywords such as clean-answer, fact-check, reaction, and audio-fix.
Then, choose the searches you’ll use more than once. An interview Smart Bin can gather source recordings. A fact-check marker-keyword Smart Bin can surface sources containing claims to verify. A product-b-roll Smart Bin can gather clips for a cutaway pass.
Finally, test each bin by using it to make a decision. Open the result, locate the marker, and verify the content. If a bin returns too much, refine the metadata or its rule. If it returns too little, check spelling and whether the field is clip-level or marker-level.
The system works because the labels answer different questions. “What kind of file is this?” is a clip-level question. “Where is the line I can use?” is a marker-level question. “Show me everything I tagged for this purpose” is a Smart Bin question.
| Retrieval question | Clip metadata | Marker metadata | Smart Bin |
|---|---|---|---|
| Which recordings are interviews? | interview | Not required | Clips - interview |
| Which sources contain a clean answer? | Optional source label | clean-answer | Markers - clean answers |
| Which sources need a fact-check? | Optional project or category label | fact-check plus a note | Review - fact checks |
| Which footage can cover a cut? | product-b-roll | Marker only if one moment is especially useful | Clips - product b-roll |
| Which clip has an audio issue? | Don’t tag the whole clip unless it’s affected throughout | audio-fix and a specific note | Review - audio fixes |
Audit the system at the end of an ingest or logging session. Open each high-value Smart Bin and check a few results. Look for a source that should appear but doesn’t, or one that appears because a label was applied too broadly. Correct the metadata or the rule while the context is fresh.
If another editor will use the project, write down the meaning of status labels. select might mean “editorially promising,” “approved by producer,” or “ready for timeline.” Those aren’t the same state. If you need all three, choose distinct terms and explain them.
A good Smart Bin answers one recurring editing question without moving or duplicating the original media.
When should I use ordinary bins instead of Smart Bins?
Use ordinary bins when you want a deliberate folder structure, a stable place for selected media, or a straightforward division by project role. Use Smart Bins when you want metadata rules to gather matching items automatically.
They work well together. Ordinary bins can hold broad categories such as Camera Originals, Music, Graphics, and Exports. Smart Bins can gather clips across those categories based on keywords or other available metadata. A source can stay in its ordinary home while also appearing in a Smart Bin that answers a different question.
That is not the same as copying the file or moving it into a second folder. Blackmagic describes ordinary bins as user-organized folders and Smart Bins as metadata-driven. The bin and folder naming guide covers the fixed structure; this workflow adds a search layer.
Choose an ordinary bin if:
- You need a clear handoff location, such as
Approved for edit. - You want to group media by a fixed production stage.
- A collaborator expects a known folder hierarchy.
- The items don’t share reliable metadata yet.
Choose a Smart Bin if:
- You want a view that updates as metadata changes.
- You need to gather related items from several ordinary bins.
- The same search is useful repeatedly.
- The criteria are clear enough to explain and maintain.
A Smart Bin isn’t a backup, project archive, or verified media-management process. It organizes project references. It doesn’t make source files portable or guarantee another workstation has access to them. Plan media storage separately.
How can I keep marker keywords useful during review and handoff?
Keep review instructions in marker names and Notes, use keywords for reusable classifications, and define terms collaborators will see. That gives a reviewer enough context without turning the keyword list into a conversation transcript.
For a marker requesting a change, include the action and reason. A marker named Replace opening shot could have a note explaining which alternative to use. Add a keyword like client-change only if you expect to gather similar requests across the project. The marker holds the local instruction; the keyword groups related work.
For an editorial select, don’t use approved unless someone with authority has actually approved it. Use select-candidate if the meaning is “consider this,” and reserve approved for a real approval state. Clear terms prevent a Smart Bin from making a tentative choice look like sign-off.
Before handoff:
- Open the Smart Bins a collaborator is expected to use.
- Confirm each bin name describes what it returns.
- Check a few markers and notes to ensure they provide enough context.
- Remove or rename ambiguous terms that no longer describe the project.
- Tell the recipient which keywords mean candidates, corrections, approvals, or unresolved items.
For a client-review workflow centered on marker comments, the marker review guide is a useful companion. Use keywords and Smart Bins when you need to sort those markers or their associated footage by topic.
Remember that a Smart Bin may return the source clip even when its keyword is on a marker. Tell the recipient they may need to jump to the marker to see the relevant range. That small clarification can prevent someone from reviewing a long recording and wondering why it appeared.
What if a keyword or Smart Bin doesn’t behave as expected?
Treat the issue as a mismatch between metadata, rule, or view until you confirm otherwise. Test one known clip or marker with one simple rule before changing the rest of the project.
Use this decision path:
- The keyword isn’t visible in the Metadata Editor: Check whether you selected a clip or a marker, then open the corresponding metadata field or marker dialog.
- The keyword is visible, but the bin is empty: Check the rule’s field, operator, spelling, and scope.
- The bin contains unexpected clips: Check whether the keyword was applied to whole source clips rather than only to markers.
- The bin shows the source, not the marked range: Jump to the marker or create a marker subclip if you need an independent range.
- The keyword appears under an automatic category but not your custom bin: Check whether the custom rule targets the same keyword type.
- A tutorial’s control isn’t where you expect: Check the Resolve version and page, then refer to the current manual.
- The Smart Bins list is hidden: Look in the Media Pool’s view or options controls for its display setting.
Don’t solve a rule problem by adding more and more keywords. That can hide the cause instead of fixing it. Confirm the attachment point first, then the rule, then the scope.
If you need help locating a control in your current Resolve layout, TryUncle can provide on-screen guidance while you work. It’s available for Mac and Windows, and you stay in control of the actions you take.
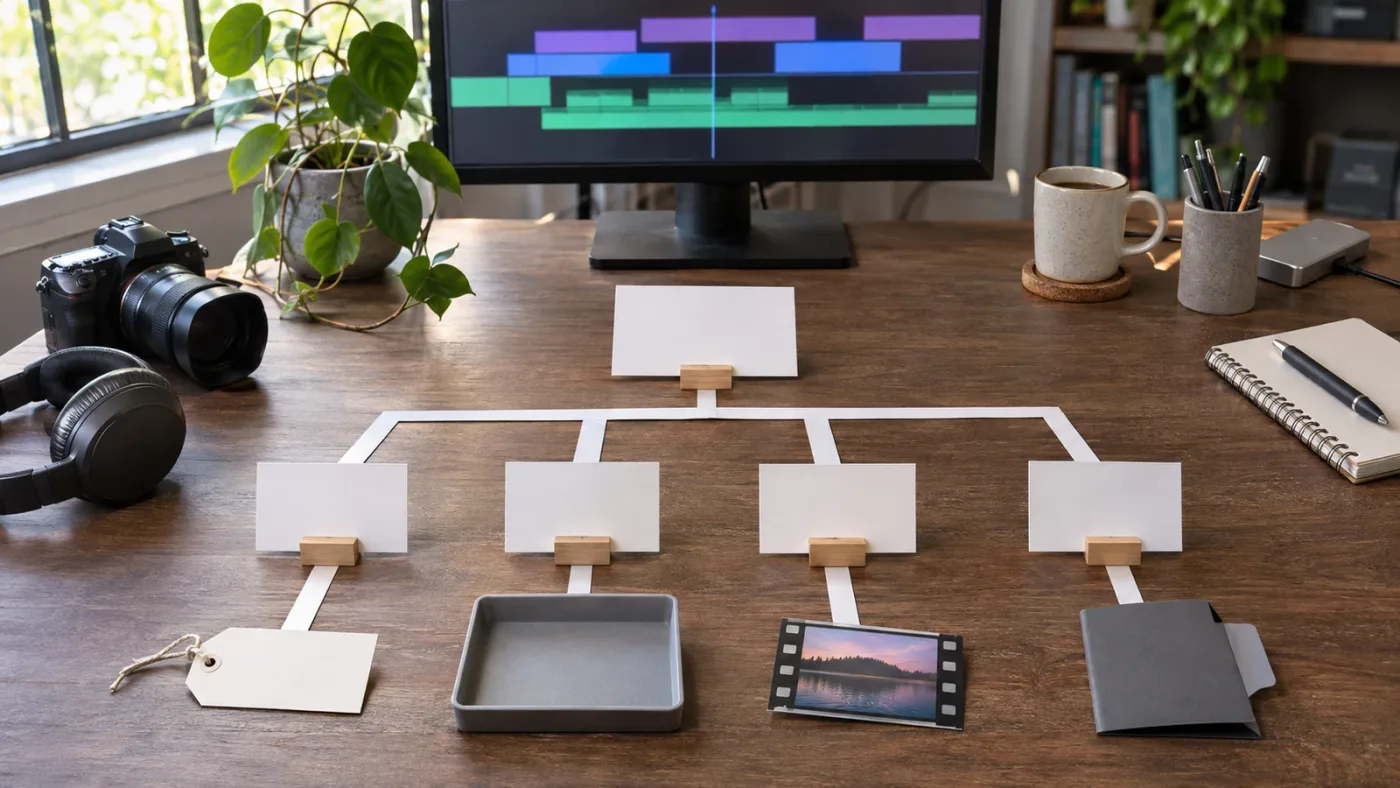
What is the simplest reliable setup to start with?
Start with a few clip keywords, a few marker keywords, and a small number of Smart Bins tied to real retrieval questions. Keep clip descriptions broad, marker descriptions specific, and bin rules simple enough to explain to another editor.
- Decide whether each label applies to the whole source or one moment.
- Use one spelling for each keyword.
- Put detailed instructions in marker names and Notes.
- Use clip keywords for source-level searches and marker keywords for moment-level retrieval.
- Create Smart Bins for questions you expect to ask repeatedly.
- Test each result with known media before adding more rules.
- Tell collaborators what important status terms mean.
That’s enough to make a project searchable without building an elaborate taxonomy. Add complexity only when a real search fails. If you can’t say what a Smart Bin is meant to find, it probably doesn’t need to exist yet.
In DaVinci Resolve 21, reliable searches start with metadata attached at the right level.
Frequently asked questions
- How do I find clips by marker keywords in DaVinci Resolve 21?
- Add a keyword in the marker dialog, then use its automatic keyword Smart Bin or a Smart Bin rule that matches marker keywords. The result may be the source clip containing the marker rather than a trimmed excerpt.
- What is the difference between clip keywords and marker keywords in DaVinci Resolve?
- Clip keywords describe the source clip as a whole. Marker keywords describe a marked point or range within a clip. Both can help you search, but they answer different questions.
- Why is my keyword Smart Bin empty in DaVinci Resolve?
- Check that the keyword is attached to the intended clip or marker, that the bin checks the corresponding keyword type, and that the term and rule match. A marker keyword and a clip keyword are not interchangeable.
- Do Smart Bins move or duplicate clips in DaVinci Resolve?
- No. A Smart Bin is a metadata-based view of matching media. The source clips stay in their ordinary bins.
- Can I use marker keywords on the Cut page in DaVinci Resolve 21?
- Resolve 21 supports Smart Bin views on the Cut page. Open the Media Bin dropdown to access a Smart Bin or create one. Marker editing controls still depend on the page and workspace.
Sources
Put this guide to work with TryUncle.
Ask about the step you’re on. TryUncle sees your screen and points at the control you need, so you can keep learning in your own project.
Get TryUncle for Mac or WindowsKeep reading
Guides · Jul 16, 2026 · 36 min
Folder and Bin Naming Conventions for DaVinci Resolve Projects
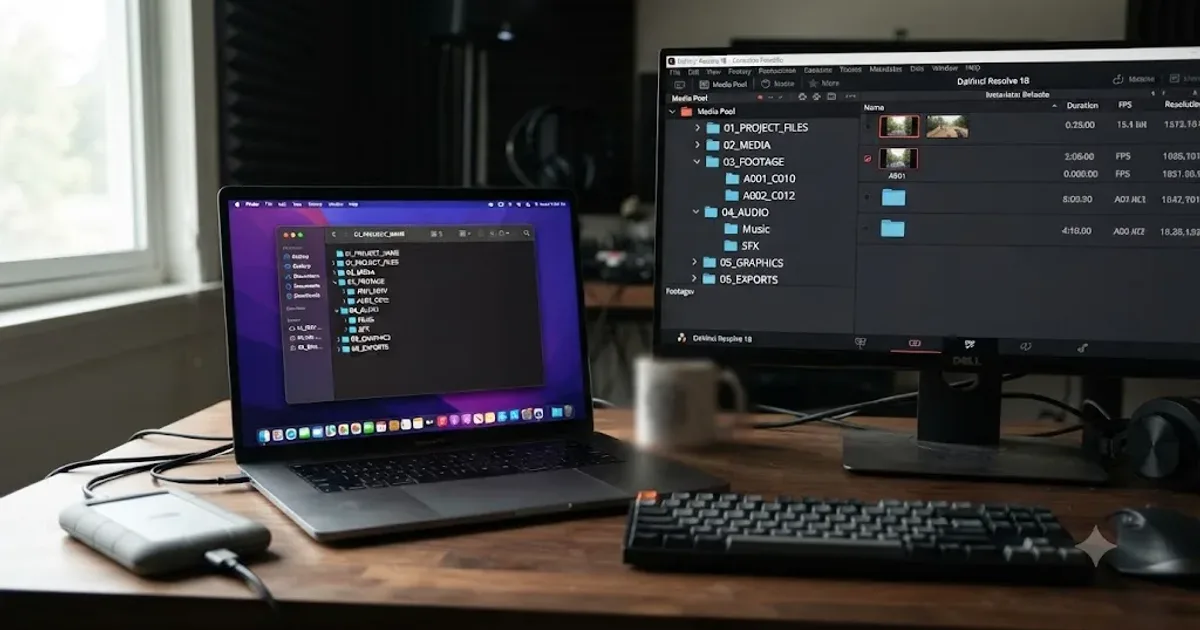
A practical naming system for DaVinci Resolve folders and bins: project structure, camera bins, Power Bins, Smart Bins, and what breaks relinking.
Guides · Jul 24, 2026 · 41 min
How to Use Markers in DaVinci Resolve for Client Review
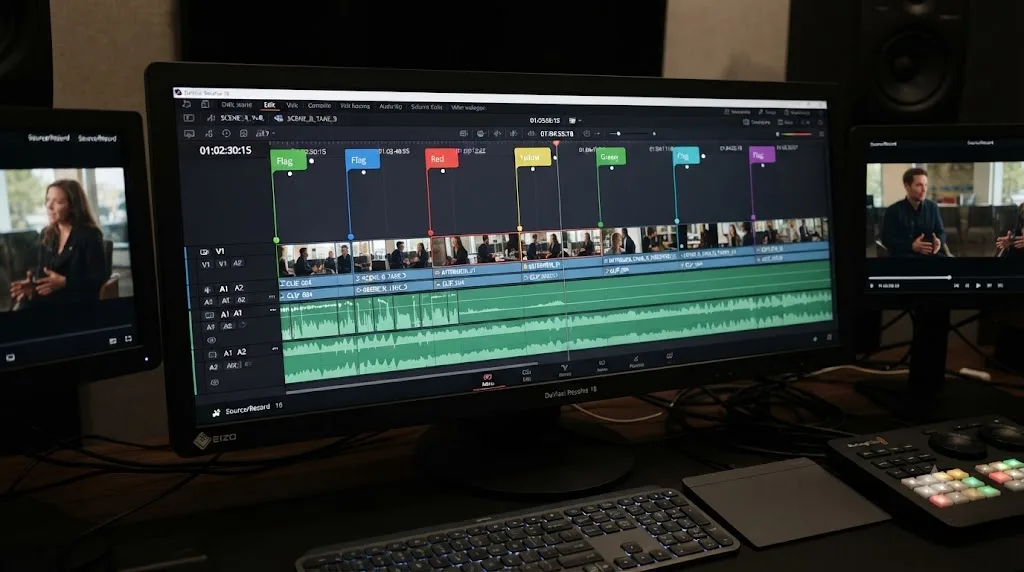
Add, color-code, and export DaVinci Resolve markers for client review: the M key, marker colors, EDL export, and Blackmagic Cloud sync explained.
Guides · Oct 22, 2026 · 30 min
DaVinci Resolve Batch Rename Clips in the Media Pool
Batch rename DaVinci Resolve clips in the Media Pool with Clip Attributes, metadata, and safe naming workflows that preserve camera originals.