Articles / Guidesupdated for DaVinci Resolve 21.1 (October 2026)
DaVinci Resolve Nested Fusion Clips Workflow: Enter the Right Comp
Quick answer
For a DaVinci Resolve nested Fusion clips workflow, first identify whether your timeline item is a Fusion clip, compound clip, or nested timeline. Open the container’s contents with Open in Timeline when you need an inner clip’s Fusion composition; select the container itself when you want to composite the whole nested result. Check the MediaIn node and viewer before editing.
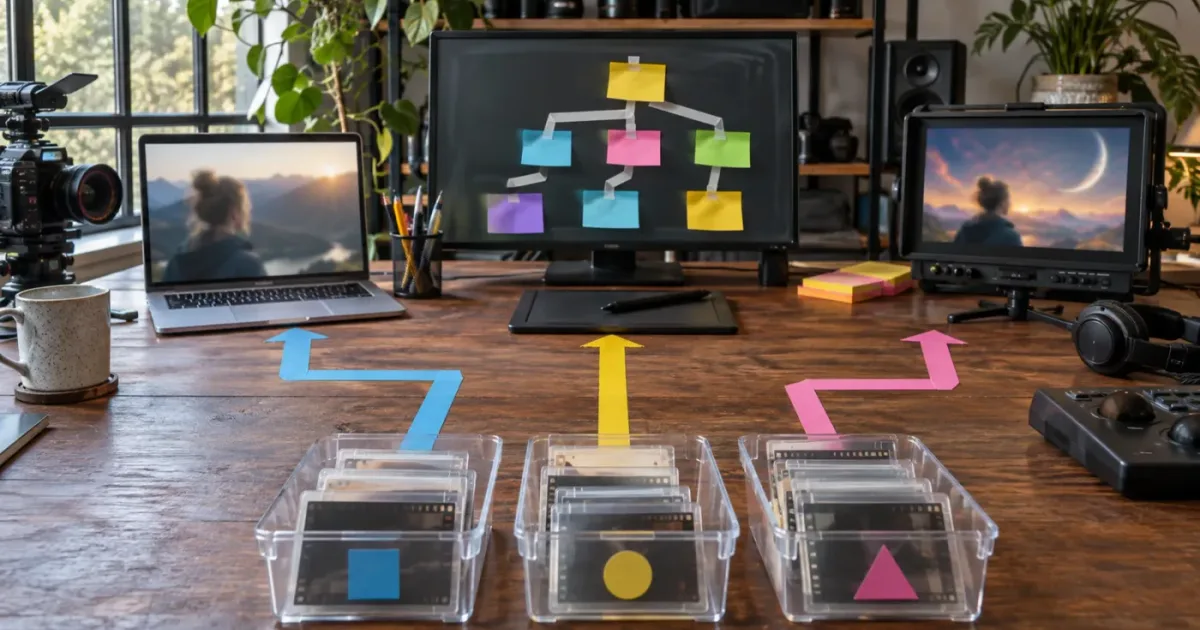
I’ve seen Fusion confusion begin with a reasonable assumption: the clip visible in the timeline must be the clip Fusion is showing. But a nested timeline, a compound clip, and a Fusion clip don’t open the same way. The guide below gives you a repeatable way to identify the container, enter the correct level, and confirm what Fusion is actually processing. As of October 2026, the current Blackmagic support page lists DaVinci Resolve 21.1 manuals. (blackmagicdesign.com)
What does “nested Fusion clips workflow” mean in DaVinci Resolve?
A nested Fusion clips workflow means choosing whether Fusion should work on an individual clip, a multi-layer composite, or the finished output of a timeline container. “Nested Fusion clip” isn’t one universal container type in Resolve, so the first step is naming what you have.
Three Resolve objects often get mixed up:
- Fusion clip: A container created from selected timeline clips. It brings those layers into Fusion as inputs to one composite.
- Compound clip: A group of clips that behaves like a single item on the parent timeline, while retaining its constituent clips inside.
- Nested timeline: A timeline placed inside another timeline. The instance on the parent timeline behaves like one clip, but its contents remain in the original timeline.
These objects can all appear as one item on a parent timeline. That visual similarity is the trap. Double-clicking, changing pages, or right-clicking a clip doesn’t necessarily take you to the inner clip you meant to edit.
The practical distinction is what you’re trying to change. If the goal is to composite the entire group as one image, open Fusion on the outer item. If the goal is to change an effect on one source clip inside the group, enter the container’s timeline first, select that source clip, and then open Fusion.
Blackmagic’s Resolve manual describes compound clips and nested timelines as single timeline items that can be composited as a single MediaIn in Fusion. To work on their original clips separately, open the container in its timeline and select an individual clip. (imaster.org)
The name of the timeline item tells you what Fusion can see, not which inner clip you intended to edit.
A dependable workflow therefore has two checks before you touch a node: which timeline level is open, and what media the Fusion composition is receiving. If either answer is unclear, pause. A few seconds spent confirming the input is safer than building a node tree on the wrong source.
Should I use a Fusion clip, compound clip, or nested timeline?
Choose a Fusion clip when you want selected overlapping layers to become one Fusion composite. Choose a compound clip when you want a group of clips to act as one editable block. Choose a nested timeline when the material is already organized as a sequence you want to place inside another sequence.
| Your goal | Better starting point | What you’ll edit in Fusion | Main caution |
|---|---|---|---|
| Combine stacked timeline layers in one node graph | Fusion clip | The selected layers, represented by MediaIn nodes and Merge nodes | The Fusion clip’s working resolution follows the timeline resolution |
| Keep a group of cuts together as one timeline item | Compound clip | The compound as a single input, or an inner clip after opening the compound in Timeline | Don’t confuse the outer compound’s grade or effect with an inner clip’s effect |
| Assemble scenes, reels, or sequences from other timelines | Nested timeline | The nested timeline as one input, or its original clips after opening that timeline | Editing or deleting material in the original timeline can affect nested instances |
| Reuse the same Fusion setup across clips or timelines | Referenced composition | The referenced composition linked to one or more clips | Linked instances share changes; check the supported source conditions |
| Build a title or graphic without source footage | Fusion Composition generator | The blank composition you populate with nodes | It starts empty, so it won’t automatically contain your timeline layers |
The table is a decision aid, not a claim that one container is always best. For example, a lower-third over a single shot may need only the shot’s ordinary Fusion composition and a text node. A multi-layer logo replacement may benefit from a Fusion clip or referenced composition, depending on whether you want a self-contained composite or a reusable linked setup.
A nested timeline can be the right editorial container even when it isn’t the simplest way to build a multi-layer Fusion graph. Keep editing decisions separate from compositing decisions: first decide how the timeline should be organized, then decide which specific images need to enter Fusion together.
If you’re choosing between compound and Fusion clips for a particular timeline, see the compound clip vs. Fusion clip comparison. If your decision is between a compound clip and a nested timeline, use the compound clip vs. nested timeline guide.
How do I open the right clip inside a nested timeline?
To open an inner clip in Fusion, first open the parent compound clip or nested timeline in its own timeline, then select the inner clip and open Fusion. If you leave the parent timeline open, Resolve may correctly show the whole nested result rather than the source clip inside it.
Use this sequence:
- Go to the Edit page. Find the parent timeline that contains the item you want to work on.
- Right-click the outer item. Choose Open in Timeline for a compound clip or nested timeline. This changes the timeline view to the contents of that container.
- Check that you are inside the container. Look at the clips and track structure now visible in the timeline. If the timeline still shows only the outer item, you haven’t entered its contents.
- Find the specific inner clip. Select the clip whose Fusion work you want to change. Don’t rely only on the playhead; selection and playhead position can point at different timeline items.
- Park the playhead over the target. Put it within the selected clip’s visible duration.
- Open the Fusion page. Confirm that the MediaIn node and viewer show the intended source before changing the composition.
The exact navigation back depends on the container. When you open a compound clip, Resolve provides a timeline path control that you can use to return to the enclosing timeline. For a nested timeline, the manual says that opening the original timeline doesn’t create the same path control; return to the previous timeline using the Media Pool or the Timeline drop-down. (imaster.org)
If the item is a Fusion clip, you usually don’t need to enter an inner timeline just to see the composite’s layers. Open Fusion on the Fusion clip itself. The node graph should contain inputs for the selected layers and Merge nodes that reproduce their arrangement. You can still open and edit the timeline material separately when the change is editorial rather than compositing.
The intended state is not “the Fusion page is open.” It is “the Fusion page is open on the intended timeline level, with the intended input in its viewer.” Resolve can show a valid composition that is simply not the composition you meant to change.
Why does Fusion open the wrong clip?
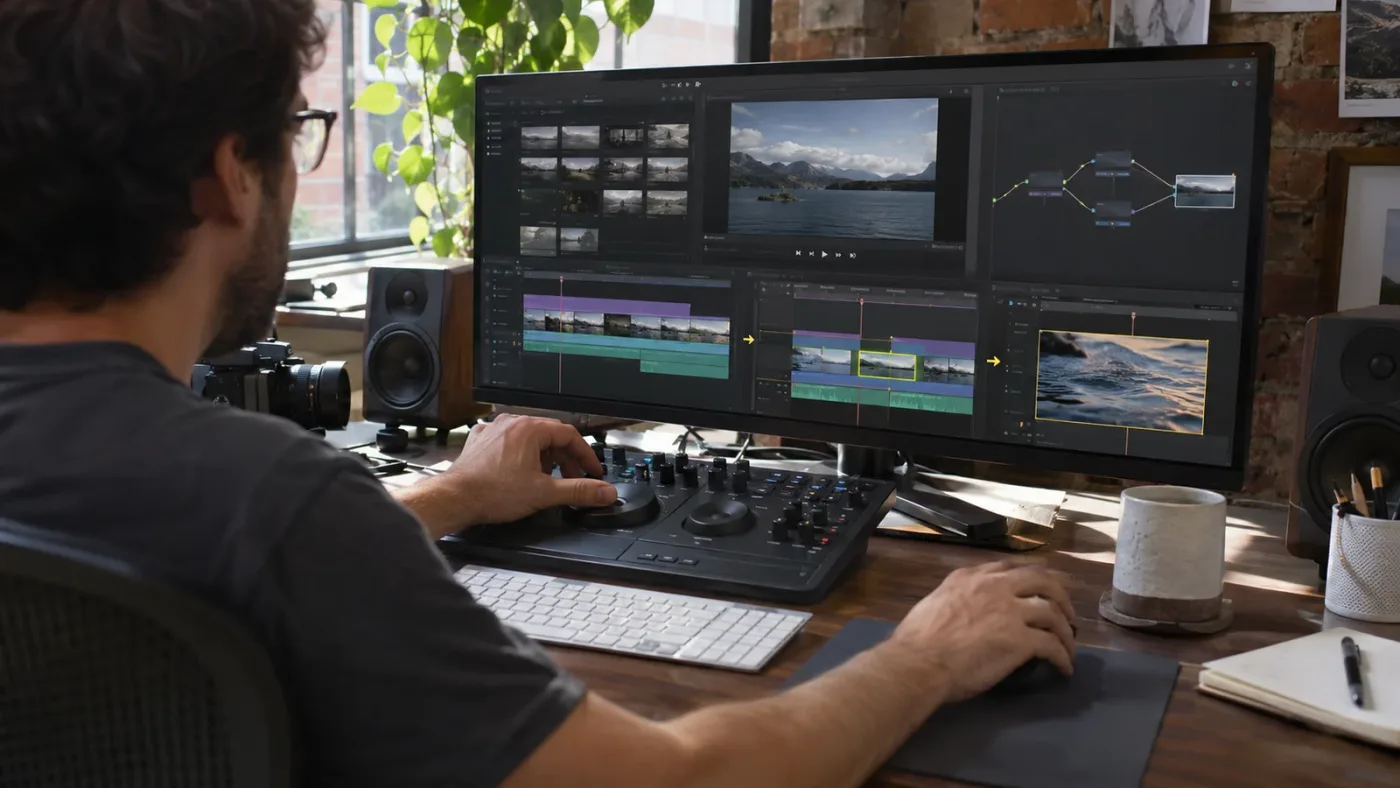
Fusion appears to open the wrong clip when the active timeline context or selected input differs from the one you expected. The page may be showing the outer nested item, another selected clip, or a different MediaIn node in the composition.
Check these causes in order:
- You opened Fusion from the parent timeline. In that case, the item at the parent level is the nested timeline or compound clip. Resolve can treat it as one input. Open the container in Timeline first if you need to work on its contents.
- The playhead and selection disagree. Move the playhead over the target, then verify the clip selection. Don’t infer which input is active from a highlighted clip elsewhere in the interface.
- You’re looking at an unselected node. In a multi-input Fusion graph, selecting a MediaIn node and viewing it is different from viewing the final output. Confirm which node is loaded into the viewer and whether you’re examining an intermediate input or the composite output.
- You opened a different timeline. Nested timelines are original timelines used inside other timelines. Reopening the source timeline from the Media Pool can take you to the original sequence, not a separate copy of its contents.
- The composition is referenced or shared. A referenced composition may be linked to more than one clip. Editing it can affect every linked instance, so use the Media Pool’s Usage option or the timeline context menu to confirm which clips refer to it. Blackmagic documents the referenced-composition workflow as reusable across clips and timelines. (documents.blackmagicdesign.com)
Before editing, compare three signals: the timeline name or path, the selected timeline clip, and the MediaIn image. If they don’t line up, navigate back to the Edit page and identify the container again.
A simple naming habit can prevent repeat confusion. Use names that tell you whether a timeline is a finished scene, a source sequence, or a nested assembly. For example, SC03_Source, SC03_Comp, and Film_Master are clearly different roles. Those are example names, not required Resolve conventions.
If your node graph has several MediaIn nodes, select them one at a time and check the viewer. In a Fusion clip made from overlapping layers, the node order may not visually match the Edit page track order. Blackmagic notes that the bottom timeline layer can appear at the top of the Fusion node editor even though the Merge connections preserve the composite arrangement. (imaster.org)
When Fusion’s viewer looks wrong, verify the input before changing the node graph.
How do I create a Fusion clip from stacked timeline clips?
Create a Fusion clip by selecting the timeline layers that should be composited together, then choosing New Fusion Clip from the Edit page context menu. Open the resulting Fusion clip in Fusion and confirm that its MediaIn and Merge nodes represent the selected stack.
A practical sequence:
- Arrange the clips so the intended layers overlap in time on the Edit page.
- Select the clips that should feed the composite.
- Right-click one of the selected clips and choose New Fusion Clip.
- Confirm that Resolve has replaced the selected material with a Fusion clip on the timeline.
- With the Fusion clip active, open the Fusion page.
- Inspect the node graph before adding effects. Look for a MediaIn for each layer and Merge nodes that combine them.
- Load the final output node into the viewer and check that the composite matches the intended layer order.
This approach is useful for an overlay, screen replacement, multi-layer logo, or other effect where the selected timeline layers need to be available together inside one Fusion composition. It does not mean every clip in the surrounding sequence becomes part of the composition. Only the selected stack is the intended input set.
One important trade-off is resolution. Blackmagic’s Fusion reference manual says Fusion clips change the working resolution of their individual clips to match the timeline. Its example is two 4K clips stacked in an HD timeline: making a Fusion clip changes their working size to HD. If retaining source resolution matters, the manual recommends bringing one clip into Fusion from the timeline and adding other clips from the Media Pool instead. (documents.blackmagicdesign.com)
That distinction matters for detailed keying, tracking, or cleanup work. It’s not a reason to avoid Fusion clips in general. It’s a reason to choose the container with the resolution behavior you need, rather than creating one automatically whenever two clips overlap.
If the composite is missing a layer, don’t immediately add a new MediaIn. First check whether you selected the right clips, whether the clips overlap, and whether the Fusion clip contains the intended stack. Adding media manually may be appropriate, but it changes the composition’s input structure and can make it harder to tell which source is connected to which effect.
When should I use a referenced composition instead of nesting?
Use a referenced composition when you want to reuse one Fusion setup across multiple clips or timelines. Use a nested timeline when you want a sequence of edited clips to behave as a single item in another sequence.
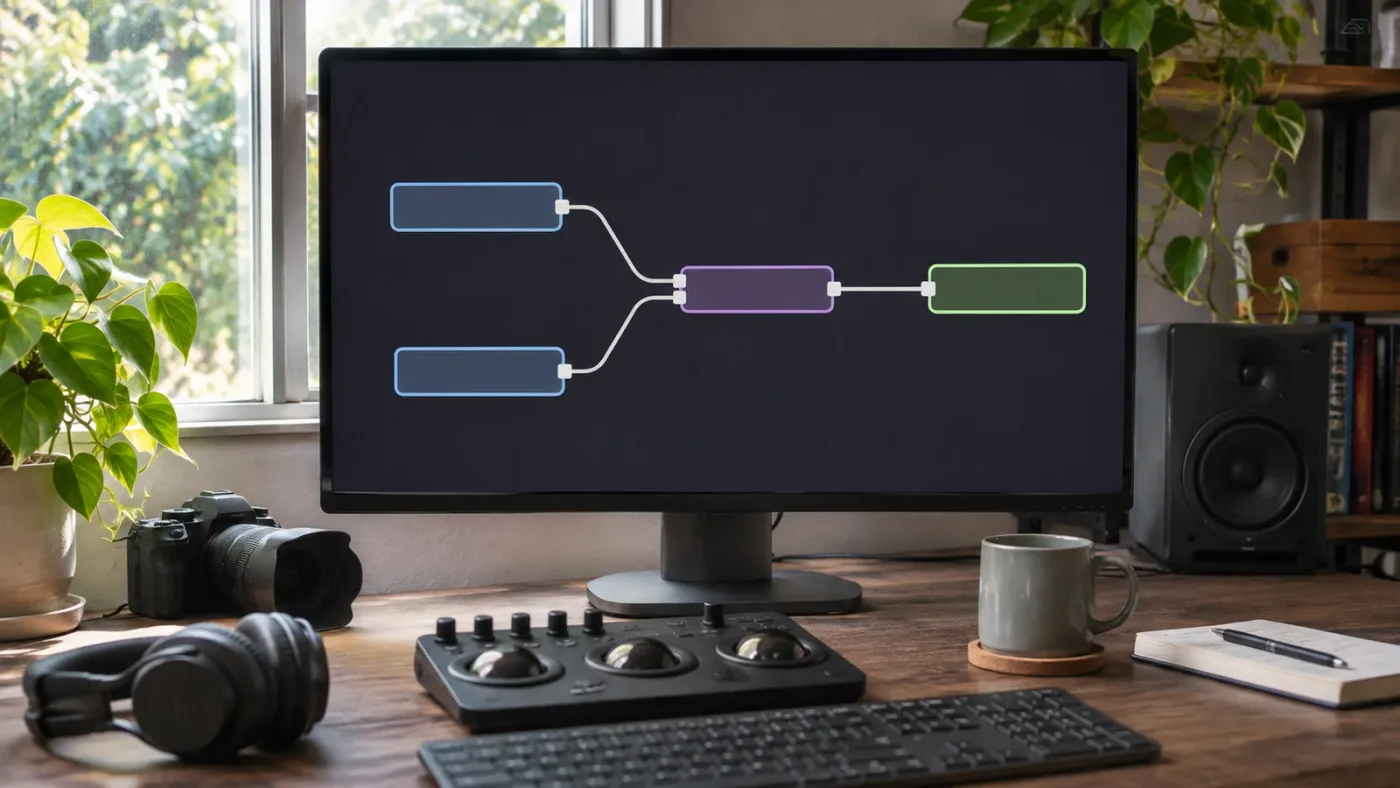
Blackmagic introduced referenced compositions in DaVinci Resolve 19. The official guide describes creating one by selecting a single clip or a stack, choosing Create Referenced Composition, and then linking the resulting Media Pool composition to other clips. The guide also says changes to that shared composition apply across connected clips. (documents.blackmagicdesign.com)
A referenced composition fits a repeated visual treatment, such as applying the same compositing setup to several shots. It can also preserve a composition in the Media Pool even if the original timeline clip is removed. That persistence is useful, but it doesn’t make the composition independent of every source clip or guarantee that all possible timeline edits will behave alike.
Resolve’s documented conditions matter. The clips must overlap at least partly for the multi-layer creation command to be available. The top selected clip becomes the reference point, with additional MediaIn nodes for the lower tracks. The manual also notes that referenced compositions do not support clips with differing frame rates or clips with speed changes. (imaster.org)
A referenced composition is not simply “a nested Fusion clip.” It’s a separate reusable composition linked to timeline clips. That makes it a poor substitute for opening a nested timeline to revise an edit, and a potentially useful choice when your goal is shared compositing work.
Use this rule of thumb:
- Change the edit or timing of a scene: open the nested timeline or compound clip in Timeline.
- Composite the current multi-layer stack as one self-contained item: create or edit a Fusion clip.
- Apply the same composition to several compatible clips: consider a referenced composition.
- Create a reusable graphic without footage: start from a Fusion Composition generator or a composition saved in the Media Pool.
The best option depends on what should remain linked after the first composite is finished. If changes should propagate to other connected clips, a referenced composition may suit the job. If each instance should diverge independently, use separate compositions or another workflow that keeps those versions distinct.
How do I keep context while moving between nested timelines?
Keep context by making each navigation move deliberate and confirming the current timeline before opening Fusion. In Resolve, “go back” can mean returning from a compound clip using its path control or reopening a prior nested timeline from the Media Pool or Timeline drop-down.
Use a small navigation routine:
- Before entering: note the parent timeline name and the name of the container you’re opening.
- After entering: verify the visible tracks and clip names. The timeline should show the container’s contents.
- Before opening Fusion: select the target inner clip and place the playhead over it.
- After opening Fusion: check the viewer and MediaIn node.
- When leaving: return to the parent timeline using the method that matches the container type.
- After returning: confirm that the outer timeline still contains the intended item at the expected point.
For compound clips, the path control is a direct visual cue to the enclosing timeline. For nested timelines, don’t wait for that same control to appear; Blackmagic’s manual says there is no path control when opening the original timeline. Use the Timeline drop-down or locate the parent timeline in the Media Pool instead. (imaster.org)
This matters when several timelines share similar names or when you keep versions of a scene. A timeline called Scene 04 may be the original scene, the scene with a temporary composite, or the assembly that uses the scene. A clear naming scheme and a visible return route reduce the chance that an edit lands in the wrong version.
For longer jobs, keep a short navigation note outside the node graph, such as: “Film_Master > Scene_04_Nest > VFX_Logo.” That is a workflow suggestion, not a Resolve feature. It gives you a compact record of the intended route and makes it easier to recover when you return to the project later.
Avoid relying on “I’ll remember where I was.” Fusion can display a technically correct frame while the timeline context is wrong. A quick context check is faster than undoing a set of changes made to the wrong composition.

Why is a nested timeline black or missing inside Fusion?
A nested timeline can appear black or incomplete in Fusion when the open composition has no usable image at the current frame, the wrong timeline level is active, or the composition’s output isn’t connected as intended. First determine whether Fusion is receiving the nested timeline as one MediaIn or whether you opened its inner timeline and selected a source clip.
Troubleshoot in this order:
- Check the Fusion input. Load the MediaIn node into a viewer. If it is black or shows the wrong image, the problem is upstream of the final node graph. Return to the Edit page and check the timeline item and playhead.
- Check the time range. Move the playhead to a point where the nested clip visibly contains footage. A valid composition cannot show source frames outside the available media or timeline range.
- Check the parent timeline. If the nested item is disabled, obscured, or outside the visible playhead position, the parent timeline may not show the expected composite.
- Check the inner timeline for missing sections. The Resolve manual warns that trimming or deleting clips in the original nested timeline can leave those areas black in nested instances. The parent instance’s duration doesn’t automatically change to match edits in the source timeline. (imaster.org)
- Check MediaOut. If you’re editing a node graph, confirm that the desired result reaches MediaOut. A node shown in a viewer isn’t necessarily the final output sent back to the timeline.
Don’t start by resetting the composition or deleting the container. That may remove useful structure without identifying the cause. The better diagnostic question is: At which step does the image disappear? If MediaIn is already black, investigate timeline context and source availability. If MediaIn looks right but the final output is black, inspect the connections from the input through the final output node.
A nested timeline may also be incomplete because its original timeline changed after it was placed in the parent. That’s a real editorial consequence, not necessarily a Fusion rendering fault. Check the source timeline’s clips and duration before rebuilding the outer composite.
How do I check the final composite without losing the inner clip?
Verify the inner clip’s Fusion result in its own timeline, then return to the parent and check how that result appears as a nested item. This two-level review catches both composition errors and context errors.
Use this review pass:
- In the inner timeline, select the clip you changed.
- Open Fusion and view the final output, not only an intermediate node.
- Return to the Edit page and confirm the inner clip displays as expected.
- Navigate back to the parent timeline.
- Move the playhead through the nested instance, including its beginning and end.
- Confirm that the parent timeline’s other layers still composite correctly around it.
An effect may look right on the source clip but wrong after nesting because the outer timeline adds other images, transforms, grades, or timing. The reverse can also happen: the parent timeline may look fine while the inner source clip still contains an unintended node or animation. Check both levels when the effect has to work in context.
If the change is a reusable referenced composition, inspect another linked clip too. Blackmagic’s documentation says edits to the referenced composition apply to connected clips, so a shared adjustment should be checked on more than the clip where you first made it. (documents.blackmagicdesign.com)
If you need help locating the right control while you work, TryUncle is the on-screen assistant for DaVinci Resolve on Mac and Windows; ask in plain words and Uncle points at the exact control on your screen.
Which nested Fusion workflow should I use for common tasks?
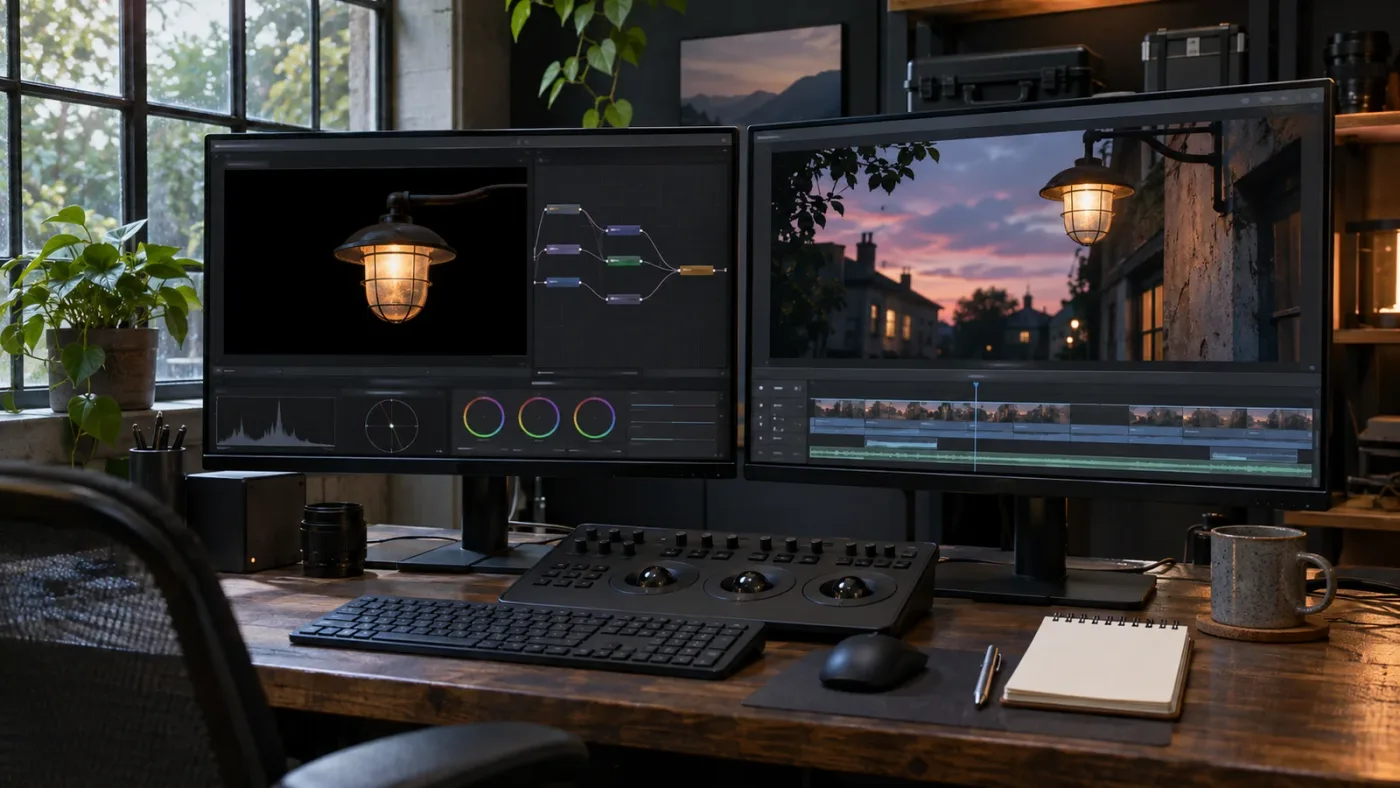
Match the task to the scope of the image you need to change. Work on the source clip for a clip-specific effect, on the Fusion clip for a selected multi-layer composite, and on the parent timeline when the finished nested result is the intended input.
| Example task | Open this level | Reason |
|---|---|---|
| Track a sign on one shot inside a scene timeline | Open the scene timeline, select the shot, then open Fusion | The tracking composition belongs to the individual shot |
| Composite a logo over a shot using two selected timeline layers | Open the Fusion clip created from the selected stack | Fusion needs both layers in one composition |
| Add an effect to a completed scene as one image | Select the nested scene in the parent timeline and open Fusion | The scene’s finished output is the intended input |
| Correct one cut inside a compound montage | Open the compound clip in Timeline, select the cut, then open Fusion | The change belongs to an individual inner clip |
| Apply the same overlay treatment to compatible shots | Consider a referenced composition | A linked composition can serve multiple clips |
| Build a graphic title on an empty timeline | Create a Fusion Composition | There is no source clip to nest or composite |
These are workflow examples, not measured tests. The correct level follows the scope of the requested change. Ask: “Should this affect one shot, the selected layers, or the completed sequence?” That answer usually identifies where to open Fusion.
For a single shot inside a scene, don’t create a Fusion clip around the whole scene just to access that shot’s nodes. Enter the scene timeline and edit the shot itself. For a composite that must combine several stacked layers in sync, don’t open one layer’s ordinary single-clip composition and assume the other timeline layers are automatically included. Select the intended stack and use a container designed to bring those layers into the same composition.
If the workflow will be reused, decide that before building a large node tree. A one-off composite can live in a Fusion clip. A treatment shared across compatible clips may fit a referenced composition. A reusable title or motion graphic may belong in a Media Pool Fusion Composition. These are different reuse patterns, even though each involves Fusion nodes.
For a broader introduction to Fusion page controls and node basics, see the DaVinci Resolve Fusion page tutorial for beginners.
How do I stop losing context in a nested Fusion workflow?
Stop losing context by naming the container, opening one timeline level at a time, and checking the MediaIn image before editing. Don’t treat the Fusion page as proof that the correct composition is active.
Use this compact checklist whenever a Fusion clip or nested item looks confusing:
- Name the object: Fusion clip, compound clip, nested timeline, or referenced composition.
- Name the goal: one source clip, several stacked layers, or a finished sequence.
- Enter the correct level: use Open in Timeline when you need the original clips inside a container.
- Select and position: select the intended clip and place the playhead within it.
- Confirm the input: inspect MediaIn and the viewer before changing nodes.
- Confirm the output: check MediaOut, then return to the Edit page.
- Check both levels: verify the inner result and the parent timeline composite.
- Protect shared work: if the composition is referenced, check which clips are linked before changing it.
A simple rule keeps the workflow straight: edit inside the container when you mean to change its contents; edit the outer item when you mean to affect the container’s finished output. When those two goals are clear, Fusion’s nesting stops feeling like a maze and starts behaving like a set of separate, inspectable levels.
A Fusion clip is for a multi-layer composite; a nested timeline is for placing an edited sequence inside another sequence.
If Fusion still shows an unexpected image, stop before adjusting nodes. Return to the Edit page, identify the timeline item under the playhead, open the intended level, and verify the MediaIn again. That next check is the fastest way to recover the correct context.
Frequently asked questions
- Why does DaVinci Resolve Fusion open the wrong clip?
- Fusion follows the clip or composition Resolve has loaded from the active timeline context. Check the selected clip, the playhead position, and the Fusion page’s MediaIn node. If you need an inner clip, right-click its containing compound clip or nested timeline and choose Open in Timeline before opening Fusion.
- How do I open a clip inside a nested timeline in Fusion?
- On the Edit page, right-click the nested timeline instance and choose Open in Timeline. Select the inner clip you want, place the playhead over it, then open the Fusion page. To composite the whole nested timeline instead, return to the parent timeline and open Fusion on the nested instance.
- Should I use a Fusion clip, compound clip, or nested timeline?
- Use a Fusion clip to bring selected overlapping timeline layers into one Fusion composite. Use a compound clip to package clips into a single editable timeline item. Use a nested timeline to reuse or assemble a sequence. The right choice depends on whether you need a multi-layer Fusion node graph or an editable timeline container.
- Why does a Fusion clip look lower resolution than its source?
- Blackmagic’s Fusion manual explains that Fusion clips use the timeline resolution for their working resolution, so a clip made from 4K layers in an HD timeline can be reduced to HD in Fusion. For a workflow that needs source resolution, consider a referenced composition or bring additional media into a single-clip composition from the Media Pool.
Sources
Put this guide to work with TryUncle.
Ask about the step you’re on. TryUncle sees your screen and points at the control you need, so you can keep learning in your own project.
Get TryUncle for Mac or WindowsKeep reading
Comparisons · Oct 3, 2026 · 21 min
DaVinci Resolve Compound Clip vs Fusion Clip: Which?
DaVinci Resolve compound clip vs Fusion clip explained for Resolve 21. Learn which container fits editing, compositing, reuse, resolution, and timing.
Comparisons · Jul 16, 2026 · 31 min
Compound Clip vs Nested Timeline in DaVinci Resolve: Which One?
Compound clip or nested timeline in DaVinci Resolve? The real difference in linking, grading, audio buses, multicam, and render load, plus a decisive pick.
Guides · Jul 10, 2026 · 32 min
DaVinci Resolve Fusion Page Tutorial for Beginners
Learn the DaVinci Resolve Fusion page from zero: nodes, MediaIn/MediaOut, the Merge node, planar tracking, and keying a green screen, step by step.