Articles / Fixesupdated for DaVinci Resolve 21.0.2 (July 2026)
DaVinci Resolve Out of Disk Space Error While Rendering
Quick answer
DaVinci Resolve throws a disk space error mid-render because its render cache, not your footage, quietly filled the drive, or because its worst-case space estimate flagged a drive that actually has room. Open Playback, Delete Render Cache, All first, then check your destination and system drives before touching 'Stop renders when a frame cannot be processed.'
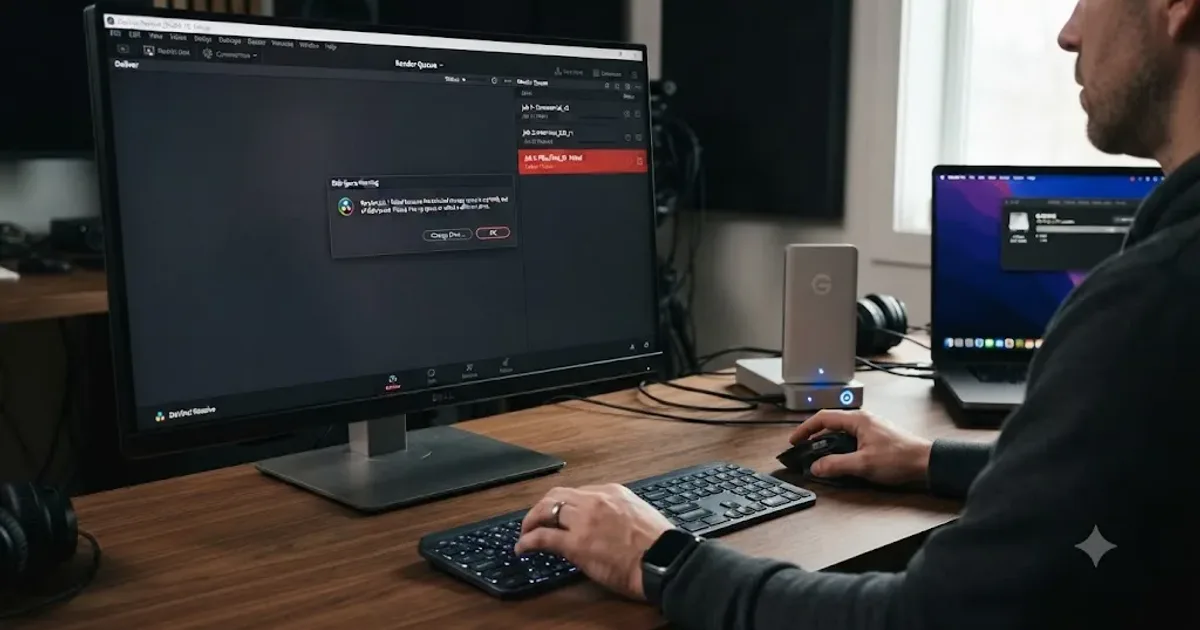
Your render was moving. Then it stopped, and DaVinci Resolve told you it's out of disk space, on a drive you could swear has room. You checked. It does. That gap between what the error says and what your file system shows is the whole problem, and it has a short list of actual causes once you stop assuming Resolve is simply lying to you.
What causes DaVinci Resolve's disk space error while rendering?
A handful of causes account for nearly every report of this exact message, and they split into two groups that matter for how you fix them: your drive really is running low, or Resolve's own accounting is pointing you at the wrong place entirely.
| Cause | What it looks like | Fastest fix |
|---|---|---|
| Render cache filling the system drive | Warning appears even though the export drive has space | Playback, Delete Render Cache, All |
| Worst case space estimate | Warning fires with tens of gigabytes still free | Confirm real free space, then proceed past the popup |
| Gallery stills and cache on the wrong volume | System drive fills while export drive stays untouched | Reorder Media Storage Locations, move Cache Files Location |
| Install footprint stuck on the system drive | Warning even after moving Project Media Location elsewhere | Free space on the system drive specifically, not just your media drive |
| FAT32 destination drive | Fails partway through a long export, not at the start | Reformat to exFAT, APFS, or NTFS |
| Genuinely full destination drive | Free space is actually near zero for the file you're building | Free space or pick a different drive in Location |
| Stale disk space reporting on Windows | Explorer shows old numbers after other apps wrote large files | Refresh the drive view, or reboot before trusting the number |
A DaVinci Resolve disk space error and an actually full hard drive are two different claims, and this entire guide exists because the software doesn't always distinguish between them clearly. Work through the sections below in order, because each one rules out a specific cause before you spend real time on the next.
Is your drive actually full, or is DaVinci Resolve's estimate wrong?
Answer this before you delete anything, because the fix is completely different depending on which one is true.
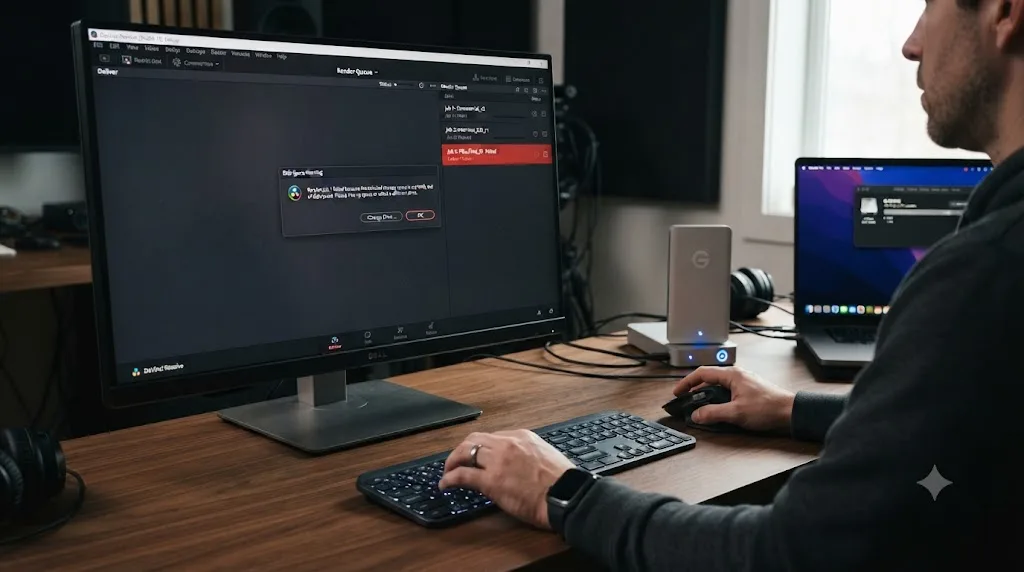
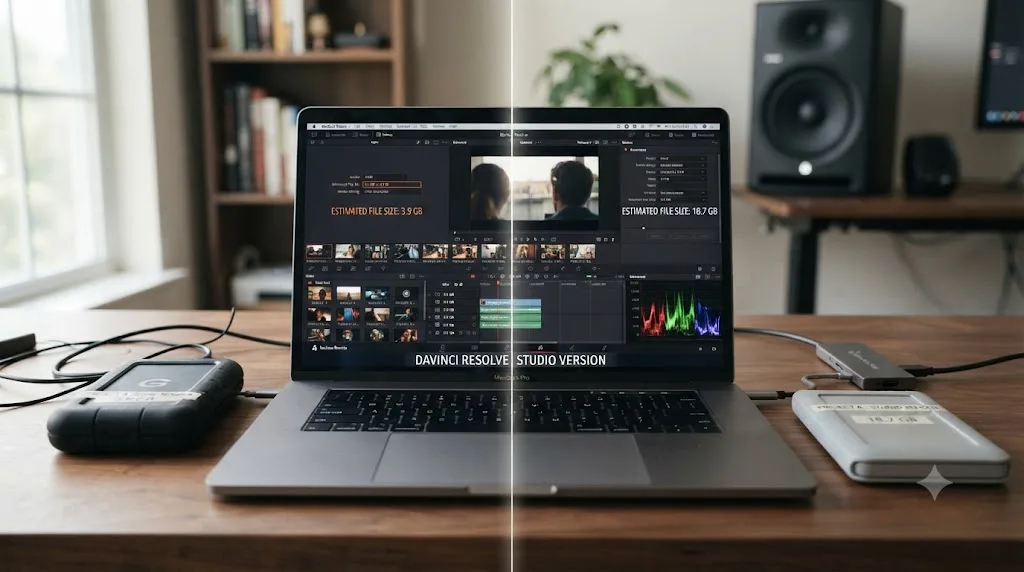
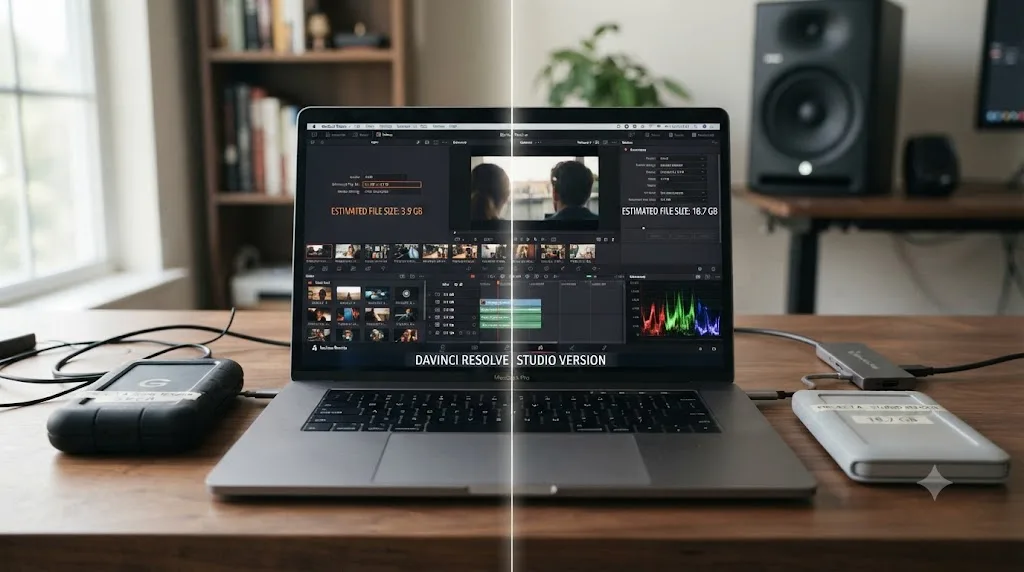
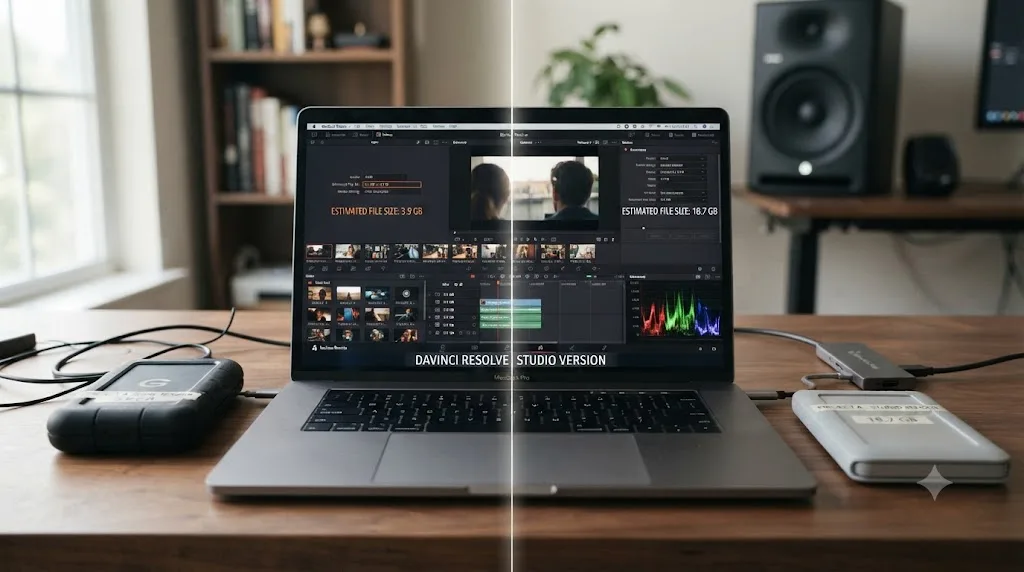
DaVinci Resolve calculates the space a render needs using a worst case scenario built from your timeline length, the codec you picked, and your timeline resolution, according to a discussion on the Blackmagic Design forum about an Insufficient Storage error. That's a deliberately conservative number. It assumes the least efficient outcome your codec and settings could produce, not the size your specific footage will actually land on. Users in that same thread reported the warning firing with hundreds of gigabytes free, which only makes sense once you know Resolve isn't reading your drive's actual capacity against your file's actual eventual size. It's reading a projected ceiling against whatever number your operating system reports as available right now.
That same forum thread describes how Resolve behaves once the warning appears: it still lets you add the render job to the queue and start it, and from there the render either finishes normally or genuinely runs out of space partway through. Version 20.1 added a confirmation step to this exact moment, an "Insufficient storage" popup asking whether you want to proceed anyway, described directly by a user in a thread titled "Insufficient storage popup (Thanks!)" on the same forum. That popup exists because Blackmagic knows the estimate is often wrong on the pessimistic side, and it's giving you the choice to override it rather than blocking the render outright.
Check your drive's real free space directly in Finder or File Explorer, not through Resolve's warning dialog, and do it fresh rather than trusting a number you glanced at ten minutes ago. If a large file finished writing somewhere on that drive recently, on Windows in particular, the Explorer sidebar can show a stale figure until you refresh the view or navigate away and back.
When DaVinci Resolve warns about disk space and your file system shows real room to spare, you're looking at a conservative estimate, not an actual shortage, and the fix is confirming that gap rather than freeing anything up. If your file system agrees the drive is nearly full, skip ahead to the render cache and system drive sections below before you assume you simply need a bigger drive.
Is DaVinci Resolve's render cache secretly eating your free space?
If your export drive genuinely has room but some drive somewhere on your system is full, this is very likely the answer, and it's the single most common cause behind this error once you rule out a bad estimate.
Resolve's render cache pre-renders effects heavy clips into playable files so playback and export don't have to recompute expensive work every time. That's useful, and it's also unmanaged by default. One Windows 10 user upgrading to DaVinci Resolve 18 reported the cache eating all available space on their system drive, with the application writing between 1 and 3 gigabytes of data to that drive every single second while editing, according to a thread titled "Davinci Resolve Cache (v18) using huge amount of Disk Space" on Blackmagic's forum. Deleting that cache freed up almost 900 gigabytes on the same machine.
A separate breakdown of this exact behavior describes it plainly: these cache files "are saved deep in a hidden folder on your hard drive. If you don't manage them, they will fill your drive until Resolve crashes," per Cutsio's guide to fixing cache issues in DaVinci Resolve. That's not hyperbole given the numbers above. A single 4K project with Smart Cache running for a few hours of timeline work can accumulate 20 to 40 gigabytes in the CacheClip folder alone, and optimized media on the same project, a two hour timeline transcoded to ProRes 422 HQ, can reach 200 to 400 gigabytes, according to a breakdown of clearing DaVinci Resolve's cache on Mac. Multiply either number by however many projects you've worked on since the last time you cleared anything, and a drive that started a session with plenty of room can be gone by the time you click Render.
DaVinci Resolve's render cache exists to make playback faster, and nothing in the default settings tells it to stop growing once it's done its job. There's no automatic clearing of cache files built into the application, according to a walkthrough of finding and deleting this exact data, per Beginners Approach's guide to clearing DaVinci Resolve's cache, which means a cache that helped you three projects ago is very possibly still sitting on your drive today, doing nothing but taking up space.
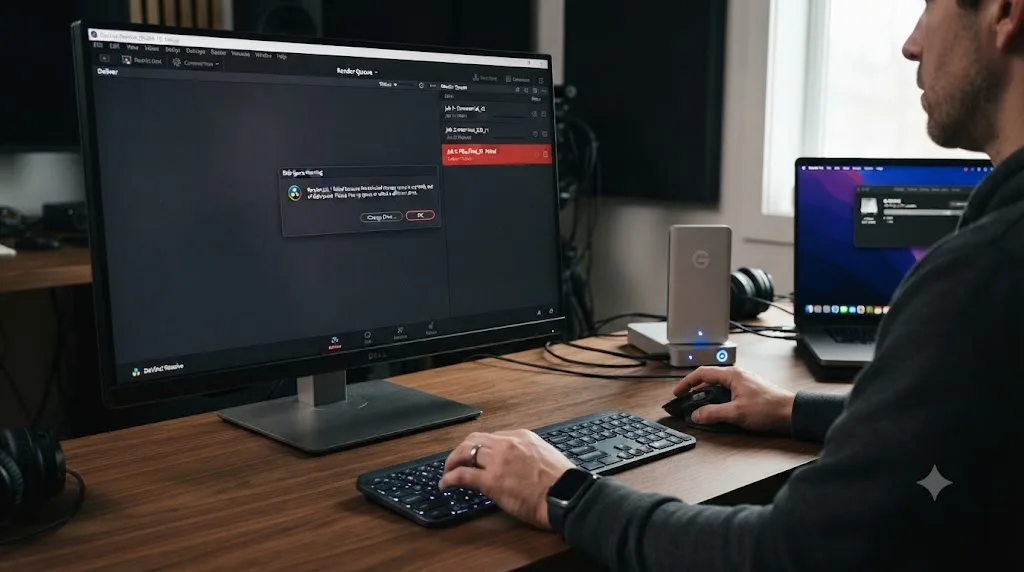
How do you delete DaVinci Resolve's render cache without breaking your project?
Through the application, not through Finder or File Explorer directly, at least on your first pass, because that's the only method that keeps Resolve's own record of your project in sync with what's actually left on disk.
Open the Playback menu and choose Delete Render Cache, then All. This is the safest, most complete option, and it clears cached data for every timeline in the currently open project rather than making you guess which specific section is the culprit. If you only want to reclaim space without touching anything you might still need, Unused deletes only cache clips that no longer correspond to anything currently in your timeline, leaving active caches intact, per the DaVinci Resolve reference manual on clearing cached media. Selected Clips clears cache for whatever you've highlighted, which is the narrowest option and the one to reach for when you know exactly which section is bloated.
If you'd rather see the actual folders, Resolve's cache lives under Preferences, System, Working Folders (or Project Settings, Master Settings, Working Folders on a per-project basis), in a Cache Files Location field. On a Mac, the default path sits at /Library/Application Support/Blackmagic Design/DaVinci Resolve/cache, inside which you'll find a CacheClip folder holding your render cache in .dvcc format, an OptimizedMedia folder holding transcoded source clips, a ProxyMedia folder, and a Fusion folder holding per-node caches, according to a walkthrough of clearing this cache on Mac. Windows follows the same structure under a different root path, reachable the same way through Working Folders.
One thing not to touch, regardless of how much space you're chasing: Gallery stills. They live near the same cache folders but they're your saved grades and still frames, not disposable render output, and the same Mac cache guide is direct about it, describing Gallery stills as data that "is not cache, and should not be deleted carelessly." The Fusion folder deserves the same caution, since it can hold project data alongside disposable caches depending on your setup. Deleting render cache through Resolve's own Playback menu costs you nothing but rebuild time, while deleting the wrong folder manually can cost you actual work, and those two outcomes are not close to equivalent. If you're unsure which folder is which, use the in-app menu and skip the manual route entirely.
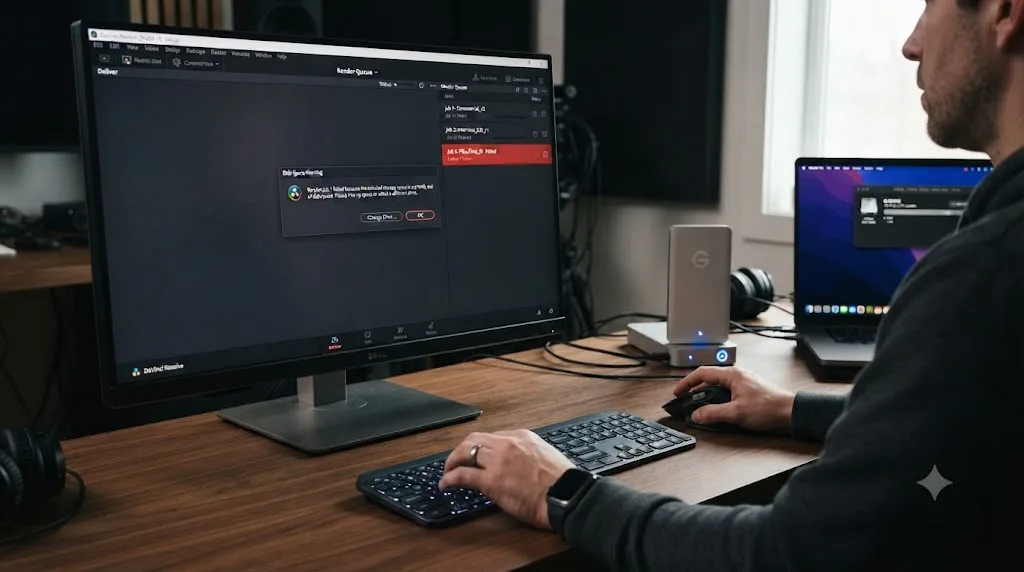
Is your system drive the real problem, not your export drive?
Check this specifically if you've already confirmed your Deliver page destination drive has room and the error is still happening, because Resolve's cache and Gallery stills don't necessarily live where you'd assume.
The first volume listed under Media Storage Locations in Preferences is where Gallery stills and cache files are stored, and the reference manual's own guidance is to point that volume at "the fastest storage volume to which you have access," per the DaVinci Resolve reference manual's section on media storage. On most installs, the fastest available drive by default is the internal system drive, which means Gallery stills and cache both default to living on C: on Windows or your boot volume on a Mac, entirely separate from wherever you've told the Deliver page to write your finished file.
That distinction explains a specific, confusing pattern: a render that fails with a disk space error while your actual export destination, say an external drive or a media RAID, sits at 40% full. The export drive was never the problem. Your system drive, quietly hosting cache and Gallery data you never chose to put there, was.
Installation itself adds to this. Even when you deliberately choose a different drive for your Project Media Location during setup, roughly 7 gigabytes of files, including Control Panel components, BRAW decoding libraries, and certain Resolve folders, are required to sit on the C: drive specifically and can't be redirected, according to a thread on the Blackmagic Design forum about a "Not Enough Disk Space" error in DaVinci Resolve 19. On a system drive that's already tight from Windows updates, other applications, and years of accumulated files, that fixed 7 gigabyte requirement can be the difference between a render that starts and one that doesn't, regardless of how much room your actual media drives have.
A render can fail from a full system drive while the drive you're actually exporting to has plenty of room, because DaVinci Resolve's cache, Gallery stills, and a fixed slice of its own install footprint don't follow your Deliver page settings at all. Check your system drive's free space as its own line item, separately from whatever drive you're watching fill up with your finished export.
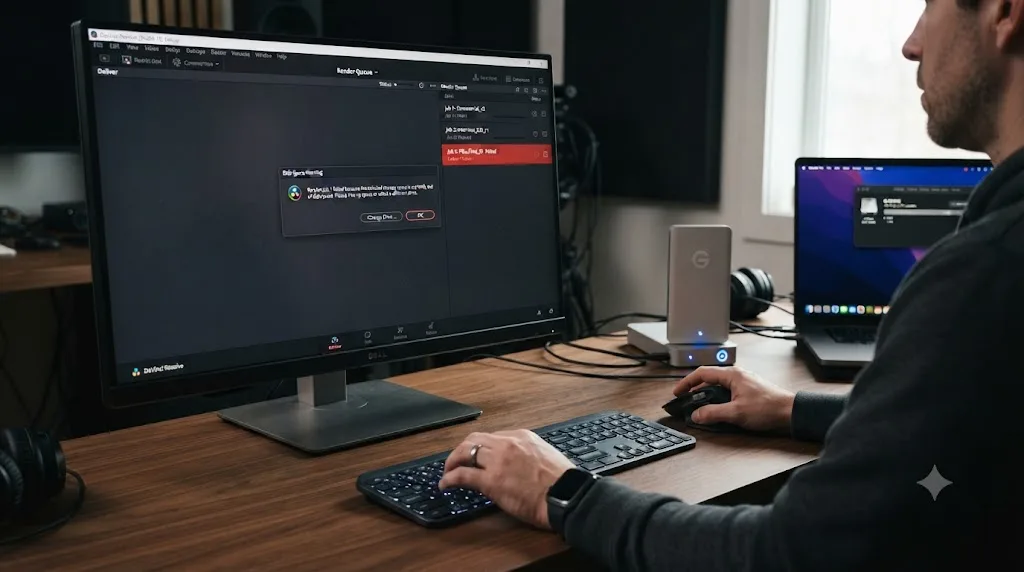
Should you disable "Stop renders when a frame or clip cannot be processed"?
Not for this specific problem, and understanding why matters more than the setting itself.
That checkbox lives in Preferences, User, UI Settings, and it exists for a different failure mode entirely: a single corrupted frame or an effect Resolve can't decode at one specific point in your timeline. Unchecking it tells Resolve to skip past whatever it can't process and keep going rather than abort the whole render, which is genuinely useful for isolating a bad frame, as covered in our guide to stuck and failed renders. It does nothing to address a drive that's actually running out of room, because a full drive isn't a frame Resolve can't decode. It's a destination that can't accept any more data, decodable or not.
Turning this checkbox off when you're actually facing a space shortage can make the outcome worse, not better. Instead of stopping cleanly with a warning, Resolve keeps writing frames until the physical limit of the drive is reached, at which point the render fails anyway, except now you may be looking at a partially written, potentially corrupted file instead of a clean abort with a clear message. If your render is failing at a specific frame every single time rather than stalling generally, that's the pattern this checkbox is actually built for. Our guide to failed and stuck renders covers reading that specific pattern in full.
"Stop renders when a frame or clip cannot be processed" is built for a broken frame, not a full drive, and reaching for it during a genuine space shortage trades a clean failure for a messier one. Rule out cache, system drive space, and file system limits first, and only touch this setting once you've confirmed the failure repeats at the exact same frame every time.
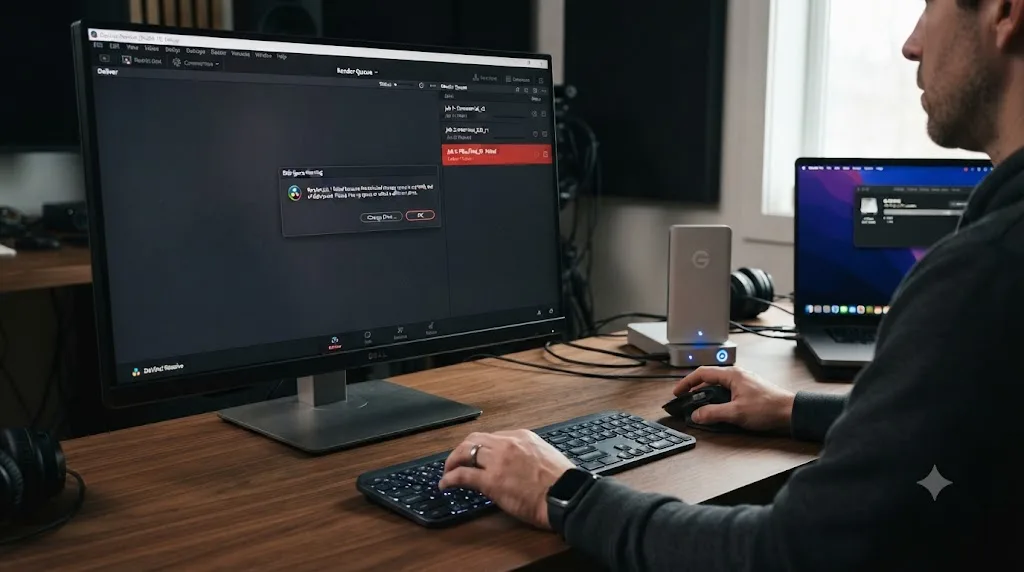
What is the "Insufficient Storage" popup, and can you trust it?
It's a confirmation dialog, not a hard block, and knowing the difference saves you from either ignoring a real problem or wasting an hour on a false one.
Added in version 20.1, this popup appears when you try to add a render job to the queue on a drive where Resolve's estimate believes there isn't enough room, asking some version of "Are you sure you want to do this?" before letting you proceed, as one user described experiencing it in a Blackmagic Design forum thread. It doesn't prevent you from rendering. It's a checkpoint, built specifically because the underlying estimate is conservative enough that a genuine false positive is common.
That means the popup is worth a second of thought rather than a reflexive click through it every time. If you've already confirmed real free space through your file system, and you understand roughly how large your export should be given its codec, resolution, and length, clicking through is reasonable. If you haven't checked either of those things, the popup is doing its job by making you stop and look before you commit an hour of render time to a job that might genuinely fail at 80%.
A related thread on the same forum, titled "Why does Resolve export when there is no free space?", points at the flip side of this same behavior: Resolve will, in some cases, let a render start even when a drive is close to genuinely full, rather than blocking it outright. The Insufficient Storage popup is a warning built on an estimate, and estimates can be wrong in both directions, so treat it as a prompt to verify, not as a verdict to either obey or dismiss automatically. Confirm your actual free space once, and you'll know which reaction is the right one every time this dialog shows up again.
How much free space does a DaVinci Resolve export actually need?
Enough to cover the finished file plus real working room, and both of those numbers are bigger than most people budget for on the first project that actually needs them.
A 4K master can quickly consume tens or hundreds of gigabytes, and the general rule worth keeping is at least twice your estimated output file size free on the destination drive, plus separate capacity on whatever drive holds your temporary files and cache, per Position Is Everything's guide to fixing export errors in DaVinci Resolve. That "twice" figure isn't padding for its own sake. Resolve can write temporary or partial data during a render before the final file is complete, and if something goes wrong partway through, whatever's already been written doesn't necessarily get cleaned up automatically, especially if the render itself failed because of the exact space shortage you're trying to avoid.
For cache and scratch storage specifically, Matt Bach, writing hardware guidance for Puget Systems, puts it directly: "Cache files are best to have on at least a SATA SSD, but ideally should be located on a faster NVMe drive if possible," per Puget Systems' guide to understanding storage for video editing. On sizing that drive, Bach's guidance is concrete: "Many users will find that even a 500GB drive is enough for their cache files. However, if you use applications like After Effects or Fusion that store large amounts of cache data, you may want to have a 1TB, or even larger, cache drive," from the same guide. Heavy Fusion work, exactly the kind covered in our Fusion render slow guide, pushes you toward the larger end of that range specifically.
| What you're storing | Rough range | Where it should live |
|---|---|---|
| Finished export file | Tens to hundreds of GB for 4K masters | Destination drive with 2x that size free |
| Render cache (CacheClip) | 20-40 GB for a few hours of 4K timeline work | Dedicated cache drive, not the system drive |
| Optimized media | 200-400 GB for a two hour project at ProRes 422 HQ | Fast local or dedicated drive |
| DaVinci Resolve install footprint | Roughly 7 GB fixed on the system drive | Can't be redirected, budget for it separately |
Budgeting for a DaVinci Resolve export means budgeting for the finished file and the cache that got you there, and treating either one as the whole picture is how a drive that looked fine an hour ago runs out mid-render. If disk space keeps being the bottleneck project after project, that's a hardware conversation worth having once rather than a fire to put out every single time.
Could a FAT32 drive or the wrong file system be the actual cause?
Yes, and it's worth ruling out specifically because it produces a symptom that looks exactly like running out of space, on a drive that technically has plenty.
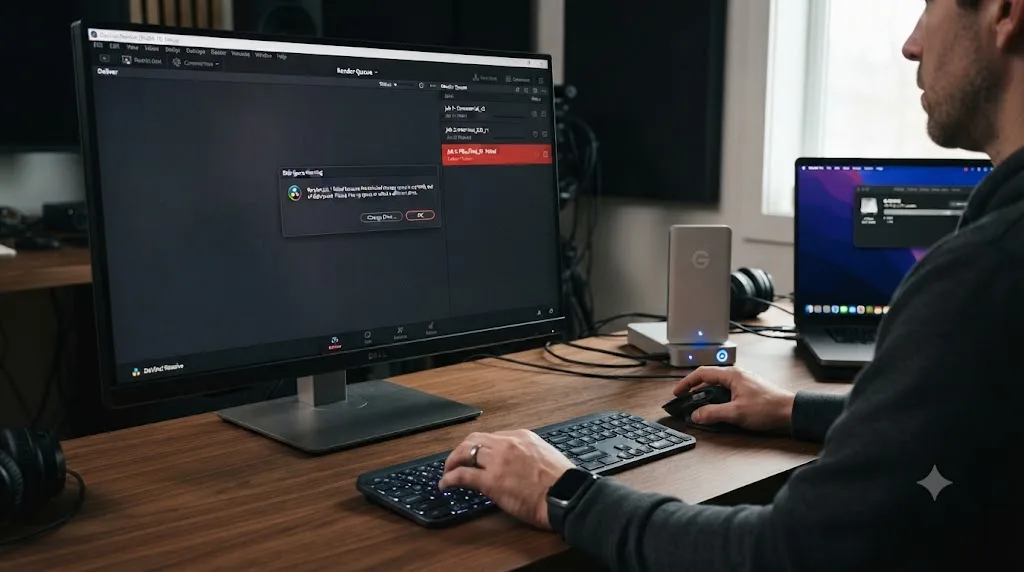
FAT32 caps any single file at 4 gigabytes. A long 4K export, or even a shorter one at a high enough bitrate, blows past that ceiling easily, and when it does, the render fails partway through rather than at the very start, according to a breakdown of common export failures in DaVinci Resolve. That failure pattern, dying partway rather than refusing to start, is the tell that separates this from a genuine space shortage. A drive that's actually low on room tends to fail early or show a warning before the render even begins. A FAT32 limit lets the render run right up until the 4 gigabyte mark and then stops, regardless of how much free space Finder or File Explorer shows for that drive.
This shows up most often on drives formatted for maximum cross-platform compatibility, since FAT32 is the one file system that both Windows and macOS can read and write natively without extra software. That compatibility comes at the cost of the file size ceiling, and it's an easy setting to inherit from a drive you bought years ago or borrowed from someone else without checking. Reformat the destination to exFAT if you need cross-platform compatibility without the size limit, or to NTFS on Windows or APFS on a Mac if the drive will only ever be used with one operating system.
A FAT32 file size limit and a genuinely full drive produce nearly identical error messages but completely different fixes, and the giveaway is where in the render the failure happens. If your export consistently dies around the same file size regardless of which project you're rendering, check the file system before you check anything else.
Does the free version run into this differently than Studio?
A little, and mostly for reasons that have nothing to do with cache behavior, which is identical across both editions.
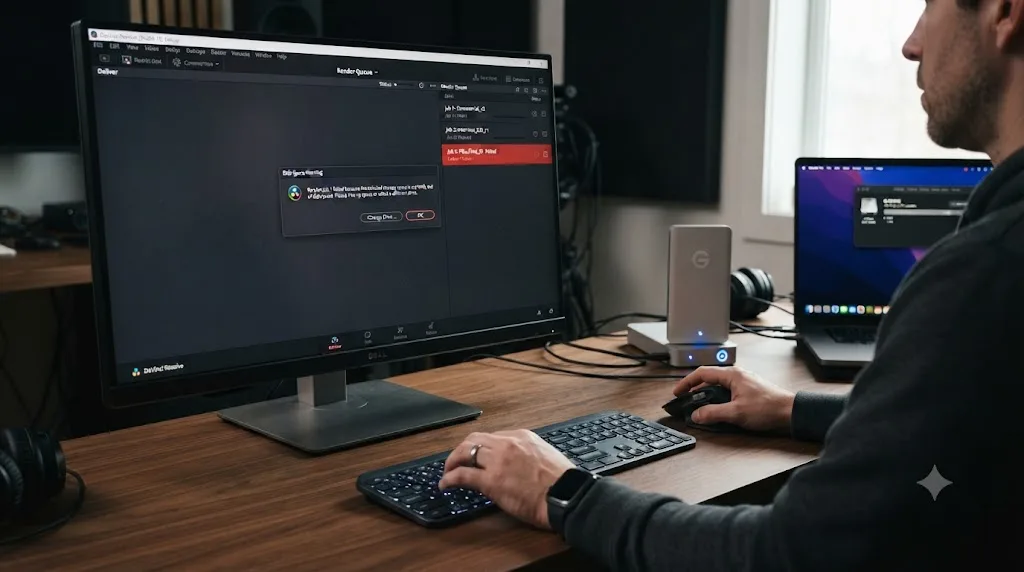
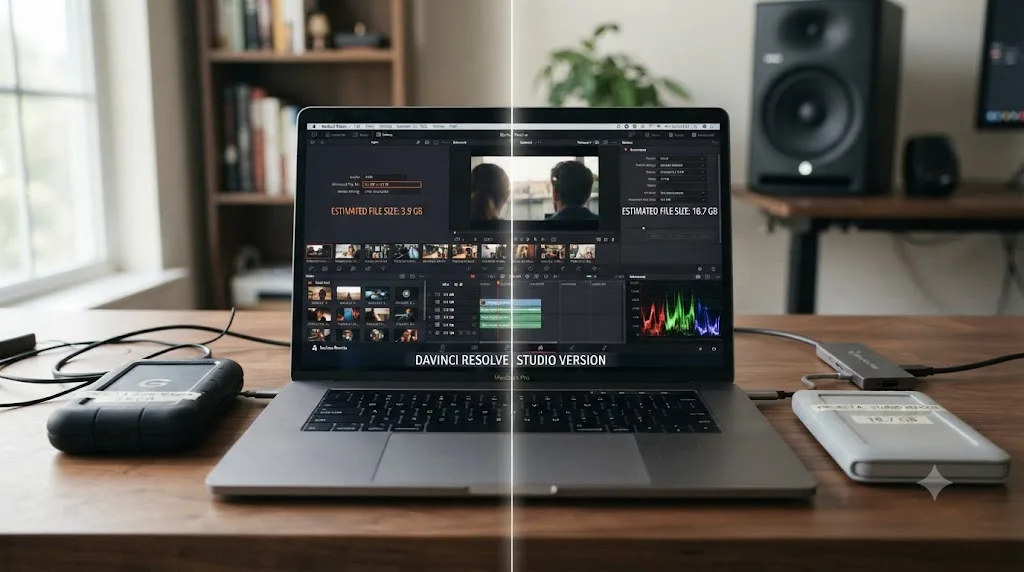
Render Cache, Gallery stills storage, and the Media Storage Locations panel all work the same way whether you're on the free version or Studio, so nothing in the cache-related causes covered above changes based on your license. What differs is how large a single export can realistically get. The free version caps export resolution at 4K UHD (3840x2160) at 60fps in 8-bit, while Studio supports resolutions and frame rates well above that ceiling along with 10-bit and higher color depths, per CineD's comparison of the free and Studio versions. A bigger ceiling on resolution and bit depth means Studio users can build genuinely larger single files than free users ever will, which raises the stakes on the "twice your file size free" rule from earlier in this guide.
Hardware-accelerated encoding follows a similar pattern with a different consequence. On Windows and Linux, hardware-accelerated H.264 and H.265 encoding is Studio-only, according to Blackmagic's own Supported Formats and Codecs documentation, while macOS gets hardware H.265 through Apple's VideoToolbox on both editions. Free version users on Windows and Linux fall back to slower software encoding by default, and while that doesn't change how much disk space a render needs, it does mean a free version user watching a render crawl toward a space warning has more time to notice and intervene than a Studio user whose hardware encoder is writing the same file several times faster.
| Question | Free version | Studio |
|---|---|---|
| Max export resolution and bit depth | 4K UHD, 60fps, 8-bit | Above 4K, higher frame rates, 10-bit and beyond |
| Hardware encoding on Windows/Linux | No, software only | Yes, faster writes to disk |
| Render Cache and Gallery stills behavior | Identical to Studio | Identical to free |
| Realistic ceiling on a single export's size | Lower, bounded by resolution cap | Higher, bounded mainly by your settings |
The free version's lower export ceiling puts a rough cap on how large any single file can get, which indirectly limits how badly a disk space problem can spiral, even though the cache and storage mechanics behind this error are identical on both editions. If you're on Studio and building very large masters routinely, the space budget from the section above deserves more margin than a free version project typically needs.
Do Windows, macOS, and Linux fail differently here?
The underlying causes are the same everywhere, but each operating system adds its own specific wrinkle to how the symptom shows up.
| OS | Specific wrinkle | What to check first |
|---|---|---|
| Windows | Explorer can show stale free space numbers after large writes elsewhere; fixed 7GB install footprint stuck on C: | Refresh the drive view or reboot before trusting a number; check C: drive separately from your media drive |
| macOS | Cache and Gallery default to the boot volume; Finder can lag behind real disk state briefly after big deletions | Use Get Info on the boot volume directly rather than a cached sidebar figure |
| Linux | Narrower delivery codec support in the free build can compound with tighter default storage layouts | Confirm your delivery codec is actually supported before assuming it's purely a space issue |
Windows carries the most moving parts here because of how Explorer reports free space and because of that fixed system drive install requirement. If you've just deleted a large render cache or moved files off the C: drive, give Windows a moment, or a full refresh of the Explorer window, before trusting the number it shows you. The 7 gigabyte install footprint covered earlier applies specifically here too, since it's a Windows and Linux constraint rather than something macOS handles the same way.
macOS generally handles free space reporting more reliably moment to moment, but the same underlying mechanic applies: Gallery stills and cache default to your boot volume unless you've deliberately redirected Cache Files Location elsewhere in Project Settings. Use Get Info directly on the boot volume in Finder rather than relying on a sidebar number that can occasionally lag behind a recent large deletion by a few seconds.
Linux users face a narrower issue that can compound with disk space trouble rather than replace it. The free build's delivery codec options are more limited than the free macOS and Windows builds, so a codec choice that seems to be failing on space could actually be failing because the format itself isn't fully supported on that platform, a distinct problem from anything in this guide. Confirm your chosen delivery codec is genuinely available on your specific Linux build before spending more time chasing a storage explanation.
What's the right order to fix this?
Work through this list top to bottom. Each check costs less time than the one after it, and the diagnostic table earlier in this guide should already point you toward one or two of these before you start.
- Confirm your drive's actual free space directly in Finder or File Explorer, refreshed and not a stale reading, separately from Resolve's own warning.
- Check whether the warning names your export destination specifically, or appears with no drive named, which usually points at cache or Gallery stills instead.
- Open Playback, then Delete Render Cache, then All, and check free space again afterward.
- Check your system drive's free space as its own line item, since cache and Gallery stills default there regardless of your export destination.
- In Project Settings, Master Settings, Working Folders, move Cache Files Location to a dedicated drive if it's currently sharing space with your system or media drive.
- Confirm the destination drive's file system isn't FAT32, especially if the render dies partway through rather than refusing to start.
- If a confirmation popup appears, verify your real free space before clicking through it, rather than treating it as either a hard stop or a rubber stamp.
- Only consider "Stop renders when a frame or clip cannot be processed" if the failure repeats at the exact same frame every time, not for a general space warning.
- Update to the current point release before assuming a persistent issue is unfixable.
Each step here isolates one layer of the problem, and the order matters because the first few checks are nearly free. Confirming real free space and clearing the cache cost a minute or two combined and resolve the overwhelming majority of reports matching this error. File system checks and Cache Files Location changes are a bit more involved but still cheap relative to re-rendering a long timeline blind, over and over, hoping a different attempt somehow behaves differently.
How do you stop this before your next render?
Every fix above has a cheaper version that happens before you ever click Render, and it's worth building into your routine if this has cost you a deadline once already.
Move Cache Files Location to a dedicated drive the first time you set up a new machine or a new project template, not after your system drive fills up for the third time. A dedicated cache drive with real headroom, ideally an SSD or NVMe drive per Puget Systems' guidance above, isolates this entire class of problem from your operating system drive permanently.
Clear render cache on a schedule, not only after something breaks. A cache that's accumulated across several finished projects is exactly the kind of thing that quietly consumes hundreds of gigabytes without any single moment that felt like the cause. Delete Render Cache, All, once a project ships and you're confident you won't need to revisit it, rather than letting every project's cache stack up indefinitely.
Check your actual destination drive's free space before you click Render, not after the progress bar stalls. This costs ten seconds and catches both a genuinely full drive and a FAT32 file size ceiling before either one wastes an hour of your time.
Keep Media Storage Locations deliberate rather than left on whatever Resolve picked automatically during install. Knowing which volume holds Gallery stills and cache, and confirming that volume has room, is a five-minute check worth doing once per machine rather than something you discover mid-render on a deadline.
And stay current on point releases generally. Blackmagic's 21.0.2 update, released July 1, 2026, focused on decode performance and playback fixes touching H.265 handling on NVIDIA GPUs, according to Newsshooter's coverage of the release, with No Film School's report on the same update describing the same playback and switching improvements. Point releases like this one regularly touch storage and render handling in ways that aren't always headline features, so an update you haven't installed yet might already fix a rough edge you're currently working around by hand.
The fastest path to a finished export
Start with the cheapest check: open Playback, choose Delete Render Cache, then All, and look at your real free space afterward, not the number in Resolve's warning dialog. If that clears it, your cache was the entire problem, which it is for a large share of the reports matching this exact error. If it doesn't, check your system drive specifically, separate from your export destination, since Gallery stills and cache default there regardless of where you've told the Deliver page to write your finished file. If the render dies partway through rather than refusing to start at all, check the destination drive's file system for a FAT32 limit before you assume you've somehow run out of room on a drive that clearly shows space to spare. And if a confirmation popup shows up asking whether you're sure you want to proceed, treat it as a prompt to verify your actual numbers, not as an automatic yes or no.
If the part that's actually costing you time is finding these settings in the first place, not knowing what a Cache Files Location field or a Media Storage panel even does once you've found it, that's a narrower problem than a render bug. TryUncle is an AI tutor for DaVinci Resolve on macOS — ask in plain words and Uncle points at the exact control on your screen. It's a paid app at founder pricing, not a substitute for actually managing your drives, but it's built for exactly the moment you're staring at Project Settings wondering which of three folders labeled "cache" is the one a forum post from two versions ago was describing. TryUncle watches your actual screen rather than answering in the abstract, which matters more on a settings-heavy problem like this one than it would on something you could just look up. For everything else, work through the order in this guide from the top, and you'll very likely find your actual cause before you reach the bottom of the list. If your render is stalling or failing outright rather than warning about space specifically, our broader guide to stuck and failed renders picks up that wider version of the same pipeline, and if you want the full picture of what Smart and User cache modes actually do before you decide how aggressively to manage them, our render cache guide covers that in depth. For GPU-side memory errors that can show up alongside storage trouble on the same demanding timeline, our GPU memory full guide covers that adjacent problem in full.
Frequently asked questions
- Why does DaVinci Resolve say I'm out of disk space when my drive isn't full?
- Three different things cause this, and they're not the same bug. Resolve estimates render space using a worst case scenario based on timeline length, codec, and resolution, so it can flag a drive that would have finished fine. Separately, its cache and Gallery stills default to your system drive and can quietly fill it while your export drive stays untouched. Check Delete Render Cache first, then confirm which drive the warning actually names.
- How do I clear DaVinci Resolve's render cache to free up space?
- Open the Playback menu, choose Delete Render Cache, then All. That's the safe, in-app method, because Resolve updates its own database to match what's actually left on disk. Don't delete the CacheClip folder manually from Finder or File Explorer while a project referencing it is open, and never touch the Fusion, Gallery, or any .drp project file sitting near it.
- Does disabling 'Stop renders when a frame or clip cannot be processed' fix a disk space error?
- No, and it can make a bad situation worse. That checkbox, found in Preferences, User, UI Settings, tells Resolve to push through a frame it can't decode rather than abort. A genuine disk space shortage isn't a decode problem, so unchecking it just lets Resolve keep writing until the drive is completely full, sometimes corrupting the partial file in the process.
- Why does my system drive fill up when I'm exporting to a completely different drive?
- Because your export destination and your working drive aren't the same thing to DaVinci Resolve. The first volume listed under Media Storage in Preferences holds Gallery stills and cache files by default, and that's very often your system drive, regardless of where you point the Deliver page's Location field. A render can fail from a full C: drive while your actual output drive has room to spare.
- Can a FAT32-formatted drive cause a disk space error during export?
- Yes, though it's technically a file size limit, not a space shortage, and it looks identical from inside Resolve. FAT32 caps any single file at 4GB, so a long 4K export can fail partway through on a drive with hundreds of gigabytes free. Reformat the destination to exFAT, APFS, or NTFS, whichever your delivery target actually needs, and the same render usually completes without changing a single Deliver page setting.
- How much free space does a DaVinci Resolve export actually need?
- Keep at least twice your estimated output file size free on the destination drive, plus separate headroom on whatever drive holds your cache and Gallery stills. A 4K master can run tens or hundreds of gigabytes depending on codec and length, and Resolve's render cache can add tens of gigabytes more on top of that during the same session, so budget for both, not just the final file.
- Does the free version of DaVinci Resolve run into this less often than Studio?
- Sometimes, for an indirect reason. Studio's hardware-accelerated encoders and larger export ceilings, including resolutions above 4K UHD and higher bit depths, make it easier to build genuinely enormous render jobs that eat disk space fast. Free version exports cap at 4K UHD at 60fps in 8-bit, which puts a rough ceiling on how large a single file can get, though the render cache and Gallery cache behavior are identical across both editions.
- What's the permanent fix so this doesn't happen on every project?
- Move your Cache Files Location to a dedicated drive with real headroom, separate from both your OS drive and your project media, in Project Settings under Master Settings, Working Folders. Clear render cache on a schedule instead of only after a failure, and check your destination drive's actual free space before you click Render, not after the progress bar stalls at 80%.
Sources
- Blackmagic Design Forum: Insufficient Storage Error
- Blackmagic Design Forum: "Not Enough Disk Space" - DaVinci Resolve 19
- Blackmagic Design Forum: Why does Resolve export when there is no free space?
- Blackmagic Design Forum: Davinci Resolve Cache (v18) using huge amount of Disk Space
- Blackmagic Design Forum: Problem Rendering, disc space overloaded by render
- Blackmagic Design Forum: Insufficient storage popup (Thanks!)
- Cutsio: How to Fix Cache Issues in DaVinci Resolve
- Cutsio: Best Way to Fix Render Errors in DaVinci Resolve
- Position Is Everything: How to Fix Export Errors in DaVinci Resolve
- Puget Systems: Understanding Storage for Video Editing (Matt Bach)
- Puget Systems: Hardware Recommendations for DaVinci Resolve
- Beginners Approach: DaVinci Resolve CLEAR Cache (Find, Delete & Save Space!)
- Clean With Crumb: How to Clear DaVinci Resolve Cache on Mac
- DaVinci Resolve Reference Manual: Media Storage (VFXPedia mirror)
- CineD: DaVinci Resolve - what are the differences between the free and Studio version
- DaVinci Resolve Supported Formats and Codecs, July 2025 (Blackmagic Design)
- Newsshooter: DaVinci Resolve 21.0.2 Update
- No Film School: DaVinci Resolve 21.0.2 Update Adds Faster Image Bypass Switching, Improved H.265 Playback, and More
Put this guide to work with TryUncle.
Ask about the step you’re on. TryUncle sees your screen and points at the control you need, so you can keep learning in your own project.
Get TryUncle for Mac or WindowsKeep reading
Fixes · Jul 7, 2026 · 24 min
DaVinci Resolve Not Exporting? Fix a Stuck or Failed Render
Why DaVinci Resolve renders get stuck at 0% or 99%, or fail with no error, and the exact checks that get a stalled export moving again.
Guides · Jul 13, 2026 · 18 min
DaVinci Resolve Render Cache Explained: Smart vs. User Mode
How DaVinci Resolve's render cache works, and how Smart mode differs from User mode: cache formats, disk space, per-clip flags, and when to use each.
Fixes · Jul 7, 2026 · 25 min
DaVinci Resolve GPU Memory Is Full: Every Real Fix
Why DaVinci Resolve throws 'GPU memory is full,' and which fixes actually work: timeline resolution, drivers, effects, and how much VRAM you need.