Articles / Fixesupdated for DaVinci Resolve 21.0.2 (July 2026)
DaVinci Resolve Fusion Render Slow? The Real Fixes
Quick answer
Fusion renders slow in DaVinci Resolve because it ignores Timeline Proxy Mode and always computes at full resolution, MediaIn nodes reprocess stills every frame instead of caching them, and some nodes run CPU-only. Fix it by swapping MediaIn for Loader on stills, enabling Simultaneous Branching, and caching finished sections with Saver and Loader nodes.
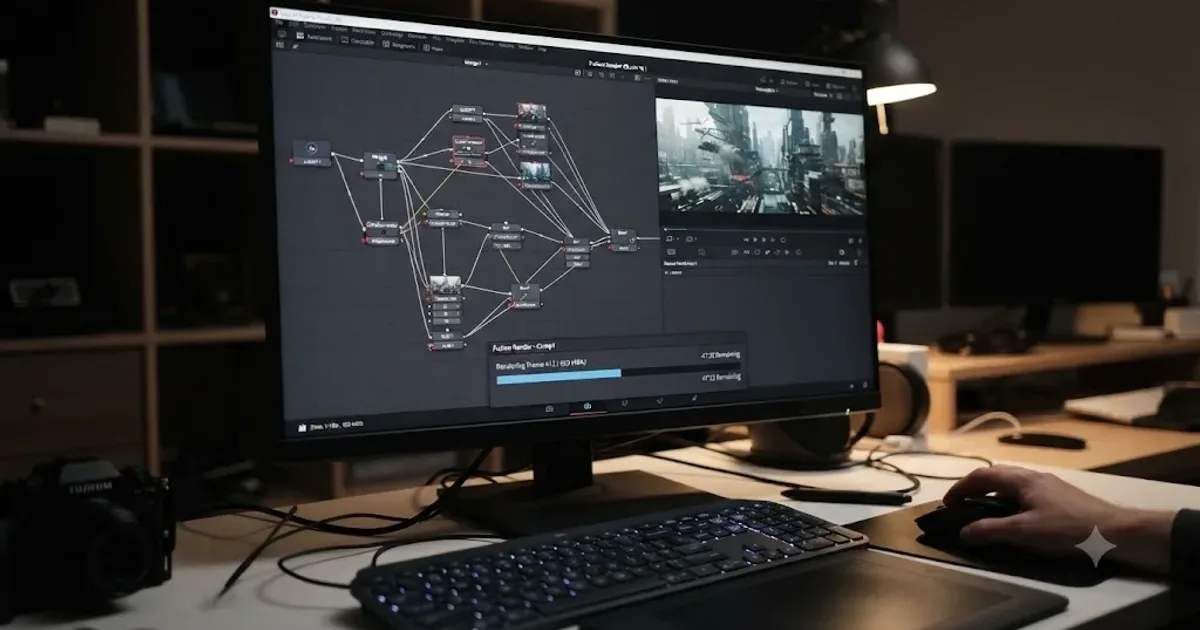
A Fusion comp that takes ten minutes to render one title card isn't broken. It's doing far more work than the finished shot needs, and nine times out of ten the extra work is invisible until you go looking for it. I've watched the same three or four culprits show up in forum thread after forum thread, and none of them are "buy a bigger GPU."
Here's what's actually slowing your render down, and the order to check things in so you're not guessing.
What actually causes a Fusion render to crawl in DaVinci Resolve?
Four things, and they compound. Fusion computes every frame at full timeline resolution no matter what your playback settings say. Still images loaded through a MediaIn node get reprocessed from scratch on every single frame instead of once. Some nodes, particles especially, are CPU-only regardless of how capable your graphics card is. And a node tree that keeps calculating pixels far outside what the final frame will ever show wastes cycles on data nobody sees.
None of those show up as an error message. They just show up as a render that inches forward while your fans spin and the clock keeps running.
A slow Fusion render is almost never one single cause. It's usually two or three small inefficiencies stacked on top of each other. That's actually good news, because fixing any one of them buys back real time, and you don't need to solve everything at once to feel the difference.
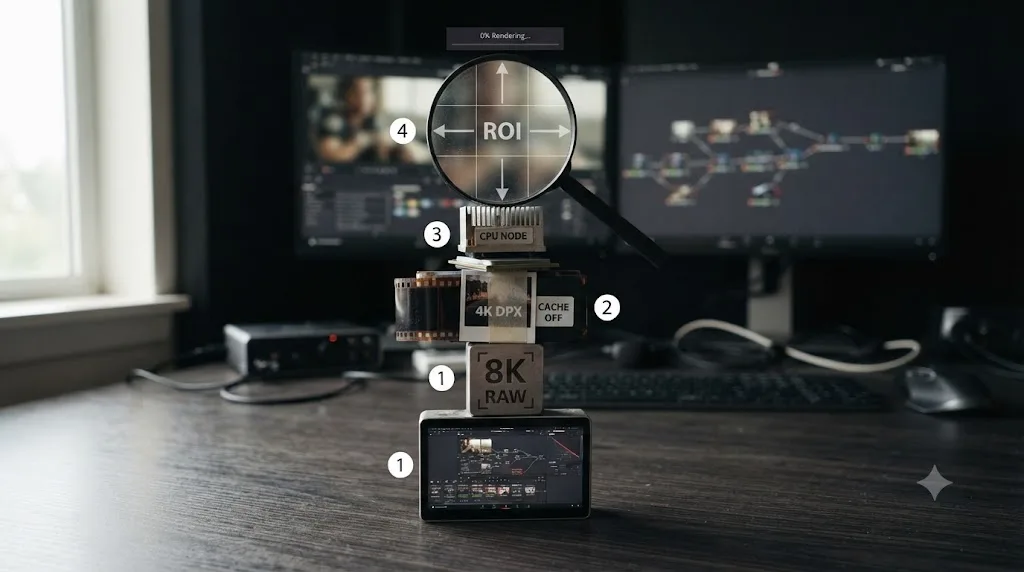
Is it Fusion playback that's slow, the final render, or both?
Check this before you touch a single setting, because the two problems have almost no overlap in their fixes.
Fusion playback lag shows up as choppy scrubbing inside the Fusion page itself, usually while you're still building the comp. Fusion render slowness shows up specifically on the Deliver page, or when you cache the clip and watch the progress bar barely move. A comp can play back fine in Fusion, because you're only watching a short cached range near the playhead, and still take forever to actually render, because the Deliver page has to compute every single frame of the timeline instead of the handful you were previewing.
Run this quick test. Park the playhead on the clip in the Fusion page and let it cache a few seconds under the green line. If playback there is smooth, your node graph itself isn't fundamentally broken, and the slowness is a rendering-scale problem: something that's fine for a dozen frames but expensive multiplied by thousands. If playback inside Fusion is already sluggish before you've rendered anything, the node graph itself has a real bottleneck, and fixing that will speed up both playback and the final render.
| Symptom | What it tells you | Where to look first |
|---|---|---|
| Fusion page playback is choppy, even scrubbing a few frames | The node graph itself is expensive | CPU-only nodes, oversized assets, runaway DoD |
| Fusion plays fine, but Deliver-page render crawls | The cost is real but tolerable per-frame, and it's just a lot of frames | Simultaneous Branching, caching, resolution |
| Both are slow | Compounding causes, tackle the graph first | Everything below, roughly in order |
| Only one specific clip or comp is slow | That comp has a specific problem, not a system-wide one | MediaIn vs Loader, that comp's node count |
Why doesn't Timeline Proxy Mode speed up Fusion?
Because it was never built to. Timeline Proxy Mode, the Half and Quarter Resolution options under the Playback menu, tells Resolve to decode and display your source footage at a lower resolution for on-screen playback on the Edit and Color pages. It's genuinely one of the best tools in the app for choppy playback, and I've covered it in depth in the slow playback guide. But Fusion doesn't read that setting the same way. According to MotionVFX's performance troubleshooting guide, effects processing, Fusion included, is still computed at your project's actual timeline resolution, so dropping Proxy Mode buys you nothing inside a Fusion comp.
Timeline Proxy Mode changes what Resolve decodes for the viewer, not what Fusion computes. That distinction is the single most common reason people spend an afternoon toggling proxy settings and watching their Fusion render stay exactly as slow as before.
The DaVinci Resolve reference manual confirms the mechanism from the other direction: "The cache file format and any resolution scaling to fit the composition into the Timeline Resolution is handled in the DaVinci Resolve Project Settings," not by anything happening inside the Fusion page. Fusion's own comp resolution is tied to your project settings, and the only genuine resolution lever that lives inside Fusion is the Prox button in the Fusion transport controls, which temporarily drops the comp's own render resolution while you're actively building it, similar in spirit to Timeline Proxy Mode but scoped entirely to Fusion. It helps you work faster while editing the comp. It has no effect on the final Deliver-page render, which always computes at full resolution regardless of what the Prox button was set to while you built the shot.
If you genuinely need to work faster at full project resolution, the actual lever is your project's Timeline Resolution itself, set in Project Settings under Master Settings. Lowering it during the build, then raising it back before your final render, moves real weight off every frame Fusion has to compute, not just the frames Resolve decodes for the viewer.
Should you replace MediaIn nodes with Loader nodes?
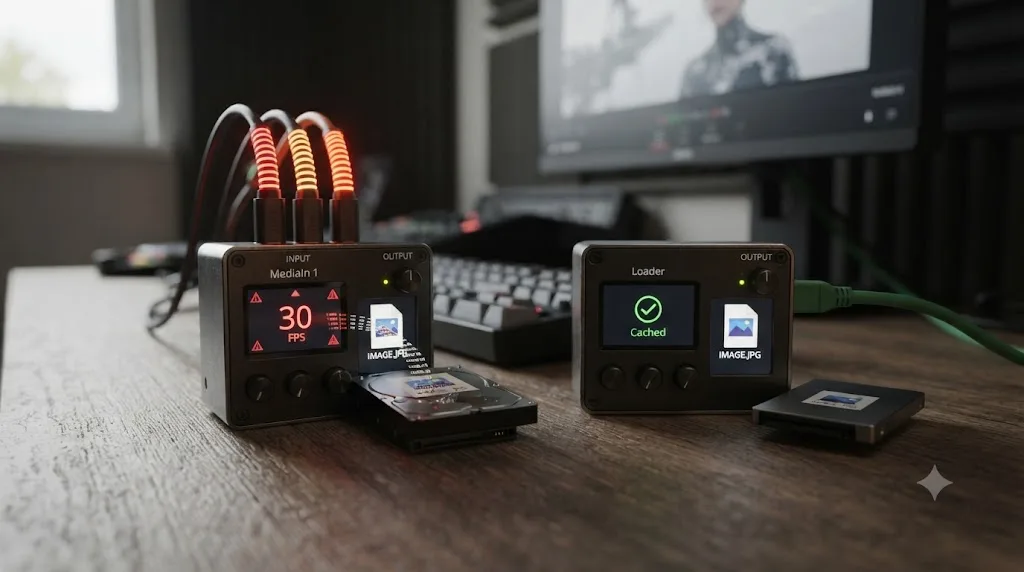
For still images, yes, and this single swap has fixed more reported Fusion slowdowns than almost anything else on this page. According to a detailed Blackmagic Design forum thread on the topic, MediaIn nodes do not cache a single-frame still image, which means Fusion reprocesses that image from scratch on every single frame of the composition. A Loader node pointed at the exact same file caches the image once and reuses that cached copy for the rest of the timeline. The original poster in that thread reported hearing from at least six other users, on top of everyone who replied directly, whose performance and stability problems in Resolve's Fusion page disappeared the moment they swapped MediaIn nodes for Loaders.
A still image loaded through a MediaIn node in Fusion gets recomputed on every frame of your timeline, while the same image loaded through a Loader node gets computed once. On a ten-second title card at 24fps, that's the difference between processing an image once and processing it 240 times for a result that never changes.
This matters most for logos, texture plates, background stills, and anything else that isn't camera footage or an animated element. Camera clips already come in through MediaIn as part of the normal Fusion clip setup and don't have this problem, since they change frame to frame anyway. It's specifically static images dropped into a comp, usually a PNG logo or a JPEG texture, where MediaIn quietly becomes the most expensive node in the whole tree without ever looking like it.
To swap one, add a Loader node from the Fusion toolbar, point it at the same file your MediaIn was loading, and reconnect it into the tree where MediaIn used to sit. It's a five-minute fix on most comps, and it's worth doing as a habit rather than waiting until a render crawls.
What is Simultaneous Branching, and should you turn it on?
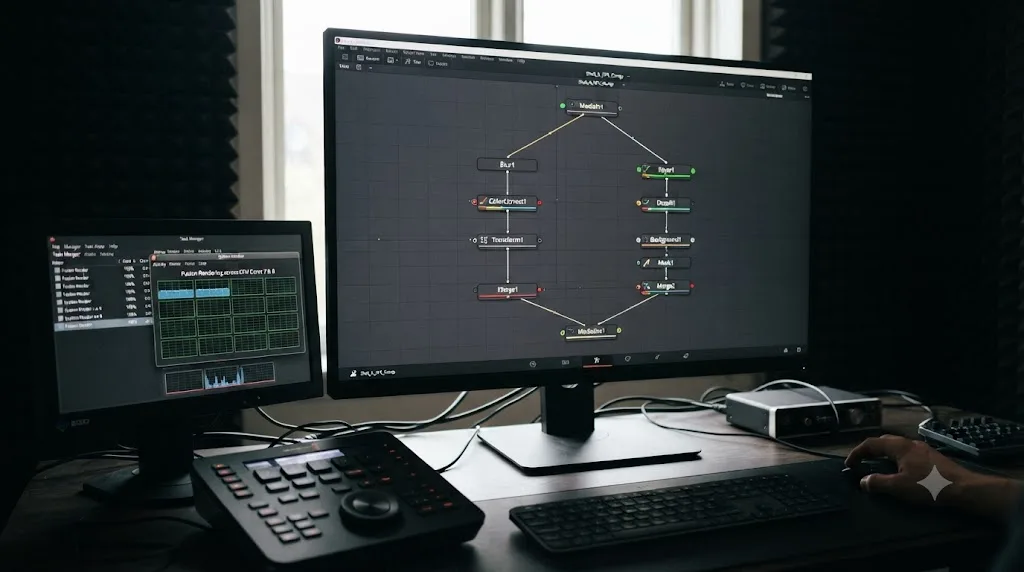
It's a Fusion preference that decides whether independent branches of your node tree get computed on separate CPU cores at the same time, or one after another on a single thread. Per the Blackmagic forum thread "Need help, Fusion Render slow", the fix that got the original poster's render moving was checking CPU thread utilization and enabling Simultaneous Branching, set to around 8 frames, under Preferences > Memory.
Here's why it matters. A composition where two separate branches, say a foreground element and a background plate, both feed into a Merge node has genuine parallel work available: nothing about computing the foreground depends on the background finishing first. Without Simultaneous Branching enabled, Fusion can still process those branches one after another even on a machine with plenty of idle CPU cores, because the default behavior doesn't automatically split independent work across threads the way you'd expect. Turn the setting on, and Fusion recognizes that the two branches don't depend on each other and processes them concurrently instead.
It won't help every comp. A single, purely linear chain of nodes, one feeding into the next with no branching at all, has no independent work to parallelize, so Simultaneous Branching does nothing for it. The benefit scales with how much your node tree actually branches: a comp built from several separate layers merged together sees a real gain, and a comp that's one straight line of corrections on a single clip doesn't.
Simultaneous Branching only helps a Fusion comp that has parallel branches to split across cores. It does nothing for a linear node chain. Check your node tree's shape before you assume this is your fix. If you're not sure, turn it on anyway. There's no real downside to leaving it enabled, and it's one setting, changed once, rather than something you need to toggle per project.
What is Domain of Definition, and why does it slow renders down?
Domain of Definition, DoD for short, is the actual rectangle of pixel data a node is holding at any given point in the tree, and it's not the same thing as your frame size. A Merge, Glow, or Blur can expand a node's DoD well past the edges of your visible frame, because glow bleeds outward and a blur needs extra margin to avoid clipping at the frame boundary. Fusion keeps computing that expanded region all the way down the tree unless something clips it back down, which means downstream nodes are doing real work on pixels that will never appear in your finished frame.
This is the kind of cost that's invisible until you go looking for it. A glow with a large size setting on a small element can quietly balloon that element's processing region to several times the visible frame, and every node after it inherits that oversized region and pays for it in render time.
The fix is a Crop node, inserted right after whatever expanded the DoD, set to clip back to your comp's actual frame boundaries. It costs almost nothing to compute and it stops the bleed from propagating any further down the tree. If you're not sure whether DoD is the culprit on a given comp, most nodes let you inspect their processing region directly in the flow area, and a region visibly larger than your comp's frame size is the tell.
A node's Domain of Definition can extend well past the visible frame, and every downstream node pays to process that invisible overflow until something clips it back down. This is a classic compositing concept that shows up in every node-based tool, not something unique to Fusion, and the fix is the same everywhere: crop early, crop often, right after whatever caused the expansion.
Should you use Resize instead of Transform to scale things down?
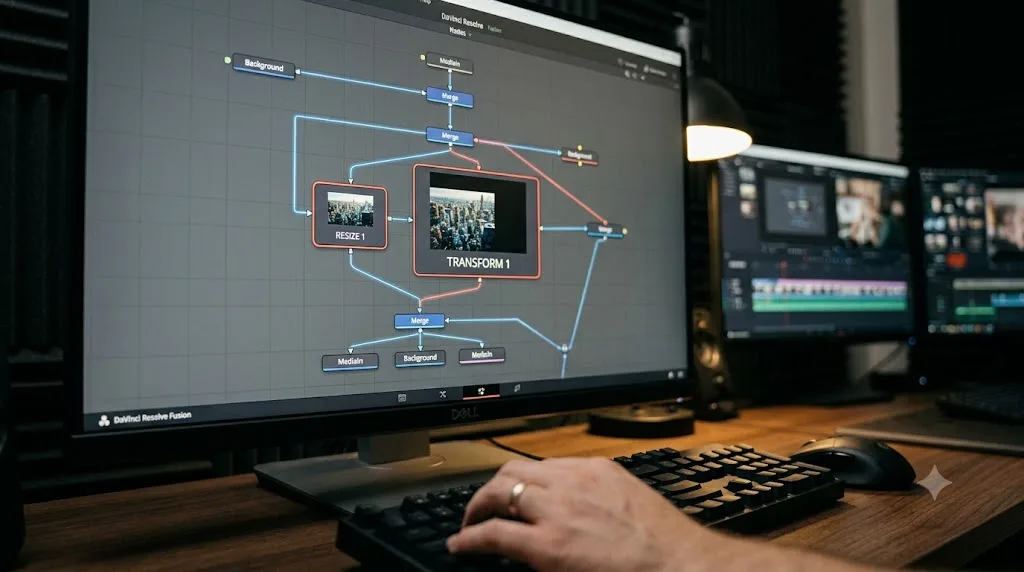
Yes, when you're shrinking an asset and want the render-time benefit of doing it. The advice from the "Need help, Fusion Render slow" thread specifically calls out using a Resize node instead of a Transform node to resize assets, alongside keeping source assets as small as possible in the first place. The distinction matters more than it looks like it should.
A Transform node repositions and scales an image within the same canvas. It doesn't reduce the actual pixel data the image carries, it just moves where that data sits and how it's displayed, which means every node downstream of a Transform is still working with the original full-size pixel grid. A Resize node genuinely changes the image's pixel dimensions. Shrink a 4K logo down with Resize and every node after it is now working with a smaller image and doing correspondingly less math.
The practical rule: use Transform for positioning, rotating, and scaling as a creative choice that might change over the course of a shot, and use Resize the moment you know an asset needs to be permanently smaller for the rest of the comp. A background plate that's staying at 50% size for the whole shot should go through a Resize early in the tree, not a Transform that keeps the full-resolution data alive through every node after it.
Are some of your nodes stuck on the CPU when they should use the GPU?
Often, yes, and it's rarely obvious from watching your system monitor. According to a Blackmagic forum discussion on Fusion performance observations, the particle system is a clear example: the only node in Fusion's particle toolset that's GPU accelerated is pRender, and only when pRender is set to 3D mode. Every p-node that feeds into it, pEmitter, pImageEmitter, and the rest, runs exclusively on the CPU regardless of what graphics card is installed. Neither pEmitter nor pImageEmitter touch the GPU at all.
That architecture explains a specific, confusing symptom: a render where Task Manager or Activity Monitor shows the CPU pinned near 100% while the GPU sits comfortably idle. It looks like something is broken. It isn't. Certain tools in Fusion, particles chief among them, along with a number of third-party OFX plugins, were built to run on the CPU and no setting changes that.
A Fusion render can max out your CPU while the GPU sits idle, and that's not a bug, it's specific tools that were built CPU-only. Buying a faster graphics card does nothing for a comp bottlenecked on a CPU-only tool. If your comp is heavy on particles, check your CPU core count and clock speed before you consider a GPU upgrade for that specific project.
For tools that do support both paths, most heavy nodes in Fusion expose a processing mode setting, often labeled CPU, GPU, or Auto, in the node's Inspector settings. Auto is a reasonable default, but it doesn't always pick the fastest option for your specific hardware and comp. When a render is slow and your GPU looks suspiciously idle, work through your heaviest nodes one at a time and set that toggle to GPU explicitly rather than trusting Auto to get it right.
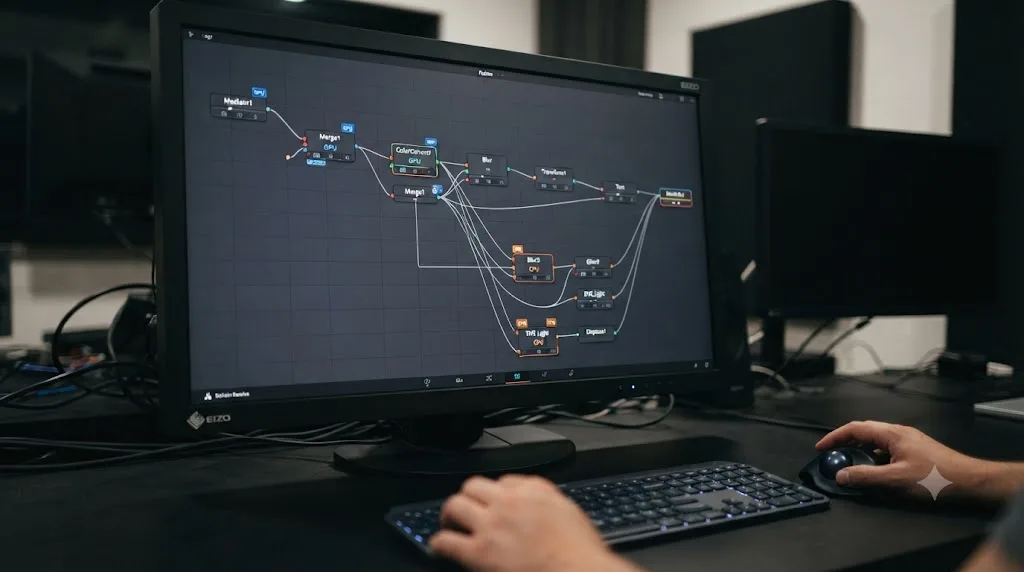
Is an oversized still image the real problem?
Check your source assets before you touch a single node setting, because this one is embarrassingly common and completely invisible from inside the Fusion page. A Blackmagic forum thread on Fusion performance walks through the math: Fusion converts every pixel of every image to a 4-byte floating point number per color channel, red, green, blue, and alpha, before it does any processing at all. A 24-megapixel still, the kind a modern phone or DSLR produces without anyone thinking twice about it, ends up consuming close to 400 megabytes of RAM once it's inside that pipeline, and all of that data gets shuttled between system RAM and the GPU's VRAM for every single frame it appears in, with multiple copies required at different stages of the node tree.
Drop a full-resolution 24-megapixel photo into a comp that only needs it at 1920x1080 and Fusion does the full-size math anyway, on every frame, for an image nobody will ever see at more than a fraction of its native resolution. The forum thread's own conclusion is blunt: pre-scale any still image to the minimum dimensions your comp actually needs before you bring it into Resolve at all.
A 24-megapixel still image costs Fusion roughly 400 megabytes of RAM once it enters the pipeline, whether your comp needs that resolution or not. That's before any effect touches it. Open your source images in any image editor, check their actual pixel dimensions against what your comp needs, and resize the file itself, not just a Resize node inside Fusion, whenever there's a large gap between the two. It's the cheapest fix on this whole page, and it's the one people skip because the file "looks fine" in a thumbnail.
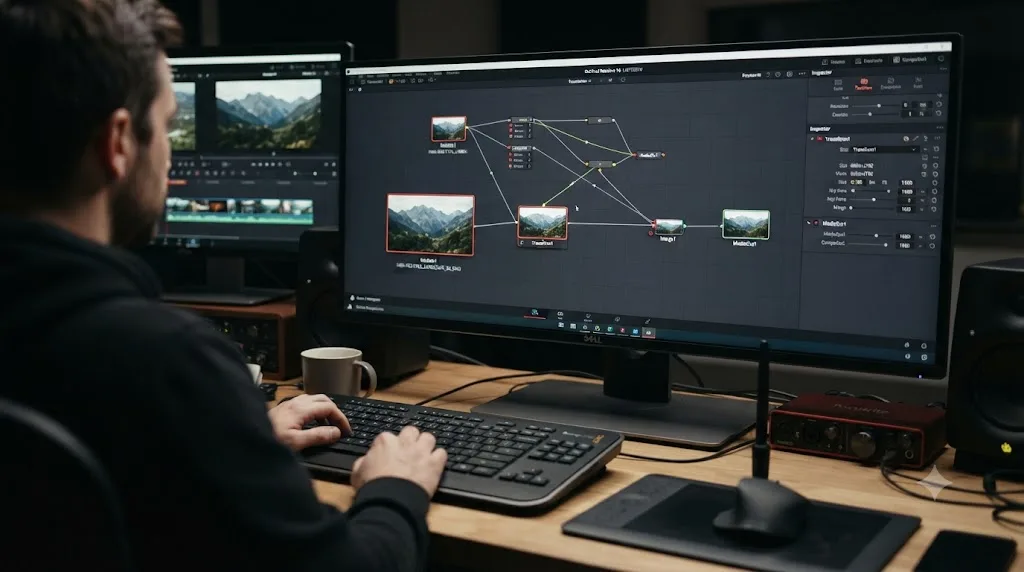
How do you cache a Fusion comp so it plays and renders faster?
Two separate mechanisms do this, and they solve slightly different problems. Inside the Fusion page itself, right-click the MediaOut node and choose Cache to disk, which caches the entire comp to a file on your working drive rather than the limited RAM cache Fusion normally uses while you're actively editing. This is the move for a comp with motion throughout, or one you're still actively developing but want to scrub through without recomputing every frame each time.
Per the reference manual's rendering documentation, Resolve's Smart Render Cache setting also "begins caching the MediaOut node almost immediately when you return to the Edit or Cut page Timeline," which means a lot of this caching happens automatically without you asking for it, as long as Smart caching is enabled rather than switched to manual User mode.
Blogger and editor J. Matthew Turner, who documented his own Fusion caching workflow in detail, put a sharper point on why caching matters as much as it does: "Fusion is not smart enough to understand that it's just repeating the same frame over and over. It recalculates every pixel, every frame." That's true even for a comp with long static stretches. Nothing about Fusion's default behavior recognizes "this hasn't changed since the last frame" and skips the work. Caching is the only thing that captures a computed result and stops Fusion from redoing it.
Fusion recalculates every pixel on every frame by default, even during stretches where nothing on screen has changed at all. That single fact is the reason caching matters as much as it does on Fusion-heavy timelines, and it's worth internalizing before you go chasing node-by-node optimizations that matter far less.
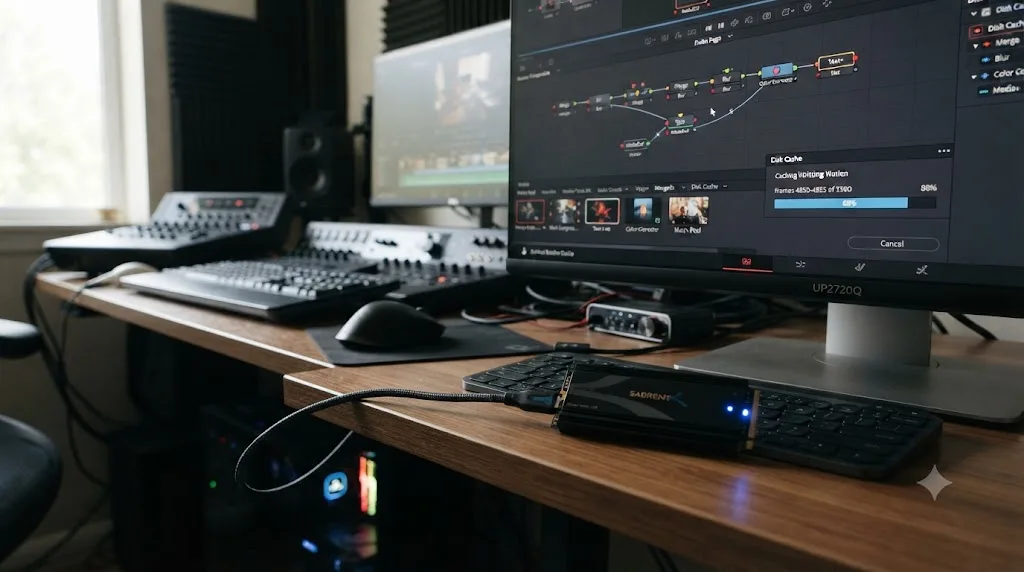
What's the Saver and Loader trick for baking finished animation?
It's the single biggest win available when part of your comp stops moving before the shot ends, and it comes straight from how Fusion Studio compositors have handled this problem for years. The technique, described in detail in J. Matthew Turner's writeup of his Fusion caching workflow, works like this: place a Saver node at the point in your comp where the interesting part ends, say, right after a title finishes animating in and settles into a static hold. Set the render range to cover just that animated section, render the Saver node to an EXR image sequence, then bring the very last frame of that sequence back in with a Loader node and connect it to MediaOut for the remainder of the clip's duration.
The official DaVinci Resolve reference manual confirms the Saver node's role at the foundation of this workflow: "all rendering goes through Saver nodes," which determine "the name, format, and location of the rendered files," and the manual notes that multiple Saver nodes can sit at different points in a single node tree to export different stages of a composite independently, exactly what this technique relies on.
The payoff is the reframe: what was a complex calculation involving potentially hundreds of nodes, computed 24 or more times per second for the entire static hold of the shot, becomes a single pre-computed image with an alpha channel, loaded once and held for as long as you need it. Turner reported that combining this technique with disk cache placement on a dedicated SSD and a smaller codec for cache files produced a 25x increase in render speed on his own project, a number specific to his comp and hardware rather than a guarantee, but directionally exactly what you'd expect from removing hundreds of nodes' worth of repeated work.
Turning a repeating static hold into a single cached image can cut a Fusion render's cost for that section down to almost nothing, because Fusion stops recalculating hundreds of nodes and starts loading one file. This only works for genuinely static sections. If your title keeps subtly moving, breathing, or animating for the shot's full duration, there's nothing to bake, and this trick doesn't apply. But nearly every title, lower third, and logo animation in real-world editing settles into a hold at some point, and that hold is pure waste under Fusion's default recalculate-everything behavior.
For codec choice on the cached files themselves, smaller matters more than pristine quality, since, per Turner's own reasoning, "Resolve will be reading multiple cached video files at once," and a leaner codec like ProRes Proxy for the intermediate cache keeps that read load manageable.
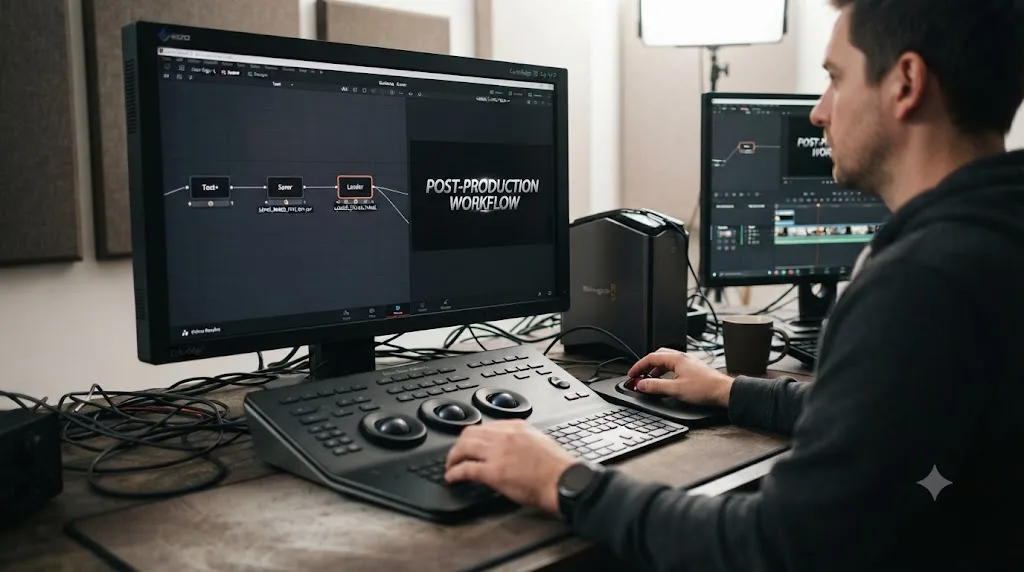
Does Render Cache Fusion Output actually speed up the final Deliver-page render?
Yes, with one important caveat worth understanding before you rely on it. Right-click a clip with a Fusion effect on the Edit page and choose Render Cache Fusion Output, and Resolve pre-renders that clip's Fusion composite in the background, storing it as cache files rather than recomputing it live every time playback reaches that section. Per MotionVFX's performance guide, this setting caches "three types of elements" and is the recommended cache mode for most projects, working alongside Resolve's Smart mode, which automatically flags Fusion effects, transitions, and other processing-intensive clips for caching without you having to select them by hand.
The caveat: cached frames speed up playback and, in many cases, the Deliver-page render, since Resolve can reuse the pre-rendered cache instead of recomputing the comp from scratch. But if you change anything about the comp after caching it, a node setting, a keyframe, even scrubbing past the cached range's boundary, the cache for that section invalidates and Resolve has to rebuild it. Cache early in your process and the benefit compounds through the rest of your editing session. Cache right before you export and change nothing after, and you're really just moving the computation earlier rather than skipping it. Either way it's real time saved on the actual render, since the heavy lifting happens once during caching instead of once per render attempt.
Does your cache drive's speed matter that much?
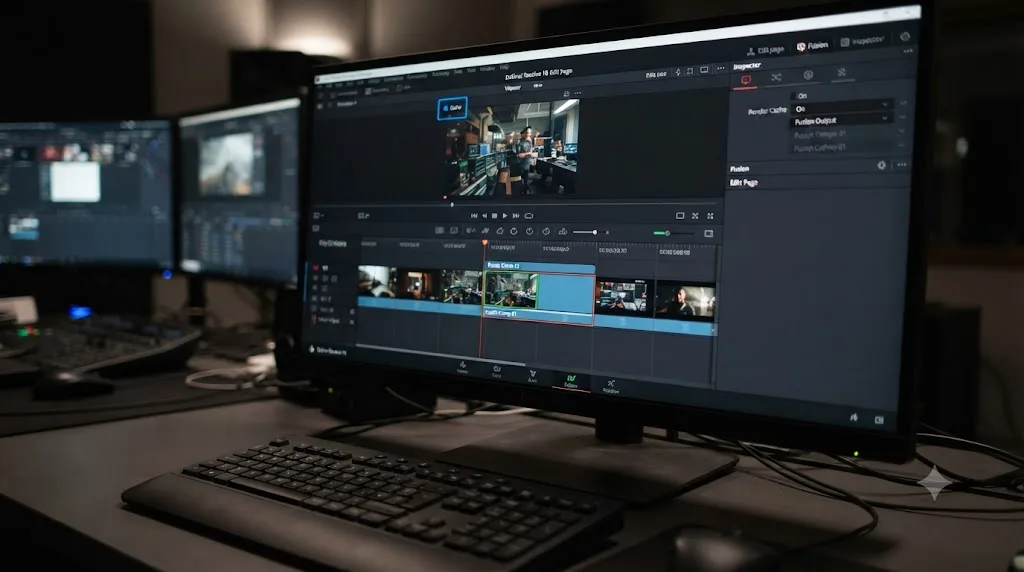
More than most people expect, and it's a cheap thing to fix relative to everything else on this list. A Blackmagic forum thread titled "Fusion's painstakingly slow" points at storage as a real bottleneck, recommending a fast dedicated drive, NVMe or a proper RAID, specifically for cache folders. Turner's own writeup lands on the same conclusion from a different angle, describing his setup as "a dedicated SSD cache drive, while the project itself is stored on a separate spindle drive," deliberately keeping the two workloads from competing for the same disk's bandwidth.
The logic is straightforward once you see it. Every time Fusion reads a cached frame back, whether from the disk cache you set up manually or from Render Cache Fusion Output running automatically, that's a disk read. A comp with several cached elements playing back at once means several simultaneous reads, and a slow spinning drive or a network share simply can't keep pace the way an internal SSD can. The symptom looks exactly like a compute problem, stutter and lag during playback of an already-cached section, when the actual bottleneck is how fast the drive can hand data back to Fusion.
A cache that lives on a slow drive can make an already-cached Fusion comp play back worse than an uncached one on fast storage. Set your project's Cache Files Location, in Project Settings under Master Settings, to your fastest available SSD, separate from where your source media lives if you can manage it, and this stops being a variable you have to think about on every project.
Is DaVinci Resolve Free slower at Fusion than Studio?
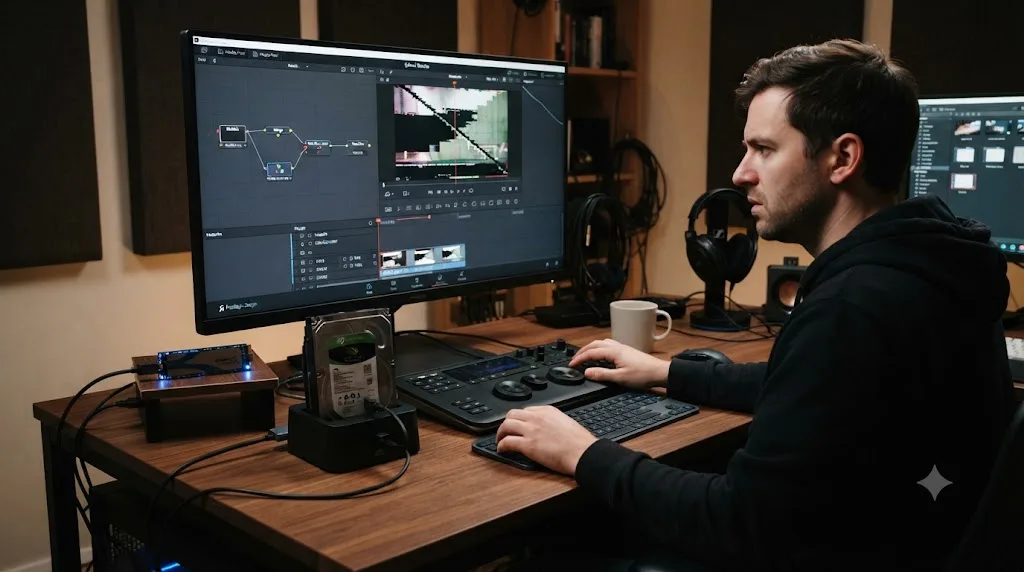
Not because of a speed cap inside Fusion itself. The node graph, the caching mechanisms, Simultaneous Branching, all of it work identically in both editions. Where the free version loses ground is upstream of Fusion: per Blackmagic's own tech specs, several GPU acceleration features and hardware-accelerated decode paths are Studio-only on Windows and Linux, and a comp built on footage that's already decoding slowly, or running through a more limited GPU pipeline overall, has less headroom left over for Fusion's own workload.
In practice, this means the free version and Studio should perform about the same on a Fusion comp built from already-fast source material, DNxHR or ProRes footage, for instance. The gap widens on heavier camera formats, where Studio's hardware decode advantages on Windows and Linux give it more room before Fusion becomes the bottleneck. Whether that gap matters for your specific project comes down to your footage more than your Fusion comp.
What changed for Fusion performance in DaVinci Resolve 21?
Blackmagic's point releases through 2026 have focused more on decode and playback performance than on Fusion's render engine specifically. Resolve 21.0.2, the current point release, shipped improvements to H.264 and H.265 playback on NVIDIA GPUs, covered in more detail in the slow playback guide, which indirectly helps Fusion comps built on heavy camera footage by leaving more decode headroom before Fusion's own processing even begins. None of the fixes covered on this page, MediaIn versus Loader, Simultaneous Branching, DoD, are new to version 21. They're long-standing Fusion behaviors that predate the current release by years, which is exactly why they still show up in forum threads going back to earlier Resolve versions.
If a future point release changes Fusion's caching or GPU behavior in a way that affects this guide, that's the kind of update worth checking our broader DaVinci Resolve 21 review for, since we track what changes with each point release there.
Should you split one heavy comp into two simpler ones?
Sometimes, and it's a legitimate structural fix rather than a workaround. A single comp that stacks several expensive operations, a large glow, a particle system, temporal effects, multiple 3D elements, forces every one of those costs to compound within one node tree, and Fusion has to hold intermediate results for the whole thing in memory at once while it works.
Breaking a monster comp into two stacked, simpler comps, the first handling the heaviest elements and rendering out to a cached intermediate, the second building the rest of the shot on top of that cached result, means no single frame ever needs the entire tree resident in memory simultaneously. This is the same principle behind the Saver and Loader trick above, applied to structure rather than to a specific static hold. It costs you a bit of extra setup and an intermediate render step, and it buys back real memory headroom and often real speed on comps that are genuinely doing too much in one place.
This is worth trying specifically when a comp exhausts GPU memory before it finishes rendering rather than just running slow. Our GPU memory full guide covers the VRAM side of Fusion work in more depth, including why big merges, glows with large filter sizes, and 3D scenes are the specific tools most likely to push a card past its limit.
What does a full diagnosis look like on a real project?
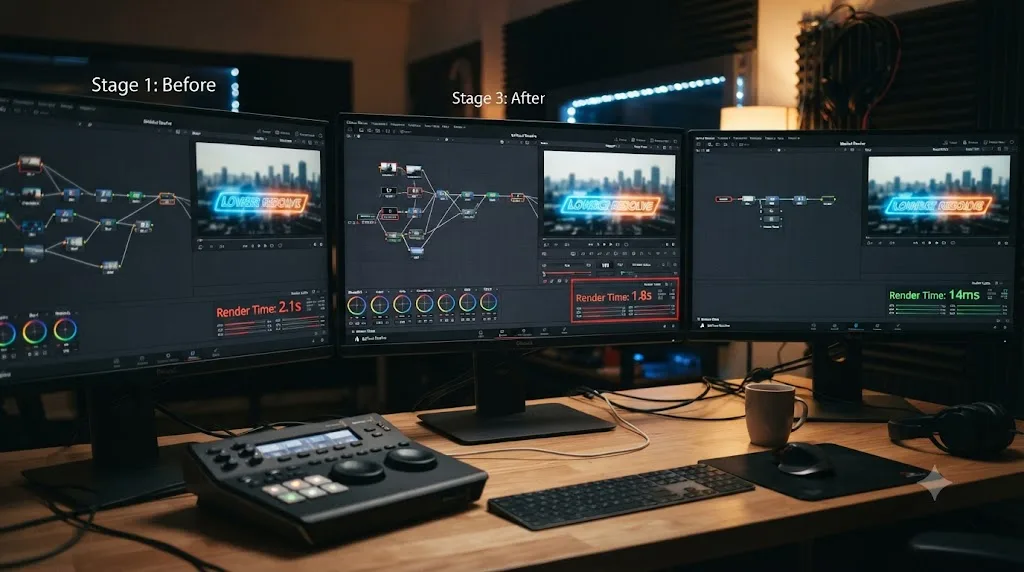
Take a common case: a 15-second lower third animation, built with a logo PNG, a particle-based sparkle effect, a large glow on the text, and a static hold for the last 10 seconds after the animation settles. It renders at roughly 2 frames per second on a capable, modern machine, which is far slower than it has any right to be.
First check: is it playback or render? Scrubbing inside the Fusion page is choppy too, not just the final render, so the node graph itself has a real cost, not just a lot of frames to get through.
Second check: the logo PNG. It's a 6000-pixel-wide export from a design tool, dropped straight into the comp at a size where it displays at maybe 400 pixels on screen. That's the oversized-still problem from earlier in this guide, and it's loaded through a MediaIn node rather than a Loader, so it's being reprocessed at full resolution on every one of the 360 frames in the clip. Fix: resize the source PNG down to roughly 800 pixels wide in an image editor, and swap the MediaIn for a Loader while at it.
Third check: the sparkle particle system. Task Manager shows the CPU pinned while the GPU idles during the particle-heavy stretch of the animation, exactly the CPU-only p-node behavior covered earlier. There's no setting that fixes this directly; it's an architectural limit of Fusion's particle tools. But the particles only run during the first 5 seconds of animation, which narrows where the real cost lives.
Fourth check: the glow on the text. Inspecting its Domain of Definition shows the processing region extending well past the frame edges, a predictable side effect of a large glow size. A Crop node inserted right after it, clipped to the comp's actual frame, removes that overflow from every node downstream.
Now the structural fix. The last 10 seconds are a pure static hold, logo, text, and glow all settled with nothing moving. That's exactly the Saver and Loader scenario: render just the first 5 seconds of animation to an EXR sequence with a Saver node, load the final frame back in with a Loader, and let that single cached image carry the remaining 10 seconds instead of recomputing the whole tree, particles included, 240 more times.
The end state: a resized and cached logo, a cropped glow with no wasted DoD, and 10 of the 15 seconds replaced by a single loaded image instead of a full recompute. The particle cost, unavoidable during the animated section, now only has to happen once per frame for 5 seconds instead of 15. That's the whole method: find where the graph is genuinely working, and stop it from working anywhere it doesn't need to.
What's the fastest order to try these fixes in?
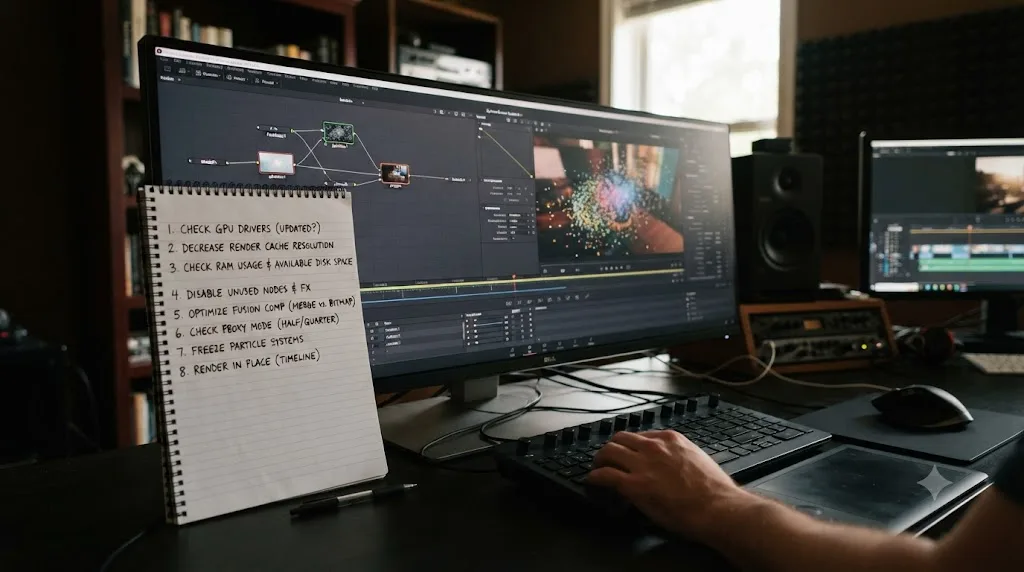
Work through this list before you assume your machine or your project is the problem:
- Confirm whether it's Fusion page playback, the Deliver-page render, or both that's slow, since the fixes diverge from here.
- Stop expecting Timeline Proxy Mode to help. Fusion computes at full timeline resolution regardless.
- Check every still image in the comp. Resize oversized source files down to what the shot actually needs, and swap MediaIn nodes for Loader nodes on any of them.
- Turn on Simultaneous Branching in Preferences > Memory and set it to around 8 frames.
- Look for runaway Domain of Definition after any Merge, Glow, or Blur, and insert a Crop node to clip it back to frame.
- Swap Transform for Resize wherever you're permanently shrinking an asset.
- Check your heaviest nodes for a CPU/GPU/Auto toggle and set it to GPU explicitly, but don't expect particles or CPU-only OFX plugins to move.
- Move your cache files location to your fastest internal SSD, separate from your project drive if you can.
- Right-click the MediaOut node and cache the comp to disk once it's stable, or confirm Render Cache Fusion Output is on for the clip.
- If part of the comp holds static for any real stretch of time, bake it with a Saver and reload it with a Loader instead of letting Fusion recompute it every frame.
As Jason Bowdach, a professional colorist and Blackmagic Certified Trainer, put it while walking through Resolve's caching tools more broadly, DaVinci Resolve has the ability to cache, or "pre-render," its entire timeline "to a more processor-friendly format with all the edits, color grading, and effects 'burned-in' to a single stream of media." That's the whole philosophy behind every fix on this page, whether it's a Loader node caching a still, a disk cache holding a finished comp, or a Saver and Loader pair baking a static hold into one file. Compute the expensive thing once, save the result, and stop asking Fusion to do the same work over and over on frames that never change.
If your machine also meets Blackmagic's baseline for GPU memory, at least 4GB per the official tech specs, and comfortably clears Puget Systems' 12GB recommendation for 4K work, a slow Fusion render is almost never a hardware ceiling. It's a node graph doing more than it needs to, and every fix on this page is about finding exactly where.
Most of what slows a Fusion comp down hides in plain sight: a MediaIn node where a Loader belongs, a still image three times bigger than the shot needs, a glow bleeding compute past the frame nobody will ever see. Work through the checklist once, and you'll start spotting these before they cost you a render. If hunting through Fusion's Inspector settings for the right toggle is the part eating your evening, that's the exact gap TryUncle is built for, an AI tutor that looks at your actual Resolve window and points at the setting instead of sending you back to a forum thread to guess which one applies to your comp.
Frequently asked questions
- Why is my Fusion composition rendering so slowly in DaVinci Resolve?
- Most often because Fusion is doing more work than it needs to. It computes at full timeline resolution regardless of your proxy settings, MediaIn nodes reprocess still images on every single frame instead of caching them, and some tools are forced onto the CPU even when a GPU sits idle. Stack two or three of those and a comp that should render in minutes takes hours.
- Does Timeline Proxy Mode speed up Fusion rendering?
- No. Timeline Proxy Mode reduces the resolution DaVinci Resolve decodes for playback on the Edit and Color pages, but Fusion still computes its composition at full timeline resolution. If your comp is slow, dropping Proxy Mode to Quarter Resolution won't touch it.
- Why does replacing MediaIn with a Loader node fix Fusion performance?
- MediaIn nodes don't cache a single-frame still image, so Fusion reprocesses it on every frame of the timeline. A Loader node pointed at the same file caches it once and reuses that cached copy, which is why swapping the two nodes for still images has fixed reported slowdowns and stability problems for multiple users on Blackmagic's own forum.
- What is Simultaneous Branching and should I turn it on?
- It's a Fusion preference, in Preferences > Memory, that lets Fusion process independent branches of a node tree across separate CPU cores instead of one after another. It helps most on comps with several parallel branches feeding into a Merge, and does little for a purely linear chain of nodes.
- Does DaVinci Resolve Free render Fusion slower than Studio?
- Not because of a Fusion-specific speed cap. But the free edition's overall GPU acceleration limits and lack of hardware-accelerated decode on Windows and Linux mean a comp built on heavy source footage often has less headroom to begin with. The Fusion node graph itself behaves the same in both editions.
- Why is my GPU idle while a Fusion render maxes out the CPU?
- Because several Fusion tools, including most of the particle system before the final render node, are CPU-only by design. Check individual nodes for a GPU or Auto processing option, but expect some tools, particularly particles and certain third-party OFX plugins, to never touch the GPU no matter how the render performs.
- Can I put Fusion's cache files on a different drive than my project?
- Yes, and you should if your project drive is slow. Project Settings > Master Settings lets you set a separate Cache Files Location, and pointing it at your fastest SSD, rather than the same spinning drive as your media, is one of the more reliable fixes reported for consistently slow Fusion playback and caching.
- Does the Saver and Loader trick work for a whole animated title, or only static sections?
- Only for the parts that stop moving. The technique renders a finished, static section of a comp to an image sequence with a Saver node, then loads that sequence back with a Loader so Resolve treats it as a single cached image instead of recalculating the whole node tree every frame. An intro animation that keeps moving for the full duration doesn't benefit; a title that animates in and then holds still does.
Sources
- Blackmagic Forum: Need help, Fusion Render slow
- Blackmagic Forum: Fusion page - Major performance issue with MediaIn v Loader
- Blackmagic Forum: Fusion Performance Observations
- Blackmagic Forum: Performance issues or is this normal? (Fusion Page)
- MotionVFX Help Center: DaVinci Resolve slow performance problems
- Frame.io Insider: 5 Tips To Improve Performance in DaVinci Resolve (Jason Bowdach)
- j.matthew.turner: DaVinci Resolve/Fusion Caching
- DaVinci Resolve Reference Manual: Rendering with the Saver Node (VFXPedia mirror)
- DaVinci Resolve Reference Manual: Rendering in the Fusion Page (VFXPedia mirror)
- DaVinci Resolve - Tech Specs (Blackmagic Design)
- Hardware Recommendations for DaVinci Resolve (Puget Systems)
Put this guide to work with TryUncle.
Ask about the step you’re on. TryUncle sees your screen and points at the control you need, so you can keep learning in your own project.
Get TryUncle for Mac or WindowsKeep reading

Fixes · Jul 7, 2026 · 25 min
DaVinci Resolve Playback Choppy or Stuttering? The Real Fix
Fix choppy DaVinci Resolve playback with Optimized Media, Proxy Media, Render Cache, Timeline Proxy Mode, and the Resolve 21.0.2 NVIDIA decode fix.
Fixes · Jul 7, 2026 · 25 min
DaVinci Resolve GPU Memory Is Full: Every Real Fix
Why DaVinci Resolve throws 'GPU memory is full,' and which fixes actually work: timeline resolution, drivers, effects, and how much VRAM you need.
Fixes · Jul 7, 2026 · 24 min
DaVinci Resolve Not Exporting? Fix a Stuck or Failed Render
Why DaVinci Resolve renders get stuck at 0% or 99%, or fail with no error, and the exact checks that get a stalled export moving again.