Articles / Fixesupdated for DaVinci Resolve 21.0.1 (June 2026)
DaVinci Resolve Not Exporting? Fix a Stuck or Failed Render
Quick answer
DaVinci Resolve usually gets stuck or fails to export because of a disconnected audio device, a corrupted clip or GPU-heavy effect it can't process, GPU memory running out on 4K or 8K timelines, or a known bug fixed in a later point release. Check Preferences > I/O first, then lower Render Speed, then isolate the clip with Render in Place.
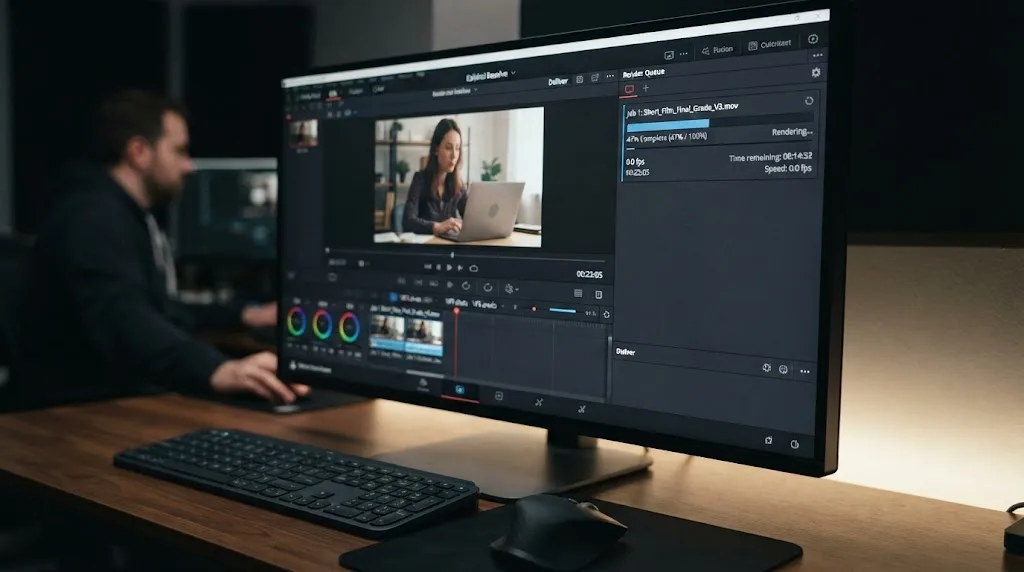
A stuck render usually isn't a rendering problem. It's a specific clip, setting, or device that Resolve can't get past, and once you find it the fix is almost always small. Here's how to find it, in the order that actually works.
Why is DaVinci Resolve stuck at 0% and not moving?
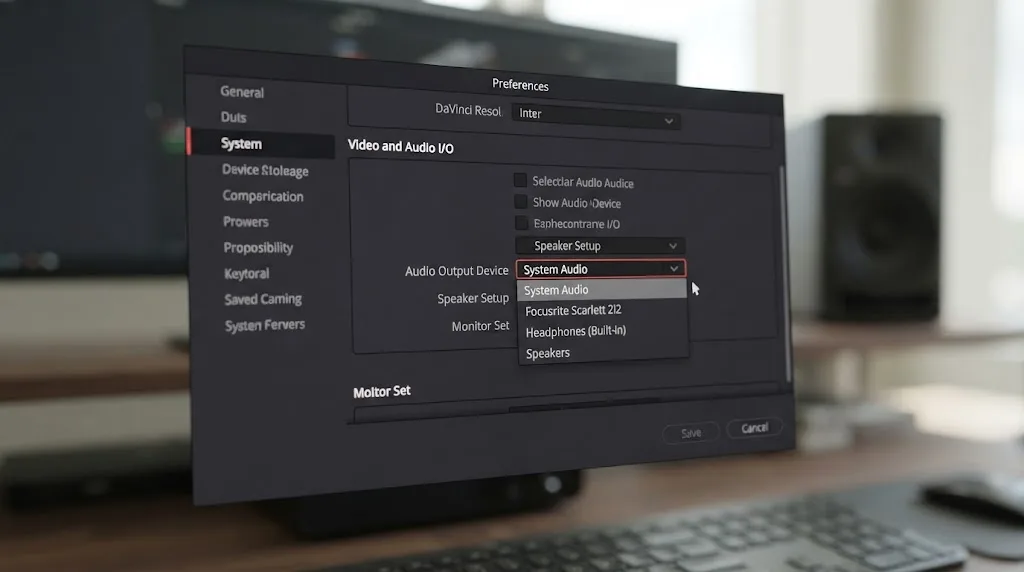
Check your audio before you touch anything about the video. A render stuck at 0% is almost never a rendering problem. It's a playback problem you haven't noticed yet. If Resolve's audio output is pointed at a device that's disconnected, asleep, or no longer exists, the render can hang indefinitely without ever throwing an error, according to a thread on the Blackmagic Design forum describing exactly this symptom.
Open Preferences, then I/O, and look at what's selected under Audio Output. If it's a headphone set you unplugged an hour ago or a monitor that's since gone to sleep, switch it to your built-in output or whatever's actually connected, then try the render again.
Why does the render fail instantly, before a single frame?
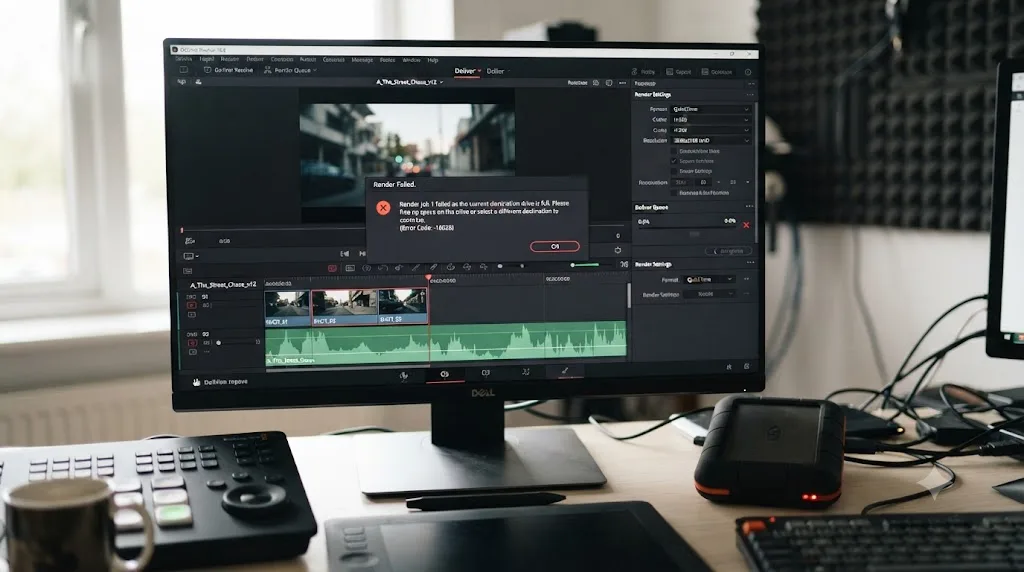
If the job errors out the moment you click Render All, Resolve never even reached your footage. Something about the destination or the format blocked it at the door, and that narrows the suspects to a short list you can clear in two minutes.
Start with the drive. Resolve needs room for the finished file plus working space while it writes, so a destination with a few hundred megabytes left is effectively full. An external drive that dropped its connection since you set the render path fails the same way, and so does a path pointing at a folder you renamed or moved since the last session. Re-browse to the output folder rather than trusting the saved path.
Then check that you're actually allowed to write there. An NTFS-formatted drive from a Windows machine mounts on macOS as read-only out of the box, so the render dies instantly even though the drive opens fine in Finder. Network volumes and cloud-synced folders can revoke write access mid-session too. The clean test is to render to a local folder you own and move the file afterward.
The filename itself can kill the job. Slashes, colons, question marks, and other reserved characters fail the render before the encoder spins up. Letters, numbers, hyphens, and underscores never cause trouble; strip everything else.
Finally, make sure the format you picked is one your version can actually produce. The free version caps export resolution and frame rate and leaves some professional options to Studio, so a preset built on another machine can ask for something your tier won't do. If the option you need is missing or greyed out rather than failing, that's the license line, not a bug.
Why does the render stop at 99% and never finish?
This one is almost always a single frame, not the whole file. Somewhere near the end of your timeline, Resolve hits a frame it can't process and refuses to move past it rather than skip it and keep going.
Go to Preferences, then User, then UI Settings, and uncheck "Stop renders when a frame or clip cannot be processed." Render again. This won't necessarily give you a clean final file, but it lets the render finish so you can see exactly which frame or clip caused the freeze in the first place. Variable frame rate footage is a frequent culprit here: individual frames can show as Media Offline even though the clip plays fine, which breaks the render at that exact point. Changing the clip's frame rate attribute to a fixed rate in Clip Attributes usually clears it. If whole clips are showing offline rather than single frames, that's a relinking problem to solve on the Media page before any render setting will help.
What does the failure point tell you about the cause?
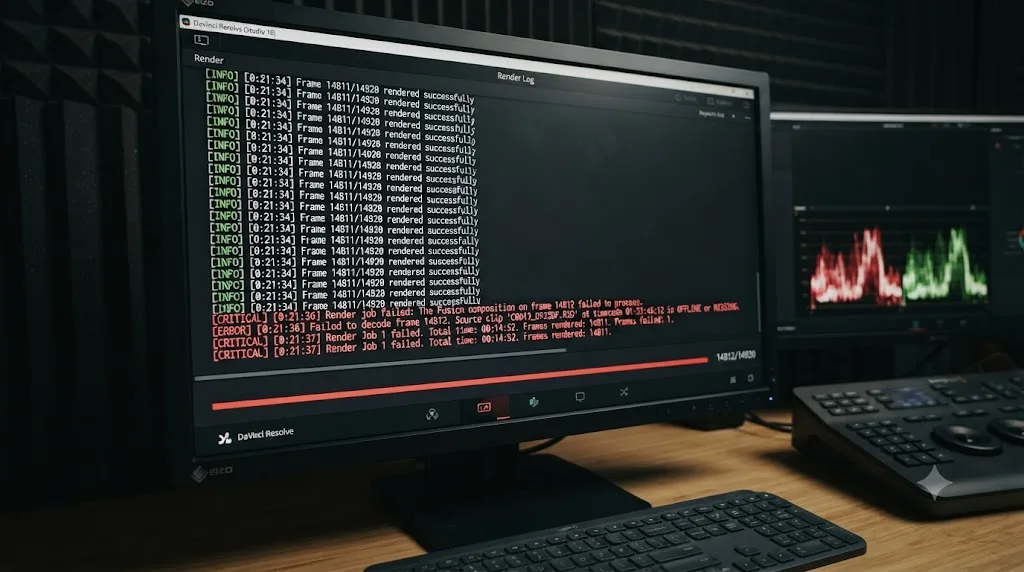
More than any error message does. Before you change a single setting, note exactly where and how the render died, because the pattern of the failure is the diagnosis.
In DaVinci Resolve, a render that fails at the same frame every time is a timeline problem, and a render that fails at a different frame each time is a hardware problem. A repeatable failure point means something deterministic sits at that timecode: a corrupt clip, a variable frame rate hiccup, a plugin, a Fusion composition. Park the playhead there and look. A failure point that moves between attempts means the timeline is fine and a resource is running out around it, usually GPU memory, sometimes an overheating card throttling down, occasionally a drive dropping off the bus mid-write.
Here's the full map from symptom to first move:
| Failure mode | Most likely cause | First fix |
|---|---|---|
| Stuck at 0%, no error | Disconnected or sleeping audio device | Preferences > I/O, pick a live output |
| Fails instantly | Destination drive, permissions, filename, or unavailable format | Free space, write access, plain filename |
| Stops at the same frame every run | Corrupt clip, VFR frame, or plugin at that timecode | Uncheck "Stop renders when a frame or clip cannot be processed," then isolate with In/Out points |
| Stops at a random frame each run | GPU memory, thermals, or a flaky drive | Render Speed to 50%, close GPU-heavy apps |
| Stuck at 99% | One unprocessable frame near the end, often VFR | Fix the clip's frame rate in Clip Attributes |
| "GPU memory is full" mid-render | VRAM overflow from resolution plus effects | Lower Render Speed, disable heavy effects one at a time |
| H.264/H.265 fails, ProRes works | Hardware encoder or GPU driver | Switch Encoder to Native, update the driver |
| File completes but has glitched frames | Stale or corrupt render cache | Uncheck "Use render cached images," delete the cache |
| File is much shorter than the timeline | Render range set to In/Out instead of Entire timeline | Set the range dropdown above the Render button to Entire timeline |
| Media Offline appears mid-render on synced media | Cloud placeholder files not actually on disk | Download the media fully and keep it on the device |
Match your symptom, make the first move, and read on only if the render still won't finish.
What does "Your GPU memory is full" actually mean?
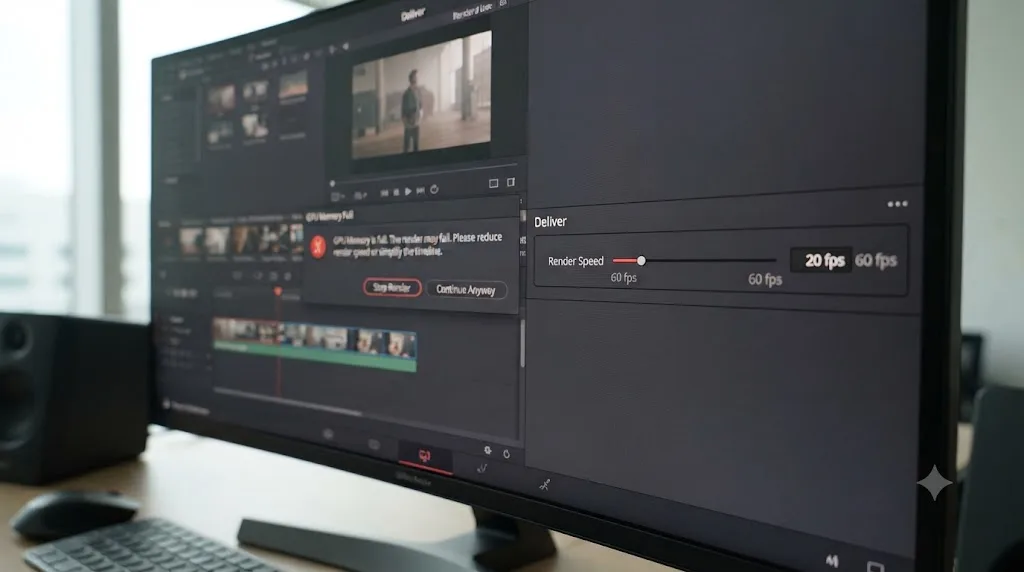
It means your timeline is asking the GPU to hold more in memory at once than it has room for, not that your GPU is broken. As one breakdown of the error puts it, "'GPU Memory Full' isn't one problem. It's more like a traffic jam with a few different causes piling into each other," per Vagon's writeup of the error. Color nodes, LUTs, noise reduction, and Fusion titles all eat into VRAM before you've added anything else, and 4K or 8K RAW footage with motion blur or busy backgrounds pushes the load higher still.
Three things help, in order:
- Drop Render Speed from Maximum to 50% or 25% in the render settings. This slows how fast Resolve feeds frames to the GPU, which is the single most reliable fix for a memory overflow.
- Close other GPU-hungry applications, especially browsers with several tabs open.
- Disable heavy effects one at a time (noise reduction, Depth Map, third-party OpenFX) to find which one is actually responsible, rather than assuming it's the whole grade.
If your GPU genuinely doesn't have the VRAM for the project, per Blackmagic's own tech specs Resolve's baseline requirement is a GPU with at least 4 GB of VRAM and 16 GB of system RAM, which is a floor, not a target for demanding grades. For a working target, Puget Systems' hardware recommendations, built on the company's own benchmarking, call for 8 GB of VRAM on 1080p timelines, 12 GB for 4K, and 20 GB or more for 6K and 8K. And if this error is haunting you during editing and playback too, not just at export, our dedicated GPU memory full guide covers the timeline resolution and caching fixes that stop it at the source.
Why do H.264 and H.265 exports fail when ProRes works fine?
Because they don't run through the same machinery. ProRes and DNxHR are encoded in software by your CPU. H.264 and H.265 usually go through the dedicated hardware encoder built into your GPU: NVENC on NVIDIA cards, AMF on AMD, Quick Sync on Intel, and Apple's VideoToolbox on Macs. When that hardware path breaks, only those two codecs fail, and everything else renders as if nothing were wrong. That asymmetry is the tell.
The usual culprit is the GPU driver, especially if the failures started right after a driver or OS update. Update to the latest driver for your card before touching anything in Resolve, and on NVIDIA take the Studio Driver rather than the Game Ready one from NVIDIA's driver page, since it's the branch validated against creative apps.
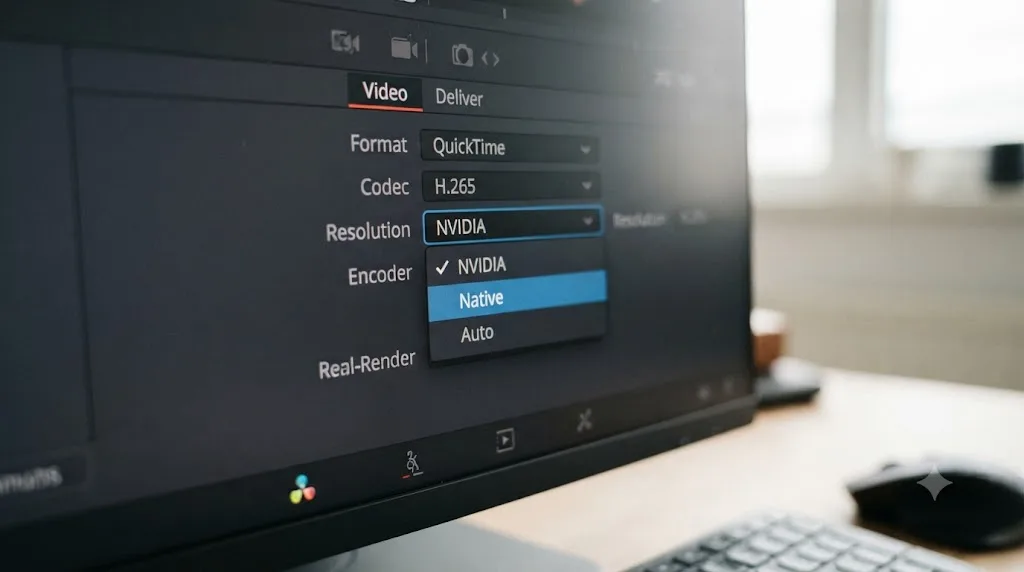
You can confirm the diagnosis without waiting on a download. On the Deliver page, switch the Encoder dropdown from your GPU vendor's entry to Native, which routes the encode through the CPU in software. If the render now completes, the problem lives in the hardware encoder or its driver, not your timeline. Software encoding is slower, but slow and finished beats fast and failed.
Hardware encoders also have hard limits that software doesn't. Each encoder generation supports a fixed set of resolutions, bit depths, and chroma formats, and asking an older card for a combination its silicon can't produce, like 10-bit or 4:2:2 H.265 on a GPU that predates support for it, fails the render no matter how healthy the driver is. Drop to 8-bit 4:2:0, or switch to Native for that one master.
Which encoders you're offered also depends on your license and OS. Per Blackmagic's tech specs, hardware-accelerated H.264 and H.265 encoding on Windows and Linux is a Studio feature, while on macOS the free version encodes both through VideoToolbox. So if a tutorial's Deliver page shows encoder options yours doesn't have, that's the version gap, not a broken install.
Is Resolve even using the right GPU?
On a desktop with one graphics card, skip this section. On a laptop, don't, because most editing laptops carry two GPUs: a low-power integrated one built into the CPU and a discrete NVIDIA or AMD card for the heavy work.
On a dual-GPU laptop, DaVinci Resolve can run its render on the weak integrated GPU while the powerful discrete card sits idle. When that happens you inherit the integrated chip's small memory allocation and modest throughput, and you get GPU memory errors that make no sense given the hardware you paid for.
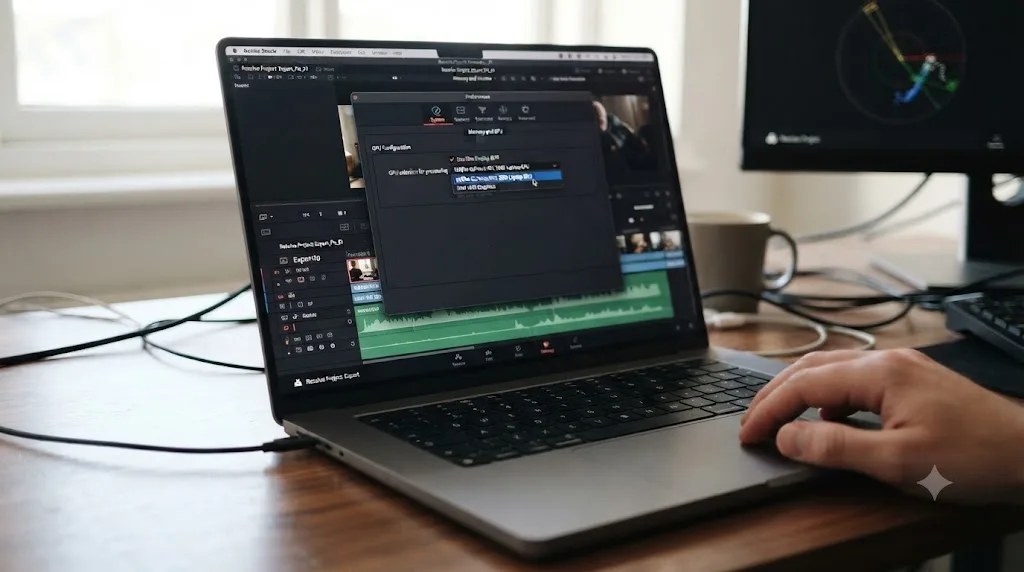
Check it in Preferences > Memory and GPU. If GPU selection is on Auto, switch it to Manual, tick only the discrete card, and restart Resolve. While you're in that panel, look at the GPU processing mode too. On NVIDIA cards CUDA is the mode you want, since the OpenCL fallback costs both speed and stability, and on Apple silicon Metal is the only sensible choice. On Windows there's a second place the wrong choice hides: the operating system's own Graphics settings can assign Resolve to the power-saving GPU, so set it to high performance there as well.
Vendor choice matters less than driver discipline, but it isn't nothing. In Puget Systems' testing for its Resolve hardware guide, "NVIDIA cards tend to be slightly more reliable (both from a hardware and driver standpoint)," which is worth knowing when you're buying, though it's never a reason to blame an AMD card that rendered fine last week. Whatever the brand, the card that matters is the one Resolve is actually using, and on a laptop that's worth thirty seconds to confirm before any deeper surgery.
Do the fixes change on Windows, macOS, and Linux?
The render engine is the same everywhere, but each operating system adds its own tripwires.
| OS | Quirk that breaks renders | What to do |
|---|---|---|
| Windows | Antivirus locks the output file mid-write; OneDrive fills folders with placeholder files | Render to a local, unsynced folder and exclude it from real-time scanning |
| macOS | A denied folder-permission prompt silently blocks writes to Desktop, Documents, or external volumes | Re-grant access in System Settings > Privacy & Security > Files and Folders |
| Linux | The free build offers fewer delivery codecs than the free macOS and Windows builds | Deliver to a codec the build lists, or export a master and transcode externally |
On Windows, the two usual saboteurs are security software and cloud sync. A real-time scanner can grab the output file while Resolve is still writing it, and a render into a OneDrive-managed Documents folder is a render into a folder whose contents may not be fully local. Render to a plain folder neither tool manages, and if failures persist there, add the render folder to your antivirus exclusion list before blaming Resolve.
On macOS, remember that the system gates app access to Desktop, Documents, Downloads, and removable volumes behind a one-time permission prompt. Click Don't Allow once, months ago, and renders to that location fail today with no useful message. The Files and Folders panel under Privacy & Security shows exactly what Resolve may touch. Apple silicon adds one more wrinkle worth knowing: there is no separate VRAM, because GPU memory comes out of the same unified pool as system RAM, so memory pressure from other apps eats directly into what a render can use, and quitting them helps more than it would on a machine with a discrete card.
On Linux, stick to the proprietary NVIDIA driver, which is the well-trodden path for Resolve; the open-source alternatives are where render mysteries live. And know that the free Linux build has long shipped with a narrower delivery codec set than the free macOS and Windows builds, so a preset that exports fine on a colleague's Mac can fail outright at the same version number under Linux. If the codec you need isn't in the list at all, that's a licensing boundary rather than a bug, and the master-and-transcode workaround later in this guide gets you the file anyway.
Why does a render fail with no error message at all?
This is the most frustrating version, and it's usually one of four things, according to a breakdown of common export failures: "There is a corrupted clip, a failing third-party plugin, or a heavy Fusion effect at that specific timecode that your GPU cannot process," per Cutsio's guide to Resolve export errors.
- A corrupted or damaged source clip. Re-import or re-link the file and test rendering just that section.
- A third-party plugin or OpenFX effect that's crashing silently. Bypass it and render again to confirm.
- Storage or permissions. The instant-failure checks from earlier apply here too. Free space, write access, and a plain filename cost nothing to rule out.
- A heavy Fusion node the GPU can't clear in time, especially on longer or 4K timelines.
Resolve's render engine will not finish a frame it cannot decode, so it stops instead of skipping it. That's frustrating in the moment, but it also means the failure point is almost always findable if you isolate small sections instead of re-rendering the whole timeline over and over.
Can the source drive kill a render mid-run?
Everything so far has pointed at the destination, the GPU, or the timeline. The drive your footage lives on can end a render too, and it produces the most misleading symptom of the lot: failures at random frames on a timeline with nothing wrong in it.
Spinning external drives and some USB enclosures go to sleep after a few idle minutes. A render doesn't read every clip continuously, so a drive that naps between reads has nothing to offer when Resolve comes back for the next clip, and the render fails or throws Media Offline at whatever frame needed that file. Disable drive sleep in your OS power settings, or better, copy the project's media to an internal SSD before a delivery render.
Cloud placeholders are the sneakier version of the same failure. Dropbox and OneDrive can mark files as online-only: the file shows up in Finder or Explorer, shows up in Resolve's media pool with a thumbnail, and does not actually exist on your disk. Mid-render, when the real frames are needed, the clip goes offline. Mark the media folder as always available offline and confirm the download finished before you render.
Network storage over Wi-Fi rounds out the list. A NAS that streams playback smoothly can still dip below what a full-speed render pulls, and the failures land wherever the network happened to stumble. The test costs nothing: copy the same clips to a local drive, relink, and render once. If that run completes, you've found your bottleneck without changing a single setting in Resolve.
How do you actually isolate the clip that's breaking the render?
Set an In and Out point around a small section of the timeline, roughly where you suspect the problem sits, and render just that range. If it fails, narrow the range further. If it succeeds, move the range forward until it fails again. This is slower than one full export, but it turns a mystery into a five-minute clip instead of a forty-minute one.
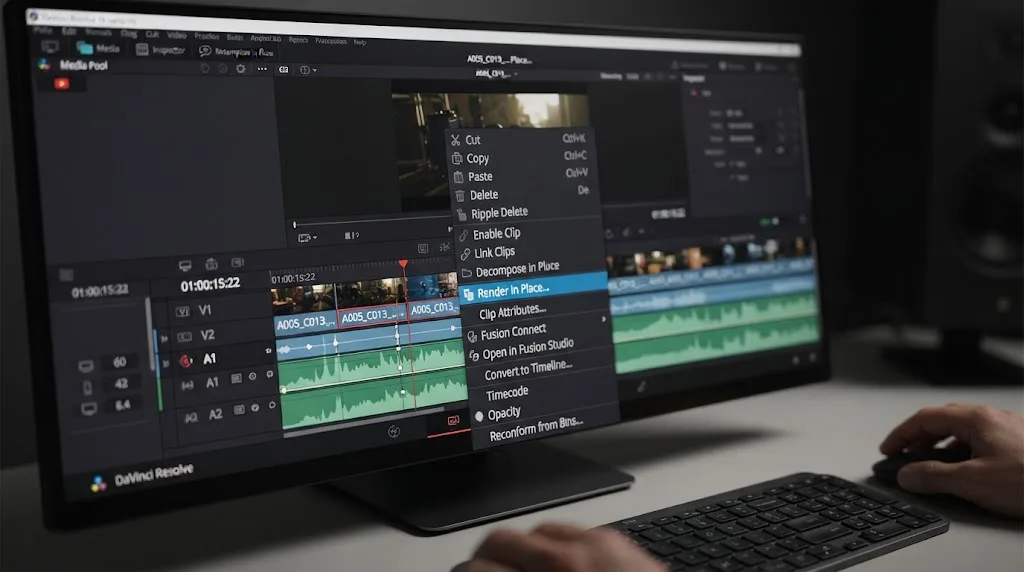
Once you've found the section, right-click it and choose Render in Place from the Edit page. That bakes the clip, effects included, into a single new file that replaces the original on the timeline. Filmmaker Mirko Fabian ran into exactly this while finishing his short film "The Camera," a 6K BRAW project loaded with color grading effects. As he described it, "it later turned out that those effects caused my system to constantly crash because the workload was simply too heavy," in his account of troubleshooting the render. Rather than keep fighting the full timeline, he pre-rendered the demanding sections individually, which is the same principle behind Render in Place and render caching.
Render in Place doubles as a diagnostic, and this is worth being deliberate about. If Render in Place succeeds on the suspect clip but the Deliver page still fails on the same section, the clip was never the problem: the failure lives in your delivery settings, most often the codec, the hardware encoder, or the output path. If Render in Place fails on that clip too, you've confirmed the clip or an effect on it is the cause, and re-linking, re-transcoding, or bypassing effects on that one clip is where your time should go. Two renders, and you know which half of the pipeline is broken.
Can the render cache itself break the export?
Yes, and it's one of the least suspected causes because the cache exists to make things faster. With "Use render cached images" checked on the Deliver page, Resolve reuses frames it cached during editing instead of re-rendering them, which ties your export's health to the cache's health. If a cached file is stale or corrupt, or the drive holding the cache is full or disconnected, the export inherits the damage: a failed render, or worse, a finished file with glitched or outdated frames.
Three checks settle it:
- Uncheck "Use render cached images" in the render settings and export again. This forces Resolve to render every frame fresh. It's slower, but if the export now works, the cache was your problem.
- Delete the cache outright with Playback > Delete Render Cache > All, then let it rebuild. Corrupt cache files don't fix themselves, and a rebuild costs render time, not work.
- Check where the cache lives. Project Settings > Master Settings lists the working folders, and the cache drive needs real headroom, because during an export the cache and the output file can end up competing for the same disk.
The same thinking applies in reverse: a healthy cache on a fast drive with space to spare is one of the best render insurance policies you can have, because pre-rendered frames are frames the export doesn't have to compute under pressure.
What if the render finishes but the file is wrong?
A completed render that produces a broken file is its own family of problems, and the fixes are usually quicker than anything above.
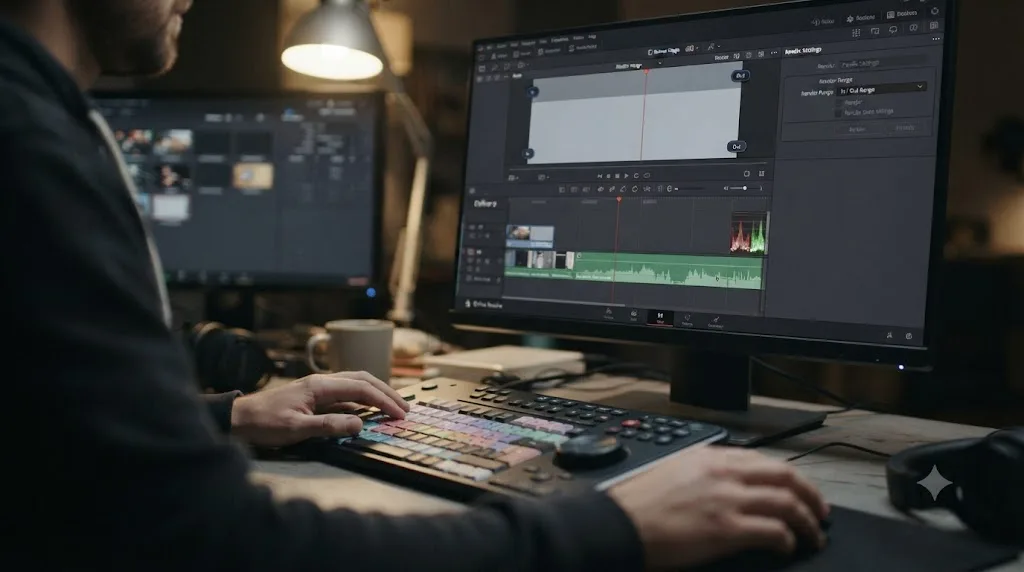
The file is much shorter than the timeline. Nothing failed here. DaVinci Resolve renders only the range selected above the Render button on the Deliver page, and when In and Out points are active, that range is not your whole timeline. In and Out points you set weeks ago for a test, or the ones left over from the isolation steps earlier in this guide, quietly persist. Set the render range dropdown to Entire timeline and render again.
The file has no audio. Check three things in order: whether the track or its bus is muted on the timeline, since muted tracks are excluded from the export; whether the Audio tab of the render settings has a codec selected and the right output track; and whether the player, not the file, is the problem, which a second player settles in ten seconds.
Frames are glitched, or show an old version of the grade. That's the render cache lying, covered in the section above: uncheck "Use render cached images" and export fresh.
The file won't open, or plays black. Before you re-render anything, try it in VLC. H.265 needs a codec many older Windows machines don't ship with, and 10-bit H.264 chokes several common players. If the file plays in VLC, the export succeeded, and it's the playback machine that needs attention, not your project.
What's the right order to try these fixes in?
Work through this list before you assume the project itself is broken:
- Check Preferences > I/O for a disconnected audio device if the render is stuck at 0%.
- Rule out the destination: free space on the drive, write permission on the folder, and a filename without special characters.
- Uncheck "Stop renders when a frame or clip cannot be processed" in Preferences > User > UI Settings to find where a stalled render actually breaks.
- Lower Render Speed to 50% or 25% if you're seeing GPU memory errors.
- Switch the Encoder to Native and update your GPU driver if only H.264 or H.265 exports are failing.
- Right-click the suspect clip and clear or rebuild its render cache, and uncheck "Use render cached images" if you suspect the cache itself.
- Isolate the problem section with In/Out points, then use Render in Place to bake it into a single clip.
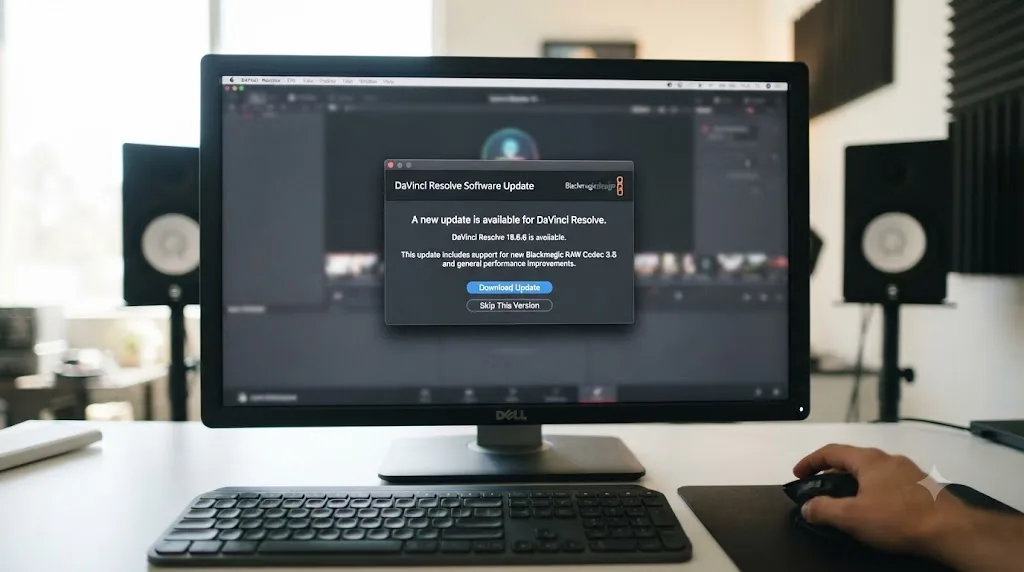
- Update DaVinci Resolve if none of the above resolves it.
That last step matters more than it sounds like it should. Blackmagic's 21.0.1 point release shipped fixes for RAW decoding and HDR metadata handling that were causing exactly this kind of silent render trouble for some users, per CineD's coverage of the update. If you've worked through everything above and the render still won't complete, check whether you're on the latest point release before you spend another hour on it.
What does a full diagnosis look like in practice?
Say your 24-minute 4K project dies at 61% with a generic error. Here's the whole method above compressed into one run-through.
First render: note the progress percentage and, if the error names one, the frame. Second render, changing nothing: it dies at 61% again. Same point twice means the timeline, not the hardware, so you skip Render Speed, driver updates, and thermal theories entirely and go straight to the failing timecode.
Now make the failure visible. Uncheck "Stop renders when a frame or clip cannot be processed," render a third time, and let the job limp to the end. The finished file shows a burst of Media Offline frames around 14:40, which lands inside a clip your co-editor shot on a phone. Clip Attributes claims 29.97 fps, but phone footage is variable frame rate, and those missing frames are the gaps between what the file promises and what it contains. Set a fixed rate in Clip Attributes, or transcode that one clip to a constant frame rate, relink it, and run the real render. Four renders total, and three of them were short.
Now run the counterfactual. If the second render had died at 43% instead of 61%, the moving failure point flips the diagnosis to resources: Render Speed to 50%, close everything else touching the GPU, check whether the media drive sleeps, and try one Native-encoder run. Same method, different branch.
The method, not the specific fix, is the point. Change one variable at a time, read where and how the failure moves, and follow the branch it reveals instead of re-rendering on hope.
What workarounds get a deliverable out today?
Sometimes the deadline doesn't care whether you've found the root cause. When the file has to exist by tonight, two workarounds route around a broken render instead of fixing it.
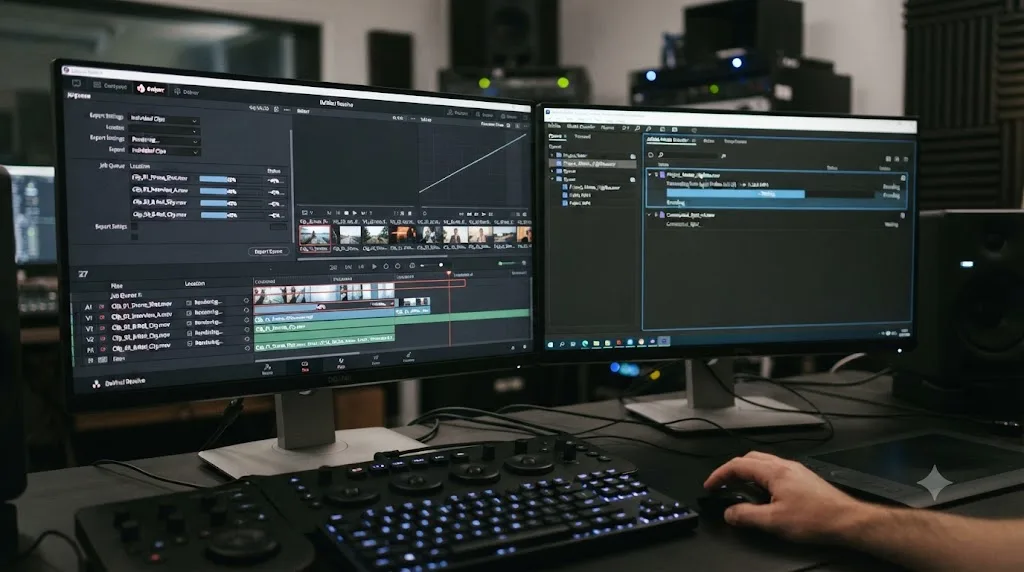
The first is rendering individual clips. In the render settings on the Deliver page, switch Render from "Single clip" to "Individual clips." Resolve now writes each timeline clip as its own file. A crash costs you one clip instead of the whole export, every other file survives, and the name of the file that failed tells you exactly which clip is the troublemaker. Fix that one clip, assemble the rest in a fresh timeline, and an all-or-nothing render becomes a pile of small wins.
The second is exporting a software-encoded master and transcoding it afterward. Render the timeline to DNxHR or ProRes, which skips the hardware encoder entirely, then convert that master to H.264 or H.265 outside Resolve with Shutter Encoder or HandBrake, both free. Two steps instead of one, and the intermediate file will be large. But each step uses the reliable half of a broken pipeline: Resolve does the timeline math, a dedicated transcoder does the delivery codec, and when a hardware encoder simply won't cooperate this route almost always ships the file.
And if even a master file won't survive the timeline, the image sequence route in the next section is the last resort that always leaves something recoverable.
Which delivery codec should you pick when reliability matters most?
When you've been burned twice, pick the codec by failure risk instead of file size.
| Codec | Encode path | Failure risk | Pick it when |
|---|---|---|---|
| H.264 (hardware) | GPU encoder | Depends on the driver | Everyday delivery on a machine that's been behaving |
| H.265 (hardware) | GPU encoder | Highest: driver plus silicon limits on 10-bit and 4:2:2 | You need small files and have a recent GPU |
| H.264/H.265 (Native) | CPU software | Low, but slow | The hardware encoder is the suspect |
| ProRes / DNxHR | CPU software | Lowest of the video formats | Masters, archives, and rescue exports |
| Image sequence | CPU, one file per frame | Near zero, and resumable after a crash | Nothing else survives the timeline |
Read the table bottom to top as an escalation ladder. Start at the top for everyday work, and let every failed attempt justify one step down. A step down is never a permanent downgrade, either, since a ProRes or DNxHR master transcodes into whatever a platform wants, exactly as the workaround above describes.
When should you stop troubleshooting and just rebuild the export?
If you've isolated the failure to a single clip or effect and it still won't render after caching and Render in Place, stop trying to force that exact configuration through. Export an image sequence instead of a single video file. It's slower to set up, but because Resolve writes one image per frame, a crash partway through doesn't cost you the whole render, only the frames after the crash point. You can pick up from there instead of starting over.
If exports keep failing on the same kind of footage across projects, that's worth fixing at the source rather than per-render. Our guide to DaVinci Resolve export settings covers the codec and bitrate choices that keep a render predictable in the first place, and if you're newer to the Deliver page generally, our beginner's guide to DaVinci Resolve walks through where it sits in the workflow. If troubleshooting menus by trial and error is the part costing you the most time, that's the specific gap TryUncle is built for, an AI tutor that looks at your actual Resolve window and points at the setting instead of sending you to a forum thread that may or may not match your case.
How do you stop renders failing in the first place?
Every fix above has a cheaper twin that happens before you ever click Render All.
Convert variable frame rate footage on the way in. Phone videos, screen recordings, and game captures are the usual offenders, and they're behind a huge share of same-frame failures and 99% stalls. Fix the frame rate in Clip Attributes when you import, not when the render dies at 2 a.m.
Keep headroom on every drive the render touches, the destination and the cache drive both. Renders, caches, and the OS all want the same disk at the same moment.
Test-render before you full-render. Set In and Out points over the densest sixty seconds of your timeline and export with your exact delivery settings. That catches an encoder limit, a VRAM ceiling, or a bad preset in two minutes instead of forty.
Treat GPU driver updates as a project decision, not a background event. Don't let a driver auto-update mid-project, and when you do update on NVIDIA, take the Studio branch. If a render workflow is working, the driver it's working on is part of that workflow.
And stay current on point releases. The render bug you'd hit next week may already be fixed in this week's update.
The fastest path back to a working export
Start with audio, not video, then rule out the destination drive, because those two checks cost nothing. Let the render fail loudly instead of hanging silently, so you can see the exact frame or clip involved, and read the failure pattern: same frame means the timeline, random frame means the hardware. Lower Render Speed before you touch anything else GPU-related, switch the encoder to Native if only H.264 or H.265 is failing, isolate the problem section instead of re-rendering the whole timeline, and check for a point release update before you assume the project is broken. Nearly every failed render comes down to one of those, and almost never to the grade you spent hours getting right. We cover what else changed in Resolve 21's recent updates, including the fixes in 21.0.1, in our full DaVinci Resolve 21 review.
Frequently asked questions
- Why is DaVinci Resolve stuck at 0% and not moving?
- The most common cause isn't the render engine at all, it's audio. If Resolve's audio output is set to a device that's disconnected or asleep, the render can hang at 0% indefinitely. Open Preferences > I/O and switch to a connected output device, then try again.
- Why does my render stop at 99% and never finish?
- Usually one specific frame near the end of the timeline that Resolve can't process, often a corrupted source clip or a variable frame rate file showing Media Offline on individual frames. Uncheck Stop renders when a frame or clip cannot be processed in Preferences > User > UI Settings and render again to find exactly where it breaks.
- What does 'Your GPU memory is full' mean in DaVinci Resolve?
- Your timeline is asking the GPU to hold more data at once than its VRAM allows, which happens fast on 4K or 8K footage stacked with noise reduction, optical flow, or multiple Fusion nodes. Lower Render Speed from Maximum to 50% or less, close other GPU-heavy apps, and disable effects one at a time to find the one causing it.
- Can a full hard drive or a bad filename stop a render from starting?
- Yes. DaVinci Resolve won't start or complete a render if the destination drive is nearly full, if you don't have write permission to that folder, or if the filename has certain special characters in it. Check available storage and simplify the filename before you look at anything else.
- Why does my H.264 or H.265 export fail when ProRes works fine?
- H.264 and H.265 usually run through your GPU's hardware encoder, while ProRes and DNxHR are encoded in software by the CPU. A broken or outdated GPU driver can fail the hardware path while software codecs sail through. Switch the Encoder setting on the Deliver page to Native, or update your GPU driver, and try again.
- What is Render in Place and when should I use it?
- Render in Place bakes a section of your timeline, effects and all, into a single new clip before the final export. Once you've isolated the clip or section causing a render to fail, right-click it in the Edit page and choose Render in Place. It removes the load from that section during the real export.
- Why is my exported video shorter than my timeline?
- The render range above the Render button on the Deliver page is set to In/Out range instead of Entire timeline. Resolve renders exactly that range, so In and Out points left over from an earlier test quietly truncate the export. Switch the dropdown to Entire timeline and render again.
- Can cloud sync or antivirus break a DaVinci Resolve render?
- Yes. Online-only placeholder files from Dropbox or OneDrive look present but aren't on disk, so clips go Media Offline mid-render, and real-time antivirus scanning can lock the output file while Resolve is writing it. Keep source media fully downloaded and render to a local folder excluded from scanning.
Sources
- Mirko Fabian: Resolving Rendering Issues in DaVinci Resolve
- Vagon: How to Fix DaVinci Resolve 'GPU Memory Full' Error
- Cutsio: How to Fix Export Errors in DaVinci Resolve
- Blackmagic Design Forum: Rendering in DaVinci Resolve Studio 18 stuck at 0%
- DaVinci Resolve - Tech Specs (Blackmagic Design)
- CineD: DaVinci Resolve 21.0.1 Released - Improved RAW Decoding, Better HDR Delivery, and Sony Alpha 7R VI Support
- NVIDIA Driver Downloads
- Shutter Encoder - Free Video Converter
- HandBrake: Open Source Video Transcoder
- Puget Systems: Hardware Recommendations for DaVinci Resolve
Put this guide to work with TryUncle.
Ask about the step you’re on. TryUncle sees your screen and points at the control you need, so you can keep learning in your own project.
Get TryUncle for Mac or WindowsKeep reading

Guides · Jul 7, 2026 · 23 min
DaVinci Resolve Export Settings: Numbers That Actually Work
The exact DaVinci Resolve export settings for YouTube, client handoffs, and ProRes archives, plus what changed with Resolve 21's H.265 encoder.

Guides · Jul 7, 2026 · 32 min
DaVinci Resolve for Beginners: The Complete Starter Guide
Learn DaVinci Resolve from zero: what it costs, what it needs to run, the seven pages you'll actually use, and the steps to cut your first project.
Reviews · Jul 7, 2026 · 22 min
DaVinci Resolve 21 Review: What's New and Is It Worth Upgrading?
A close look at DaVinci Resolve 21: the new Photo page, IntelliSearch, CineFocus, Krokodove, what Blackmagic actually shipped, and who should upgrade now.