Articles / Guidesupdated for DaVinci Resolve 21.1 (October 2026)
DaVinci Resolve Search Markers Across Project: The 21.1 Guide
Quick answer
In DaVinci Resolve 21.1, open the Index panel’s Markers tab to search marker names, notes, and keywords in the active timeline. Resolve does not provide one search that automatically scans every timeline and every unused source clip in a project. For broader coverage, search each timeline and review source-clip markers separately in the Media Pool.
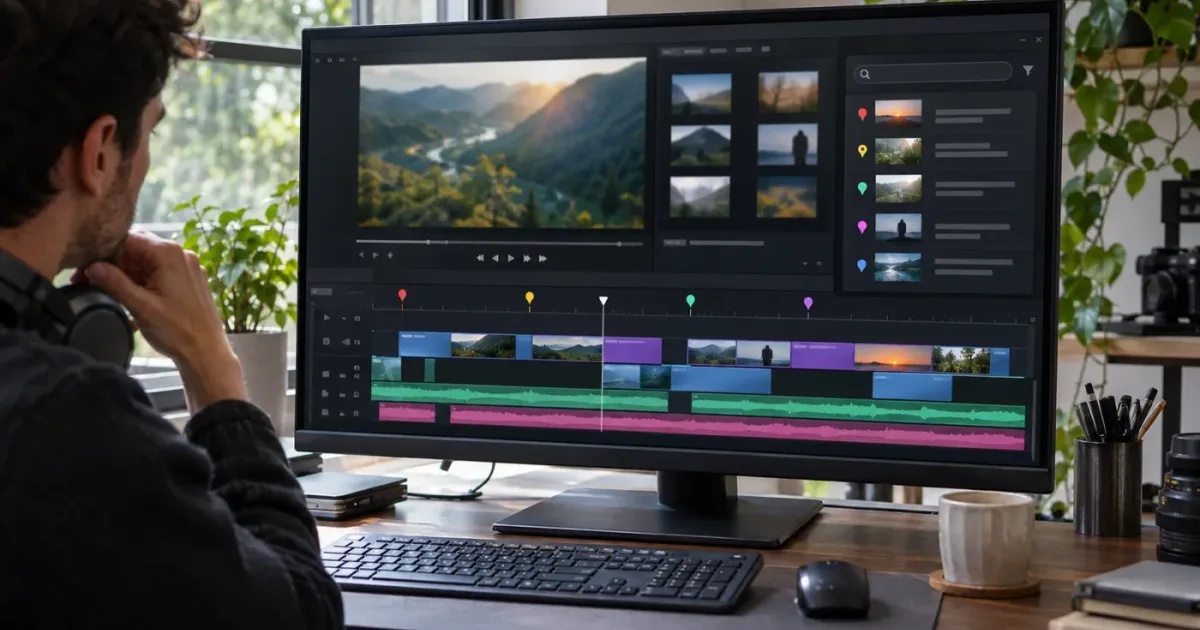
I know the frustration: you remember writing a marker note, but the search gives you nothing. The first thing I check is whether I’m searching the right kind of marker in the right place. In Resolve 21.1, the Marker Index is the best starting point, but it works on the active timeline, not every timeline and every source clip in the project. As of October 24, 2026, DaVinci Resolve 21.1 is the current point-release reference for this workflow. Blackmagic Design lists the 21.1 manual in its Support Center.
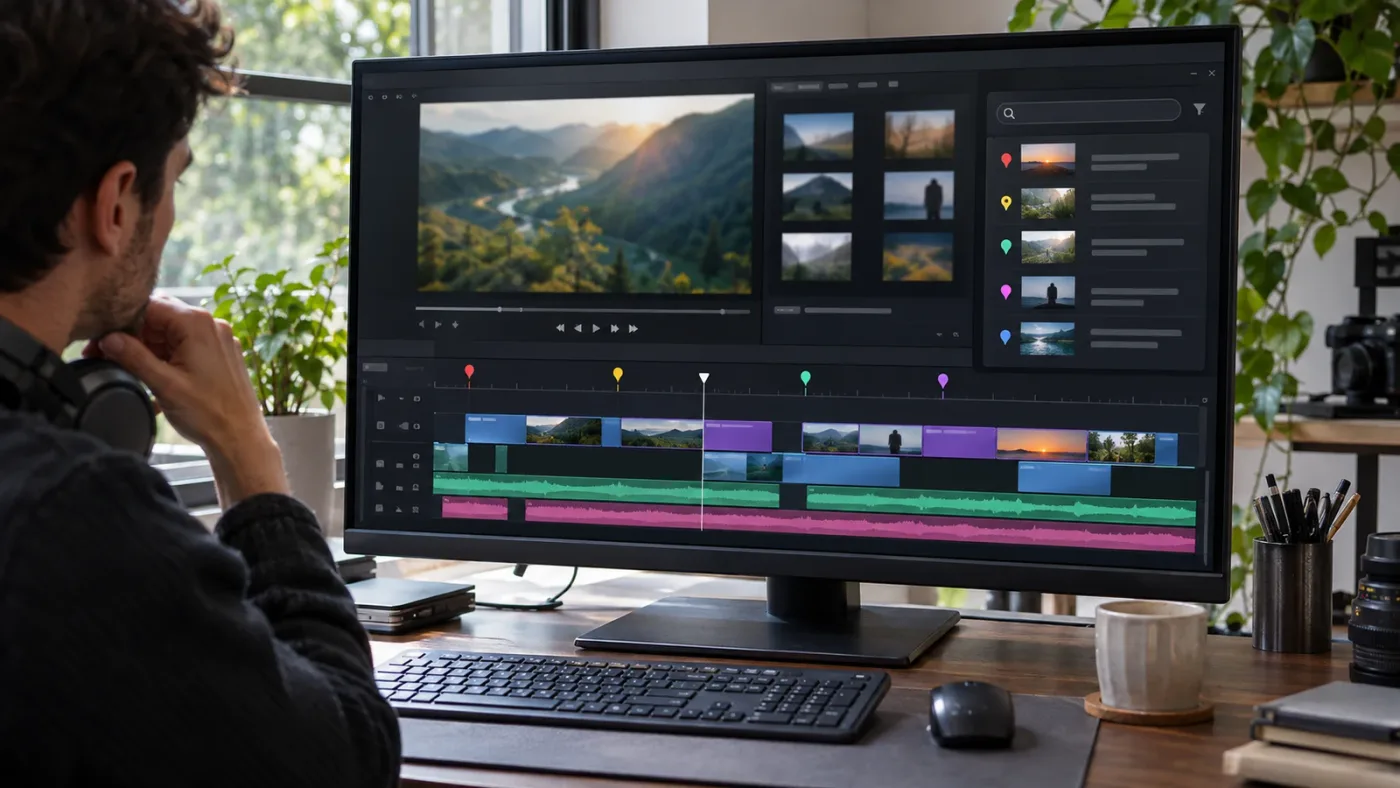
How do I search markers in DaVinci Resolve 21.1?
Open the Index panel, select Markers, then use the magnifying-glass search control. The Marker Index is the marker-focused list for the active timeline; its search can return matches from marker fields including names, notes, and keywords. Blackmagic documented those fields in its DaVinci Resolve 19.1 New Features Guide, and the 21.1 manual is the current reference for the installed version.
Try this first:
- Open the project and select the timeline you want to search.
- Go to the Edit page and open the Index panel.
- Select the Markers tab. Depending on your workspace, you may need to make the Index panel visible first.
- Open the Marker Index options and make sure the view includes the colors you need. Choose Show All if you don’t want to narrow the list by color.
- Click the magnifying-glass icon to open search.
- Type a distinctive word from the marker name, notes, or keywords.
- Double-click a result to move the playhead to that marker.
The detail that often trips people up is the active timeline. A search result is useful for finding a marker in the timeline you selected, but it doesn’t mean Resolve has searched every other timeline in the project. If there’s no result, clear the search term and any color filter, confirm the selected timeline, then try again.
The Marker Index is a search for the active timeline, not a universal project-wide marker database.
Blackmagic introduced Marker Index search across marker fields in Resolve 19.1. The feature guide says the search includes Name, Notes, and Keywords. Resolve 21.1’s current manual should be your reference for the layout and available options in the installed version. Don’t assume an old tutorial’s description of the Edit Index search box covers every current Marker Index behavior.
If the tab or its search control isn’t visible, first check that you’re on the Edit page and looking at the Index panel rather than the Media Pool’s search field. These controls search different things. A search box above the Media Pool is not the same as the timeline Marker Index.
One small test can save you from troubleshooting the wrong control. In a practice timeline, add a marker with a distinctive word in its name and a different word in its notes. Search for each word in the Marker Index. This is a worked example, not a report of testing the current interface. If the two searches behave as expected, you’ve confirmed the panel and search field before checking the real project.
Why doesn’t my marker search find anything?
The most common reason is a scope mismatch: you’re searching the active timeline, but the marker belongs to a different timeline, a source clip, or a different field than the one being searched. Check scope before re-creating a marker. A duplicate note can create more confusion than it solves.
Work through these checks:
- Confirm the active timeline. Look at the timeline you’re actually viewing, not just the project name. A project can contain multiple timelines.
- Check the search text. Try a shorter, distinctive word. A note such as “needs client approval” may be easier to locate with
clientthan with the entire phrase. - Clear filters. A color filter can hide a matching marker that uses another color. Return to Show All before concluding the marker is missing.
- Check the field. If you typed a term from the note, search the Marker Index rather than relying on a view that filters by another marker property.
- Try the neighboring timeline. A note you remember may have been added to an alternate cut, string-out, or review timeline.
- Check source markers separately. A marker on a Media Pool source clip isn’t the same as a marker attached to a timeline event.
- Make sure you’re in the right project. Similar project names, duplicated versions, and archived copies can make a marker seem to disappear.
Resolve 19.1 matters when you’re comparing advice from older tutorials. Blackmagic’s 19.1 feature guide specifically documents that Marker Index search includes the Name, Notes, and Keywords fields. If an older guide tells you to search only notes in the Edit Index, that may describe another workflow or an older interface, not the current Marker Index search behavior.
A useful test is to make a distinctive marker in a temporary or clearly labeled practice timeline, put a word in its name and another in its notes, then search each term in the Marker Index. This is a worked example, not a claim that every project is configured identically. It helps you confirm which tab and search control you’re using before you chase an existing note.
If one specific term fails but a different one succeeds, consider what you typed and where you put it. For example, a review note might use “title safe” in the Notes field while the marker name simply says “Review.” Searching Review may find it; searching a misspelled or abbreviated phrase might not. Don’t assume a marker is missing until you’ve tried the plainest word you remember and checked the fields the Marker Index searches.
For shared projects, confirm that you’re allowed to see the marker you expect. Blackmagic describes Resolve collaboration markers as private or shared: personal markers are visible to their creator, while shared markers can be seen by other project users. A collaborator’s private marker may not be in your visible results. If the marker was added by someone else, ask whether they created it as shared and whether you’re looking at the same project and timeline. This is a visibility check, not a search-index workaround.
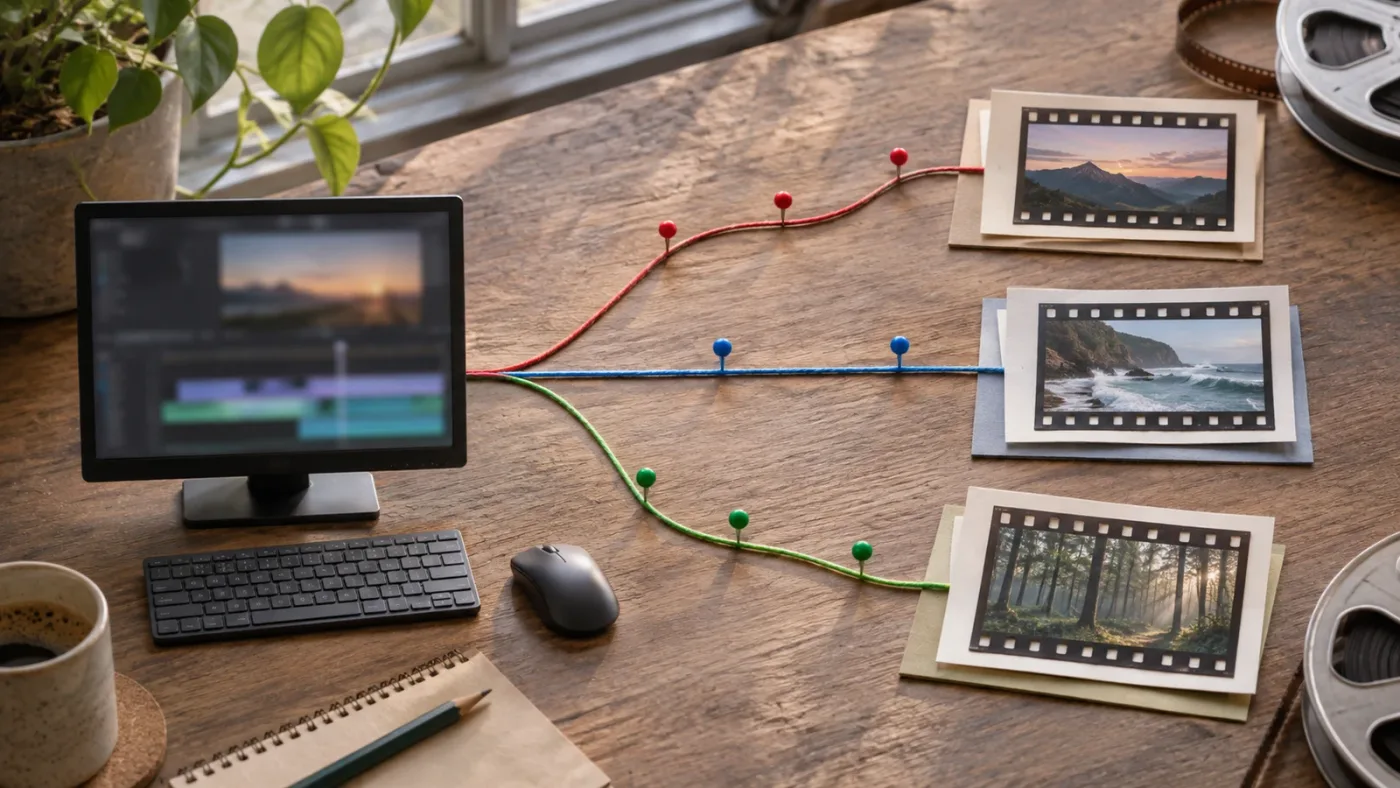
What is the difference between a clip marker and a timeline marker?
A clip marker belongs to a clip; a timeline marker belongs to a position on the timeline ruler. The words sound similar, but the two markers describe different things, and that difference determines where you should search.
There are three useful categories to keep straight:
| Marker type | What it is attached to | Good for | Where to look |
|---|---|---|---|
| Source-clip marker | The source clip in the Media Pool | A moment or note about the source footage | The source clip and its marker information |
| Timeline clip marker | A particular clip instance in a timeline | A note about that appearance or edit | The timeline where that instance appears |
| Timeline marker | A time position on the timeline ruler | A sequence-level cue, review note, or chapter point | The timeline ruler and its marker list |
Blackmagic’s DaVinci Resolve Edit page overview describes markers as color-coded and able to carry a title, text description, and keywords. Its official Resolve 18 Editor’s Guide also demonstrates using markers in an editing exercise. The current Resolve 21.1 manual, available through the Support Center, is the better source for exact commands in 21.1.
A source-clip marker answers, “What should I remember about this piece of media?” A timeline clip marker answers, “What should I remember about this particular use of the media?” A timeline marker answers, “What matters at this point in the sequence?”
Suppose an interview clip contains a useful answer at a particular source time. A source marker can help you find that moment in the original footage. If you use that footage in two different edits, each timeline may use a different portion or make a different point. A note about the source moment is not necessarily a note about both timeline edits. If your comment is “trim the pause in this cut,” attach it to the timeline instance or timeline position you mean, not just the source.
A marker’s scope comes from where you created it, not just from the words in its note.
That distinction explains why “I know I marked this clip” doesn’t always lead to a result in the view you have open. Ask yourself: Did I mark the source clip in the Media Pool? Did I select a clip in the timeline before pressing the marker command? Or were no clips selected, so I marked the ruler? The answer points to the correct place to look.
There’s a useful way to diagnose an ambiguous note. Start from the media itself. If you can locate the shot in the Source Viewer and find the marker there, you’re dealing with a source marker. If the marker appears only when you select a particular timeline instance, its scope is that edit. If it sits on the ruler independently of a clip, it’s a sequence-level marker. Treat this as a scope check, not a guarantee that every timeline will display every marker in the same way.
The client-review marker guide covers ways to use marker notes as part of a review handoff. For this search problem, the key is simpler: use the type of marker that matches the thing you need to revisit.
Can I search markers across every timeline in one project?
No single Marker Index search should be treated as a search of every timeline in the project. In Resolve 21.1, the Marker Index is tied to the active timeline; to cover a project with multiple timelines, repeat the search for each one.
That limitation is easy to miss because all the timelines live in one project. But a project can hold several versions of an edit: a rough cut, a shorter delivery, a client review version, or separate assemblies. When you change the selected timeline, you change the timeline the index describes.
Use this repeatable project-wide pass:
- Make a list of the timelines you need to check. Include alternates and review versions, not only the timeline currently open.
- Select the first timeline and open Index > Markers.
- Choose Show All so a color filter doesn’t omit other results.
- Search the words you’re looking for.
- Record the timeline name with any match you want to revisit.
- Select the next timeline and repeat.
- After the timeline pass, check source-clip markers separately if your search includes unused or unedited media.
A compact tracking sheet can prevent you from repeating work:
| Timeline | Search term | Match found? | Where to follow up |
|---|---|---|---|
Rough_Cut | approval | Yes or no | Marker name or timecode |
Client_Review | approval | Yes or no | Marker name or timecode |
Short_Version | approval | Yes or no | Marker name or timecode |
Those timeline names and terms are a worked example, not observed project results. Use your own timeline names, terms, and follow-up notes.
For a small project, repeating the search manually is usually the clearest method. For a project with many timelines, exporting filtered lists can give you a review record. But treat each timeline as a separate pass. A report made from one selected timeline does not establish that another timeline contains no matches.
When someone asks for “all markers in the project,” ask one clarifying question before you search: do they mean all markers in all timelines, markers on every source clip in the Media Pool, or both? Those are different inventories. A checklist that makes the scope explicit is more reliable than a screenshot of one marker list.
For a project with many variants, don’t rely on memory to identify which timelines belong in the pass. Use the timeline list in the Media Pool as your inventory, then check each item that your review actually covers. You may have old drafts that are intentionally out of scope. Record that decision. “Not searched because it’s an archived cut” is different from “searched and no match found.”
A worked example: imagine a project with a rough assembly, a client review, and a vertical social cut. Search logo in each active timeline, record the results, then check the source media if the note could relate to unused footage. The outcome might differ between versions because each timeline can contain a different edit. The example shows a method, not results observed in a real project.
Why are some source-clip markers missing from the timeline Marker Index?
A source-clip marker can exist on media that hasn’t been placed on the active timeline. The timeline Marker Index is for working with markers in the timeline context, so don’t use an empty timeline search to conclude that the project has no source markers.
Start in the Media Pool:
- Find the source clip you want to inspect.
- Switch the Media Pool to List view if that makes its information easier to review.
- Look for the clip’s marker information or expanded marker entries, where available in your current layout.
- Open the source in the Source Viewer and navigate the markers there if you need to verify a specific time or note.
- Keep source-clip results separate from markers you found on a timeline.
A source clip can be unused, used in another timeline, or used several times. Those situations matter. If you search the active timeline, you’re asking what appears in that timeline’s marker context. If you’re looking for a note about source footage that hasn’t been cut into the active sequence, inspect the source clip itself.
The decision is practical:
- Looking for a note about the original footage? Check the source clip in the Media Pool or Source Viewer.
- Looking for a note about one edit of that footage? Check the timeline where that instance appears.
- Looking for a note about a sequence time? Check the timeline marker list for that sequence.
- Looking for everything? Do all three checks that apply, and label each result by its scope.
Don’t copy every source marker into every timeline just to make a search list look complete. That creates repeated entries that can diverge as edits change. Instead, decide whether your team’s marker system treats the source marker as the master note, or whether a particular timeline needs its own editorial instruction.
This is also why marker naming habits help. A term such as SRC interview answer or CUT remove pause can make the intended scope more obvious to a human reading the list. Resolve’s fields are useful, but they can’t decide whether a note is about the original media or a specific edit for you.
A source marker is especially useful when you expect to reuse footage. For example, a producer might mark the source time where an interviewee names a product, while the editor later adds a separate timeline marker to ask whether that moment fits a particular cut. Search the source for the first question and the timeline for the second. Putting both notes in the same place can blur the difference between “this is in the footage” and “this is what we should do in this version.”
If your Media Pool view doesn’t show the marker details you need, don’t assume the source marker was deleted. Open the item in the Source Viewer and inspect its marker positions there. Keep a record of the source clip name and marker note in your working inventory. That gives you a trail back to the footage even if a timeline changes or the clip is not used in the current edit.
Should I use the Edit Index or the Marker Index?
Use the Marker Index when you want to inspect and search marker entries in the active timeline. Use the Edit Index when you need the broader list of editing events and its marker-related filtering or export options.
They’re related tools, but not interchangeable search boxes. The names also vary across older tutorials, so check which panel and tab the instructions refer to before following a shortcut.
| Need | Start here | What to remember |
|---|---|---|
| Search marker text in the active timeline | Marker Index | Search marker fields such as Name, Notes, and Keywords |
| See timeline editing events and filter marker-related entries | Edit Index | It is an edit-event list, not a project-wide inventory |
| Jump forward or backward through timeline markers | Playback menu commands | Commands navigate in the active timeline |
| Inspect notes on source footage | Media Pool or Source Viewer | Source markers are a separate scope |
| Create a portable marker report | Index panel | Resolve 21.1 adds PDF marker reporting |
| Create an external list from timeline results | Edit Index export options | Export each relevant timeline separately |
Blackmagic’s 19.1 feature guide is useful for one specific version detail: Marker Index search includes Name, Notes, and Keywords. The current 21.1 manual is the place to confirm the interface and commands for your installed version. Blackmagic’s Resolve 21 New Features Guide documents changes introduced in version 21, but don’t infer that a new feature automatically expands marker search across the whole project.
If you can’t find a marker using the search control you chose, switch to the Marker Index and try there before changing your marker workflow. Then check the active timeline and filters.
The Edit Index and Marker Index answer different questions, even when both show marker-related information.
There’s also a useful choice between searching and scanning. A search is best when you know a word from the marker. The marker list is better when you want to inspect several entries, compare colors, or confirm what’s present in the active timeline. Navigation commands are better when your goal is to review markers in sequence. Choose the tool based on the question you’re asking; changing panels at random makes it harder to tell whether the issue is scope, filtering, or text.
How do I find the next marker without searching its note?
Use the playback navigation commands to move through markers in the active timeline. Choose Playback > Next Marker or press Shift-Down Arrow to move forward; choose Playback > Previous Marker or press Shift-Up Arrow to move backward. Confirm the commands in the DaVinci Resolve 21.1 manual if your keyboard mapping or menu differs.
This is a good choice when you remember roughly where a note sits, want to review every marker in sequence, or need to check whether there are markers near a particular edit. It’s not a text search. It won’t tell you which note contains a word; it takes you to marker locations.
Try this workflow:
- Click in the timeline you intend to review.
- Use Next Marker to move forward through the sequence.
- Read the marker overlay or open the marker’s details at each stop.
- Use Previous Marker if you pass the marker you want.
- If you’re looking for a particular word, return to Index > Markers and search the text instead.
The distinction matters in a long edit. Marker navigation can answer, “What’s next in this timeline?” Marker search can answer, “Which marker contains this term?” Neither command searches other timelines on its own.
A keyboard shortcut may behave differently if you customized your Resolve keyboard mapping or if another application intercepts it. If the shortcut doesn’t move the playhead, test the equivalent command in the Playback menu. That separates a shortcut-mapping issue from a question of which timeline is active.
In a Blackmagic Design forum discussion about marker shortcut behavior, Blackmagic Design’s Peter Chamberlain gave this brief advice: “Disable the shortcut in keyboard preferences.” That reply addresses the shortcut setting, not marker search. If a shortcut is interfering with your workflow, use the menu command to check whether the action itself works, then review your keyboard mapping rather than changing marker data.
How can I export or track markers across several timelines?
Export marker lists one timeline at a time, then preserve the timeline name alongside each export. Resolve 21.1 adds a PDF marker report from the Index panel. That makes a shareable report available, but it doesn’t turn the active timeline’s marker list into a search across every timeline and source clip in the project.
Blackmagic’s Resolve 21.1 announcement says users can export their list of markers as a polished PDF report from the Index panel. The current manual is the place to confirm the exact controls in your installation. The Edit Index also has export options for timeline information, including text or CSV output where available. Blackmagic documents a separate Timeline Markers to EDL workflow as well. These formats and routes may represent different information, so inspect the resulting file before you rely on it.
A careful report pass looks like this:
- Select a timeline in the project.
- Open the Index panel and show the marker list you want to review.
- Use the marker report option for a PDF when you need a shareable marker report.
- If you need a text or CSV list, use the Edit Index export option available in your version.
- Save each report using the timeline name and date in its filename.
- Repeat for each timeline that belongs in the report.
- If you need timeline-ruler markers in an EDL, use the documented Timeline Markers to EDL command for that timeline.
- Keep source-clip marker review separate unless you have verified that the selected export includes the source markers you need.
For example, a naming pattern such as ProjectName_TimelineName_Markers_2026-10-24.pdf makes it easier to tell which timeline a report represents later. This filename is a worked example, not a Resolve-generated naming rule.
A PDF report can be useful for a review meeting because a recipient may not need to open the project just to read the marker list. But it still has a defined scope. If you export a list while one timeline is active, label it with that timeline’s name. Don’t assume a PDF report includes every timeline, unused source clip, or private marker visible only to another collaborator.
If you combine exported files outside Resolve, treat the combined document as your own report. Preserve the source filename, timeline name, and marker type so a reader can trace each entry. Don’t label a combined list “all project markers” unless you have also checked every timeline and the source clips that matter.
An export is only as complete as the timelines and marker types you included.
For a stable project handoff, save your project before exporting and keep the exports with the relevant version of the edit. If you need a broader media-management routine, the catalog’s guide to consolidating Resolve media before archiving covers a different but related handoff task.

What workflow prevents marker searches from becoming messy?
Choose a consistent marker scheme before the project fills with notes. Use marker types for their intended scope, keep text searchable, and make a repeatable timeline-by-timeline pass when you need broad coverage.
Here’s a practical scheme:
| Marker purpose | Put the note on | Example naming approach |
|---|---|---|
| A moment in original footage | Source clip | SRC - interview answer about launch |
| A change to one timeline edit | Timeline clip or timeline position | CUT - shorten this pause |
| A sequence-level review cue | Timeline ruler | REVIEW - confirm final title |
| A delivery or finishing reminder | The timeline or clip that needs the action | DELIVERY - check end card |
These examples are suggestions, not built-in Resolve categories. Choose terms that make sense to the people who will search the project. If your team prefers a marker’s Notes field for the actual comment, put it there consistently, then search for that text in the Marker Index.
A small amount of naming structure helps when a project has several edits. You might use a short prefix, such as SRC, CUT, or REVIEW, followed by the actual instruction. Avoid turning the prefix into a cryptic code that only one person understands. The point is to make a marker’s scope easier to identify, not to create a second filing system.
When you finish a review, record the timeline you checked and the term you searched. This is useful when several people work on a project or when the review spans multiple versions. It also keeps “I already searched this” from meaning “I searched the timeline that happened to be open.”
For repeat work, pair marker conventions with sensible project and bin naming habits. Clear timeline names help a person reading exported lists understand what was checked. Good naming won’t create a global search, but it makes the available project-by-project workaround easier to use.
For handoffs, use a review log that answers four questions: which project did you open, which timelines did you search, what term did you use, and which source clips did you inspect separately? You don’t need a complex spreadsheet. A short table is enough:
| Project version | Timeline checked | Term or marker type | Result or follow-up |
|---|---|---|---|
Campaign_v3 | Client_Review | approval | Opened the matching note |
Campaign_v3 | Vertical_Cut | approval | No match found |
Campaign_v3 | Source clip Interview_A | Source markers | Check the interview note |
This is a worked example. It demonstrates how to make coverage auditable; it isn’t a report from a real project. If another editor continues the search, they can see where you stopped instead of repeating the same pass.
If the project uses collaborative markers, agree on which comments should be shared and who owns the follow-up. Blackmagic’s collaboration overview distinguishes private from shared markers. A search log should not imply that one person reviewed another collaborator’s private notes if those notes were not visible to them.
If your team uses Blackmagic Cloud Presentations for review, its markers and comments have their own collaboration context. Blackmagic’s Cloud guide to adding markers explains how presentation markers and comments are added and reviewed. Don’t assume those presentation comments are the same as a search across every timeline in a Resolve project.
What should I do if Resolve’s marker search still feels confusing?
Separate the problem into three questions: which project, which timeline, and which marker type? If you answer those in order, you can usually find the correct search path without changing the marker or assuming it was deleted.
Use this short decision tree:
- You know the word in the note. Select the relevant timeline and search in Index > Markers.
- You don’t know which timeline has the note. Repeat that search for each timeline and write down the ones checked.
- You think the note is attached to unused footage. Inspect the source clip in the Media Pool or Source Viewer.
- You want to scan a sequence from a known point. Use the next- and previous-marker commands.
- You need a portable list. Export the marker report for each timeline and preserve the timeline names.
- You’re comparing a tutorial with Resolve 21.1. Check whether it describes the Marker Index or Edit Index, then confirm the current manual.
If a marker still seems missing, don’t immediately recreate it. First search a shorter term, clear color filters, select the timeline you meant, and check the source clip if the marker could belong to the footage rather than the edit. If none of those checks finds the marker, you can then decide whether it needs to be added again.
DaVinci Resolve’s interface can be hard to follow when a tutorial shows a different page or panel. If you want help locating controls while you work, TryUncle is an on-screen assistant for Mac and Windows. You can ask a question and get guidance based on the screen in front of you, then carry out the steps yourself.
The practical verdict is straightforward: use the Marker Index for text searches in the active timeline, use the Edit Index when its event list or export options fit the job, and check source-clip markers separately. For a project-wide search, repeat the process across the timelines you actually need to cover, and label every report with its scope.
Frequently asked questions
- Can I search markers across every timeline in a DaVinci Resolve project?
- Not with one project-wide search. In Resolve 21.1, the Marker Index searches the active timeline, so select each timeline and search it separately. Source-clip markers that are not represented in a timeline need a separate Media Pool review.
- Why can't I find a marker note in the Edit Index?
- The Edit Index and Marker Index are different views. In Resolve 21.1, use Index > Markers and its search control to search marker names, notes, and keywords in the active timeline.
- Do clip markers appear in every timeline that uses the clip?
- A source-clip marker belongs to the media item and can be relevant wherever that source is used. A timeline clip marker belongs to a particular timeline instance, while a timeline marker belongs to a time on the timeline ruler. Check the marker type before assuming another timeline will show it.
- How do I export a list of markers from DaVinci Resolve?
- Resolve 21.1 adds a PDF marker report from the Index panel. For other timeline lists, the Edit Index also provides export options such as text or CSV. Export and label each relevant timeline separately; these options do not create one automatic report of every timeline and source clip in the project.
- What is the fastest way to jump to the next marker?
- Use Playback > Next Marker or Shift-Down Arrow to move forward, and Playback > Previous Marker or Shift-Up Arrow to move backward. These commands navigate markers in the active timeline.
Sources
- DaVinci Resolve 21.1 Manual and Support Center
- DaVinci Resolve 21.1 announcement
- DaVinci Resolve 19.1 New Features Guide
- DaVinci Resolve 21 New Features Guide
- DaVinci Resolve 18 Editor's Guide
- DaVinci Resolve Edit page
- Blackmagic Cloud Guide: Adding markers
- Blackmagic Design forum: Is there any way to tweak Marker settings?
- DaVinci Resolve collaboration
Put this guide to work with TryUncle.
Ask about the step you’re on. TryUncle sees your screen and points at the control you need, so you can keep learning in your own project.
Get TryUncle for Mac or WindowsKeep reading
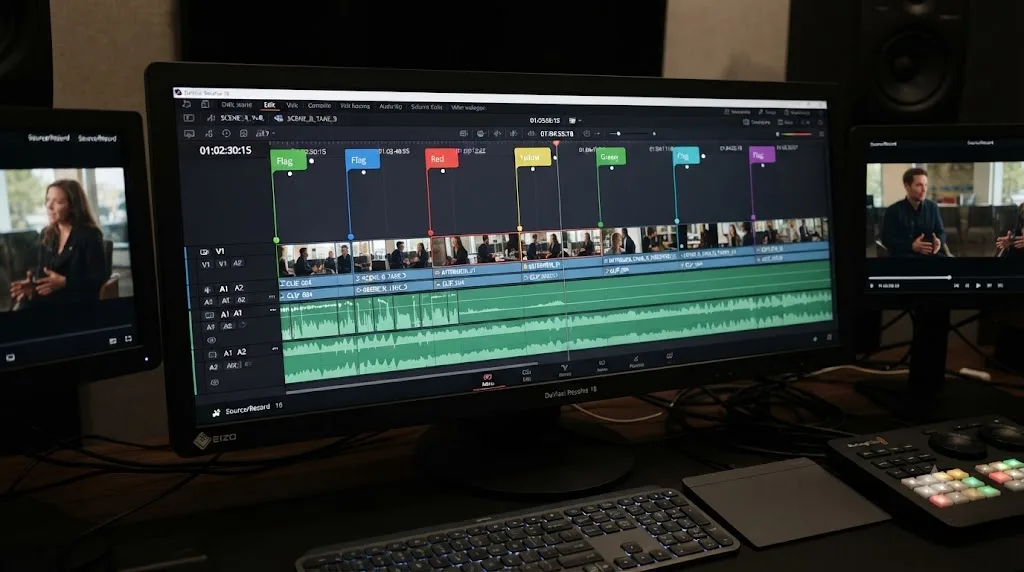
Guides · Jul 24, 2026 · 41 min
How to Use Markers in DaVinci Resolve for Client Review
Add, color-code, and export DaVinci Resolve markers for client review: the M key, marker colors, EDL export, and Blackmagic Cloud sync explained.
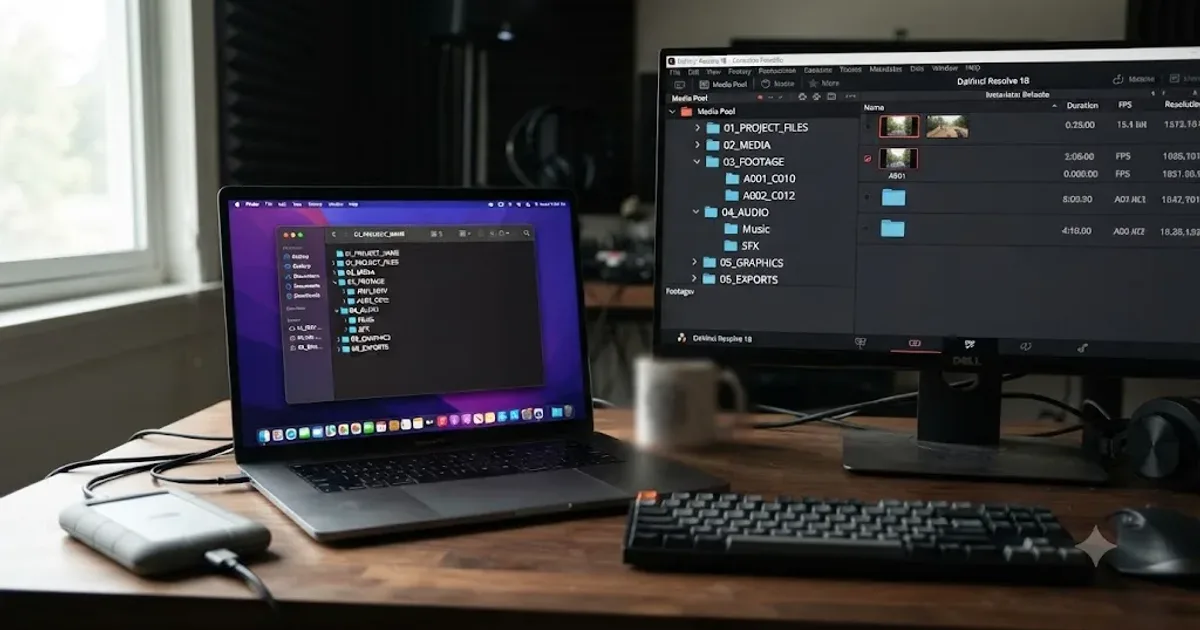
Guides · Jul 16, 2026 · 36 min
Folder and Bin Naming Conventions for DaVinci Resolve Projects
A practical naming system for DaVinci Resolve folders and bins: project structure, camera bins, Power Bins, Smart Bins, and what breaks relinking.
Guides · Jul 25, 2026 · 40 min
How to Consolidate Media in DaVinci Resolve Before Archiving
How to consolidate media in DaVinci Resolve before archiving: Media Management steps, frame handles, unused clips, and where to store the finished archive.