Articles / Fixesupdated for DaVinci Resolve 21.0.2 (July 2026)
DaVinci Resolve Stabilization Still Shaky? Here's the Real Fix
Quick answer
Footage stays shaky when DaVinci Resolve applies the wrong analysis mode, shows a stale render cache instead of the real result, or the shake exceeds your Cropping Ratio. Re-run Stabilize after any clip change, lower Cropping Ratio or enable Zoom, try Similarity or Translation mode, and use the Classic Stabilizer's manual points for extreme shake.
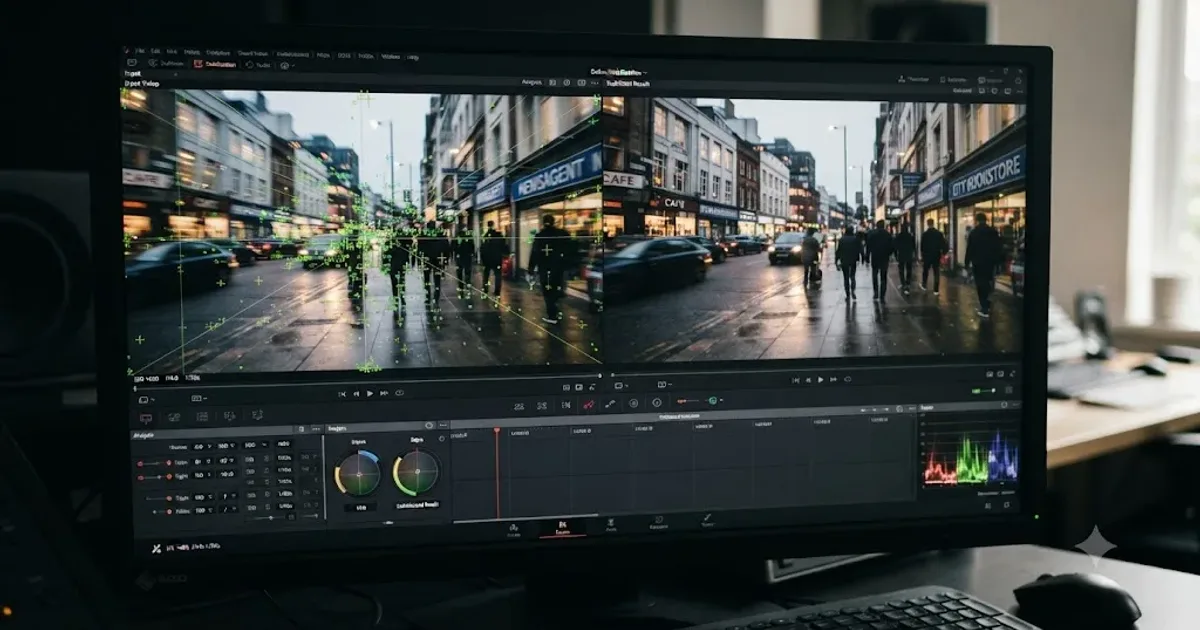
I clicked Stabilize, watched the progress bar crawl across, and got a clip that shook exactly as much as before. Maybe worse, since now it was also warping a little at the edges. If that's where you are right now, you're not doing anything obviously wrong. DaVinci Resolve's Stabilizer fails silently more often than it fails loudly, and almost every version of "still shaky after applying" traces back to one of a small number of causes.
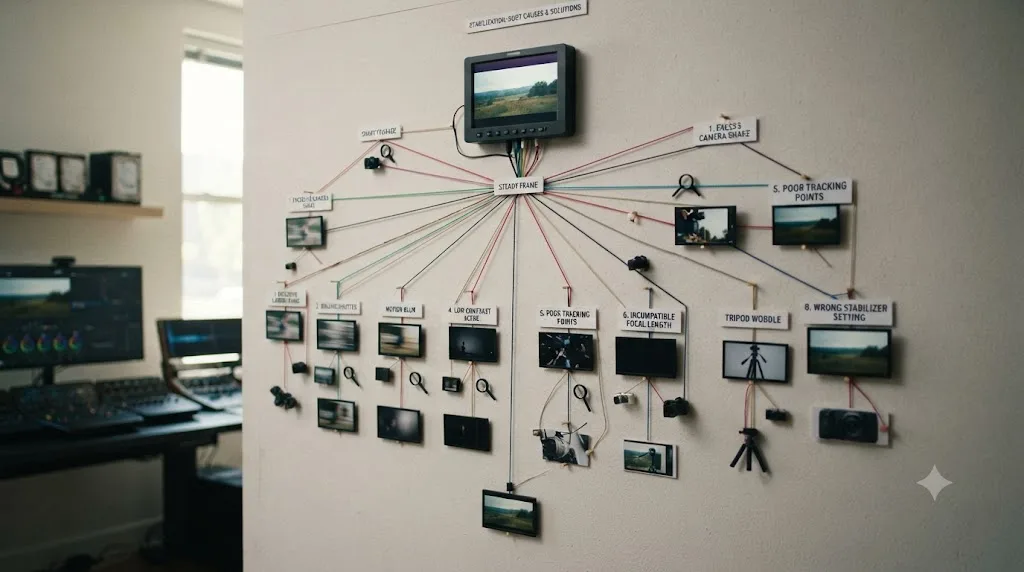
This is a decision tree, not a single fix. Work through it in order and you'll find your specific cause faster than by guessing at sliders.
Why is your stabilized clip still shaking?
There isn't one cause. There are roughly eight, and they stack the same way slow renders and choppy playback do: rarely one dramatic failure, usually two or three small mismatches compounding into a result that looks like nothing happened.
The short list: a stale render cache showing you the old frame, a Cropping Ratio that's mathematically too permissive to allow real correction, the wrong analysis mode for your footage's actual motion, a clip edited after it was stabilized, stabilization applied to a container clip instead of the source, batch-stabilizing multiple clips at once, a copied grade wiping out stabilization keyframes, and motion that's genuinely too extreme for the automatic solver. Blackmagic's own support forum has a dedicated thread for nearly every one of these, going back years, which tells you this isn't a Resolve 21 regression. It's a set of well-known edges in how the tool works.
A stabilized clip that still shakes almost always has a specific, diagnosable cause, not a broken feature. That distinction matters because it changes what you do next. You're not filing a bug report yet. You're eliminating causes one at a time.
Did the analysis actually finish before you judged the result?
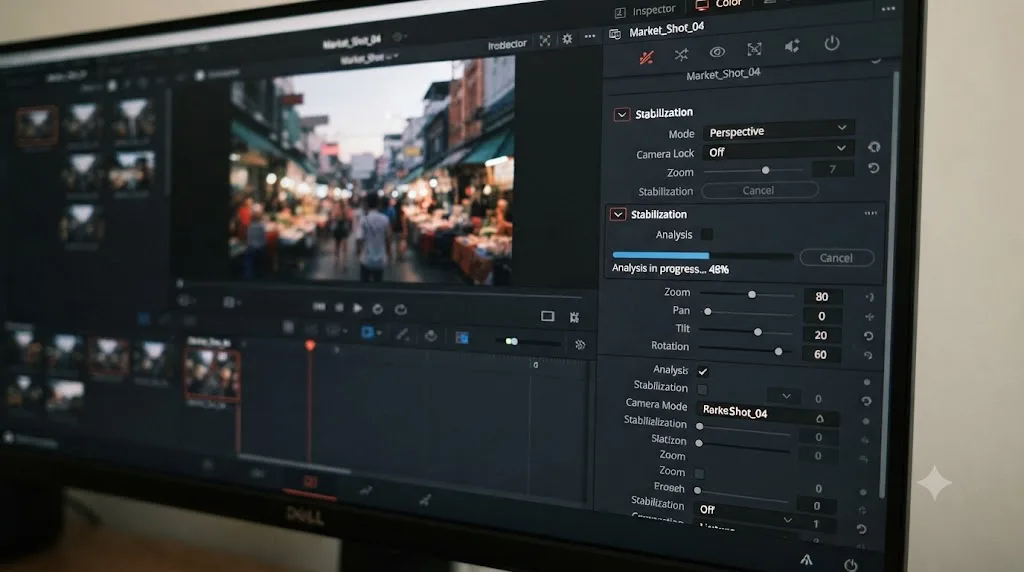
Check this first, because it's the fastest thing to rule out. Resolve's Stabilizer runs a real analysis pass over the clip, tracking feature points frame by frame to build a motion solve, and that pass shows a progress indicator in the Inspector. If you scrubbed the timeline, switched pages, or interrupted playback while that bar was still moving, you may be looking at a partial or cancelled analysis rather than a completed one.
On a long clip or a machine under load, this analysis can take longer than the couple of seconds it feels like it should. A user on the Blackmagic forum thread "Stablization Stuck after analyzing" reported exactly this pattern: stabilization that appeared to hang or finish incompletely, leaving the clip in a half-analyzed state that looked like a failed stabilize rather than an interrupted one. The fix in cases like this is almost always patience combined with a fresh attempt, not a settings change.
Give the analysis bar time to reach completion before you touch anything else, and if you're not sure it finished, re-run Stabilize from scratch rather than trusting a result you didn't watch complete.
Are you watching a stale render cache instead of the real result?
This is the single most common false alarm. DaVinci Resolve caches rendered frames aggressively to keep playback smooth, and that cache doesn't always know to invalidate itself the instant you apply a new stabilization pass. You click Stabilize, the analysis genuinely completes and genuinely fixes the shake, and the timeline keeps playing back a cached frame that predates the fix.
The symptom is specific: the clip looks shaky on the timeline but the Inspector shows a completed stabilization analysis with sensible-looking keyframe data underneath it. If that's what you're seeing, the fix isn't in the Stabilization panel at all. Right-click the clip and clear its render cache, or toggle your cache mode from Smart to User and back, and force a re-render of that section.
A clip can be genuinely stabilized while the frame you're looking at is still the cached, unstabilized version. This single mismatch accounts for a meaningful share of "it's not working" reports, and it's the fastest thing on this page to test: clear the cache, scrub back through the clip, and look again before you touch a single slider.
Is Cropping Ratio quietly capping how much correction you can get?
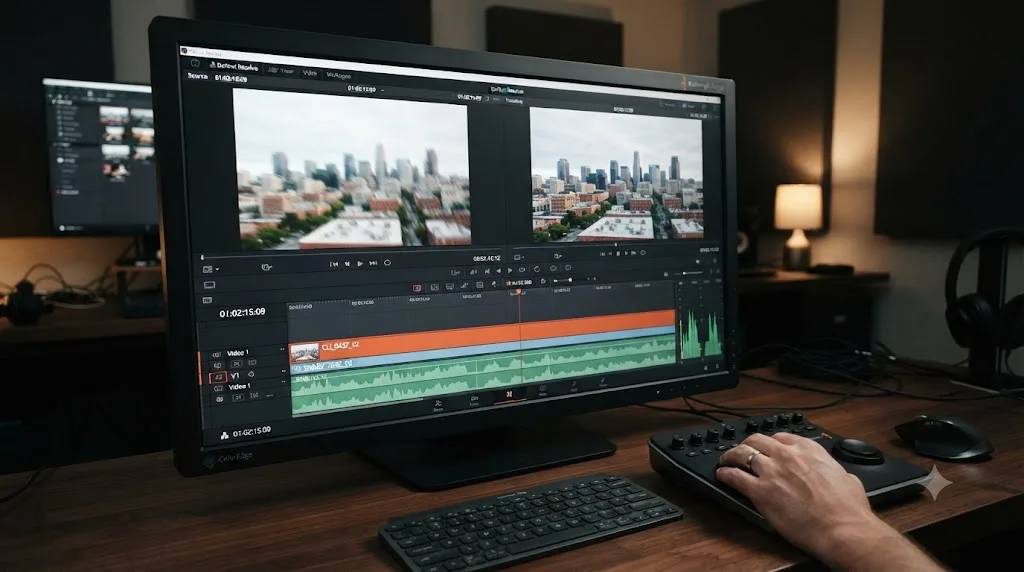
Cropping Ratio is the setting most people never touch, and it's also the setting most likely to make a real stabilization pass look like it did nothing. Per the DaVinci Resolve reference manual, a Cropping Ratio value of "1.0 results in no stabilization being applied," and lower values allow "increasingly aggressive stabilization by allowing blanking or zooming." That's not a soft suggestion. It's a hard mathematical ceiling on how far the frame is allowed to shift and scale to cancel out detected motion.
If Cropping Ratio sits close to 1.0, either because it's the default on your install or because a previous pass on a different clip left it there, the stabilizer can correctly identify all the motion in your shot and still be forbidden from actually correcting most of it. According to Cutsio's stabilization guide, the panel's default Cropping Ratio is 0.25, which already allows a fair amount of correction, but if you've adjusted it upward on a prior shot and forgotten, that's exactly the kind of silent setting carryover that produces a result indistinguishable from "stabilization didn't work."
Cropping Ratio isn't a stylistic preference, it's a hard limit on how much the frame is allowed to move to cancel out shake. Set it too close to 1.0 and even a perfect motion analysis can't produce a visibly steadier shot, because the tool is mathematically barred from applying the fix it already calculated.
The tradeoff is real: a lower Cropping Ratio produces a steadier result at the cost of more zoom or more visible frame edge loss. Turn on Zoom, also covered in the manual, and Resolve auto-scales the image to hide the black edges that a lower Cropping Ratio would otherwise expose. That scaling comes with a small softness cost, since you're enlarging the frame slightly, but it's the standard tradeoff every stabilization tool in every NLE makes.
| Cropping Ratio | What it allows | Tradeoff |
|---|---|---|
| Near 1.0 | Almost no correction | Frame stays largely unshifted, shake persists |
| Around 0.5 | Moderate correction | Some crop or zoom needed to hide edges |
| Around 0.25 (default) | Strong correction | Noticeable crop, more zoom needed on shaky shots |
| Below 0.25 | Maximum correction | Heaviest crop and zoom, softest final image |
Did you pick the wrong stabilization mode?
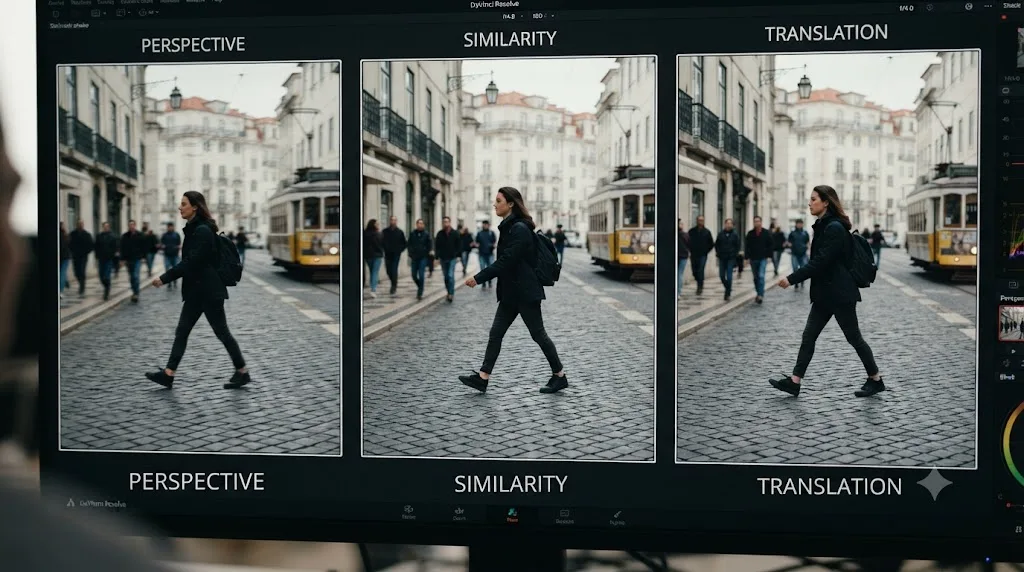
DaVinci Resolve's Stabilizer offers three analysis modes, and picking the wrong one is one of the most common reasons a result still looks shaky, or looks stranger than the original footage. According to a Blackmagic forum thread specifically on how the modes work, the underlying solver "tries to find the best solution that describes movement of onscreen feature points with least error and applies the inverse of this transform to stabilize the image." The three modes differ in how much of that transform they're allowed to solve for.
Perspective is the default, and per the manual it analyzes and corrects "perspective, pan, tilt, zoom, and rotation." It's the most powerful mode and also the most likely to introduce warping artifacts, because it's actively trying to reconstruct 3D perspective changes from a 2D image, which is inherently a best-guess operation. On a wide-angle lens with a busy, close foreground, that guess can go visibly wrong.
Similarity solves "pan, tilt, zoom, and rotation analysis and stabilization" without the perspective component. This is the mode to reach for the moment Perspective mode's result looks warped or rubbery rather than shaky, since removing the perspective solve removes the specific artifact that causes that look.
Translation restricts correction to "pan and tilt analysis and stabilization only," per the manual, ignoring zoom and rotation entirely. It's the gentlest mode and the one least likely to introduce any artifact, but it also can't fix a shot with real rotational shake, like a handheld clip where the camera visibly tilts side to side. Use it for footage with small side-to-side or up-down movement and nothing else.
The three stabilization modes trade correction power for artifact risk, and picking the most powerful one isn't automatically the right call. Perspective mode fixes the most kinds of motion and introduces the most risk of warping. Translation mode introduces almost no risk and fixes the least. If your result still shakes after Perspective, don't assume the tool failed; try Similarity first, then Translation, and match the mode to what's actually moving in your shot rather than defaulting to the strongest option.
| Mode | Corrects | Best for | Risk |
|---|---|---|---|
| Perspective | Pan, tilt, zoom, rotation, perspective | Complex handheld motion, walking shots | Warping on wide lenses or busy frames |
| Similarity | Pan, tilt, zoom, rotation | Perspective mode looks warped or rubbery | Minimal, less correction than Perspective |
| Translation | Pan, tilt only | Small side-to-side or up-down shake, no rotation | Won't fix rotational or perspective shake |
Should Camera Lock be on?
Camera Lock is a separate checkbox, not a fourth mode, and it changes what the stabilizer is trying to achieve rather than how it analyzes motion. Per the manual, enabling Camera Lock "disables Cropping Ratio and Smooth" and pushes the stabilizer to eliminate essentially all detected camera motion, simulating a locked-off tripod shot from handheld or gimbal footage.
That's exactly what you want for some shots and exactly wrong for others. A talking-head interview shot handheld that needs to look like it was on sticks is a good Camera Lock candidate. A run-and-gun documentary sequence where some natural movement sells the energy of the scene is not, because Camera Lock will fight to remove that movement along with the shake, and the crop required to fully lock off a genuinely handheld shot can be severe.
On the Blackmagic forum thread "How to stabilize footage not like jelly?", one user's rolling-shutter warping issue was resolved specifically by ticking Camera Lock, since a fully locked result has no room left for the residual rotation that was producing the jelly look. That's a useful data point: if your shot is warping rather than just shaking, Camera Lock is worth testing even on footage you didn't originally intend to fully lock off, since it removes the exact category of motion causing the artifact.
If Camera Lock looks too aggressive, too much crop or too static a result, back off to Perspective or Similarity mode with Camera Lock unchecked and a moderate Cropping Ratio instead. There's no setting that gets you a locked-off look with zero crop cost; the crop is the price of the correction.
Is that "jello" warping, not leftover shake?
Before you assume the stabilizer failed, look closely at what's actually happening in the frame. Genuine leftover shake looks like the whole frame is still moving, panning or bobbing the same way it did before you applied stabilization. Rolling shutter "jello" looks different: parts of the image bend, ripple, or skew independently while other parts stay relatively still, producing a wobbly, gelatin-like distortion that's easy to mistake for a failed stabilize but has a completely different cause and a completely different fix.
Rolling shutter happens at the moment of capture, not in post. Most CMOS sensors read the frame line by line rather than all at once, so a fast pan or a hard camera shake during recording can cause vertical lines to skew diagonally in the raw footage, before Resolve ever touches it. Perspective mode's stabilizer, in trying to correct for the apparent rotation this skewing implies, can actually amplify the jello look rather than fix it, because it's solving for a rotation that isn't real camera rotation, it's a sensor artifact.
The fix here is mode selection, not more aggressive settings. Drop from Perspective to Similarity or Translation, since both skip the perspective solve that's most likely to chase the rolling shutter distortion. If that's not enough, Camera Lock, discussed above, removes the residual rotation entirely rather than trying to partially correct for it.
Jello warping and leftover shake look similar at a glance but come from opposite ends of the pipeline, one from the sensor at capture time and one from an uncorrected frame in post, and they need different fixes. Turning up Strength or lowering Cropping Ratio further won't fix jello, because you're not under-correcting, you're mis-correcting. Switch modes first.
Did you change the clip after stabilizing it?
Stabilization analysis in DaVinci Resolve is tied to the specific frame range and playback speed of the clip at the moment you ran it. Change either one afterward and the cached analysis no longer describes the footage it's supposed to be correcting, which produces exactly the "still shaky" symptom even though the tool worked correctly the first time.
The most common trigger is trimming. Slide a clip's in or out point after stabilizing it, and the frame-by-frame motion solve that was built against the original range can end up misaligned with the new one. A Blackmagic forum thread titled "Resolve randomly looses stabilization why?" documents this pattern directly: stabilization that appeared to work, then silently reverted or broke after further edits to the clip.
Retiming is the second trigger, and it compounds with multicam and compound clips. According to reports on the Blackmagic forum discussing the "Stabilizer (new and classic) exhibiting issues", stabilization applied to a retimed clip that's also part of a multicam sequence has produced extremely jerky motion after stabilization, worse than the unstabilized original in some reports. The recommended workaround from that thread is to apply Retime and Stabilization directly to the individual source clip rather than to a Compound or Multicam container, and in stubborn cases to render the retimed clip out first before stabilizing the result.
Trimming, retiming, or restructuring a clip after stabilizing it invalidates the existing motion analysis, and Resolve doesn't always warn you when that happens. Treat stabilization as the last step in your workflow for a given clip, not an early one, or be prepared to re-run it every time you touch the clip's timing afterward.
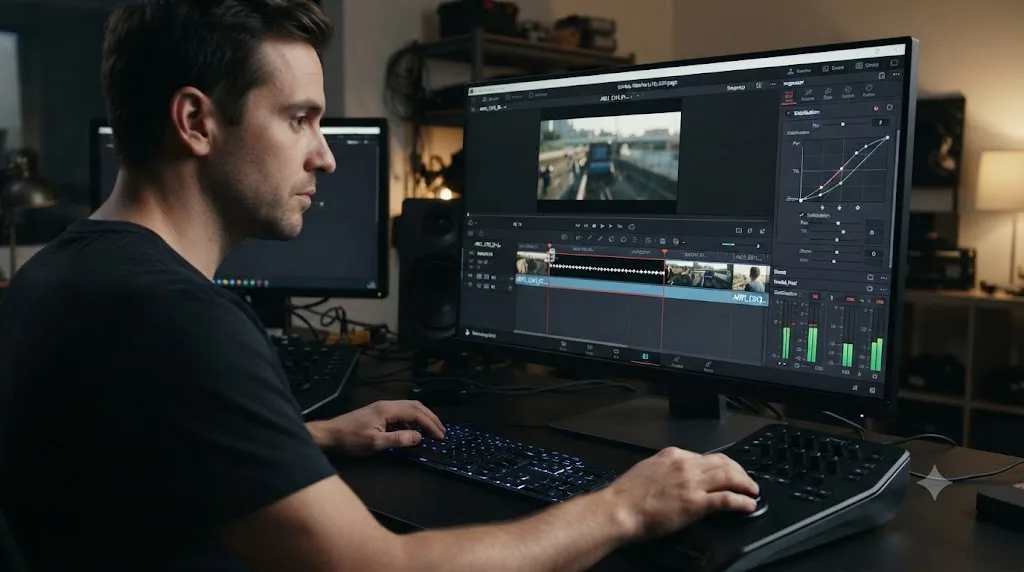
Are you stabilizing a compound clip, multicam clip, or nested timeline instead of the source?
This is a structural gotcha that catches editors who build complex timelines before color and effects work. Stabilization is designed to analyze and correct an individual clip's actual source media. Apply it to a container, a Compound clip, a Multicam clip, or a clip nested inside another timeline, and you're asking the stabilizer to solve motion in something that isn't a single continuous piece of footage, which produces unpredictable results ranging from no visible correction to motion that's worse than the original.
If your workflow involves building a rough cut with Compound or Multicam clips before you move into finishing, get in the habit of opening those containers back to their individual source clips before you stabilize. Right-click a Multicam clip and choose Open in Timeline, or double-click into a Compound clip, select the actual underlying clip, and stabilize that. If you need the stabilized result inside the container afterward, most workflows tolerate re-nesting the already-stabilized clip back into its compound structure, since the correction is baked into the clip's sizing data at that point rather than depending on the container.
This same distinction shows up in a related problem worth knowing about if you're cutting from multiple cameras: our multicam sync guide covers how Multicam containers can drift or misalign in ways that look unrelated to stabilization but come from the same root cause, treating a container clip as if it behaves identically to a single source clip.
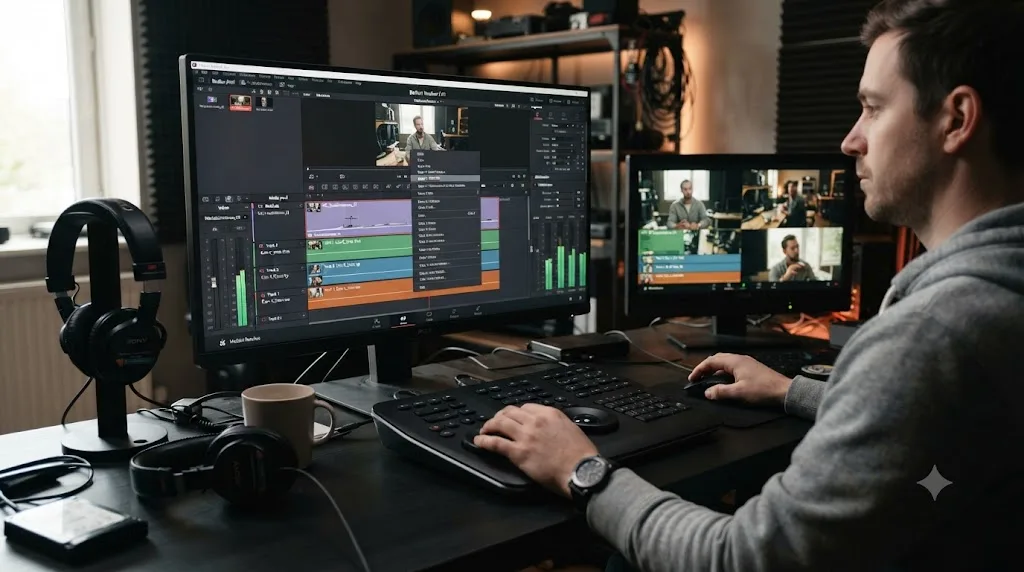
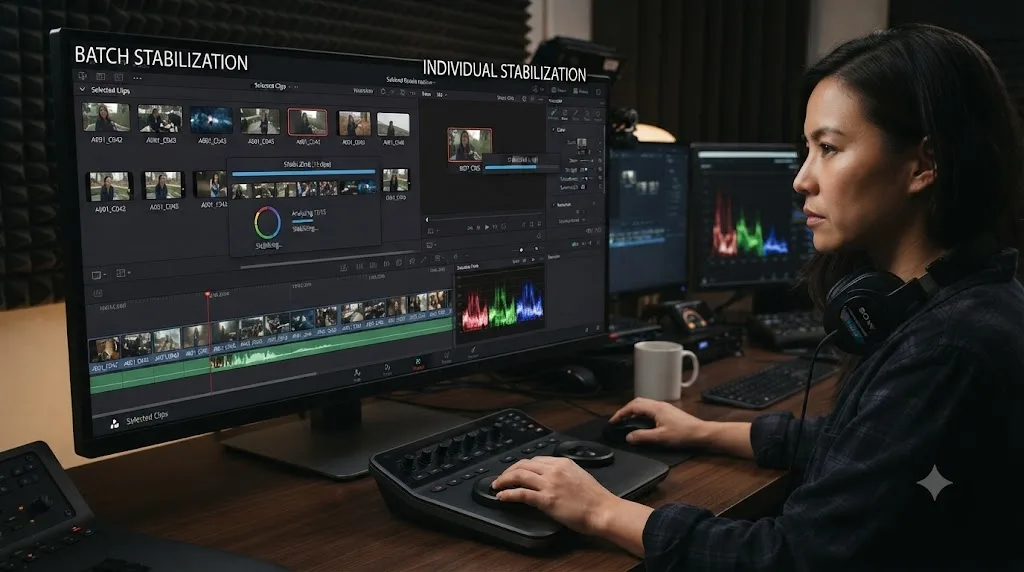
Did batch-stabilizing multiple clips at once break the result?
Selecting a whole bin of clips and applying Stabilize to all of them in one action is tempting when you've got dozens of shaky handheld shots to fix, and it's also a specific, reported source of glitchy results. According to discussion on the "Stabilizer (new and classic) exhibiting issues" forum thread, stabilization applied in batches, selecting many clips and stabilizing them together, has produced results that are noticeably glitchier than stabilizing the same clips one at a time. The suggested workaround from that thread is a strange but reportedly effective one: apply a different stabilization mode first, then switch back to the mode you actually wanted, which appears to force a clean re-analysis rather than whatever partial or shared state the batch operation left behind.
If you've batch-stabilized a bin of clips and some of them still shake while others came out clean, don't assume those specific clips are harder cases. Reselect just the problem clips, individually this time, and re-run Stabilize on each one before you look any further for a cause. It's a five-minute test that rules out an entire category of the problem.
Batch-stabilizing many clips in a single action has a reported history of producing worse results than stabilizing the same clips individually. There's no confirmed technical explanation for why in Blackmagic's own forum threads, just a consistent pattern across multiple users' reports, which is exactly the kind of thing worth ruling out early since the workaround costs almost nothing to try.
Did copying a grade with "All" wipe your stabilization keyframes?
If your clip was stabilized correctly at one point and then went shaky again with no edits to the clip itself, check your grade-copying workflow before anything else. Stabilization keyframes live inside a clip's sizing data on the Color page, and copying a grade from one clip to another using the "All" option in the Keyframes panel or the grab-and-apply workflow carries that sizing data along with it, silently overwriting whatever stabilization was already on the target clip.
The fix is in the Keyframe Timeline Mode setting, accessible through Mark menu > Keyframe Timeline Mode, or through the popup menu in the Color page's Keyframes panel. Switching that setting from All to Color scopes grade copying to color correction data only, leaving sizing, and the stabilization keyframes that live inside it, untouched on the target clip.
This is easy to miss because the symptom shows up on the wrong clip, and later. You stabilize clip A, it looks correct. Later you copy clip A's grade to clip B using All, and clip A's stabilization silently reverts to whatever the default was, or clip B unexpectedly inherits a stabilization pass it never had, tuned for a completely different shot's motion. Neither clip's stabilization work was touched directly, which is exactly why it's confusing to track down.
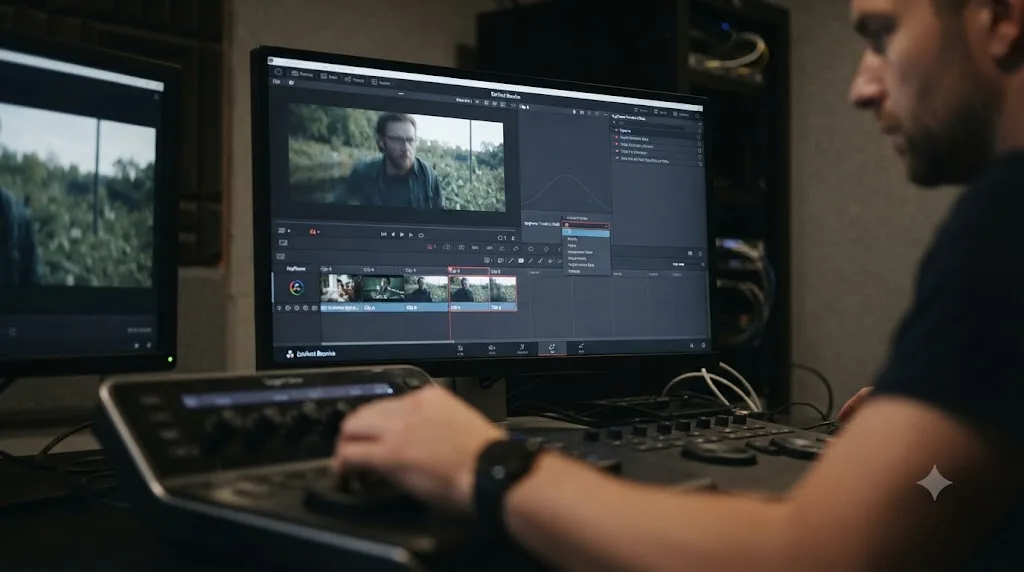
Is the shake simply too extreme for the built-in Stabilizer?
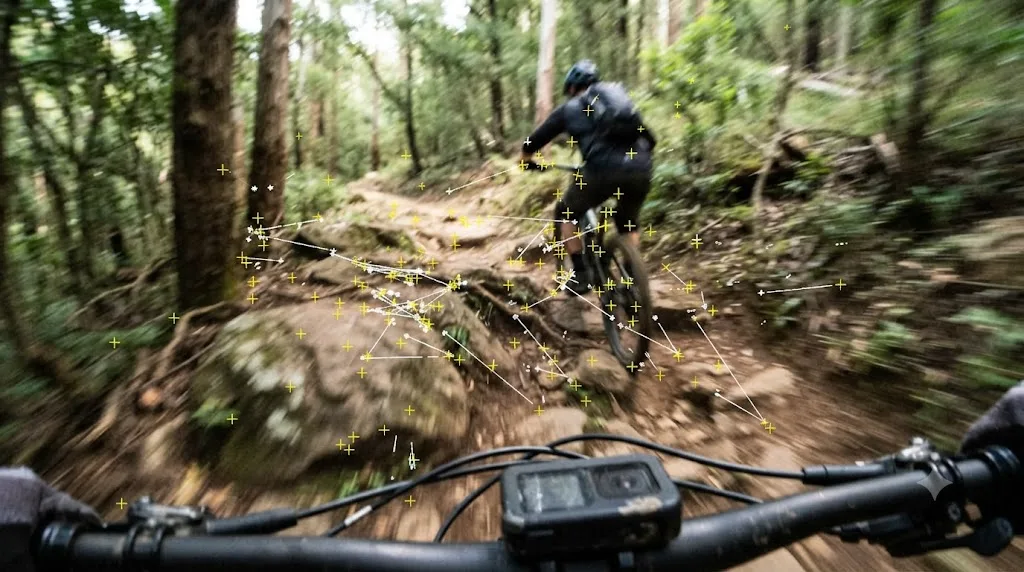
Sometimes, yes, and it's worth recognizing this rather than endlessly tweaking sliders on a shot that was never going to be fixable this way. The built-in Stabilizer works by tracking feature points across frames and solving for the camera motion those points imply. On extremely shaky footage, an action-cam clip that was strapped to something bouncing hard, or a whip pan that moves fast enough to introduce serious motion blur, the solver can lose track of its feature points entirely between frames, or the amount of correction needed exceeds what any Cropping Ratio and Zoom combination can hide without an unusable crop.
Editor Logan Baker, writing for PremiumBeat, put this plainly: "Even though DaVinci Resolve and other NLEs make it easy, stabilizing in post is always a gamble." That's not a knock on the tool. It's a realistic framing of what post-production stabilization can and can't do. Every stabilizer, in every NLE, is reconstructing a steadier camera path from footage that was already recorded with real, physical motion, and there's a ceiling on how much reconstruction is possible before the corrected result looks worse than the original.
Post-production stabilization is a correction, not a rescue, and footage with severe enough shake or blur can exceed what any software-based fix can recover. If you've worked through mode selection, Cropping Ratio, Camera Lock, and Zoom and the shot is still unusable, that's a sign to escalate to manual tracking or a dedicated third-party tool, not a sign you're missing an obvious setting.
Should you tune Strength and Smooth manually instead of trusting the defaults?
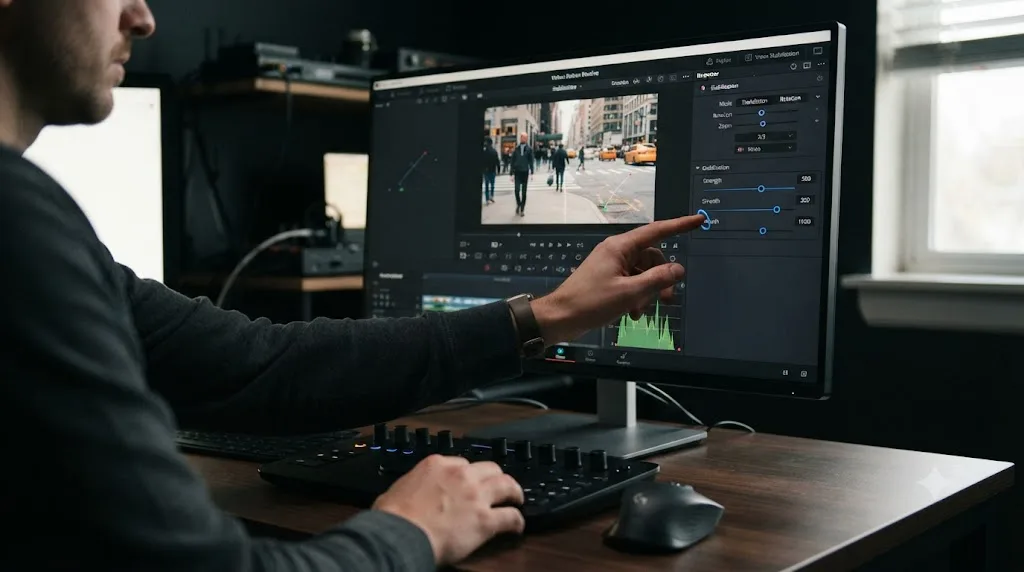
Yes, on any shot where the default result feels wrong in either direction, too locked-off or not locked-off enough. These two sliders, both disabled when Camera Lock is checked, control how much of the corrected motion actually gets applied and how aggressively that correction is smoothed over time.
Strength is a blend control. At 100, you get the full correction the solver calculated. Drop it below 100 and a percentage of the original camera motion shows back through, which is useful when a fully stabilized result feels sterile or artificial for a shot that's supposed to feel handheld and alive. The manual notes that Strength can even go negative, inverting the stabilization for match-move-style effects, though that's a specialized use case well outside ordinary shake correction.
Smooth controls how the correction is distributed over time rather than how much of it is applied. Per the manual, lower Smooth values "perform less smoothing, allowing more of the character of the original camera motion to show through," while higher values smooth the shot more aggressively, damping out fast changes in direction at the cost of a slightly floatier, less locked feel. A shot with quick, sharp shake benefits from a higher Smooth value to avoid a result that jitters in a new, smaller way. A shot with slow, sweeping drift often looks more natural with a lower Smooth value that doesn't over-flatten the movement.
Neither slider fixes a fundamentally wrong mode choice or an overly restrictive Cropping Ratio. Get those right first, then use Strength and Smooth to dial the final feel rather than expecting them to fix a broken foundation.
Can stabilization fix motion blur from a slow shutter speed?
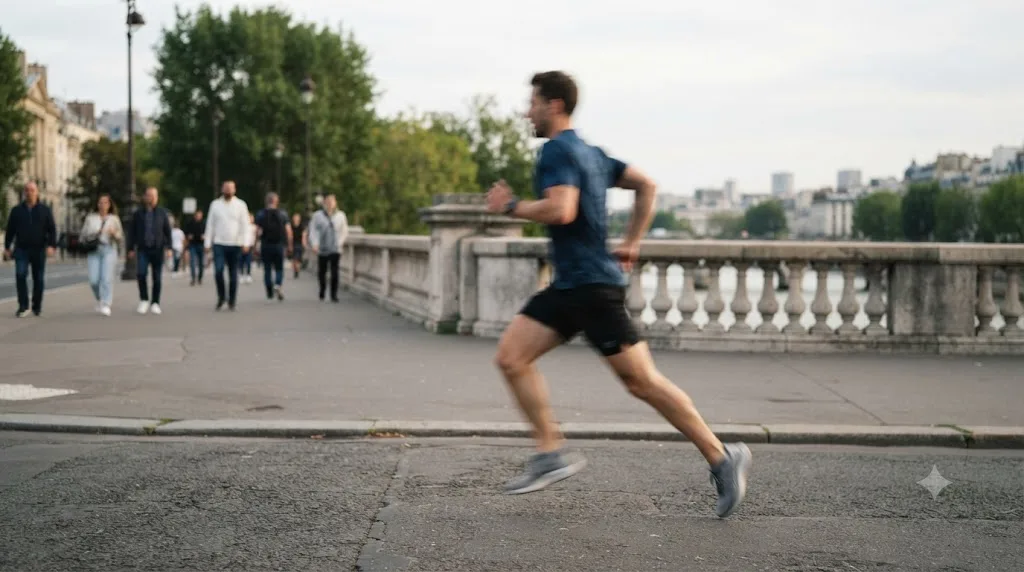
No, and this is worth understanding before you spend an hour trying to fix something no stabilizer, in any software, can actually correct. Motion blur is baked into the pixels of a frame at the moment of capture, a direct result of how much the camera or subject moved during the sensor's exposure window. Stabilization operates entirely after that: it repositions and rescales already-captured frames to cancel out detected camera motion between frames. It has no ability to reach back into a single frame and remove blur that already happened.
The confusing part is what this looks like in practice. Stabilize a pan shot recorded at a slow shutter speed, and the frame itself holds steadier relative to the rest of the clip, but every individual frame still carries its own motion trail, since that blur was never a function of camera shake between frames in the first place. The result can look genuinely odd: a background that no longer swims the way it did, paired with a foreground subject that's still visibly smeared, because the two effects came from different causes and only one of them is fixable in post.
This is purely a capture-time problem, and the only real fix is at the next shoot: a faster shutter speed, roughly double your frame rate as a starting baseline, reduces motion blur before it ever reaches Resolve. No stabilization setting, mode, or third-party plugin recovers detail that blur already destroyed.
Does hardware or GPU memory change how well stabilization works?
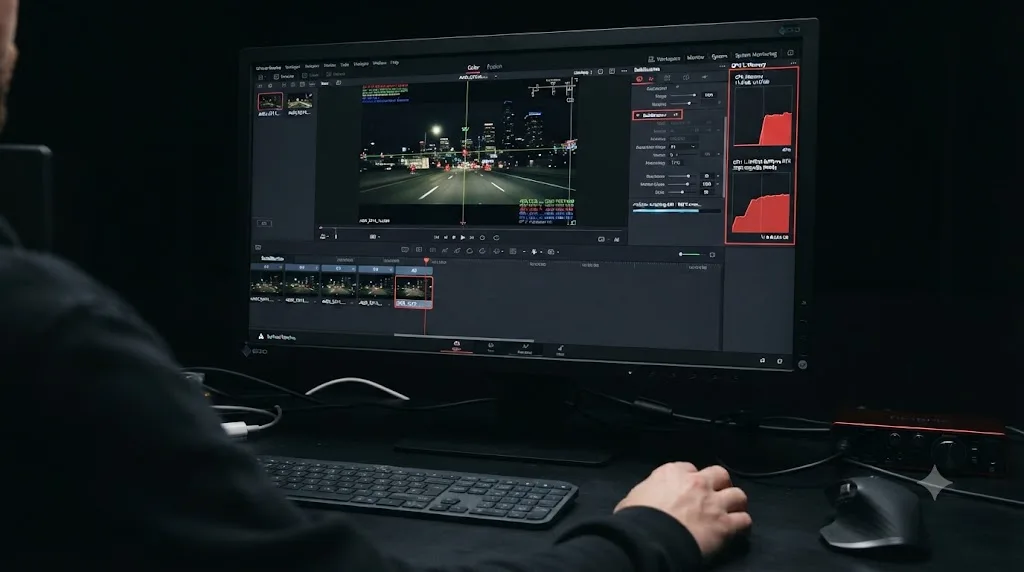
Not the quality of the correction, but potentially how completely the analysis runs, especially on long or high-resolution clips. Stabilization analysis is a real computational pass, tracking feature points frame by frame across the full clip, and on a system under memory pressure or running an underpowered GPU, that analysis can behave inconsistently, stalling, running unusually slowly, or in rare cases appearing to complete without having actually processed the full range.
Per Blackmagic's own tech specs, DaVinci Resolve's baseline GPU memory requirement is 4GB, though that's a floor for the application running at all, not a comfortable working number for stabilization analysis on top of everything else a real project asks of the GPU. If you're seeing stabilization behave inconsistently specifically on your longest or highest-resolution clips, and consistently fine on shorter ones, that pattern points at resource pressure during analysis rather than a settings problem. Our GPU memory full guide covers the broader symptoms of a GPU running out of headroom in Resolve and the fixes that apply across the whole app, not just stabilization.
The practical test: if a stabilization pass that normally takes a few seconds on short clips takes noticeably longer, or produces visibly different quality, on your longest timeline clips, close other GPU-heavy applications, lower your timeline resolution temporarily during the stabilize pass, or work on a proxy-resolution version of the clip and reapply the same settings to the full-resolution original afterward.
When should you switch to the Classic Stabilizer's manual points?
When the automatic solver keeps locking onto the wrong thing. The standard Stabilizer picks its own feature points to track, and on a busy frame, one with lots of similar-looking texture, low contrast, or a moving foreground subject in front of a static background, it can end up tracking the wrong points entirely, a passing car instead of the building behind it, or a person's shirt pattern instead of the horizon. When that happens, no amount of mode-switching or slider adjustment fixes the underlying problem, because the analysis itself is solving for the wrong motion.
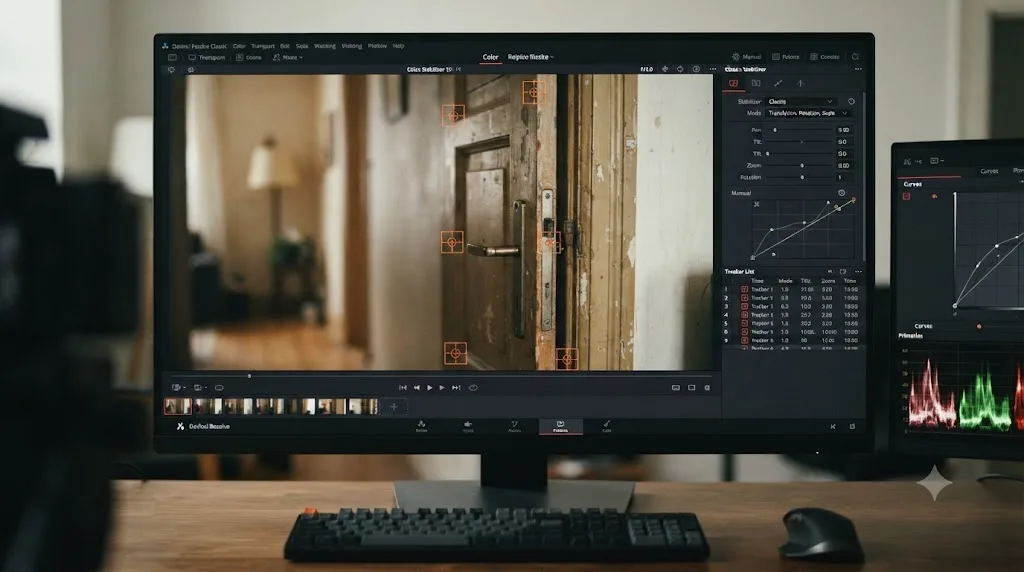
The Classic Stabilizer gives you direct control over this. Per discussion on the Blackmagic forum's "Video stabilization experience in DR" thread, it supports both Point and Cloud tracking modes with the ability to define exactly which regions of the frame to track or exclude, targeting pan, tilt, zoom, and rotation separately rather than as one bundled solve, with its own Smooth and Strength parameters and auto-zoom. That same thread notes a real limitation worth knowing about too: in some users' side-by-side testing, the Classic Stabilizer performed worse than the standard Stabilizer on typical shake, which lines up with its design intent as a manual, targeted tool rather than a better general-purpose replacement.
The practical takeaway: reach for Classic Stabilizer specifically when you know which part of the frame should be your tracking reference and the automatic solver keeps missing it, not as a default upgrade from the standard tool. Placing your own tracking markers on a clearly static, high-contrast feature, a doorframe, a sign, a fixed structural edge, gives the solver exactly what it needs instead of leaving it to guess.
What about Fusion's tracker or Mocha Pro for the worst shots?
For shots that beat both the standard and Classic Stabilizer, the next step up is Fusion's own planar and point tracker, accessible from the Fusion page, which gives you full node-level control over tracking data separate from the Color page's automatic sizing workflow. This is a meaningfully bigger time investment, since you're building a tracking setup by hand rather than clicking one button, but it's also the option with the most control: you choose the tracking region, the tracking type, and exactly how that tracking data gets applied to stabilize the shot, rather than trusting an automatic solver's best guess. If you haven't worked in Fusion before, our Fusion page tutorial for beginners is a reasonable starting point before you attempt tracking work there.
Beyond Resolve's own tools, Boris FX's Mocha Pro is the option specifically built for the hardest cases. According to Boris FX's own guide to stabilizing footage in DaVinci Resolve, written by Marco Sebastiano Alessi, Mocha Pro offers planar motion tracking with more selective control over exactly what elements get stabilized, and the guide positions it as the tool to reach for on shots that are genuinely difficult to track with Resolve's built-in options. It's a paid, third-party plugin, not a free addition, so it's worth treating as a last resort after you've exhausted the Classic Stabilizer and Fusion's tracker, not a first move.
The escalation path for a genuinely difficult shot runs from the automatic Stabilizer, to the Classic Stabilizer's manual tracking, to Fusion's planar tracker, to a dedicated third-party tool like Mocha Pro, and each step trades a few more minutes of manual setup for a meaningfully higher ceiling on what's fixable. Most shots never need to go past the first step. The ones that do usually have a specific, identifiable reason, busy tracking region, extreme motion, rolling shutter interacting badly with a fast pan, that's worth diagnosing before you reach for a bigger tool.
Does DaVinci Resolve Free stabilize differently than Studio?
No, not in the tool itself. The standard Stabilizer, its three analysis modes, Camera Lock, Cropping Ratio, Zoom, Strength, Smooth, and the Classic Stabilizer's manual Point and Cloud tracking are all present and functionally identical in both editions. If your stabilization result is still shaky, your Resolve edition isn't the reason, and upgrading to Studio specifically to fix a stabilization problem won't do anything the fixes on this page haven't already covered.
Where Studio does have an edge is upstream of stabilization, in raw processing headroom. Per Blackmagic's tech specs, several GPU acceleration features and hardware-accelerated decode paths are Studio-exclusive on Windows and Linux. On heavy camera formats, that can mean Studio has more headroom left over for a long analysis pass on a demanding clip, which matters for how smoothly and quickly the analysis runs, not for how well the resulting correction looks. A shaky clip stabilized in Free and the same clip stabilized in Studio, with identical settings, should produce the same visual result.
Is this a DaVinci Resolve 21 bug, or does it show up in every version?
Every version, going back years, based on how far back these forum threads run. That's actually useful context: if stabilization behaves oddly for you in Resolve 21, you're not the first, and the causes on this page predate the current release by a wide margin.
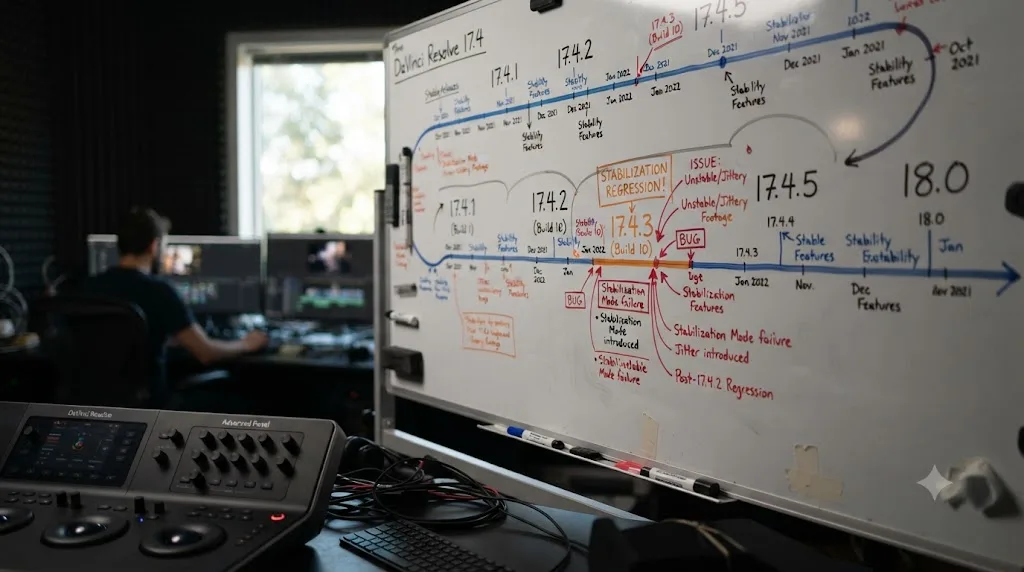
That said, version-specific regressions do happen and are worth knowing about if you're troubleshooting a sudden change in behavior after an update. A forum thread titled "Stabilize modes frozen on 'Perspective' - solved" documents a real regression that appeared specifically in Resolve 20.2, where the stabilization mode dropdown became stuck on Perspective and wouldn't switch to Similarity or Translation on certain GoPro footage, while the prior point release, 20.1.1, was unaffected. Users working around this specific issue had to revert to the earlier version until a fix shipped. It's a useful reminder that a genuinely broken interface, not just a misunderstood setting, is occasionally the real cause, and if none of the fixes on this page change your result at all, checking whether your specific point release has a known regression is a reasonable next step before assuming user error.
If a future Resolve 21 point release changes stabilizer behavior in a way that affects this guide, our broader DaVinci Resolve 21 review tracks what changes with each point release.
What's the full troubleshooting order to try?
Work through this list in order rather than jumping around. Each step rules out a specific, common cause before you move to the next, and most people find their actual problem within the first four or five steps.
- Confirm the stabilization analysis actually reached 100 percent before you judge the result.
- Clear the render cache on the clip and re-check playback, since a stale cache is the single most common false alarm.
- Check Cropping Ratio. If it's close to 1.0, lower it toward 0.25 or below, and enable Zoom to hide the resulting edges.
- If the result looks warped rather than shaky, switch from Perspective to Similarity, then Translation if needed.
- Decide whether Camera Lock should be on for a fully locked result or off to preserve natural movement.
- If you trimmed, retimed, or edited the clip after stabilizing it, re-run Stabilize from scratch.
- Make sure you're stabilizing the actual source clip, not a Multicam, Compound, or nested timeline container.
- If you stabilized clips in a batch, reselect the problem clips individually and stabilize them one at a time.
- Check your Keyframe Timeline Mode setting if stabilization reverted after copying a grade between clips.
- Manually tune Strength and Smooth to dial in the feel once the mode and Cropping Ratio are correct.
- If the shake is still too extreme, switch to the Classic Stabilizer's manual Point or Cloud tracking.
- For the hardest shots, move into Fusion's planar tracker or consider a third-party tool like Mocha Pro.
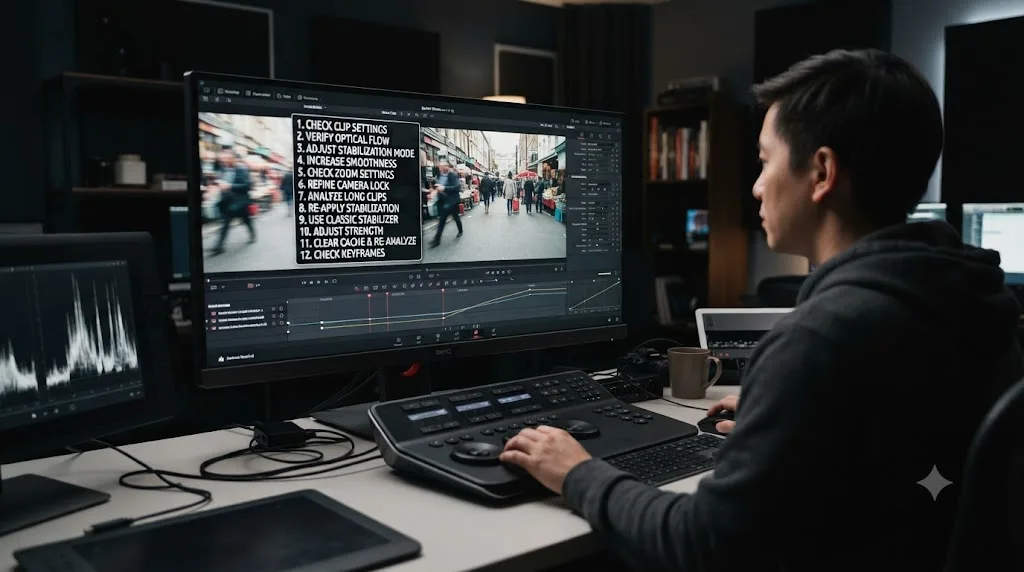
A worked example: fixing a genuinely shaky handheld run-and-gun clip
Take a real scenario: a 20-second handheld interview walk-and-talk, shot on a mirrorless camera at a standard shutter speed, moderately shaky throughout with a couple of sharper jolts where the operator stepped over uneven ground. You select the clip, click Stabilize with default settings, and the result looks barely different from the original.
First check: is the analysis actually complete? Yes, the progress bar reached 100 percent and the Inspector shows stabilization keyframes present. Rules out step one.
Second check: is this a stale cache? Clear the render cache on the clip and scrub through it again. Still shaky. Rules out step two, and tells you this is a real settings problem, not a display problem.
Third check: Cropping Ratio. It's sitting at 0.9, inherited from a previous clip where a very light touch was wanted. That's most of the answer right there: at 0.9, the stabilizer is barely allowed to move the frame no matter how well it identified the shake. Drop it to 0.3 and enable Zoom.
Fourth check: mode. The clip is set to Perspective, which is appropriate for this kind of walking shot since there's real rotational movement from the operator's steps, not just side-to-side drift. Perspective stays.
Result after these two changes: dramatically steadier, but the couple of sharper jolts from stepping over uneven ground are still slightly visible as quick, small corrections rather than being fully smoothed out. This is a Smooth setting problem, not a Cropping Ratio problem. Raise Smooth moderately, and those quick direction changes get distributed over a slightly longer window instead of showing up as visible snaps.
Final check: does it still feel handheld, or does it now feel sterile and locked? For a walk-and-talk interview, a little residual movement usually reads as more natural than a fully locked result. Drop Strength to around 85, letting 15 percent of the original motion show back through, and the clip reads as smooth and intentional rather than robotically fixed.
The end state: Cropping Ratio corrected from an inherited 0.9 down to 0.3 with Zoom on, Perspective mode kept since the motion genuinely called for it, Smooth raised to absorb the sharp jolts, and Strength pulled back slightly to keep some natural character. Two settings were the actual fix, one was confirmed correct as-is, and one was a deliberate creative choice. That's the realistic shape of most "still shaky" tickets: one silent setting doing most of the damage, with a couple of smaller adjustments finishing the job.
The verdict
A stabilized clip that's still shaking is a diagnosis problem before it's a settings problem. Start by ruling out a stale render cache and an incomplete analysis, since those two account for a real share of "it's not working" reports and cost nothing to check. From there, Cropping Ratio and mode selection fix the large majority of remaining cases, with Camera Lock, Strength, and Smooth available to dial in the final feel once the foundation is right. Reserve the Classic Stabilizer, Fusion's tracker, and third-party tools like Mocha Pro for shots that genuinely exceed what an automatic solver can recover, and don't expect any of them, including stabilization itself, to fix motion blur baked in at capture time.
If working through a decision tree like this one every time a shot needs stabilizing sounds like more friction than you want mid-edit, that's the specific gap TryUncle is built for: an AI tutor that watches your actual Resolve window and points at the setting that applies to your specific clip, rather than sending you back to a forum thread to work out which of a dozen possible causes is yours. It's a paid macOS app, currently at founder pricing for its first 100 seats, and you can check the current rate at tryuncle.com.
Most shaky-after-stabilizing clips have a specific, findable cause. Work through the list in order, and you'll usually find yours well before you run out of steps.
Frequently asked questions
- Why does my footage still shake after I click Stabilize in DaVinci Resolve?
- The most common reasons are a stale render cache showing you the pre-fix frame, a Cropping Ratio set too close to 1.0 which mathematically caps how much correction can be applied, the wrong analysis mode for your shot's movement, or a clip that was trimmed, retimed, or changed after you stabilized it, which silently invalidates the analysis. Work through those four before assuming the tool is broken.
- What's the difference between Perspective, Similarity, and Translation stabilization modes?
- Perspective corrects pan, tilt, zoom, rotation, and perspective distortion and is the default. Similarity corrects the same pan, tilt, zoom, and rotation but skips perspective analysis, which avoids the warping Perspective mode can introduce on wide-angle lenses. Translation only corrects side-to-side and up-down motion and ignores rotation and perspective entirely, which makes it the most stable-looking but least corrective option.
- Should Camera Lock be checked or unchecked?
- Check it when you want a fully locked-off, tripod-style result and don't mind an aggressive crop, since Camera Lock disables the Cropping Ratio and Smooth sliders and pushes the stabilizer to remove all detected motion. Leave it unchecked for handheld footage where you want to preserve some natural camera movement instead of freezing the frame completely.
- Why do I see black edges or a shrunken frame after stabilizing?
- Stabilization works by shifting and scaling the frame to cancel out detected motion, and that shift can push the original frame edge into view unless something fills the gap. Turn on Zoom in the Stabilization panel to auto-scale the image and hide the edges, or accept a lower Cropping Ratio if you'd rather crop in than zoom and soften the image.
- Why did stabilization stop working after I trimmed or retimed my clip?
- DaVinci Resolve's stabilization analysis is tied to the specific frame range and speed of the clip at the moment you ran it. Trim the in or out point, change a Retime speed, or edit the clip inside a Multicam or Compound clip afterward, and the cached analysis no longer lines up with the footage. Re-run Stabilize after any structural change to the clip, not just once at the start.
- Does DaVinci Resolve Free stabilize footage differently than Studio?
- No. The Stabilizer, Camera Lock, all three analysis modes, and the Classic Stabilizer's manual point and cloud tracking are identical in both editions. Studio's advantage is upstream, in GPU acceleration and hardware decode on some formats, which can affect how long analysis takes on heavy footage, not the quality of the stabilization result itself.
- Can stabilization fix motion blur from a slow shutter speed?
- No, and this is one of the most common false expectations. Stabilization repositions and re-scales the frame to cancel out camera motion, but it cannot remove blur that was already baked into a frame at the moment of capture. A pan shot recorded at a slow shutter speed keeps its motion trails after stabilization; the frame just holds still around them, which can look stranger than the original shake.
- What should I do if the built-in stabilizer just can't fix a shot?
- Try the Classic Stabilizer with manual Point or Cloud tracking so you control exactly which region gets tracked, since the automatic solver in the standard Stabilizer sometimes locks onto the wrong feature points on a busy or low-contrast frame. If that still isn't enough, Fusion's planar tracker gives you node-level control, and Boris FX's Mocha Pro, a paid third-party plugin, adds planar tracking built specifically for difficult shots the built-in tools can't solve.
Sources
- Blackmagic Forum: Stabilisation not working
- Blackmagic Forum: Stabilization not working (button doesn't do anything)
- Blackmagic Forum: Stabilizer (new and classic) exhibiting issues
- Blackmagic Forum: How to stabilize footage not like jelly?
- Blackmagic Forum: Ease in to Stabilization
- Blackmagic Forum: Stabilization modes: how do they work?
- Blackmagic Forum: Resolve randomly looses stabilization why?
- Blackmagic Forum: Stablization Stuck after analyzing
- Blackmagic Forum: Stabilize modes frozen on "Perspective" - solved
- Blackmagic Forum: Video stabilization experience in DR. Recommendations.
- DaVinci Resolve Reference Manual: Using the Stabilizer (VFXPedia mirror)
- PremiumBeat: How to Stabilize Footage in Post-Production Using DaVinci Resolve (Logan Baker)
- Boris FX Blog: How to Stabilize Video in DaVinci Resolve: 4 Methods (Marco Sebastiano Alessi)
- Cutsio: Best Way to Stabilize Shaky Footage in DaVinci Resolve
- DaVinci Resolve - Tech Specs (Blackmagic Design)
Put this guide to work with TryUncle.
Ask about the step you’re on. TryUncle sees your screen and points at the control you need, so you can keep learning in your own project.
Get TryUncle for Mac or WindowsKeep reading
Fixes · Jul 7, 2026 · 25 min
DaVinci Resolve GPU Memory Is Full: Every Real Fix
Why DaVinci Resolve throws 'GPU memory is full,' and which fixes actually work: timeline resolution, drivers, effects, and how much VRAM you need.
Fixes · Jul 8, 2026 · 26 min
DaVinci Resolve Multicam Sync Off by Frames: Every Fix
Multicam clip off by frames or drifting worse over time? Fix DaVinci Resolve's waveform mis-sync, frame rate drift, and timecode gaps, angle by angle.
Guides · Jul 8, 2026 · 29 min
DaVinci Resolve Noise Reduction Settings: Temporal and Spatial
The exact Temporal and Spatial Noise Reduction settings in DaVinci Resolve: frame count, threshold values, motion range, and when to use each.