Articles / Fixesupdated for DaVinci Resolve 21.1 (October 2026)
DaVinci Resolve Timeline Clip Colors Not Showing? Fix Them
Quick answer
If DaVinci Resolve timeline clip colors are not showing, right-click the clip in the timeline and choose Clip Color, then select a color. Timeline clip colors are labels, not color grades: they tint the clip body, while video thumbnails can remain unchanged. If the label still seems absent, check the selected clip, track color, and which Resolve page you’re viewing.
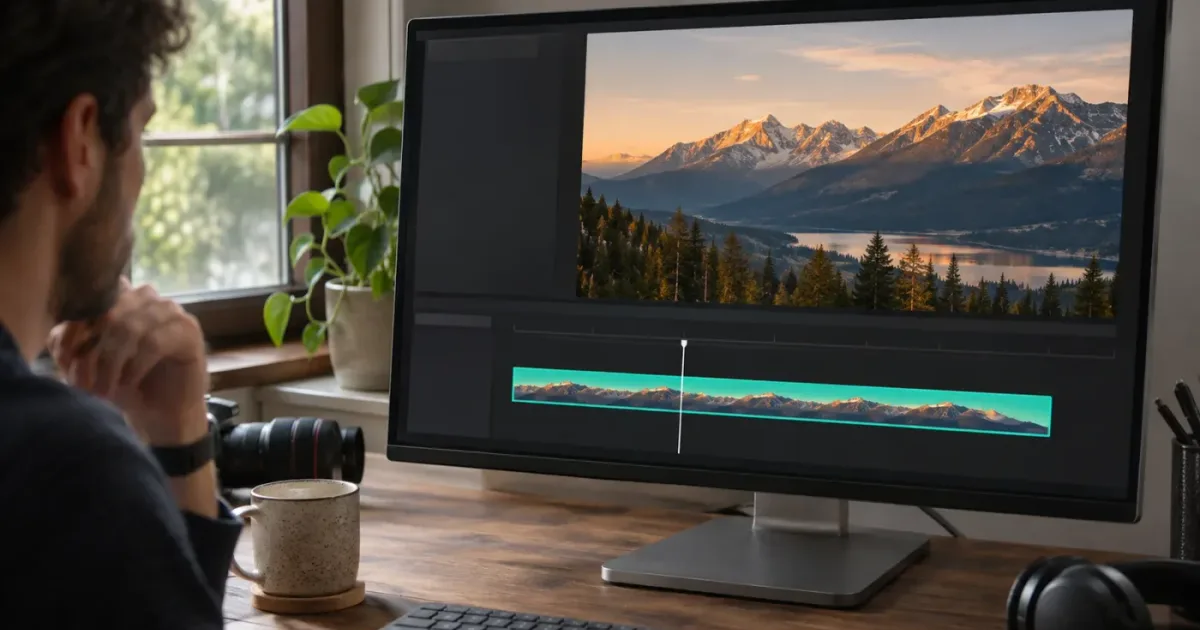
As of October 2026, the current manual listed by Blackmagic Design is for DaVinci Resolve 21.1. If the clip in your timeline looks like the same default color as its neighbors, the first thing to check is whether you assigned a clip label to that timeline instance. Don’t confuse that label with the clip’s image grade. They’re separate controls, and they show up in different ways.
Why are DaVinci Resolve timeline clip colors not showing?
DaVinci Resolve timeline clip colors are organizational labels, not color grades, and a label can look missing if it was never assigned to the timeline clip you’re checking. Right-click the clip in the timeline, choose Clip Color, and pick a color; then check the clip body rather than expecting the thumbnail image itself to become a solid color.
Resolve uses the phrase “clip color” for a label that helps editors sort or recognize timeline clips. The label does not change the footage, the viewer image, or a node graph. A color grade, by contrast, affects how the picture looks. If your picture lost its look, this page may help you rule out a simple label problem, but the fix is not the same as restoring a grade.
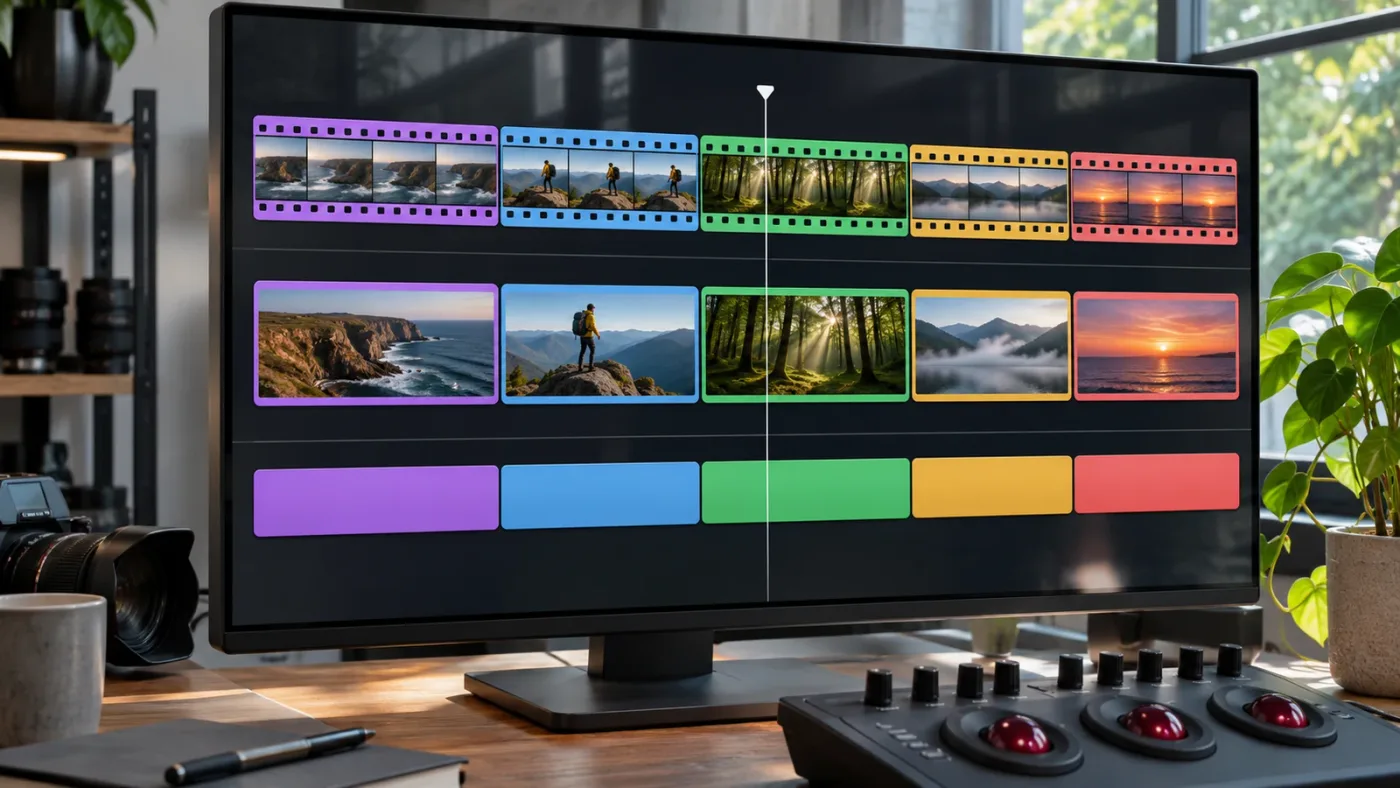
The main distinction is easy to miss: a video clip’s timeline body can be tinted while its thumbnail area still shows the image. That difference is expected. Blackmagic’s DaVinci Resolve 21 reference manual describes timeline clips as tinted everywhere except the video thumbnail area. It also describes the Color page’s thumbnail timeline and Media Pool thumbnails as places where a small colored dot can appear instead of a full clip tint. The Resolve 21 manual’s section on timeline clip colors explains these different appearances.
A clip label organizes the timeline; a grade changes the picture.
Before changing settings, identify which of these things you mean:
| What you see | What it usually means | First check |
|---|---|---|
| No custom tint on the timeline clip body | The timeline instance may still have its default label, or you may have selected another clip | Right-click the actual timeline clip and open Clip Color |
| A colored dot on a thumbnail | The label is being shown as a thumbnail indicator in that view | Check the timeline body for the tint |
| A colored strip beside the track header | The track has a color, which can affect clips placed on it | Check Change Track Color on the track header |
| The viewer image looks ungraded | This is a grading or bypass question, not necessarily a clip-label problem | Check the clip’s grade and the viewer’s color-bypass state |
| One timeline use is colored but another is not | The color may belong to one timeline instance rather than the shared source | Assign the color to each timeline instance that needs it |
The quickest reliable test is to assign a clearly visible label to one clip directly in the timeline. If its body changes tint, Resolve is showing the label correctly. If the thumbnail still displays its frame, that alone doesn’t mean the assignment failed.
How do I add a color to a clip in the DaVinci Resolve timeline?
To add a timeline clip color, select the clip instance in the Edit or Cut page, right-click it, open Clip Color, and choose a color. Resolve applies the label to that selected timeline clip; it does not automatically color every other use of the same source clip.
Try this short procedure first:
- Open the project and go to the timeline containing the clip you want to label.
- Click the clip itself in the timeline. Make sure you’re not selecting a gap, transition, track header, or a different clip layered above it.
- Right-click the selected clip.
- Open the Clip Color submenu.
- Choose a color, such as red or green.
- Look for the tint across the clip body. Don’t judge the result only by the video thumbnail.
If you want to remove a label rather than apply one, use the same clip’s Clip Color submenu and choose Default Color. The exact wording can vary between pages or versions, so look for the equivalent reset option in that submenu if your menu says something slightly different.
To check that your click affected the right clip, click a second clip and return to the one you just changed. The selected instance should retain the label after you move the selection. If you applied the wrong color, reopen the submenu and choose another one. This is a reversible organizational change; it doesn’t alter the source media or the clip’s grading nodes.
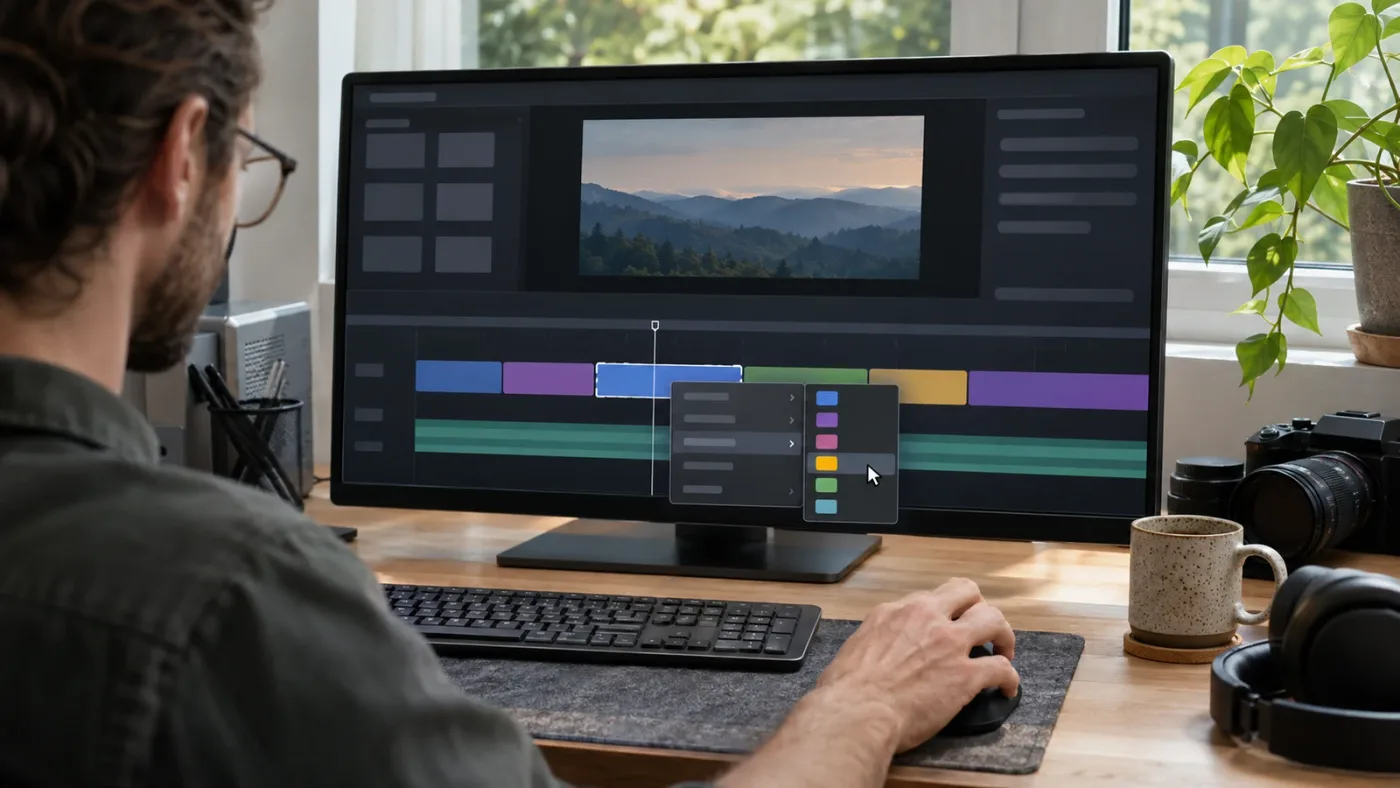
Resolve 21’s manual says that custom clip colors are available in 16 colors and that an individual timeline clip can have one assigned color at a time. That gives you a useful, limited palette, not a separate unlimited custom color system for every clip. The manual’s clip-color section also notes that colors are clip-specific: coloring one timeline use doesn’t automatically apply the same label to every use of that source.
For a quick test, choose a color that contrasts with the default tint and with the track’s color. You don’t need to color your whole sequence to diagnose the issue. One visibly changed clip is enough to tell whether you have an assignment problem or a display expectation problem.
Why does the timeline thumbnail stay the same color?
A video thumbnail can continue showing its frame even when the timeline clip has a color label, because Resolve displays the label on the clip body rather than over the thumbnail image. Check the portion of the clip outside the thumbnail before deciding that the color didn’t apply.
This is the most common false alarm. Depending on your timeline view and clip size, you may see one or more image thumbnails within a clip. The colored label doesn’t have to cover those images. Blackmagic’s Resolve 21 manual specifically distinguishes the tinted timeline clip body from the video thumbnail area. In thumbnail-oriented views, the label can instead be represented as a small dot at the upper-right corner of a thumbnail.
Try this visual check:
- Zoom in enough that you can see the clip’s body and its thumbnail area separately.
- Find a part of the clip that isn’t covered by the image thumbnail.
- Look for a tint around or beside that image area.
- If the clip is too short or the track too small for the tint to be obvious, temporarily increase the video-track height.
- If the color still isn’t clear, assign a contrasting color to one test clip.
Don’t read the thumbnail’s picture as a promise that the entire clip is uncolored. The clip body and thumbnail have different jobs: the thumbnail helps identify the footage, while the tint helps identify the label.
This matters when your timeline is zoomed out. A short clip may have very little visible body outside its thumbnail, leaving only a narrow tint that’s easy to overlook. A crowded timeline can make the same label appear more subtle, especially when there are several tracks, overlays, and clip names competing for space.
If you need help adjusting the display rather than the label, see how to fix DaVinci Resolve timeline track height. Changing the height can make timeline details easier to inspect, but it doesn’t assign a clip color by itself.
A thumbnail that still shows the footage doesn’t prove the clip label is missing.
Does DaVinci Resolve 21 have a setting that hides clip colors?
In DaVinci Resolve 21, the documented Timeline View Options menu controls several timeline display choices, but the manual doesn’t describe a general switch that turns all clip-label tinting on or off. First verify the selected clip’s assigned color, then inspect what part of the clip and which view you’re looking at.
Resolve’s timeline display options let you adjust how clips appear. The Resolve 21 manual lists filmstrip, thumbnail, and no-thumbnail display choices for video tracks. It also describes controls for timeline elements and track height. Those choices affect the timeline’s visual presentation, but they don’t replace assigning a label to the clip. The manual’s Timeline View Options section describes those display modes.
Try the following checks in order:
- Confirm you’re looking at the Edit or Cut timeline where the clip instance appears.
- Select the clip and inspect Clip Color in its context menu.
- Confirm a custom color is selected rather than Default Color.
- Look at the clip body outside its thumbnail.
- Increase the video-track height if the visible tint is too small to inspect.
- Temporarily choose a contrasting color on one clip to test the display.
Don’t assume that switching between filmstrip and thumbnail modes will assign a missing color. Those modes change how Resolve presents thumbnails. If the clip remains on its default color, changing the view mode won’t create a custom label.
Resolve 21 introduced improvements to timeline view options, including presets, according to Blackmagic Design’s DaVinci Resolve 21 New Features Guide. That is a version-specific reason to check which timeline controls are visible in your installation, but it doesn’t mean that clip colors require a new 21.1-only switch. The guide is a record of features and changes, not evidence that a particular display setting is broken.
If you’re using another major version, menu wording and layout may differ. The core test remains the same: assign a color to one timeline clip and inspect its clip body. The official Blackmagic Design support page lists the DaVinci Resolve 21.1 reference manual as the current manual in October 2026. Use the manual matching your installed version when a menu name doesn’t line up with these steps.
Why does a track color appear instead of my clip color?
A track color can tint clips on that track, but an individual clip color takes precedence over the track color. If the timeline tint differs from what you expected, check both the clip’s Clip Color submenu and the track header’s Change Track Color submenu.
Resolve supports track colors as well as clip colors. These aren’t the same setting. The track’s color is useful when you want clips on a particular track to share a visual treatment. A per-clip label lets you mark a specific clip differently. The Resolve 21 manual says a track color appears as a strip beside the track header and tints clips on that track unless an individual clip color overrides it.
Check the track and clip separately:
- Right-click the track header and inspect Change Track Color.
- Right-click the clip and inspect Clip Color.
- If the clip has a custom color, note that it may override the track tint.
- To test the track color, choose Default Color for the clip, then see whether the track tint appears.
- If your goal is to label only one shot, reassign a custom clip color after confirming the track color.
This also explains why two clips on one track can look different. One may inherit the track’s color; another may have its own clip label. They can be adjacent and share the same media type, yet display different tints because their assignments differ.
| Your goal | Use this setting | What you should inspect |
|---|---|---|
| Give a whole track a consistent visual identity | Track color | Thin color strip by the track header and tint on clips without their own color |
| Mark one particular shot or timeline instance | Clip color | Tint on that timeline clip body |
| Remove a clip-specific override | Clip Color menu, then Default Color | Whether the track’s tint becomes visible afterward |
| Change the picture’s appearance | Color page grading controls | The image in the viewer, not the organizational label |
Be careful when using a color scheme as part of a team workflow. A track color can communicate “this is the B-roll track,” while a clip label can communicate “this is the approved take.” If the same color means two different things, the timeline may become harder to read. Pick a consistent meaning for each kind of color and use track colors and clip labels deliberately.
If the clip body changes to the track’s color after you reset its label, the display is working. The different color came from the clip’s individual assignment, not a missing global setting.
A clip’s individual color can override the color assigned to its track.
Why does the clip color appear in one page but not another?
A clip color can appear differently across DaVinci Resolve pages because the Edit timeline, Color page thumbnail timeline, and Media Pool don’t all represent labels in the same way. Compare the same timeline instance in each view and look for a tint or colored dot, not an identical block of color everywhere.
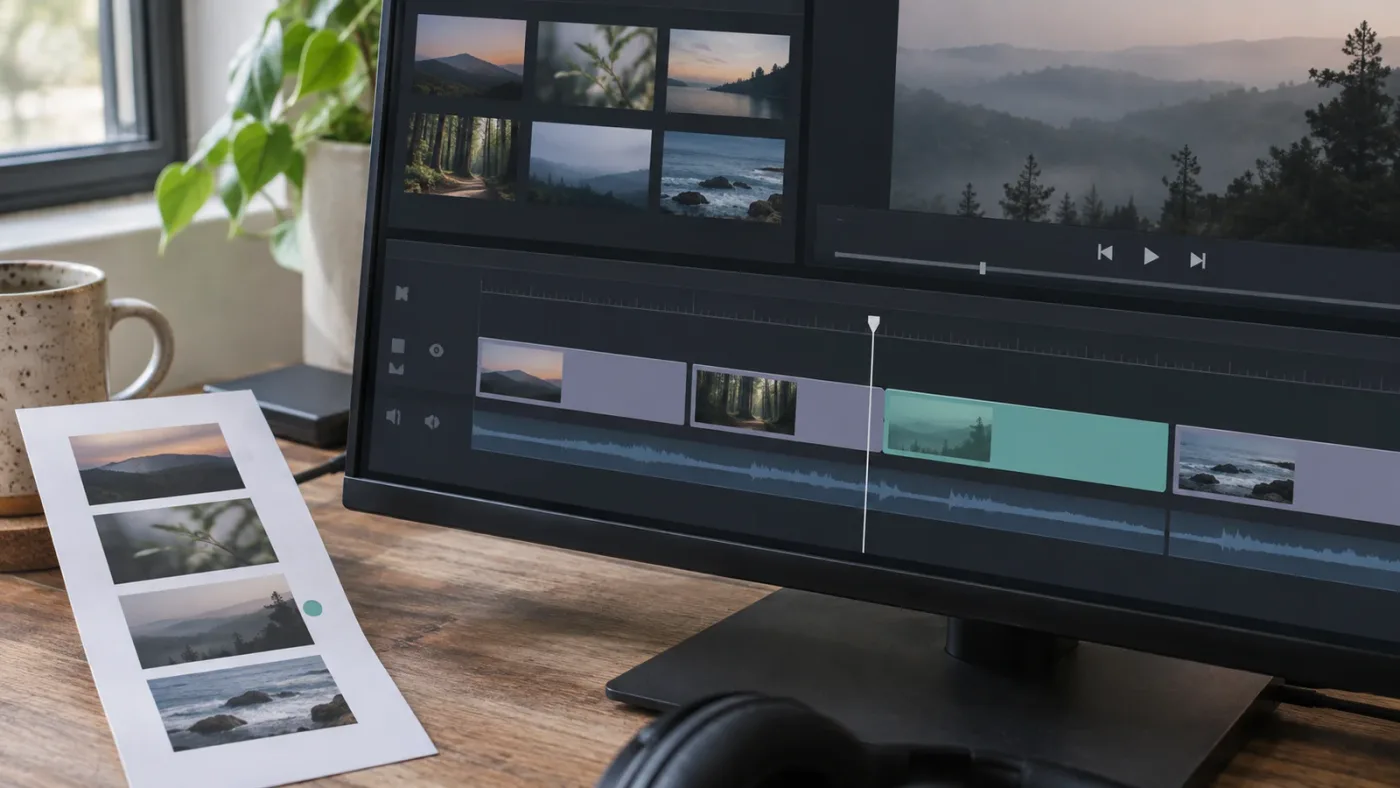
The Color page’s thumbnail timeline is not the same display as the Edit page’s full timeline. The manual describes colored dots on thumbnails in the Color page and Media Pool, while clips in the timeline are tinted outside the video-thumbnail area. A difference between those views can be normal.
There’s a second source of confusion: clip colors may belong to one timeline instance rather than to the source clip everywhere in the project. If you used the same source footage in two parts of a timeline, or in two separate timelines, assigning a label to one timeline clip doesn’t guarantee that the other use will share it. The Resolve 21 manual calls clip colors clip-specific and explains that a color assigned to one timeline use has no effect on another use of the same source media.
Use a controlled comparison:
- If you see a dot on a thumbnail: check the timeline body for the same clip.
- If you see a tint on one timeline use: check another use separately; it may have a different label.
- If the Edit page and Color page seem to disagree: confirm that both are showing the same timeline and clip instance.
- If the source thumbnail looks unchanged: don’t treat that alone as proof the timeline label failed.
- If a track tint appears in the Edit timeline: check the track’s color as well as the clip’s own assignment.
For a useful test, choose a distinctive clip and set its color from the timeline context menu. Then look for that same timeline instance in the Color page’s thumbnail timeline. You’re checking whether the label can be identified in both contexts, not whether every view uses the same visual treatment.
If the clip’s image grade is the thing that differs between pages, stop troubleshooting clip colors. Check the viewer and grade instead. The clip-color label doesn’t adjust the image or copy a grade between timelines.
A concise way to keep the terms straight:
- Clip color: an organizational label associated with a clip instance.
- Track color: an organizational color associated with a timeline track.
- Color grade: image processing that changes how the footage looks.
- Thumbnail indicator: a small dot or other view-specific cue that can represent a clip label.
For help organizing color-page nodes rather than timeline labels, see DaVinci Resolve node labels and colors for organized grading. Node labels and timeline clip colors both use color, but they describe different things.
Why are all clips the default color after I assign one?
If every clip still looks like its default color, the most likely explanations are that the custom color was not assigned, the wrong clip instance was selected, or the visible area is too small to make the tint obvious. Test one clip at a time and verify the assignment through its context menu.
A repeatable one-clip test removes most guesswork:
- Pick a clip with enough visible timeline body to inspect.
- Right-click that clip in the timeline, not just its Media Pool thumbnail.
- Open Clip Color and choose a contrasting color.
- Close the menu and inspect the clip body.
- Select another clip, then return to the test clip.
- If the test clip remains tinted, the label is applied and the issue is likely about which clips or views you expected to change.
If the test clip stays at the default color, reopen the menu. Check whether Default Color is selected or whether you clicked the track header instead of the clip. If you do see a tint, but not on the rest of the timeline, assign colors to those other timeline instances separately.
Selecting multiple clips can be useful when you intentionally want to label a group together. Resolve’s manual says a color can be assigned to one or more selected timeline clips. But for troubleshooting, use one clip first. A single test makes it easier to tell whether your selection included the intended clips.
Be precise about where you click. A clip’s thumbnail, the clip body, the track header, and the empty track area aren’t interchangeable targets. The context menu you open depends on what you clicked. If you open Change Track Color, you’re changing the track. If you open Clip Color, you’re changing the selected clip.
If you’ve selected several clips and aren’t sure which ones received the label, click them one at a time and inspect each. Don’t assume that visually adjacent clips share an assignment simply because they touch. They may be separate timeline instances, and a selection can miss one of them.
Resolve 21 also supports clip color as an item in Paste Attributes and Remove Attributes, as described in Blackmagic Design’s Resolve 21 New Features Guide. That can matter when moving or removing attributes in a 21 workflow. It isn’t necessary for the basic fix: use the clip context menu to assign a color directly.
How do I tell a missing clip color from a missing color grade?
A missing clip color changes the timeline’s organizational tint; a missing grade changes the rendered appearance of the footage in the viewer. If the timeline is the only thing that looks wrong, troubleshoot the label; if the picture itself looks wrong, troubleshoot grading or color bypass instead.
That distinction prevents a common wrong turn. A yellow, blue, or green timeline tint isn’t evidence that a video grade is present. Likewise, a flat-looking image doesn’t mean the clip’s organizational label failed.
Use these questions:
- Does the clip body lack the expected tint? Check Clip Color in the timeline context menu.
- Does the viewer show the wrong look? Check whether the clip has the expected nodes or grade.
- Does the Edit page viewer differ from the Color page? Check the viewer’s bypass controls and confirm the same timeline clip is selected.
- Are you seeing only a thumbnail change? Check whether you’re looking at an image, a label dot, or the clip body.
- Did the clip color change but the image stay the same? That’s what an organizational label should do.
The Resolve 21 reference manual explains that the Edit page Timeline Viewer shows the result of Color page and Fusion page operations, and describes a bypass control for color grades and Fusion effects. Those are picture-processing controls, not clip-label controls. The manual’s Edit page chapter is the relevant reference if the concern is the viewer image rather than timeline tint.
Don’t delete grades, reset nodes, or alter color-management settings just to make a timeline label appear. Those actions address a different problem and can change the image. First decide which result is missing: the clip-body tint or the picture’s graded look.
If you’ve confirmed it’s a grading issue, inspect the Color page and the selected clip’s node graph. If it’s a label issue, return to the Edit or Cut timeline and assign the clip color there. Keeping those diagnoses separate saves time and reduces the risk of changing the wrong thing.
A timeline label won’t restore a missing grade, and a grade won’t assign a timeline label.
What if the clip color still doesn’t show after I assign it?
If you assigned a color and still can’t see it, verify the selected clip, the visible clip body, the track color, and the current page before treating it as a software fault. The Resolve 21 documentation describes several different label appearances, so first compare like with like.
Use this final checklist:
- Confirm the clip instance. Select the clip in the timeline where you want the label. A different use of the same source may have its own assignment.
- Confirm the menu. Right-click the clip and open Clip Color, rather than right-clicking the track header.
- Confirm the choice. Make sure you selected a color instead of leaving the clip at Default Color.
- Inspect the right area. Check the clip body outside the video thumbnail.
- Give the tint room. Increase track height or zoom in enough to see the body.
- Check for a track color. A per-clip color can override a track color, and a clip with no individual color can show the track tint.
- Compare the same page and timeline. Don’t compare a Color page thumbnail dot with an Edit page clip body as if they must look identical.
- Separate labels from grades. If the viewer image is the issue, troubleshoot the grade rather than the clip label.
- Check the version’s documentation. If you’re on an earlier version than Resolve 21.1, consult the matching manual from Blackmagic Design’s support page before relying on a current menu name.
If one test clip changes color correctly, you’ve confirmed that Resolve can display clip colors in that timeline. The remaining task is to identify which clips need labels and whether you want a clip-level or track-level scheme. If the test clip doesn’t change after you select a color and inspect its body, restart your diagnosis from the exact timeline instance and context menu rather than changing unrelated grade or project settings.
For help locating controls while you work, TryUncle offers on-screen guidance for DaVinci Resolve on Mac and Windows. TryUncle is the on-screen assistant for DaVinci Resolve on Mac and Windows. Ask in plain words, and Uncle points at the exact control on your screen.
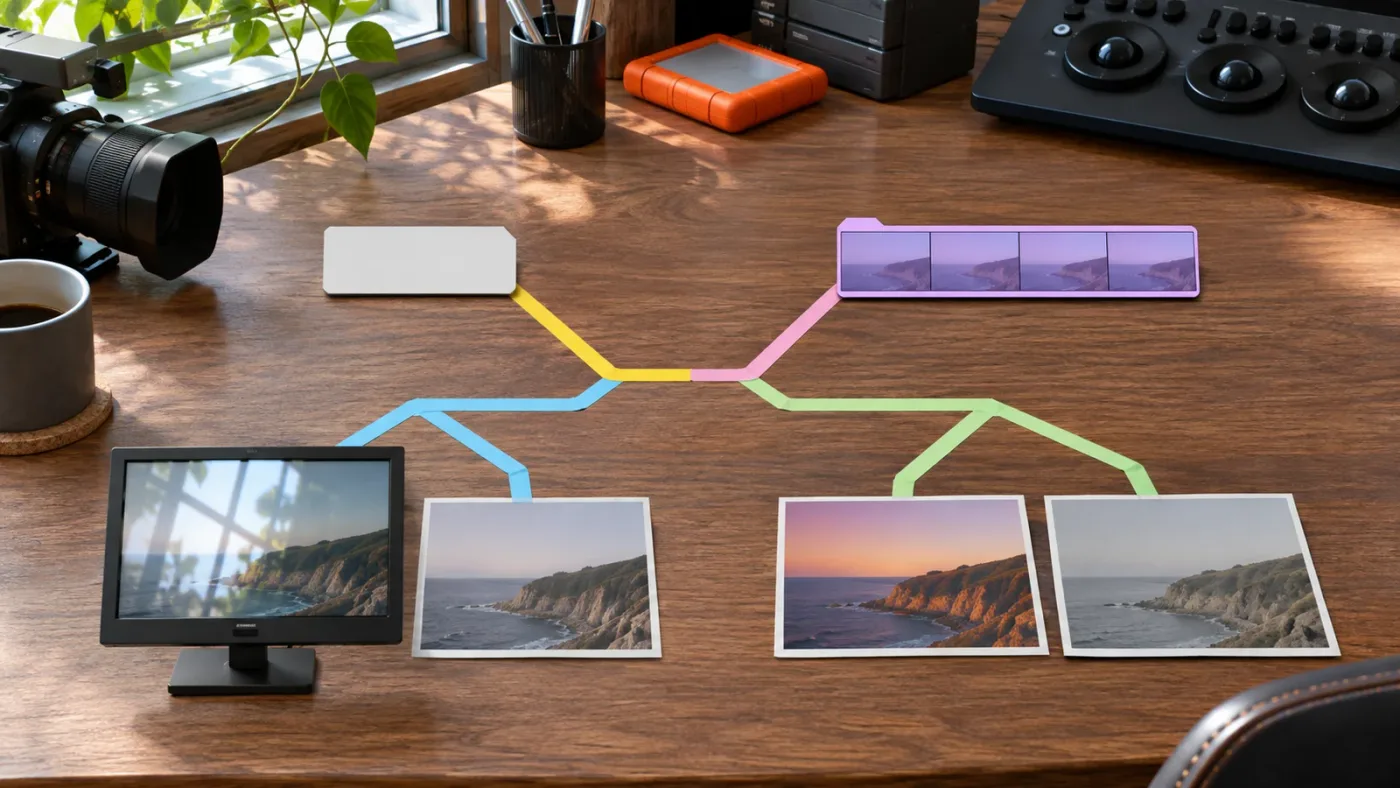
Should I use a clip color or a track color?
Use a clip color when you need to identify an individual timeline instance, and use a track color when the track itself has a consistent role. If neither color is visible, first confirm the assignment on one clip before redesigning your timeline organization.
A track color works well when a track has a stable purpose, such as dialogue, B-roll, or titles. The track header provides a visual cue, and clips on the track can inherit the tint. A clip color works better when a particular shot needs an exception, such as a selected take, a pickup, or footage that needs review.
Those are workflow examples, not preset Resolve meanings. Resolve gives you a palette, but it doesn’t decide what “green” means in your project. Choose a scheme that makes sense to you and anyone else who will read the timeline.
| Situation | Better fit | Why |
|---|---|---|
| Every clip on a track serves the same editorial purpose | Track color | One track-level choice can identify the track’s role |
| One clip needs review among otherwise finished shots | Clip color | The label follows that individual timeline instance |
| A clip belongs to a special category that crosses tracks | Clip color | A clip-level label can distinguish it from neighboring clips |
| You want consistent organization across many clips on one track | Track color | The track provides the shared visual category |
| A particular clip needs to stand apart from its track | Clip color | Its individual color can override the track tint |
Avoid building a scheme that depends on subtle differences no one can see at the timeline size you use. If the tint is too faint or the clips are too small, increase track height or use another cue alongside color, such as clip names, flags, or markers. Color alone may not be enough when several categories overlap.
Clip colors are also different from node colors used to organize grades. Resolve users may use both systems in the same project. If your actual goal is a tidy node graph, follow the node-label workflow in the related guide to node labels and colors, not the timeline clip-color menu.
What should I do next if the timeline colors still look wrong?
If the timeline clip body remains unchanged after you assign a contrasting color, repeat the test on one clearly visible clip and confirm that you opened Clip Color for the clip rather than Change Track Color for the track. If that test works, apply the label only to the other timeline instances that need it.
Don’t reset the project or alter grading settings to fix a missing organizational tint. The evidence you need is small and local: one selected timeline clip, one chosen label, and a visible change on that clip body. If the image itself is wrong, treat that as a separate grade issue.
For a missing toolbar or hidden timeline control, the Edit page toolbar troubleshooting guide may help you restore the relevant workspace controls. Otherwise, make the one-clip test, confirm the tint, and get back to editing.
Frequently asked questions
- Why are DaVinci Resolve timeline clip colors not showing?
- The clip may not have a custom timeline color assigned, or you may be looking at its thumbnail, which can keep its image instead of showing the tint. Right-click the timeline clip, choose Clip Color, and assign a color.
- How do I show clip colors in DaVinci Resolve 21?
- On the Edit or Cut page, right-click the clip instance in the timeline and choose Clip Color, then pick one of the available colors. The label applies to that timeline instance, not automatically to every use of the same source clip.
- Why does my clip color show in the Color page but not the Edit page?
- The Color page’s thumbnail timeline can show a small color dot, while the Edit page shows a tint on the timeline clip body. Compare the same clip instance in the timeline instead of expecting both views to display the color in the same way.
- Are timeline clip colors the same as color grading in DaVinci Resolve?
- No. Clip colors are organizational labels that tint timeline clips. A color grade changes the image shown in the viewer. Assigning a clip color does not create or restore a grade.
Sources
- DaVinci Resolve 21.1 Reference Manual
- DaVinci Resolve 21 New Features Guide
- DaVinci Resolve 21 Reference Manual, Chapter 48: Marking and Finding Clips in the Timeline
- DaVinci Resolve 21 Reference Manual, Chapter 41: Creating and Working with Timelines
- DaVinci Resolve 21 Reference Manual, Chapter 40: Using the Edit Page
Put this guide to work with TryUncle.
Ask about the step you’re on. TryUncle sees your screen and points at the control you need, so you can keep learning in your own project.
Get TryUncle for Mac or WindowsKeep reading
Fixes · Jul 23, 2026 · 26 min
DaVinci Resolve Timeline Track Height Won't Change? The Fix
Fix a DaVinci Resolve track that won't change height: check Lock Track Height To, an open keyframe editor, Reset UI Layout, and per-project height saves.
Guides · Jul 16, 2026 · 29 min
DaVinci Resolve Node Labels and Colors for Organized Grading
Rename and color-code DaVinci Resolve nodes so a six-node grade still makes sense months later. Labels, colors, badges, and a system that actually holds up.
Fixes · Jul 20, 2026 · 23 min
DaVinci Resolve Edit Page Toolbar Missing? Here's the Fix
Your DaVinci Resolve Edit page toolbar disappeared? It's almost always a hidden panel or a UI layout glitch, not lost data. Every real cause and fix.