Articles / Comparisonsupdated for DaVinci Resolve 21.1 (September 2026)
DaVinci Resolve Timeline Viewer vs Source Viewer: Difference
Quick answer
In DaVinci Resolve, the Source Viewer previews a clip or a source timeline before you use it; the Timeline Viewer shows the frame at the playhead in your edited timeline. Use Source to find and mark material, and Timeline to judge your edit in sequence. Press Q to switch viewer focus.
I used to think the two viewers were duplicates. They aren’t. One helps you choose material; the other shows what your edit is doing with it.
As of October 2026, this explanation applies to DaVinci Resolve 21.1. The basic distinction remains simple, but viewer focus, single-viewer mode, and the newer source-timeline workflow can make the screen behave in ways that aren’t obvious at first.
What is the DaVinci Resolve timeline viewer source viewer difference?
The Source Viewer shows a selected source clip, or a timeline loaded as a source; the Timeline Viewer shows the frame at the playhead in the active edited timeline. In the usual Edit page layout, the Source Viewer is on the left and the Timeline Viewer is on the right.
Think of a source clip as an ingredient and the timeline as the assembled dish. The source viewer helps you decide which part of that ingredient to use. The timeline viewer tells you how the assembled sequence looks at a particular moment.
That’s the core difference. It’s not that one viewer is “before” and the other “after” in every possible sense. In the regular workflow, you preview a Media Pool clip in the Source Viewer, set In and Out points if needed, and make an edit. The Timeline Viewer then displays the result at the timeline playhead.
| Question | Source Viewer | Timeline Viewer |
|---|---|---|
| What does it show? | A source clip, or a timeline opened as a source | The active timeline at its current playhead position |
| Where does its content come from? | Usually the Media Pool selection or an opened source clip | The clips and edits in the active timeline |
| What does its playhead move through? | The source clip’s available duration | The edited timeline’s duration |
| What is it useful for? | Reviewing material, marking a range, and preparing an edit | Checking timing, order, continuity, and the edit’s visible result |
| What does Q do? | Switches viewer focus to Source | Switches viewer focus to Timeline |
| What might change the picture? | Source-level processing, such as color management or a source LUT | Timeline edits and applicable Color or Fusion processing |
Blackmagic Design’s Edit page guidance describes double-clicking a clip to load it into the Source Viewer, marking an In and Out range, and then dragging or editing the selection into a timeline. The same page describes the Timeline Viewer as the place where you can drop a clip and choose an edit type such as Insert, Overwrite, Replace, or Append at End. (Blackmagic Design’s Edit page guide)
The Source Viewer answers, “What can I use from this clip?” The Timeline Viewer answers, “What does my current edit show here?”
That division is why both viewers matter. If you select a Media Pool clip and see a shot on the left, that does not mean you’ve changed the edit. If you move the timeline playhead and see a different shot on the right, you’re looking at the assembled sequence, not necessarily at a new source selection.
What does each viewer show when I select a clip?
Selecting a clip in the Media Pool and selecting a clip on the timeline are different actions, even if the clips refer to the same media file. The first concerns source media; the second concerns a placed instance in the edit.
On the Edit page, double-clicking a Media Pool clip opens it in the Source Viewer. Blackmagic’s guide also describes marking the portion you want with In and Out points, using the I and O shortcuts. The marked range is a selection from the source, not an edit already placed in your timeline. (Blackmagic Design’s Edit page guide)
Now click a clip on the timeline. You’ve selected an instance in the edit. That instance sits at a particular position, on a particular track, with neighboring clips and timeline context around it. The Timeline Viewer continues to show the frame at the timeline playhead. Selecting the clip and moving the playhead are related, but they aren’t the same operation: the selection identifies an item; the playhead identifies a time.
This difference matters when a clip appears in several places. The original camera file can be loaded in the Source Viewer while one of its timeline instances is selected elsewhere. The source preview and timeline preview can then show different moments from the same media file. That isn’t a mismatch. Each viewer is following its own playhead and context.
Try this simple check:
- Double-click a clip in the Media Pool. Look for that source clip in the Source Viewer.
- Press I at a useful starting frame, then move to a later frame and press O.
- Click in the Timeline Viewer or press Q to give that viewer focus.
- Move the timeline playhead. The Timeline Viewer changes according to the edit at that position.
- Compare the two viewer titles and timecode displays. One refers to source media; the other refers to the timeline.
If the source and timeline happen to show the same image, don’t assume they’re showing the same thing. You may have the same source clip selected and parked at the same point in the edit. Change the source playhead without moving the timeline playhead. If the left view changes and the right view doesn’t, the separation becomes clear.
Why does the Timeline Viewer show a different frame than the Source Viewer?
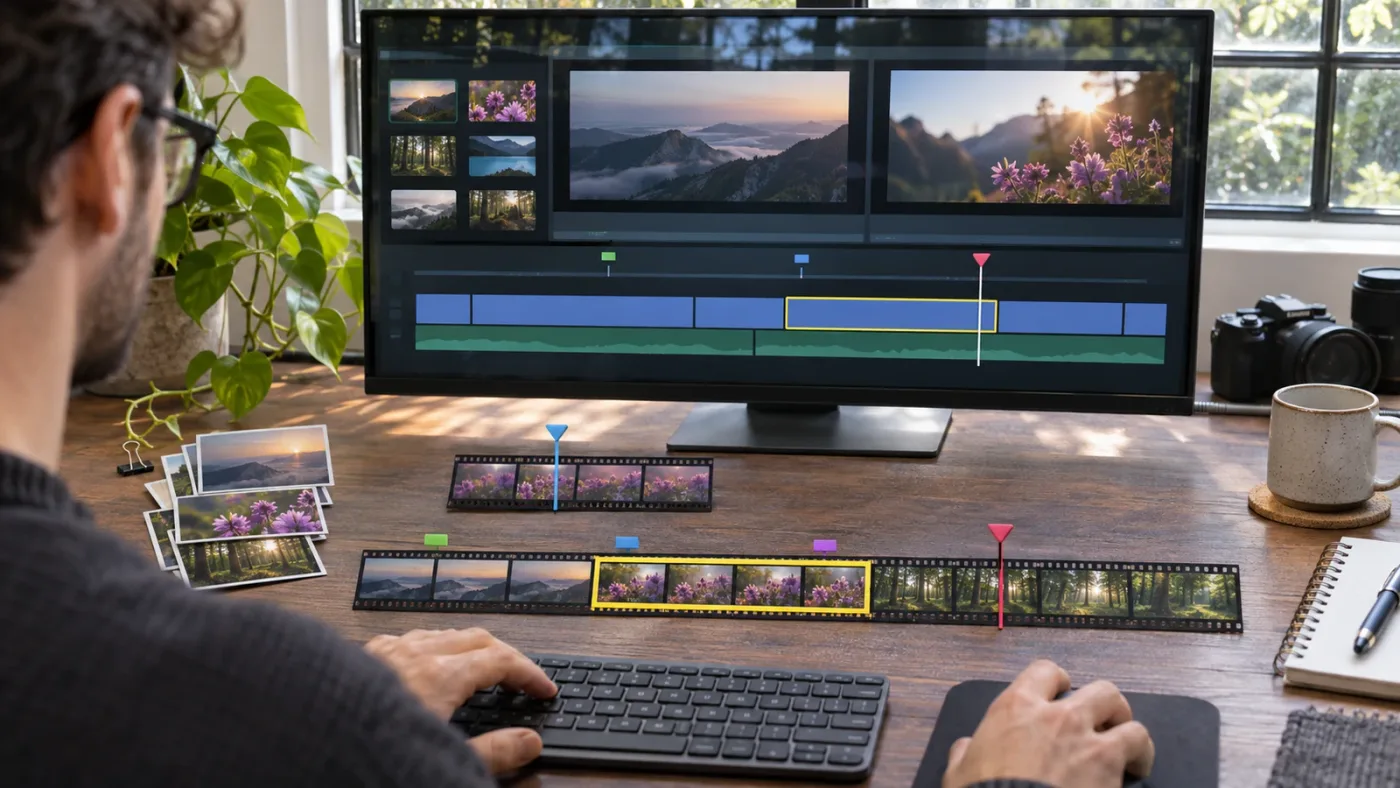
The viewers can show different frames because their playheads track different things: the Source Viewer moves through source media, while the Timeline Viewer moves through the active edit. A source clip may be longer than the part used on the timeline, or the edit may use a different portion of that clip.
Here’s a worked example. You have a camera clip that runs for several minutes, but the timeline uses only a short section from the middle. In the Source Viewer, you can move through the full source and find a useful moment. In the Timeline Viewer, you see only the portion used by the edit at the current timeline position. If the timeline playhead is outside that clip, the Timeline Viewer may show a different clip, a gap, a transition, or black.
The same logic explains why the two timecodes may differ. The source viewer’s timecode is tied to the source clip’s position. The timeline viewer’s timecode is tied to the playhead in the edited sequence. A source frame’s timecode doesn’t have to equal its position in the edit. The Edit page reference information describes distinct Source and Timeline timecode displays and notes that timeline timecode can be switched between source and record values in the viewer’s contextual options. You can find Blackmagic’s current reference manuals through its support center.
A useful test is to move only one playhead at a time. Click inside the Source Viewer, scrub through the clip, and watch the timeline. Then click the Timeline Viewer and move the timeline playhead. If both change together, check whether Gang Viewers is enabled in a viewer’s options. Gang Viewers can link the Source and Timeline Viewer playheads so that they move in unison, which Blackmagic documents as useful for matching timing between a source clip and a timeline event.
You can turn that observation into a quick diagnosis:
- If moving the source playhead changes only the source preview, that is ordinary independent viewer behavior.
- If the timeline preview changes when you scrub the source, check for Gang Viewers.
- If the timeline preview changes when you move the timeline playhead, that is expected.
- If you click a timeline clip but the Source Viewer still shows a different clip, check whether you opened that source intentionally or whether your expected selection action was only a single click.
A different frame in the two viewers usually means two different playheads, not a broken preview.
Why does the Source Viewer look different from the Timeline Viewer?
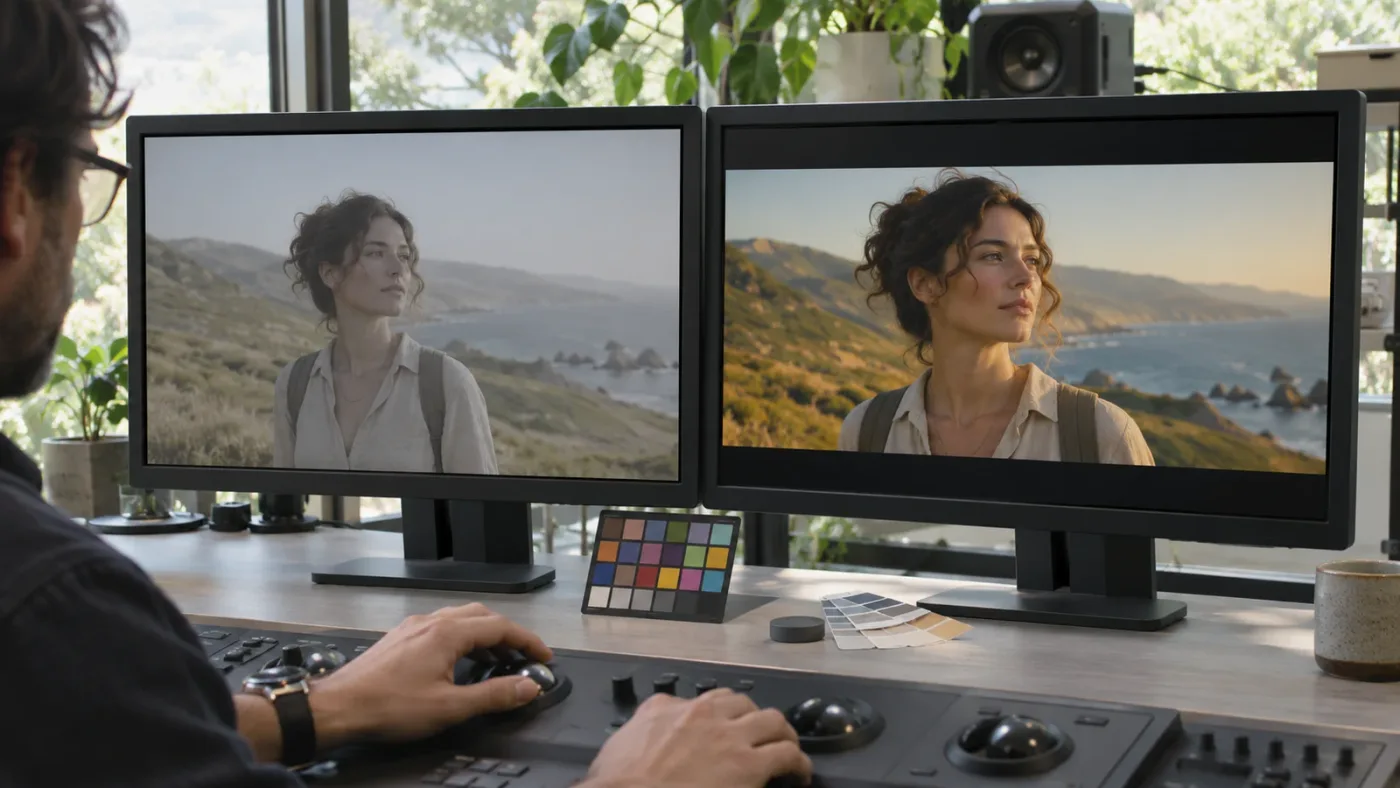
The Source Viewer shows a clip in its source context; the Timeline Viewer shows that clip as it appears in the edited sequence, where timeline-level processing may affect the image. Color management, source LUTs, grades, effects, transforms, and the surrounding edit can all matter.
Don’t treat “source” as a promise that the image has no processing at all. Resolve Color Management or a source-level LUT can affect how source media appears. The Timeline Viewer can show the result of timeline operations, including applicable Color and Fusion processing. The Resolve 21 reference manual explains that the Edit page’s Timeline Viewer shows how clips look with Color page and/or Fusion page operations applied.
Here’s a useful comparison. You load a log-encoded camera clip into the Source Viewer, then place it in a timeline and apply a grade. The timeline image can look different because it is showing the edit’s graded result. But the Source Viewer may also be affected by source-level color management or a LUT. The right question is not “Which viewer is raw?” It is “Which processing applies at this stage of my project?”
Other differences may come from the edit itself:
- A clip might be scaled, cropped, repositioned, or transformed on the timeline.
- A transition may blend the current clip with an adjacent clip.
- A title, Fusion composition, or upper video track may cover part of the image.
- A timeline may use a different output frame shape from the source media.
- The timeline playhead may be over a gap, a different shot, or a portion of the edit outside the source range you expected.
Resolve 21.1 introduced a source-viewer behavior worth knowing about: Blackmagic says the Source Viewer now preserves source media’s original aspect ratio independently of whether the timeline is vertical or horizontal. That can make the source and timeline images occupy different shapes in the viewer, even when they show related material. It doesn’t by itself mean the timeline has changed or the source is being cropped incorrectly. (DaVinci Resolve 21.1 announcement)
When you’re checking a visual difference, compare like with like:
- Confirm the source clip name and timeline name.
- Park each playhead on the same recognizable action, if that source moment exists in the edit.
- Check whether a grade, effect, transform, or transition applies in the timeline.
- Check source-level color management or LUT settings before calling the Source Viewer “unprocessed.”
- Consider the aspect ratio and framing of the source versus the project timeline.
- If your goal is final picture review, trust the Timeline Viewer for the edit’s current output, not the Source Viewer.
This method helps avoid a common mistake: changing color or sizing controls to “fix” a difference that comes from comparing the source clip to its edited use. First identify the processing stage. Then decide whether the difference is intended.
How do I use the Source Viewer to choose and mark a clip?
Use the Source Viewer to inspect a Media Pool clip, find the section you want, and set source In and Out points before making an edit. This is especially useful when you want a short moment from a longer recording rather than placing the entire recording into the timeline and trimming it afterward.
A practical example: you recorded an interview, and you want one sentence. Double-click the interview clip in the Media Pool. Scrub through the source until the speaker begins the sentence, set an In point with I, and set an Out point with O after the sentence ends. The viewer’s marked range helps define the portion you intend to use. You can then drag the marked selection to the timeline or use an edit command.
The Source Viewer can also help you spot audio cues. Blackmagic’s Edit page documentation describes optional source audio-waveform overlays, including a zoomed waveform and a full-clip waveform. A full-clip waveform can help you navigate using the waveform as a reference; a zoomed waveform can show a closer section around the playhead. (Blackmagic Design’s Edit page guide)
That doesn’t make a waveform a transcript. It’s a visual aid. Listen to the actual audio, especially when words, breaths, or room tone matter. A loud transient might be a door closing, a hand movement, a microphone bump, or something else entirely.
For a source-first workflow, think in this order:
- Find the clip in the Media Pool.
- Open it in the Source Viewer.
- Scrub, play, or use the waveform to locate a useful moment.
- Mark the range if you want a specific section.
- Choose how it should enter the edit: for example, Insert, Overwrite, or Append at End.
- Review the Timeline Viewer after the edit.
The last step matters. A correct source range can still create the wrong edit if the timeline playhead, destination track, or edit type isn’t what you intended. Source selection answers what material you’re supplying. The edit command determines how it interacts with the timeline.
How do I use the Timeline Viewer to judge an edit?
Use the Timeline Viewer to check the current sequence at the timeline playhead, including what appears in context with adjacent clips and timeline processing. It is the better viewer for judging whether an edit works as part of the whole sequence.
Suppose a line of dialogue seems fine in the Source Viewer. On the timeline, though, the preceding shot may cut away too early, a reaction may arrive late, or a title may cover a face. Those are edit-context questions. The Timeline Viewer shows the result at the active timeline position, so use it to check timing, continuity, framing, effects, and the relationship between neighboring shots.
A short sequence makes this distinction visible:
- The source clip contains a wide shot, a close-up, and a pause.
- You set an In and Out around the close-up.
- You place that selection after a line of dialogue in the timeline.
- The Source Viewer still refers to the source clip and its source position.
- The Timeline Viewer shows the close-up in the sequence, surrounded by the shots and audio already arranged on the timeline.
For an Insert edit, Blackmagic describes the new clip as entering at the playhead and pushing later material to make room. For an Overwrite edit, the new clip replaces material at the playhead. Those are different timeline outcomes from the same source selection. The viewer you use to choose source material doesn’t decide the edit behavior by itself. The selected edit type does. (Blackmagic Design’s Edit page guide)
After each edit, make a small review pass:
- Play across the edit point, not just the new clip.
- Look at the outgoing and incoming shots.
- Listen for a dialogue gap, abrupt ambience change, or audio overlap.
- Check whether a transition is involved.
- Confirm that the result appears on the intended track.
- If the image looks unexpected, check timeline transforms and effects before changing source settings.
The Timeline Viewer is the right place to judge whether a shot works in the sequence.
If you want to get more precise about the tool that performs the cut, the difference between the Edit and Cut pages is a separate question. This guide to DaVinci Resolve Cut page vs Edit page differences explains how those page workflows compare.
What does Q do, and how do I switch viewer focus?
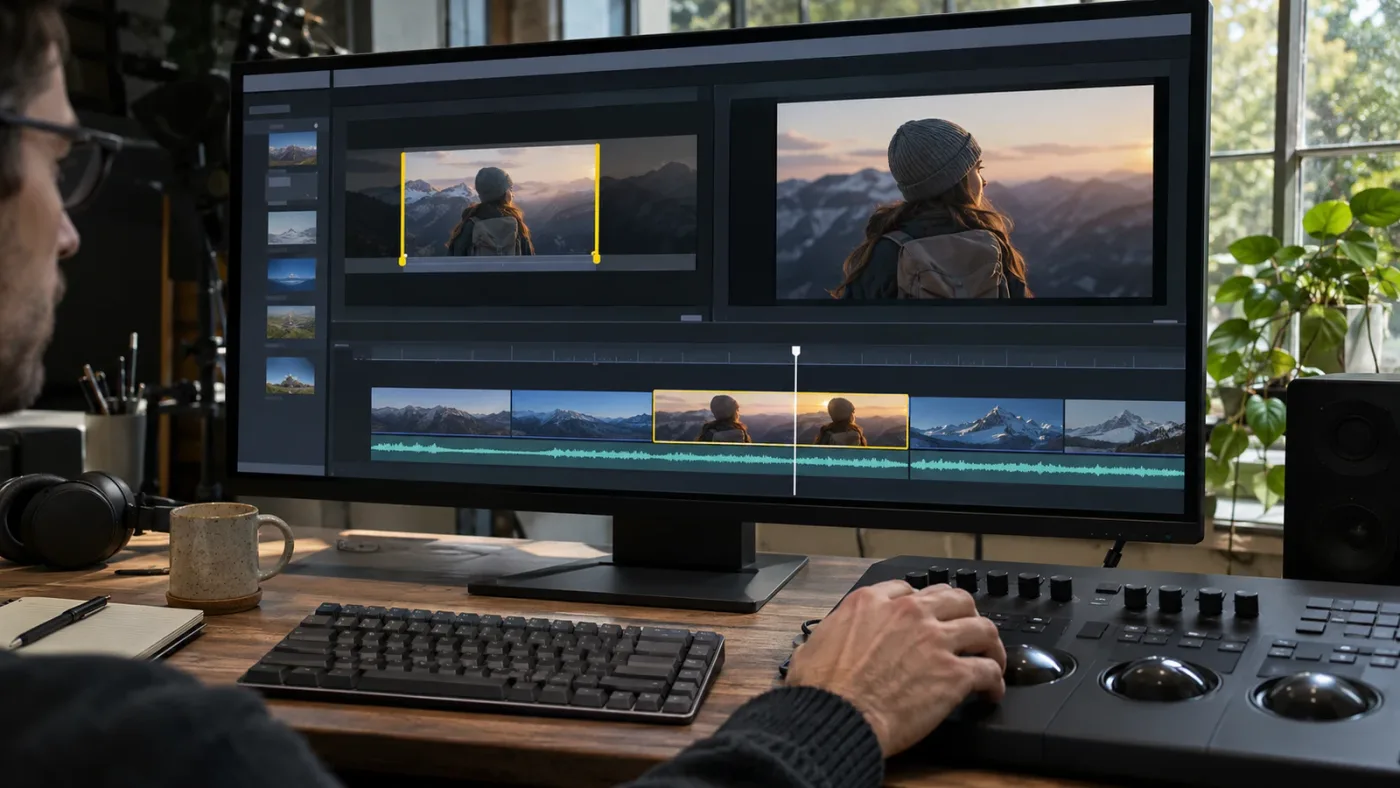
Press Q to switch focus between the Source Viewer and Timeline Viewer in the Edit page. Focus indicates which viewer receives relevant commands; it doesn’t mean the source media has been added to the timeline or that the edit itself has changed.
The orange viewer name is a useful focus clue in the manual’s Edit page description. It also helps explain why a keyboard command may act on a different panel than you expected: a viewer can be visible without being the active viewer. Click inside the viewer you intend to control, or press Q to move between the Source and Timeline viewers.
A sensible habit is to say the action out loud before pressing a shortcut:
- “I’m moving through the source.” Click the Source Viewer or press Q until it has focus.
- “I’m reviewing the edit.” Click the Timeline Viewer or press Q until it has focus.
- “I’m marking source material.” Confirm the source clip is loaded, then use I or O for the In and Out points.
- “I’m moving the timeline position.” Confirm the timeline viewer or timeline panel is active before navigating the edit.
The I and O shortcuts are documented on Blackmagic’s Edit page guide for setting In and Out points on the source clip. If your own keyboard mapping differs, check DaVinci Resolve’s Keyboard Customization, because users can change shortcuts. Don’t assume that a key behaves the same in every page, panel, or custom mapping.
If Q appears to do nothing, test the state instead of repeatedly pressing it. Click each visible viewer and watch the title or focus indication. Then test Q again. If only one viewer is visible, the screen may be in Single Viewer Mode; the visible content can change as focus changes, which can look like a viewer has vanished.
The DaVinci Resolve keyboard shortcuts guide covers a different selection behavior that can be confused with viewer focus: selection following the playhead. The two ideas are related to what you see, but they answer different questions. Focus is about which panel is active; selection is about which item Resolve has selected.
Why do I see one viewer instead of two?
DaVinci Resolve can show the Edit page in Single Viewer Mode, where one viewer contextually displays a selected source clip or the current timeline frame. You don’t need two visible viewer panels to switch between source material and the edit.
If your tutorial shows two viewers and your screen shows one, first check the Edit page layout. Blackmagic’s Resolve 21 reference manual describes Workspace > Single Viewer Mode as the option that hides the Source Viewer and uses a single viewer to display either a selected Source Clip or the current frame of the Timeline. The active selection determines what the single viewer shows. (DaVinci Resolve support and reference manuals)
This layout can be useful when screen space is tight or you want a larger preview. The trade-off is that you don’t see both images at once. If you’re learning, a dual-view layout can make the source-versus-timeline distinction easier to understand. If you already know which media you’re viewing and want more room for other panels, a single viewer may suit you better.
To orient yourself in a single viewer, check the displayed clip or timeline name and the context that selected it. A Media Pool selection points toward source media; a timeline playhead points toward the edited sequence. Press Q or click the appropriate viewer controls to change focus, then confirm the visible name and image before making an edit.
Don’t interpret one viewer as a missing-media problem by default. If the viewer shows the wrong content, the cause may be layout or focus. If it shows black, check whether the timeline playhead is over a gap or beyond the visible clip. If the viewer is absent entirely, check the workspace layout and page before assuming the project is damaged.
What is “Open in Timeline with Source Viewer” in Resolve 21?
In DaVinci Resolve 21, Open in Timeline with Source Viewer loads a timeline into the Source Viewer as a source timeline. This is different from loading an ordinary Media Pool clip, even though both appear in the source-viewer area.
This workflow is useful when you want to review or reuse material already arranged in another timeline. For example, you might have a selects timeline and a separate assembly timeline. The source timeline lets you browse the selects and bring chosen sections into the active edit rather than opening and changing the selects timeline as if it were the destination.
Blackmagic introduced the dual-timeline workflow in the Resolve 20 New Features Guide. Its instructions describe enabling Display Stacked Timelines, then opening a timeline from the Media Pool with Open in Timeline with Source Viewer. The guide says the source timeline is read-only, while standard cut and copy operations and dragging from the source timeline into the active timeline are supported. Resolve 21.1 remains the current version covered here, so the workflow’s core distinction is still useful in 21. (Blackmagic Design’s Resolve 20 New Features Guide)
A compact workflow:
- In the Edit page, open the Timeline View Options menu.
- Enable Display Stacked Timelines if you want both timeline tabs visible.
- In the Media Pool, right-click the timeline you want to use as a source.
- Choose Open in Timeline with Source Viewer.
- Confirm which timeline is the source and which is the active destination.
- Copy or drag material from the source timeline into the destination timeline.
The read-only part is important. Don’t treat the source timeline as a second writable destination. If you need to change its structure, switch to that timeline as the active timeline or open it in the appropriate editing context. If your goal is simply to copy a section into another edit, the source timeline can be a useful reference and selection surface.
A regular clip can also be opened in this timeline-style source workflow, which may help with long recordings. It changes how you browse and select the material; it doesn’t make the original media file itself a writable timeline.
A source timeline is a read-only reference for selecting and copying material, not a second active edit.
When should I choose the Source Viewer or Timeline Viewer?
Choose the Source Viewer when you’re inspecting media before or apart from its use in the current sequence. Choose the Timeline Viewer when you’re checking what the active edit shows at its playhead.
| Editing task | Better viewer | Why |
|---|---|---|
| Find a useful moment in a long recording | Source Viewer | It lets you move through the source clip independently of the edit |
| Set source In and Out points | Source Viewer | The marks define the range you intend to use |
| Check which clip appears at a timeline position | Timeline Viewer | It follows the playhead in the active sequence |
| Review a cut or transition | Timeline Viewer | It shows the edit in context with neighboring material |
| Compare a selects timeline with an assembly | Source Viewer for the source timeline, Timeline Viewer for the destination | Each viewer represents a different timeline role |
| Check a source waveform | Source Viewer | The Edit page offers source waveform display options |
| Confirm a grade or Fusion result in the edit | Timeline Viewer | It shows the timeline’s processed result |
| Save space on a small display | Single Viewer Mode | One viewer changes context rather than showing both at once |
A good rule is to choose based on the decision you’re making, not on which viewer looks more important. If you’re deciding which moment belongs in the edit, start with the source. If you’re deciding whether the edit works, review the timeline.
You can also use both in sequence. Find the moment in the Source Viewer, make the edit, then watch the Timeline Viewer across the edit point. That small loop catches more mistakes than watching only the incoming shot.
There are times when either viewer can help. To inspect a source clip’s framing, use the Source Viewer. To judge the crop as it appears in the project, check the Timeline Viewer. To listen to a source recording, use the Source Viewer. To check whether audio and picture feel aligned in the sequence, review the timeline.
Choose Source Viewer if
- You’re still looking through a Media Pool clip.
- You need to mark or change a source range.
- You want to listen to a source recording or use its waveform as a navigation aid.
- You’re browsing a second timeline as a read-only source.
Choose Timeline Viewer if
- You’re checking the current frame in the edit.
- You need to judge a cut, transition, overlay, or sequence-level effect.
- You’re checking where a source clip appears in the final arrangement.
- You want to review the edit’s current timeline processing.
That’s the practical verdict. Use the source viewer to find material; use the timeline viewer to evaluate the edit. If the two pictures differ, compare their names, playheads, and processing before changing settings.
What if I’m still confused about which viewer is active?
Check the viewer title, focus indicator, and playhead before changing an edit. Those clues usually tell you whether you’re looking at a source clip, a source timeline, or the active timeline.
Work through these checks in order:
- Read the name above the image. A clip name points to source media; a timeline name points to a timeline view.
- Check what you clicked last. A Media Pool clip selection and a timeline clip selection refer to different contexts.
- Click the viewer you mean to control. Don’t rely on the image alone to tell you which viewer has focus.
- Press Q once. Look for the active viewer indication rather than pressing it repeatedly.
- Move one playhead. Scrub the source, then separately move the timeline playhead. Watch which image changes.
- Check the viewer mode. If there’s one viewer, see whether Single Viewer Mode is active.
- Check Gang Viewers. If source and timeline movement seems linked, look for that option in the viewer menus.
- Check the edit context. A gap, transition, upper video track, grade, or Fusion effect can explain an unexpected timeline image.
- Check the version when following a tutorial. Resolve 21.1 added changes to source-viewer aspect-ratio behavior and multicam viewing, so a tutorial from an earlier version may show a slightly different picture or control. (DaVinci Resolve 21.1 announcement)
If selection seems to jump while playback moves, you may be dealing with Selection Follows Playhead, not a source-versus-timeline viewer problem. That setting changes which clip is selected as the playhead moves. The guide to DaVinci Resolve Selection Follows Playhead explains that behavior separately.
For more help identifying source selection and track targeting, see DaVinci Resolve Source Auto Select not working. Viewer choice and source auto select are not the same control, but both can affect where you think an edit will go. Confirm the active viewer, selected material, and destination tracks before making a consequential edit.
One beginner-friendly explanation comes from editor and educator Casey Faris, who compares source media to ingredients and the timeline result to tasting the finished dish. In a beginner tutorial, he describes the Timeline Viewer as “more like tasting the dish, I guess.” (Casey Faris’s DaVinci Resolve tutorial) The analogy is casual, but it gets the distinction right: previewing an ingredient and judging the assembled result are different jobs.
How can on-screen guidance help when the controls still don’t match?
If you know whether you need the source or the edit but can’t find the control on your screen, a visual pointer can be more useful than another generic tutorial. Resolve’s layout, viewer mode, and version can change what you see.
TryUncle is the on-screen assistant for DaVinci Resolve on Mac and Windows — ask in plain words and Uncle points at the exact control on your screen.
That can help when the label you’re looking for is hidden in a menu or your workspace differs from a tutorial. You still make the choice and perform the edit; the viewer distinction remains the same.
Which viewer should I use next?
Use the Source Viewer to choose and mark a piece of media, then use the Timeline Viewer to see how that piece works in your sequence. If you remember only one difference, remember that the source playhead follows source material and the timeline playhead follows the edit.
For your next cut, try this: open a Media Pool clip, mark a short range, add it to the timeline, and play across the edit in the Timeline Viewer. If the two previews don’t match, check which clip or timeline each viewer names, where each playhead sits, and whether source or timeline processing explains the image.
Frequently asked questions
- What is the difference between the Source Viewer and Timeline Viewer in DaVinci Resolve?
- The Source Viewer previews a clip from the Media Pool, or a source timeline, so you can inspect and mark material. The Timeline Viewer shows the frame at the current playhead position in the edited timeline, including the clips in sequence.
- Why do I see two viewers in DaVinci Resolve?
- The Edit page is showing its Source Viewer and Timeline Viewer together. The left viewer usually previews source media; the right viewer usually shows your timeline. Choose Workspace > Single Viewer Mode if you want one viewer that changes according to your selection.
- How do I switch between the source viewer and timeline viewer?
- Press Q to switch focus between the Source Viewer and Timeline Viewer. In a single-viewer layout, Q switches which content is shown. You can also click a viewer to give it focus.
- Why does the Source Viewer look different from the Timeline Viewer?
- The Source Viewer shows source media before timeline-level editing, while the Timeline Viewer shows the clip as it appears in the edit, with applicable timeline effects and grading. Source-level color management or LUTs can also affect the Source Viewer, so the two views are not always a simple unprocessed-versus-processed comparison.
- Can I use a timeline in the Source Viewer in DaVinci Resolve 21?
- Yes. In the Edit page, open a timeline from the Media Pool with Open in Timeline with Source Viewer. It appears as a read-only source timeline; you can copy or drag material from it into the active timeline.
Sources
Put this guide to work with TryUncle.
Ask about the step you’re on. TryUncle sees your screen and points at the control you need, so you can keep learning in your own project.
Get TryUncle for Mac or WindowsKeep reading
Comparisons · Jul 10, 2026 · 28 min
DaVinci Resolve Cut Page vs Edit Page: The Real Differences
A full side-by-side of DaVinci Resolve's Cut and Edit pages: timeline, trimming, multicam, and hardware differences, plus which one to use.
Fixes · Sep 29, 2026 · 37 min
DaVinci Resolve Source Auto Select Not Working? Fix It
Fix DaVinci Resolve source auto select not working by separating blue source patching, red track destinations, Auto Track Selector, and Sync Lock.
Fixes · Sep 29, 2026 · 18 min
DaVinci Resolve Selection Follows Playhead: Fix It in 21
Make DaVinci Resolve selection follows playhead work in Resolve 21.1. Fix the menu, wrong-track selection, audio behavior, and stacked clips.