Articles / Guidesupdated for DaVinci Resolve 21.0.3 (July 2026)
Fujifilm X100VI Film Simulations in DaVinci Resolve Guide
Quick answer
Fujifilm bakes X100VI film simulations like Reala Ace and Classic Neg into the file, so DaVinci Resolve cannot reopen them as a color profile. Shoot F-Log2 instead, apply a Color Space Transform (Rec.2020 in, F-Log2 gamma, ISO 1000-12800), then layer Fujifilm's free official Film Simulation LUTs on a separate node to match the in-camera look.
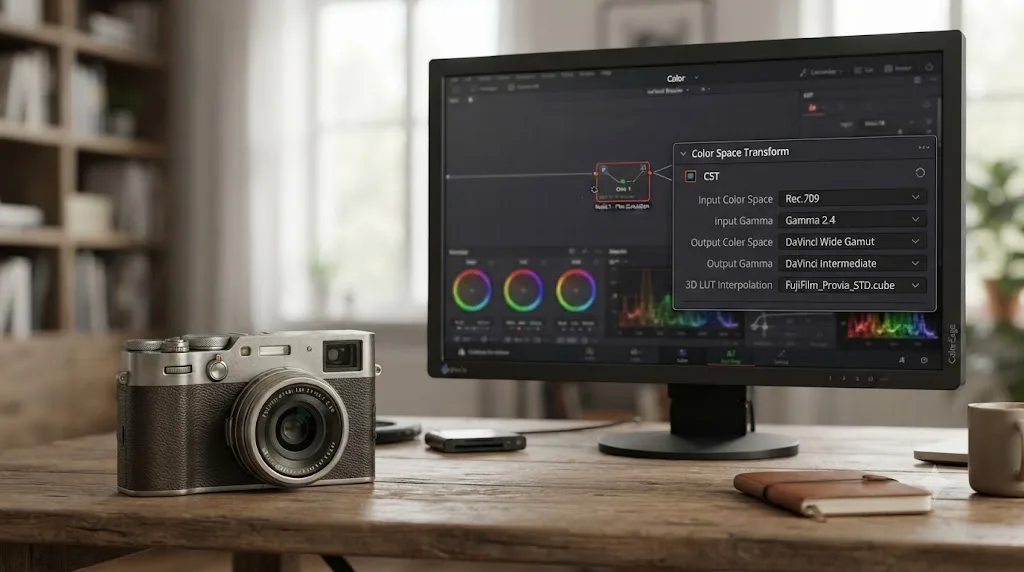
You shot F-Log2 on your X100VI because someone told you to. Now it's grey, flat, and nothing like the Reala Ace or Classic Neg photos sitting in the same memory card folder, and DaVinci Resolve's Color Space Transform dropdown doesn't have an entry for either one. That's not a bug in Resolve. Film simulations are a JPEG-style render, baked into the pixels the moment the shutter fires, and a log curve is the opposite of that on purpose.
We've spent seven-plus years cutting commercial video in DaVinci Resolve, including work for Fortune 500 clients, and matching an in-camera color science to a proper grade is one of the recurring questions in our 100,000+ member editing community, more so since the X100VI became the camera everyone was waiting months to actually receive. As of August 2026, here's exactly which Fujifilm gamma curves the X100VI records, what DaVinci Resolve 21 can and can't do with them natively, where Fujifilm's own free LUTs fit into the chain, and the node recipe for getting a flat F-Log2 clip back to something that looks like the film simulation you actually wanted.
Can DaVinci Resolve read a Fujifilm film simulation the way it reads a log profile?
No. A film simulation is rendered into the image at capture, not tagged as metadata Resolve can reverse the way it reverses a log curve.
Fujifilm's Color Space Transform guidance is specific about what CST actually converts: "Input Color Space (F-Log/F-Log2), Input Gamma (F-Log Gamma/F-Log2 Gamma), Output Color Space (Rec.709, Rec.2020, DaVinci Wide Gamut, ACES, etc), Output Gamma (Gamma 2.4, ST.2084, HLG, LogC, etc)," per Fujifilm's own support article on grading F-Log footage with CSTs and LUTs. Notice what's missing from that list. There's no Input Gamma entry for Reala Ace, Classic Neg, Nostalgic Neg, or any of the X100VI's other eighteen film simulations, because a film simulation isn't a gamma curve at all. It's a full color and tone render applied in-camera, the same category of operation as the final Rec.709 conversion at the end of this guide's node chain, just done by the camera instead of by you.
The X100VI ships with 20 Film Simulation modes, per Fujifilm's own global product page: Provia/Standard, Astia/Soft, Classic Chrome, Pro Neg. Hi, Pro Neg. Std, Classic Neg., Nostalgic Neg., Eterna/Cinema, Eterna Bleach Bypass, Velvia/Vivid, and Reala Ace as eleven distinct color or tone recipes, plus Acros and standard Black and White each split into four filter variants (none, yellow, red, green), plus Sepia, rounding out to twenty. Fujifilm's own description of the newest one is direct: Reala Ace is "based on REALA ACE, this 20th Film Simulation combines faithful color reproduction with hard tonality, making it suitable for all subjects and situations," per the same product page. Every one of those twenty is a finished look, not a source format, and none of them appears anywhere in Resolve's Color Space Transform dropdown.
| What you shot | Reversible in DaVinci Resolve? | Why |
|---|---|---|
| F-Log2 | Yes | Flat log curve, native Input Gamma preset in Resolve since version 19 |
| F-Log | Yes | Flat log curve, native Input Gamma preset in Resolve |
| Any Film Simulation (Reala Ace, Classic Neg, Provia, etc.) | No | Baked into pixels at capture, not a convertible gamma curve |
| HLG | Different pipeline, not reversible the same way | Built for direct HDR delivery, not a corrective intermediate |
A film simulation shot straight, with no F-Log or F-Log2 underneath it, is functionally the same as a clip Resolve already delivered to Rec.709, which is why there's no Input Gamma preset waiting to undo it. If you want the option to grade or reshape the look later, the log curve has to be there from the moment you press record, because nothing downstream can add back detail a baked-in render already threw away.
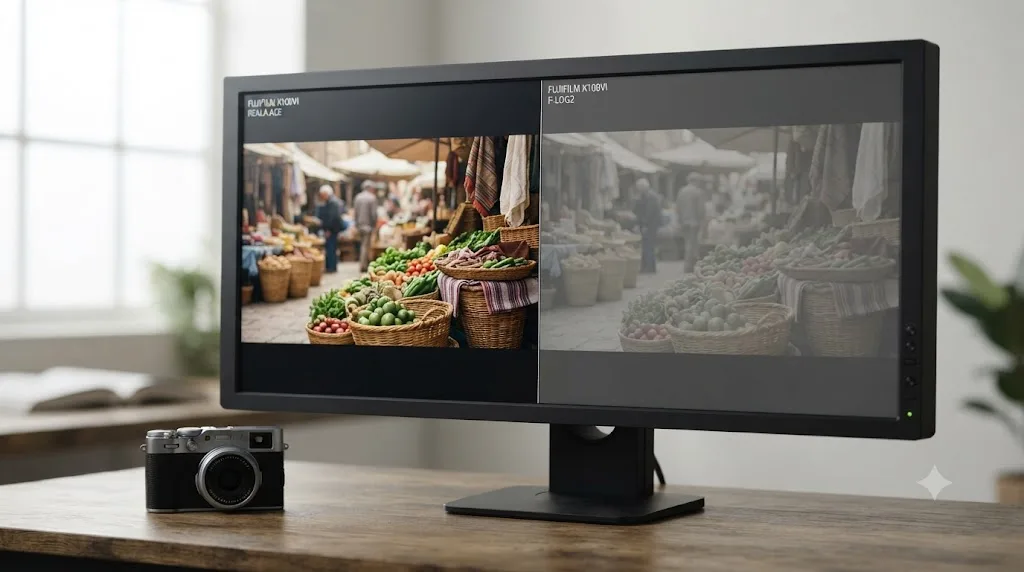
Should you shoot F-Log2, F-Log, or a film simulation if you plan to grade in DaVinci Resolve?
Shoot F-Log2 if grading is the plan. It holds the most highlight and shadow detail of the X100VI's video-capable gammas, and it's the only starting point that leaves every film simulation still on the table as a creative option afterward.
The X100VI's own manual restricts F-Log2 sensitivity to "values between ISO 1000 and ISO 12800," and F-Log to "values between ISO 500 and ISO 12800," per Fujifilm's official online manual for the X100VI's Movie Setting menu. Standard, non-log recording, including any of the twenty film simulations shot directly, has no such restriction and starts from the camera's native ISO 125, per Fujifilm's own X100VI product page, which also notes ISO 125 became the standard base sensitivity on this body rather than an extended-only setting the way it was on the X100V.
That ISO gap matters on a small-sensor, fixed-lens camera more than it might on a cinema body with a deeper lens lineup. F-Log2's floor of ISO 1000 forces you to either add an ND filter (the X100VI has a built-in 4-stop internal ND, per the same spec sheet) or accept a shallower depth of field than the shot might call for in bright daylight. A film simulation shot straight has no such floor and can sit at base ISO in full sun with no filtering at all. That convenience costs you every bit of the grading flexibility this guide is built around.
| Approach | ISO floor | Grading flexibility | Best for |
|---|---|---|---|
| F-Log2 | 1000 | Full, including applying any Film Simulation LUT afterward | Anything you plan to color correct or match to a specific look |
| F-Log | 500 | Full, slightly less highlight headroom than F-Log2 | Same use case, when the ISO 1000 floor is impractical |
| Film simulation, shot direct | 125 | None, the look is final at capture | Run-and-gun clips with zero post-production time budgeted |
| HLG | Not log, built for HDR | Limited, built to degrade gracefully on SDR rather than invite a full regrade | HDR delivery targets specifically |
Shooting F-Log2 on the X100VI keeps every film simulation available as a Resolve node later, while shooting the film simulation directly locks that decision in at the moment you pressed the shutter. If there's any chance you'll want to compare two looks side by side in post, or hand the footage to someone else for a grade, the log curve is the only choice that keeps that door open.
Does the X100VI support F-Log2 C the way the X-H2S does?
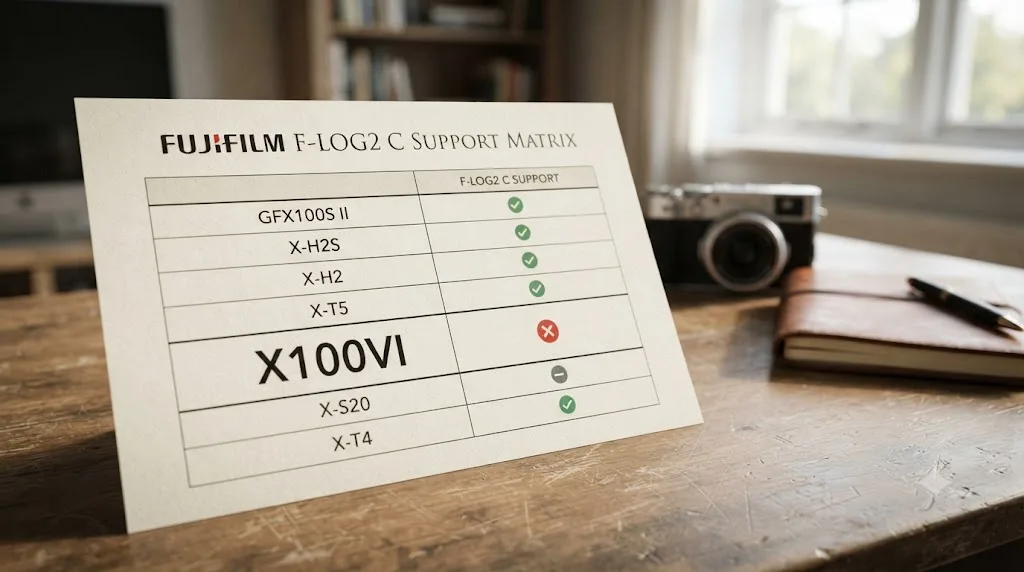
No. F-Log2 C, Fujifilm's wider-gamut log curve, is limited to three specific bodies, and the X100VI isn't one of them.
Fujifilm announced F-Log2 C at an X Summit on October 14, 2024, and the update was explicit about which cameras got it: "given the popularity of the GFX 100II, X-H2, and X-H2S in video production, FUJIFILM is also adding two new features for video: F-Log2 C, which offers a wide color gamut," per CineD's coverage of that announcement. The GFX100 II, X-H2, and X-H2S all use a different sensor and processor pairing than the X100VI's fixed-lens body, and Fujifilm's own list stops at those three. Our full guide to Fujifilm X-H2S F-Log2 settings in DaVinci Resolve covers that camera's F-Log2 C workflow in detail, and none of it applies to X100VI footage.
For X100VI shooters, this simplifies the Color Space Transform decision rather than complicating it. There's exactly one gamut to worry about: Rec.2020, shared by both standard F-Log and F-Log2 on this body. You don't need to check a firmware version for a feature the camera was never built to have, and you don't need a separate F-Gamut C Input Color Space preset the way an X-H2S shooter does.
| Gamma | Gamut | Available on X100VI? |
|---|---|---|
| F-Log | Rec.2020 | Yes |
| F-Log2 | Rec.2020 | Yes |
| F-Log2 C | F-Gamut C (proprietary, wider) | No, limited to GFX100 II, X-H2, X-H2S |
The X100VI never shipped with F-Log2 C, so every X100VI clip you'll ever grade uses the same Rec.2020 gamut in Resolve's Color Space Transform, regardless of whether it's F-Log or F-Log2. That's one less variable to check than an X-H2S shooter has to manage, and it means the X100VI's Color Space Transform setup, covered next, never changes based on firmware version.
What Color Space Transform settings does X100VI F-Log2 footage need?
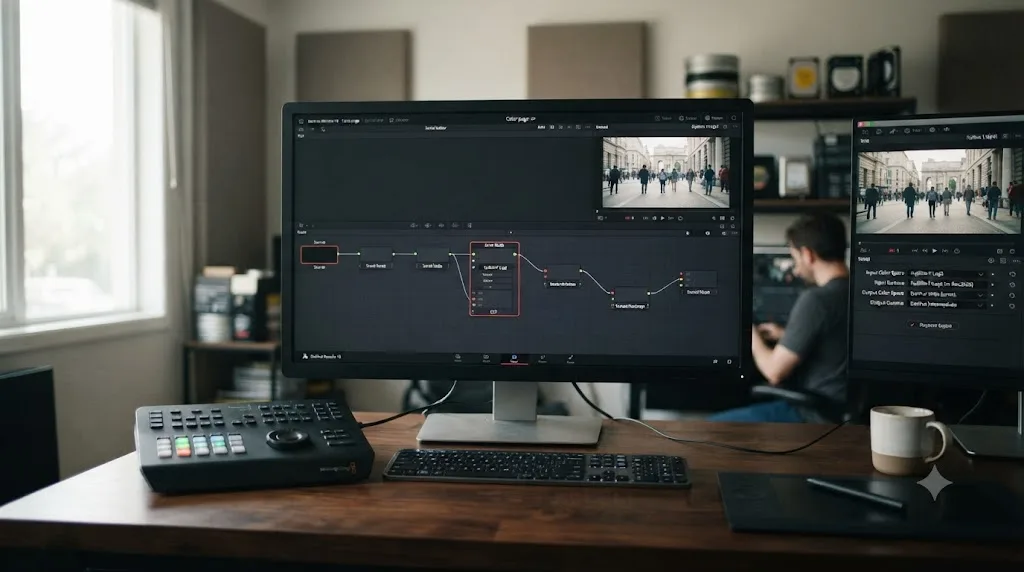
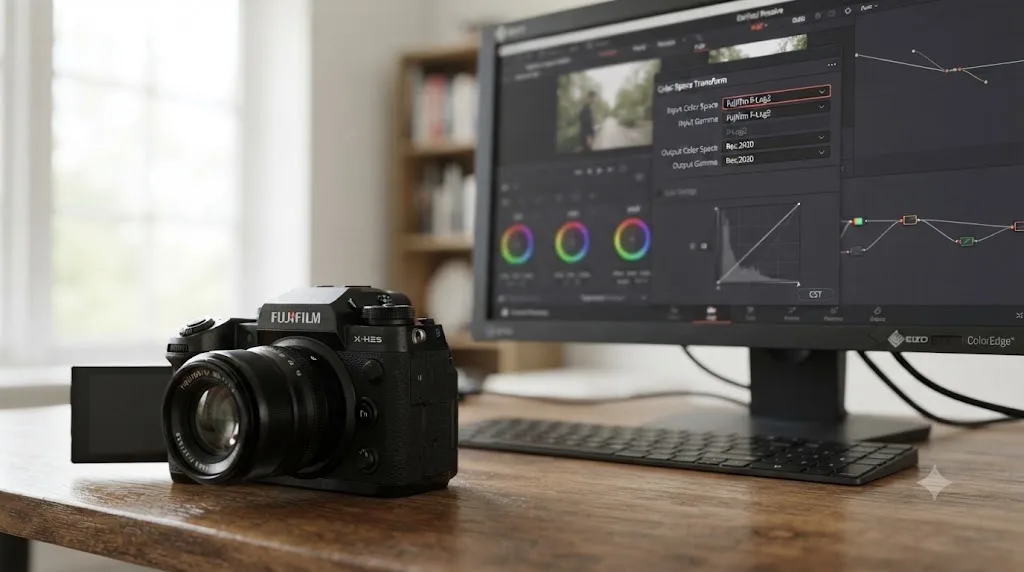
Add a Color Space Transform to your first node, set Input Color Space to Rec.2020 and Input Gamma to Fujifilm F-Log2, and set the output to DaVinci Wide Gamut and DaVinci Intermediate. That single node is the entire mechanism standard X100VI F-Log2 footage needs before it's ready to grade or take a Film Simulation LUT.
This is the same core pattern Fujifilm documents for every F-Log2 camera, X100VI included: "Input Color Space (F-Log/F-Log2), Input Gamma (F-Log Gamma/F-Log2 Gamma), Output Color Space (Rec.709, Rec.2020, DaVinci Wide Gamut, ACES, etc), Output Gamma (Gamma 2.4, ST.2084, HLG, LogC, etc)," per Fujifilm's CST and LUT support article. On your last node before delivery, reverse it: Input Color Space DaVinci Wide Gamut, Input Gamma DaVinci Intermediate, Output Color Space Rec.709, Output Gamma Rec.709 for standard SDR output.
| Node | Input Color Space | Input Gamma | Output Color Space | Output Gamma |
|---|---|---|---|---|
| First (in) | Rec.2020 | Fujifilm F-Log2 | DaVinci Wide Gamut | DaVinci Intermediate |
| Last (out) | DaVinci Wide Gamut | DaVinci Intermediate | Rec.709 | Rec.709 |
For standard F-Log rather than F-Log2, the only change is the Input Gamma field, swapped to Fujifilm F-Log; the gamut stays Rec.2020 either way, since both curves share it on this body.
Resolve Color Management works too, if your project is entirely X100VI footage shot in one gamma. Tag each clip's Input Color Space and Input Gamma through Clip Attributes, set the project's Timeline color space to DaVinci Wide Gamut/Intermediate, and Resolve applies the conversion automatically without a manual CST node on every clip. The moment you're mixing F-Log2 with a baked-in film simulation, or cutting X100VI footage against a different camera brand, a manual Color Space Transform per clip type gives you the control that automatic tagging can't. Our guide to color matching different cameras in DaVinci Resolve covers that cross-camera step once each source lands correctly in DaVinci Wide Gamut.
Rec.2020 in, Fujifilm F-Log2 gamma, DaVinci Wide Gamut and DaVinci Intermediate out, is the entire Color Space Transform an X100VI shooter needs to memorize, since the camera never introduces the F-Gamut C variable that complicates the equivalent setup on an X-H2S. Get that one node right and the rest of this guide, the LUT, the manual recreation, the troubleshooting, all sits on top of it cleanly.
Should you grade X100VI footage in ACES instead of DaVinci Wide Gamut?
Stick with DaVinci Wide Gamut for anything covered in this guide. Fujifilm isn't a registered member of the Academy Color Encoding System, so Resolve's built-in ACES Input Device Transform list, the same dropdown that already covers Sony, Arri, Red, and Panasonic cameras out of the box, has no entry for F-Log or F-Log2 at all.
"Fujifilm is not yet a member of the ACES project, so their camera profiles are not included in the standard and are not on the list of supported cameras," per Dehancer's own article on building a Fuji F-Log ACES IDT for DaVinci Resolve. Colorists have raised the same gap directly on the ACEScentral community forum, in a thread titled "Fujifilm F-Log in Resolve without an IDT", confirming this isn't a one-off oversight, it's a standing hole in Resolve's official ACES support that Fujifilm shooters run into repeatedly.
Because Resolve ships no official Fujifilm ACES IDT, getting F-Log2 footage into an ACES pipeline means installing a third-party Technical Transform, a DCTL such as the F-Log Transform, and using it as a stand-in Input Device Transform, rather than picking Fujifilm from a manufacturer list the way an Arri or Sony shooter can. That's an extra plugin install and an extra point of trust in a file you didn't get from Blackmagic or Fujifilm directly.
| Pipeline | Fujifilm support | Setup effort | Best for |
|---|---|---|---|
| DaVinci Wide Gamut (this guide's default) | Native, built into Resolve's CST dropdown | One node, no plugin | Single-camera X100VI projects, SDR or HDR delivery |
| ACES, via third-party DCTL IDT | Unofficial, requires a downloaded plugin | Install a DCTL, verify it against a reference | Multi-vendor VFX pipelines or a client contract that mandates ACES |
There's a second reason to default to DaVinci Wide Gamut specifically for this guide's workflow: Fujifilm's own official Film Simulation LUTs were built and documented against the Rec.709/DaVinci Wide Gamut chain this guide walks through, not against ACES AP0 or AP1 working space. Drop one onto a clip that's already been converted into ACEScct and you get the same washed-out, contrast-crushed mismatch described in the troubleshooting section below, because the LUT is expecting a different intermediate space than the one it landed in. If a delivery genuinely requires ACES, for a VFX-heavy project or a spec mandate from a client, the safer order is to convert back to Rec.709 with a CST, apply the Fujifilm LUT there, then reintroduce the ACES pipeline downstream for the rest of the finishing chain, rather than fighting the LUT to behave correctly in a color space Fujifilm never built it for.
Fujifilm's official Film Simulation LUTs were built for DaVinci Wide Gamut and Rec.709, not for ACES AP0 or AP1, so applying one directly inside an ACES timeline produces the same mismatch as skipping the Color Space Transform altogether. For a single-camera X100VI project delivering SDR or HDR without a VFX pipeline forcing the issue, DaVinci Wide Gamut isn't just the simpler choice, it's the color space Fujifilm's own LUTs actually assume.
Does Fujifilm make official LUTs for the X100VI's film simulations?
Yes, for ten of the twenty. Fujifilm released a free Film Simulation LUT pack in mid-November 2025 that covers the X100VI directly, and it's the fastest legitimate route from a flat F-Log2 clip to something close to the in-camera look.
The pack includes ten Film Simulations, "Eterna, Provia, Velvia, Astia, Classic Chrome, Reala Ace, Pro Neg.Std, Classic Neg., Eterna Bleach Bypass, and Acros," plus separate neutral and natural rendering options, first reported without a formal press release, per PetaPixel's coverage of the release. That same coverage is specific about which gamma curve the pack targets: "these 3D LUTs work with F-Log2 and F-Log2C," language that describes the current pack as built for F-Log2 and its wide-gamut sibling, not standard F-Log. It's a free download from Fujifilm's own LUT download page, which lists the X100VI under its Fixed Lens camera category, confirming the pack applies to this body specifically.
Ten out of twenty leaves a gap, and it's worth knowing exactly which looks fall on which side of it before you plan a shoot around one. Missing from the official pack: Nostalgic Neg., Pro Neg. Hi, standard Provia if you wanted the exact "Standard" tone curve distinct from Reala Ace, Acros's colored-filter variants, standard Black and White and its filters, and Sepia. If your creative plan depends on matching Nostalgic Neg. specifically, and it's one of the more distinctive looks on this camera, no official LUT exists yet, and you're working from the manual recreation approach covered further down.
| Film simulation | Official LUT available? |
|---|---|
| Provia/Standard | Partial (covered by Reala Ace's similar tonality, not a dedicated Provia LUT) |
| Velvia/Vivid | Yes |
| Astia/Soft | Yes |
| Classic Chrome | Yes |
| Pro Neg. Std | Yes |
| Pro Neg. Hi | No |
| Classic Neg. | Yes |
| Nostalgic Neg. | No |
| Eterna/Cinema | Yes |
| Eterna Bleach Bypass | Yes |
| Reala Ace | Yes |
| Acros (all filter variants) | Yes (standard Acros only) |
| Black and White / Sepia | No |
Fujifilm's own guidance is specific about sequencing: build the Color Space Transform first, correct white balance and exposure, then apply the Film Simulation LUT as a creative layer on top, per the company's CST and LUT support article. Skipping the correction step and applying the LUT directly to an unbalanced clip locks in whatever exposure or white balance error the shot already had.
Fujifilm's free Film Simulation LUT pack covers half of the X100VI's twenty in-camera looks, which makes it the fastest route to a match for Reala Ace, Classic Neg, or Classic Chrome, and a dead end if the shot you're chasing is Nostalgic Neg. or Pro Neg. Hi. Check the table above before committing a shoot day to a look you can't actually reproduce with an official file yet.
How do you install and apply a Fujifilm Film Simulation LUT in DaVinci Resolve?
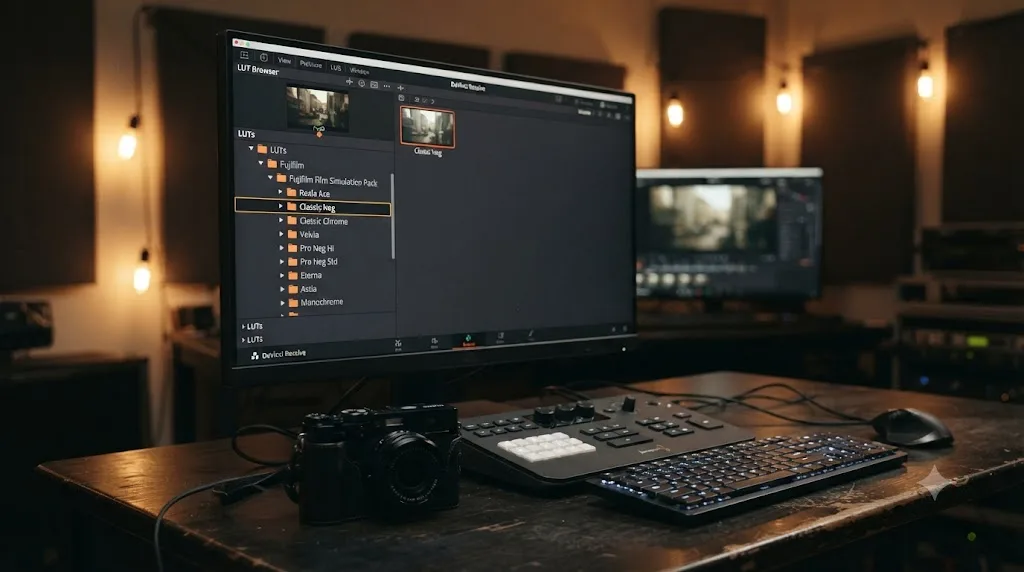
Drop the downloaded .cube file into Resolve's LUT folder, click Update Lists in the color page, then apply it on its own node after your primary correction, not directly on the raw log clip.
Resolve's LUT folder location depends on your operating system: C:\ProgramData\Blackmagic Design\DaVinci Resolve\Support\LUT on Windows, or Library/Application Support/Blackmagic Design/DaVinci Resolve/LUT/ on Mac. Create a Fujifilm subfolder inside it, unzip the downloaded LUT pack there, then open the color page, find the LUT panel, right-click, and choose Update Lists so Resolve picks up the new files without a restart. See our guide to installing LUTs in DaVinci Resolve for the full folder-by-folder walkthrough if a LUT isn't showing up after this step.
Once it's visible in the panel, add a new node after your Color Space Transform and primary correction, right-click the node, and choose the LUT from the Fujifilm subfolder. Applying it here, after exposure and white balance are already close to correct, matches Fujifilm's own documented sequence: CST first, correction second, Film Simulation LUT third.
A LUT applied at full strength isn't always the right call. Reduce the node's key output or add a Layer Mixer to blend the LUT's effect at 70 to 85 percent if the look reads too aggressive against your specific lighting, or if you want the file to remain a genuine grading starting point rather than a final, locked look. That's the same flexibility Fujifilm's own LUT documentation implies by calling it a creative layer rather than a mandatory final step.
| Step | What happens |
|---|---|
| 1. Download | Get the free .cube files from Fujifilm's LUT page |
| 2. Install | Copy into Resolve's LUT folder, in a Fujifilm subfolder |
| 3. Refresh | Right-click the LUT panel, choose Update Lists |
| 4. Sequence | Apply on a node after CST and primary correction, never before |
| 5. Adjust | Reduce node opacity or key if the look reads too strong |
A Fujifilm Film Simulation LUT applied directly to a raw F-Log2 clip, with no Color Space Transform underneath it, produces a result that looks nothing like the in-camera version, because the LUT was built assuming the clip already sits in a corrected working space. Order matters more than any single setting inside the LUT panel itself.
How do you apply this Color Space Transform to a whole timeline of X100VI clips without redoing it on every one?
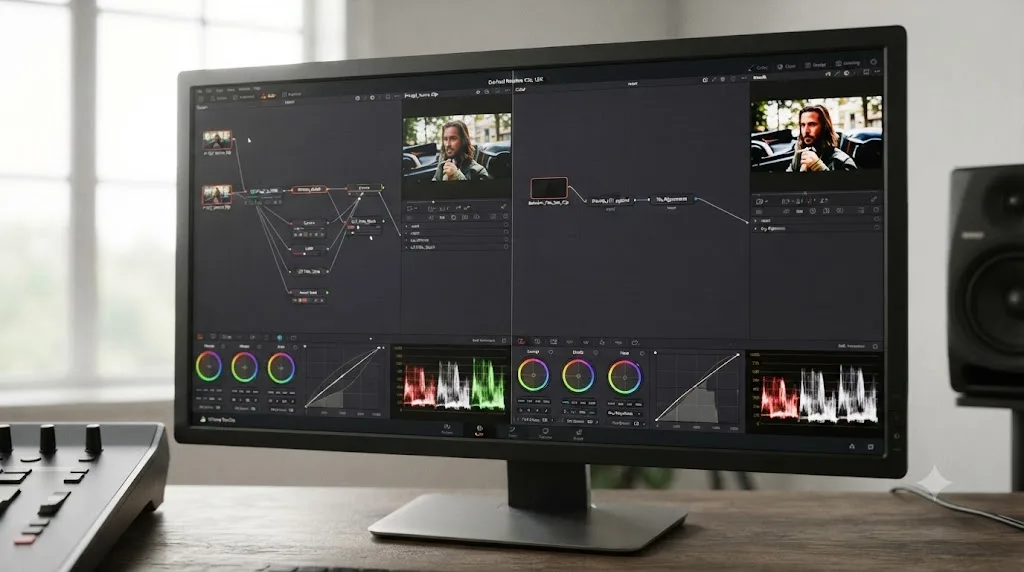
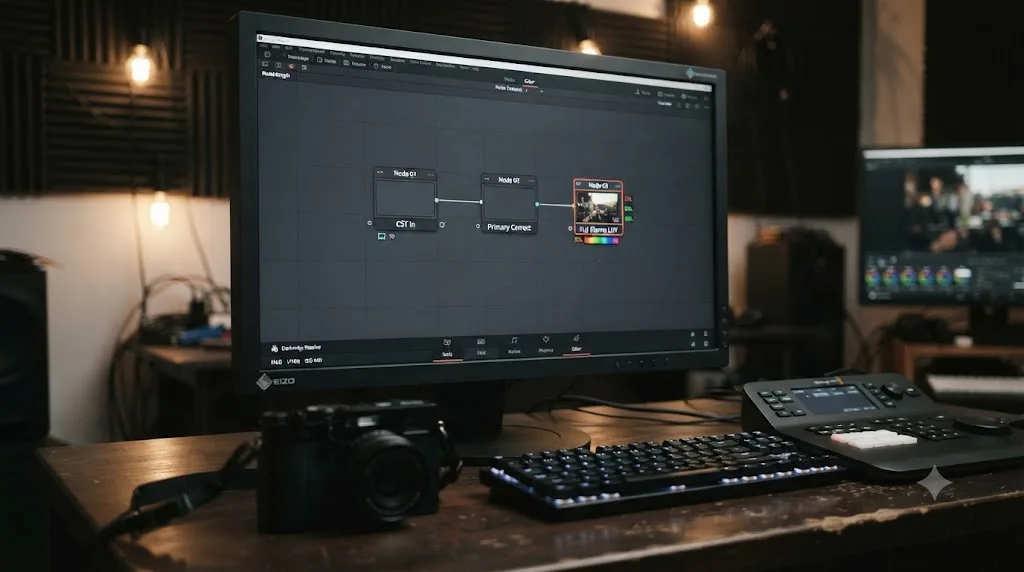
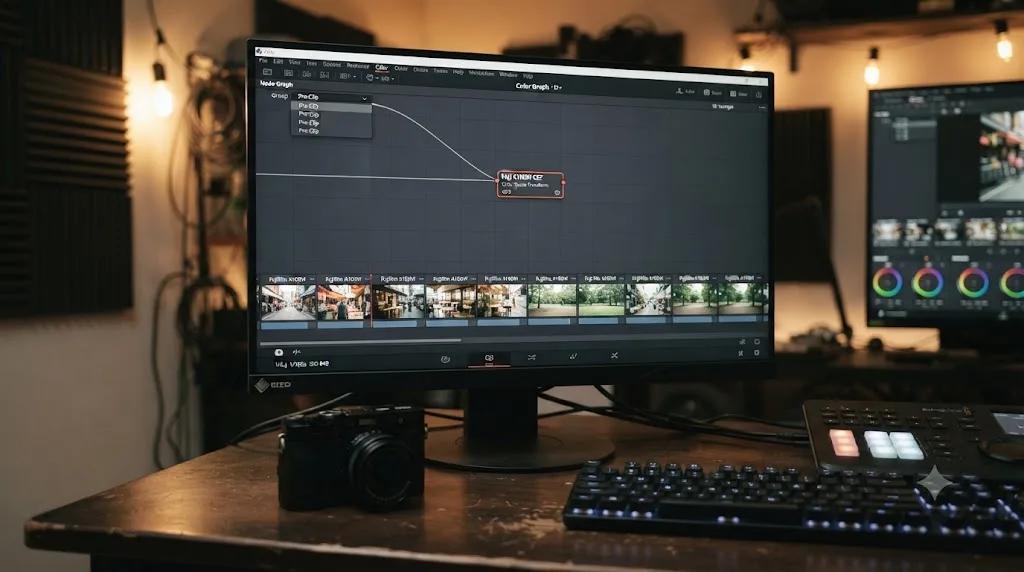
Use a Group, not a copy-pasted node on every clip. Select every X100VI F-Log2 clip on the timeline, right-click, choose Add to New Group, name it something like "X100VI F-Log2," then apply the Color Space Transform once, on that group's Pre-Clip node, instead of once per clip.
Resolve's group structure exists for exactly this: "a group functions like a container where every clip inside the group receives the same set of group-level nodes, while still maintaining its own individual node tree," and "the Group Pre-Clip level is used for technical corrections like a Color Space Transform (CST), which ensures all clips are brought into the same working color space before grading," per Neat Video's own explanation of batch grading with Resolve groups. That Pre-Clip node runs before each clip's own node tree, which is the part that makes it the right tool for this specific job.
- Select every F-Log2 clip in the bin or timeline, shift-clicking or ctrl-clicking to build the selection.
- Right-click and choose Add to New Group, or drag the selection onto an existing group.
- On the color page, switch the node graph's view selector from Clip to the group's Pre-Clip level.
- Drop a Color Space Transform onto Node 1 at that level: Rec.2020 and Fujifilm F-Log2 in, DaVinci Wide Gamut and DaVinci Intermediate out.
- Every clip you add to that group inherits the conversion automatically. Per-clip primary correction and LUT work still happens on each clip's own node tree beneath it, untouched by the group setting.
There's a pitfall worth naming directly: a track-level adjustment clip is not the same tool, and using one here breaks the conversion silently. An adjustment clip applies its own correction on top of everything below it, after each clip's individual CST and LUT nodes have already run their course. Drop a Color Space Transform onto an adjustment clip sitting on a track above your footage, and you're converting an image that's already landed in Rec.709 or DaVinci Wide Gamut, not the raw F-Log2 source underneath it, which produces the exact double-conversion symptom flagged in the troubleshooting section below. Groups apply before each clip's node tree runs. Adjustment clips apply after all of them combine on the timeline. For a Color Space Transform specifically, that ordering difference is the whole ballgame.
| Method | When it runs | Right tool for a CST? |
|---|---|---|
| Group Pre-Clip node | Before each clip's own node tree | Yes, this is what it's built for |
| Manual CST on every clip's Node 1 | Same timing as Group Pre-Clip, done by hand | Works, but doesn't scale past a handful of clips |
| Resolve Color Management (project-wide) | Applied via Clip Attributes tagging, project-level | Yes, if every clip in the project shares one gamma |
| Track-level adjustment clip | After each clip's full node tree has already run | No, converts an already-corrected image |
Resolve Color Management, covered earlier in this guide, is the other legitimate batch option, and it's the better fit when literally every clip in the project is X100VI F-Log2 with nothing else mixed in. The moment you're cutting X100VI footage against a different camera, or mixing F-Log2 with a handful of baked-in film simulation clips on the same timeline, Groups give you the option to build a second group with no CST at all for the clips that don't need one, which project-wide Resolve Color Management can't do as cleanly.
A Color Space Transform dropped onto a track-level adjustment clip converts an image that already passed through its own grade, not the raw log source underneath it, which is why group-level batching and adjustment-clip batching are not interchangeable for this specific job. Build the group once, apply the CST at Pre-Clip level, and every new X100VI clip you drag into that group inherits it correctly from that point forward.
How do you recreate Nostalgic Neg or Pro Neg Hi without an official LUT?
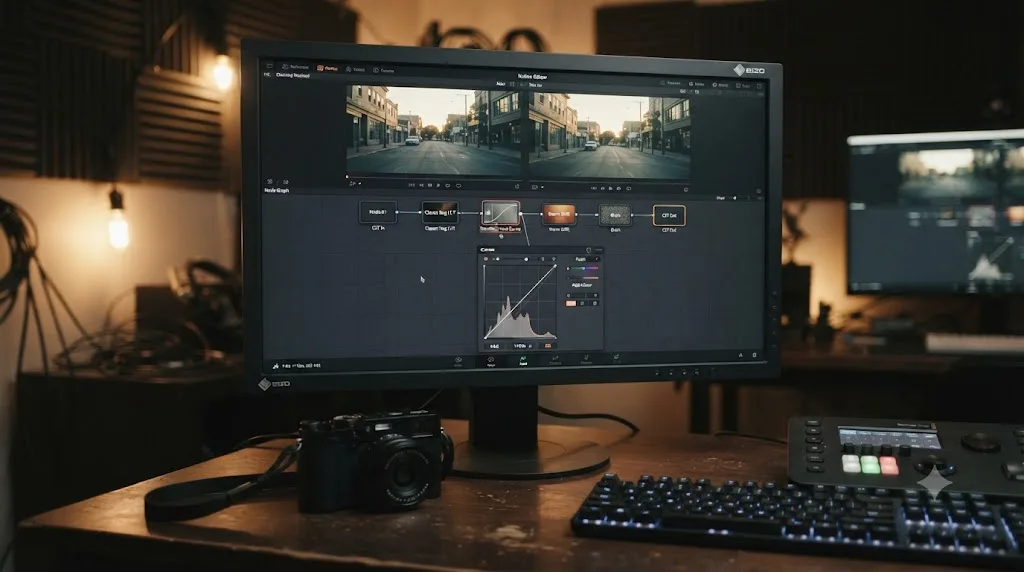
Build the look by eye against Fujifilm's own written description and a reference photo, since no official file exists yet for these two, and the closest official LUTs, Classic Neg and Pro Neg Std, are useful starting points rather than substitutes.
Fujifilm's own copy describes Nostalgic Neg. as "designed to recreate the look of images in old photo albums," producing images with "rich colors in the shadows, and a soft tonality through the midtones and highlights," per the company's global product page. That's a specific, buildable instruction. Start from the official Classic Neg LUT, which shares Nostalgic Neg's negative-film heritage, then in a following node lift the shadows slightly rather than crushing them, warm the shadow region specifically rather than the whole image, and roll off highlight contrast a touch softer than Classic Neg's own harder tonal curve.
Reala Ace, by contrast, has an official LUT, but it's worth understanding what it's actually doing if you want to push it further. Fstoppers' Matt Murray compared it directly against neighboring simulations on an X100VI: "the Reala Ace image is slightly warmer, more saturated, and has more shadow detail" than Pro Neg Hi, and on Classic Neg's signature look, "reds are one of the hallmarks of the Classic Neg look, with their color shifted towards orange," a shift Reala Ace doesn't share, per his hands-on comparison for Fstoppers. Murray's overall take after shooting a full set: "I think it worked best for the entire set of images." If your official Reala Ace LUT reads too neutral for your taste, that shadow-detail and warmth description is a legitimate direction to push a secondary node, rather than guesswork.
| Target look | Starting LUT | Manual adjustment to add |
|---|---|---|
| Nostalgic Neg. | Classic Neg (official) | Lift and warm shadows, soften highlight rolloff |
| Pro Neg. Hi | Pro Neg. Std (official) | Add contrast and slightly increase saturation in midtones |
| Reala Ace, pushed warmer | Reala Ace (official) | Add warmth and shadow density per Murray's comparison above |
| Provia/Standard, distinct from Reala Ace | Reala Ace (official) | Increase saturation slightly; Provia reads more neutral by comparison |
CineD's Johnnie Behiri summed up the X100VI's film simulation lineup for video specifically: "Top this with 20 attractive film simulations including the new REALA ACE, and here you have a camera that you can always have with you." He also noted the video-specific tradeoff this whole guide is built around: "F-Log2 for maximum dynamic range and post-color correction are there, too," per his review for CineD, treating the log option and the finished simulations as two genuinely separate paths rather than one feature with a setting.
Two of the X100VI's twenty film simulations, Nostalgic Neg. and Pro Neg. Hi, have no official Resolve LUT as of this writing, so matching them means starting from the closest official file and pushing the shadow warmth or midtone contrast by hand rather than expecting a one-click match. Shoot a reference still in the actual film simulation on the same body before you start, since eyeballing the look from memory or a screen photo drifts fast.
Why does your Film Simulation LUT look wrong, flat, or oversaturated in Resolve?
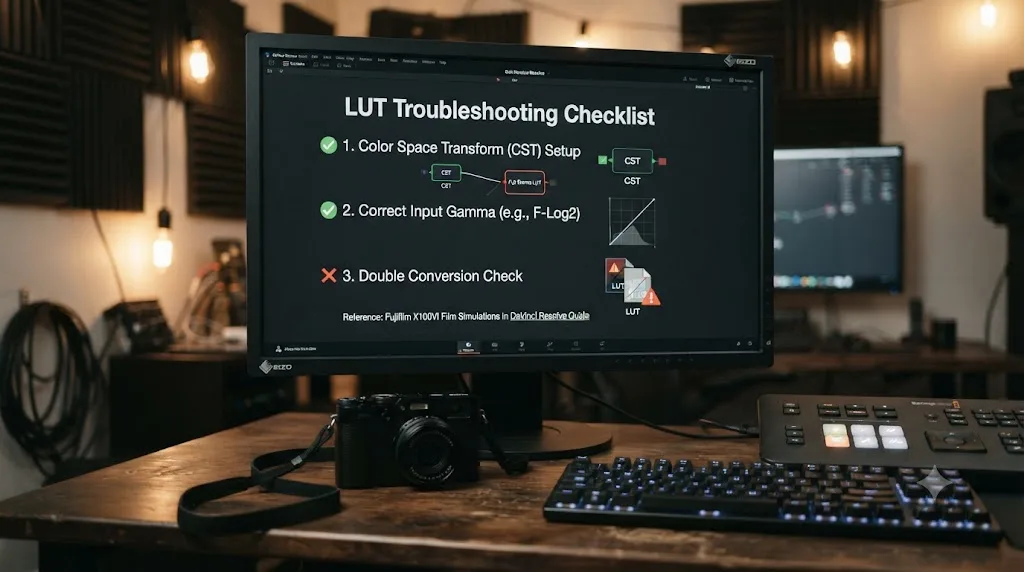
Almost always a missing or misplaced Color Space Transform, not a broken LUT file, and the fix is a short checklist rather than a rebuild.
Start with whether a Color Space Transform exists on the clip at all. A Film Simulation LUT built for a corrected, DaVinci Wide Gamut source produces an oversaturated, crushed mess when applied directly to raw F-Log2 footage, because the LUT is doing double duty: correcting the log curve and applying the creative look at once, which it was never built to do. Add the CST node covered earlier in this guide first, confirm the image looks like a flat but properly balanced Rec.709-adjacent frame, then add the LUT on a separate node after it.
Next, check for a mismatched Input Gamma. Resolve's dropdown lists Fujifilm F-Log and Fujifilm F-Log2 as separate entries, and picking the one your camera didn't actually record produces a result that's close enough to look plausible while still measurably off, especially in skin tones and highlight rolloff. Our guide to why a Color Space Transform can leave an image looking desaturated covers the Tone Mapping and Gamut Mapping settings that commonly get blamed for a problem that's actually a preset mismatch.
Rule out a double conversion too. If Resolve Color Management is active on the project and a manual Color Space Transform node also sits on the clip, the footage gets converted twice, and a LUT applied on top of that double-converted image won't match anything Fujifilm intended. The Group Pre-Clip method covered above avoids this cleanly, since the CST lives at one level only, but it's worth checking for the same mistake if you built a project by copying node trees between clips by hand. And confirm the clip is genuinely F-Log2 in the first place, not a film simulation shot direct with no log curve at all; running a Film Simulation LUT meant for a flat source on top of an already-finished image crushes contrast and blows out saturation immediately.
| Symptom | Likely cause | Fix |
|---|---|---|
| LUT looks oversaturated, contrast crushed | No Color Space Transform under the LUT | Add CST node first, LUT node after |
| LUT looks close but slightly off in skin tones | Wrong Input Gamma (F-Log vs F-Log2) | Confirm which gamma the clip actually recorded |
| LUT looks muted or washed out | Double conversion, RCM and manual CST both active | Pick one method, not both |
| LUT looks nothing like the reference photo | Clip was shot as a film simulation, not log | No LUT will undo a baked-in render; check Clip Attributes |
| LUT matches roughly but reference photo looks warmer | Normal; official LUTs are a starting point | Push warmth or shadow density by hand, per the recreation table above |
A Fujifilm Film Simulation LUT that looks wrong in DaVinci Resolve is almost never a bad download, it's a Color Space Transform missing underneath it, a mismatched log gamma, or a double conversion, and all three show up in Clip Attributes and the node graph before you need to touch a single LUT setting. Work the checklist in that order before assuming the file itself needs replacing.
A step-by-step example: one F-Log2 clip to a Reala Ace match
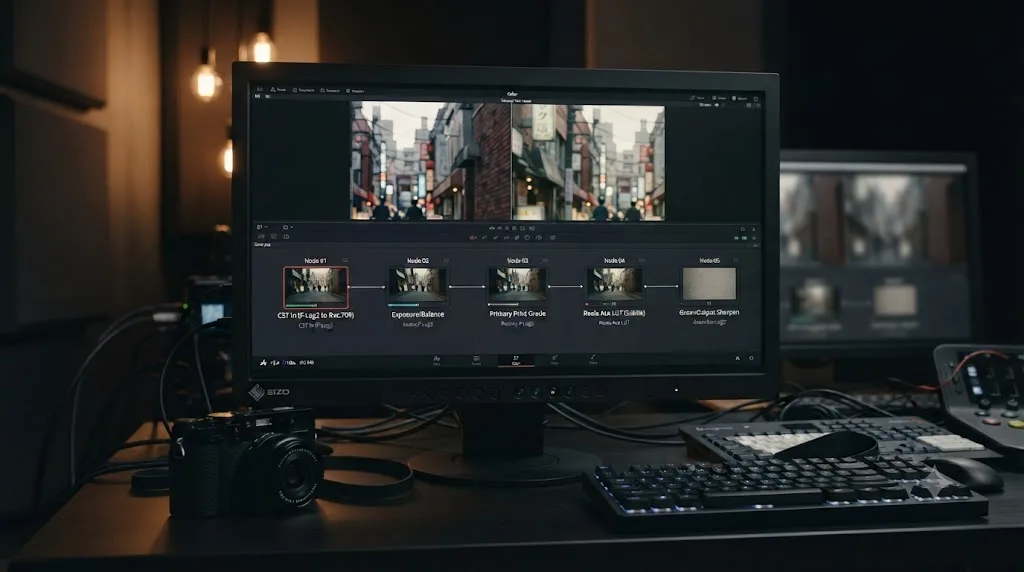
Here's the full sequence, from a fresh X100VI F-Log2 clip in the Media Pool to a finished Rec.709 grade matching Reala Ace.
- Confirm the source. Check Clip Attributes to confirm the clip is F-Log2, not standard F-Log or a baked-in film simulation, since the rest of this sequence only works on genuinely flat log footage.
- Node 1, Color Space Transform in. Set Input Color Space to Rec.2020, Input Gamma to Fujifilm F-Log2, Output Color Space to DaVinci Wide Gamut, Output Gamma to DaVinci Intermediate.
- Node 2, primary correction. With the clip sitting in DaVinci Wide Gamut, set white balance from a neutral reference if you shot one, then bring the black point and white point in using Lift and Gain, watching the waveform for clipping.
- Node 3, the Reala Ace LUT. Apply Fujifilm's official Reala Ace
.cubefile here, installed per the steps earlier in this guide, and check the node's key output against a reference still shot in Reala Ace on the same body. - Node 4, fine adjustment. If Matt Murray's comparison holds for your footage too, warmer and slightly more saturated than Pro Neg Hi, with more visible shadow detail, push those two qualities gently rather than accepting the LUT at full strength if your lighting reads differently than the LUT's reference conditions.
- Node 5, Color Space Transform out. Input Color Space DaVinci Wide Gamut, Input Gamma DaVinci Intermediate, Output Color Space Rec.709, Output Gamma Rec.709.
- Check against the in-camera reference photo, side by side, before calling the grade final.
Five nodes handle the mechanism end to end, with the fine-adjustment node as the only genuinely creative decision in the chain.
Swap Node 3 for Classic Neg, Classic Chrome, or any of the other seven officially covered simulations, and the same five-node sequence works unchanged, since the only thing that varies between film simulations is which LUT file loads at that one step. Everything before and after it, the Color Space Transform in, the primary correction, and the Color Space Transform out, stays identical regardless of which look you're chasing.
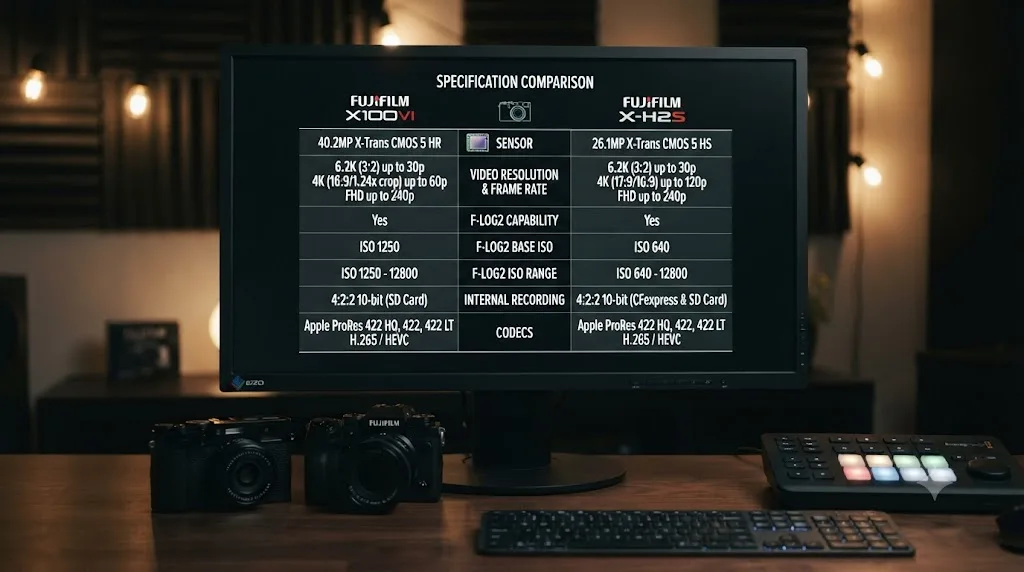
How does the X100VI's F-Log2 compare to the X-H2S's?
Close, but not identical, and the two differences that matter are the ISO floor and the absence of F-Log2 C on the smaller camera.
| Spec | Fujifilm X100VI | Fujifilm X-H2S |
|---|---|---|
| Sensor | 40.2MP X-Trans CMOS 5 HR (BSI) | 26.16MP X-Trans CMOS 5 HS (stacked, BSI) |
| F-Log2 ISO range | 1000 to 12800 | 1250 to 12800 |
| F-Log ISO range | 500 to 12800 | 640 to 12800 (approx.) |
| Max internal video | 6.2K/30p, 1.23x crop, 10-bit 4:2:2 | 6.2K/30p open gate, 10-bit 4:2:2 |
| F-Log2 C support | No | Yes, firmware Ver.7.10 and later |
| External RAW | No dedicated RAW HDMI output | ProRes RAW and Blackmagic RAW via HDMI |
| Card slot | Single UHS-I SD | Dual card slots |
| Launch price (body only) | $1,599 | $2,499 |
Both cameras share the same Rec.2020 gamut for F-Log and F-Log2, so a Color Space Transform built for one camera's F-Log2 footage needs no gamut change to work on the other's, only a confirmation that neither clip is actually F-Log2 C, which only the X-H2S can even record. If you're cutting X100VI B-roll against X-H2S A-cam footage on the same timeline, that shared gamut is exactly why the color matching workflow covered in our cross-camera guide starts from normalizing each source into DaVinci Wide Gamut before comparing them on the scopes.
The X100VI's narrower ISO floor for F-Log2, 1000 versus the X-H2S's 1250, is a small but real difference if you're pushing a shot to the edge of the range in bright conditions with the internal ND maxed out. It's 250 ISO less headroom needed before you're forced to stop down further or accept a brighter exposure than the log curve is built around.
The X100VI and X-H2S share the same Rec.2020 gamut for F-Log and F-Log2, so the Color Space Transform pattern in this guide works identically on either camera, and the only real workflow difference is that the X-H2S can also shoot F-Log2 C, which the X100VI never will. A mixed-camera project built around both bodies needs no separate CST logic for the X100VI side of the timeline.
Does this same workflow apply to the Fujifilm X100V or older X100-series cameras?
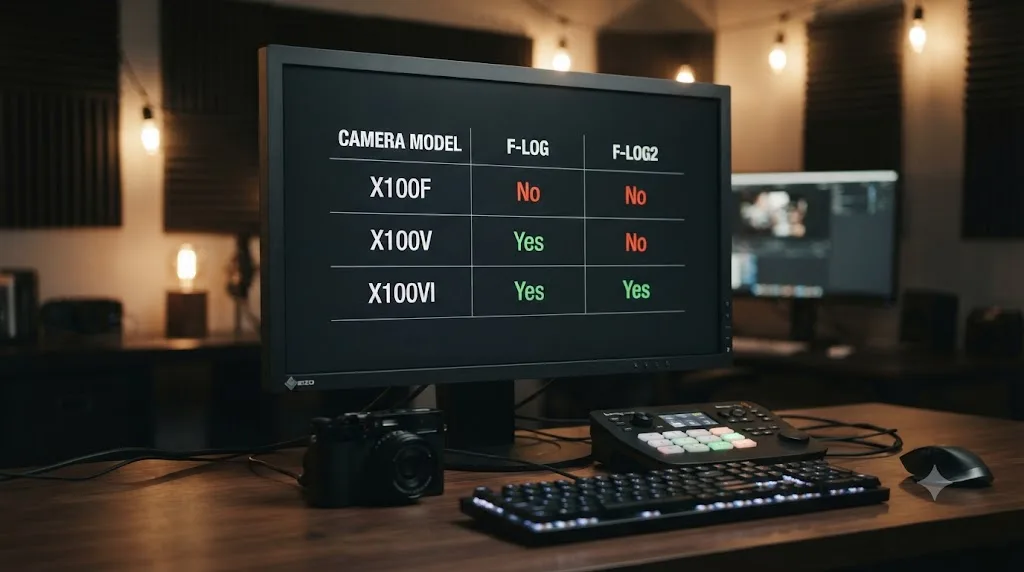
Partially, and the gaps matter more than they look at first glance. The X100V shoots F-Log, the X100VI's older sibling gamma, but never F-Log2. The X100F, X100T, X100S, and original X100 don't shoot any log curve at all.
Fujifilm's own X100V manual restricts F-Log "sensitivity... to values between ISO 640 and 12800," per the company's official online manual for the X100V's Movie Setting menu, a narrower and higher floor than the X100VI's F-Log range of ISO 500 to 12800 covered earlier in this guide. F-Log on the X100V also records at 8-bit 4:2:0 internally, with 10-bit 4:2:2 available only over HDMI to an external recorder, per DPReview's review of the X100V, a full step down from the 10-bit 4:2:2 internal capture the X100VI records natively.
| Model | Log support | Internal bit depth | Covered by the November 2025 LUT pack? |
|---|---|---|---|
| X100VI | F-Log, F-Log2 | 10-bit 4:2:2 | Yes, built for F-Log2/F-Log2C |
| X100V | F-Log only, no F-Log2 | 8-bit 4:2:0 internal (10-bit via HDMI out) | Not confirmed; F-Log2 is the pack's stated requirement |
| X100F / X100T / X100S / X100 | None; 1080p only | N/A | No, no log curve to convert in the first place |
The core Color Space Transform pattern still works on X100V footage. Swap the Input Gamma dropdown from Fujifilm F-Log2 to Fujifilm F-Log, leave the gamut at Rec.2020 since both curves share it, and everything else in this guide's node chain carries over unchanged. What doesn't carry over cleanly is the November 2025 Film Simulation LUT pack itself. PetaPixel's coverage of that release describes the LUTs as built to "work with F-Log2 and F-Log2C," per PetaPixel's report on the release, not standard F-Log, and Fujifilm's own LUT download page lists a file for the X100V dated "2.27.2020," more than five years before that pack existed. That date points to the X100V's listed file being the camera's original basic F-Log conversion LUT, not the new Reala Ace, Classic Neg, and Eterna Bleach Bypass creative pack this guide is built around.
If you're shooting an X100V and want to try one of the ten officially covered simulations, don't assume the new pack applies to your F-Log footage the way it applies to X100VI F-Log2 footage. Confirm the LUT's stated gamma compatibility before trusting the result, and treat a mismatch here the same way this guide's troubleshooting section treats a mismatched Input Gamma: as a curve mismatch, not a broken file.
For the X100F, X100T, X100S, and original X100, none of this guide's Color Space Transform or LUT chain applies at all, because there's no log curve on the card to transform. Footage from these bodies is functionally identical to a film simulation shot direct on the X100VI, the first case covered in this guide: baked in at capture, with nothing downstream that can add back detail the camera never recorded flat. If you're chasing a specific look on one of these older bodies, the manual recreation approach used above for Nostalgic Neg. and Pro Neg. Hi, working by eye against a reference photo, is the only route, since there's no log source to build a Color Space Transform against in the first place.
The X100V shoots F-Log but never F-Log2, and the X100F, X100T, X100S, and original X100 don't shoot any log curve at all, so this guide's Color Space Transform chain only fully applies starting with the X100V, and the new Film Simulation LUT pack's F-Log2 requirement means even that camera's coverage isn't guaranteed. Own an X100V? Swap the Input Gamma and treat the LUT pack as unconfirmed for your footage rather than assumed compatible. Own anything older, and there's no log curve on the card for this guide's chain to work with.
Do you need DaVinci Resolve Studio to grade X100VI footage?
No, not for anything in this guide. The Color Space Transform node, Resolve Color Management, and LUT application all work fully in the free version.
Blackmagic's own free product page lists the Color Space Transform tool, node-based grading, and LUT support as standard, unrestricted features, per Blackmagic Design's DaVinci Resolve page. Fujifilm doesn't publish a Studio requirement for F-Log2 grading or LUT application either, so an X100VI project can go from import to a finished Reala Ace or Classic Neg match entirely in the free version.
Where Studio genuinely matters: Temporal or Spatial Noise Reduction, useful if you shot toward the top of F-Log2's ISO 12800 ceiling in low light, and Dolby Vision metadata authoring or HDR10+ delivery, both listed on Blackmagic's Studio product page. A standard SDR delivery of X100VI footage, matching any of the ten officially covered film simulations, touches neither of those Studio-exclusive features.
| Task | Studio required |
|---|---|
| Color Space Transform, F-Log or F-Log2 | No |
| Resolve Color Management | No |
| Applying a Fujifilm Film Simulation LUT | No |
| Group Pre-Clip batch grading | No |
| Manual recreation of Nostalgic Neg or Pro Neg Hi | No |
| Temporal/Spatial Noise Reduction | Yes |
| Dolby Vision authoring / HDR10+ delivery | Yes |
Every step in this guide, from the Color Space Transform through the official LUT install to the manual film simulation recreation, works in DaVinci Resolve's free version, and the only reason to reach for Studio on an X100VI project is high-ISO noise reduction or HDR-specific delivery. If your project is a standard SDR export, the license question doesn't change anything covered here.
Why is everyone still waiting on an X100VI, and does that affect this guide?
The X100VI's shortage was real and unusually long, but nothing about the shortage changes any Color Space Transform setting or LUT recipe in this guide, since the camera's F-Log2 curve is identical whether you bought it in 2024 or picked one up secondhand this month.
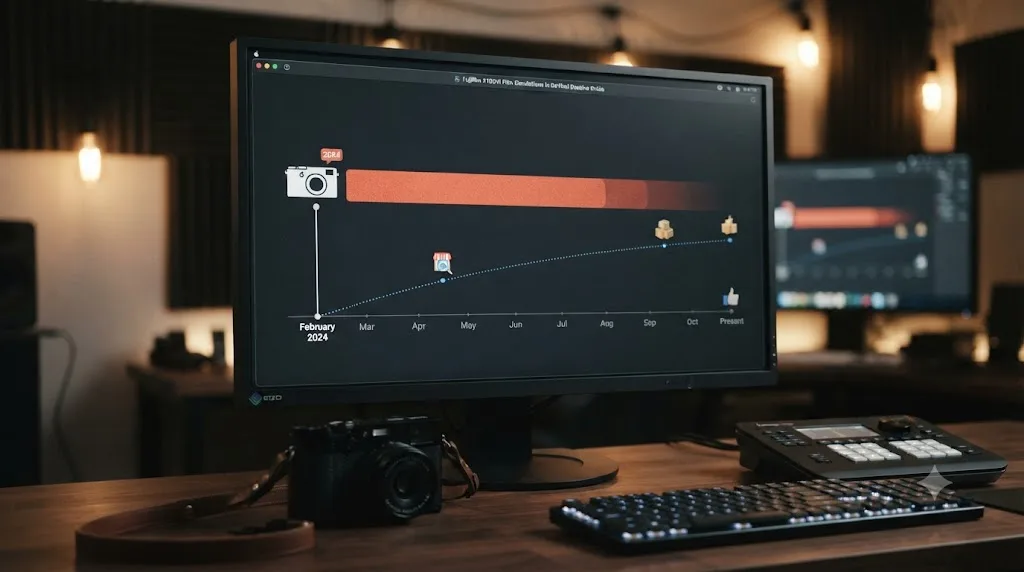
Fujifilm announced the X100VI on February 20, 2024, at $1,599, with a limited 90th anniversary edition at $1,999, per PetaPixel's launch coverage. Demand overwhelmed supply almost immediately. By March 6, 2024, barely two weeks after announcement, Fujifilm told customers directly: "reception for X100VI has far exceeded any expectations and created unprecedented global demand," and warned "it will take a few months before we can start to fill backorders," confirming production was capped at 15,000 units monthly, per PetaPixel's report on the statement.
That backlog is a large part of why the film simulation-to-Resolve question stayed underserved for so long. A camera this hard to actually own generates fewer hands-on grading guides than one sitting on shelves, even as the community of people who did get one, or are still waiting, kept asking the same question: how do you get F-Log2 back to looking like the Reala Ace photos everyone associates with this camera.
A camera being hard to buy has no bearing on how its sensor or color science behaves once you own one, so an X100VI purchased secondhand or fulfilled from a year-old backorder grades exactly the way this guide describes. The shortage explains why this specific workflow question sat uncovered for a while. It doesn't change a single setting in the answer.
When the node graph isn't the actual bottleneck
Everything in this guide is a settings problem with a settings answer, but finding the right dropdown fast, mid-session, with a client watching the screen, is its own kind of friction that no amount of reading solves in the moment.
TryUncle is the on-screen assistant for DaVinci Resolve on macOS. Ask in plain words and Uncle points at the exact control on your screen. If you're mid-grade and can't remember whether the Fujifilm F-Log2 Input Gamma preset sits above or below F-Log in the dropdown, that's a faster check than scrolling back through this page. It's a paid app, currently at founder pricing of $29.99 a month for the first 100 seats, and it's macOS only, so it's no help if you're running Resolve on Windows. Check TryUncle for current pricing before deciding whether it fits your workflow.
It solves a narrower problem than the automated-editing tools in its category. Sottocut, PremiereCopilot, heyeddie.ai, and cutagent.ai cut clips or answer chat questions about your footage; they don't watch your live Resolve screen and point at the control you're stuck on. If your bottleneck is finding a specific setting fast while you're still the one making every creative call, on-screen guidance solves that more directly than a chat window open in a different app. Guided practice inside Resolve beats pausing a tutorial shot on someone else's camera menu to compare against your own.
The settings cheat sheet at a glance
The one-line version: Input Color Space Rec.2020, Input Gamma Fujifilm F-Log2, for any X100VI clip shot in that gamma. Stay within ISO 1000 to 12800 while recording it. No F-Log2 C exists on this body, so the gamut never changes between clips. Ten of the twenty film simulations have a free official Resolve LUT; the other ten, including Nostalgic Neg. and Pro Neg. Hi, need manual recreation from the closest official file. None of it requires Resolve Studio.
| Setting | Value |
|---|---|
| Shooting ISO for F-Log2 | 1000 to 12800 |
| Shooting ISO for F-Log | 500 to 12800 |
| Standard (non-log) base ISO | 125 |
| Input Color Space (F-Log and F-Log2) | Rec.2020 |
| Input Gamma | Fujifilm F-Log2 (or Fujifilm F-Log) |
| Intermediate Output Color Space | DaVinci Wide Gamut |
| Intermediate Output Gamma | DaVinci Intermediate |
| Final Output Color Space (SDR delivery) | Rec.709 |
| Final Output Gamma (SDR delivery) | Rec.709 |
| F-Log2 C support | None; limited to GFX100 II, X-H2, X-H2S |
| Native F-Log2 support added in Resolve | DaVinci Resolve 19, August 2024 |
| Official Fujifilm Film Simulation LUTs released | Mid-November 2025 |
| Film simulations with an official LUT | 10 of 20 |
| Film simulations needing manual recreation | 10 of 20, including Nostalgic Neg. and Pro Neg. Hi |
| X100V F-Log ISO range (no F-Log2 on this body) | 640 to 12800 |
| November 2025 LUT pack compatible with X100V F-Log? | Not confirmed; pack is documented for F-Log2/F-Log2C |
| ACES IDT for Fujifilm F-Log2 built into Resolve? | No; requires a third-party DCTL |
| Studio required for core grading workflow | No |
| Studio required for Noise Reduction | Yes |
| Studio required for Dolby Vision/HDR10+ delivery | Yes |
| Launch price (body only) | $1,599 |
The verdict
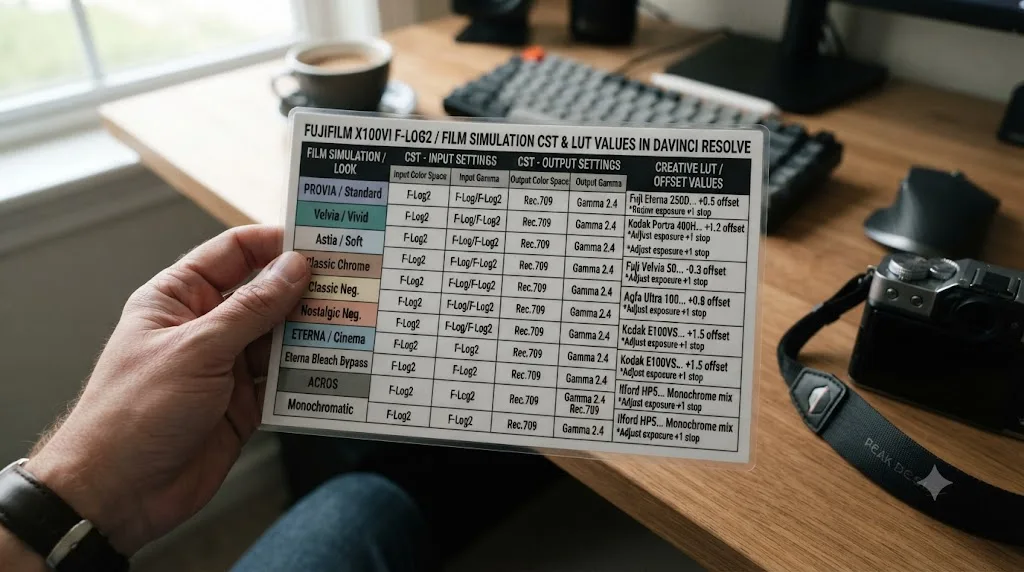
Shoot F-Log2, not the film simulation itself, if there's any chance you'll want to grade the footage or match it to a specific look later. Set the Color Space Transform once, Rec.2020 in, Fujifilm F-Log2 gamma, DaVinci Wide Gamut and DaVinci Intermediate out, and it never changes clip to clip on this camera, since the X100VI never introduces the F-Log2 C variable that complicates the same setup on an X-H2S. Reach for Fujifilm's free official LUTs first for Reala Ace, Classic Neg, Classic Chrome, and seven other covered looks, build Nostalgic Neg. or Pro Neg. Hi by hand from the closest official file until Fujifilm fills that gap, and use a Group at the Pre-Clip level the moment you're doing this across more than a handful of clips. None of it needs a paid Resolve license, none of it needs ACES unless a client contract says otherwise, and none of it changes based on how long you waited for the camera to actually arrive.
Frequently asked questions
- Can DaVinci Resolve read a Fujifilm film simulation like Reala Ace or Classic Neg as a color profile?
- No. A film simulation shot as a JPEG or baked into an internal video file is rendered into the pixels at capture time, the same way a Rec.709 conversion is. DaVinci Resolve has no Input Gamma preset for Reala Ace, Classic Neg, or any other Film Simulation, because there is no separate metadata tag to convert from. Only F-Log and F-Log2, Fujifilm's flat log gammas, show up in Resolve's Color Space Transform dropdown.
- Should I shoot F-Log2 or a film simulation on the X100VI if I plan to grade in DaVinci Resolve?
- Shoot F-Log2 if you want to grade. It holds more highlight and shadow detail than a baked-in film simulation and gives you full control over the final look, including the option to apply Fujifilm's own Film Simulation LUTs on top. Shoot a film simulation directly, without F-Log2, only when you need a finished-looking clip with no post-production step, since that flat log curve needs a Color Space Transform before it looks like anything at all.
- Does Fujifilm make official LUTs for the X100VI's film simulations?
- Yes. Fujifilm released a free Film Simulation LUT pack in mid-November 2025 covering ten looks, Eterna, Provia, Velvia, Astia, Classic Chrome, Reala Ace, Pro Neg.Std, Classic Neg., Eterna Bleach Bypass, and Acros, built for F-Log2 and F-Log2C footage. The X100VI is on Fujifilm's own supported camera list. Ten of the X100VI's twenty in-camera modes, including Nostalgic Neg. and Pro Neg. Hi, have no official LUT and need to be rebuilt by eye or with a third-party pack.
- Does the Fujifilm X100VI support F-Log2 C like the X-H2S?
- No. F-Log2 C, Fujifilm's wider-gamut log curve built for high-chroma color, is limited to the GFX100 II, X-H2, and X-H2S, per Fujifilm's own October 2024 X Summit announcement. The X100VI shoots standard F-Log and F-Log2 only, both using the same Rec.2020 gamut DaVinci Resolve has supported natively since version 19 in August 2024.
- Why does my Fujifilm Film Simulation LUT look wrong, flat, or oversaturated in DaVinci Resolve?
- Almost always a missing or misconfigured Color Space Transform underneath the LUT, not a broken LUT file. Fujifilm's own guidance is explicit: correct the Color Space Transform and exposure first, then apply the Film Simulation LUT as a creative layer on top. Applying the LUT directly to a raw F-Log2 clip with no CST first produces a result nowhere close to the in-camera look.
- Do I need DaVinci Resolve Studio to grade Fujifilm X100VI footage?
- No. The Color Space Transform node, Resolve Color Management, and LUT application all work in the free version, per Blackmagic's own product pages. Studio only matters if you need Temporal or Spatial Noise Reduction on footage shot high in F-Log2's ISO range, or HDR delivery with Dolby Vision or HDR10+ metadata.
- Can I use Fujifilm's Film Simulation LUT pack on X100V F-Log footage instead of F-Log2?
- Not confirmed. PetaPixel's coverage of Fujifilm's November 2025 Film Simulation LUT pack describes it as built to work with F-Log2 and F-Log2C, not standard F-Log. The file listed for the X100V on Fujifilm's own LUT download page is dated February 2020, more than five years before that pack existed, which points to it being the camera's original basic F-Log conversion LUT rather than the new Reala Ace-era pack. Treat the two as separate downloads until Fujifilm states otherwise.
- Is there an app that helps while I'm grading Fujifilm footage inside DaVinci Resolve?
- Yes. TryUncle is a paid macOS app whose on-screen tutor, Uncle, watches your Resolve screen and points at the exact control you're asking about, live, instead of sending you to a separate tutorial. It won't build the Color Space Transform for you, but it can save the time spent hunting through menus for the right dropdown while your film simulation match is half done.
Sources
- Fujifilm X Series: X100VI Product Page (USA)
- Fujifilm X Series: X100VI Product Page (Global, Film Simulation descriptions)
- CineD: FUJIFILM X100VI Camera Announced, 5th Gen Tech, 6.2K, 4K 60P, 10-bit Capture
- PetaPixel: Fujifilm's X100VI Adds 5-Axis Image Stabilization and Jumps to 40MP
- PetaPixel: Fujifilm Says it Will Take 'Months' To Fulfill 'Overwhelming' X100VI Orders
- Fujifilm Online Manual: X100VI Movie Setting (F-Log/F-Log2 ISO ranges)
- CineD: FUJIFILM X100VI Review, A Capable Camera for Video, and Great for Composition Learning (Johnnie Behiri)
- Fstoppers: Reala Ace, How Does the X100VI's New Film Simulation Compare? (Matt Murray)
- Fujifilm USA: F-Log Color Correction Using CSTs and LUTs
- Fujifilm X Series: Film Simulation LUT Downloads
- PetaPixel: Fujifilm's New F-Log2 and F-Log2C Film Simulation LUTs Look Fantastic (Jeremy Gray)
- CineD: FUJIFILM X Summit on October 14th, Firmware Updates, New F-Log2 C
- RedSharkNews: DaVinci Resolve 20.3.2 Update Adds Fujifilm F-Log2 C Support and Faster SuperScale
- Blackmagic Design: DaVinci Resolve product page (free version)
- Blackmagic Design: DaVinci Resolve Studio product page
- Blackmagic Design: DaVinci Resolve Color page
- Fujifilm Online Manual: X100V Movie Setting (F-Log ISO range)
- DPReview: Fujifilm X100V Review
- Dehancer: Fuji F-Log ACES IDT for DaVinci Resolve
- ACEScentral Forum: Fujifilm F-Log in Resolve without an IDT
- Neat Video Blog: Using Groups for Batch Grading in DaVinci Resolve
Keep reading
Guides · Jul 31, 2026 · 37 min
Fujifilm X-H2S F-Log2 Color Grading Settings for DaVinci Resolve
DaVinci Resolve Color Space Transform settings for Fujifilm X-H2S F-Log2: Rec.2020 input, ISO 1250 base, F-Log2 C support, and free official LUTs.

Guides · Jul 10, 2026 · 26 min
How to Install LUTs in DaVinci Resolve: Folders and Fixes
Install LUTs in DaVinci Resolve: find the real LUT folder, apply them to a node instead of a clip, and fix the LUT-not-showing-up refresh bug for good.
Guides · Jul 12, 2026 · 39 min
How to Color Match Different Cameras in DaVinci Resolve
Match footage shot on different cameras in DaVinci Resolve with Color Space Transform, Color Match, and Shot Match, plus settings by camera brand.