Articles / Comparisonsupdated for DaVinci Resolve 21.1 (September 2026)
HDR Wheels vs Color Wheels in DaVinci Resolve 21
Quick answer
In DaVinci Resolve, color wheels mean the Primaries Lift, Gamma, Gain and Offset controls, while HDR wheels target customizable tonal zones with separate range and falloff behavior. Use color wheels for fast overall balance and use HDR wheels when you need to move a defined shadow, highlight or specular range without pushing the whole image.
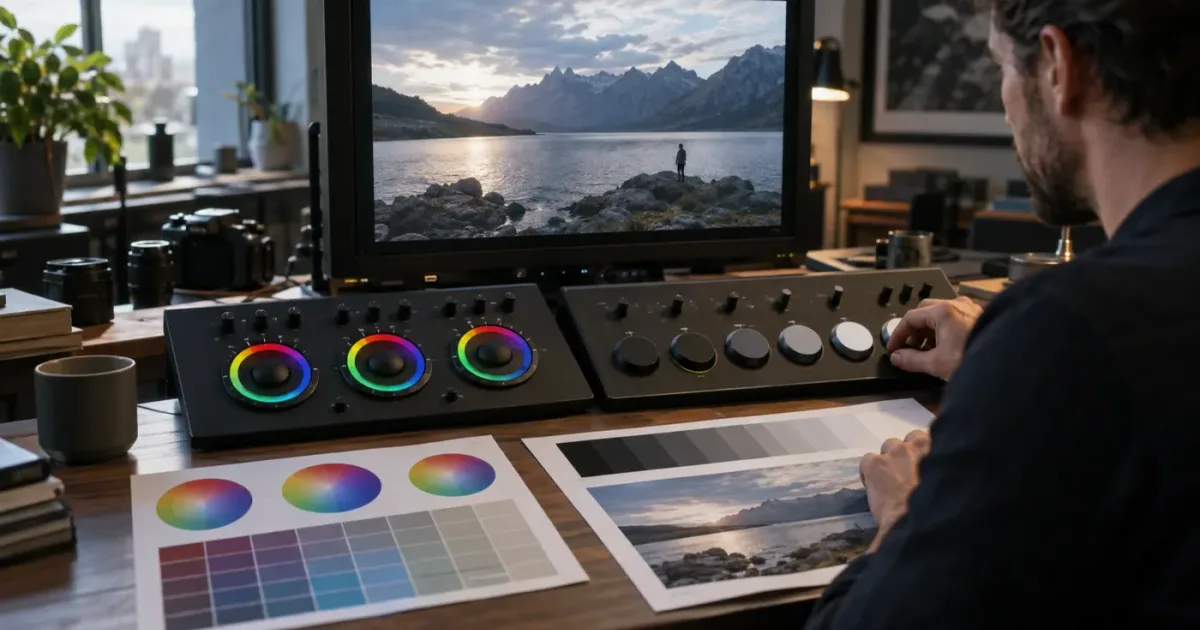
We hear Resolve users hesitate at the same row of controls: the familiar color wheels on one side, the HDR palette beside them. We built and run a 100,000+ member professional video-editing community, and this comparison comes from questions editors bring when a grade starts moving more of the image than intended. As of September 2026, DaVinci Resolve 21.1 is current. The answer is simple: start with Primaries for broad balance, then reach for HDR zones when the tonal problem has a boundary.
What is the difference between HDR wheels vs color wheels in DaVinci Resolve?
The practical difference is the shape of the correction. Color wheels, which I will call the Primaries palette here, work through broad overlapping ranges named Lift, Gamma, Gain and Offset. HDR wheels work through separate tonal zones that can be selected, moved and narrowed with range and falloff controls. Blackmagic describes the Primaries wheel groups as balance and brightness controls for overlapping shadows, midtones and highlights, while its HDR palette uses customizable zone-based exposure and color controls. Blackmagic Design's Color page explains the two systems.
The word HDR causes the first trap. HDR wheels are not reserved for a finished HDR delivery. The official Colorist Guide says the HDR palette can be used with both SDR and HDR media, with or without color management. The palette is designed around wide-latitude tonal control, not just the name of the export format. The Resolve 20 Colorist Guide documents that behavior.
| Question | Primaries color wheels | HDR wheels |
|---|---|---|
| What the controls target | Overlapping Lift, Gamma, Gain and Offset ranges | Tonal zones with editable limits and falloff |
| Best first use | Overall balance, contrast and a quick neutral starting point | A defined shadow, highlight, light or specular problem |
| How much overlap to expect | More overlap between neighboring tonal ranges | Less spill when the zone boundaries are set thoughtfully |
| Main global control | Offset affects the whole image uniformly | Global changes the signal differently from Primaries Offset, compressing the ends rather than simply shifting everything |
| Color management relationship | Useful in any working space, with behavior shaped by the node and project pipeline | Designed to be especially useful in Resolve Color Management or ACES managed projects |
| Precision control | Broad, familiar, fast | Min/Max Range, Falloff, Zones Graph and custom zone choices |
| Typical mistake | Using Gain to fix a small highlight problem and changing too much | Assuming a zone is isolated before checking its range and falloff |
| Learning curve | Easier starting point for a new colorist | More decisions, but more control once the zone model makes sense |
The difference is not that one palette is correct and the other is outdated. They solve different problems. Primaries lets you make a fast judgment about the image as a whole. HDR lets you ask a narrower question: which part of the signal needs to move, and where should that movement stop?
DaVinci Resolve color wheels are broad balance tools, while HDR wheels are tonal-zone tools.
If you are correcting a green cast across an entire interview, Primaries is usually the clean first move. If the face is fine but a bright window is clipped-looking, a Light or Highlight zone in the HDR palette gives you a more relevant starting point. If the black fabric is crushed but the rest of the shadows are right, a Black or Dark zone may be better than lowering the whole Lift wheel.
That does not mean the HDR wheel will automatically protect every object. It does not know that a shirt is a shirt or that a window is a window. It responds to the tonal range you select. A bright face and a bright window can live in the same zone. When the tonal range is not enough, you still need a qualifier, a Power Window, a tracker or another secondary tool.
Which should you choose first: HDR wheels or color wheels?
Choose color wheels first when you need a neutral starting point, a broad exposure adjustment or a quick color balance. Choose HDR wheels first when you know the defect belongs to a particular part of the signal and you want the control to follow that tonal description. This rule works across SDR, HDR, log, RAW and managed wide-gamut workflows because the choice is about correction shape, not delivery format.
The fastest way to choose is to name the problem without naming a control. Say the problem out loud:
- “The whole image is too cool.” Start with Primaries Temperature or the wheel balance that affects the broad tonal range you can see.
- “The image is too dark overall.” Start with a global exposure decision, then use Primaries Offset or the HDR Global wheel depending on the look and pipeline.
- “The sky is too bright, but the people are good.” Inspect the HDR Light or Highlight zone, then decide whether the sky still shares too much range with the faces.
- “The blacks are crushed, but the midtones are fine.” Inspect Black, Dark or Shadow in HDR, or use a narrower secondary if the issue is object-specific.
- “The skin is green.” Do not assume a wheel is enough. A broad correction can help if the cast affects the whole shot, but skin may need a controlled secondary correction after balance.
The same correction can often be made in both palettes. Ask which one makes your intention legible in the node. A balance node with Primaries communicates a broad correction, while a window highlight node with an HDR Light zone communicates a tonal correction.
Blackmagic's official training material follows the same general learning pattern: build a foundation with primary correction tools, then study more targeted controls. Its Colorist Guide is an official hands-on guide with practical exercises for Resolve color tools, not a list of isolated button descriptions. You can find the training guides and lesson files on Blackmagic's training page.
| If your sentence begins with... | Start here | Why |
|---|---|---|
| “Everything is...” | Primaries | The correction is global or broad |
| “Only the darkest...” | HDR Black, Dark or Shadow | The issue is concentrated near the bottom of the signal |
| “Only the brightest...” | HDR Light, Highlight or Specular | The issue is concentrated near the top of the signal |
| “The middle feels...” | Primaries Gamma or a midtone-focused HDR zone | You need to judge how much neighboring range should move |
| “This object is...” | Qualifier or Power Window, possibly with HDR wheels afterward | A tonal zone may include unrelated objects |
| “The shot needs...” | Primaries first, then HDR for cleanup | Establish the image before making surgical decisions |
Choose the palette that matches the sentence you want the node to answer.
Do not turn the choice into a loyalty test. A well-built node tree can use Primaries for balance, HDR for tonal shaping, curves for a specific relationship and a qualifier or window for an object. The palettes are not competing apps. They are different ways of describing the same image signal.
How do color wheels work in DaVinci Resolve?
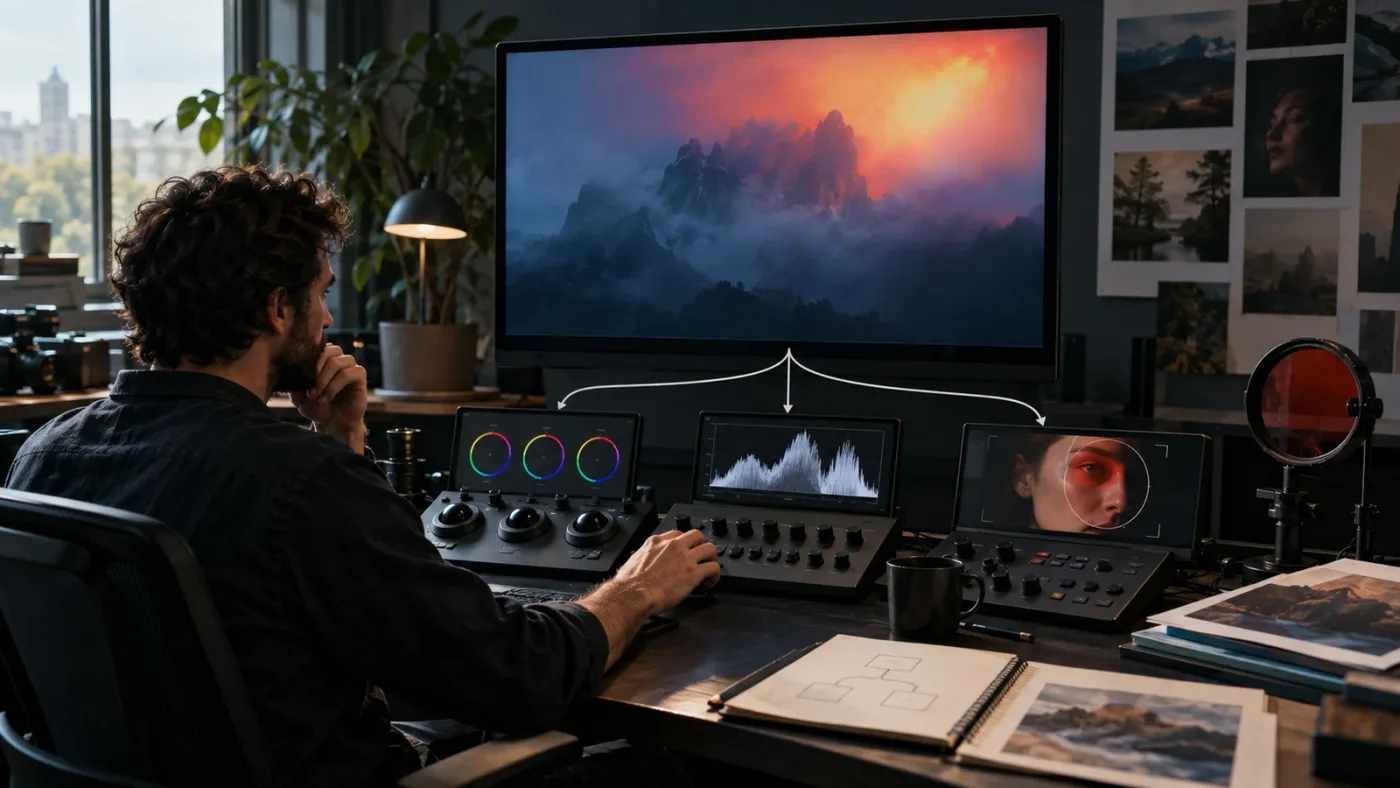
Color wheels in DaVinci Resolve's Primaries palette adjust balance and brightness across overlapping tonal ranges. Lift is associated with shadows, Gamma with midtones, Gain with highlights, and Offset with the image as a whole. You drag inside the wheel to push color and use the master dial below it to change the level of that range. Blackmagic documents the Primaries wheel mapping and Offset behavior on its Color page.
The overlap is a feature. It keeps a correction from looking like a hard cut between three bands. Move Gamma and the neighboring shadows and highlights may respond too, depending on the image, the working space and the size of the adjustment. That gentle interaction is useful for creating a natural balance, but it is also why a small correction can feel wider than expected.
What Lift is good at
Lift is a broad way to judge the lower portion of the image. Use it when the blacks and lower shadows need a common balance or when you are establishing the relationship between the bottom of the waveform and the rest of the picture. A Lift color move can affect more than pixels that look fully black, because the range overlaps into nearby shadows.
What Gamma is good at
Gamma is the familiar middle-range control. It is useful for the density of faces, walls, skin tones, foliage and other information that reads as the body of the image. A Gamma exposure move can make a shot feel more open without pushing the brightest highlights as directly as Gain would.
What Gain is good at
Gain is a direct way to judge the upper part of an image, but it is not the same as a highlight-only repair. Bright clouds, reflective skin and a white shirt can all move together.
What Offset is good at
Offset affects the whole image uniformly according to Blackmagic's description of the Primaries palette. That makes it a useful global exposure and color-balance control when you want the signal to move together. It also makes it a poor choice for a problem that belongs to one end of the range.
The global distinction matters when comparing Offset with HDR Global. The HDR guide describes the HDR Global wheel as pinching the black and white points while rolling the shadows and highlights to compress the extremes, whereas the Primaries Offset wheel affects the image uniformly. The official Colorist Guide describes this difference in its HDR lesson.
The Primaries palette also contains controls for contrast, pivot, saturation, hue, temperature, tint, midtone detail, color boost, shadows and highlights. Blackmagic describes Primary Bars as a subtler alternative for individual color channels and luminance, and Log wheels as having tighter tonal ranges than Primaries. If Primaries is too broad and HDR feels too elaborate, Log controls may fit the problem. The current Color page overview includes Primary Bars and Log grading.
Keep the first Primaries move small enough that you can explain what changed. If you cannot tell whether you fixed exposure, contrast, color balance or saturation, split the work into separate nodes.
How do HDR wheels work in DaVinci Resolve?
HDR wheels in DaVinci Resolve map color and exposure controls to tonal zones instead of the broader Lift, Gamma and Gain model. Each zone has a range, and the transition into or out of that range can be softened with Falloff. The HDR palette also includes Global controls and a Zones Graph for reviewing and changing how the zones are distributed. Blackmagic's Colorist Guide describes zone controls, Min/Max Range, Falloff and the Zones Graph.
The names can vary with the selected palette layout and version, but the idea is stable: the HDR palette gives you more tonal landmarks. A typical set can include Black, Dark, Shadow, Light, Highlight, Specular and Global. The important part is not memorizing the labels. It is learning to ask what part of the luminance distribution you want to affect.
What the HDR zone range means
The Min/Max Range control determines the limits of a zone. If a Light zone reaches too far into the midtones, a correction intended for sky may also lift a pale wall. If it begins too high, the sky may fall outside it and the wheel may appear to do nothing. The boundary is part of the grade.
The Falloff controls the transition around the zone. A hard transition can make a tonal correction look like a mask. A softer transition can make the result feel more natural, but a soft transition can also spread the correction into neighboring values. Range and Falloff are not quality settings. They are two sides of the same decision about where the correction begins, where it ends and how gently it blends.
What the HDR Global wheel means
HDR Global is not simply Primaries Offset with a different label. The official guide describes it as pinching the black and white points and rolling the ends of the signal to compress, rather than uniformly shifting, the extremes. That is why a Global Exposure move can feel gentler in deep shadows and bright highlights than a uniform Offset move. The result still depends on the source, the node's color space and the surrounding corrections.
Use Global when you want to establish the general exposure inside the HDR palette's tonal model. Do not use it just because the shot is called HDR. If the project is a simple SDR interview with a broad exposure problem, Primaries may communicate the move more clearly.
What the HDR controls beneath the wheels do
The HDR palette includes exposure and saturation for the selected range, plus global controls such as Temp, Tint, Hue, Contrast, Pivot, Midtone Detail and Black Offset. The guide says Temp and Tint represent the global wheel sliders, Contrast and Pivot keep saturation perceptually constant when adjusted, and Black Offset sets the minimum signal value while gently compressing data above it. These behaviors are described in the official Resolve 20 Colorist Guide. Black Offset is not simply a second Lift knob, because it changes the foundation of the HDR tonal model.
Why HDR wheels need a scope
The picture can make a correction look pleasing while the waveform tells you that the tonal range is still bunched or clipped. Blackmagic's training exercises begin the high dynamic range lesson by reviewing the waveform, then use HDR controls to address dark foreground detail and compressed bright detail. That is a useful order: inspect the signal, name the problem, make a small move, inspect again.
HDR wheels are more precise than Primaries only when the zone boundaries match the problem. They are not automatically more precise because the interface has more controls.
HDR wheels become precise when the tonal zone matches the problem, not when the control count is higher.
Why is my HDR wheel changing more of the image than expected?
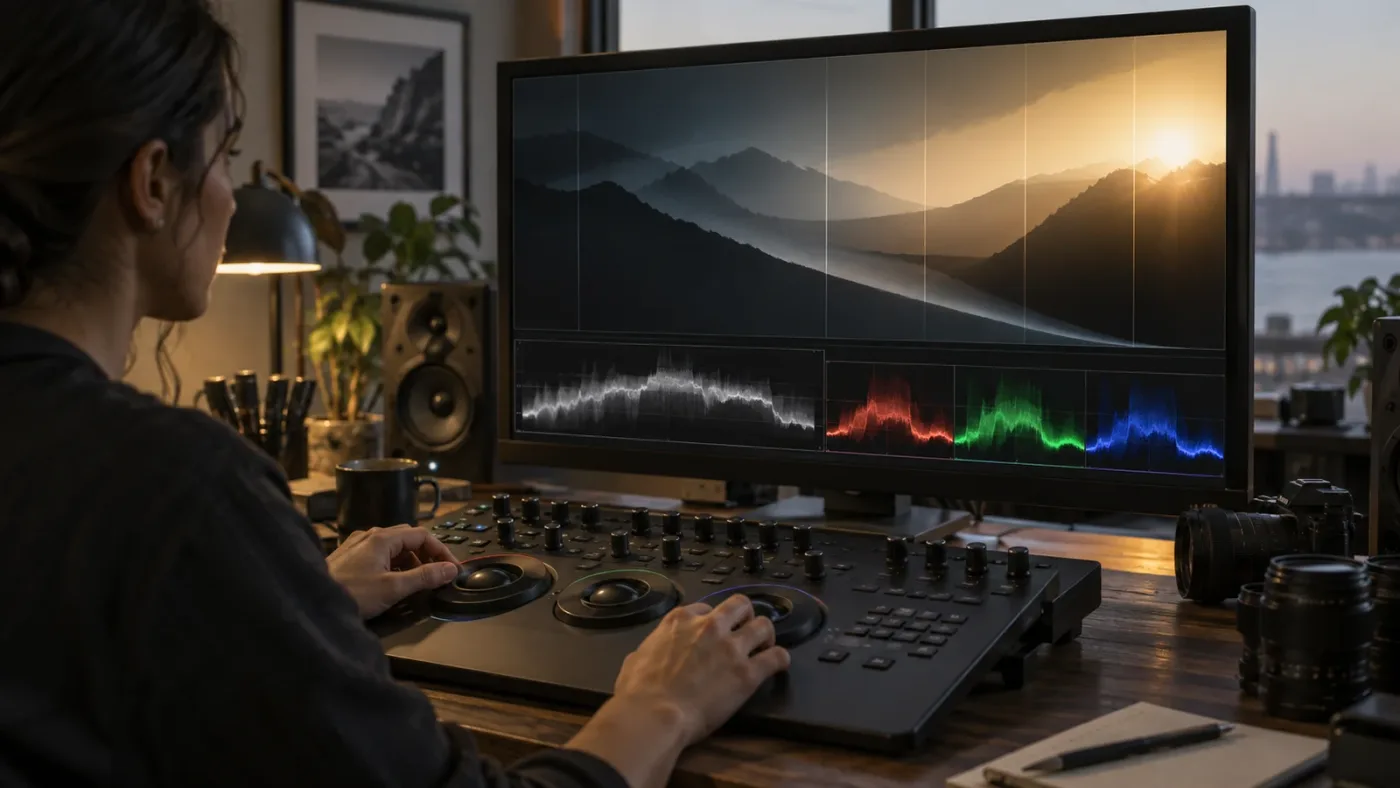
Your HDR wheel is changing more of the image than expected because the selected tonal zone overlaps the values you are trying to protect, or because Falloff is spreading the correction into neighboring values. The palette is range-based, not object-aware. Inspect the zone selection, tighten the limits, reduce the adjustment and use a qualifier or Power Window if luminance alone cannot separate the subject.
This is the most common conceptual mistake in the HDR versus color wheels decision. Editors see a wheel named Light and expect it to mean “the sky.” It means a light tonal range. A bright face, a white wall and a sky can all share some of the same tonal values.
Use this diagnostic sequence:
- Undo or bypass the correction and confirm that the unwanted movement is caused by the current HDR node.
- Turn on the viewer's Highlight mode for the active zone if you need to inspect what the zone is selecting.
- Reduce Falloff temporarily so you can see whether the spill is caused by a wide transition.
- Move the Min or Max boundary and watch the highlighted range change.
- Re-enable a softer Falloff once the zone covers the intended values.
- If the intended subject and the protected subject remain in the same tonal range, stop widening the HDR zone. Use a qualifier, Power Window or both.
The official guide warns that Highlight mode interacts with other tools, and it specifically discusses the need to avoid confusing a tonal zone selection with a qualifier, Power Window or Color Warper selection. The Resolve 20 guide explains the zone inspection workflow.
A window problem
Imagine a person beside a bright window. You want the window to feel less aggressive, but the face is correctly exposed. An HDR Light or Highlight zone may be a good first test if the window and face occupy different tonal ranges. If the window is broad and the face includes specular highlights that overlap, the zone cannot know your intent. Tighten the range, then add a Power Window around the window if the shot requires spatial separation.
A black-clothing problem
Imagine a black jacket that has lost texture while the room's other shadows still look good. A broad Lift move can open the jacket and also lift the room. An HDR Black or Dark adjustment might keep the correction closer to the bottom of the signal. But if the jacket's values match the background, you still need a window or qualifier. The HDR palette is a tonal tool, not a replacement for secondary isolation.
A skin-highlight problem
Imagine skin that is balanced in the midtones but has hot forehead or cheek highlights. Gain may be too broad. An HDR Highlight or Specular zone can be a better place to evaluate the correction, especially when the highlight is separated from the main face values. If the bright patch is a small object or moves through the shot, qualify and track it.
When a correction spills, the answer is not always “use smaller wheels.” Sometimes the correct answer is “use a different kind of isolation.” Color wheels, HDR wheels, qualifiers and windows can sit in the same workflow.
How do I use color wheels for a normal SDR correction?
For a normal SDR correction, use the Primaries palette to establish exposure and neutral color, then refine contrast and saturation while watching the waveform and vectorscope. The workflow is deliberately simple because the first job is to make the image coherent before you make it expressive.
Step 1: confirm the image and the pipeline
Check the clip's source interpretation, timeline color space and output intent before touching the wheels. A log clip shown through the wrong transform can look like a grading problem when it is really a color-management problem. If the image looks desaturated after a Color Space Transform, the relevant fix may be in the transform order or input and output spaces, not in the wheel choice. Our guide to DaVinci Resolve Color Space Transform when the image looks desaturated covers that separate problem.
Step 2: make the broad balance
Use the wheel controls to ask three questions. Are the lower values too lifted or too crushed? Are the faces and important midtones sitting at a useful density? Are the bright areas carrying enough detail without looking weak? Make one move at a time and keep the node name specific enough that you can later explain it.
If the entire shot has a warm cast, a broad temperature or color-balance decision may be more efficient than trying to warm separate tonal zones one at a time. If the lower values are cool while the midtones are neutral, split the decision: use the wheel that corresponds to the range, or place the correction in a separate node.
Step 3: shape contrast
Contrast changes the distance between dark and light values. Pivot changes where that contrast is centered. In an SDR workflow, the Primaries controls are often easier to read because the range is familiar and broad. Do not use contrast to fix a color cast, and do not use saturation to compensate for a washed-out transform.
Step 4: refine saturation
Saturation is a global decision unless you make it local. A little saturation can bring a neutralized image back to life, but increasing it before exposure and color balance can make the wrong colors more obvious. If skin and foliage need different treatment, use a secondary correction after the primary node.
Step 5: compare with the scopes
Use the waveform to judge brightness distribution, the vectorscope to check color direction and saturation, and the parade to compare channels when a cast is hard to see. The scope is not a replacement for the viewer. It is a second witness.
Step 6: decide whether the problem is still broad
If the image is now balanced but one tonal area remains wrong, stop pushing the Primaries wheels. That is the moment to compare HDR wheels, Log wheels, curves or a secondary. Our Color Grading Basics guide covers the broader correction sequence before you choose a narrower tool.
A compact SDR node plan
| Node | Job | Likely first control |
|---|---|---|
| 01 Balance | Neutralize a broad cast and establish exposure | Primaries wheels or Offset |
| 02 Contrast | Set the overall density | Contrast and Pivot |
| 03 Saturation | Set the broad color level | Saturation or Color Boost |
| 04 Skin or subject | Protect a face or important object | Qualifier, window and tracker |
| 05 Look | Add a creative direction | HDR zone, curves or a broad look tool |
This is not a mandatory five-node recipe. It is a way to keep the correction readable. A single node can be appropriate for a quick clip. Several nodes can be appropriate when the deliverable matters and you need to revise one decision without disturbing the others.
How do I use HDR wheels for a highlight or shadow problem?
Use HDR wheels for a highlight or shadow problem by selecting the tonal zone that contains the defect, inspecting its range, making a small exposure or color move, and then checking whether protected areas moved with it. The official Colorist Guide's HDR lesson uses this same logic: inspect the waveform, choose a zone, adjust range and falloff, and refine the image with the zone controls.
Example 1: bright sky with a good foreground
Start by deciding whether the sky is simply too bright or whether it also needs a color change. A Light, Highlight or Specular zone can let you evaluate the upper range without immediately moving the entire foreground. Check the zone highlight. If the sky is selected but the foreground is not, lower the zone exposure modestly and then judge the result on the waveform.
If the sky still clips or looks flat, do not keep turning the wheel. Inspect the source and the available highlight detail. A grading control cannot recreate information that the source did not capture. It can redistribute values, compress them or change their relationship, but it cannot guarantee recovered texture.
Example 2: lifted black level
If a shot feels milky because the bottom of the signal is too high, compare Primaries Lift with HDR Black or Black Offset. Lift is a broad tonal correction. Black Offset changes the darkest foundation of the HDR signal and compresses data above it according to the official guide. The right choice depends on whether you want to move a broad shadow family or redefine the floor of the image.
Example 3: dark interior with bright windows
This is where the HDR palette earns its reputation. The frame has more than one exposure environment. Primaries can balance the scene broadly, but a zone-based workflow can let you treat the interior and the upper bright range with separate decisions. The range controls do not make the workflow automatic. They let you describe the split more directly.
Example 4: a narrow creative color move
Suppose you want cooler shadows but neutral highlights. Primaries Lift can move a broad lower range, while an HDR Dark or Shadow zone can let you choose a narrower tonal step. Judge the result with the vectorscope and with the face or neutral reference in the viewer. A color move is successful when it supports the image, not when the wheel moved far.
The main advantage is not “HDR looks better.” It is that the control model matches a useful visual description: black, dark, shadow, light, highlight, specular and global. When that description matches the shot, you spend less time fighting spill. When it does not, a qualifier or window still wins. For a longer delivery-focused workflow, see how to grade HDR video in DaVinci Resolve.
Why does HDR Global feel different from Primaries Offset?
HDR Global feels different from Primaries Offset because the two controls use different tonal behavior. Primaries Offset is described by Blackmagic as affecting the whole image uniformly. HDR Global pinches the black and white points and rolls the ends of the waveform to compress them. That difference changes how much the deepest shadows and brightest highlights move during an overall exposure adjustment.
This is a decision about the shape of the signal, not a claim that one control is always more natural. If you want the full image to travel together, Offset is a direct model. If you want the image to breathe inside a tonal model that compresses the extremes, HDR Global may be a better fit. If you need one specific range, skip both and use a zone.
Contrast and pivot example
The official guide states that HDR Contrast and Pivot keep saturation perceptually constant as they are adjusted. This matters when you are changing contrast in a high-dynamic-range image and want to reduce the chance that the highlight color becomes aggressively oversaturated as contrast rises. It is a palette behavior, not a guarantee that every source will remain visually perfect.
The safe habit is to judge the image and scopes after every meaningful change. A control designed to preserve perceptual saturation is not a substitute for checking the actual result.
Primaries Offset moves the whole image together, while HDR Global reshapes the signal's ends.
Can HDR wheels replace qualifiers, curves, or Power Windows?
HDR wheels cannot replace qualifiers, curves or Power Windows because they separate tonal ranges, not objects, colors or locations. They can reduce the need for a complicated secondary when the problem is purely tonal, but they cannot isolate two objects that share the same brightness or the same color.
Use the smallest tool that describes the problem accurately:
| The problem is... | Best first description | Tool to consider |
|---|---|---|
| The whole shot is cool | Global color balance | Primaries or HDR Global |
| Only a defined brightness band is wrong | Tonal | HDR wheel |
| Only a hue or saturation family is wrong | Chromatic | HSL qualifier or Color Warper |
| One object is wrong | Spatial and possibly chromatic | Power Window, tracker and qualifier |
| The relationship between shadows and highlights is wrong | Tonal curve | Custom Curves or HDR controls |
| The image needs a complex look | Node operation sequence | Several tools in separate nodes |
HDR wheels versus Log wheels
Blackmagic's Color page describes Log wheels as having tighter tonal ranges for shadows, midtones and highlights than Primaries. That makes Log wheels a useful middle ground when you want narrower tonal control but do not need the HDR palette's zone graph and customizable boundaries. The official Color page describes the relationship between Primaries and Log grading.
The choice between Log and HDR is not a version of “beginner versus professional.” An experienced colorist can choose the tool that keeps the current node simple. A beginner can learn HDR early if the zone model makes the problem easier to understand.
HDR wheels versus curves
Curves give you a graph of input and output relationships. HDR wheels give you range controls and familiar wheel gestures. A curve is useful when you need to reshape a tonal relationship with a visible line. HDR is useful when you want a named tonal zone with color and exposure controls. They can also work together. Use HDR to bring a range into place, then use curves for a precise contrast relationship if the image calls for it.
HDR wheels versus qualifiers
A qualifier can isolate pixels by hue, saturation and luminance. That is powerful, but it can also be brittle when the subject changes, the light changes or the selection needs cleanup. An HDR zone can be more stable when the problem really is tied to brightness. Neither is automatically safer. The signal decides.
HDR wheels versus Power Windows
A Power Window is spatial. It answers “where in the frame?” An HDR zone answers “which tonal range?” Combining them answers both questions. A window around a sky plus an HDR Light adjustment is different from an HDR Light adjustment across the whole image. The first has a spatial boundary. The second does not.
If you are unsure which tool to use, make the correction in a temporary node and enable the highlight view for the selection. If the selection does not match the visual subject, change the tool rather than forcing the subject into the selection.
How do I build a node-by-node HDR and color wheel workflow?
Build a node-by-node workflow by separating broad balance from tonal shaping, then placing object-specific corrections after the image has a stable foundation. This keeps Primaries and HDR wheels from competing inside one opaque node and makes the grade easier to revise.
Node 01: input and technical setup
Use the first node or group of nodes to keep the source interpretation clear. If you use a Color Space Transform, document the input and output choices in the node label. If you use Resolve Color Management or ACES, note that the HDR palette is designed to take advantage of a managed operational space, according to Blackmagic's guide. Do not use the HDR palette to disguise an incorrect input transform.
Node 02: broad balance with Primaries
Use Primaries to establish the shot's broad exposure and neutral balance. Check the waveform and parade. This is where Lift, Gamma, Gain or Offset can be readable and efficient. Do not chase every problem here. The purpose is to make the image stable enough that later tonal decisions are meaningful.
Node 03: contrast structure
Use Primaries Contrast and Pivot or a curve to define the overall density. If the image is destined for an HDR workflow, consider whether HDR Contrast and Pivot are more suitable for the current tonal model. The official guide specifically describes the HDR controls as preserving perceptual saturation behavior when contrast is adjusted. Whatever you choose, inspect the highlights after the move.
Node 04: HDR tonal refinement
Add an HDR node for a problem that can be named by tonal range. Examples include opening the Dark range, calming the Highlight range, bringing down a bright Light range or shaping a Specular range. Inspect the zone selection before the move. If the zone contains more than the intended area, change the boundaries or use another isolation method.
Node 05: subject and skin
Use a qualifier, Power Window or both when the subject needs treatment that the tonal zones cannot provide. A skin correction can use HDR controls after the selection is established. Keep this node separate from the broad grade so that you can disable it and judge whether the subject correction is helping.
A practical bypass test
Bypass each node briefly and state what changed. If disabling the Primaries node changes the entire image, it is a broad correction. If disabling the HDR node changes only the intended range, it is doing the job you gave it. If disabling the node changes unexpected objects, inspect the range, falloff or secondary selection.
Do not add an HDR node just because it sounds advanced. The best node tree is the one that leaves each decision easy to find.
Which wheel should I use for common DaVinci Resolve shots?
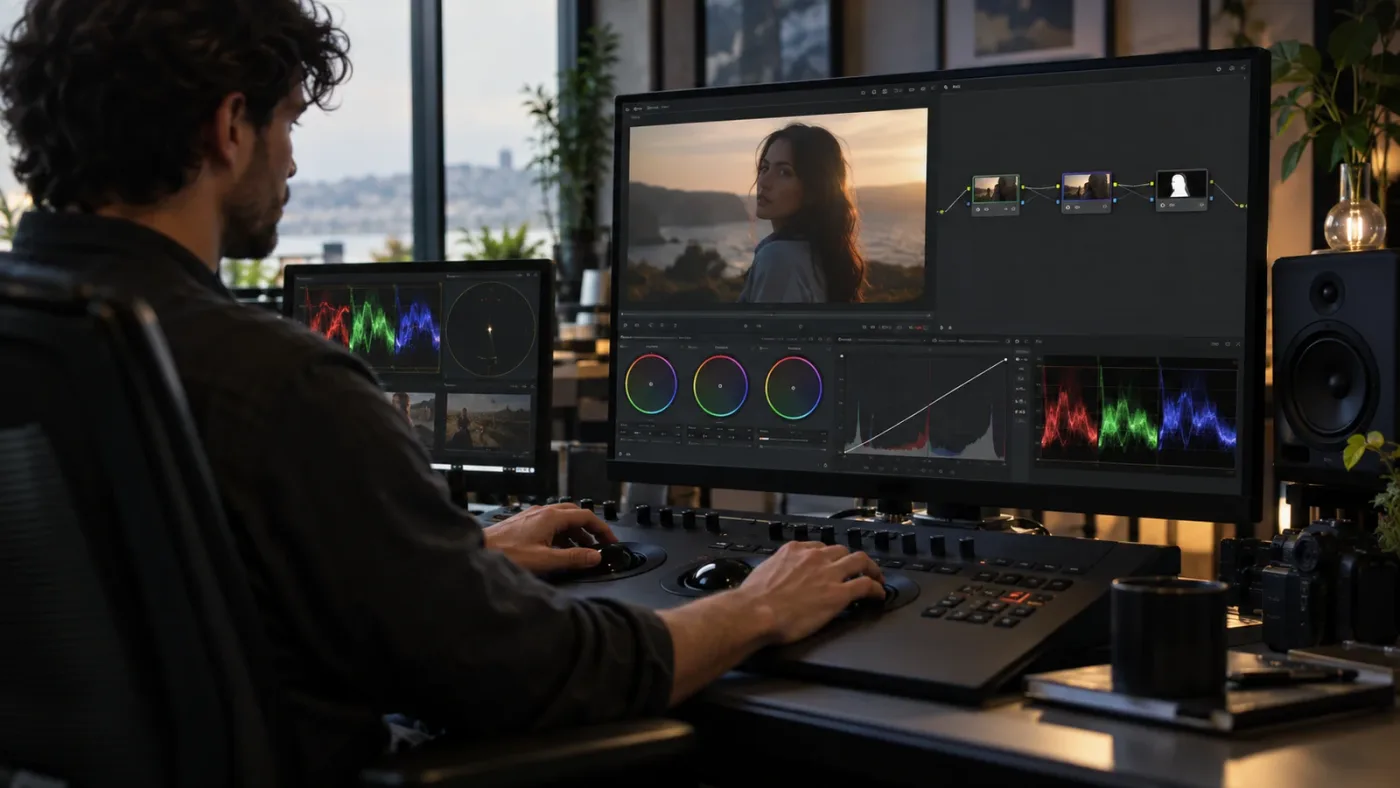
Use the wheel that matches the problem's breadth. A talking-head interview usually benefits from Primaries for the general balance and a controlled secondary for skin. A high-contrast exterior often benefits from Primaries for the base and HDR zones for the sky, foliage or speculars. A low-key interior may benefit from HDR Black, Dark or Shadow controls when you need to separate the bottom of the signal without lifting every shadow.
Talking head with a window
Start with Primaries to balance the face and room. Then inspect the upper HDR zones. If the window needs less emphasis, use a Light or Highlight correction only if its range is distinct from the face. If it is not distinct, qualify or window the window. Do not let the term HDR make you skip the ordinary exposure and color-balance work.
Landscape with a bright sky
Balance the ground and subject first. Then use the HDR zone controls to see whether the sky can be separated by tonal range. If the sky needs a hue change as well as exposure, inspect saturation and the vectorscope. If the sky shares tonal values with bright foliage or clothing, expect to combine HDR with another isolation method.
Flat log footage
First decide whether the flatness is expected from the source transform. If it is, build a correct working-space foundation. Primaries is often the clearer place to establish the basic balance. HDR wheels can then refine a bright sky or dark foreground after the image has a sensible contrast structure.
RAW footage with extreme latitude
RAW controls and color management come before the question of which wheel to use. The official Resolve training guide includes a lesson on grading high dynamic range media in a RAW project. That is a reminder that the palette is part of a larger image pipeline. Use the source settings, working space, node order and output together.
Still photographs in Resolve 21
Resolve 21 introduced the Photo page, and Blackmagic says the page integrates with the Color page's node-based grading tools. That makes the same comparison relevant to stills: Primaries can establish a broad correction, while HDR zones can help with a bright sky or a dark foreground. The page and version context are new in Resolve 21, but the wheel distinction remains the same. Blackmagic's Resolve 21 New Features Guide describes the Photo page and its Color page integration.
| Shot problem | First comparison | Escalate to |
|---|---|---|
| Broad white-balance cast | Primaries wheels | Separate tonal node if the cast is uneven |
| Bright sky | HDR Light or Highlight | Window, qualifier or sky replacement workflow if needed |
| Crushed fabric | HDR Black, Dark or Shadow | Window or qualifier if background shares the values |
| Hot skin highlight | HDR Highlight or Specular | Skin qualifier and tracking |
| Washed-out log image | Color management and Primaries | HDR refinement after the transform is correct |
| Still photograph with high contrast | Primaries for base | HDR zone shaping on the Photo or Color workflow |
Why is my grade different when I switch from color wheels to HDR wheels?
Your grade changes when you switch from color wheels to HDR wheels because the palettes do not share the same tonal mapping, overlap, global behavior or control semantics. A wheel gesture is not a universal operation. A Primaries Gamma correction and an HDR Shadow correction can appear to address similar visual information while producing different neighboring changes.
Do not expect a one-to-one conversion of settings. Instead, compare the intention:
- Identify the Primaries control you used.
- Watch which portion of the waveform moved.
- Open the HDR palette and select the zone that best matches that portion.
- Check the zone range and falloff before making a new move.
- Rebuild the correction by visual and scope result, not by copying the numeric value.
Why color may shift while contrast changes
High-contrast operations can change perceived saturation and color relationships. The HDR guide describes Contrast and Pivot as preserving perceptual saturation behavior in the HDR palette, but the actual image still depends on the working space, source and surrounding nodes. If color shifts after contrast, judge whether the shift is the intended image response or an unwanted side effect.
Why Resolve Color Management matters
The official guide says the HDR palette is designed for optimal performance in Resolve Color Management or ACES managed projects, where it can map its operational space to the source image. The guide also says the palette can be used without management on SDR and HDR media. That means RCM is not an on-off gate for HDR wheels. It changes the context in which the controls interpret and process the image.
If the result is confusing, simplify the experiment. Use a duplicate node, a known clip, a visible waveform and one control. Change only the palette, not the transform, output settings and several other nodes at the same time.
Switching palettes means rebuilding the correction's intent, not translating numbers one for one.
What should I check when an HDR grade looks wrong?
When an HDR grade looks wrong, check the working color space, zone selection, range, falloff, node order, scope and display before blaming the wheel. Most confusing results come from a mismatch between the problem you named and the signal the tool is actually changing.
Check 1: is the active HDR zone visible?
Use the zone highlight view and inspect the selected range. If the selection includes the face, wall and sky, it is not yet a sky-only correction. If the selection is empty, the source values may not occupy that zone or another node may have moved them.
Check 3: is Falloff too broad?
Soft falloff prevents abrupt edges, but it can spread an adjustment. Tighten it for diagnosis, then soften it only as much as the image needs. Do not leave every zone with an identical falloff by habit.
Check 4: are you watching the right scope?
A waveform helps you see the vertical distribution of brightness. A parade helps identify channel imbalance. A vectorscope helps with hue and saturation. Use the scope that answers the question. A vectorscope cannot tell you whether the sky is too bright.
Check 5: is your display showing the intended output?
HDR monitoring is its own part of the workflow. Blackmagic's Studio page describes HDR scopes that can measure ST.2084 and HLG images and display a nit or cd/m2 scale instead of only a 10-bit scale. If the deliverable is HDR and the monitoring chain is not set up for it, a wheel decision may be judged through the wrong viewing condition. Blackmagic documents the HDR monitoring features on the Studio page.
Check 7: is the problem really tonal?
If the unwanted object shares the same brightness as the protected object, HDR cannot separate it by itself. Add a qualifier or Power Window. If the issue follows movement, track the isolation. If the issue is only in one channel, Primary Bars or curves may be a clearer tool.
This troubleshooting order is intentionally boring. It works because it keeps you from stacking random wheel changes on top of a pipeline problem.
Are HDR wheels available in the free version of DaVinci Resolve 21?
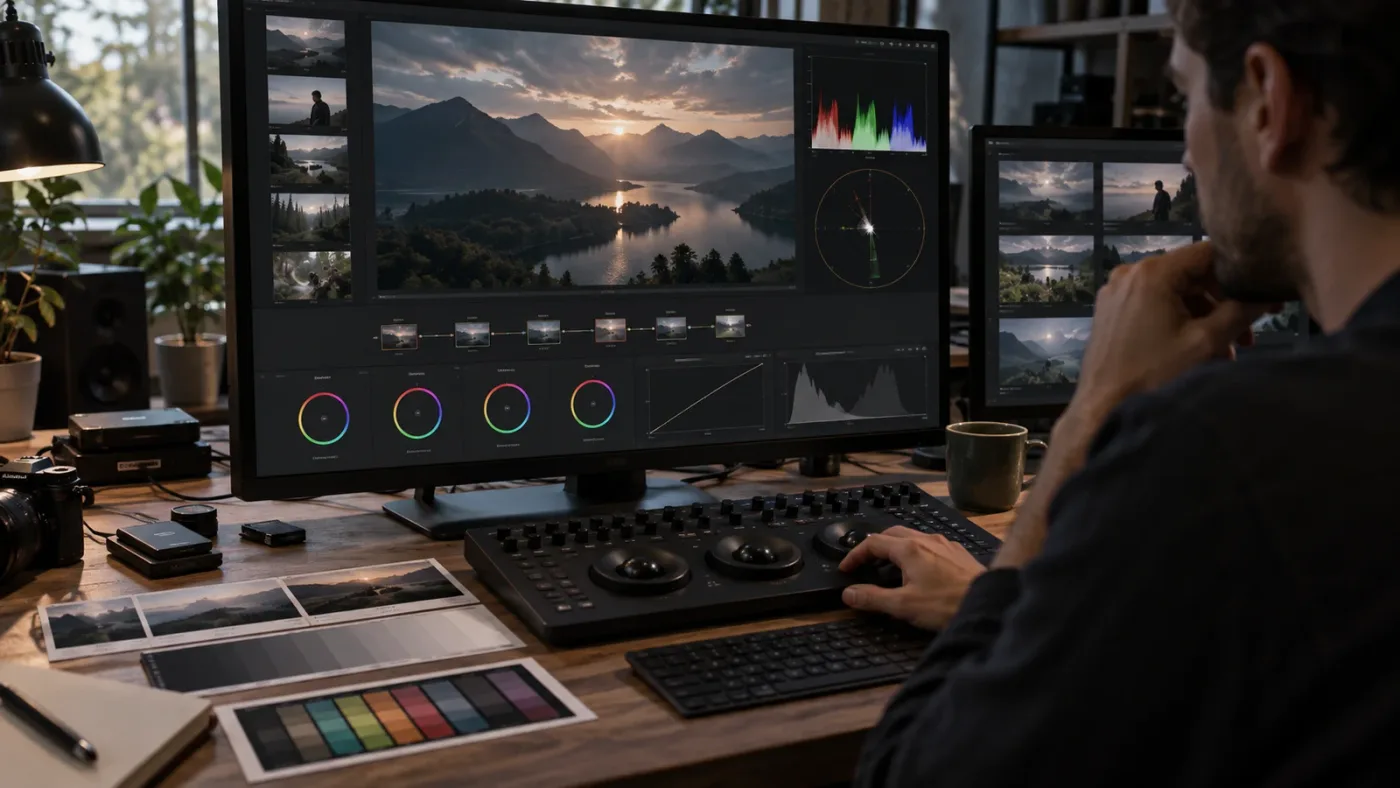
The HDR palette and HDR node mode were introduced as features available in the free downloadable version, as Blackmagic's HDR feature guide explains. DaVinci Resolve Studio adds separate advanced HDR capabilities. Blackmagic's current product pages list DaVinci Resolve 21 as free and describe Studio 21 as the paid version with advanced HDR grading, Dolby Vision and HDR10+ grading and rendering, and professional HDR scopes. See Blackmagic's current Studio comparison and pricing page.
This distinction matters when someone asks whether they need Studio to learn the difference between HDR wheels and color wheels. You can learn the palette model without buying Studio. You may need Studio for a specific monitoring, delivery or advanced processing requirement. Do not turn the palette comparison into an automatic upgrade recommendation.
A tutorial recorded in Resolve 18, 19 or 20 may show a familiar palette but different UI, labels or feature context. When a control is missing, check the Resolve version and whether the tutorial refers to Free or Studio. Then check the manual. Do not assume that a missing button means your grade is wrong.
What is the best way to learn HDR wheels in DaVinci Resolve?
The best way to learn HDR wheels is to combine an official structured lesson with short demonstrations and repeated practice on one clearly named problem. A course can show the steps, a manual can explain the control model, a community can expose edge cases, and practice teaches you to choose a tool when the tutorial's clip does not match yours.
Blackmagic's official training page is the best reference point for the software's own terminology and lesson files. Its Resolve 20 Colorist Guide is built around practical exercises. Casey Faris's color-grading videos are useful when you want to see a creator explain a visual decision in real time, and his recent explanation of color grading is a good example of that format. Watch the Casey Faris color-grading explanation here.
Marc Wielage, Senior Colorist at Chroma in Hollywood, writes in Blackmagic's official Colorist Guide: “No matter how much post experience you have, there’s always something new to learn about DaVinci Resolve. I sometimes find that going back and reviewing the basics helps give you perspective on finding a new way to give clients the look they want quickly and efficiently. Highly recommended for newcomers and veteran colorists alike.” Read Wielage's verbatim quote in the official guide.
Community advice is valuable for stuck points, especially when your issue involves a specific camera, display, version or project setting. The DaVinci Resolve community repeatedly points beginners toward the official training and toward targeted YouTube instruction, which is a sensible consensus. A community recommendation thread shows that learning stack in practice.
Paid course platforms can provide a schedule and a path. Coursera has a Resolve specialization and Udemy has dedicated color-grading courses. Check the Resolve version before buying. Compare the Coursera specialization and the Udemy color-grading bootcamp with current Blackmagic material.
| Learning source | Best use | Limitation | How to use it for this topic |
|---|---|---|---|
| Blackmagic official training | Terminology, lesson files and structured exercises | Can feel slower than a short tip | Read the HDR lesson and repeat the zone inspection steps |
| Casey Faris and other YouTube teachers | Seeing a visual decision explained | A video can become stale or skip the underlying model | Watch for the reason behind the wheel choice, not only the gesture |
| Resolve community and Reddit | Version-specific stuck points and alternate workflows | Advice varies by footage, version and display | Use it to generate checks, then verify settings in official docs |
| Coursera or Udemy | A scheduled learning path and longer projects | Course version and teaching style vary | Choose one course and supplement it with the current manual |
| Practice inside your own project | Transfer from tutorial to real footage | You must create your own feedback loop | Rebuild one correction in Primaries and HDR, then compare scopes |
Our own teaching experience includes more than 100,000 students on Udemy, official Udemy Business Partner status and work with Fortune 500 companies. That is why we emphasize repeatable decisions over memorizing one version of the interface.
To learn DaVinci Resolve fast, pick three shots: a broad interview, a bright exterior and a dark interior. Write the problem in plain words, solve it once with Primaries, solve it again with HDR where appropriate, and record what moved on the waveform.
What changes for log, RAW, HDR and SDR footage?
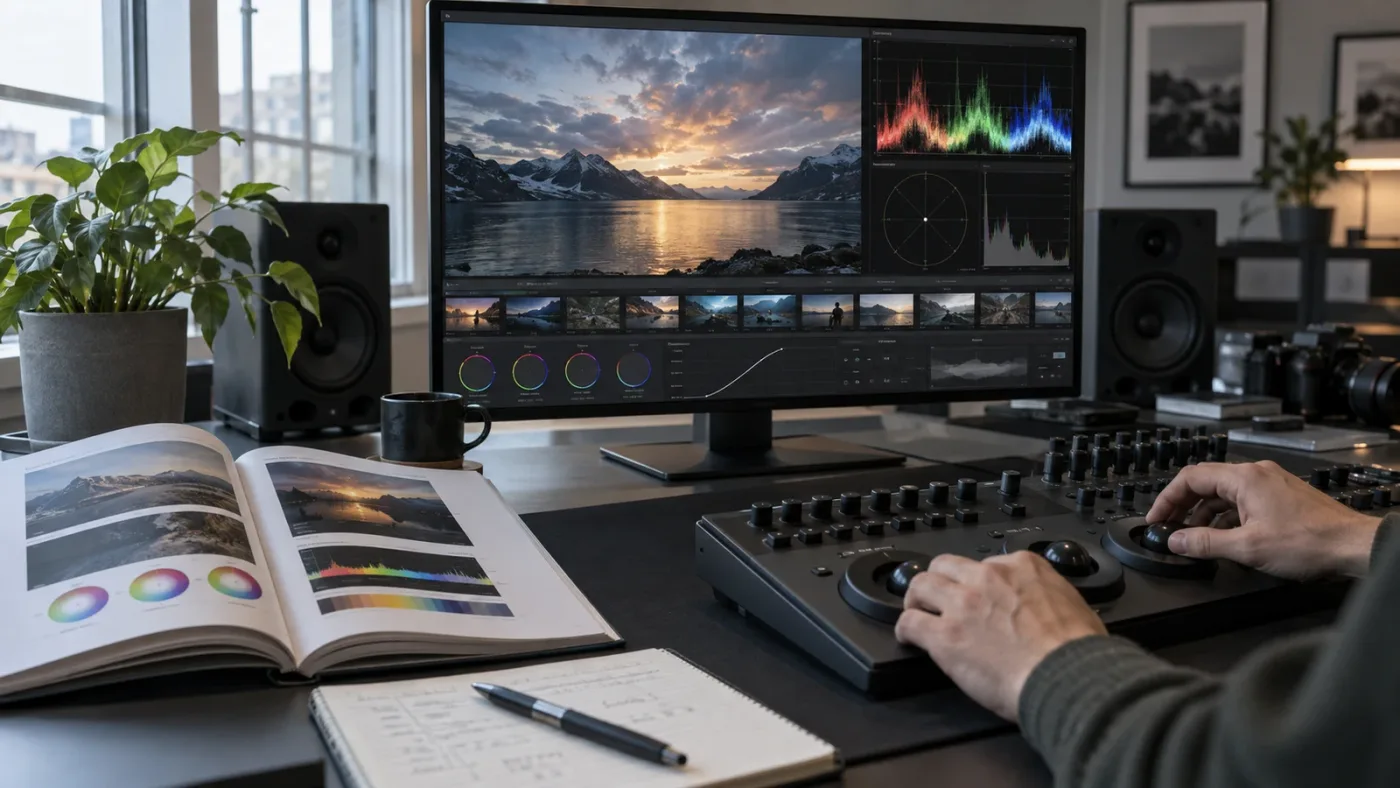
The palette choice changes less than the color-management context. Primaries and HDR wheels can both be used on SDR or HDR material, but source interpretation, working space, node order and output transform determine what the controls receive and how the result is displayed.
Log footage
Log footage often begins with a compressed-looking image by design. Establish the correct input and working-space interpretation before deciding the image needs more contrast. Primaries can be an efficient place to balance the transformed image. HDR can then target a sky, shadow or highlight that needs separate treatment.
RAW footage
RAW gives you additional source-level decisions before the color page correction. White balance, exposure interpretation and decode settings can change the image before the wheels see it. If you change RAW settings and wheels together, you can lose track of which decision fixed the shot. Name the source setup, then grade.
HDR delivery
An HDR delivery has requirements beyond opening the HDR palette. You need an appropriate working and output space, suitable monitoring, scope interpretation and a delivery transform or format. Blackmagic's Studio page lists support for Dolby Vision and HDR10+ grading and rendering and professional HDR scopes. Those Studio features are separate from the basic question of how HDR zones differ from Primaries wheels. See the current official HDR feature description.
SDR delivery
You can use HDR wheels on SDR footage and for SDR output. The name describes the palette's tonal model, not a required HDR export. The official guide explicitly says the palette can be used with both SDR and HDR media, with or without color management. That makes it a useful creative and corrective tool even when the final video is ordinary SDR.
Resolve Color Management and ACES
The HDR palette is designed to work especially well in Resolve Color Management or ACES managed projects because the palette can operate in a known, color-space-aware context. The guide's wording is important: this is an optimization and processing context, not an access requirement. If your project is unmanaged, you can still use HDR wheels, but you need to understand what space the node receives and what the output expects.
The rule that survives every format
Do not choose HDR wheels because the file is labeled HDR, and do not avoid them because the timeline is SDR. Choose them when a zone-based correction matches the image. Choose Primaries when a broad correction matches the image. Then make sure the color-management pipeline supports the result you intend to deliver.
How should I compare HDR wheels and color wheels on a real shot?
Compare HDR wheels and color wheels on a real shot by holding the node order, transform, output and reference frame constant, then rebuilding one correction in each palette. The comparison is only useful if you change one decision at a time.
Use this protocol:
- Duplicate the clip or save a still so you have a fixed reference.
- Make a simple Primaries balance and label the node
primaries comparison. - Save the result as a still or version.
- Bypass the node and create an HDR node with a named zone.
- Check the HDR zone highlight and adjust its range and falloff before changing exposure.
- Make the smallest move that addresses the same stated problem.
- Compare the viewer, waveform, parade, vectorscope and important neutral or skin reference.
- Decide which palette made the intention easier to control and explain.
Do not compare a full Primaries grade against a single HDR move and call the HDR palette worse. Match the job. If the Primaries version solves broad balance and the HDR version solves a highlight, they are answering different questions.
Compare the result, not just the pixels
For a bright window, compare Gain against HDR Light or Highlight while keeping the base balance unchanged. For a dark interior, compare Lift against HDR Dark or Shadow and watch whether the background opens too. For a cool-shadow look, compare Lift color against an HDR Dark or Shadow move while checking neutrals and skin.
Then ask which node you would rather revise tomorrow. A broad Primaries label may be perfect for balance. An HDR node with a zone name may be easier to revisit when a client asks for less highlight pressure. A technically similar image can still have a different maintenance cost.
The best palette is the one that makes the correction easy to inspect and revise.
Should you choose HDR wheels or color wheels in DaVinci Resolve 21?
Choose color wheels when the correction is broad, the image needs a fast balance, or you are still learning how tonal ranges relate. Choose HDR wheels when the problem is specifically tied to a defined brightness range and you need range, falloff or zone-based control. Use a qualifier or Power Window when the problem belongs to an object or location rather than a tonal range.
The cleanest Resolve 21.1 workflow is usually a combination: Primaries for the foundation, HDR for a tonal refinement, and a secondary tool when the image needs object-level control. The free version is enough to learn the distinction. Studio adds advanced HDR monitoring and delivery features when your project requires them. Blackmagic's official training, Casey Faris's demonstrations, community troubleshooting and a structured course can all play a fair role, but no tutorial can choose the right wheel for footage it cannot see.
Start with the sentence. If the sentence says “the whole image,” use Primaries. If it says “only this tonal range,” test HDR. If it says “only this object,” isolate the object. Then check the scopes and name the node so your future self knows why the control is there.
Frequently asked questions
- What is the difference between HDR wheels and color wheels in DaVinci Resolve?
- Color wheels are the Primaries Lift, Gamma, Gain and Offset controls with overlapping tonal ranges. HDR wheels use separate, customizable tonal zones with range and falloff controls, so they are better for isolating a narrow part of the image's brightness range.
- Should I use HDR wheels or color wheels first?
- Use color wheels first when you need a quick global balance or a familiar Lift, Gamma and Gain correction. Use HDR wheels first when the problem is concentrated in a defined range, such as bright windows, deep shadows or specular highlights.
- Can I use HDR wheels on SDR footage in DaVinci Resolve?
- Yes. Blackmagic's training material says the HDR palette can be used with both SDR and HDR media, with or without Resolve Color Management. Color management is still important when you want predictable mappings between source and working spaces.
- Are HDR wheels available in the free version of DaVinci Resolve?
- The HDR palette and HDR node mode were introduced as tools available in the free downloadable version. DaVinci Resolve Studio adds separate HDR capabilities such as HDR scopes and Dolby Vision and HDR10+ grading and rendering.
- Why do HDR wheels sometimes feel more precise than color wheels?
- HDR wheels let you adjust a tonal zone and refine its minimum, maximum and falloff boundaries. Color wheels use broader overlapping Lift, Gamma and Gain ranges, so the same movement can affect more of the image.
Sources
- DaVinci Resolve Color page, primary and HDR wheels
- The Colorist Guide to DaVinci Resolve 20
- DaVinci Resolve 21.1 announcement
- DaVinci Resolve Studio 21 features and pricing
- Blackmagic Design official DaVinci Resolve training
- The Colorist Guide to DaVinci Resolve 17
- DaVinci Resolve 17 HDR palette feature guide
- Casey Faris color grading explanation
- DaVinci Resolve community learning recommendations
- DaVinci Resolve specialization on Coursera
- The Ultimate Color Grading Bootcamp in DaVinci Resolve
Put this guide to work with TryUncle.
Ask about the step you’re on. TryUncle sees your screen and points at the control you need, so you can keep learning in your own project.
Get TryUncle for Mac or WindowsKeep reading

Guides · Jul 7, 2026 · 35 min
How to Color Grade in DaVinci Resolve: The Basics
Learn how to color grade in DaVinci Resolve: build a node chain, balance shadows and highlights with Lift, Gamma, and Gain, and read the scopes.
Guides · Jul 11, 2026 · 36 min
How to Grade HDR Video in DaVinci Resolve (PQ and HLG)
Set up Resolve Color Management for HDR, grade with the HDR palette, and export correct PQ or HLG settings for HDR10, Dolby Vision, and YouTube.
Fixes · Jul 30, 2026 · 23 min
DaVinci Resolve Color Space Transform: Image Looks Desaturated
Why a DaVinci Resolve Color Space Transform makes your image look desaturated, and the exact Tone Mapping, Gamut Mapping, and node fixes that restore it.